Thursday, January 27th 2011
Be Quiet! Intros Dark Rock Pro CPU Cooler
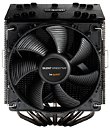
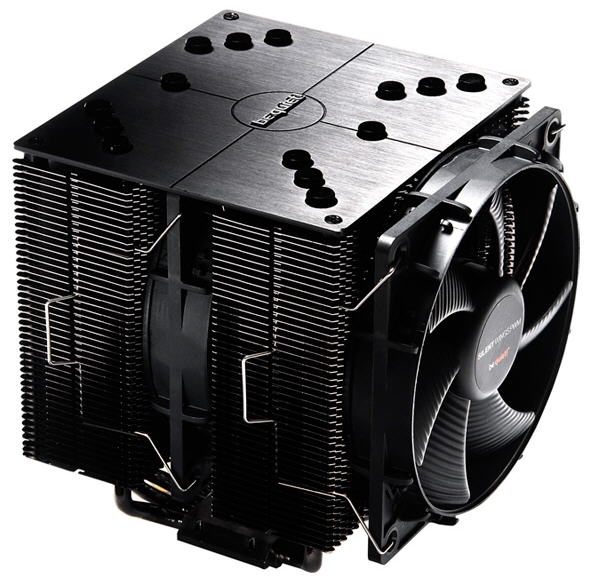
Be Quiet! (brand name) announced its latest offering to PC enthusiasts, a humongous CPU air cooler named Dark Rock Pro. The cooler uses a branched dual metal-fin array design, similar to the Noctua NH-D14. It measures 133 x 150 x 166 mm, and weighs a staggering 1.55 kg (3.417 lbs). The design consists of seven heat-pipes which pass through two individual aluminum fin arrays. The heat-pipes make use of an oxygen-free copper layer.
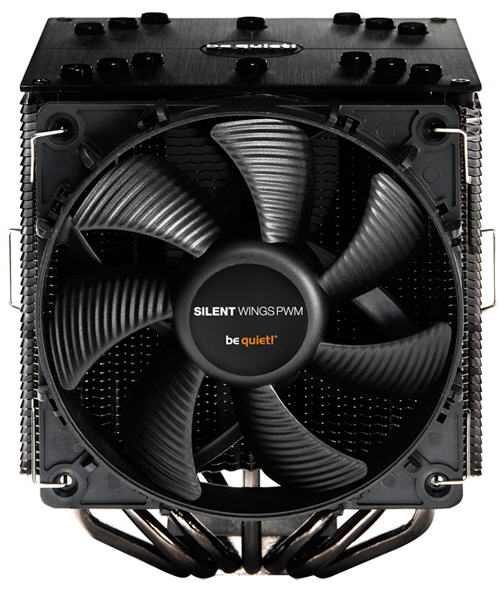
Ventilation is care of two Silent Wings 120 mm PWM fans, one draws fresh air onto the first aluminum fin block, and the other that is sandwiched between the two fin blocks relays air to the second block. The fans spin at a top speed of 1700 rpm, and have 300,000 hours bearing life. All current CPU socket types are supported, including LGA1366, LGA1155/LGA1156, LGA775, AM3/AM2+/AM2. The Dark Rock Pro comes with a tube of Shin-Etsu TIM bundled; the package is priced at 79 EUR.

Source:
TechConnect Magazine
Ventilation is care of two Silent Wings 120 mm PWM fans, one draws fresh air onto the first aluminum fin block, and the other that is sandwiched between the two fin blocks relays air to the second block. The fans spin at a top speed of 1700 rpm, and have 300,000 hours bearing life. All current CPU socket types are supported, including LGA1366, LGA1155/LGA1156, LGA775, AM3/AM2+/AM2. The Dark Rock Pro comes with a tube of Shin-Etsu TIM bundled; the package is priced at 79 EUR.

30 Comments on Be Quiet! Intros Dark Rock Pro CPU Cooler
The installation was a PAIN, and I mean it. I've installed heatsink as hugh as the scythe mugen and other water cool unit but this one is a pain I'll try to explain here.
we all know we have to install a back plate with 4 screws but those 4 screws are build longer so they go through the plate, the board and to hold the heatsink.
so if i line up the plate, put the screws in ,at this stage the screws are still Loose it only goes through the plate and board and doenst grip anything until screwed onto the heatsink .i have to flip the board around and line up the heatsink and more than a few times the screws just falls out.
When you manage to line it up, how do u expect to turn the screw while the board facing up and you're holding 1.5kg + board +ram and screws are falling. If you flip it around so the heatink is down,how do u line up? One has to try it to understand the pain.
performance wise., I will need to finish the system tonight, do a bit of overclocking and post here.
1.4v , the fan would go to 1700RPM max, u wont hear a thing. Keeps the CPU at 60c which is pretty good i think. Will try to go higher clock later.
click "Overclocking & Cooling (## Viewing)"
click "+/ New Thread"
????
Profit!!!