"The Bullet" step by step.


Owner:
Posted:
September 12th 2006
Updated:
Viewed:
12,918 times
Rating:
 1 votes total
Poor (3.0)
Submit vote:
Please register on the forums & login to vote.
Key Features:

System Specs:
Performed Mods:
- Original Chassi Modification.
- Big clear window installed.
- Side Pipe & Fan combo installed.
- Cables sleeved.
- Round UV cables installed.
- UV/White light installed.
- Clear 120mm fans installed.
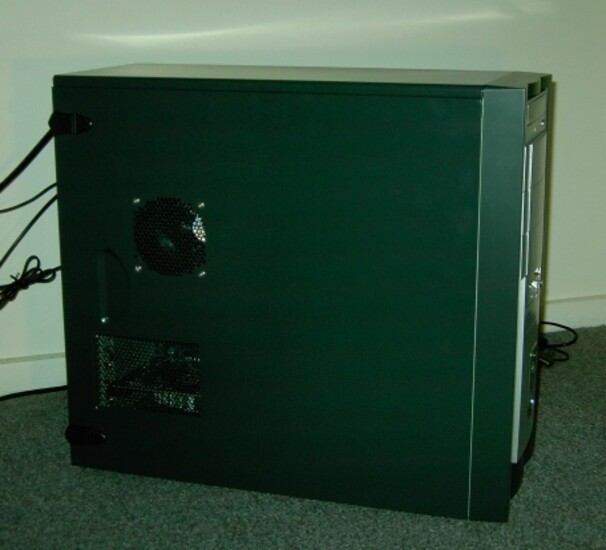
1- Original PC.
2- Original cables and inside.
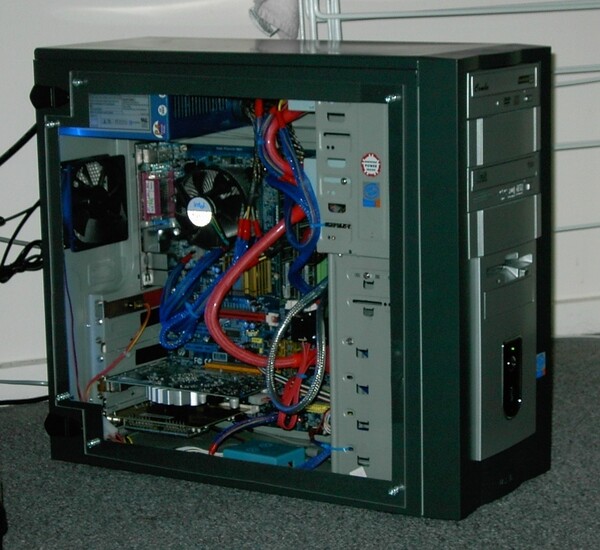
3- Big clear window installed, UV/white light installed, cables sleeved, round cables installed.
4- White light testing.
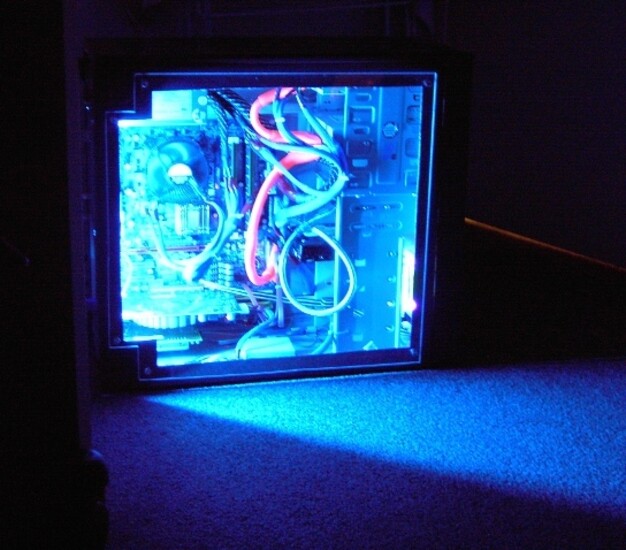
5- UV light testing.
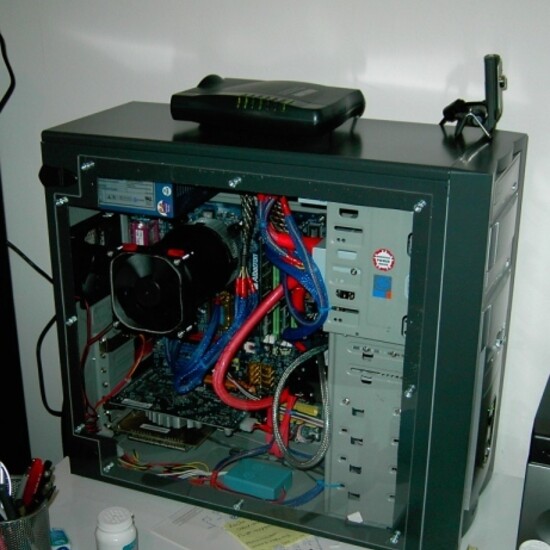
6- Temporary Fan & Pipe installed.
7- Temporary Fan & Pipe detail.
8- Permanent Fn & Pipe installed, clear fans installed.
9- Final version ready with white light.
10- Final version with UV light.
11- UV light detail.
Jul 1st, 2025 22:17 CDT
change timezone
Latest GPU Drivers
New Forum Posts
- PCMA2305 Phase Change Metal Alloy (PCMA) (5)
- What would you buy? (31)
- Is my m2 possibly fake ? and possible laptop hardware damage ? (28)
- Help me overclocking my GSkill Ripjaws 3200MHz CL 16 DDR4 RAMs. (20)
- MACPRO 3,1 booting windows (0)
- My PCIe5 SSD is slow. Samsung 9100 PRO (29)
- Steering wheels, I think I had a mea culpa! (0)
- My PSU died.. (1)
- Best motherboards for XP gaming (16)
- NZXT N9 X870E (4)
Popular Reviews
- ASUS ROG Crosshair X870E Extreme Review
- Crucial T710 2 TB Review - Record-Breaking Gen 5
- Sapphire Radeon RX 9060 XT Pulse OC 16 GB Review - An Excellent Choice
- AVerMedia CamStream 4K Review
- Upcoming Hardware Launches 2025 (Updated May 2025)
- AMD Ryzen 7 9800X3D Review - The Best Gaming Processor
- Lexar NQ780 4 TB Review
- Sapphire Radeon RX 9070 XT Nitro+ Review - Beating NVIDIA
- AMD Ryzen 9 9950X3D Review - Great for Gaming and Productivity
- NVIDIA GeForce RTX 5060 8 GB Review
TPU on YouTube
Controversial News Posts
- Intel's Core Ultra 7 265K and 265KF CPUs Dip Below $250 (288)
- NVIDIA Grabs Market Share, AMD Loses Ground, and Intel Disappears in Latest dGPU Update (207)
- Some Intel Nova Lake CPUs Rumored to Challenge AMD's 3D V-Cache in Desktop Gaming (140)
- NVIDIA GeForce RTX 5080 SUPER Could Feature 24 GB Memory, Increased Power Limits (112)
- Microsoft Partners with AMD for Next-gen Xbox Hardware (105)
- NVIDIA Launches GeForce RTX 5050 for Desktops and Laptops, Starts at $249 (105)
- Intel "Nova Lake‑S" Series: Seven SKUs, Up to 52 Cores and 150 W TDP (100)
- NVIDIA DLSS Transformer Cuts VRAM Usage by 20% (91)
4 Comments on "The Bullet" step by step.
With 2 DVD drives, 2 HD, extra fans and UV light, gets hard to hide the cables.
UV are made to be shown, not to hide!
Sweet as
I reckon that case and my case are pretty good, its longer than the soprano and there arent any problems with installing the HDD.... unlike the soprano. Hide the cables behind the HDD bay... thats what i do.
5/10... cable management dude.
EDIT: Whoops... wrong case...