- Joined
- Aug 13, 2013
- Messages
- 80 (0.02/day)
To view this case mod, go here.
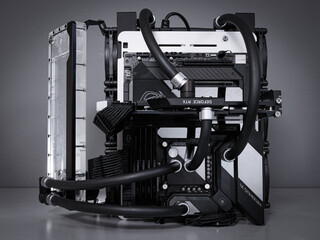
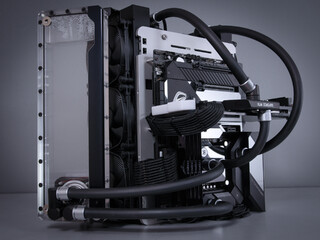
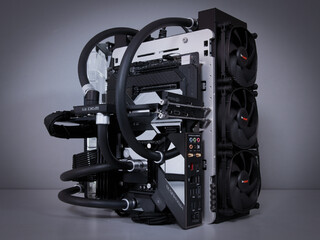
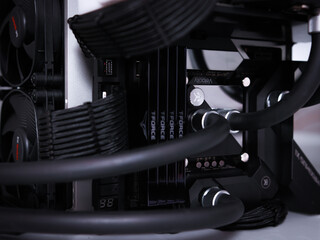
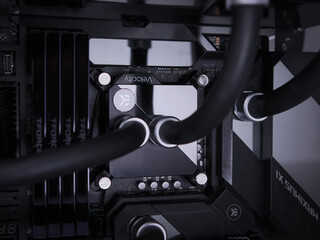
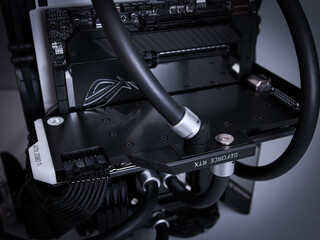
Specs:
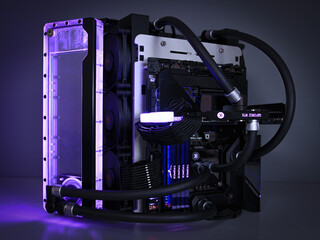
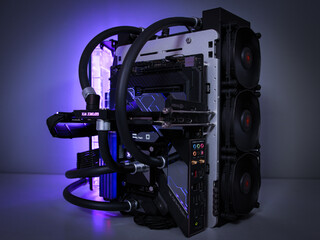
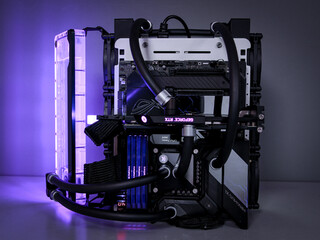
ASUS ROG XI Formula Z390 motherboardNvidia RTX2080 Ti FEOpen Benchtable BC1In Win C1250 1250W PSU32GB TeamGroup Inc T-Force Xtreem 3200MHzIntel Core i9 9900KSamsung 970 Pro M.2 SSD 512GB x2be quiet! Silent Wings 3 PWM 120mm fans x6Watercooling made by EK Waterblocks.
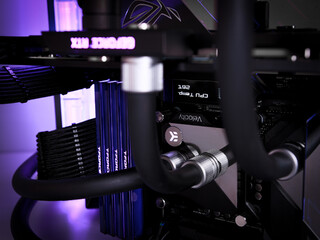
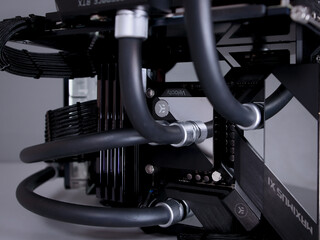
I have owned the Open Benchtables BC1 since launch since around 5 years ago. I have always loved the design, and have used this bench as my main rig many times when I have between casemods. I have always wanted to watercool my components using the BC1, but never really had the time or patience to work out a setup that I liked.When the EK Waterblocks released their Quantum line of flat FLT reservoirs, I knew that I had found the ultimate pump/res combo that would be the perfect heart for this watercooling project.This project started with the idea of attaching a pair of radiators to the bottom of the BC1 bench. I had designed in CAD some options to mount both the PSU and the radiators to the mounting holes already present on the BC1 which would be 3D printed, but ultimately just skipped this approach and used some double sided tape between the bench and rads. This was only ever meant to be a PC that was to be used for the shortest time, but I ended up having the set-up in this current state for over 3 months!Anyways, let's not dwell on the past shall we? Yes, double sided tape is no where near the optimal mounting method, I know that.. But it worked for this configuration so far, and I am legitimately impressed with the holding power. Let's just hope that the tape will remove easily while gently heated otherwise I will be in for a bad time.Once the radiators where attached, then all that was left was to connect the PSU cables to the parts, then do the plumbing between all of the watercooling hardware. This was a very simple task with help of angled adapters from EK Waterblocks Quantum Torque line of fittings, and some ZMT matte black tubing in size 16/10 mm. I love the industrial feel that this connecting hardware and tubing give off. Very much my style.I opted to use an EK-FLT360 D5 pump/res combo as the heart of the system, which I side-mounted off the left radiator. What is awesome with this setup is what I can have the PC laying down on the radiators for that typical test bench style, and still have the pump/res fully functional. I did not get any photos of this orientation though, as the standing style is definitely my favourite. As an added bonus, the standing orientation saves space as well!!These components are the same from my In Win 925 project. Nothing top of the line, but still extremely capable of running the games that I enjoy with max settings, RTX On, on 1440p @100-165fps. I am a happy camper.I enjoyed building this computer, turning my idea into reality. I hope that you enjoyed viewing my gallery, and hope to hear your thoughts regarding my current daily driver. A massive thank you for the continued support from my sponsors. They did not sponsor this build directly as these were parts from previous projects, but as the parts where sponsored previously, I thought it would be a nice gesture to list them anyways.


