 0
0
Antec ISK 600 Review
Value & Conclusion »Assembly
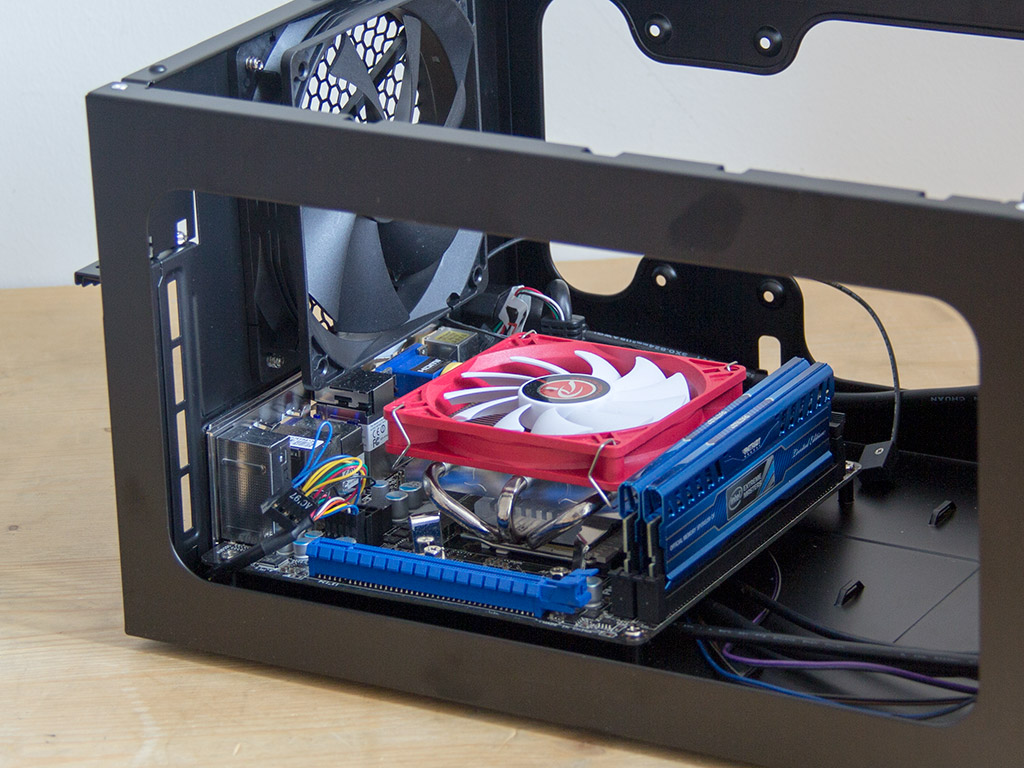

Installing the motherboard into the ISK 600 is rather easy as you have complete access through three sides. As you can see, I even went as far as to route the cables below the board before installing it, which reduces cable clutter considerably. Long graphics cards should easily fit, so stuffing something high-end into the chassis is definitely an option.

Given the chassis' layout, you should install the PSU next, as drives will cover it up. As the PSU is installed sideways, it is important you use a short unit, especially if you go for a long graphics card. In our scenario, the compact Seasonic G Series 360W was used. It has the following dimensions: 140 x 150 x 86 mm (D x W x H).
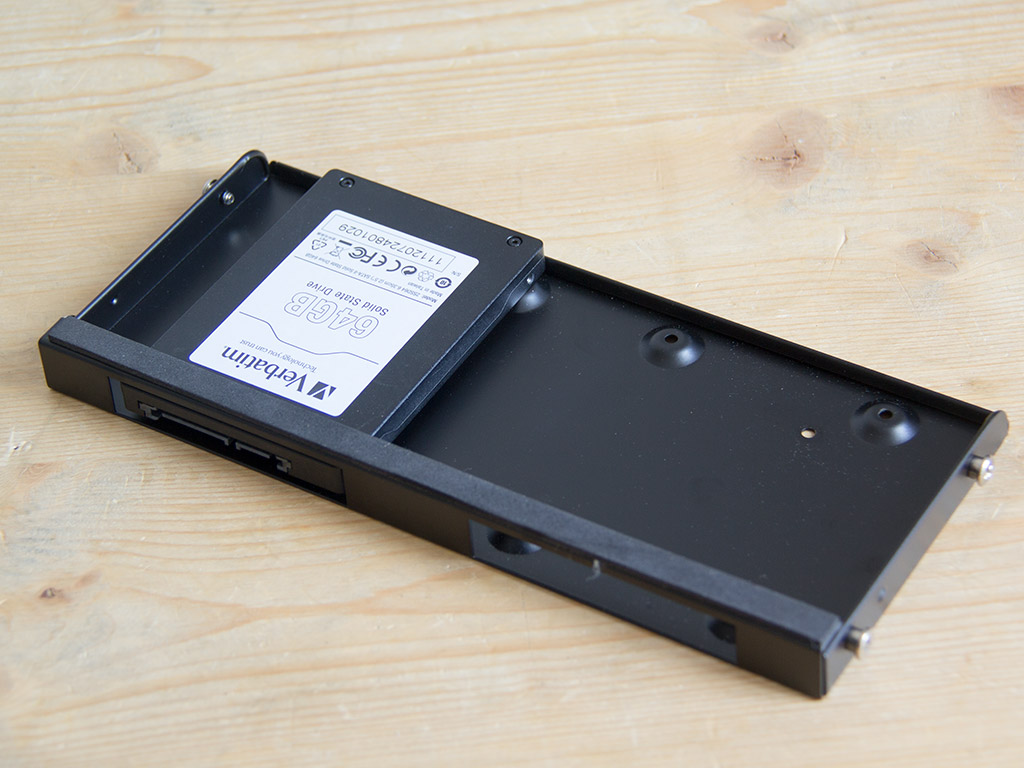
Next up, you should fill the forward tray, including the ODD bay. There is absolutely no reason to take the tray for the slimline drive off the others, but we did so for this review. If you have 2.5'' drives to install first, you should do so before anything else since the optical drive will block off those mounting holes.

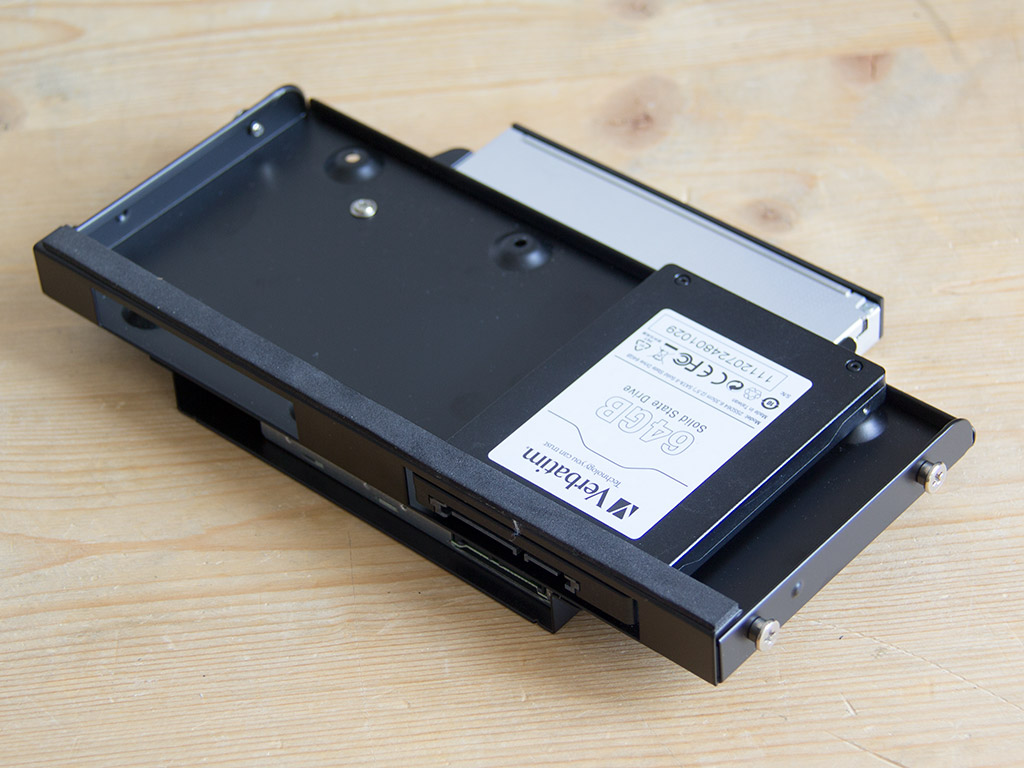
Once the HDD is in place, simply fill the ODD bay. All this is done with the included screws. Luckily, Antec also included the special mini screws to hold the slimline drive in place.
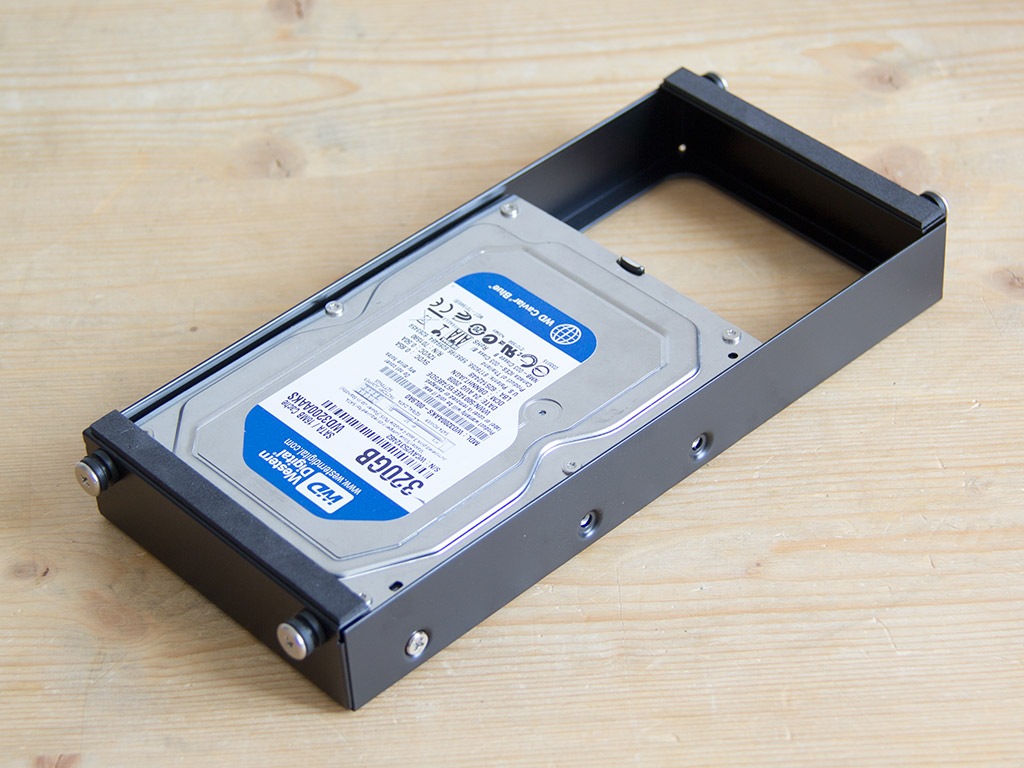
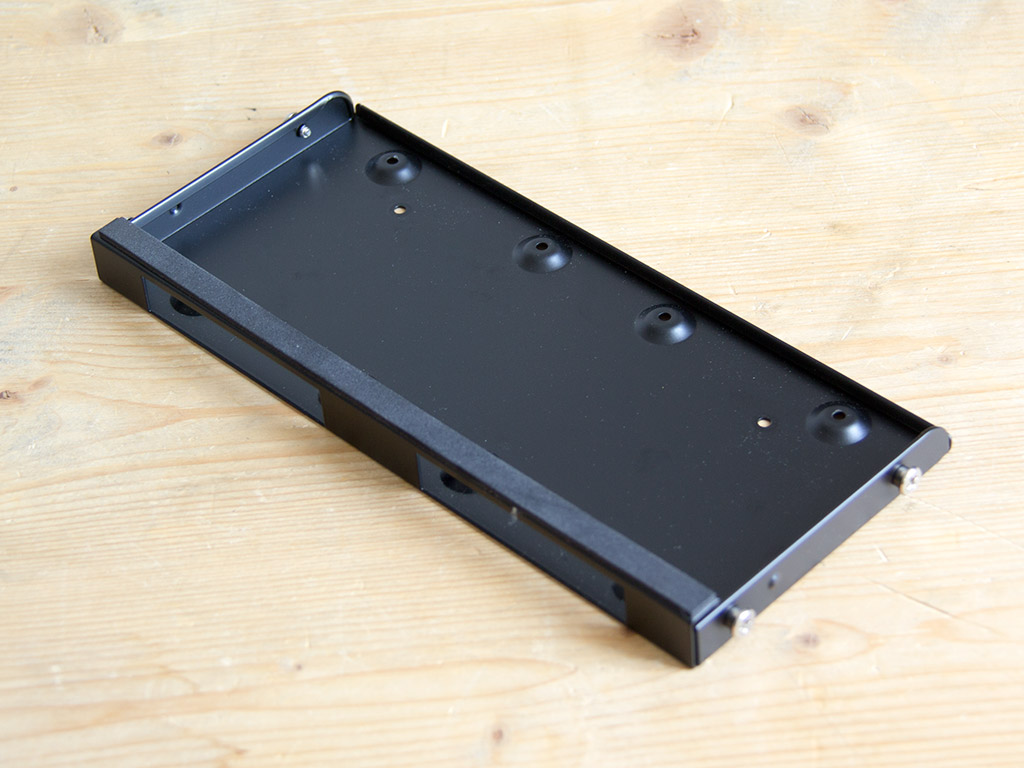
Installing a 3.5" HDD in the top tray is done by similar means, with the use of traditional screws. There is a large opening in the tray, so routing power and data cables to the drive from below is easily done.
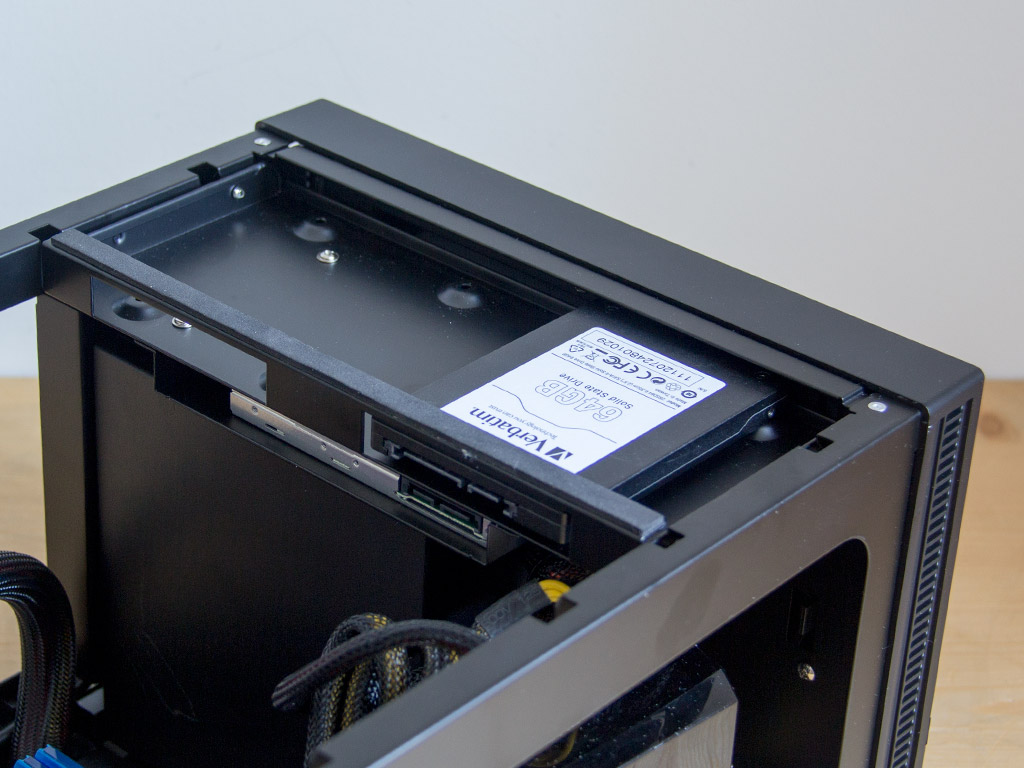
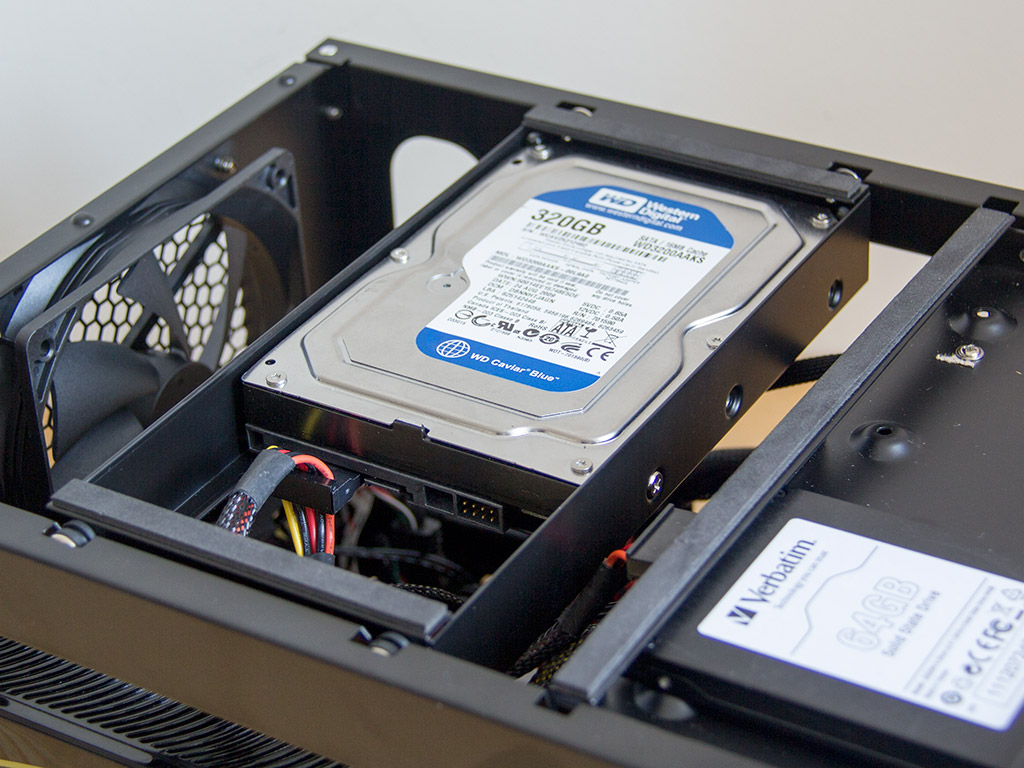
Once all the trays are filled, pop the ODD in first, dropping in the 3.5" drive's tray next. Both lack a securing mechanism, but are held in place firmly by the top cover.
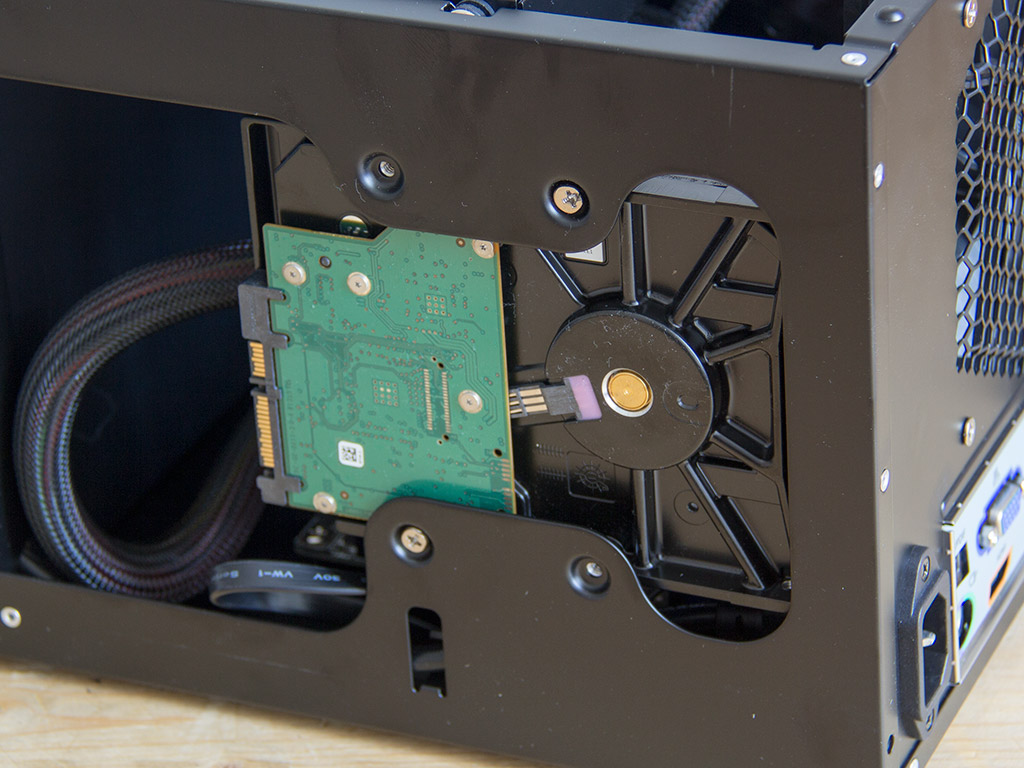
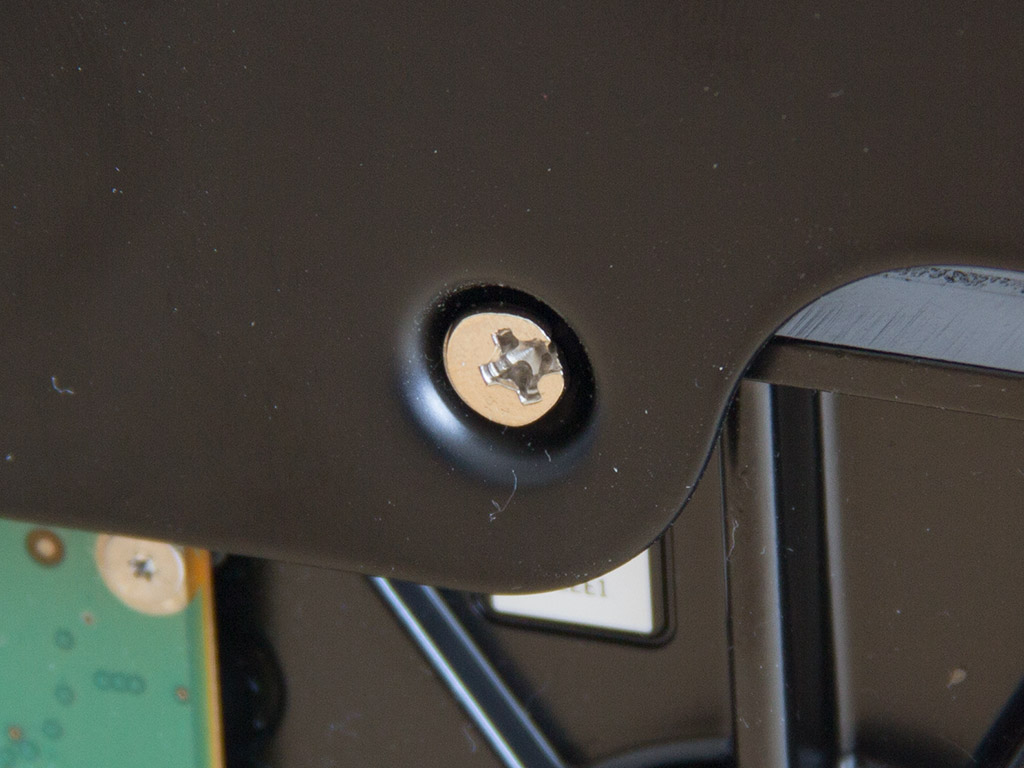
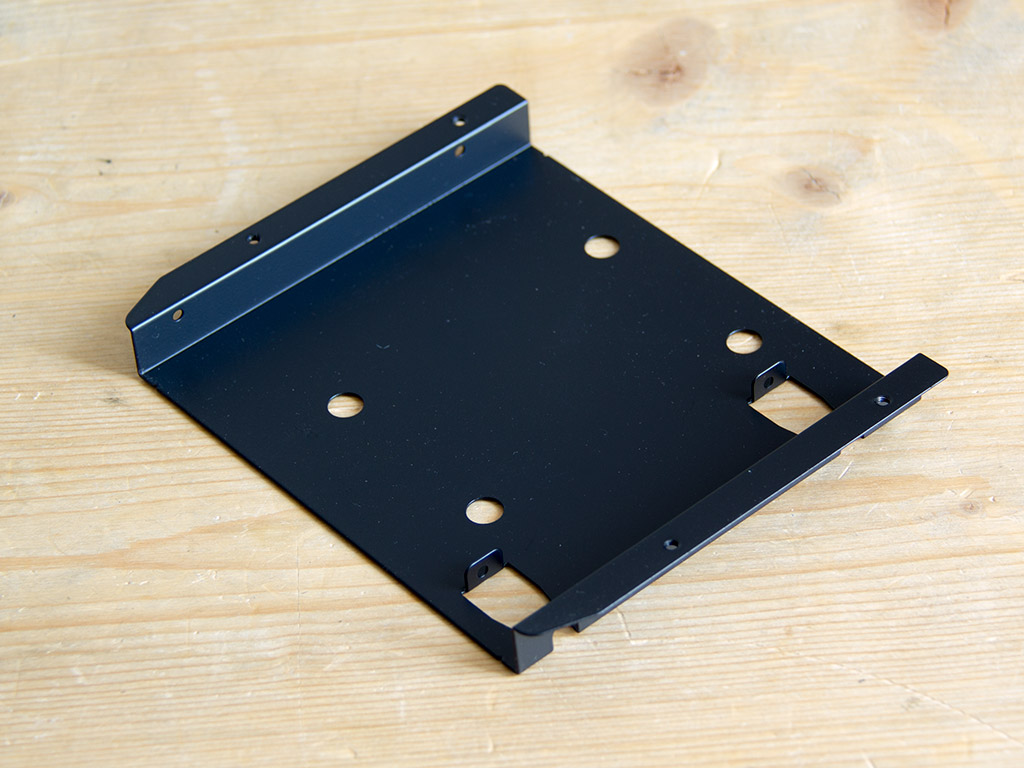
You can access the second spot for a 3.5" drive with all the other hardware installed since the screws face toward the outside. Interestingly enough, one of these screws was punched out wrong. While this is not a serious matter, it is a first in all of my case reviews thus far.
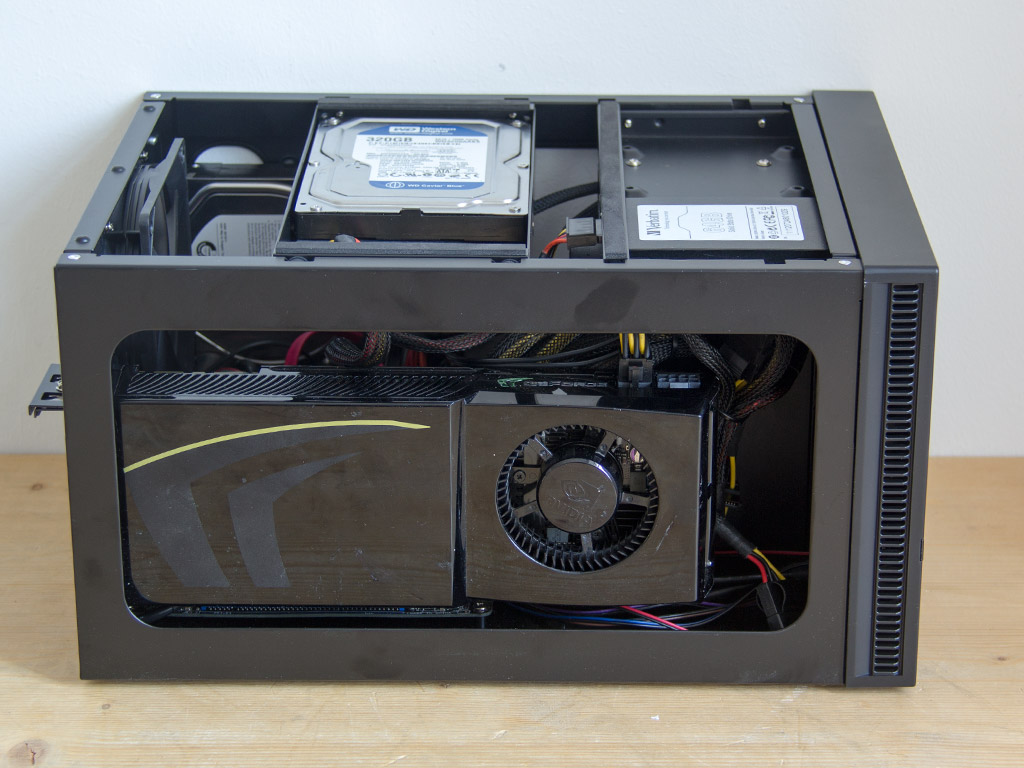
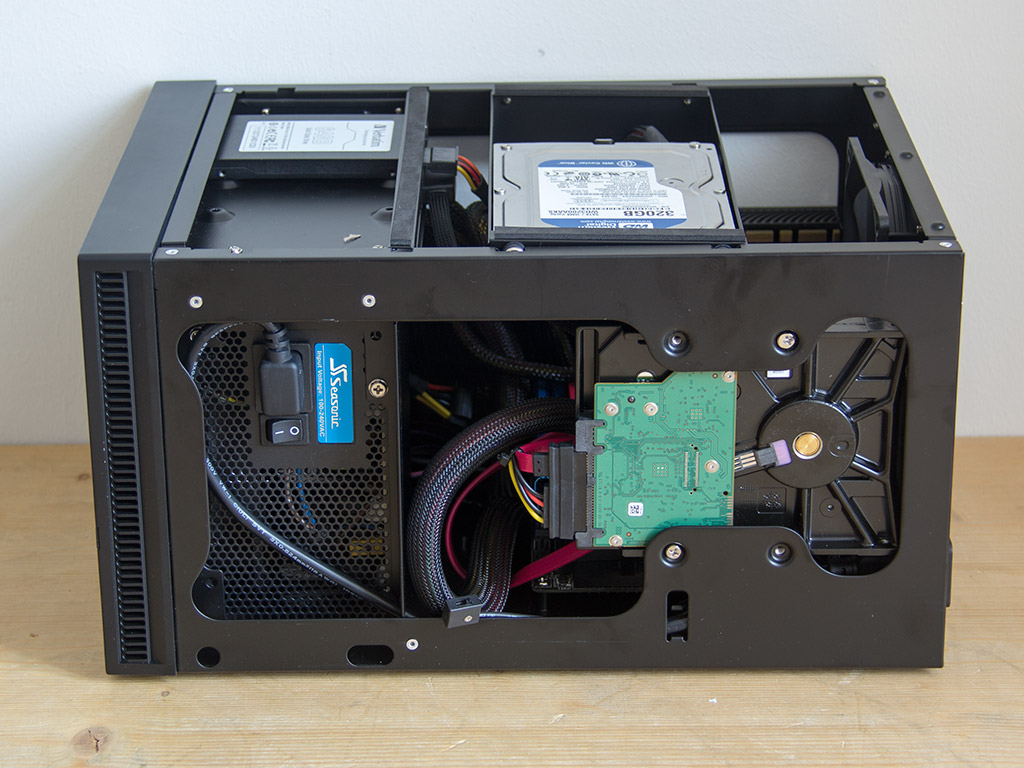
With everything installed, the case makes quite the cluttered impression. You will have a hard time reaching inside the case with everything in place, but the CPU area is fairly empty.
Finished Looks
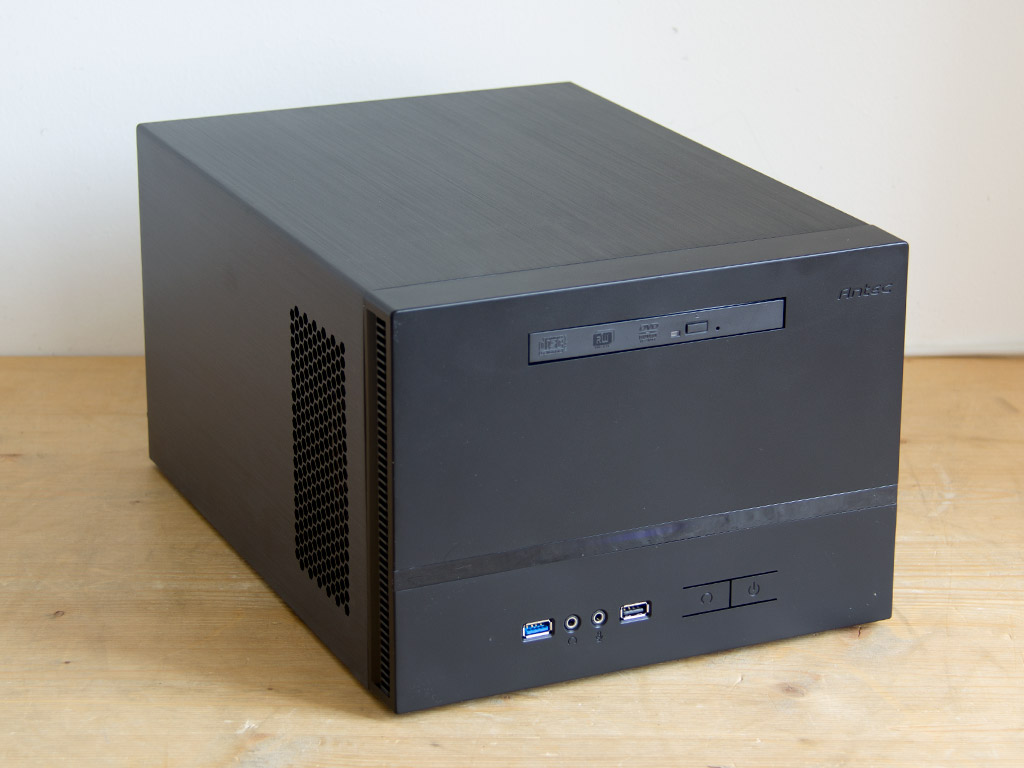
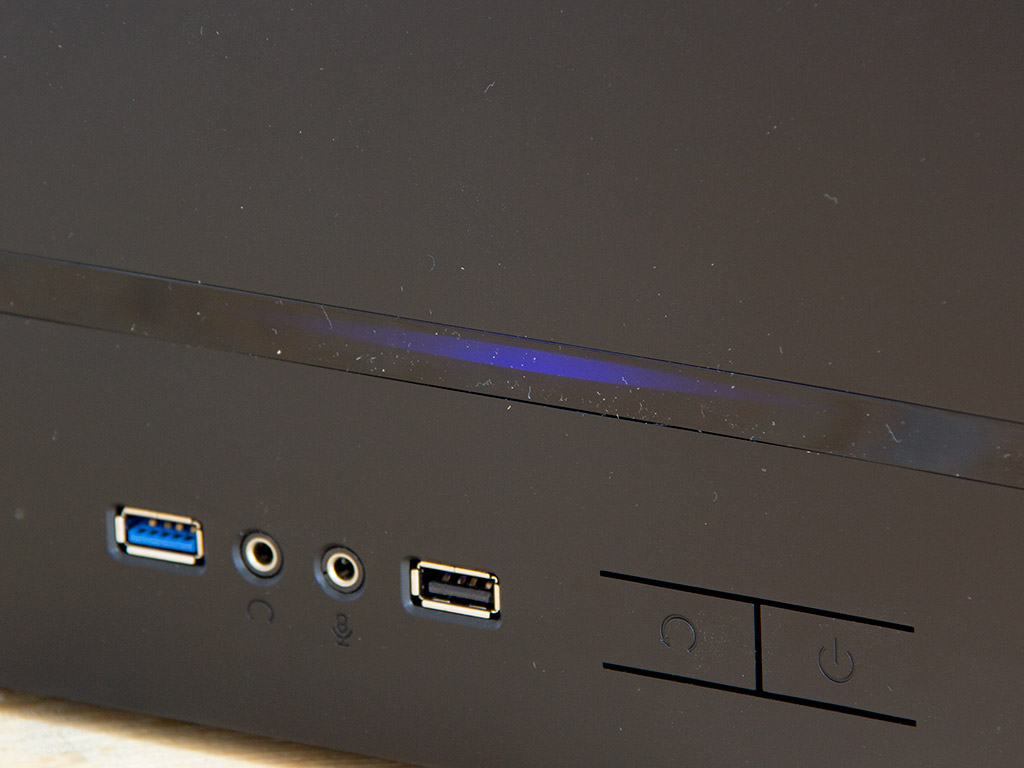
With the top panel in place, the case looks just like it did while empty, with the exception of the now filled optical bay. The simple implementation of this bay allows you to use slimline drives with a tray or a slot-in. Once the system has been turned on, you will notice a lengthy blue strip of lighting in the front. This is the power-on LED which seems to draw more than the usual amount of power.
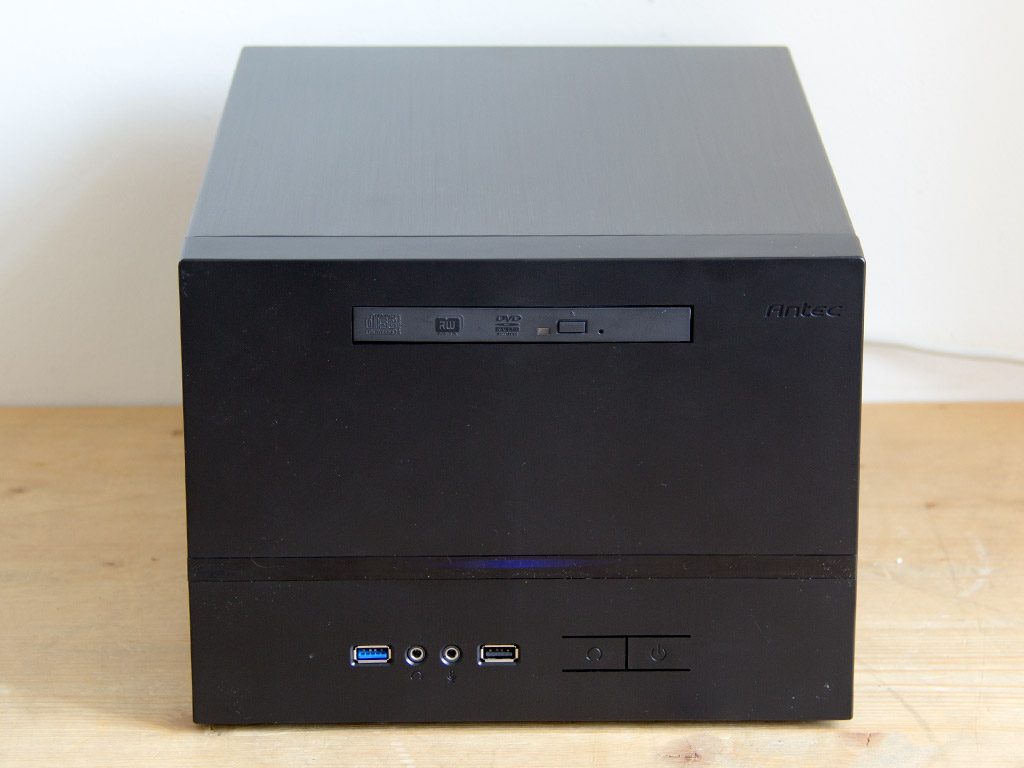
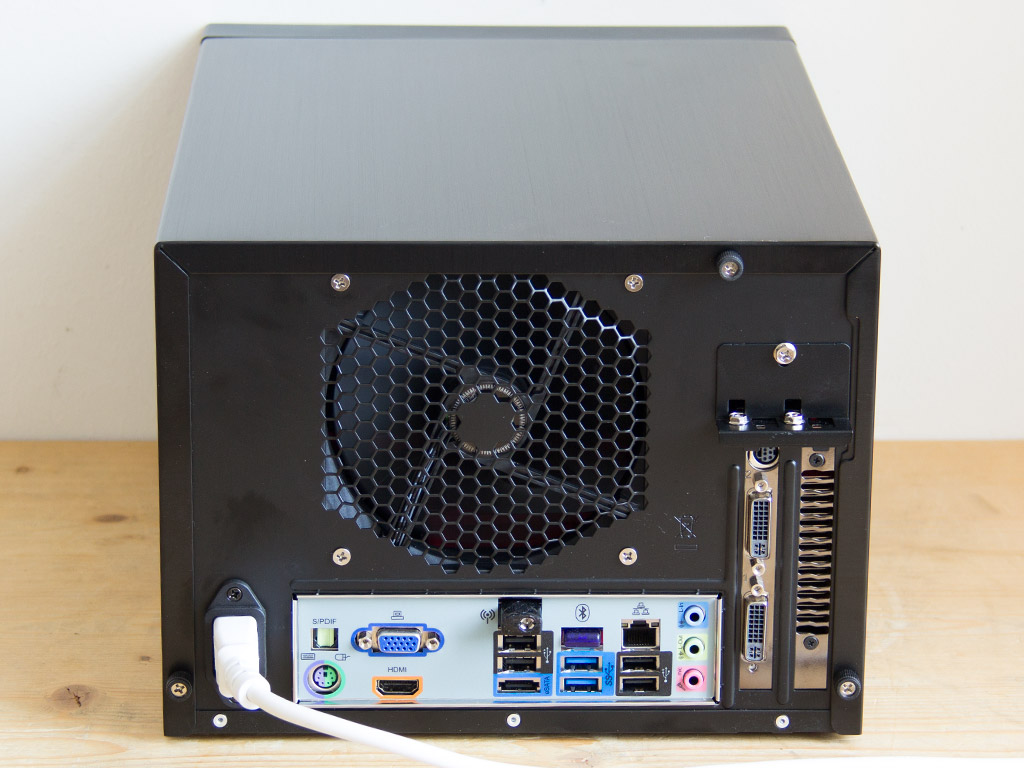
There is not much else in the front. Note that the power LED is not very bright, which is nice for a dark setting, as there is a reduced chance of it distracting you. Everything in the rear is exactly where you would expect it to be. All flush with the case frame, every connector is easily accessible.
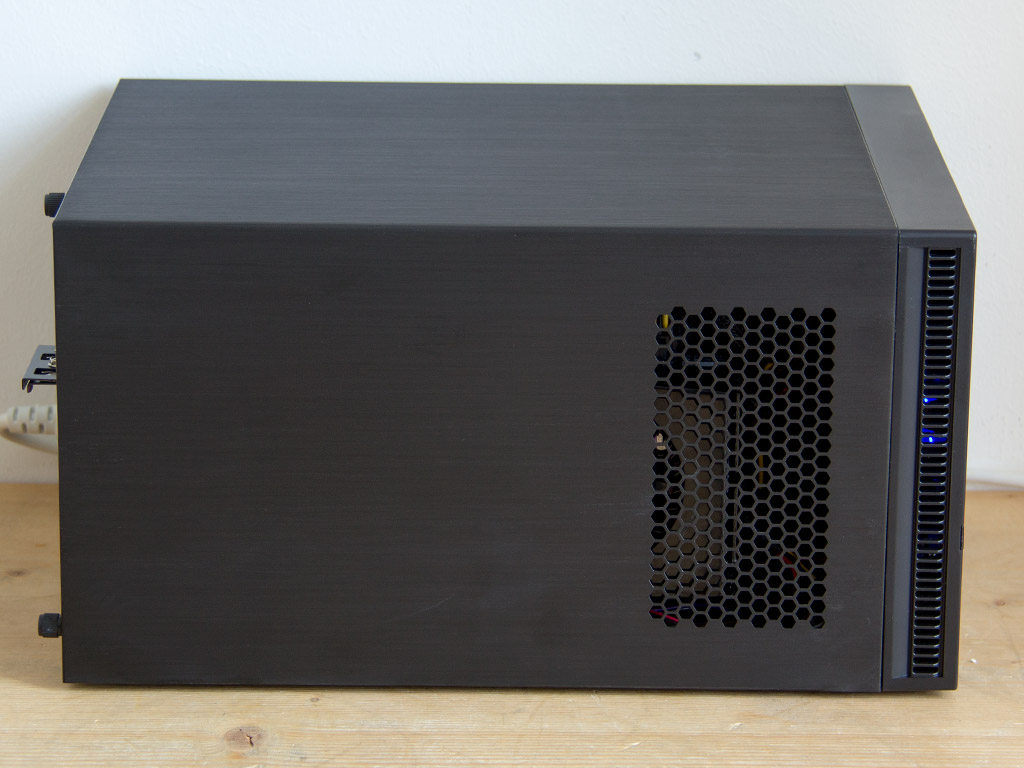
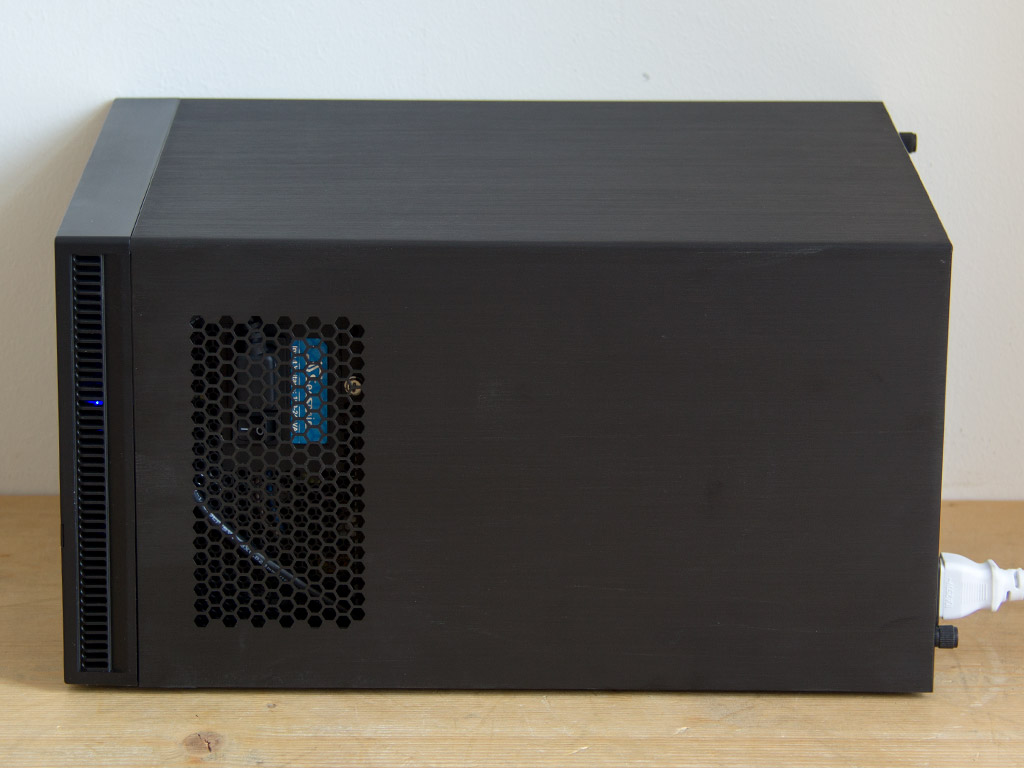
Looking at both sides, you can clearly see the end of the graphics card and the power supply's exhaust area.
Apr 23rd, 2025 20:18 EDT
change timezone
Latest GPU Drivers
New Forum Posts
- Companies should be called out for this (87)
- What are you playing? (23449)
- To distill or not distill what say ye? (73)
- RTX 5070ti - Which MSRP model has the better/quieter cooler design, ASUS Prime, Gigabyte Windforce or PNY? (2)
- Just for lolz, Post your 3DMark2001SE Benchmark scores! (96)
- Help getting a mini pc (0)
- RX 9000 series GPU Owners Club (498)
- 5060 Ti 8GB DOA (255)
- DTS DCH Driver for Realtek HDA [DTS:X APO4 + DTS Interactive] (2151)
- Are the 8 GB cards worth it? (103)
Popular Reviews
- NVIDIA GeForce RTX 5060 Ti 8 GB Review - So Many Compromises
- ASUS GeForce RTX 5060 Ti TUF OC 16 GB Review
- ASRock X870E Taichi Lite Review
- Upcoming Hardware Launches 2025 (Updated Apr 2025)
- Sapphire Radeon RX 9070 XT Pulse Review
- Sapphire Radeon RX 9070 XT Nitro+ Review - Beating NVIDIA
- Colorful iGame B860M Ultra V20 Review
- NVIDIA GeForce RTX 5060 Ti PCI-Express x8 Scaling
- AMD Ryzen 7 9800X3D Review - The Best Gaming Processor
- ASUS GeForce RTX 5080 TUF OC Review
Controversial News Posts
- NVIDIA GeForce RTX 5060 Ti 16 GB SKU Likely Launching at $499, According to Supply Chain Leak (182)
- NVIDIA Sends MSRP Numbers to Partners: GeForce RTX 5060 Ti 8 GB at $379, RTX 5060 Ti 16 GB at $429 (127)
- NVIDIA Launches GeForce RTX 5060 Series, Beginning with RTX 5060 Ti This Week (115)
- Nintendo Confirms That Switch 2 Joy-Cons Will Not Utilize Hall Effect Stick Technology (105)
- Nintendo Switch 2 Launches June 5 at $449.99 with New Hardware and Games (99)
- Sony Increases the PS5 Pricing in EMEA and ANZ by Around 25 Percent (85)
- NVIDIA PhysX and Flow Made Fully Open-Source (77)
- Windows Notepad Gets Microsoft Copilot Integration (75)