 0
0
Building a Keyboard 14: Ducky ProjectD Outlaw 65 + Cherry MX2A Red
ProjectD Outlaw 65: Closer Examination & Assembly »ProjectD Outlaw 65: Packaging and Accessories
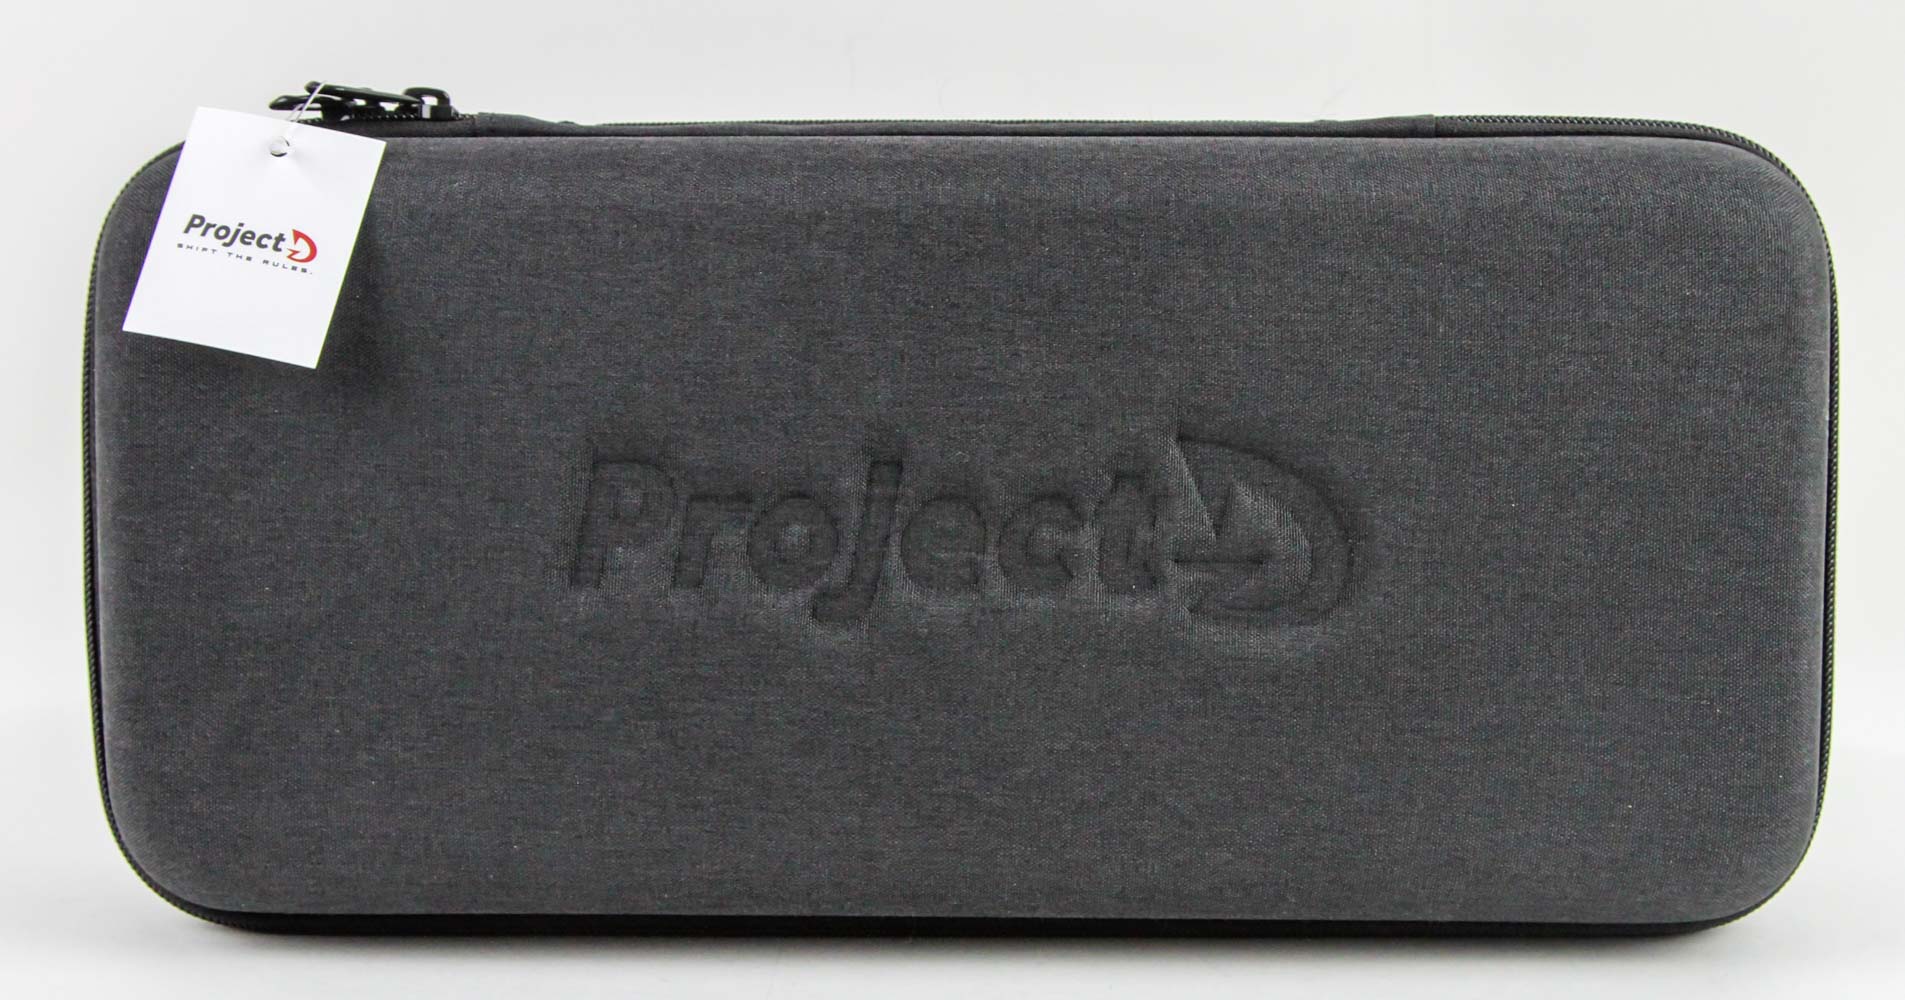


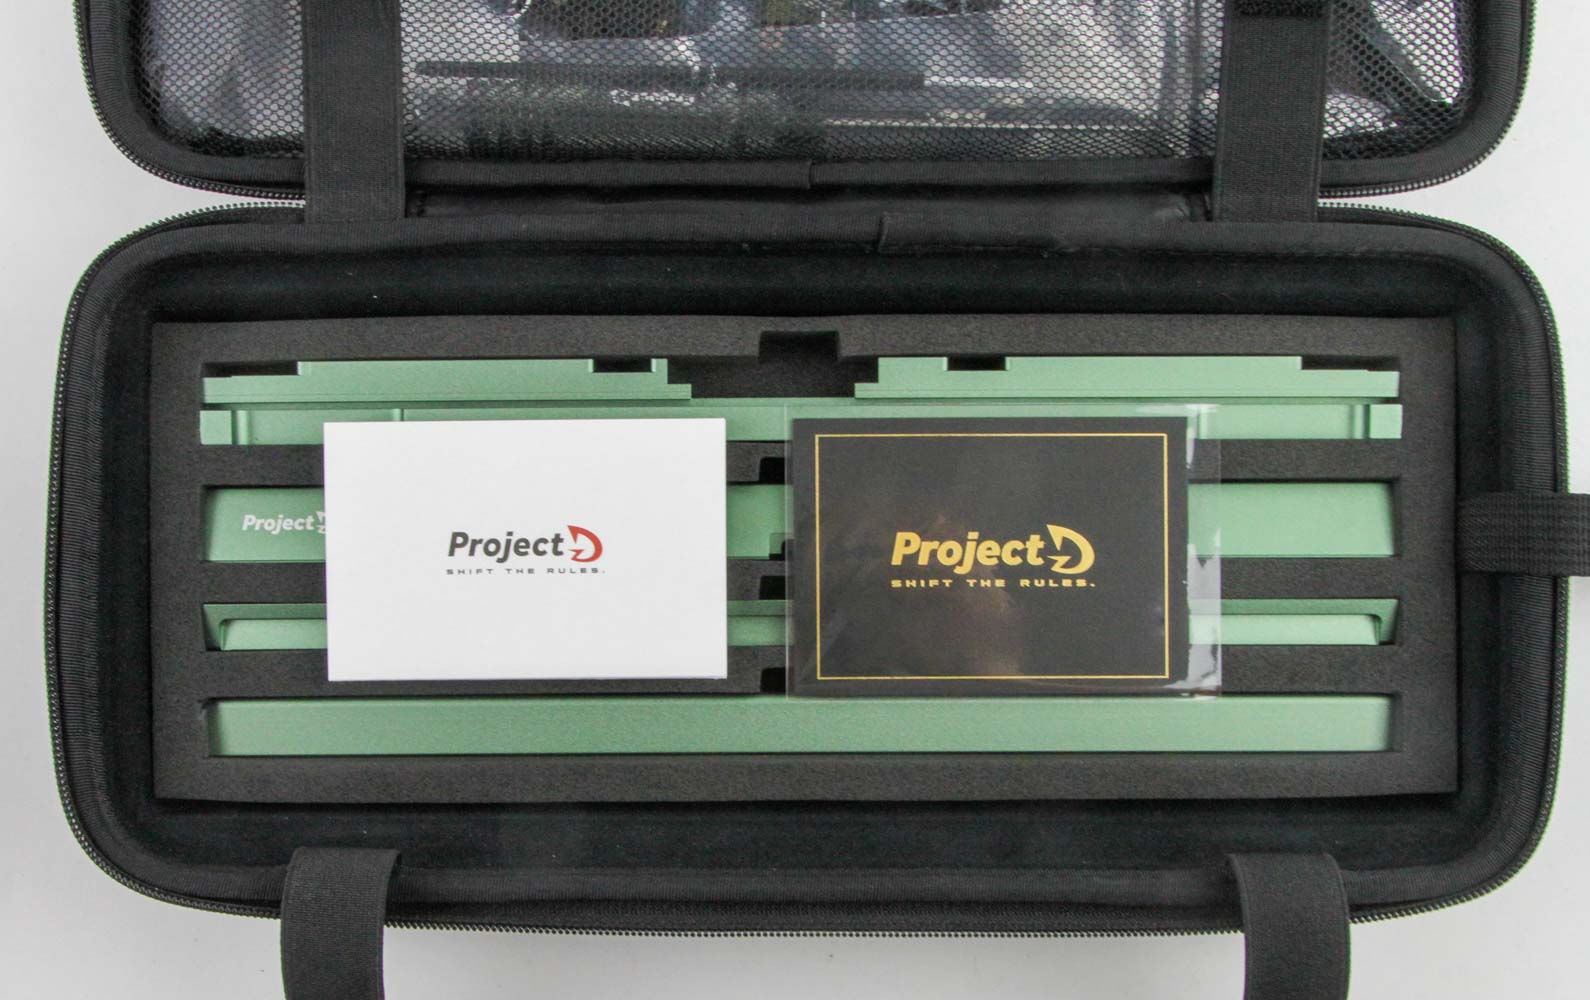
Ducky's aiming for its ProjectD Outlaw 65 to leave a strong impression and the unboxing experience does not disappoint. There is no product box and instead you get a handy carry bag with a handle and two good quality zippers keeping it closed. ProjectD branding is seen here instead of Ducky's own logo. The gray colors don't attract much attention either which is good when inside is a premium keyboard kit—or an entire keyboard when you have assembled and built it. Opening the bag shows a multi-layered approach with various parts in the netted compartment at the top and then an instruction manual (online copy available here) greets you on the bottom. This is an excellent manual outlining every single item and how to use it so Ducky has already made the assembly process easier compared to Wind Studio with its slightly ambiguous instructions for the Sin65. There are two foam sheets with cutouts to snugly hold and protect the various aluminium parts and we get some more paperwork including an ID card (w/serial number).
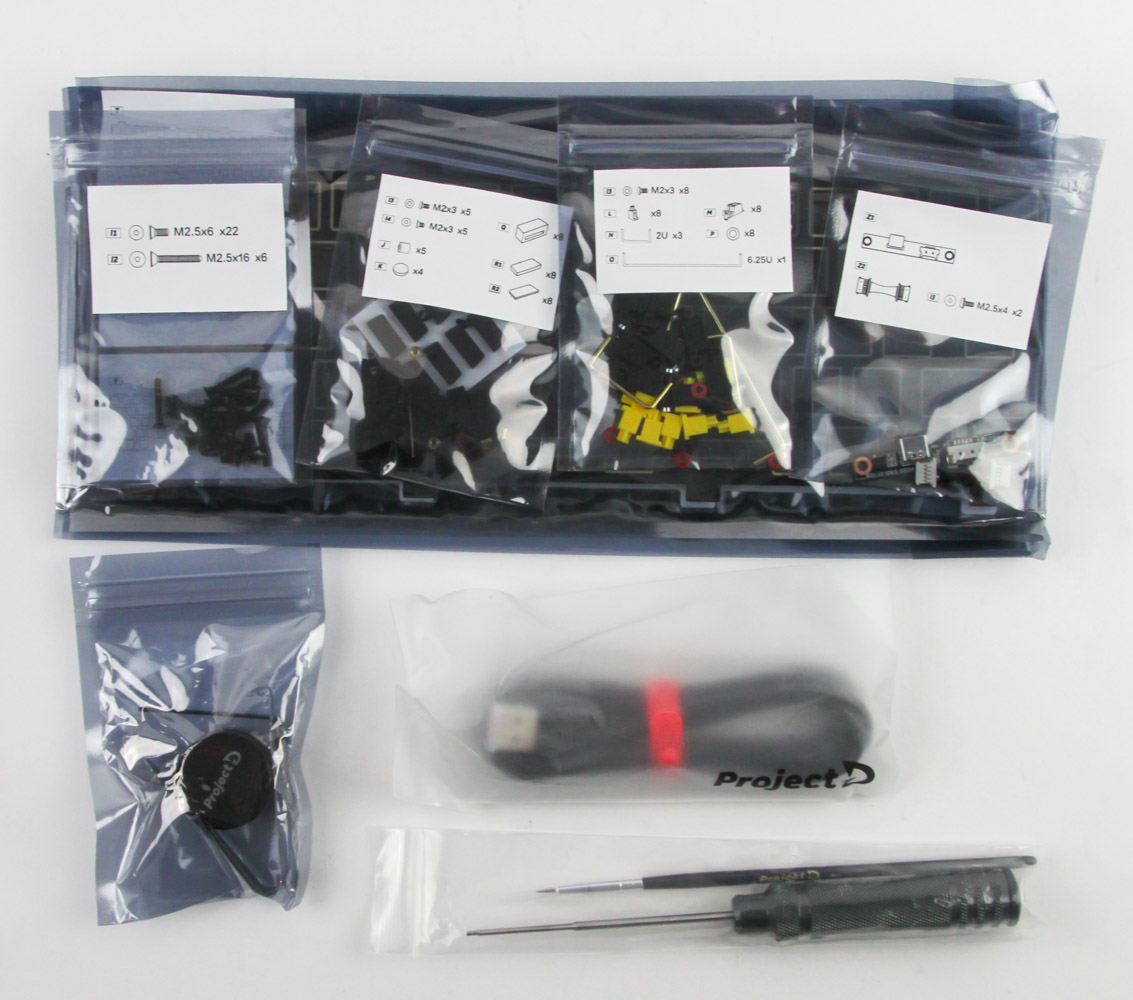

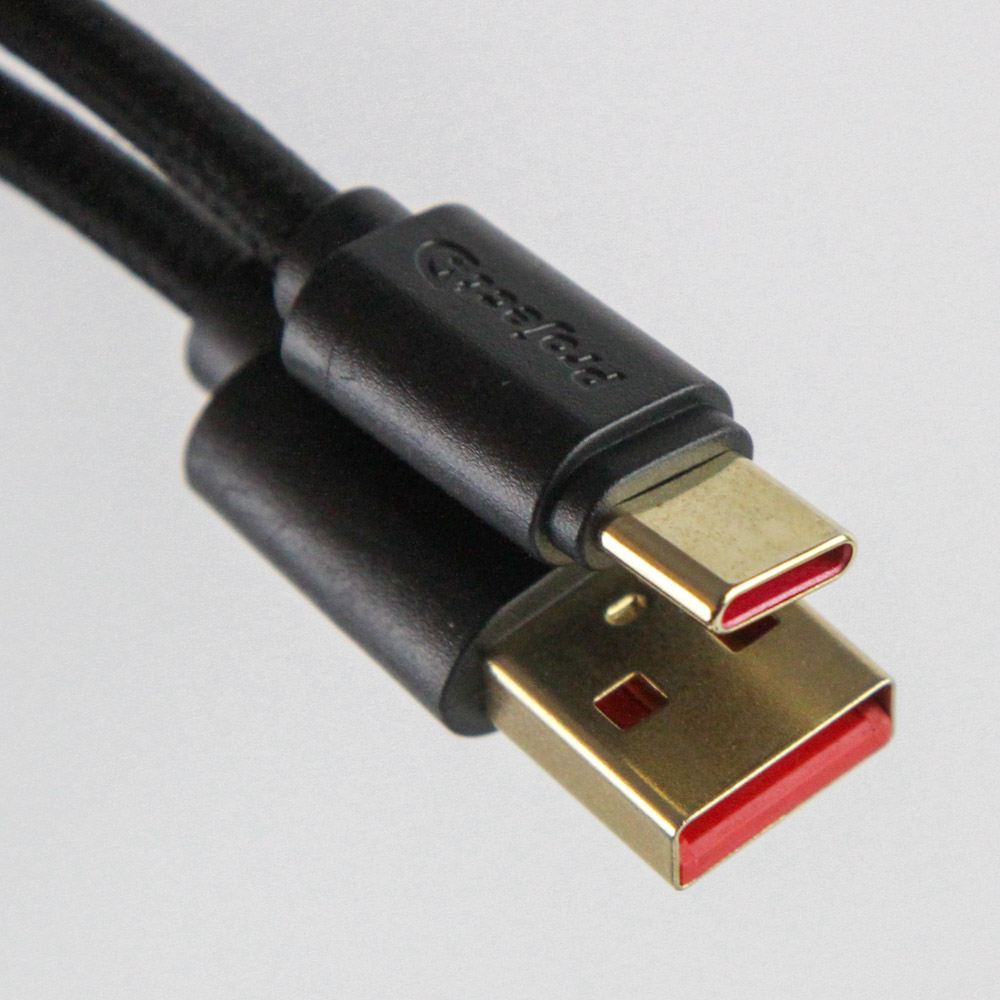
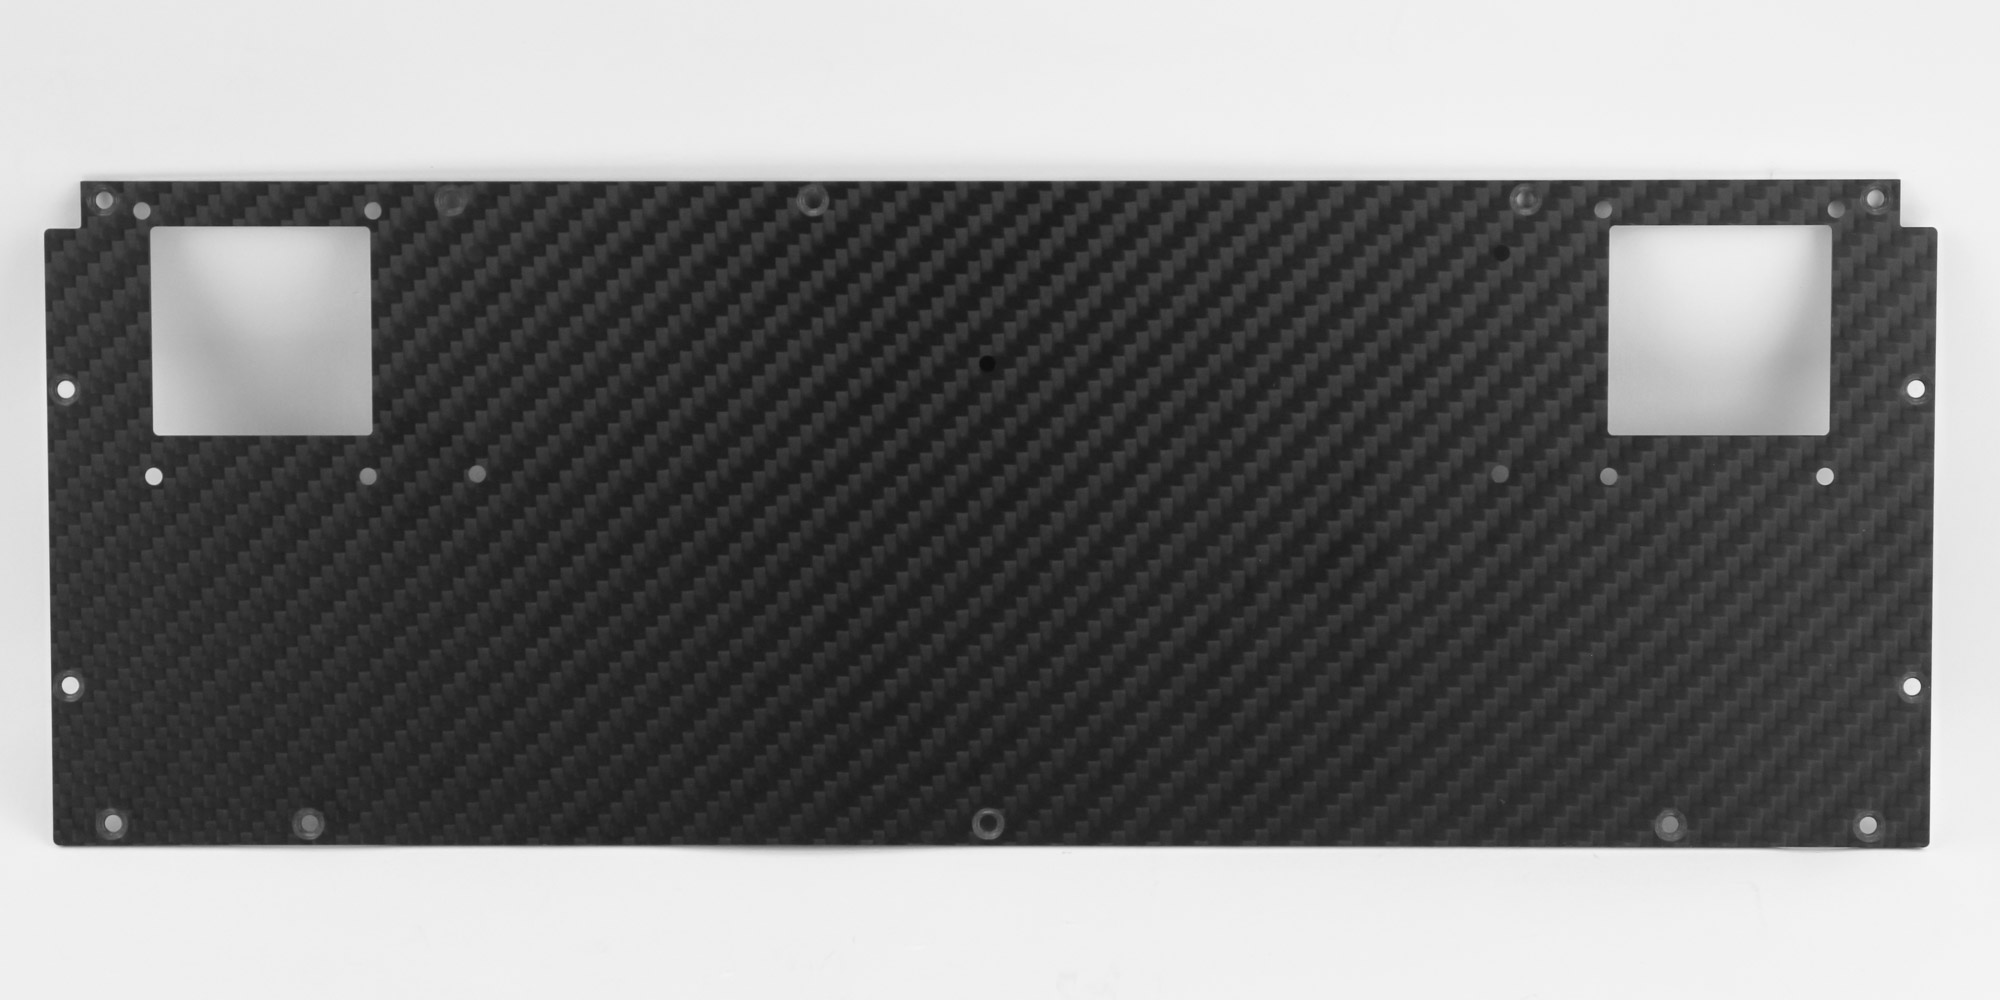

What also impressed me was every single item comes marked for easier identification in the manual. The pouches also have stickers which identify the exact items inside—22 M2.5x6 screws with a socket head, for example—including simple diagrams showing the type of screws, stabilizers, even washers. These parts also get code names (I1, I2, J, P etc) which get referred to in the manual at each relevant step. I also appreciated that Ducky provides everything you need to build the kit including the screwdrivers, let alone a brush and lube for the stabilizers. There's also a switch removal tool and a USB Type-C to Type-A cable which again has ProjectD branding instead of Ducky. At this point I decided to start taking out the larger parts beginning with this carbon fiber bottom plate that the aluminium pieces are installed on. This is why you see all those holes for the screws and these are placed in a countersunk on either side so the screw heads don't jut out of the surface of the plate.
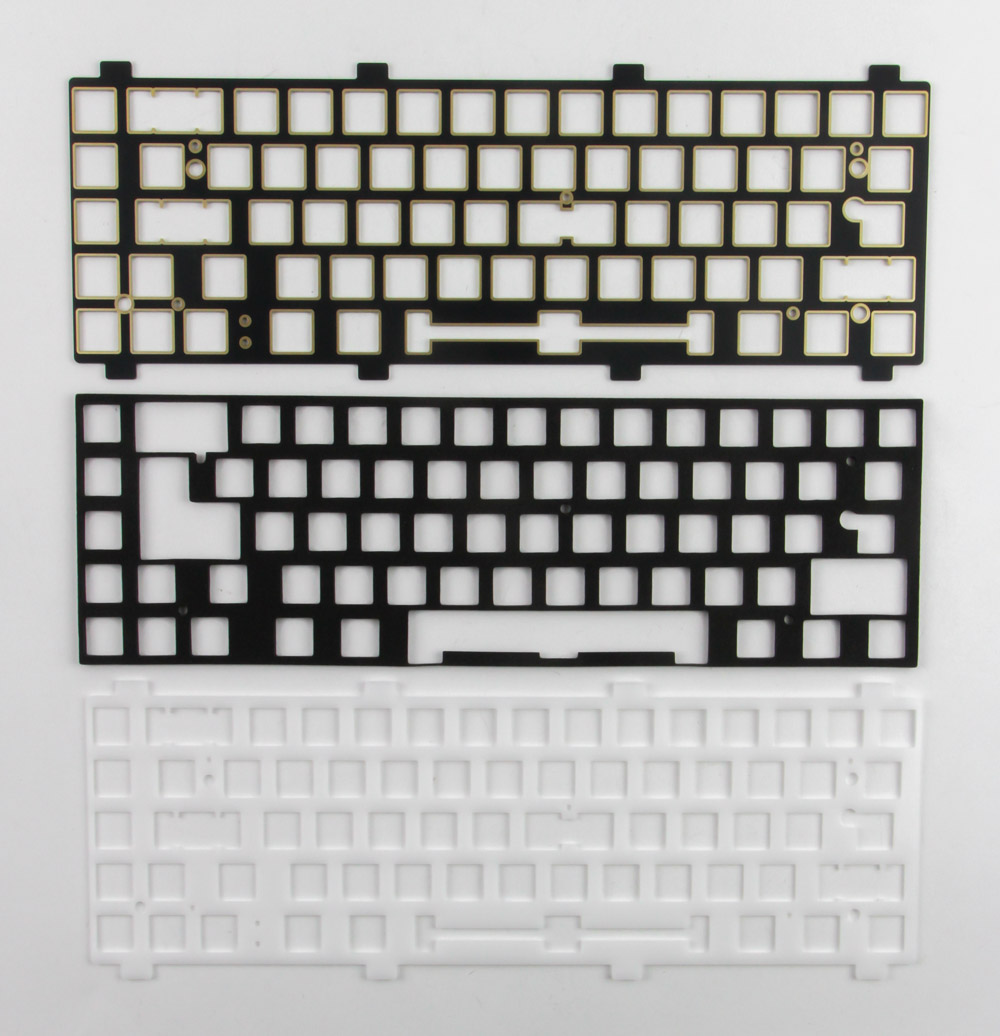
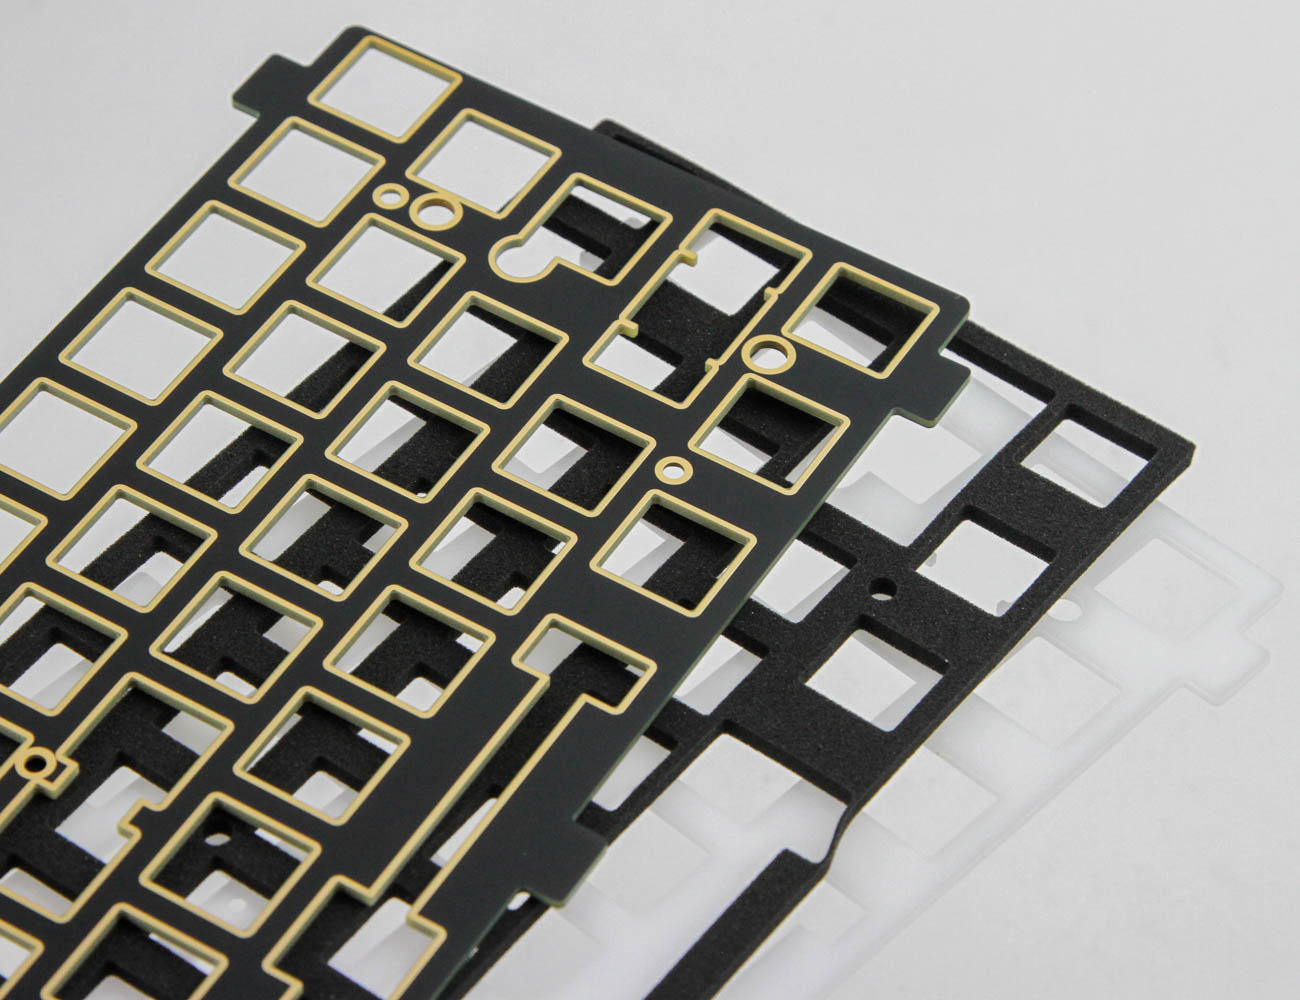
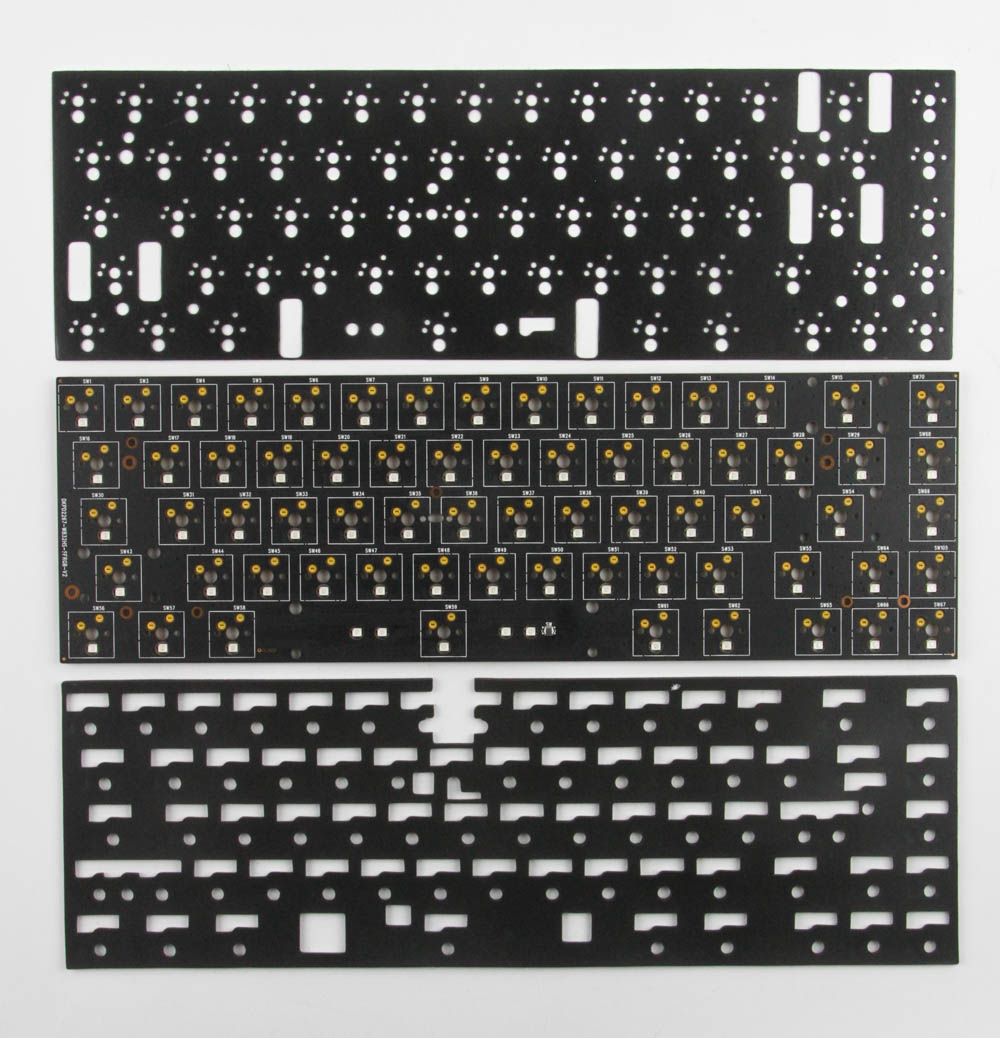


The next pouch included two plates to choose between—a black FR4 glass epoxy plate which will be stiffer and a translucent white POM one for those who prefer a smoother material. There is also a Poron foam sheet which goes between the plate and the PCB to dampen and support your keystrokes. Speaking of which, the PCB and two other thinner foam sheets are in the final pouch, with one of the foam sheets going between the PCB and the case and the other being a switch pad as we will see on the next page. The PCB is black in color with excellent build quality. It uses Kailh hot-swap switch sockets with 3/5-pin switch support and has a Westberry Technology WB32FQ95 32-bit USB microcontroller which has QMK/VIA open-source support. There's also a reset button on the other side of this multi-layer PCB by the space bar key should you need it.
Feb 8th, 2025 19:27 EST
change timezone
Latest GPU Drivers
New Forum Posts
- Starting my AM5 build (47)
- Throttle Stop undervolting didn't change anything. (4)
- What are you playing? (22811)
- Blender 4.0.1 BMW27 demo test (16)
- Help choosing a GPU (30)
- New F@H Team Members Post Here First (824)
- DLSS 4 is better than native resolution? (36)
- RTX 5080 - premature review - it sucks (341)
- Problem with GPU (3)
- Xeon Owners Club (8861)
Popular Reviews
- Kingdom Come Deliverance II Performance Benchmark Review - 35 GPUs Tested
- Civilization VII Performance Benchmark Review - 35 GPUs Tested
- Kingdom Come: Deliverance 2 Handheld Performance Review
- ASUS ROG Harpe Ace Extreme Review
- Spider-Man 2 Performance Benchmark Review - 35 GPUs Tested
- ASRock Phantom Gaming B850I Lightning Wi-Fi Review
- Formovie Cinema Edge 4K UST Laser Projector Review
- NVIDIA GeForce RTX 5080 Founders Edition Review
- AMD Ryzen 7 9800X3D Review - The Best Gaming Processor
- Corsair Frame 4000D Review
Controversial News Posts
- AMD Radeon 9070 XT Rumored to Outpace RTX 5070 Ti by Almost 15% (286)
- AMD is Taking Time with Radeon RX 9000 to Optimize Software and FSR 4 (256)
- AMD Denies Radeon RX 9070 XT $899 USD Starting Price Point Rumors (239)
- Edward Snowden Lashes Out at NVIDIA Over GeForce RTX 50 Pricing And Value (235)
- AMD Radeon RX 9070 XT & RX 9070 Custom Models In Stock at European Stores (226)
- New Leak Reveals NVIDIA RTX 5080 Is Slower Than RTX 4090 (215)
- AMD's Radeon RX 9070 Launch Faces Pricing Hurdles (175)
- AMD Radeon RX 9070 XT Tested in Cyberpunk 2077 and Black Myth: Wukong (169)