 15
15
Chieftec BX-10B-OP Review
Thermal Stress Test »Review System
| System Parts for Case Reviews | |
|---|---|
| Processor: | Intel Core i5-12600K Provided by: Intel |
| Motherboards: | ATX: ASUS ROG Strix Z690-E Gaming WiFi mATX: ASUS TUF Gaming B660M-PLUS WiFi D4 ITX: ASUS ROG STRIX Z690-I Gaming WiFi Provided by: ASUS |
| Graphics Card: | Gigabyte Radeon RX 6600 Eagle Provided by: Gigabyte ZOTAC GAMING GeForce RTX 3060 Ti Twin Edge OC Provided by: Zotac |
| Memory: | 32 GB XPG LANCER RGB DDR5 6000 MHz 32 GB XPG CASTER DDR5 6400 MHz 32 GB XPG HUNTER DDR5 5200 MHz Provided by: ADATA |
| HDD: | Toshiba MG08ADA400E 7200 RPM SATA III Provided by: Toshiba |
| SSD: | ATX:XPG GAMMIX S70 BLADE 1 TB mATX: ADATA LEGEND 840 512 GB ITX: XPG SPECTRIX S20G 500 GB ADATA Ultimate SU800 512 GB ADATA Ultimate SU720 500 GB Provided by: ADATA |
| Power Supply: | ATX: Fractal Design ION+ 650W 80 Plus Gold SFX: Fractal Design ION SFX-L 650W 80 Plus Gold Provided by: Fractal Design |
| Cooling: | be quiet! Pure Loop 120/ Pure Loop 2 FX 240/280/360 Provided by: be quiet! |
Assembly
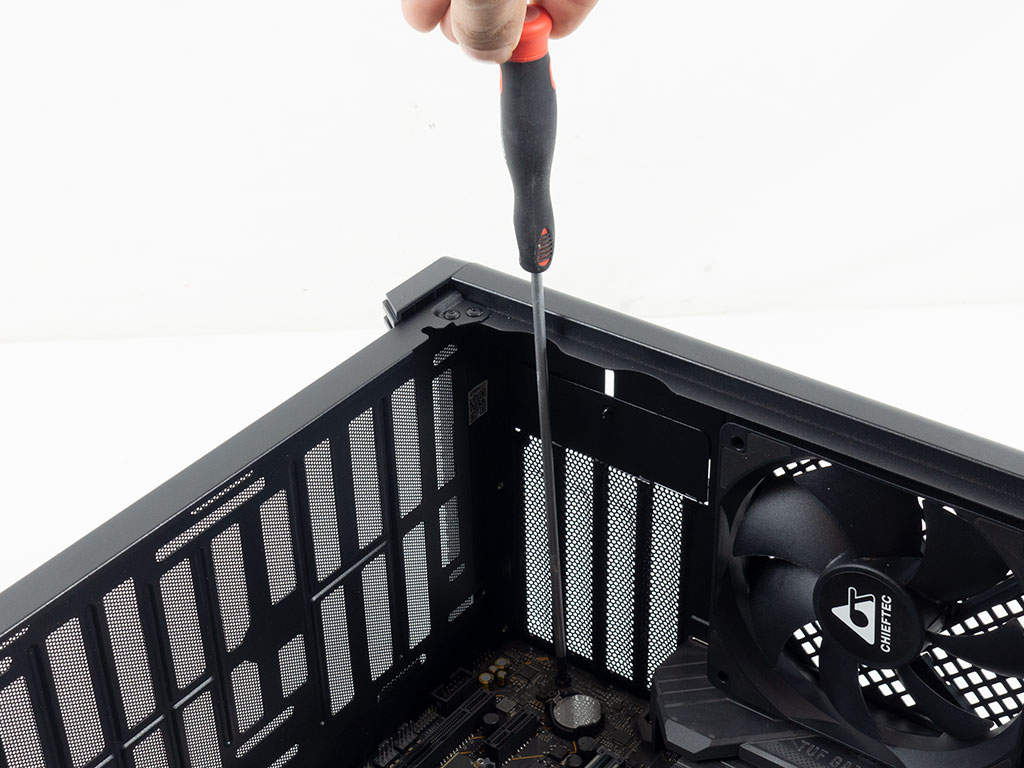
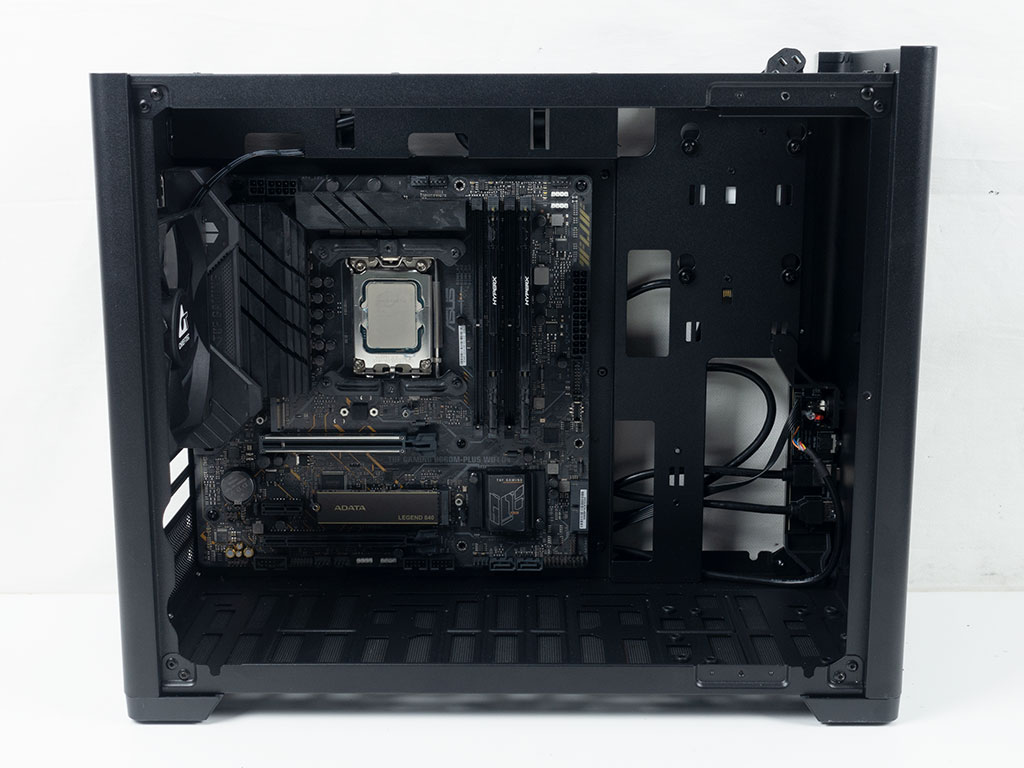
Installing the motherboard is done with the use of spacers and screws. We had to whip out the extra skinny screw drivers for the bottom left corner ones, but besides that everything went smoothly. there is a little room at the top, but barely any on the bottom. Chieftec has added some openings down there for you to route small wires through though.
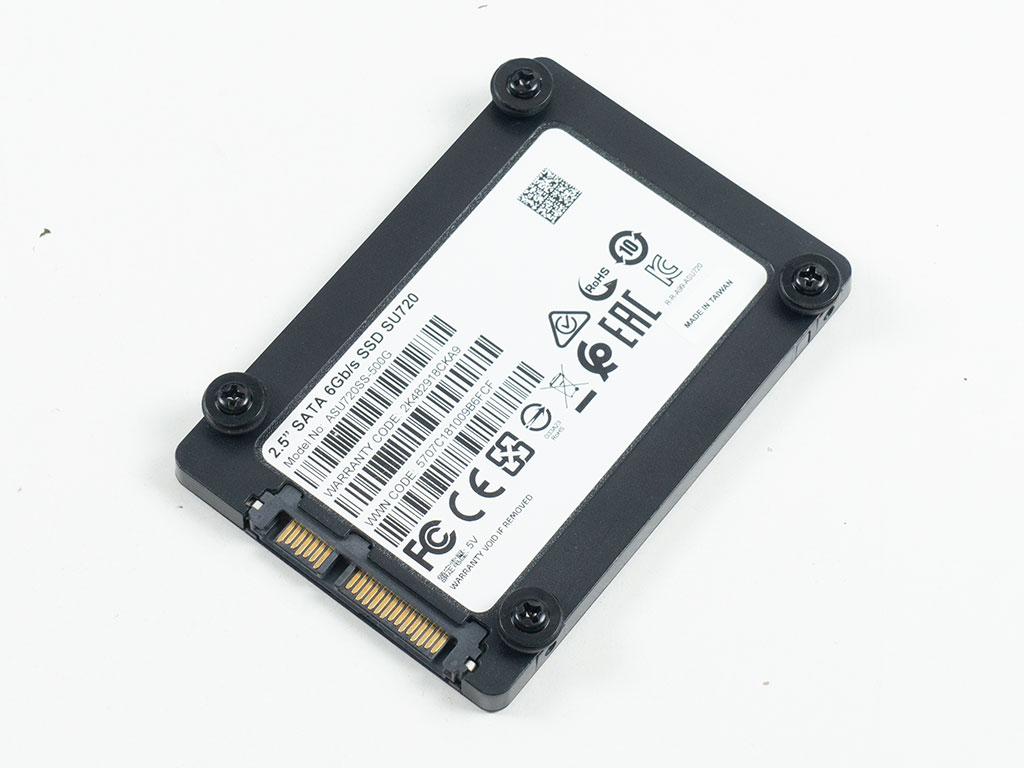
Adding an SSD in the hidden location is quite easy too but still requires screws and the use of the rubber rings. Once attached to the drive, you can slide it into place. This setup is great as you won't have to remove the PSU to add to this storage spot, but we had trouble sliding things in when the screws were tightened all the way. Leaving a little wiggle-room allowed the rubber rings to provide just enough space for the metal of the case.
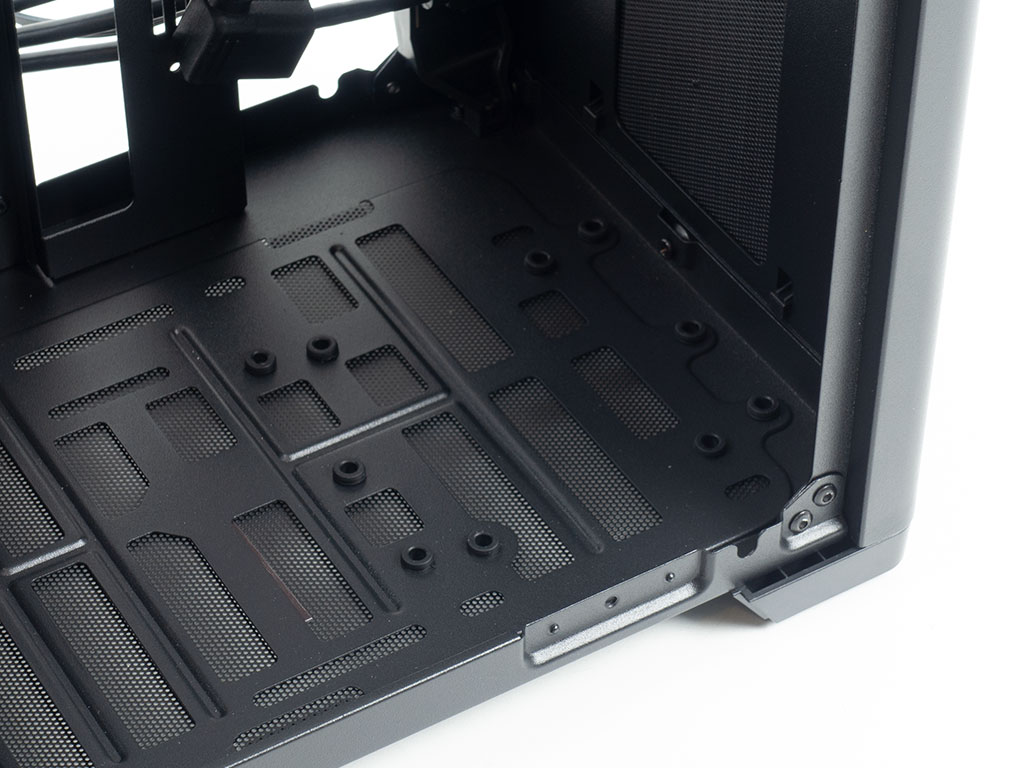
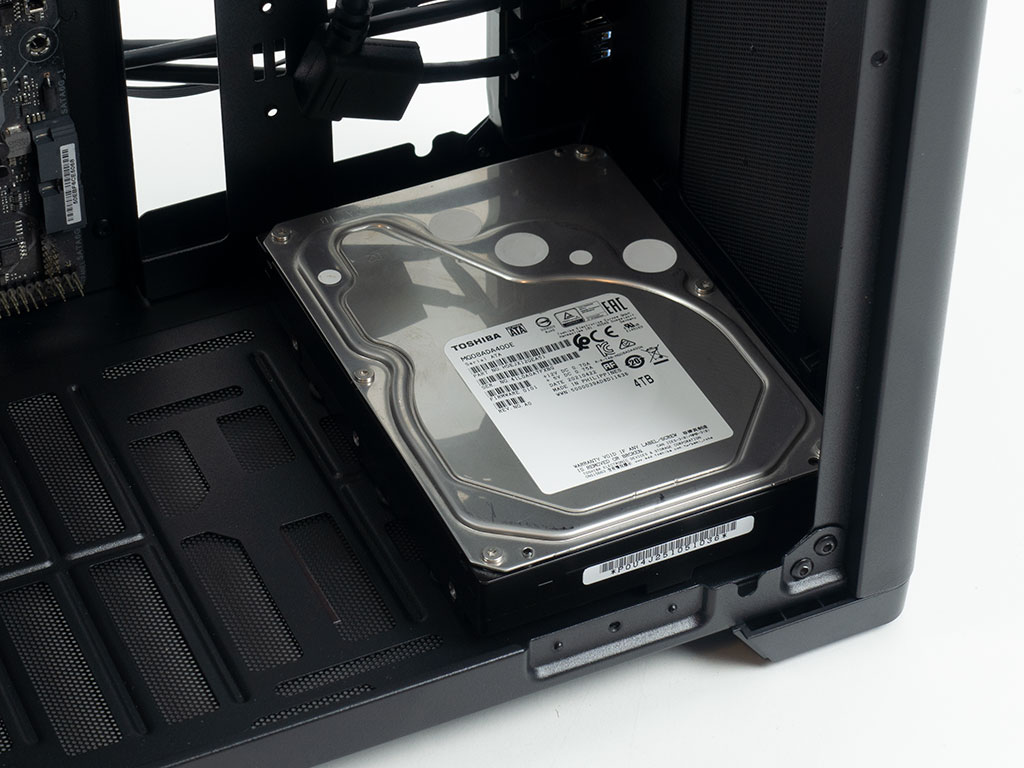
Installing the 3.5" drive also uses screws and rubber rings. We first added the missing ones for the drive and then screwed it into place from the underside of the Chieftec BX-10B-OP. The two screws at the very front of he case were a bit tricky as they would snap into place between the rubber and plastic of the stand, but it all worked out as well. The connectors of the drive are pointing towards the motherboard tray.
As the power supply is installed upright, the limiting factor is the height of the chassis in essence. There is plenty of room for potent units, even with the hard drive at the bottom. However, the contradiction here is the fact that the case allows for 380 mm long GPUs with a short PSU, but limits you to 300 mm when using a longer one - which is shorter than most high-end pixel pushers that could otherwise benefit from the extra power of larger units.
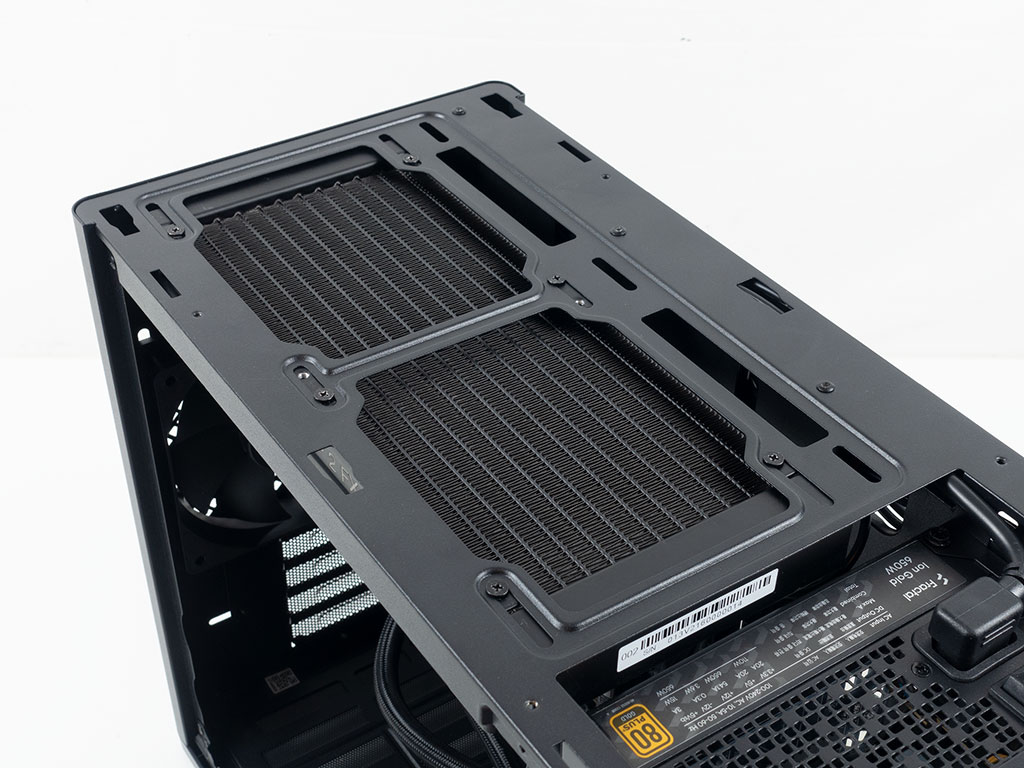
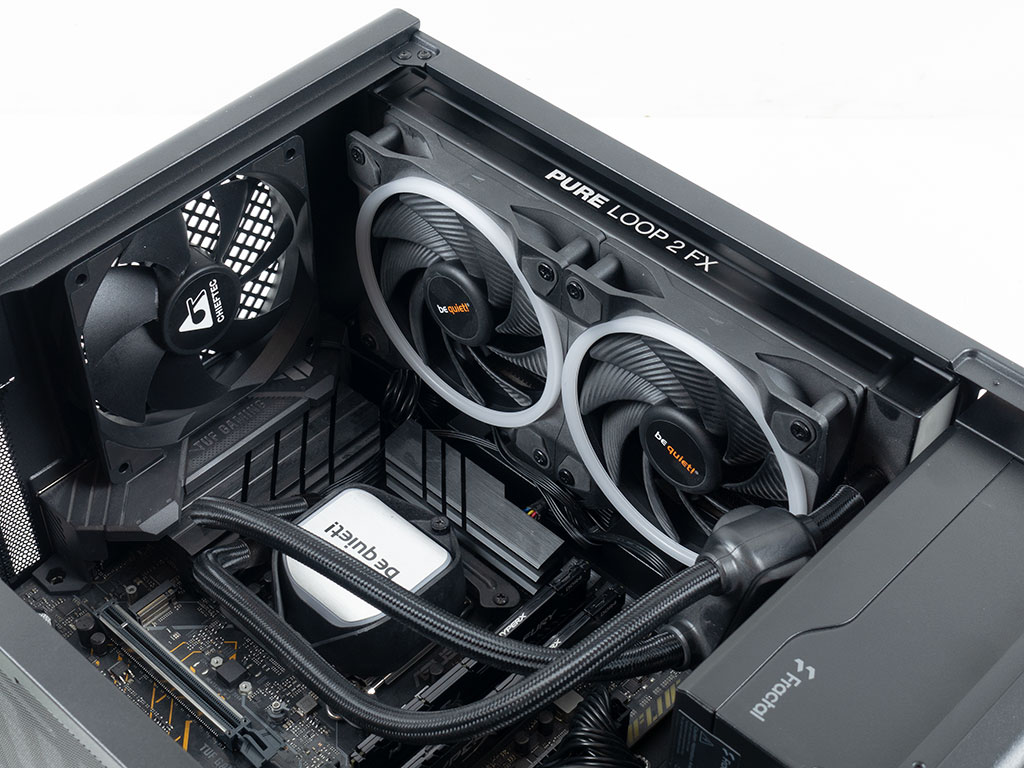
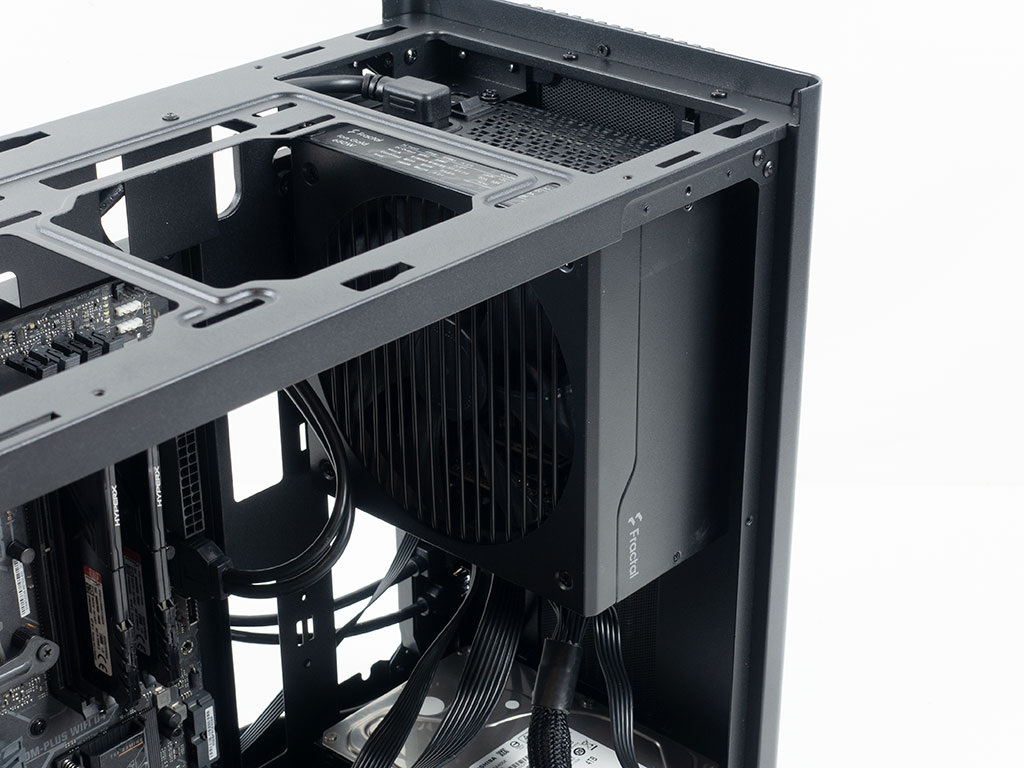
Installing the 240 mm AIO is done by traditional means as well. routing the cables was no issue, but you should really prep the connection at the top edge of the motherboard before installing it. Thanks to the small, but well placed cable routing holes, we were able to keep wiring from being too visible. However, if you look upwards into the case, you can still see them, which is unfortunate.
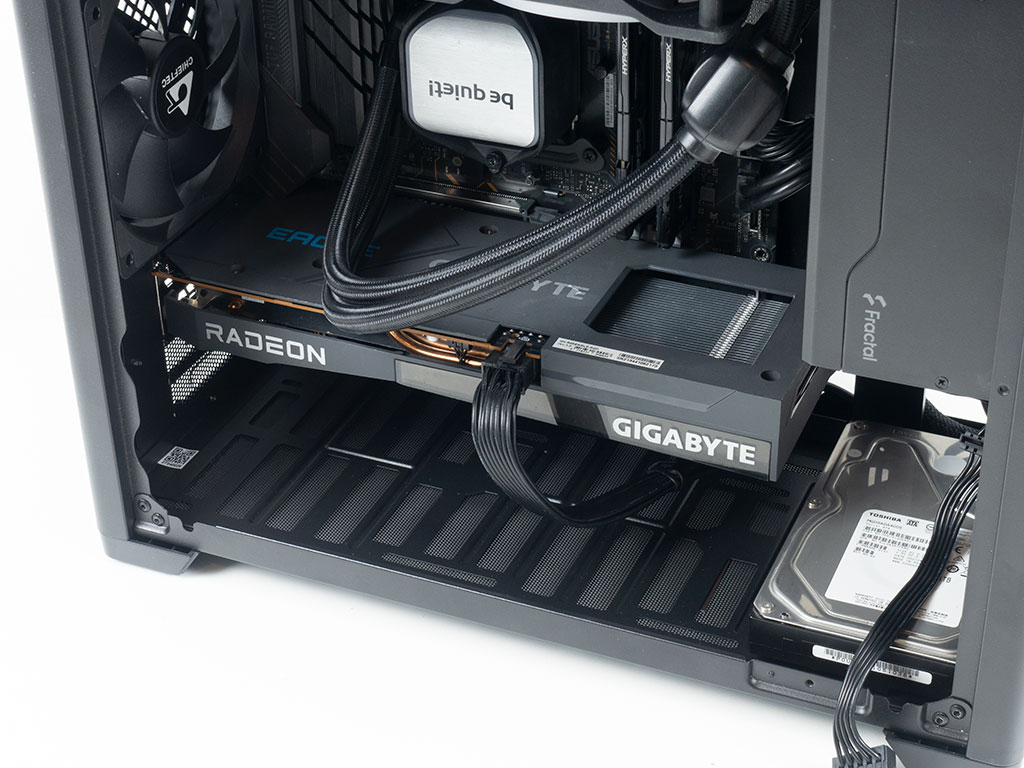
Then there is the GPU which snaps into place just fine and is secured by screws. Longer units would easily clear the PSU and HDD as well, which is good to see.
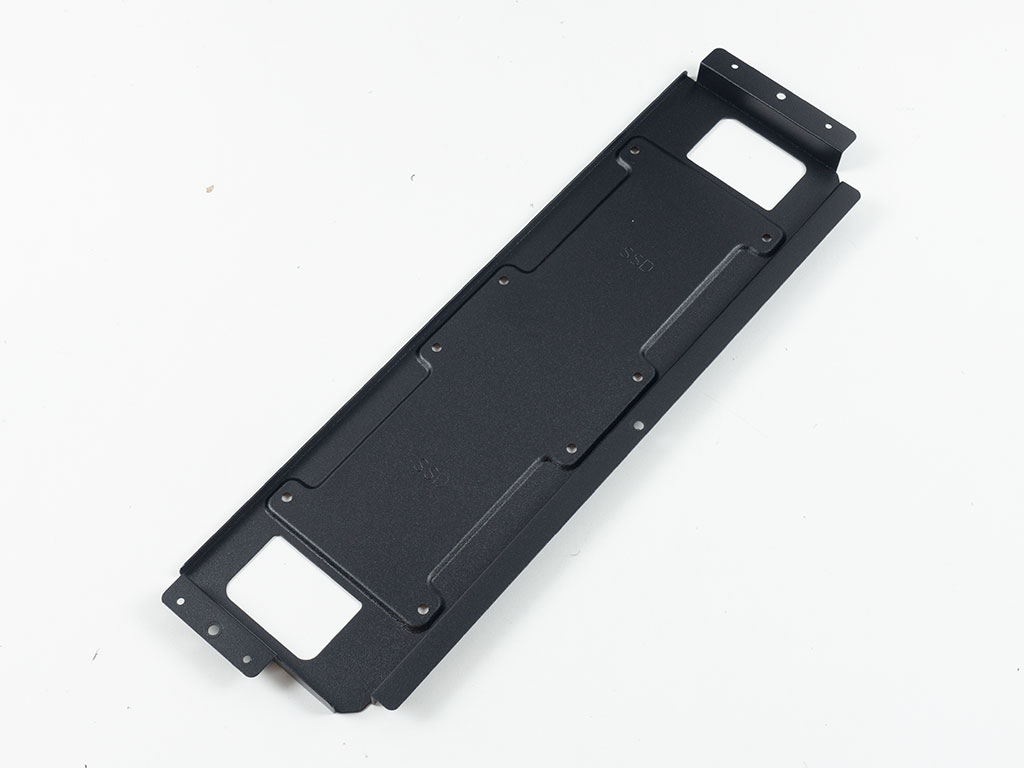

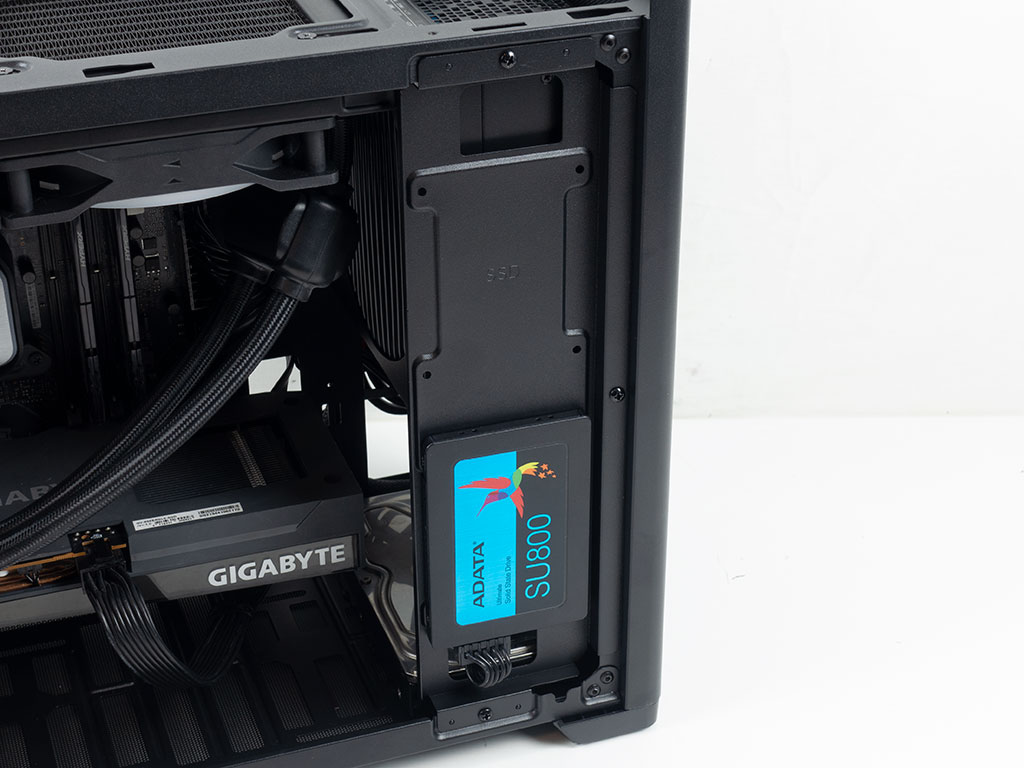
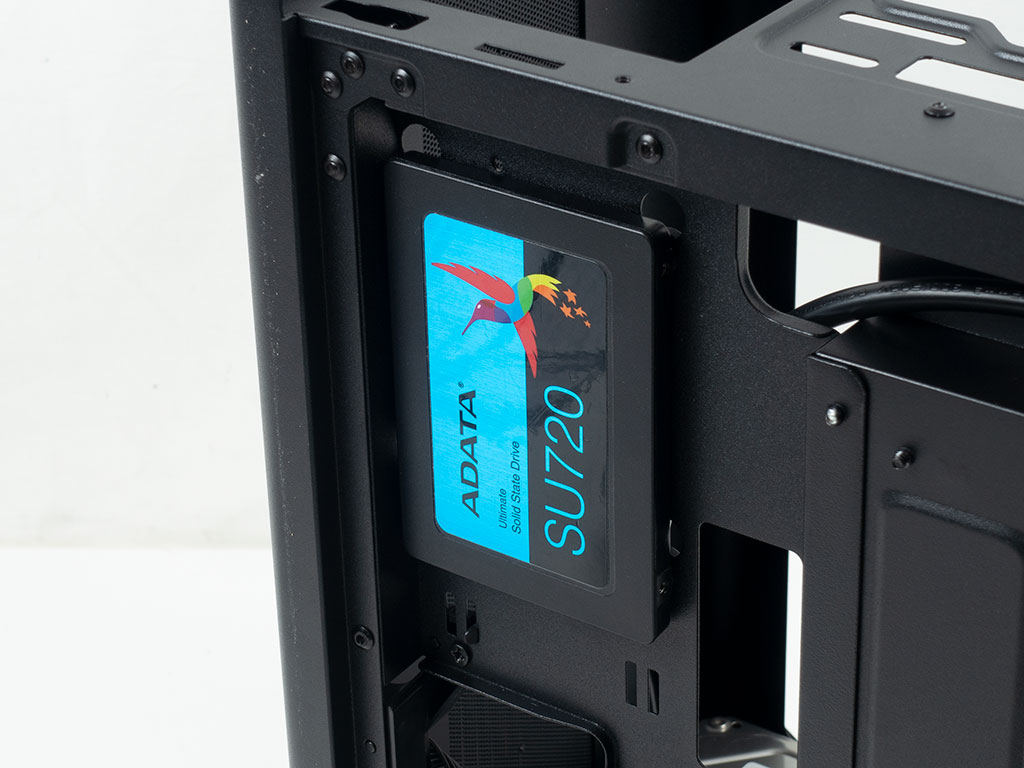
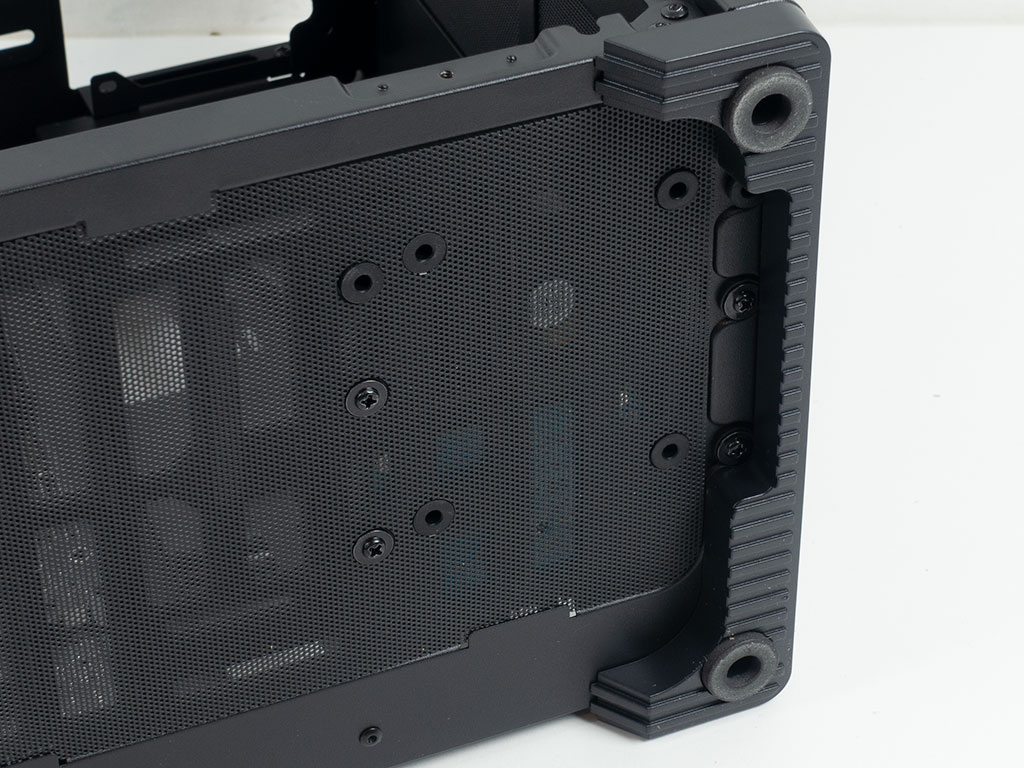
The last step is installing the plate back unto the case, so we took the opportunity to add another 2.5" drive here. There are openings at either end to allow for cables to reach, but the top opening will likely be a bit tricky to use. If Chieftec had put one opening in the center instead, it would have made that a bit easier.
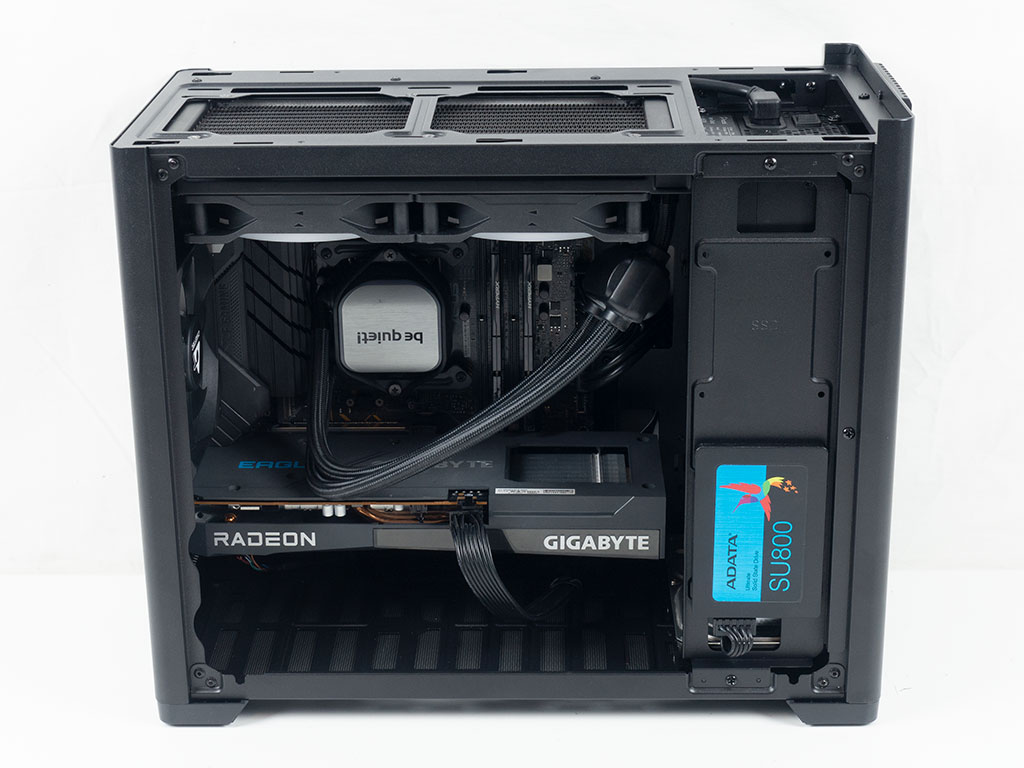
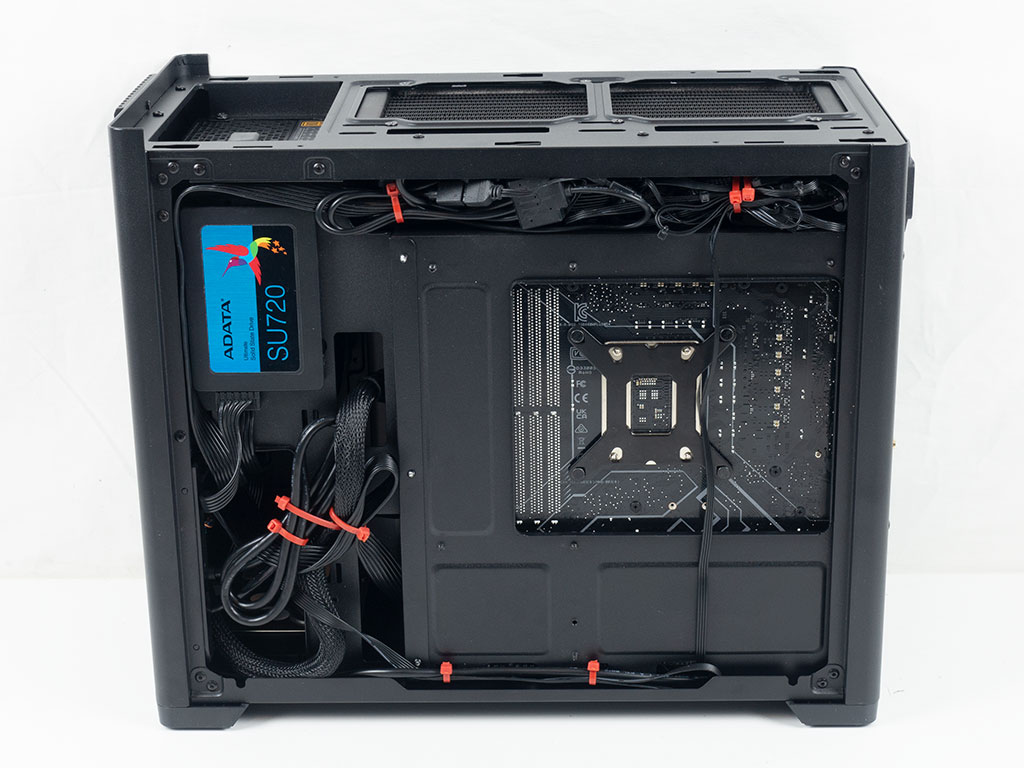
With everything installed, the interior looks alright, if you don't look too closely. The SSD plate hides the PSU cables superficially, and the AIO wiring is not visible from this angle. However, anyone taking a closer look will notice the added visual noise of the exposed wiring, with the missing grommets adding to that issue. In the rear, we had to get really creative to keep all the wiring in check. Most were stuffed into that trench above the motherboard, but the bigger challenge are the PSU wiring leads as there is no easy way to secure them and the flat openings are somewhat superficially placed, making things even trickier.
Finished Looks
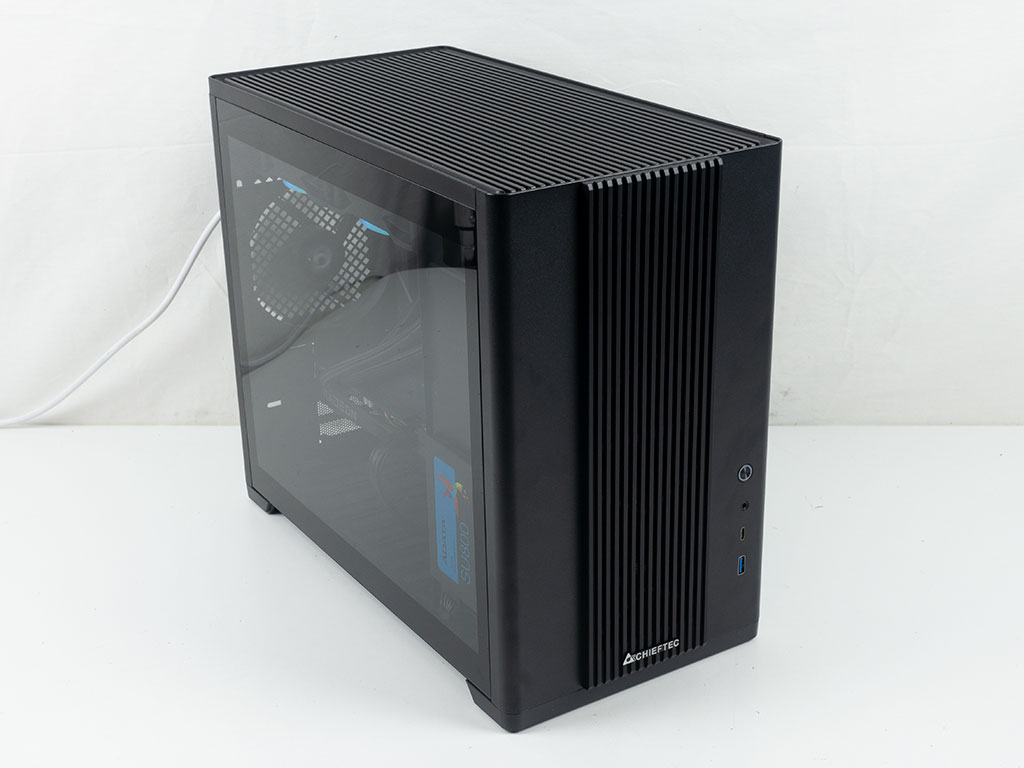

When booting the completed build up for the first time, the one thing that was apparent is the fact that it is really quiet in idle. The solid panels and single rear fan help in that aspect. To let you know the system is powered on, there is a white LED ring that lights up nicely around the power button.
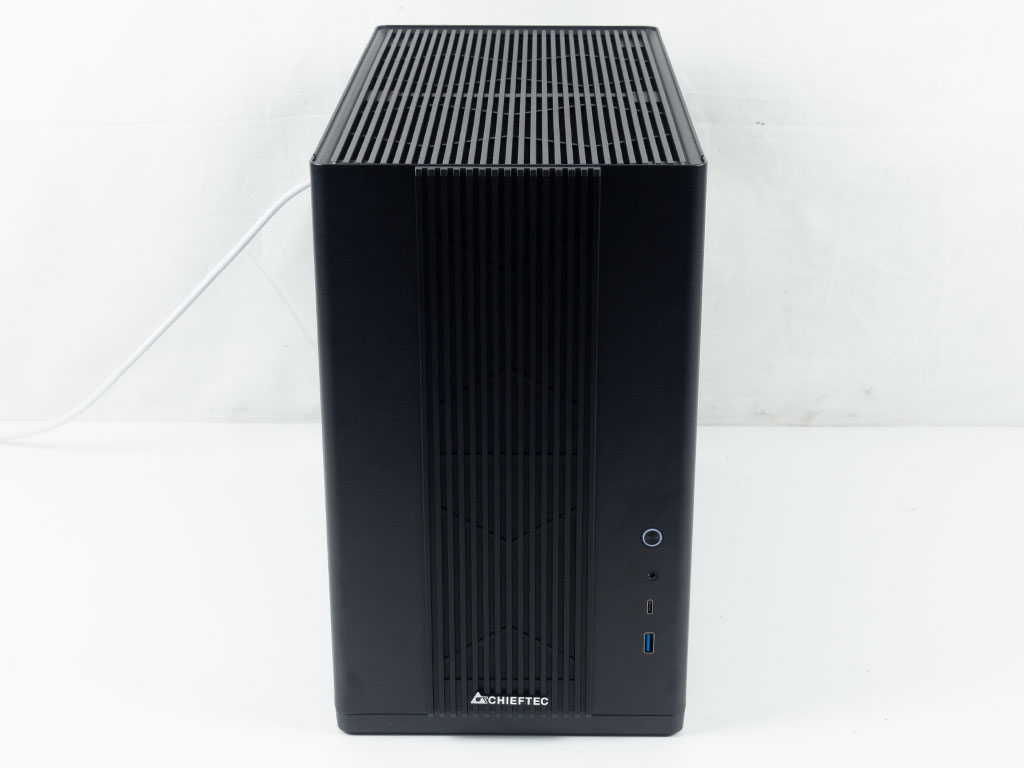

Looking at the front, there is nothing showing, but in the rear everything is where would expect to see it. The power cable at the top left is away from everything else, but the location also means that it may look a little strange on your desk. Thanks to the 90° rotated plug, you could buy an angled power cable to easily keep things tidy though.
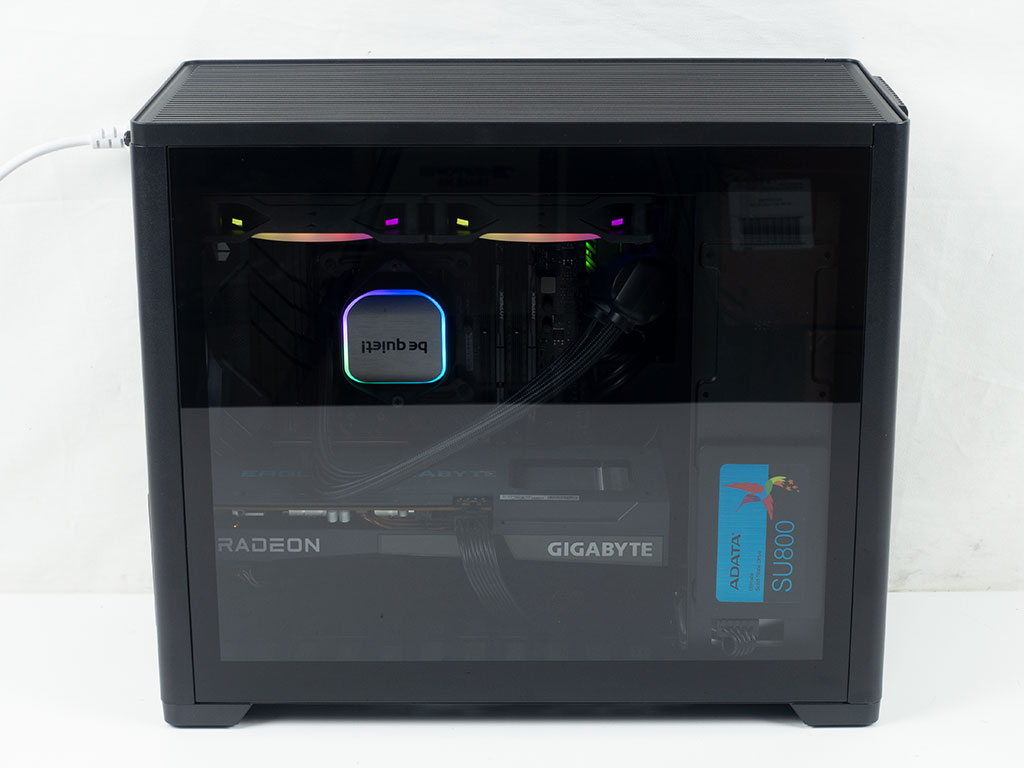
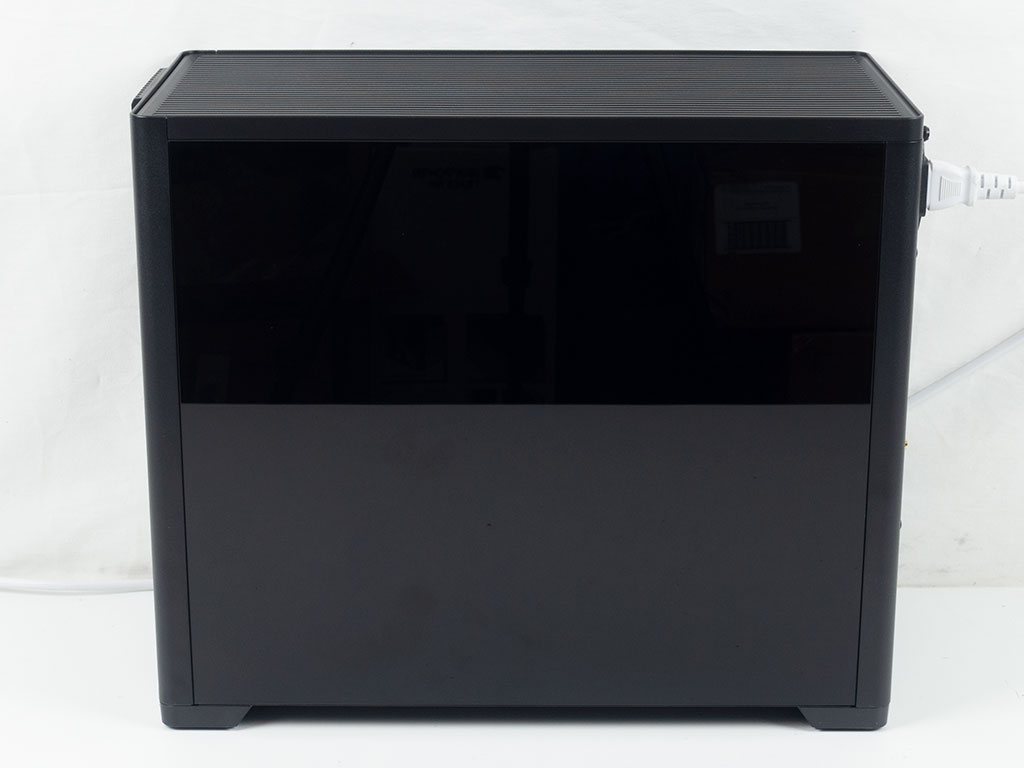
The clear side of the chassis beautifully shows off your SSD, as such this is the place you want your ARGB equipped storage drive. All the other parts are visible as well, thanks to the clear glass. On the opposite side, you get the same surface, but since there is a black layer on the inside of the glass, things are nice and clean. It is nice that Chieftec has used glass on this part of the case to create that consistency, but it would have been fine if it was just steel as well.
Apr 23rd, 2025 20:51 EDT
change timezone
Latest GPU Drivers
New Forum Posts
- Companies should be called out for this (88)
- RTX 5070ti - Which MSRP model has the better/quieter cooler design, ASUS Prime, Gigabyte Windforce or PNY? (3)
- Share your AIDA 64 cache and memory benchmark here (3055)
- What are you playing? (23449)
- To distill or not distill what say ye? (73)
- Just for lolz, Post your 3DMark2001SE Benchmark scores! (96)
- Help getting a mini pc (0)
- RX 9000 series GPU Owners Club (498)
- 5060 Ti 8GB DOA (255)
- DTS DCH Driver for Realtek HDA [DTS:X APO4 + DTS Interactive] (2151)
Popular Reviews
- NVIDIA GeForce RTX 5060 Ti 8 GB Review - So Many Compromises
- ASUS GeForce RTX 5060 Ti TUF OC 16 GB Review
- ASRock X870E Taichi Lite Review
- Upcoming Hardware Launches 2025 (Updated Apr 2025)
- Sapphire Radeon RX 9070 XT Pulse Review
- Colorful iGame B860M Ultra V20 Review
- Sapphire Radeon RX 9070 XT Nitro+ Review - Beating NVIDIA
- NVIDIA GeForce RTX 5060 Ti PCI-Express x8 Scaling
- AMD Ryzen 7 9800X3D Review - The Best Gaming Processor
- ASUS GeForce RTX 5080 TUF OC Review
Controversial News Posts
- NVIDIA GeForce RTX 5060 Ti 16 GB SKU Likely Launching at $499, According to Supply Chain Leak (182)
- NVIDIA Sends MSRP Numbers to Partners: GeForce RTX 5060 Ti 8 GB at $379, RTX 5060 Ti 16 GB at $429 (127)
- NVIDIA Launches GeForce RTX 5060 Series, Beginning with RTX 5060 Ti This Week (115)
- Nintendo Confirms That Switch 2 Joy-Cons Will Not Utilize Hall Effect Stick Technology (105)
- Nintendo Switch 2 Launches June 5 at $449.99 with New Hardware and Games (99)
- Sony Increases the PS5 Pricing in EMEA and ANZ by Around 25 Percent (85)
- NVIDIA PhysX and Flow Made Fully Open-Source (77)
- Windows Notepad Gets Microsoft Copilot Integration (75)