 42
42
Corsair A500 Dual Fan CPU Cooler Review
Finished Looks »Installation


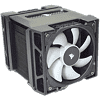
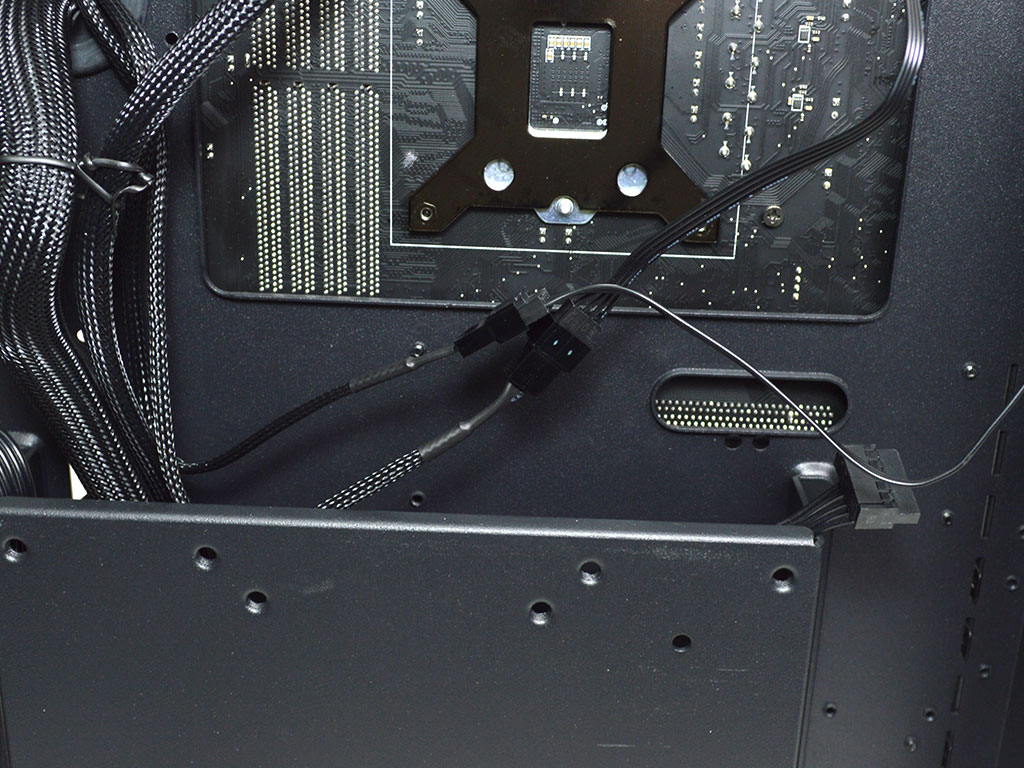
Installing the cooler is fairly easy because of simple mounting hardware. To start, you will need to secure the backplate to the motherboard via the screw pillars.
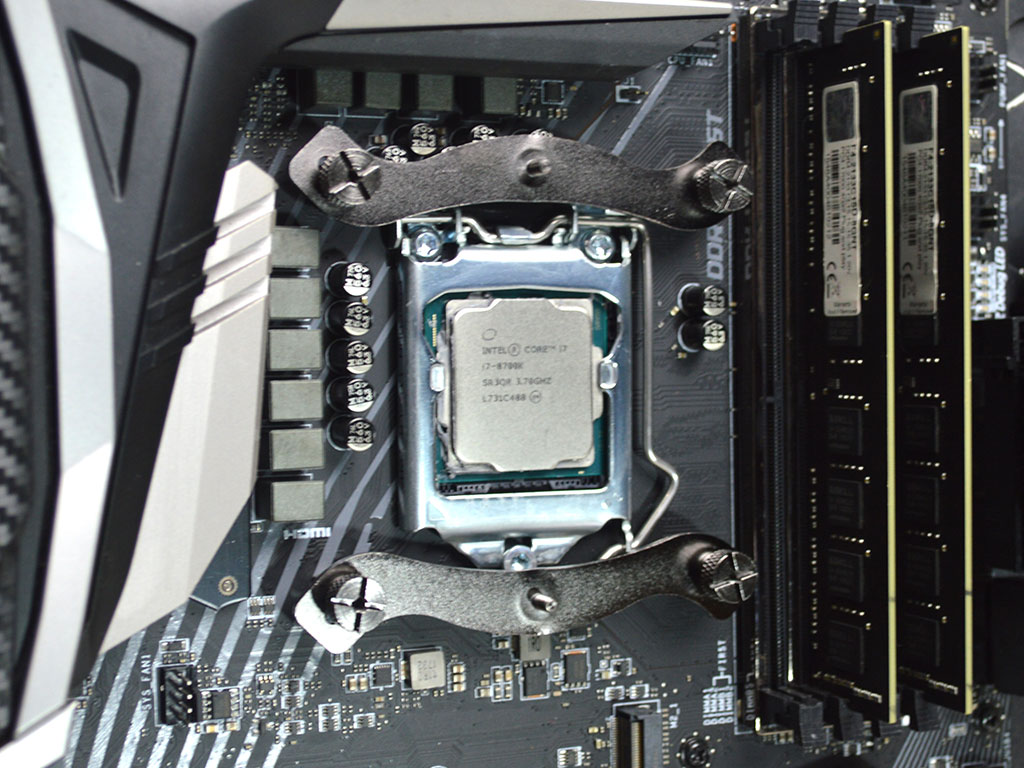

Next, secure the mounting arms to the pillars with the included nuts and apply some thermal paste. At this point, you can secure the heatsink by removing the top plate, which just press fits on to the cooler, and tightening the two spring-loaded screws, which is where the included screwdriver comes in handy.
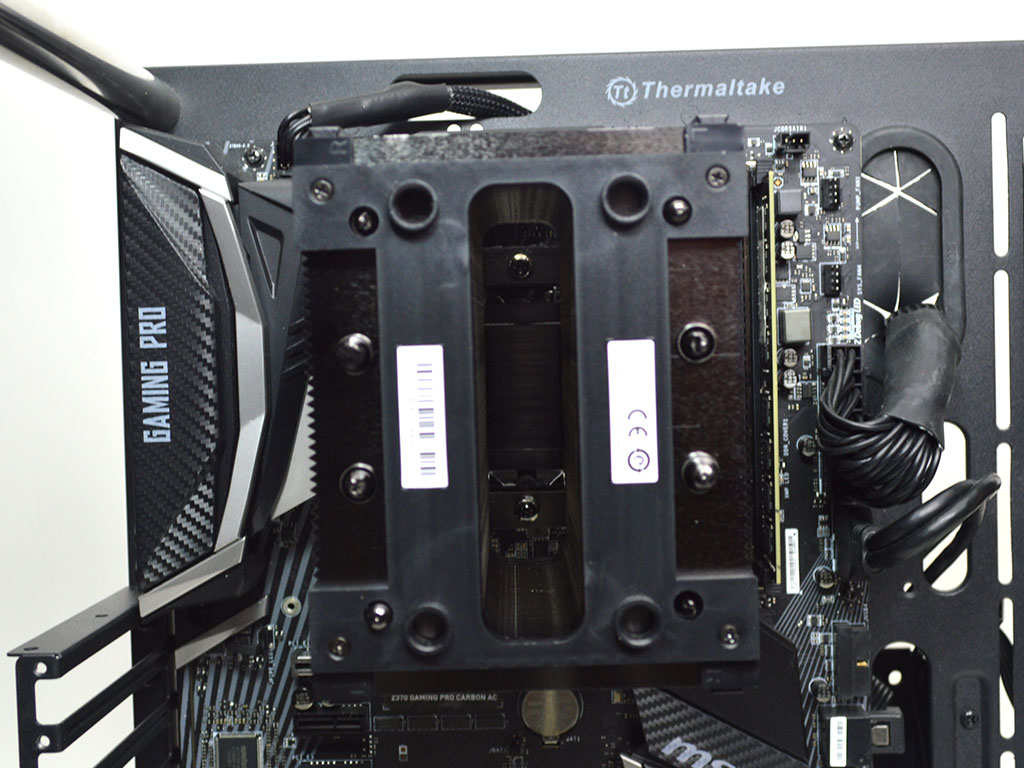
Finally, install the fans by sliding them into place. Note that memory height will dictate where the fan rests, so taller memory is likely not a good pairing with this cooler if you want the maximum performance it can offer. That said, once the fans are properly installed, just plug them in.
Overall, the installation was effortless, and I would rate it a 9 on a scale of 1 (hardest) to 10 (easiest). The mounting hardware is incredibly simple and easy to work, which is never a bad thing.

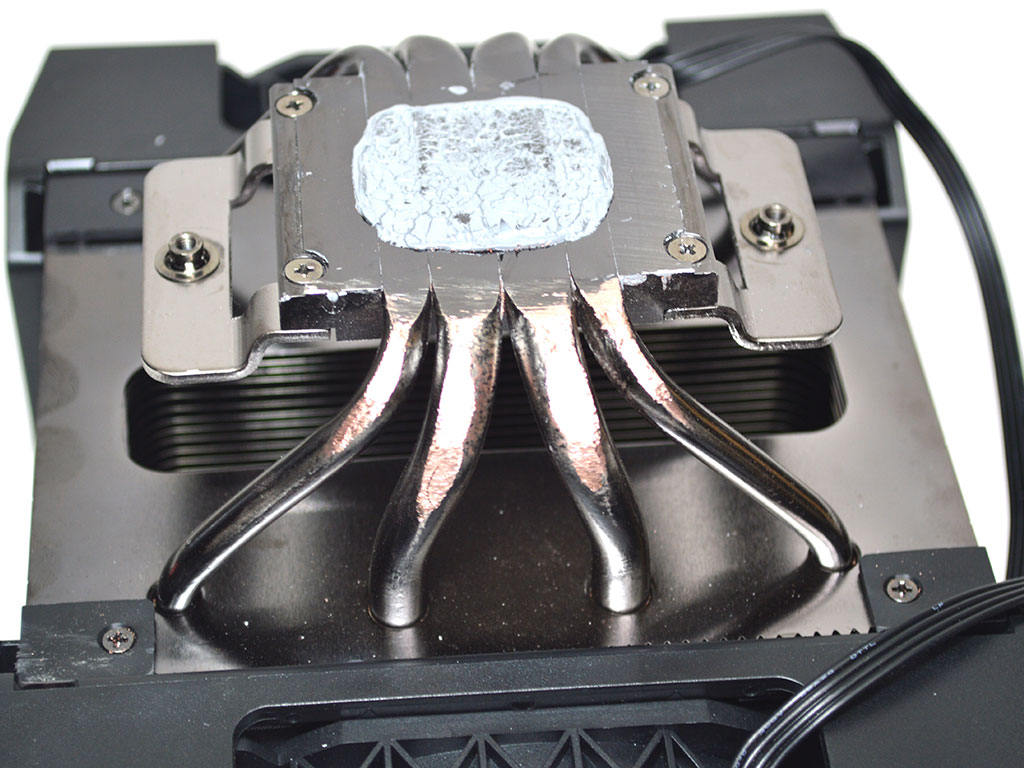

After installing the cooler and noticing some truly terrible performance numbers, I began looking into the cause. To check things out, I rotated the cooler 90°, which resulted in much better performance and meant something was off. After multiple mounts and checking clearances, I found that the heat pipes on the Corsair A500 were touching the caps on my motherboard. Since I strive to deliver full reviews with all the details, I took a big file and shaved the heat pipes down for enough clearance for the cooler to perform the same in both orientations. As such, I have included both sets of results to document the issue. Even so, this shows some level of incompatibility based on the motherboard a user may have. A solid base rather than a heat pipe direct-touch-style base would have avoided this issue.
Apr 19th, 2025 07:29 EDT
change timezone
Latest GPU Drivers
New Forum Posts
- 3090 zotac Trinity Oc dead or psu weak? (42)
- AAF Optimus Modded Driver For Windows 10 & Windows 11 - Only for Realtek HDAUDIO Chips (429)
- TPU's Nostalgic Hardware Club (20260)
- RX 9000 series GPU Owners Club (402)
- [Test Build] Fix for 576.02 Driver Install (8)
- Looking for a rolling workbench recommendation (12)
- 5070ti overclock...what are your settings? (12)
- Which 5080 graphics card? (11)
- NVIDIA GeForce 576.02 WHQL driver (6)
- need help with 12900hx (0)
Popular Reviews
- ASUS GeForce RTX 5060 Ti TUF OC 16 GB Review
- NVIDIA GeForce RTX 5060 Ti PCI-Express x8 Scaling
- ASRock X870E Taichi Lite Review
- Palit GeForce RTX 5060 Ti Infinity 3 16 GB Review
- Teevolution Terra Pro Review
- ASUS GeForce RTX 5060 Ti Prime OC 16 GB Review
- MSI GeForce RTX 5060 Ti Gaming OC 16 GB Review
- Zotac GeForce RTX 5060 Ti AMP 16 GB Review
- MSI GeForce RTX 5060 Ti Gaming Trio OC 16 GB Review
- G.SKILL Trident Z5 NEO RGB DDR5-6000 32 GB CL26 Review - AMD EXPO
Controversial News Posts
- NVIDIA GeForce RTX 5060 Ti 16 GB SKU Likely Launching at $499, According to Supply Chain Leak (182)
- NVIDIA Sends MSRP Numbers to Partners: GeForce RTX 5060 Ti 8 GB at $379, RTX 5060 Ti 16 GB at $429 (127)
- Nintendo Confirms That Switch 2 Joy-Cons Will Not Utilize Hall Effect Stick Technology (105)
- NVIDIA Launches GeForce RTX 5060 Series, Beginning with RTX 5060 Ti This Week (104)
- Over 200,000 Sold Radeon RX 9070 and RX 9070 XT GPUs? AMD Says No Number was Given (100)
- Nintendo Switch 2 Launches June 5 at $449.99 with New Hardware and Games (99)
- Sony Increases the PS5 Pricing in EMEA and ANZ by Around 25 Percent (85)
- NVIDIA PhysX and Flow Made Fully Open-Source (77)