 0
0
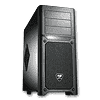
Cougar MX500 Review
Value & Conclusion »Assembly
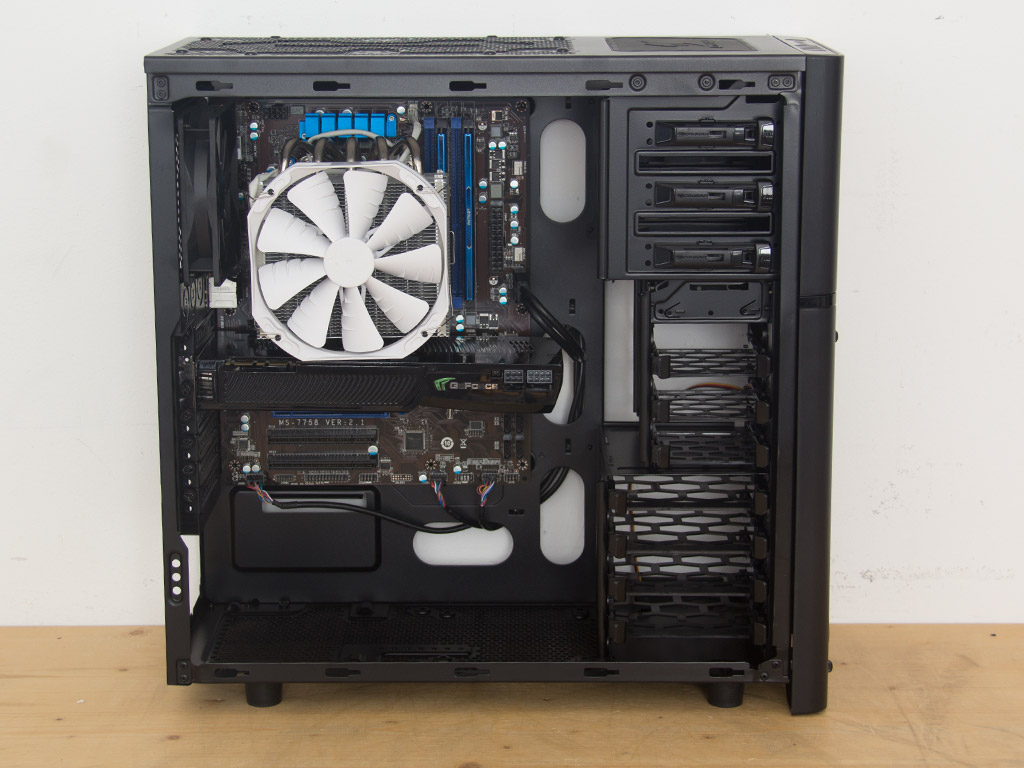
Installing the motherboard does not take any spacers since the chassis itself comes with little bumps to screw the board to. While the bumbs save you a step in the assembly process, these also increase the chance to short the board out. Please invest some time into taping each of these bumps up for insulation. Do not run the slight risk of damaging your components. I would much rather see real spacers to make absolutely sure nothing can go wrong. As you can see, I have left the configuration of the differently sized hard-drive bays in place to show you how to install both varients.
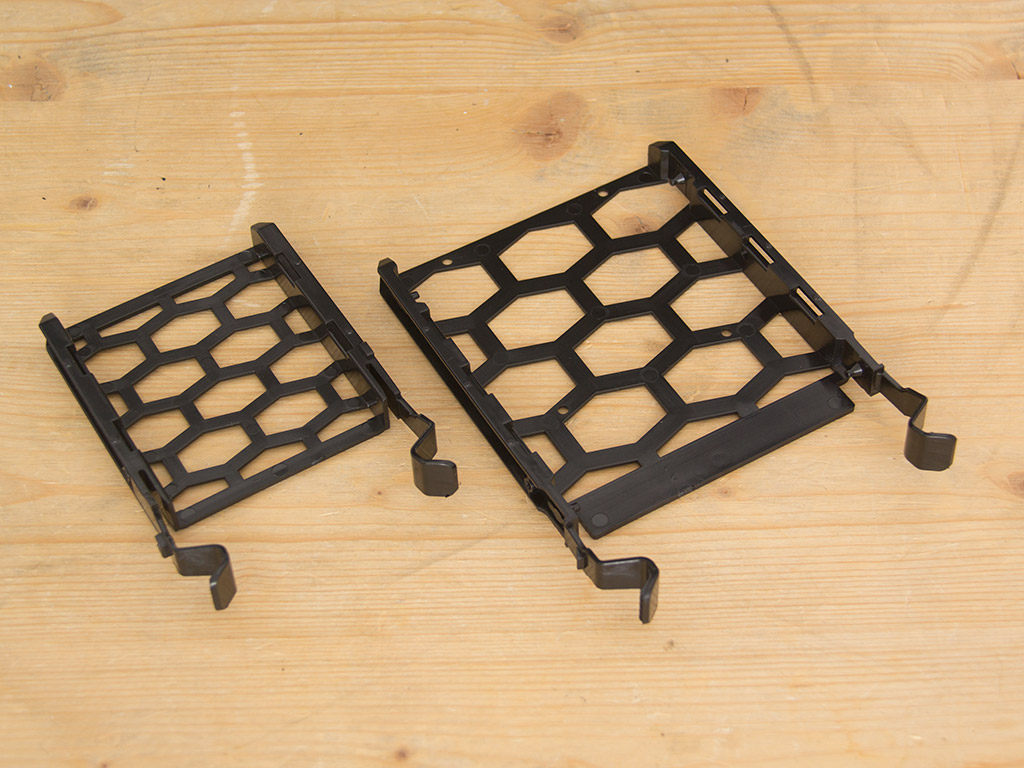
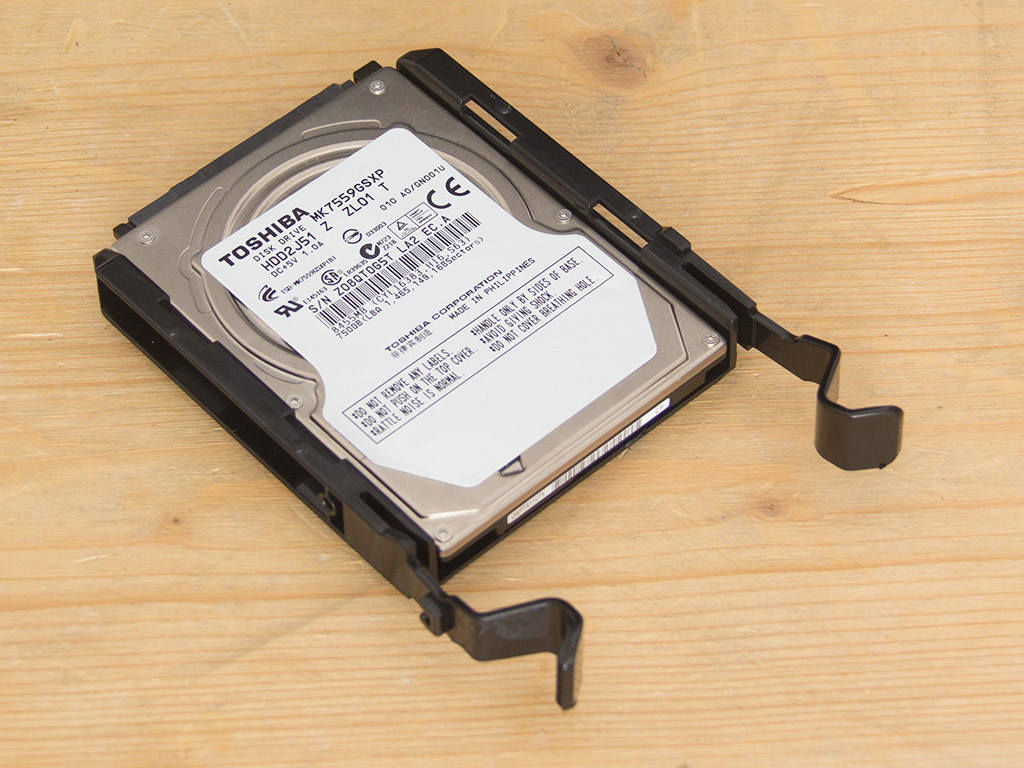
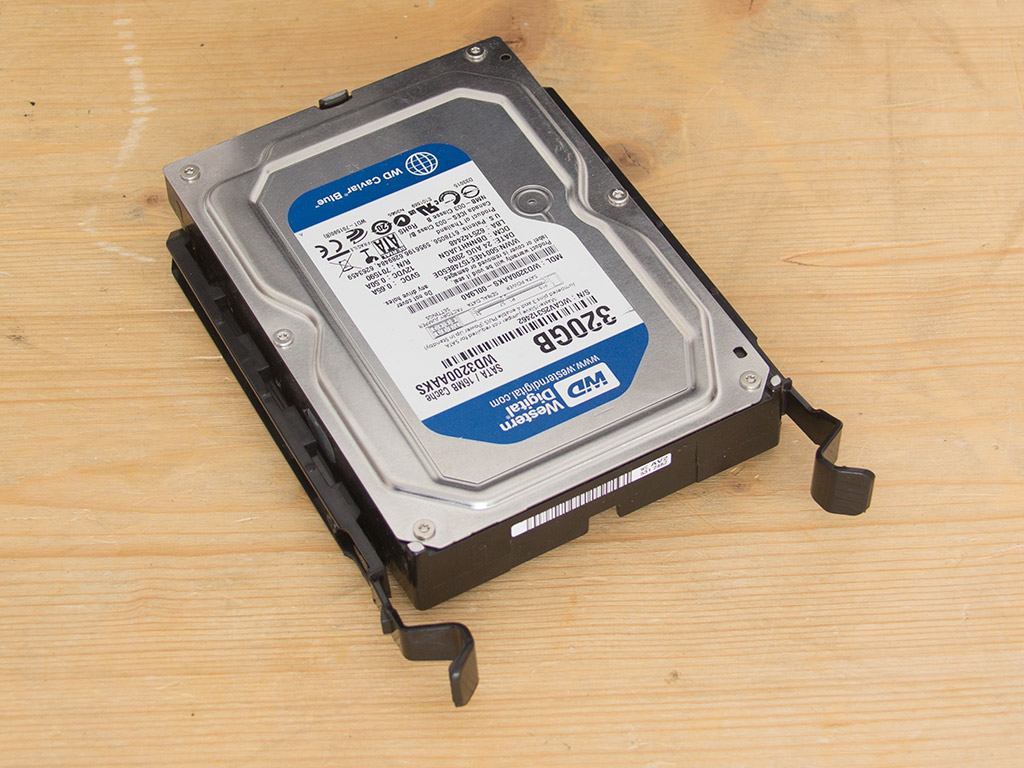
Each hard drives needs to be installed into a tray. Installing the intended drives into each tray does not take any tools, but you have to use traditional screws if you want to place a 2.5" drive into a 3.5" tray. Each connector will also face away from the main side-panel, which will make for a clean interior.
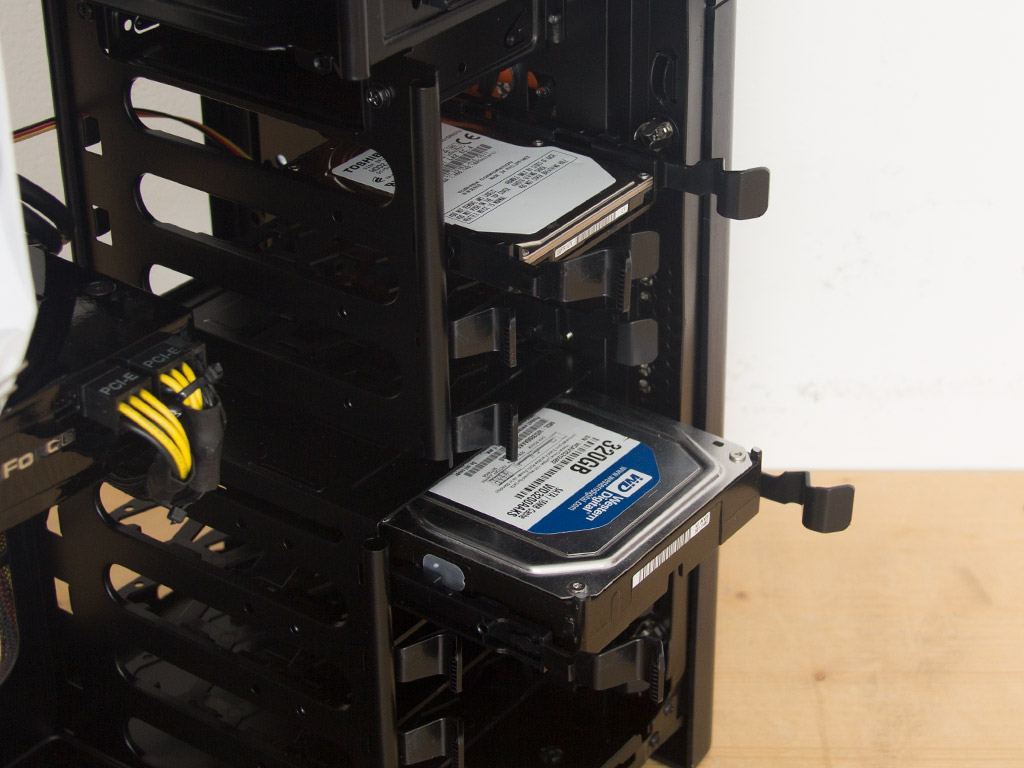
Once in place, simply slide the drive into the bay of your choice until it snaps down. The force with which these clamp down is quite good, so you should not have to worry about whether a drive is secured well.
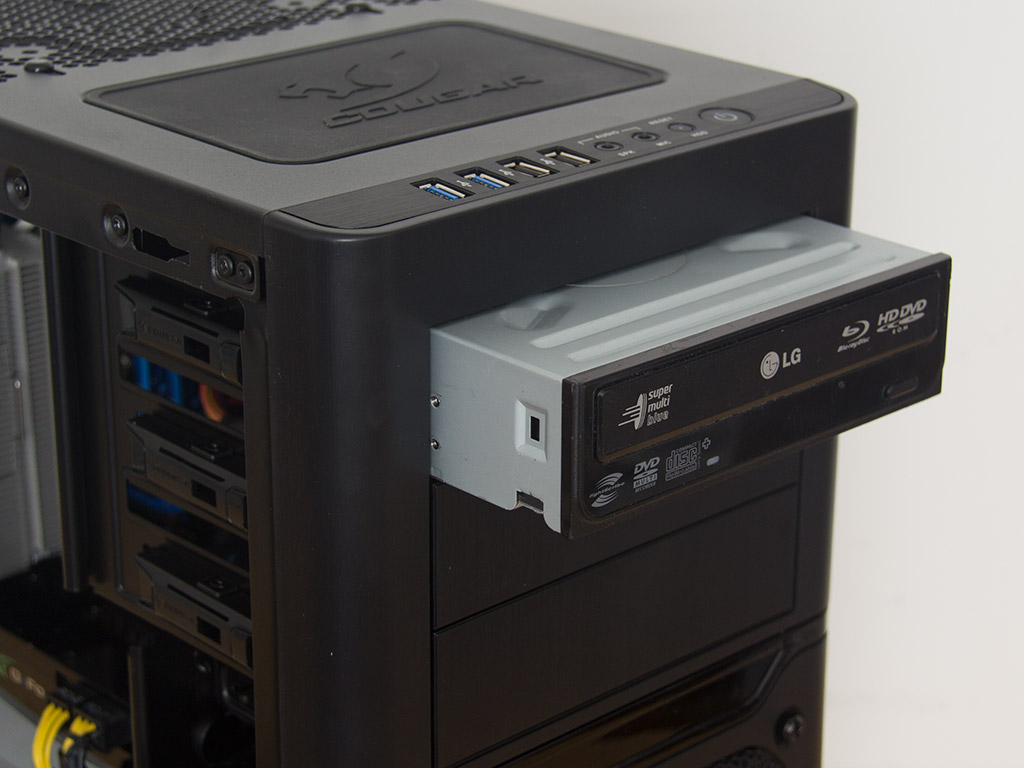
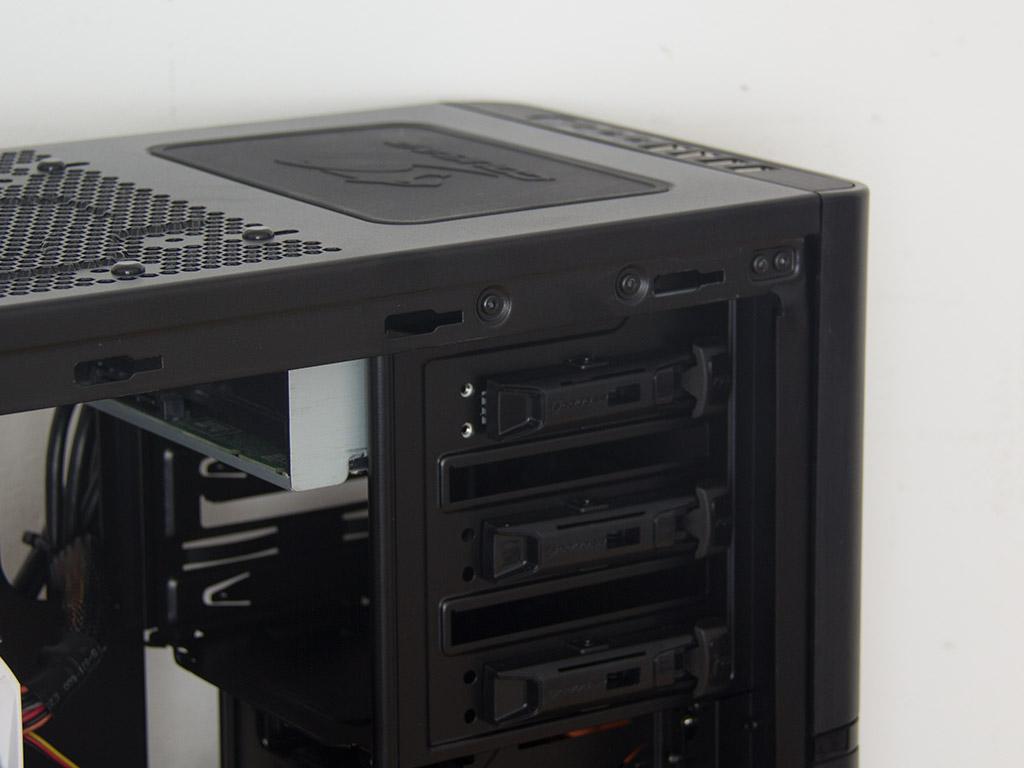
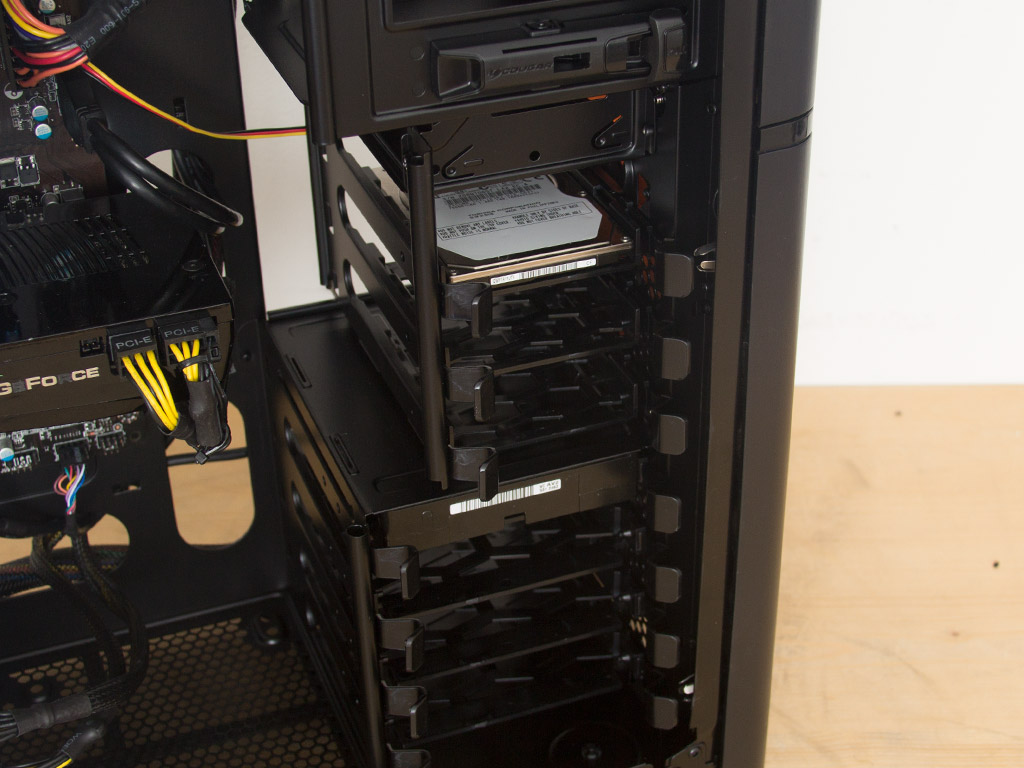
Installing an optical drive is quite easy as well. You can easily remove the cover of a bay without having to take off the entire front. Once free, simply slide the ODD in to secure it with the locking mechanism. The drive still has a bit of play toward the end, but that bit is within acceptable limits. Use traditional screws if you absolutely want to make sure there is no room for movement.
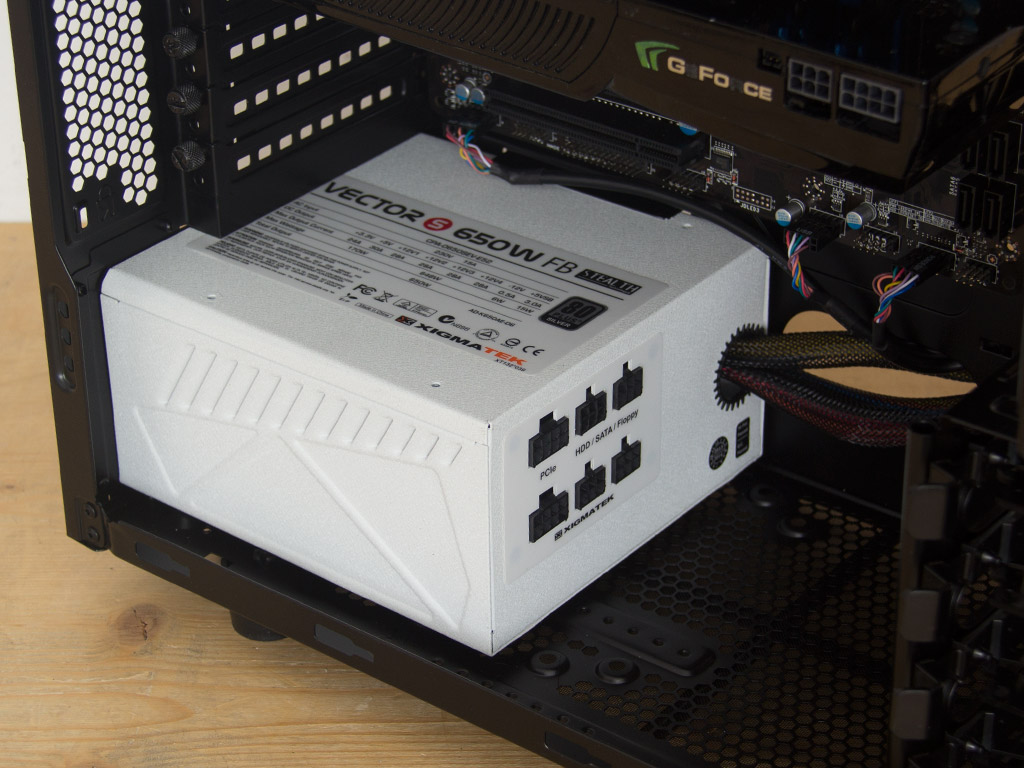
Installing the PSU is done by traditional means, with the black screws Cougar included. There is nothing out of the ordinary to the installation itself.

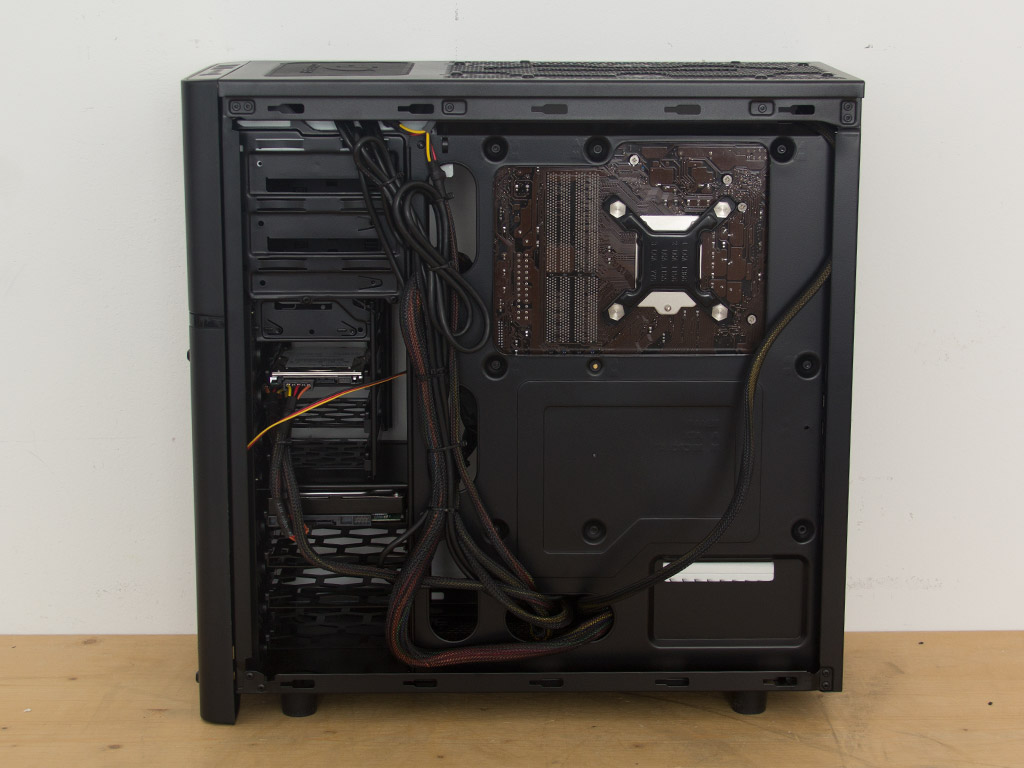
With everything installed, the interior is not quite as clean as that of some other cases out there, which is due to the lack of cable-management possibilities, although it also looks as messy as it does because of missing rubber grommets; while every big cable has been routed behind the motherboard tray, all are still clearly visible when looking into the case.
Finished Looks

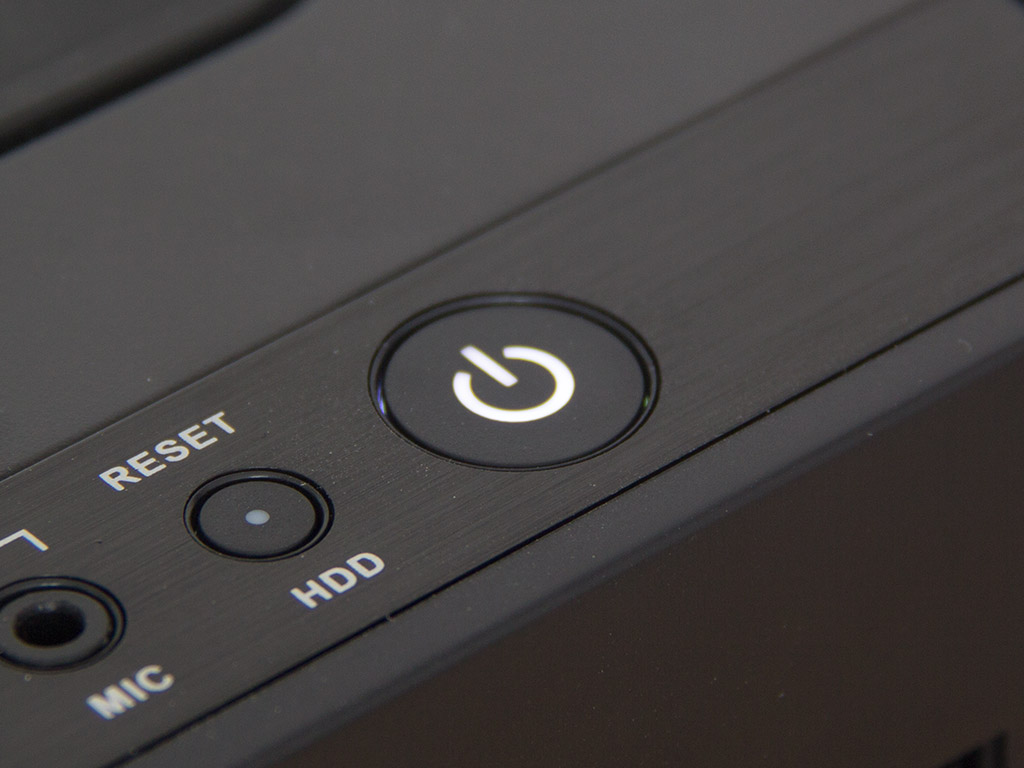
With the side panels back in place and the unit turned on, the simple and clean exterior look takes over once again. A white LED inside the power button tells you whether your system is up and running, and, yes, it would have been awesome to also see white LED-equipped fan blades inside the chassis.
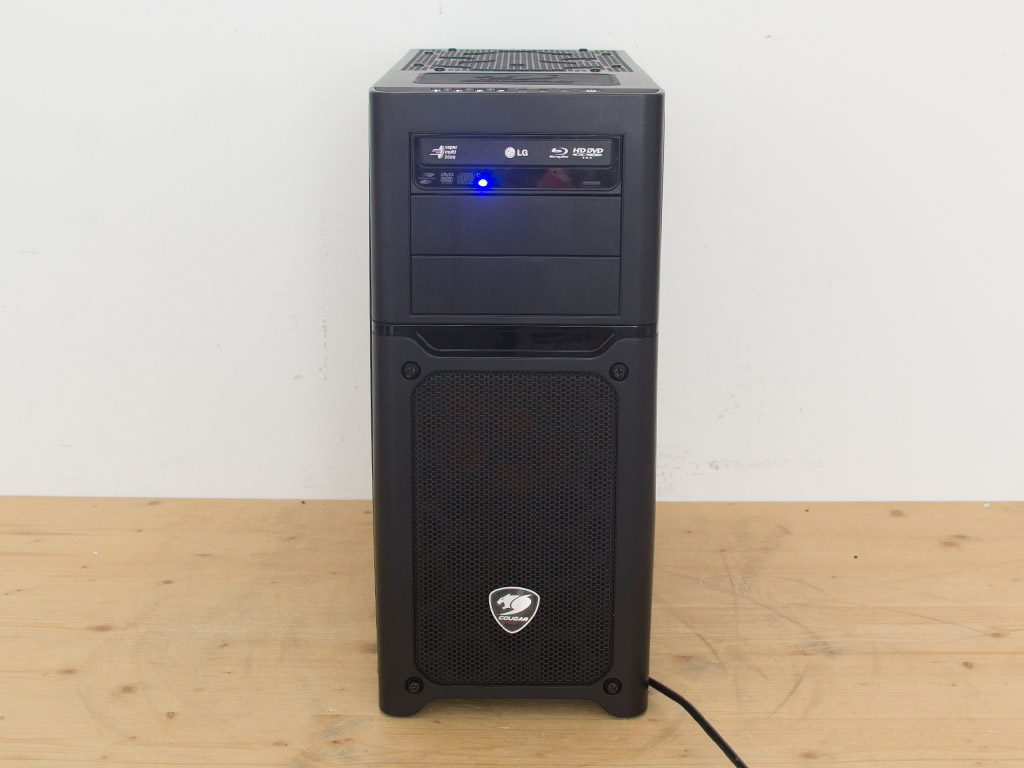

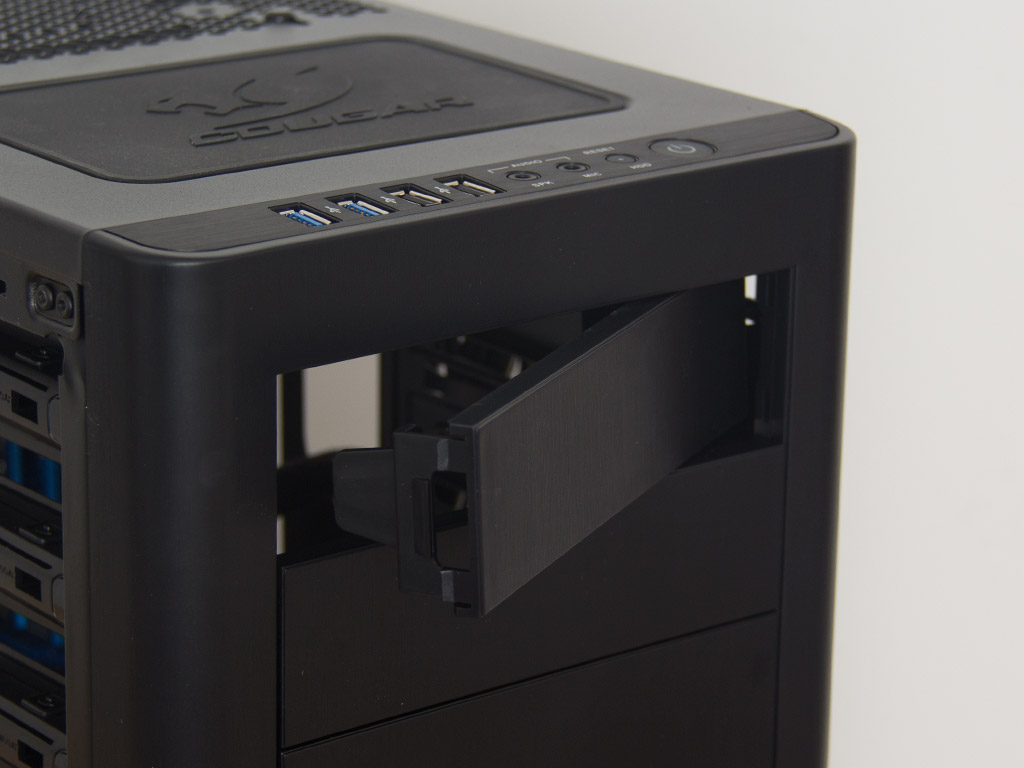
The black drive bay in the front looks great, and only general operating noise and the blue LED give away that this system is up and running. Turning to the back, everything is where you would expect it to be, and each connector is easily accessible.
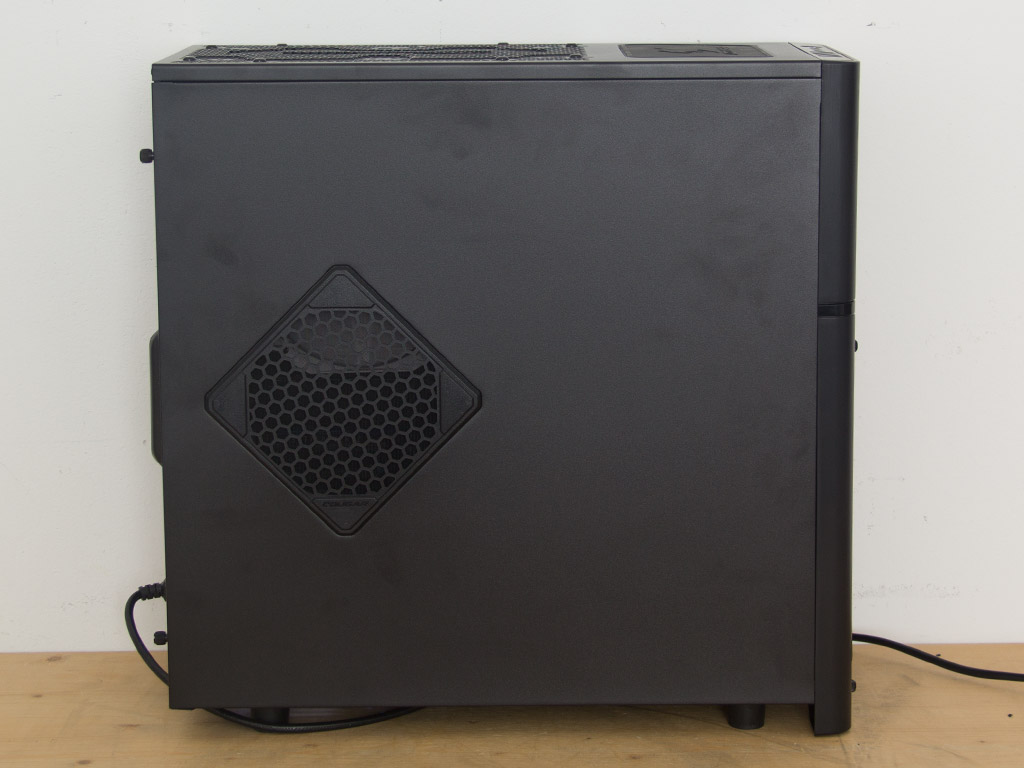
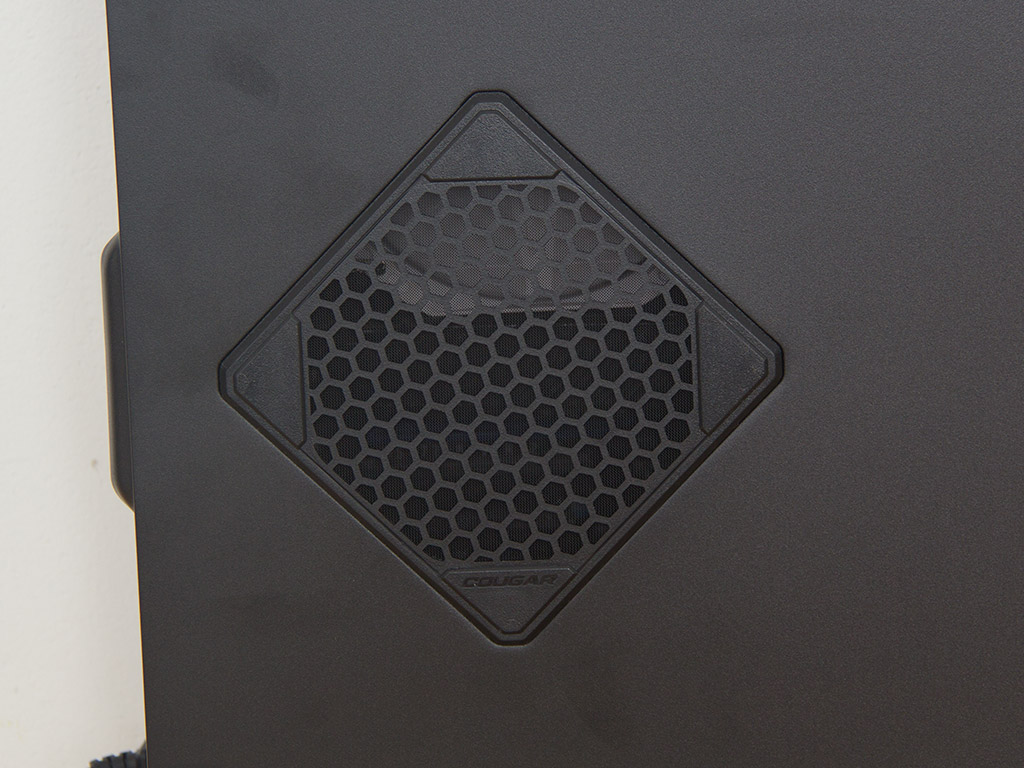
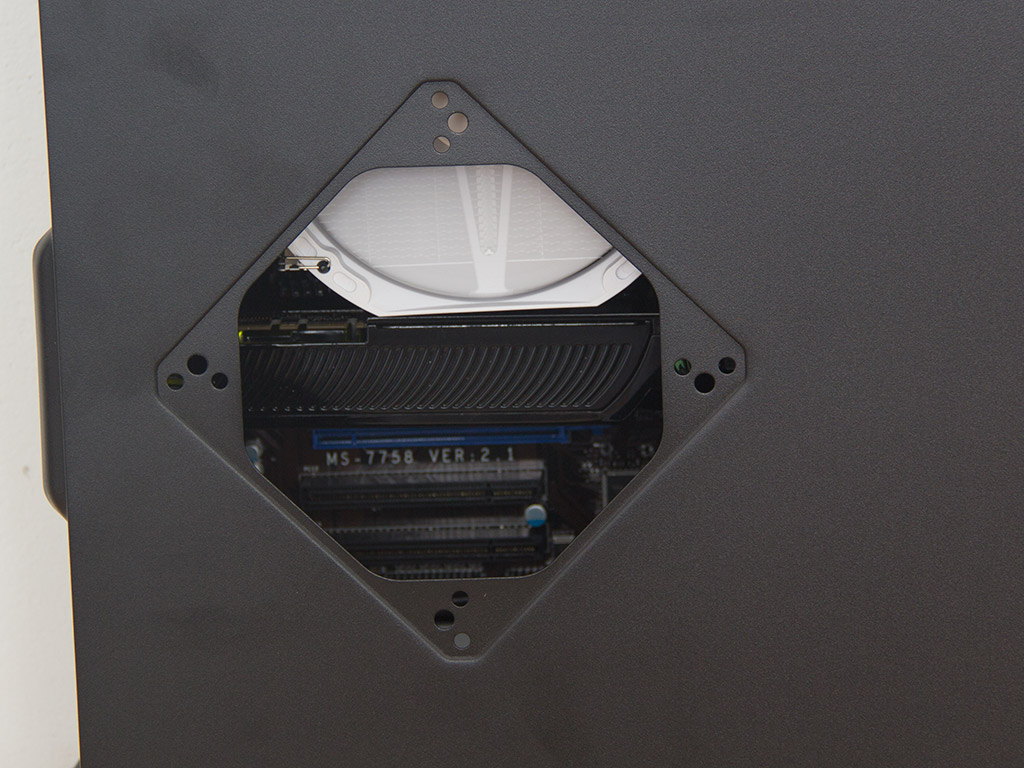
The opening in the main panel is just around the area of the top PCIe slots and CPU cooler. You can see the bottom of the top-down cooler through the protective cover. Take it off and you will also see that is is pretty close to the side panel, so a traditional fan would not fit into this spot anyways. Cougar should have moved the entire opening down by about an inch to ensure that the additionally installed cooling unit blows straight onto the expansion slots. As I mentioned before, you could go ahead and stick a pen into the spinning fan to make it stop or to break its blades off; that is, if you are malicious enough to harm a gaming system that has only been crunching 0s and 1s.
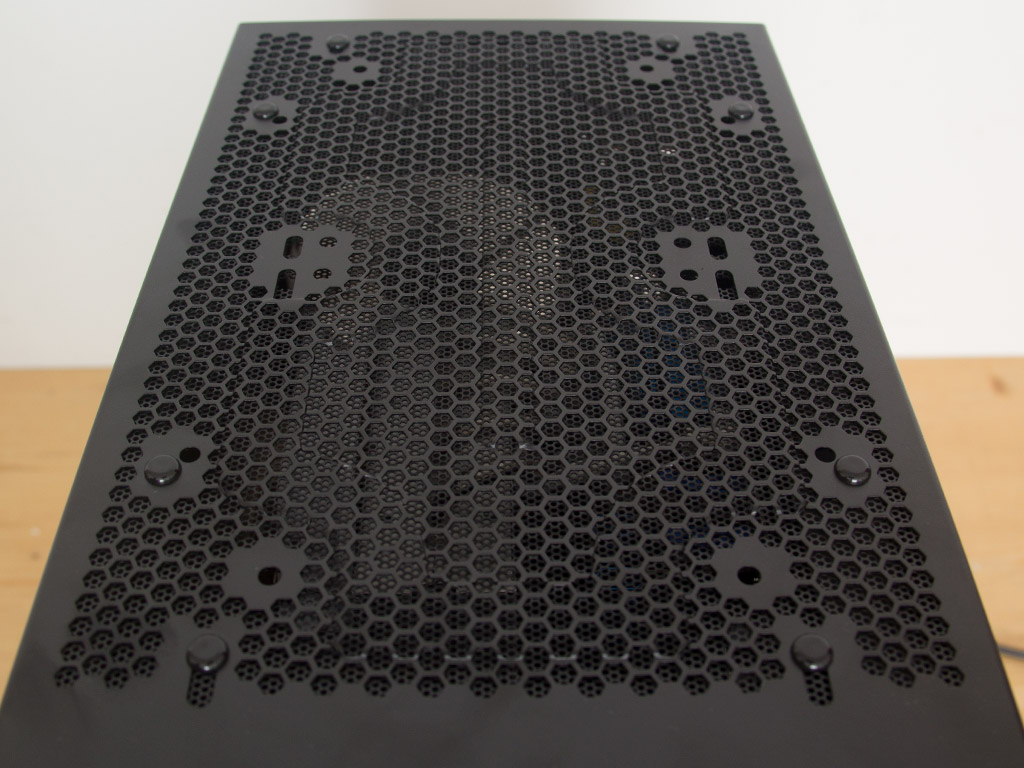
You can also take a peek into the insides of the case through the top of the chassis. The dust filter out of metal mesh there should keep larger dirt particles out, but removing it is a pain, so you will have to vacuum it out by running your vacuum over the top. You could also swipe it clean from within the chassis after unplugging your system and taking the main side panel off.
Feb 7th, 2025 13:11 EST
change timezone
Latest GPU Drivers
New Forum Posts
- Choosing the Perfect Motherboard to Complete My PC Build (7)
- Post your Monster Hunter Wilds benchmark scores (62)
- Power Throttling with no limited power (5)
- Help me decide..........OLED monitors (17)
- Should I make a thermal maintenance on my GPU? (15)
- VR Health and Exercise Apps (0)
- AM4 and Combining Different RAM? (57)
- What's your latest tech purchase? (23102)
- Will you buy a RTX 5090? (415)
- USB-C JBOD box (21)
Popular Reviews
- Kingdom Come Deliverance II Performance Benchmark Review - 35 GPUs Tested
- Spider-Man 2 Performance Benchmark Review - 35 GPUs Tested
- Corsair Frame 4000D Review
- Formovie Cinema Edge 4K UST Laser Projector Review
- ASUS ROG Harpe Ace Extreme Review
- NVIDIA GeForce RTX 5080 Founders Edition Review
- Kingdom Come: Deliverance 2 Handheld Performance Review
- Gigabyte GeForce RTX 5080 Gaming OC Review
- MSI GeForce RTX 5080 Vanguard SOC Review
- AMD Ryzen 7 9800X3D Review - The Best Gaming Processor
Controversial News Posts
- AMD Radeon 9070 XT Rumored to Outpace RTX 5070 Ti by Almost 15% (285)
- AMD is Taking Time with Radeon RX 9000 to Optimize Software and FSR 4 (256)
- AMD Denies Radeon RX 9070 XT $899 USD Starting Price Point Rumors (239)
- Edward Snowden Lashes Out at NVIDIA Over GeForce RTX 50 Pricing And Value (235)
- AMD Radeon RX 9070 XT & RX 9070 Custom Models In Stock at European Stores (226)
- New Leak Reveals NVIDIA RTX 5080 Is Slower Than RTX 4090 (215)
- AMD's Radeon RX 9070 Launch Faces Pricing Hurdles (175)
- AMD Radeon RX 9070 XT Tested in Cyberpunk 2077 and Black Myth: Wukong (169)