 15
15
InWin Explorer Review
Thermal Stress Test »Review System
| System Parts for Case Reviews | |
|---|---|
| Processor: | ATX: Intel Core i5-11600K mATX/ITX: Intel Core i5-10600K Provided by: Intel |
| Motherboards: | ATX: Gigabyte Z590 AORUS PRO AX ITX: Gigabyte Z590I Vision D Provided by: Gigabyte mATX: ASRock B560M Steel Legend Provided by: ASRock |
| Graphics Card: | Palit GeForce RTX 2080 Gaming Pro OC Provided by: Palit ZOTAC GAMING GeForce RTX 3060 Ti Twin Edge OC Provided by: Zotac |
| Memory: | 16 GB XPG SPECTRIX D50 3200 MHz 16 GB XPG SPECTRIX D60G DDR4 3000 MHz 16 GB XPG GAMMIX D20 DDR4 3200 MHz Provided by: ADATA |
| HDD: | Toshiba MG08ADA400E 7200 RPM SATA III Provided by: Toshiba |
| SSD: | ATX:XPG SPECTRIX S20G 500 GB mATX: XPG GAMMIX S50 Lite 1 TB ITX: ADATA Falcon 512 GB ADATA Ultimate SU800 512 GB ADATA Ultimate SU720 500 GB Provided by: ADATA |
| Power Supply: | InWin P105 1050 W 80 Plus Gold Provided by: InWin |
| Cooling: | InWin SR24 Pro AIO Provided by: InWin |
Assembly
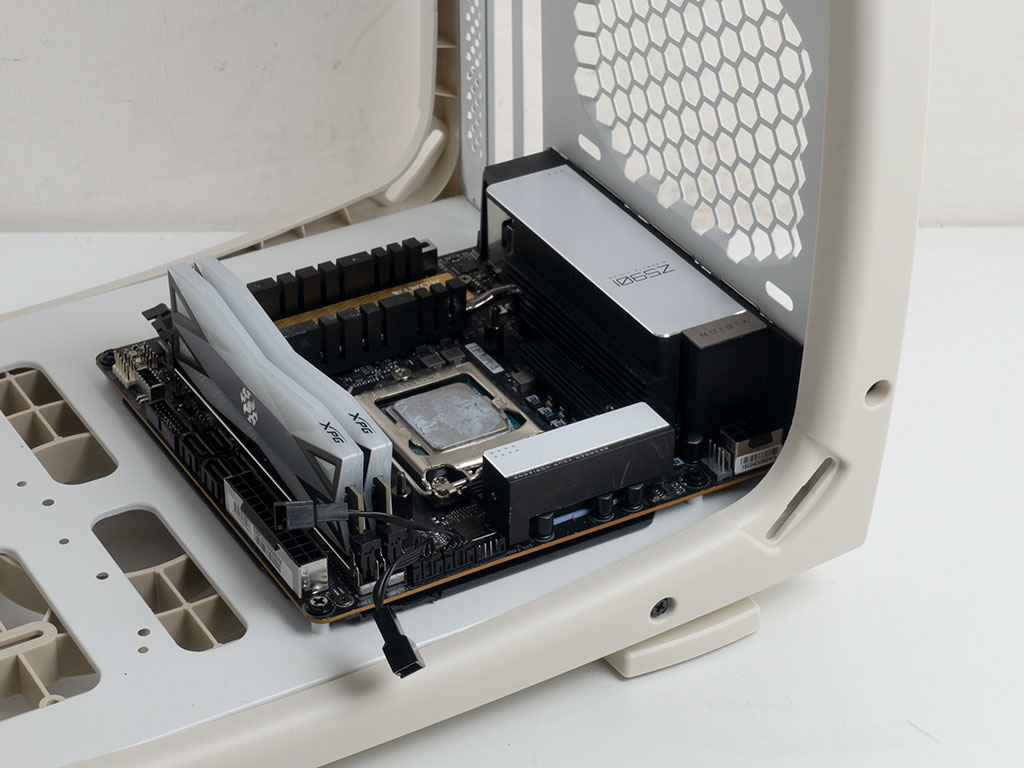
To install any component within the InWin Explorer, you will need a sufficiently compact screw driver. The motherboard is pinned down by traditional means using the built-in spacers and supplied screws. As it sits in the rear-left corner of the case, you should have no problems accessing it for all the additional components and cable connections.
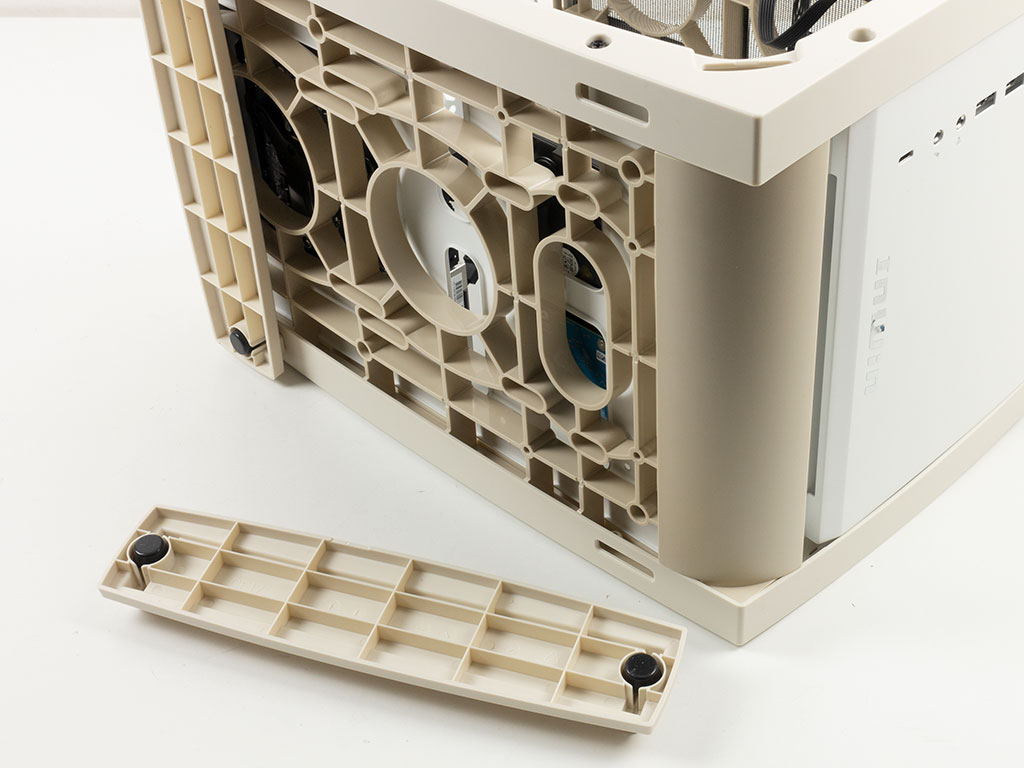
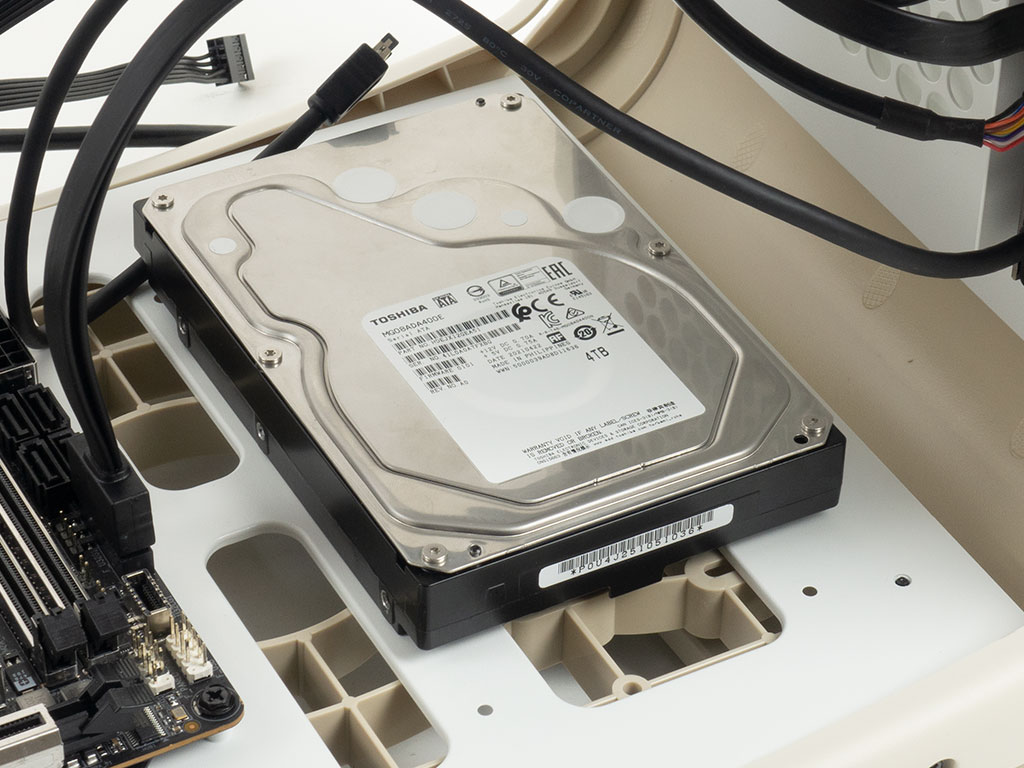
As you may opt for either two SSDs or a single 3.5" drive, both of which utilize the same installation method, we chose the bigger 3.5" drive to show you how things come together when using the 160 mm PSU as well. The storage drive screws down by putting the case on its side and removing the feet that cover the mounting holes. While that works just fine since the feet come off with a gentle pull, InWin could have put holes into the feet lining up with the mounting locations, as those would be visible anyway, thus allowing you to skip that step.
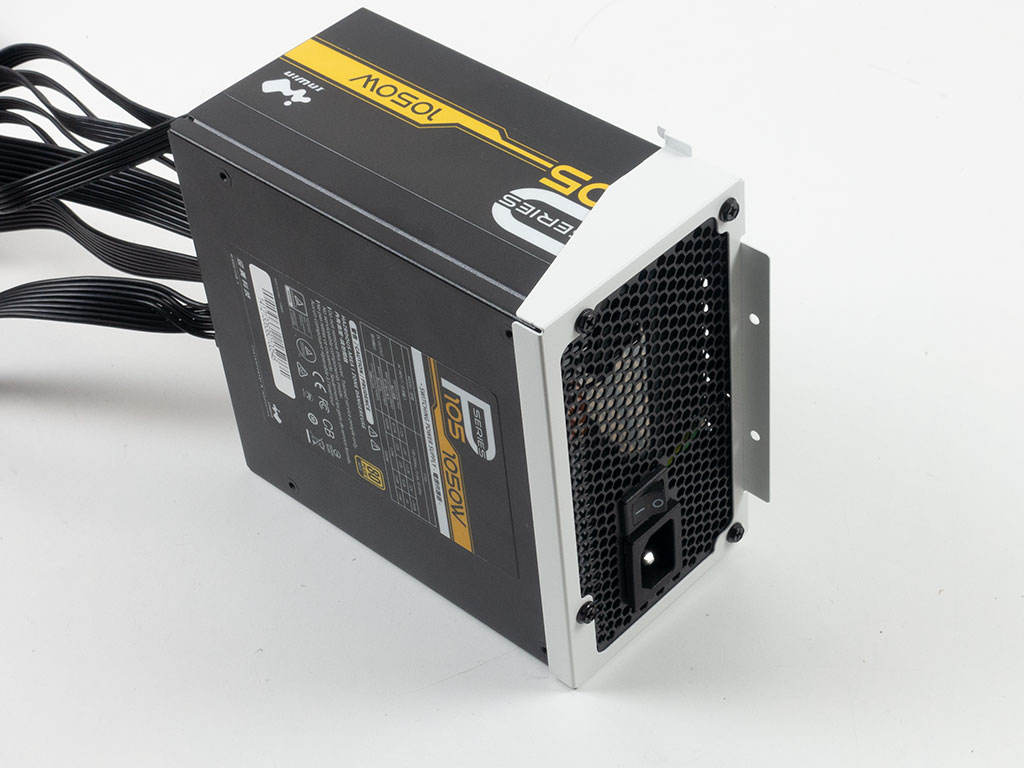
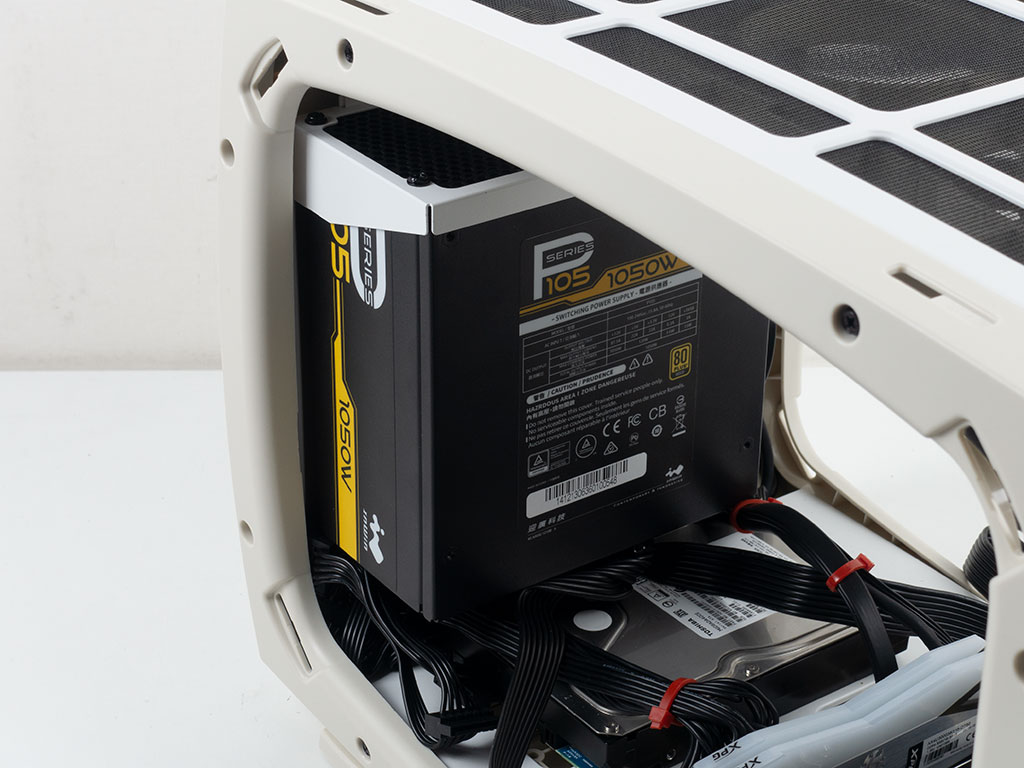
With both the motherboard and hard drive in place, installing the PSU should be done next so that you can get to it without issue. Simply screw it into the frame and place it back into the case. It does fit even with the 3.5" drive in place, which is great, but cable management is a tough one, taking a considerable amount of time. While our result is not nearly perfect, the only tangible improvement is not where you hide the cable, but how tidily you manage to place it.
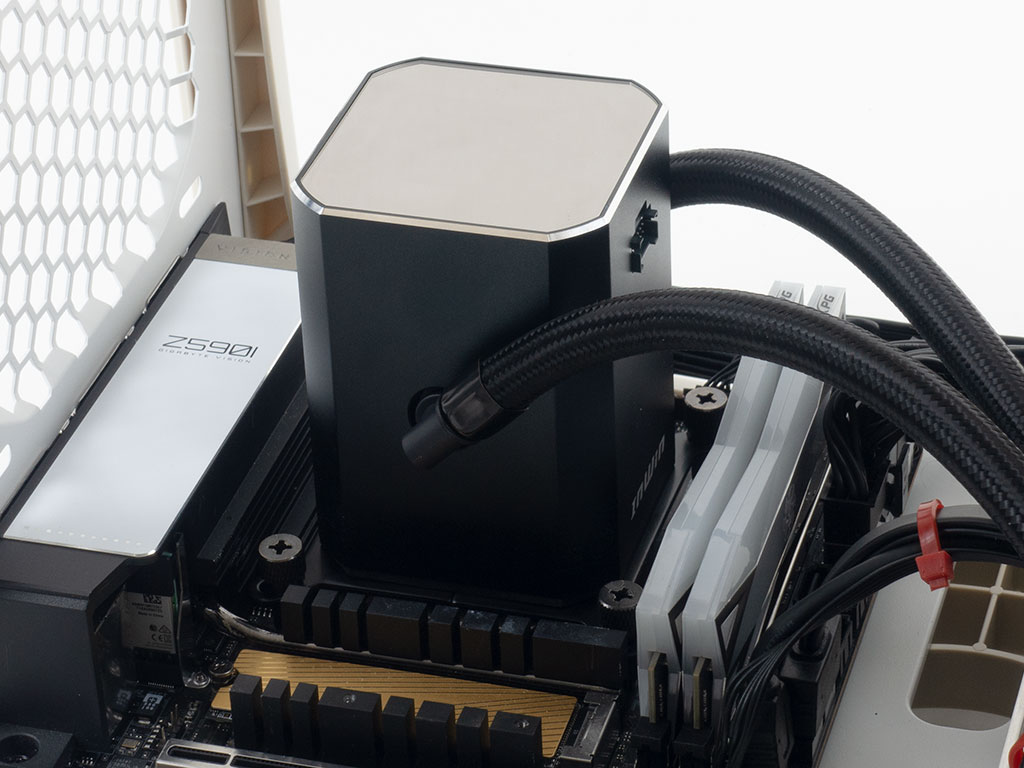
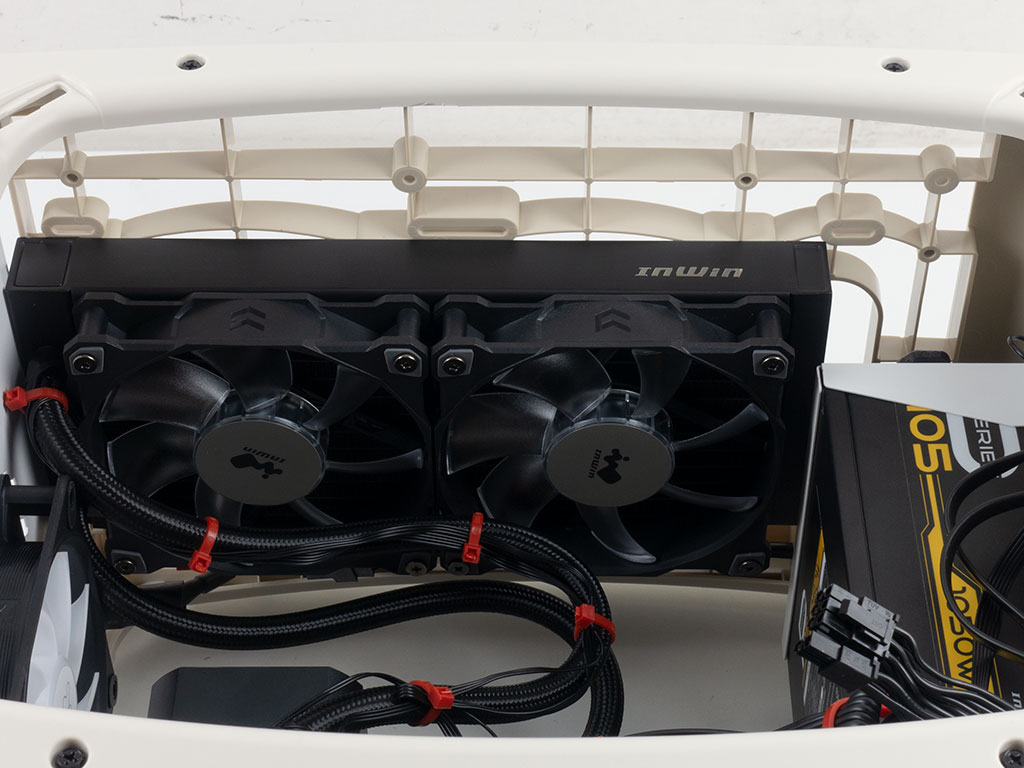
Adding the SR24 Pro AIO is straightforward. Naturally, you first want to attach the Jupiter fans, before placing the base and pump and securing it with the provided thumb screws to then tighten everything with a screw driver for proper contact and pressure. Lastly, you have to remove the top dust filter and secure the AIO to the ceiling of the InWin Explorer with classic screws.
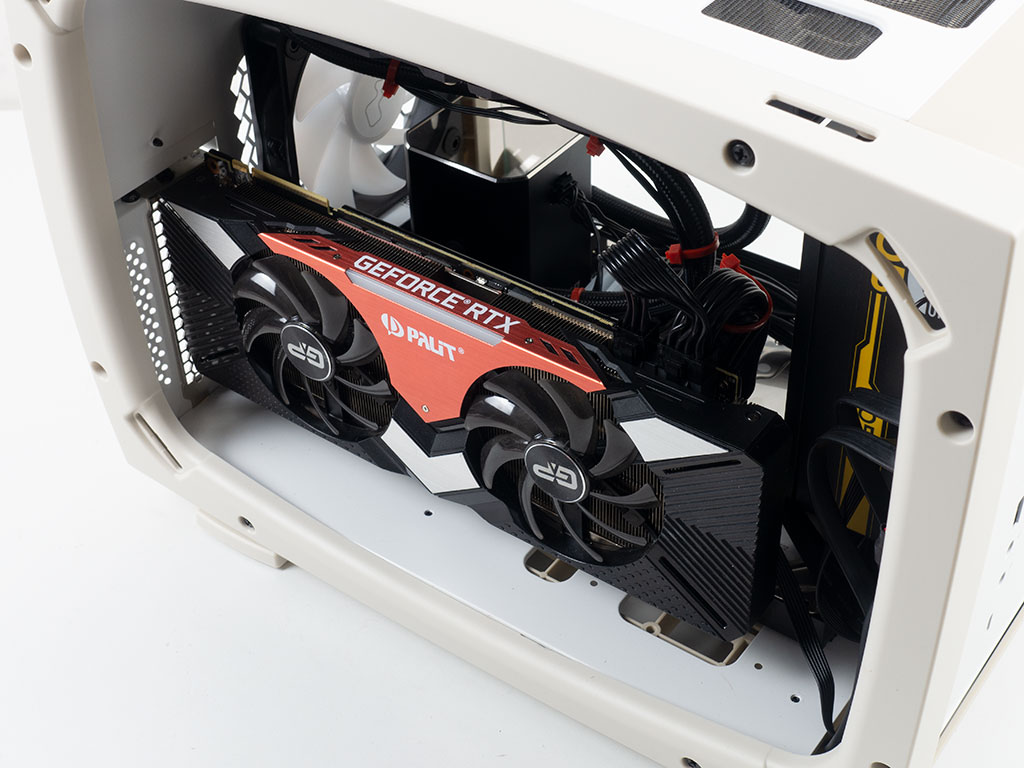
The last component to install after also adding one Luna fan in the rear is clearly the GPU. Our Palit GeForce RTX 2080 Ti fits just fine with room to spare both in length and thickness.
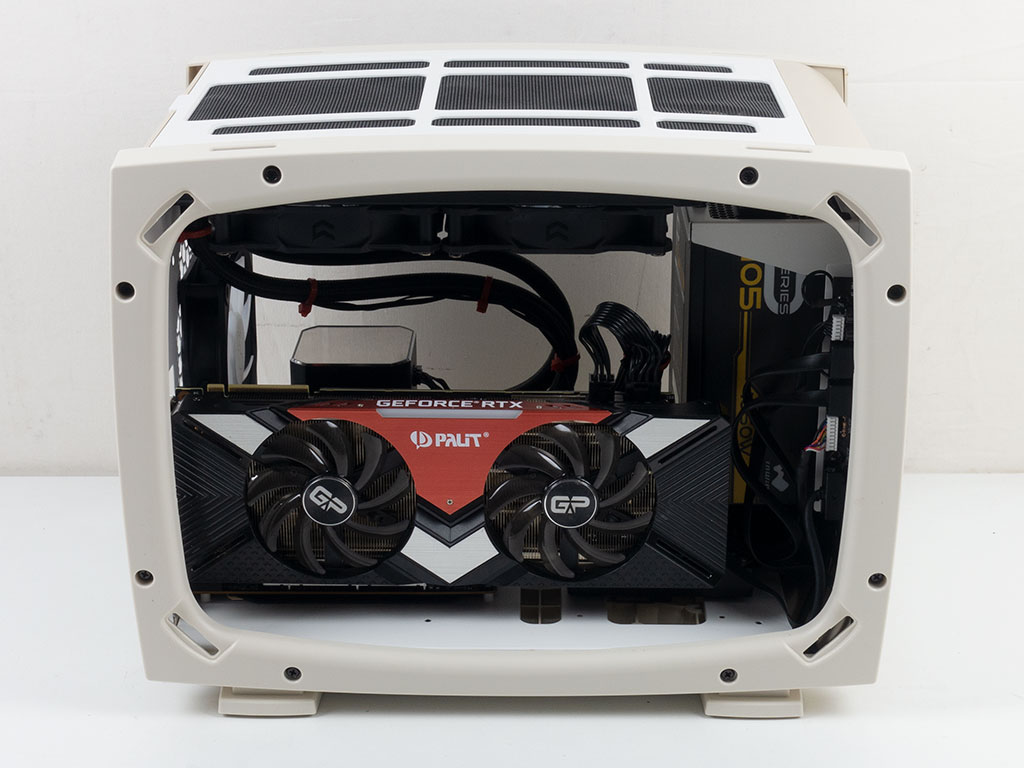
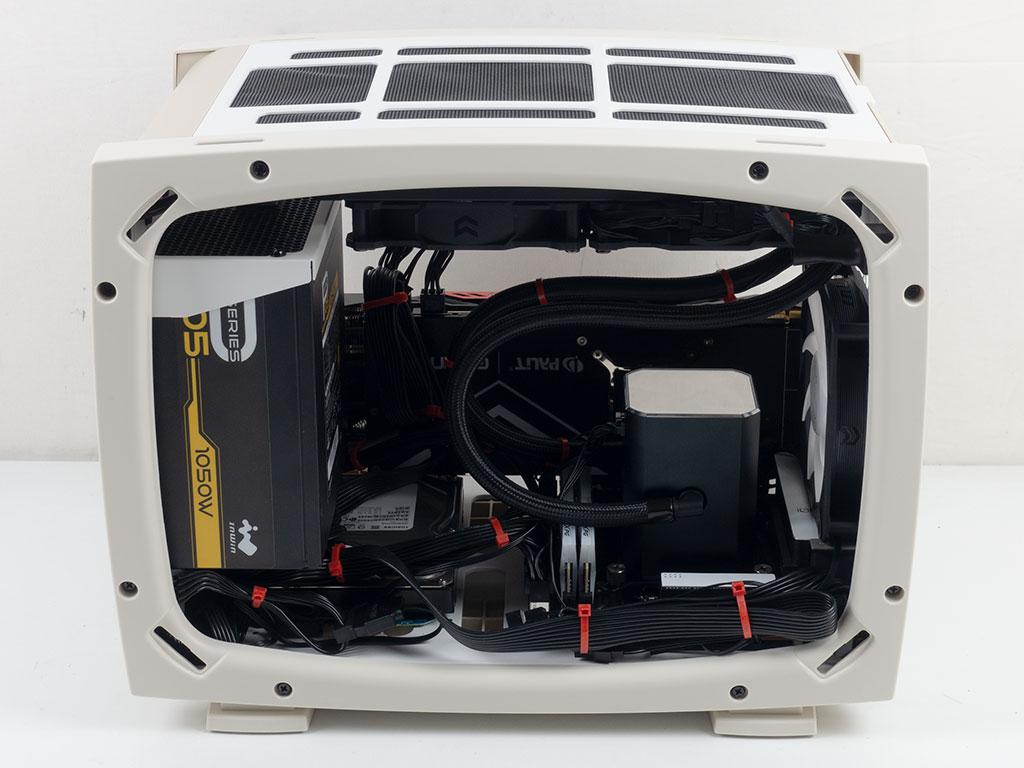
With everything installed, you can clearly see parts of the AIO and full GPU when viewing the open case from the left side. Turning the InWin Explorer over, what you see is the result of extensive, creative cable management. The AIO leads from the fan were routed down one tube, where they were connected and consolidated with the pump wiring, which then leads straight to the fan and ARGB headers. With no hooks in the floor, all that could be done was to hide as much of the cable mess as possible to then use numerous zip ties and the tension in these wires to keep things organized. You could go even further by pre-planning the wiring and going underneath the motherboard for some, which was not possible with our Gigabyte Z590i Vision D board since it features a metal backplate.
Finished Looks
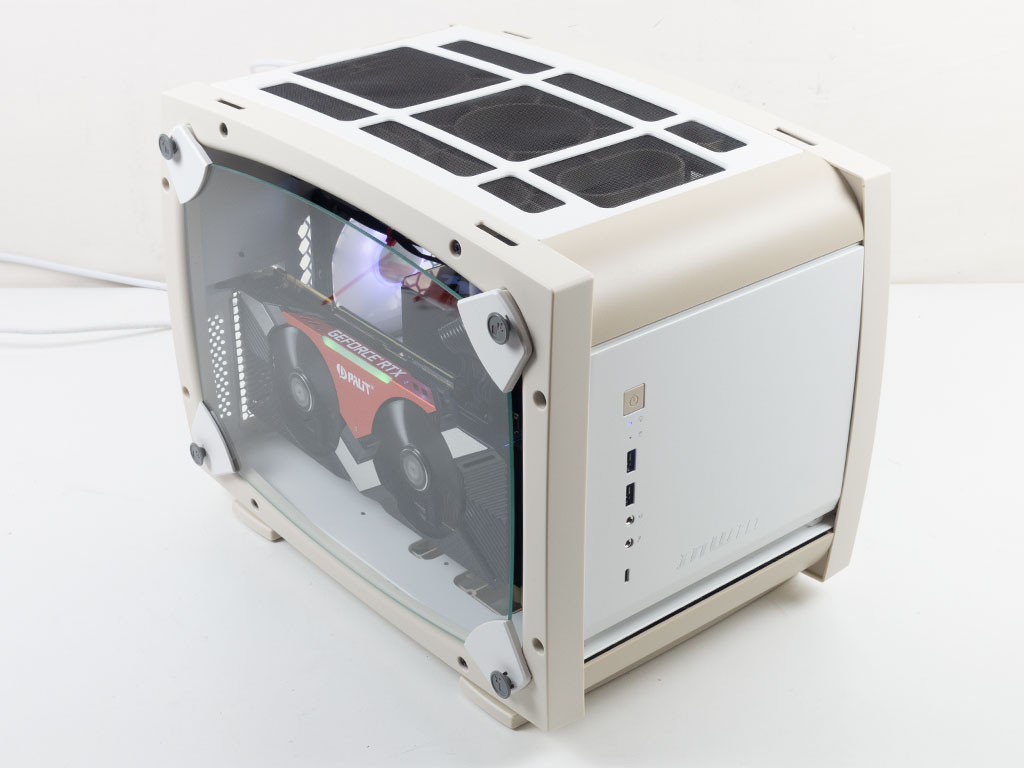
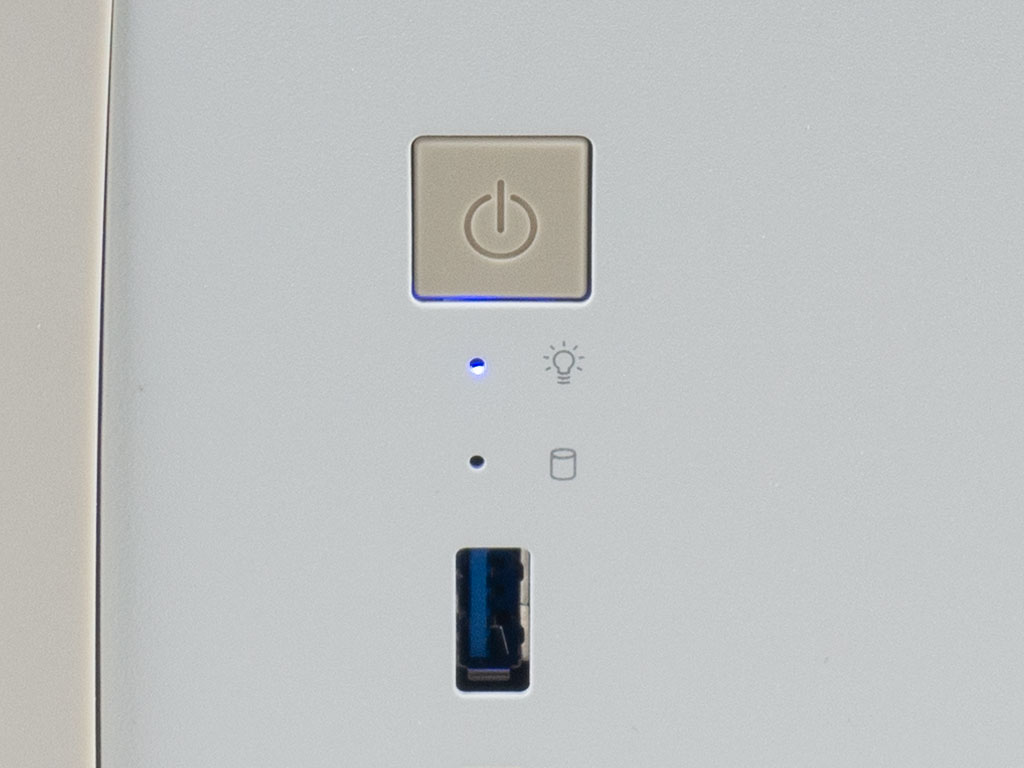
Once assembled, all that is left to do is to pop the side panels back onto the case and power the system up. A blue LED in the front will also let you know that it is turned on.
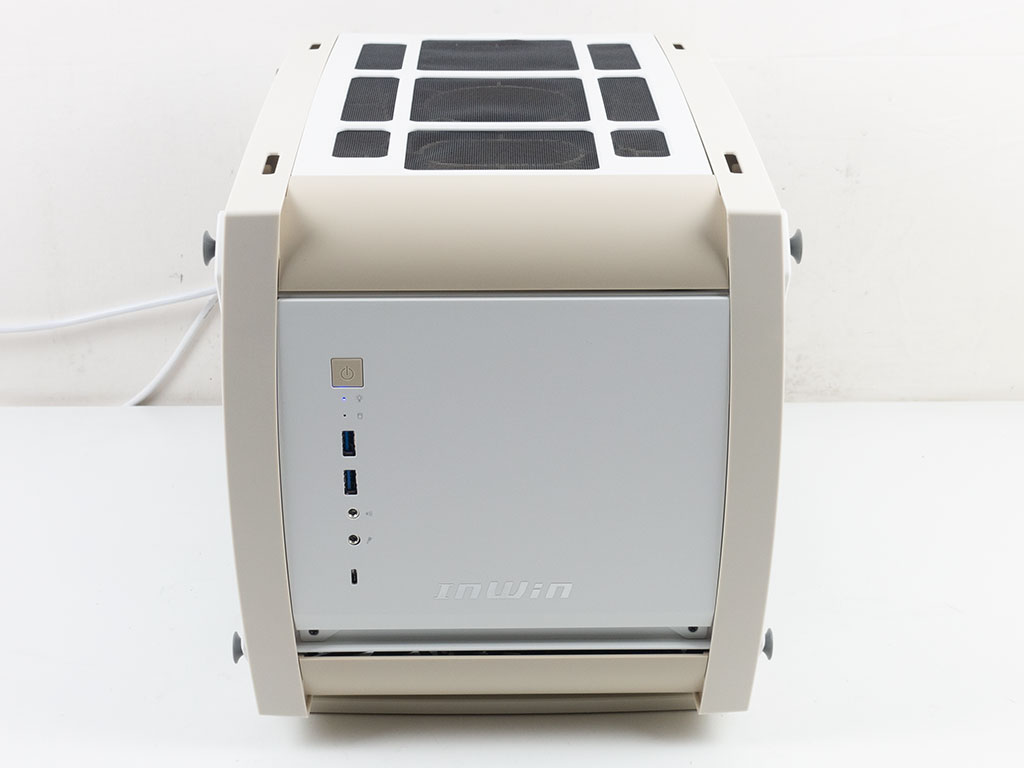
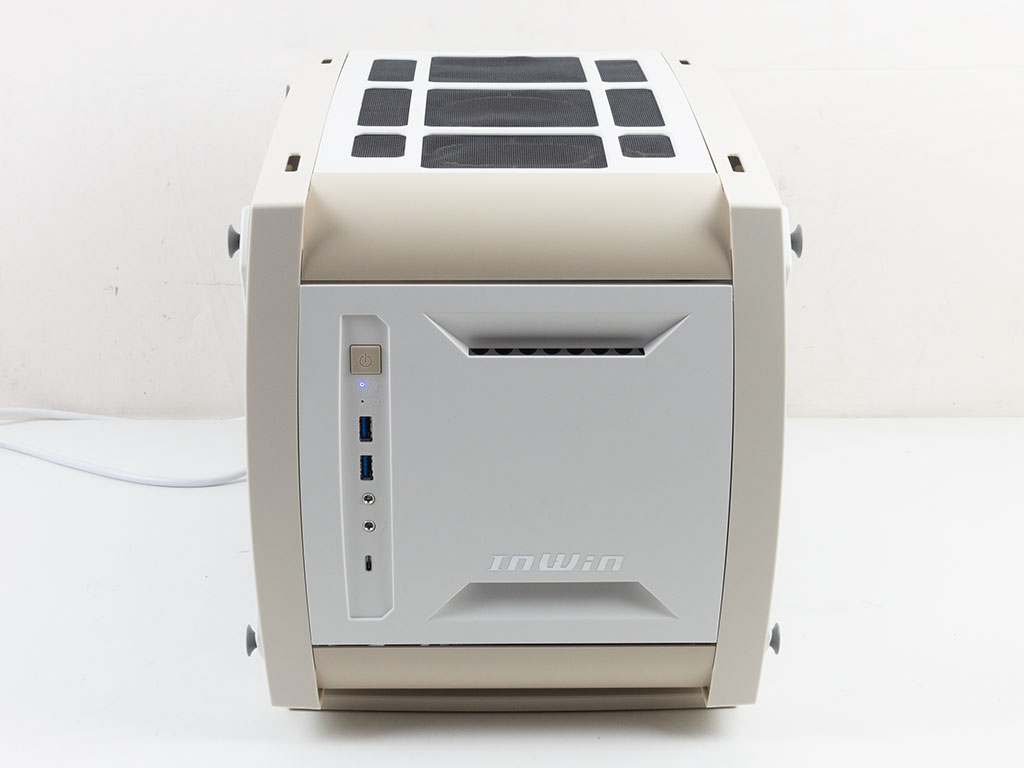
Looking at the front, you won't even know there is a vent here with the default metal cover. Switching over to the plastic one does give the PSU those openings to draw in cool air, but it won't make a tangible difference to internal component temperatures anyway.
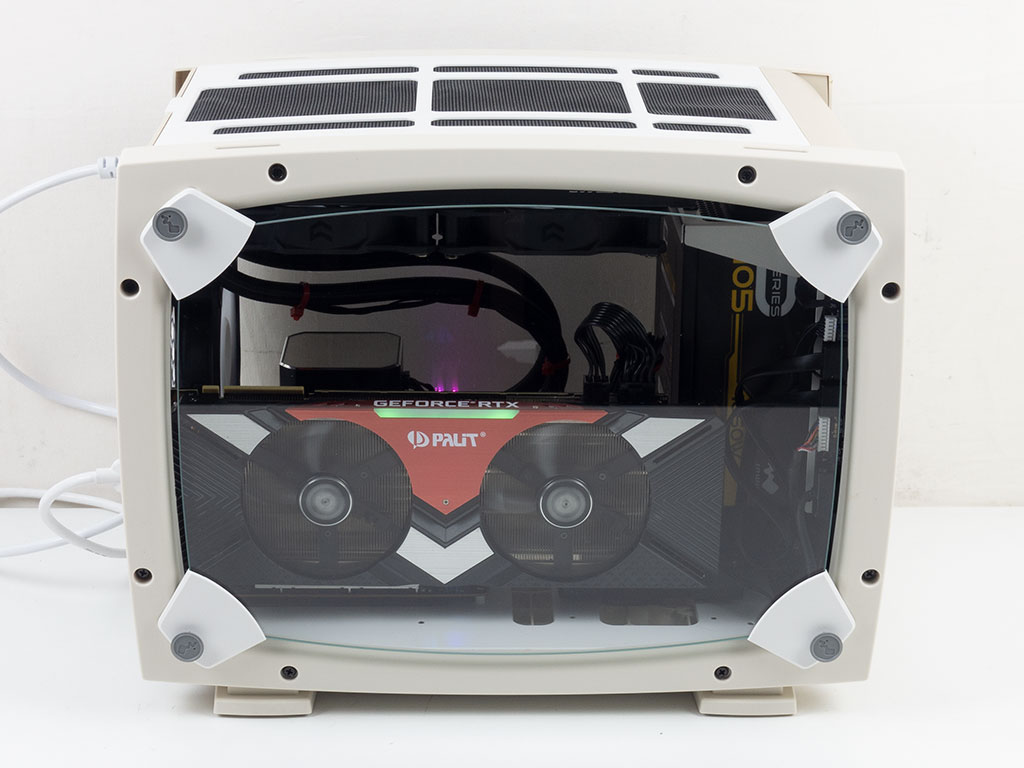
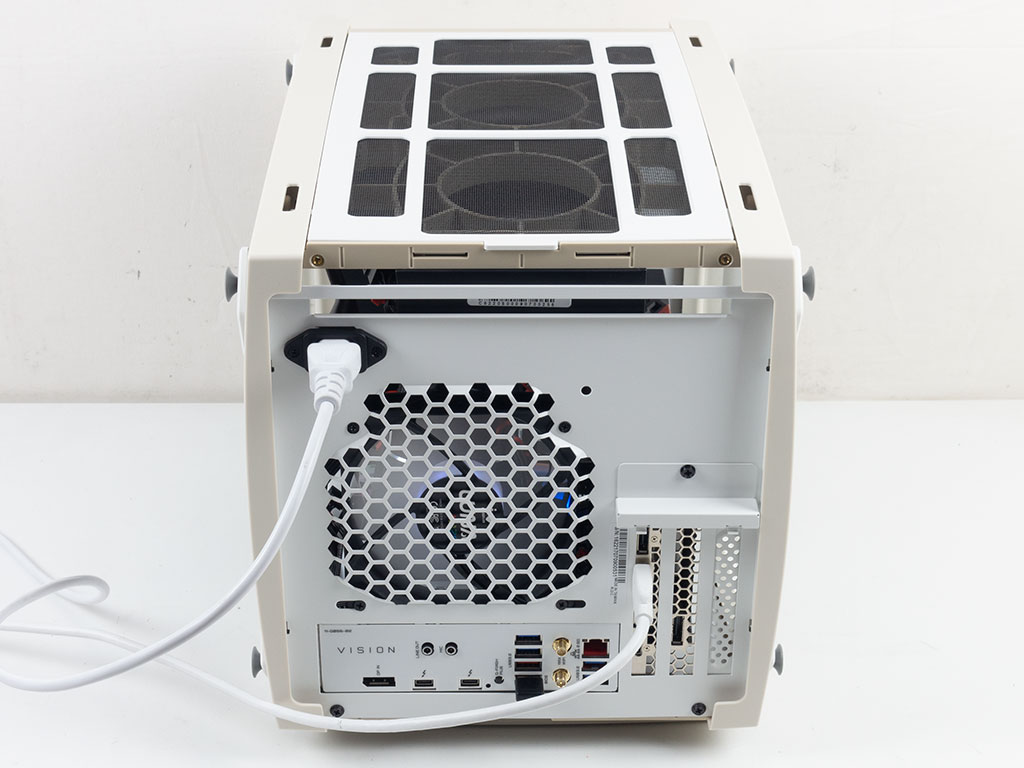
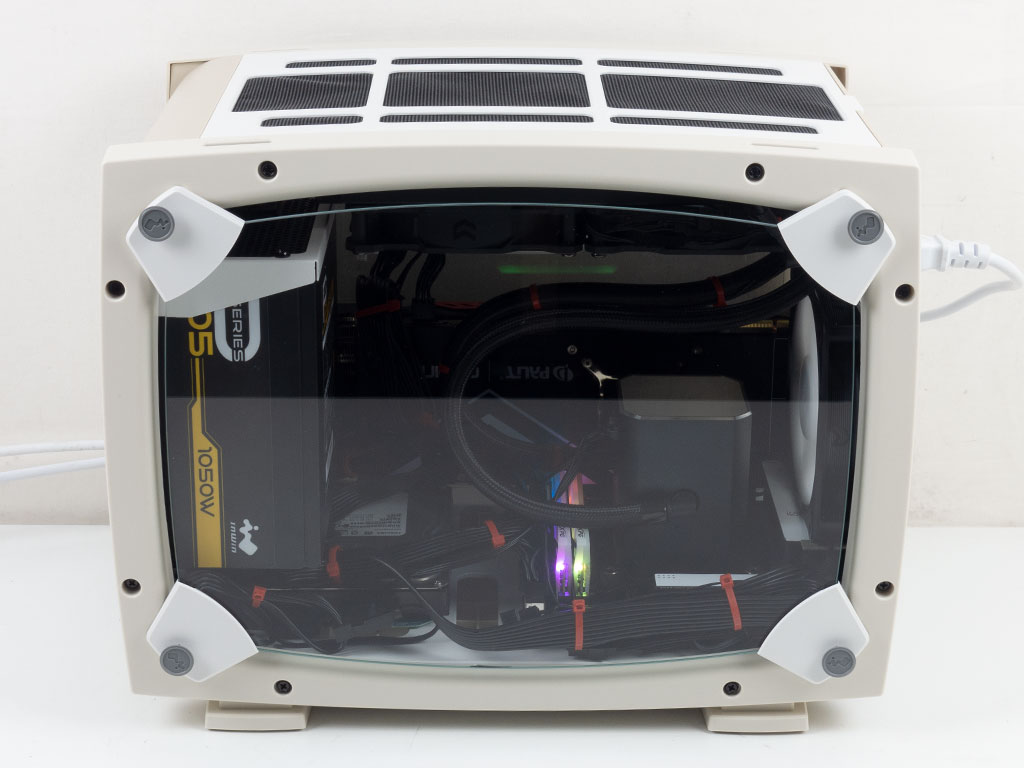
With the clear windows, you are able to see all the parts and details of your build; thus, any ARGB elements will shine bright and true. In the rear, everything is where you would expect it, with the power plug away from your motherboard and GPU connectors.
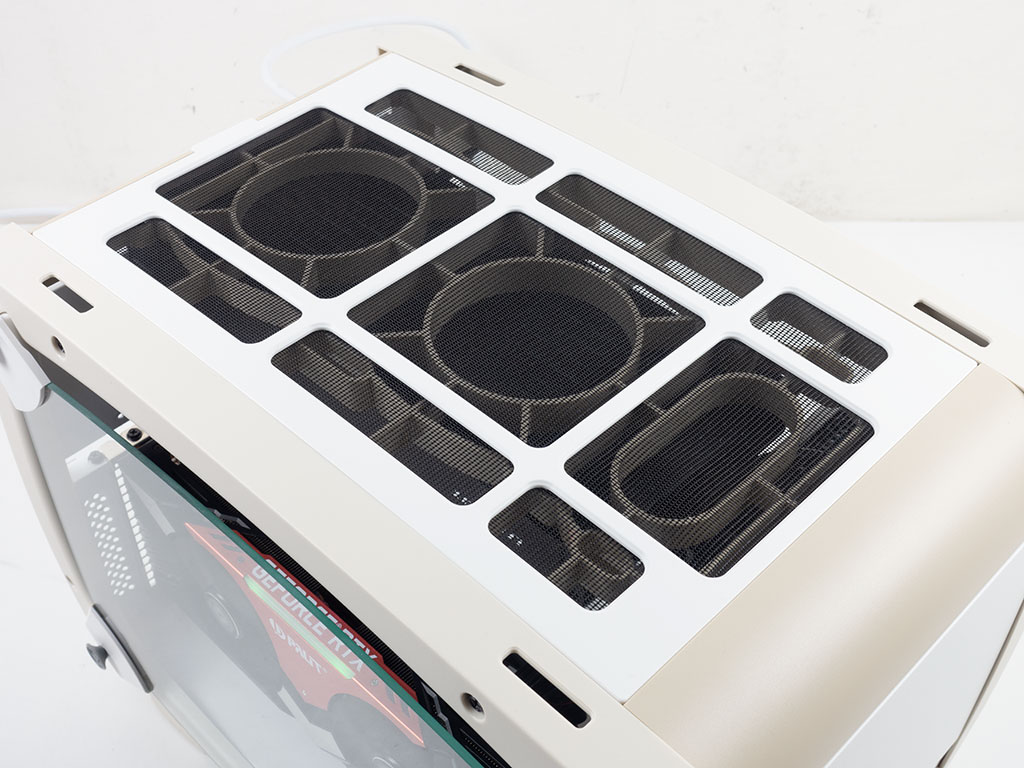
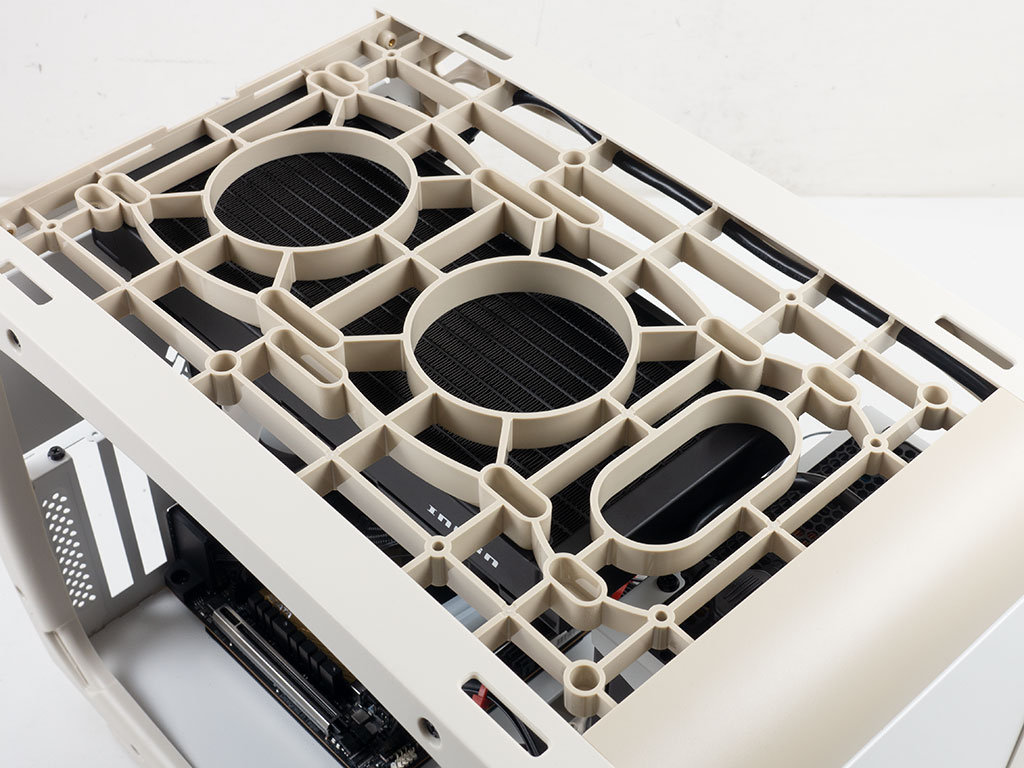
Taking a quick peek at the top, you can see the radiator through the cloth mesh, along with the components below it. This is a good sign as it should translate into unobstructed airflow as well.
Mar 13th, 2025 07:55 EDT
change timezone
Latest GPU Drivers
New Forum Posts
- Missing nvidia control panel after using nvcleanstall with latest drivers (5)
- I'm looking for a good tool to make the 3D scanning of my mini-pc using the photogrammetry and my Kinect 2. (88)
- RTX5000 Series Owners Club (153)
- What's your latest tech purchase? (23292)
- RX 9070 availability (224)
- The TPU UK Clubhouse (25884)
- Cant Enable Resizable Bar (7)
- Will Asus USB4 ASMedia 4242 card work in a motherboard another manufacturer? (2)
- Oculus Rift S Green Tint Issue (1)
- Free Games Thread (4553)
Popular Reviews
- AMD Ryzen 9 9950X3D Review - Great for Gaming and Productivity
- Sapphire Radeon RX 9070 XT Nitro+ Review - Beating NVIDIA
- XFX Radeon RX 9070 XT Mercury OC Magnetic Air Review
- FSP MP7 Black Review
- Dough Spectrum Black 32 Review
- ASUS Radeon RX 9070 TUF OC Review
- ASUS GeForce RTX 5090 TUF Review
- AMD Ryzen 7 9800X3D Review - The Best Gaming Processor
- NVIDIA GeForce RTX 5070 Founders Edition Review
- MSI MAG B850 Tomahawk Max Wi-Fi Review
Controversial News Posts
- NVIDIA GeForce RTX 50 Cards Spotted with Missing ROPs, NVIDIA Confirms the Issue, Multiple Vendors Affected (513)
- AMD Radeon RX 9070 and 9070 XT Listed On Amazon - One Buyer Snags a Unit (261)
- AMD RDNA 4 and Radeon RX 9070 Series Unveiled: $549 & $599 (260)
- AMD Mentions Sub-$700 Pricing for Radeon RX 9070 GPU Series, Looks Like NV Minus $50 Again (249)
- NVIDIA Investigates GeForce RTX 50 Series "Blackwell" Black Screen and BSOD Issues (244)
- AMD Radeon RX 9070 and 9070 XT Official Performance Metrics Leaked, +42% 4K Performance Over Radeon RX 7900 GRE (195)
- AMD Radeon RX 9070-series Pricing Leaks Courtesy of MicroCenter (158)
- AMD Radeon RX 9070 XT Reportedly Outperforms RTX 5080 Through Undervolting (102)