 40
40
NCASE M1 Review
Value & Conclusion »Test System
| System Parts for Case Reviews | |
|---|---|
| Processor: | Intel Core i7-4770K @ 4.2 GHz (Haswell, 8192 KB Cache) |
| Motherboards: | ATX: Gigabyte GA-Z97X-Gaming 7 mATX: Gigabyte GA-Q87M-D2H mini-ITX: GA-H97N-WIFI Provided by: Gigabyte |
| Graphic Card: | Long: NVIDIA GeForce GTX 280 OEM Short: HIS Radeon 5350 HD |
| Memory: | Crucial Ballistix Tactical DIMM Kit 8GB @ DDR3-1600, CL8-8-8-24 Provided by: Crucial |
| HDD: | Western Digital 320 GB 7200 RPM |
| SSD: | Crucial MX100 256GB SATA 6Gbps Provided by: Crucial |
| Power Supply: | Fractal Design Edison M 550W Provided by: Fractal Design |
| Cooling: | Air Cooling: Be Quiet Shadow Rock 2 Liquid Cooling: Fractal Design Kelvin T12 & S24 Provided by: Fractal Design |
Assembly

Installing the motherboard is done by traditional means, with the use of screws and spacers. NCASE mentions a maximum height of 130 mm for air cooling, but also notes that such a unit may only extend beyond the motherboard's edge by 10 mm. It is great to have the ability to install a fairly normal top-blow cooler within the chassis, but we will liquid-cooling our build.
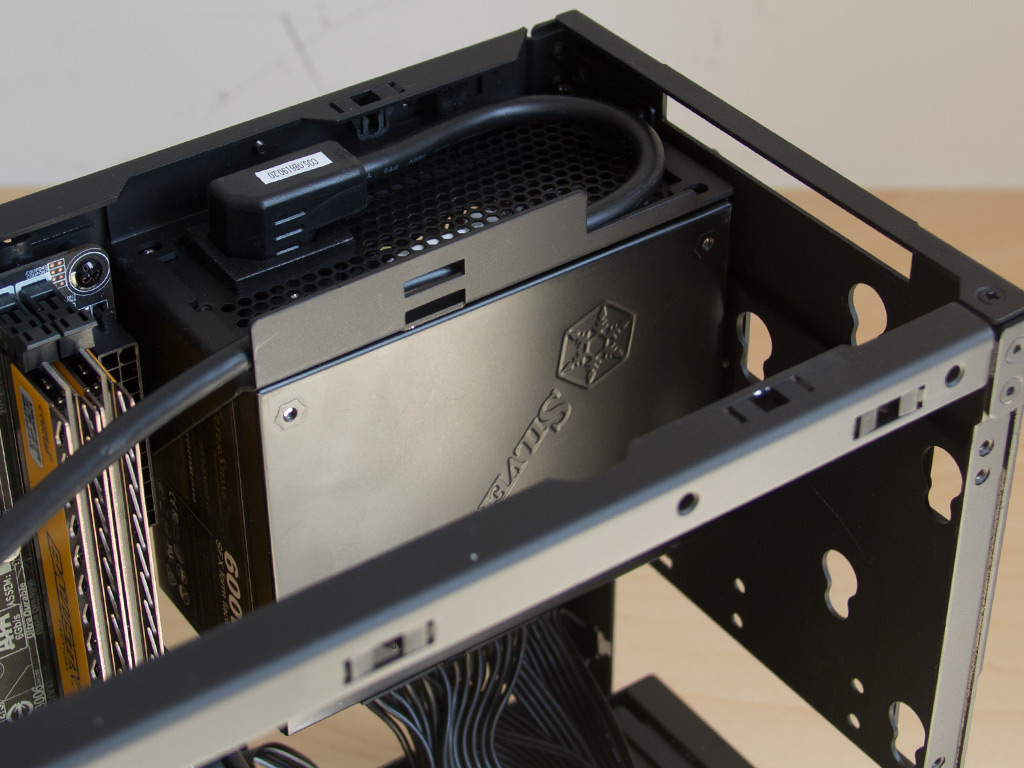
As a next step, you should go for the PSU since other components may get in the way if you do so at a later point. Once again, NCASE offers you the choice between a costlier, but smaller SFX unit or a larger and cheaper ATX variant by providing the additional bracket. As a traditional power supply will restrict the user in how big of a radiator may fit and how long the GPU can be, we chose to install a potent Silverstone SFX unit.

Such a choice allows you to place GPUs of up to 12.5" inside the M1, which is enough to basically install any single GPU currently available on the market.
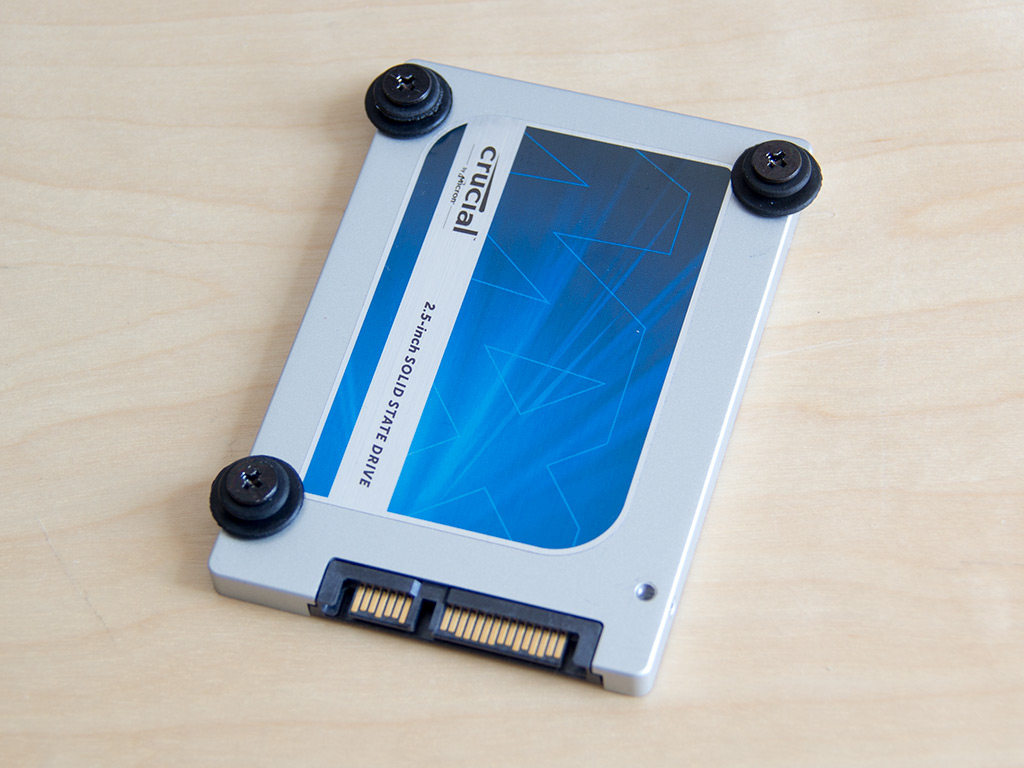
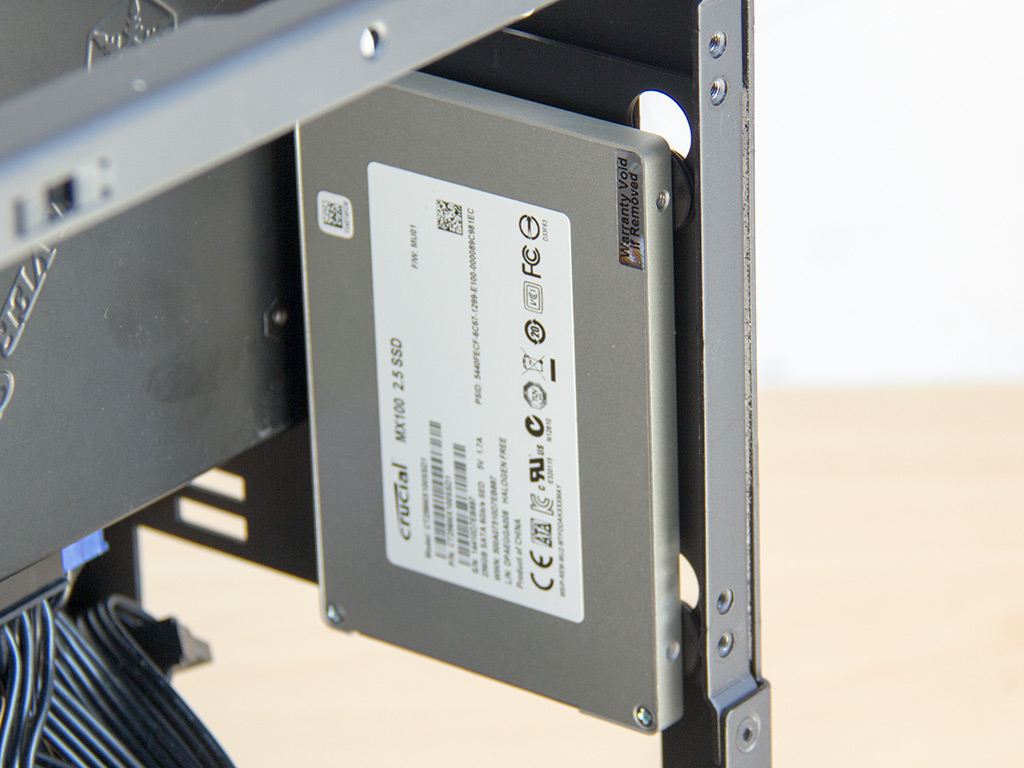
While some areas of the chassis require the use of simple screw to pin down a 2.5'' hard drive, both mounting locations in the front employ rubber rings that are mounted onto the device, which is then put into the M1. It actually holds in place very well, so you won't have to worry about it jumping out during transport.
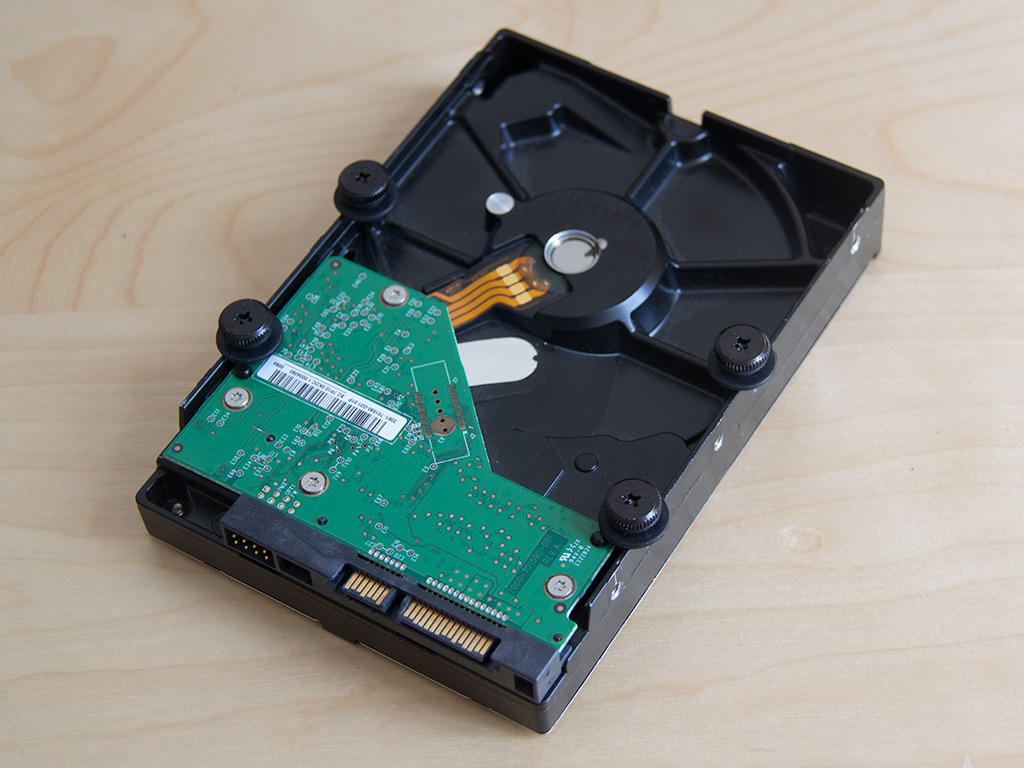

The overall design philosophy continues with the 3.5'' drives as you may either install these inside the dual-bracket or go for a large liquid cooler. You can also put such drives on the floor of the chassis if all you require is a 3.5'' drive. To do so, simply screw the rubber rings onto the drive or, alternatively, depending on the location on the bottom, pre-configure it on the floor of the chassis. The result is the same as the drive will rest firmly on vibration-absorbing rubber rings. We chose to use the placement opportunity in the rear for as much free room around the GPU's cooling fan as possible.
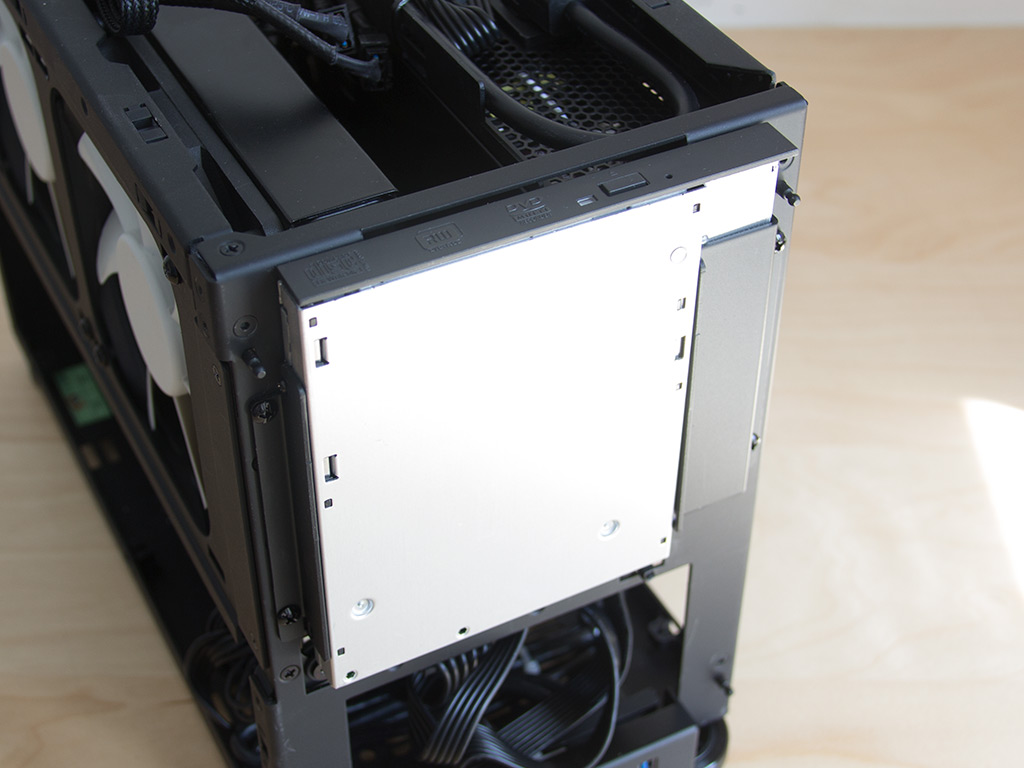
Once everything is in place, you may also go for the ODD drive in the front of the frame. You have to use a slot-loading unit, which will limit your choice of drives, but we installed a traditional slimline drive - it will do the job - to show you how it would look.
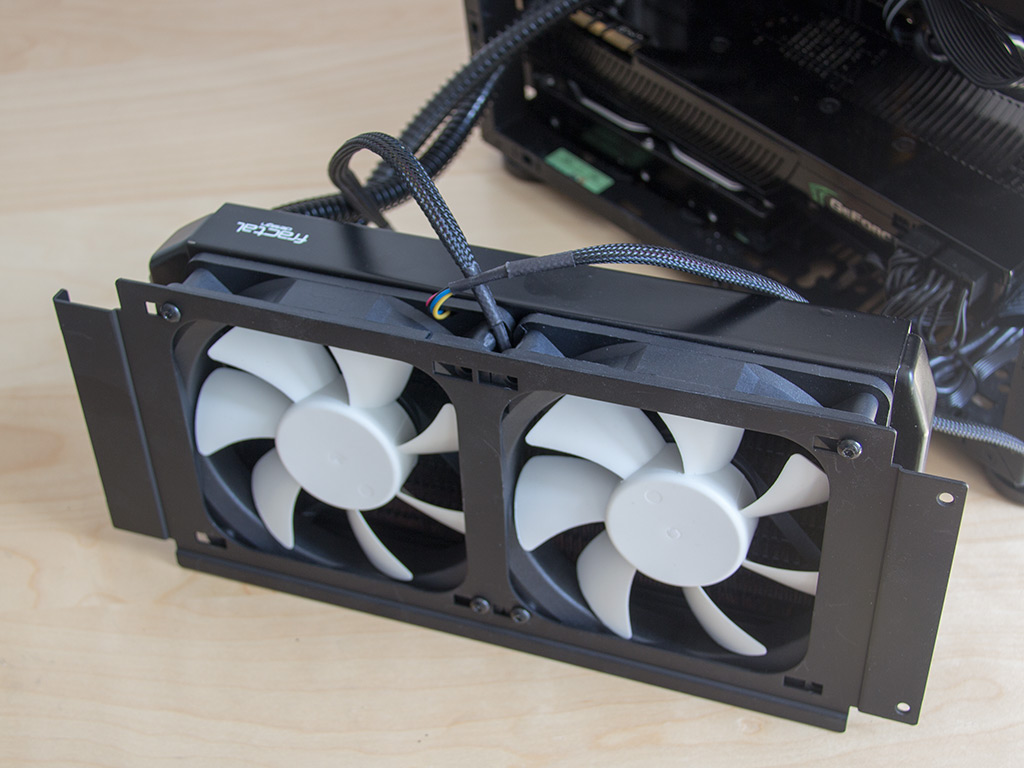
Last, but certainly not least, the NCASE may take a radiator of up to 240 mm in size, so we went right ahead and tried it out. Installing the radiator is easily done outside of the chassis thanks to the large bracket. We would have also loved to use the dust filters or grills NCASE provides, but the mounting screws for Fractal Design's unit were a few millimeters too short to hold everything in place.
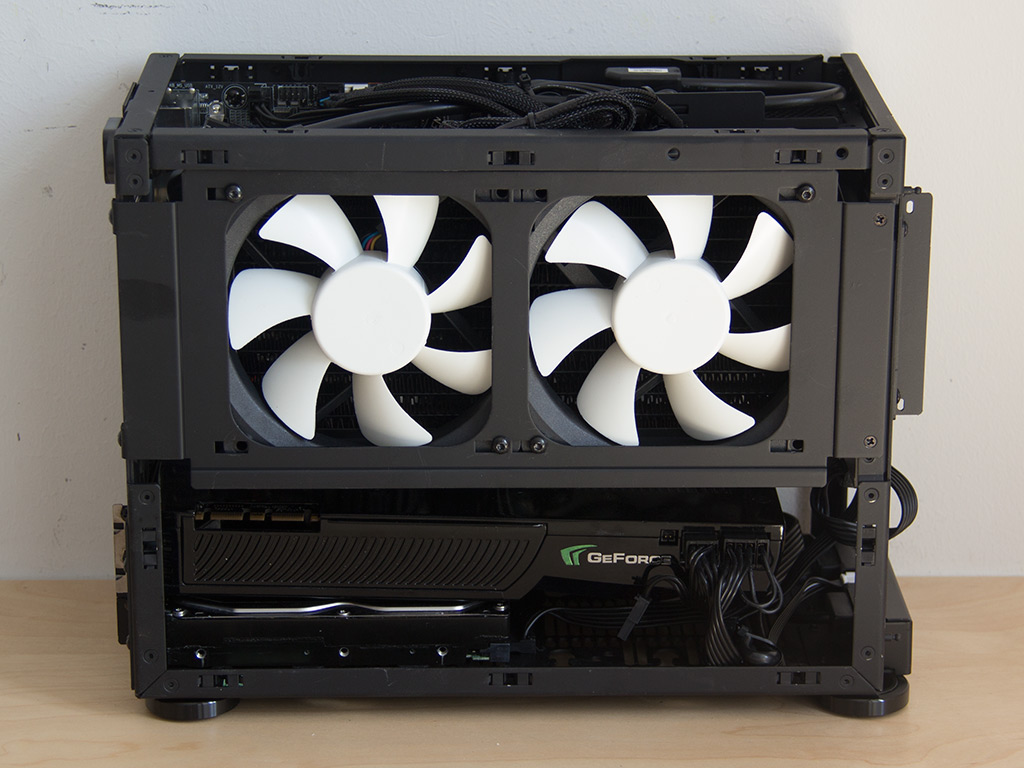

Just how incredibly well the M1 utilizes its limited amount of space becomes apparent once everything is in place. We tried to strike the perfect balance with our build by using an efficient 600W PSU, a fast SSD, a large, traditional storage drive, and an optical unit. On the performance side of things, the use of a large liquid-cooling unit in combination with a large GPU also showcases the ability to stuff the chassis full with great parts.
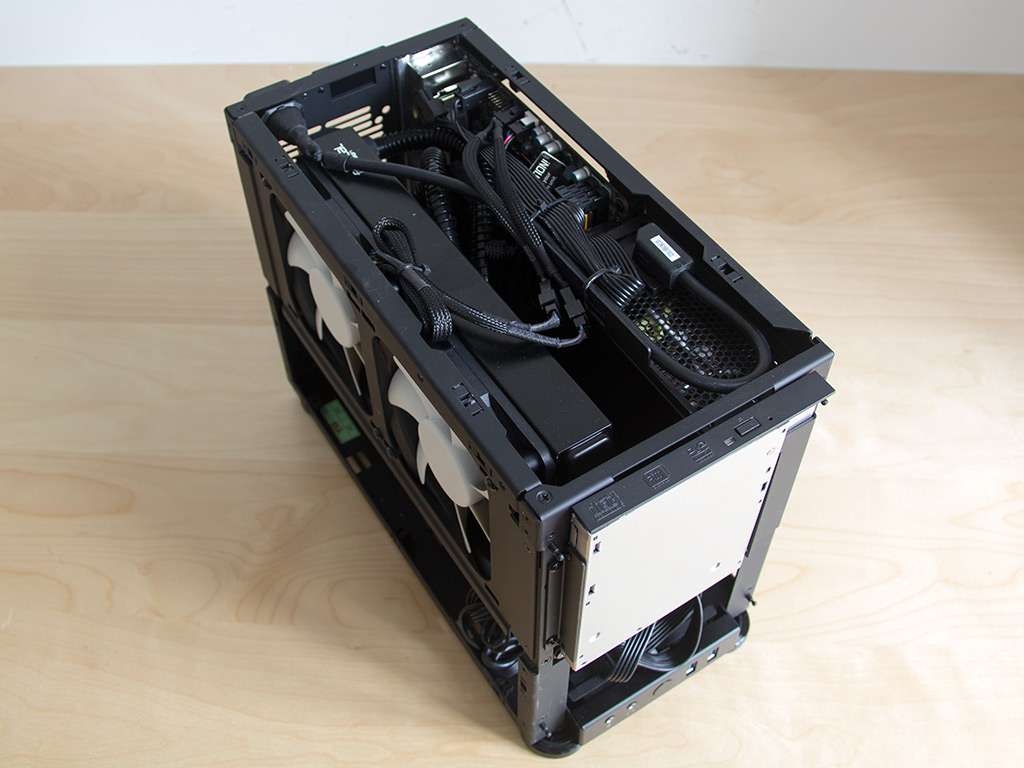
Another aspect that greatly helped in keeping everything clean were the numerous mounting holes for cables all around the chassis. NCASE essentially placed them everywhere they could, which is awesome to see.
Finished Looks
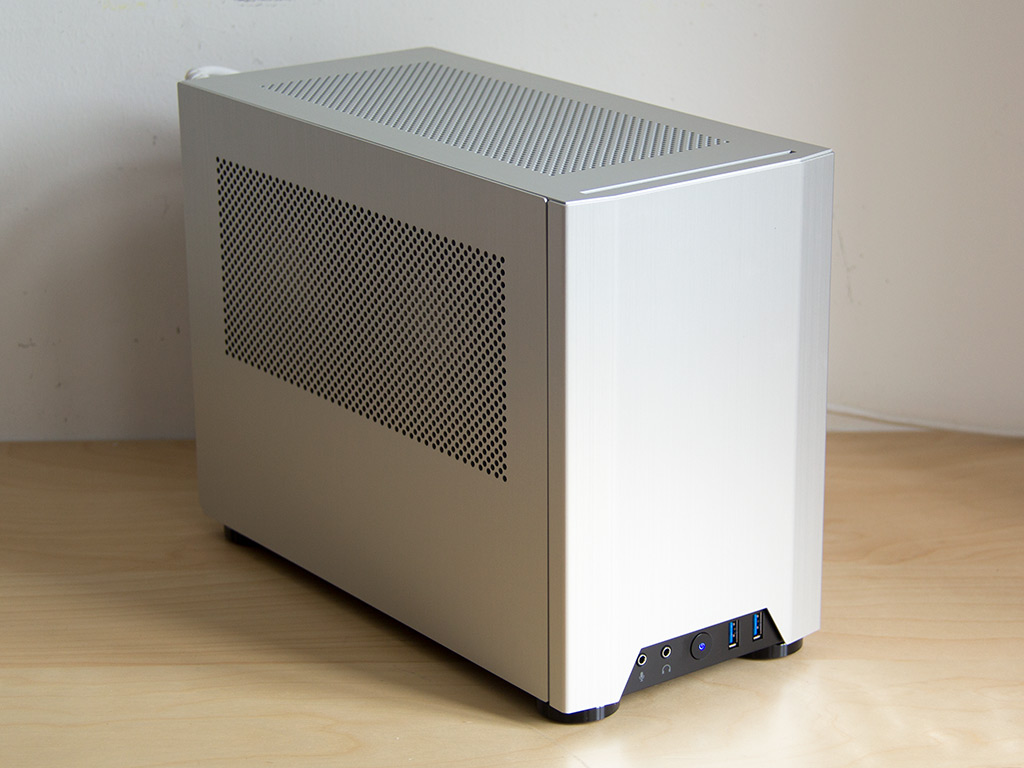
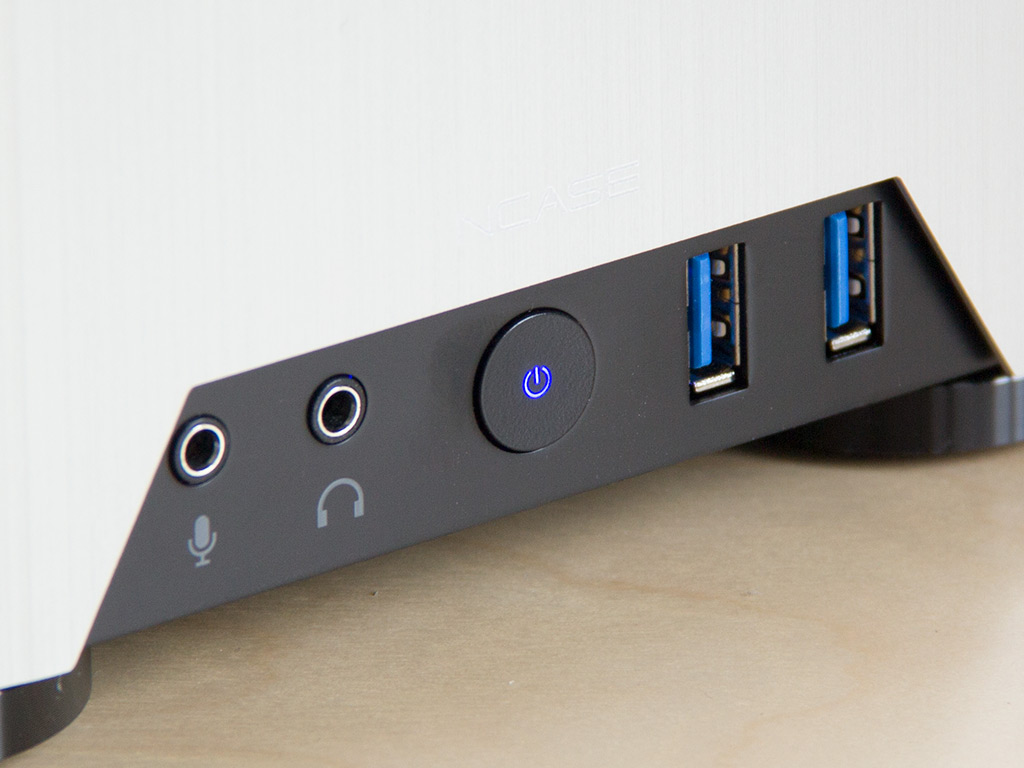
With everything in place, and all the panels snap into place easily, the system does not look any different than in the very first shot we took. Turn it on and the power button's blue LED will light up to let you know your system is up and running.
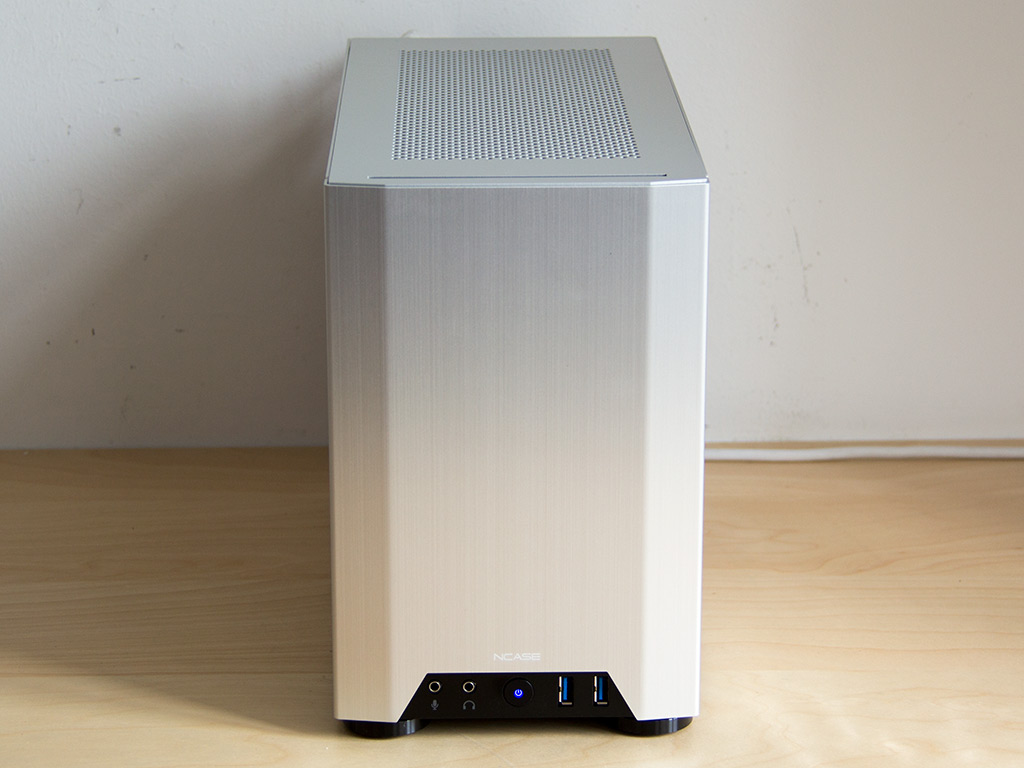
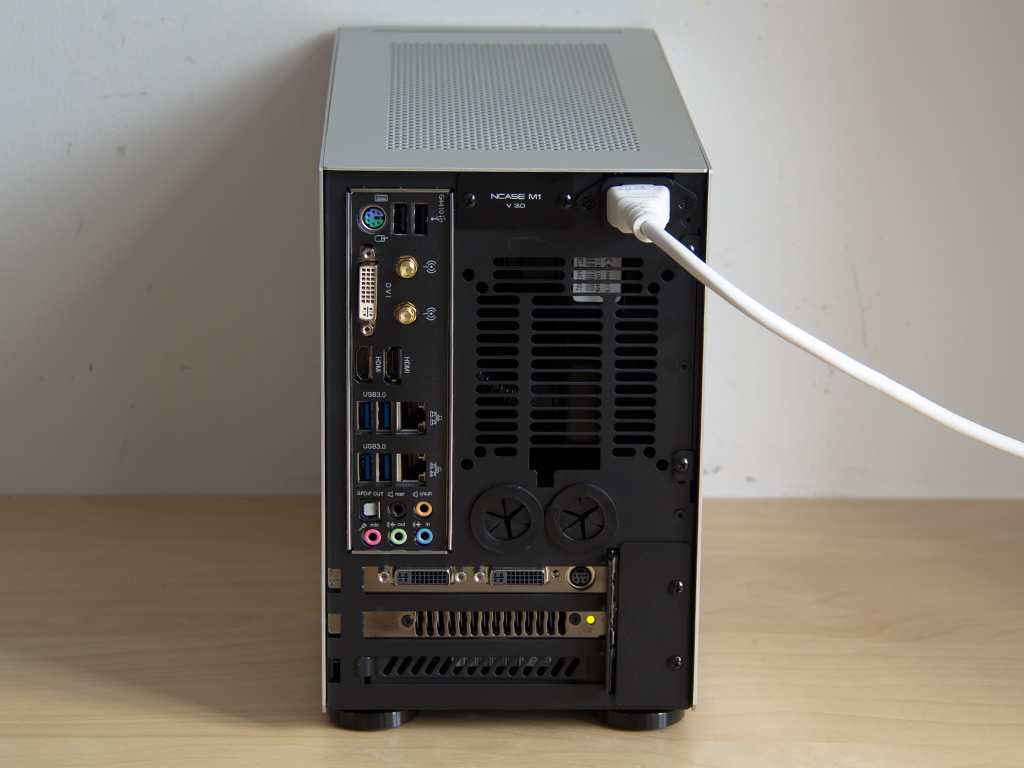
Besides that, there is no visual reference or lighting element in the front. The rear, very clean, also offers readily available access to all installed elements, with the PSU plug as far away from everything else as possible.

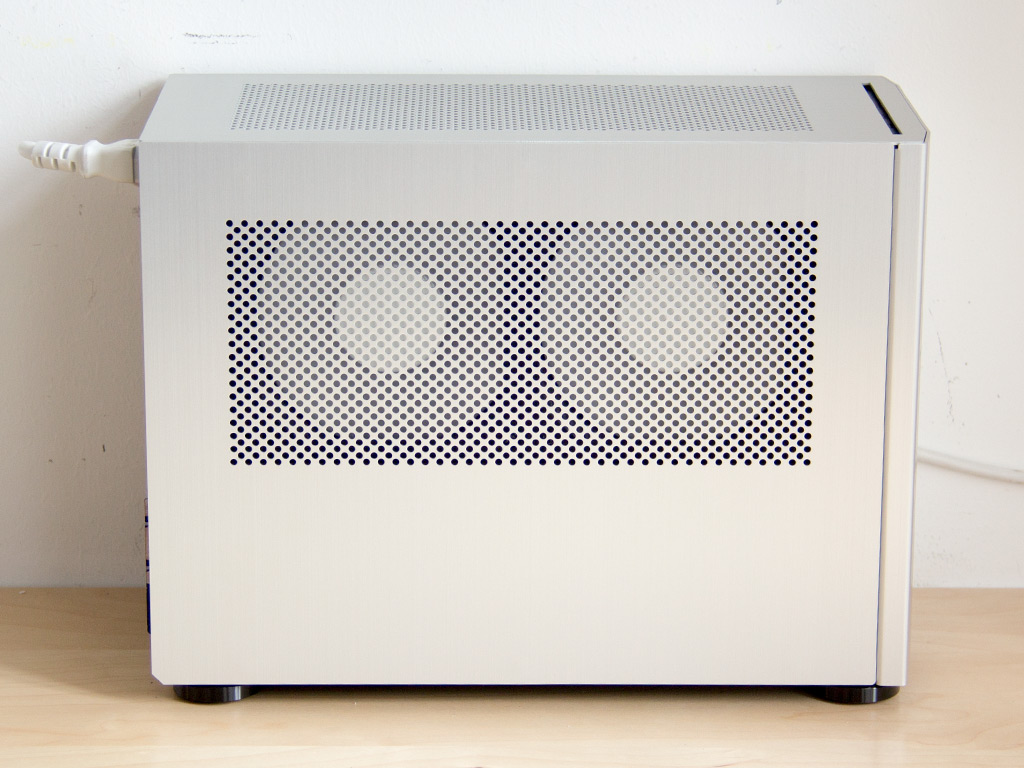
Both sides give you a bit of insight into the interior of the chassis. On one side, you can clearly see the two fans of the liquid-cooling unit doing their job.
Apr 15th, 2025 16:03 EDT
change timezone
Latest GPU Drivers
New Forum Posts
- Windows 11 fresh install to do list (0)
- DTS DCH Driver for Realtek HDA [DTS:X APO4 + DTS Interactive] (2142)
- RX 9000 series GPU Owners Club (326)
- Is it worth buying a pi5 with a broken hdmi connector (4)
- What's your latest tech purchase? (23559)
- New PC case - Other Options to Asus AP201 (5)
- Regarding fan noise (37)
- AAF Optimus Modded Driver For Windows 10 & Windows 11 - Only for Realtek HDAUDIO Chips (402)
- 5080 and 5070/Ti cards available at MSRP in the UK (8)
- What are you playing? (23381)
Popular Reviews
- G.SKILL Trident Z5 NEO RGB DDR5-6000 32 GB CL26 Review - AMD EXPO
- ASUS GeForce RTX 5080 TUF OC Review
- Thermaltake TR100 Review
- The Last Of Us Part 2 Performance Benchmark Review - 30 GPUs Compared
- TerraMaster F8 SSD Plus Review - Compact and quiet
- DAREU A950 Wing Review
- Sapphire Radeon RX 9070 XT Pulse Review
- Zotac GeForce RTX 5070 Ti Amp Extreme Review
- Sapphire Radeon RX 9070 XT Nitro+ Review - Beating NVIDIA
- Upcoming Hardware Launches 2025 (Updated Apr 2025)
Controversial News Posts
- NVIDIA GeForce RTX 5060 Ti 16 GB SKU Likely Launching at $499, According to Supply Chain Leak (182)
- NVIDIA Sends MSRP Numbers to Partners: GeForce RTX 5060 Ti 8 GB at $379, RTX 5060 Ti 16 GB at $429 (124)
- Nintendo Confirms That Switch 2 Joy-Cons Will Not Utilize Hall Effect Stick Technology (105)
- Over 200,000 Sold Radeon RX 9070 and RX 9070 XT GPUs? AMD Says No Number was Given (100)
- Nintendo Switch 2 Launches June 5 at $449.99 with New Hardware and Games (99)
- Sony Increases the PS5 Pricing in EMEA and ANZ by Around 25 Percent (85)
- NVIDIA PhysX and Flow Made Fully Open-Source (77)
- NVIDIA Pushes GeForce RTX 5060 Ti Launch to Mid-April, RTX 5060 to May (77)