 13
13
NZXT Lexa S Review
Assembly & Finished Looks »A Closer Look - Inside
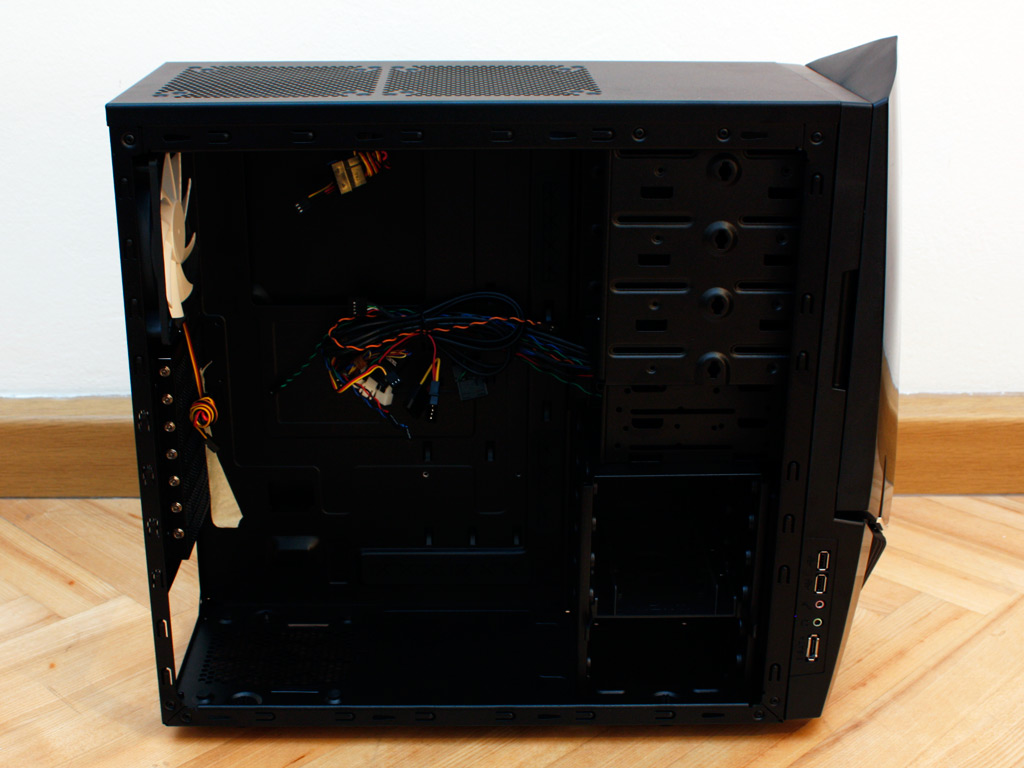

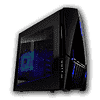
To gain access to the interior, simply remove the thumb screws holding the chassis in place. The entire interior has been colored black as well, which further adds to the overall looks of the case, but does make taking pictures a bit harder for me. The layout of the guts does not seem unusual and NZXT has taken features and systems from previous cases which are not exclusive to their brand. In other words, you will find the exact same screw-less locks in many other cases as well. One aspect which is exclusive to the NZXT Lexa S are the various rubber guarded holes around the mainboard area. These are intended to make cable routing and hiding easier. While this will work more or less, there is very little space between the mainboard plate and the side panel, so you will not be able to hide a lot of cables here. There are plenty of cutouts to use zip ties for securing cables on this side of the mainboard tray, but their purpose is defeated by the little space available between it and the side panel.
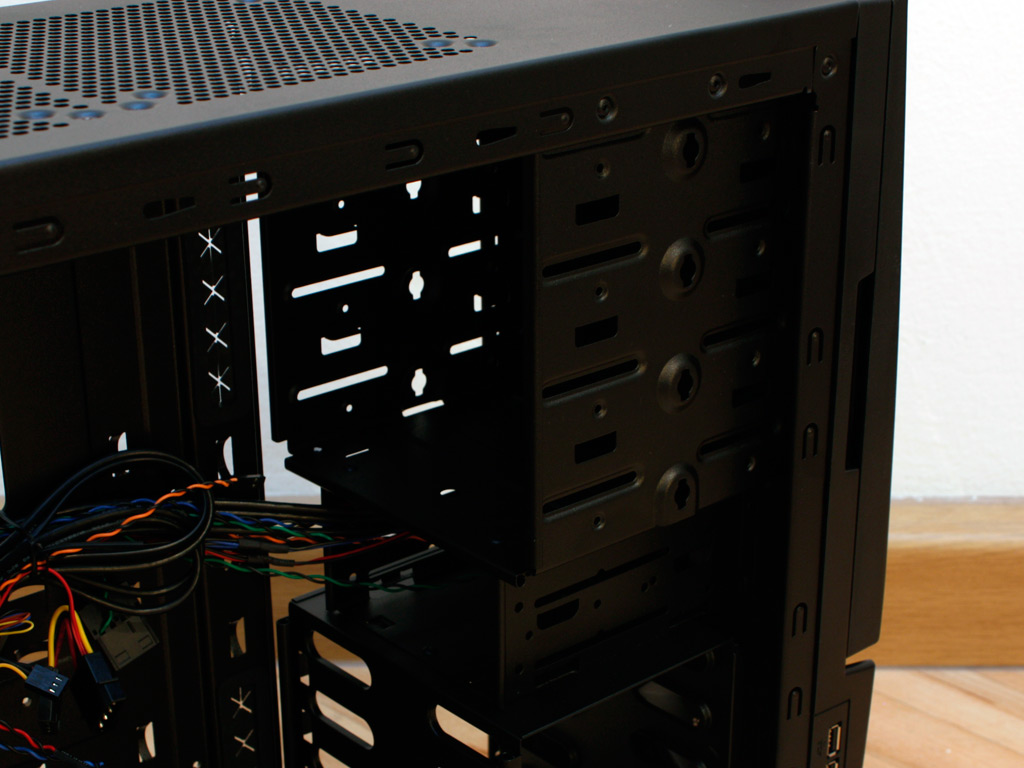
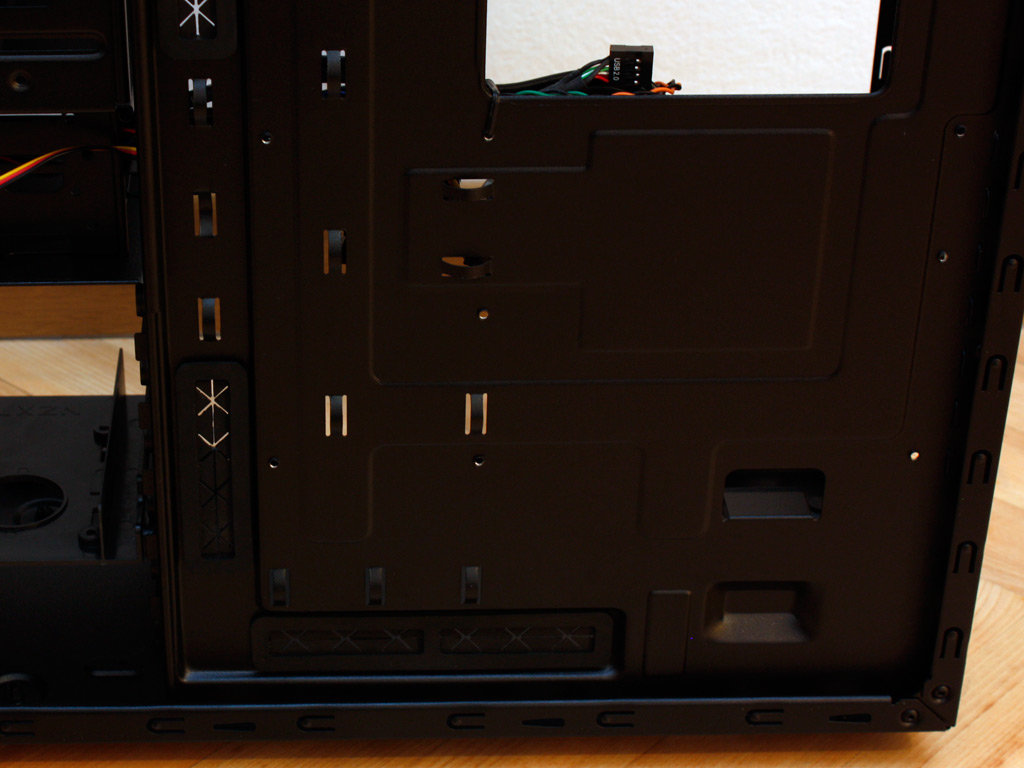
We have seen the hard drive bays before in many different cases. The plastic rail design works well, but is nothing out of the ordinary anymore. Also there are only five such drive bays, while NZXT advertises seven bays. Upon closer inspection they seem to have added the two external 3.5 inch bays as well. This is perfectly fine, as the bottom one of the two is not accessible from the outside, but the other one is. So in reality there are six internal 3.5 inch bays and one external one. Once again, their feature list is quite misleading in many regards, which is something I certainly do not take lightly as it creates certain expectations for users who may then be disappointed at home.
Moving up to the optical drive bays, these can take plastic locks or traditional screws. As the former simply does not hold well and the latter is not screw-less, NZXT has included thumb screws instead - certainly a great choice.
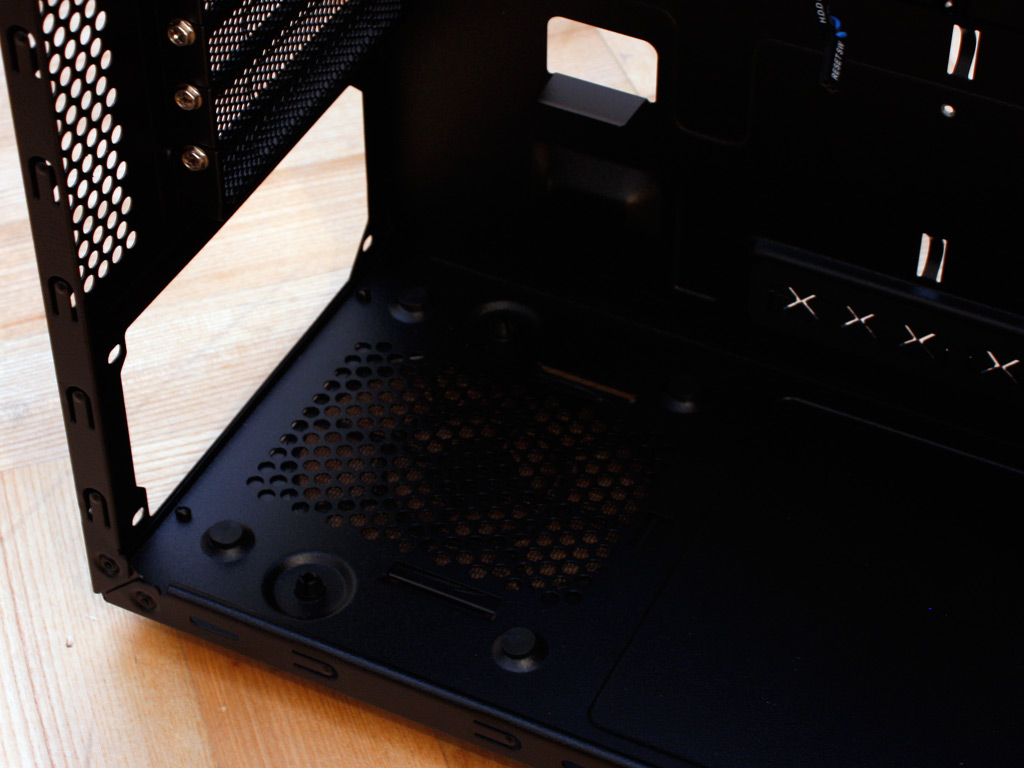
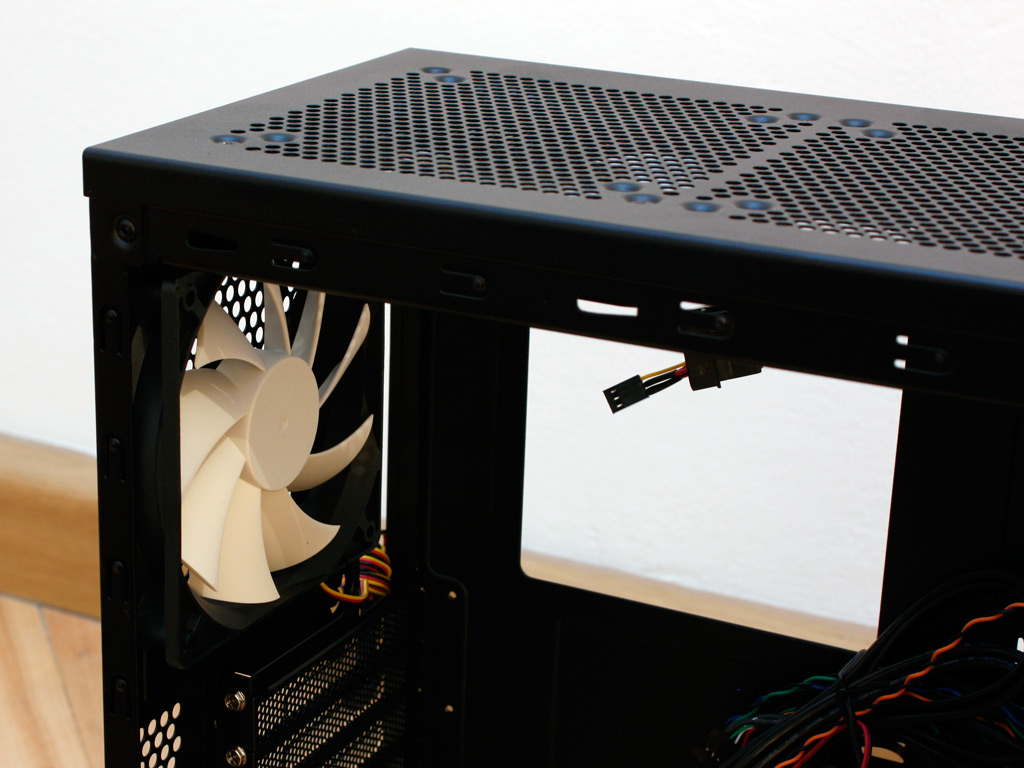
To avoid vibration from the power supply, there are four little foam covered bumps on the floor of the chassis. You may only install the PSU in one direction so nothing else to mention in this area. Moving up, the seven expansion slot covers, which are made of metal mesh, are held in place by traditional screws and may be reused at a later point. On the very top of the rear you will find one of the four white bladed fans. Did I mention that I really like the fact that these blades are white?
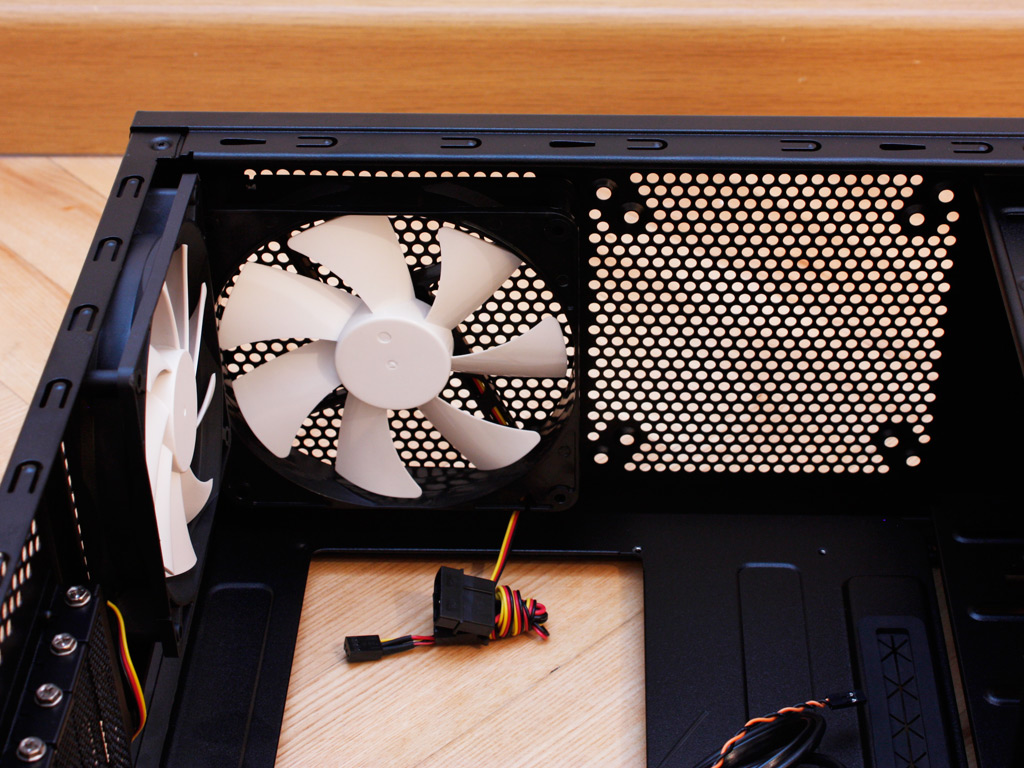
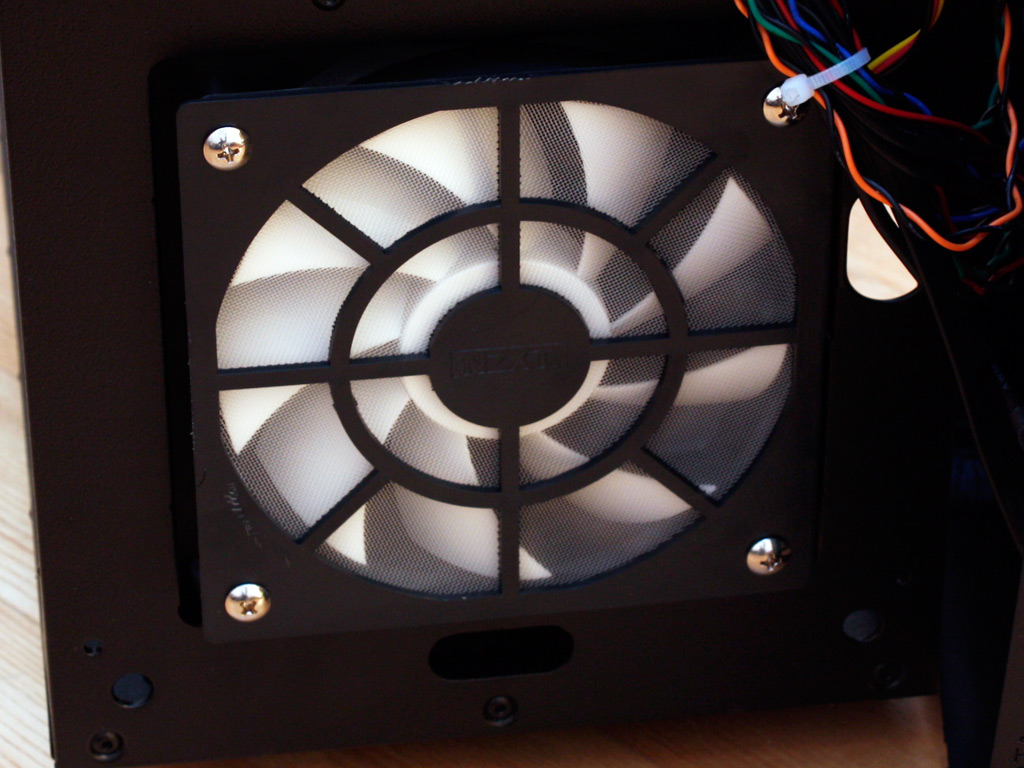
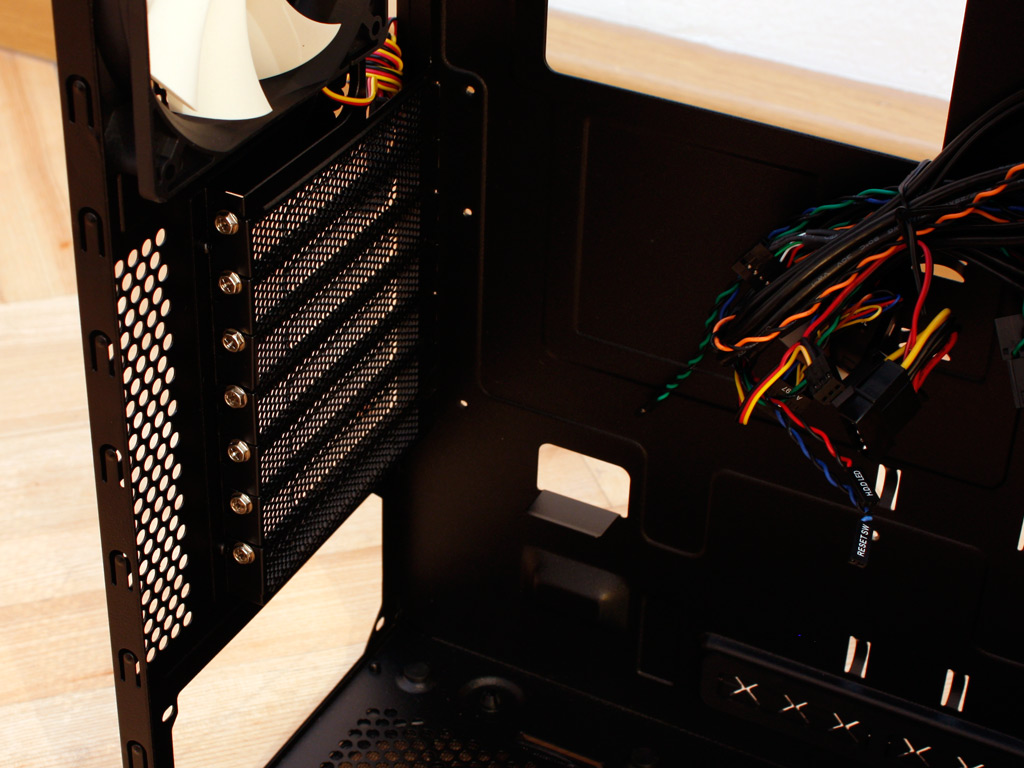
While the rear fan is of the 120 mm variety, NZXT has chosen to place a 140 mm fan under the ceiling of the Lexa S. It would have been perfect if both areas under the ceiling were filled with these units, as acquiring another white bladed fan just like the ones used may be a bit tough. The last of the four cooling units is located in the front behind a plastic dust guard. Removing this unit also means that the fan is removed, as the screws go all the way through to the case, holding both the fan and the guard. I should mention at this point, that I had to unscrew the guard and flip it around so that the NZXT logo faces the fan, as it was interfering with the blades of the cooling unit out of the box, creating a loud rattle.
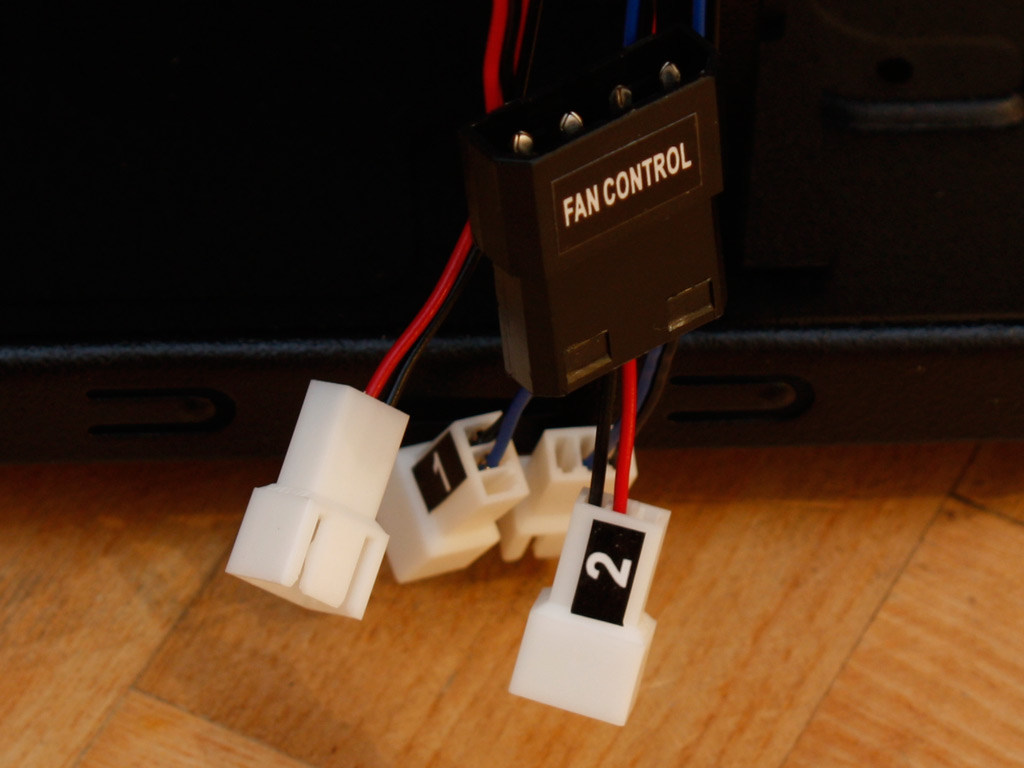
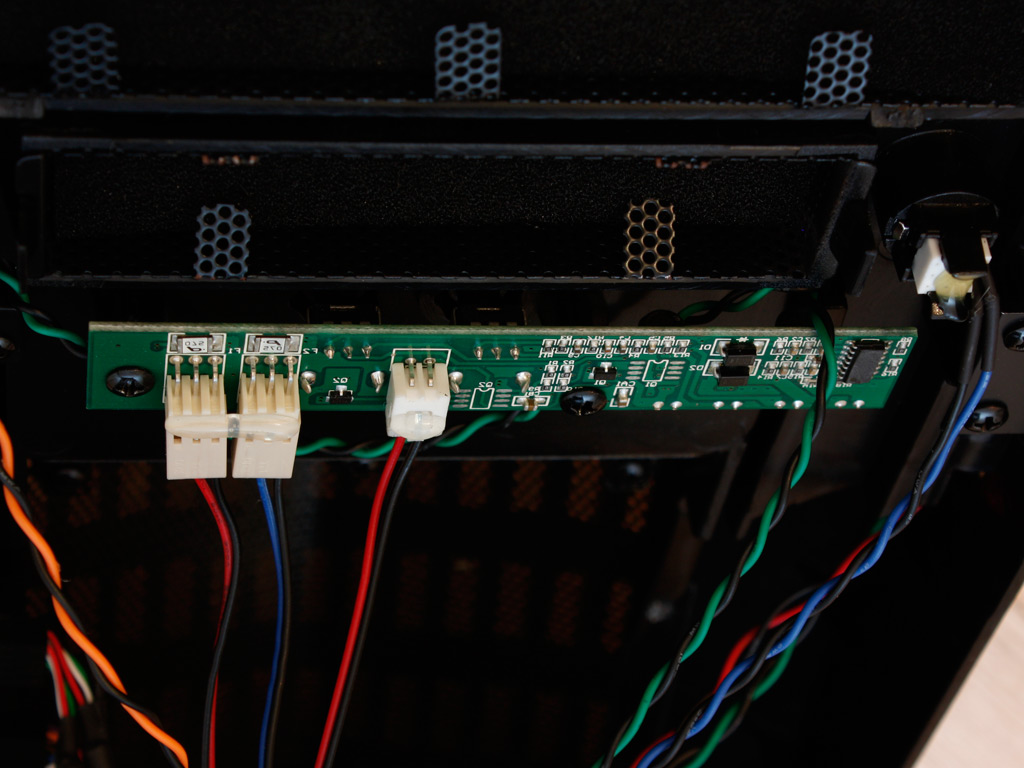
The four fan connectors are clearly labled with the numbers 1 and 2. So you can easily plan which pair of units will be controlled by which dial. The power is acquired through a black Molex connector. The PCB of the fan controller looks to be of high quality and is hidden behind the front panel of the chassis.
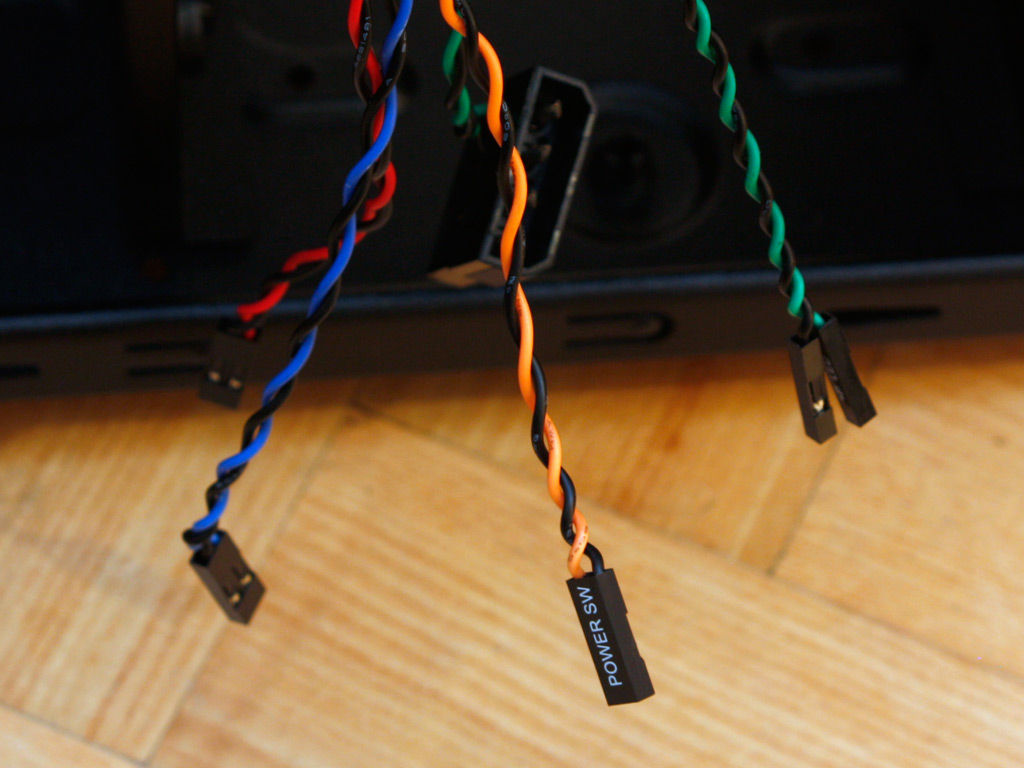
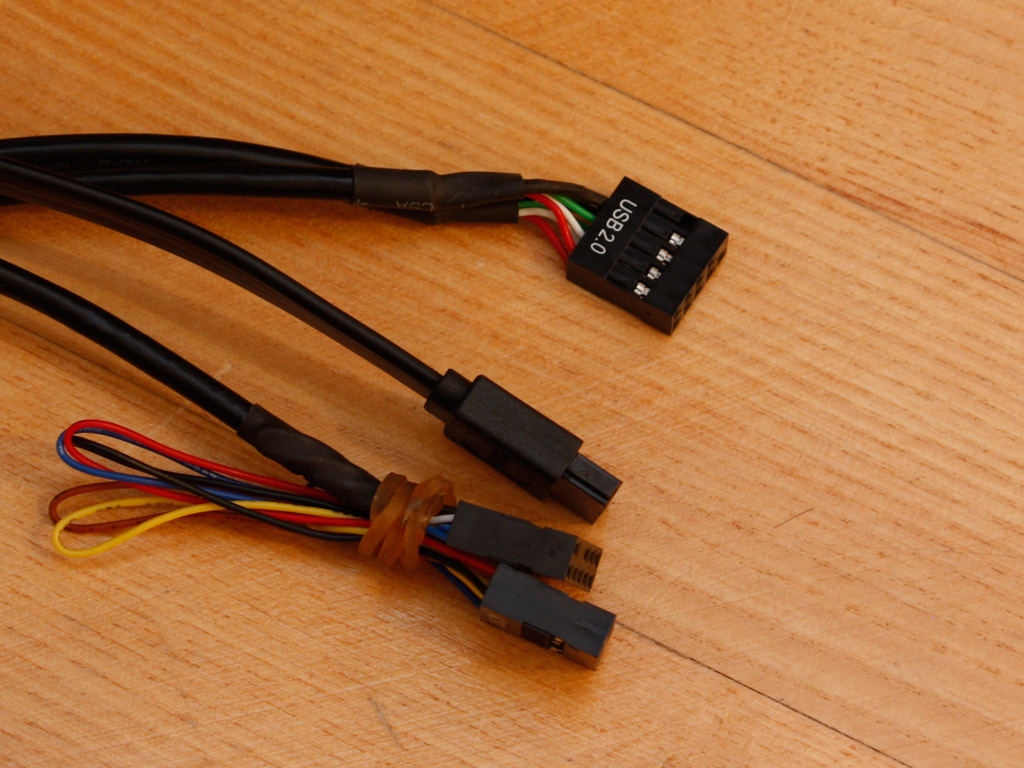
Neither of the motherboard connections comes with white cables. While we still have the needed color leads, all white ones have been replaced by black cables. This is a small, but certainly impressive little touch and shows the amount of detail NZXT has gone to for the overall design of the chassis - very cool!
Feb 8th, 2025 21:43 EST
change timezone
Latest GPU Drivers
New Forum Posts
- Post your Monster Hunter Wilds benchmark scores (77)
- RTX 5080 - premature review - it sucks (343)
- Flashed an R9 270X with a potentially malicious BIOS and now it doesn't get picked up by amdvbflash (1)
- Problem with GPU (4)
- Share your AIDA 64 cache and memory benchmark here (3004)
- TECHPOWERUP HWBOT Contest Submissions List (63)
- RTX5000 Series Owners Club (74)
- Help choosing a GPU (31)
- Ram tuning for 3700x. H16C memory (10)
- Starting my AM5 build (50)
Popular Reviews
- Kingdom Come Deliverance II Performance Benchmark Review - 35 GPUs Tested
- Civilization VII Performance Benchmark Review - 35 GPUs Tested
- Kingdom Come: Deliverance 2 Handheld Performance Review
- ASUS ROG Harpe Ace Extreme Review
- Spider-Man 2 Performance Benchmark Review - 35 GPUs Tested
- ASRock Phantom Gaming B850I Lightning Wi-Fi Review
- Formovie Cinema Edge 4K UST Laser Projector Review
- NVIDIA GeForce RTX 5080 Founders Edition Review
- AMD Ryzen 7 9800X3D Review - The Best Gaming Processor
- Corsair Frame 4000D Review
Controversial News Posts
- AMD Radeon 9070 XT Rumored to Outpace RTX 5070 Ti by Almost 15% (286)
- AMD is Taking Time with Radeon RX 9000 to Optimize Software and FSR 4 (256)
- AMD Denies Radeon RX 9070 XT $899 USD Starting Price Point Rumors (239)
- Edward Snowden Lashes Out at NVIDIA Over GeForce RTX 50 Pricing And Value (235)
- AMD Radeon RX 9070 XT & RX 9070 Custom Models In Stock at European Stores (226)
- New Leak Reveals NVIDIA RTX 5080 Is Slower Than RTX 4090 (215)
- AMD's Radeon RX 9070 Launch Faces Pricing Hurdles (175)
- AMD Radeon RX 9070 XT Tested in Cyberpunk 2077 and Black Myth: Wukong (169)