 4
4
QNAP TBS-453A 4-Bay M.2 SSD NASbook Review
Test Setup & Methodology »Surveillance Station
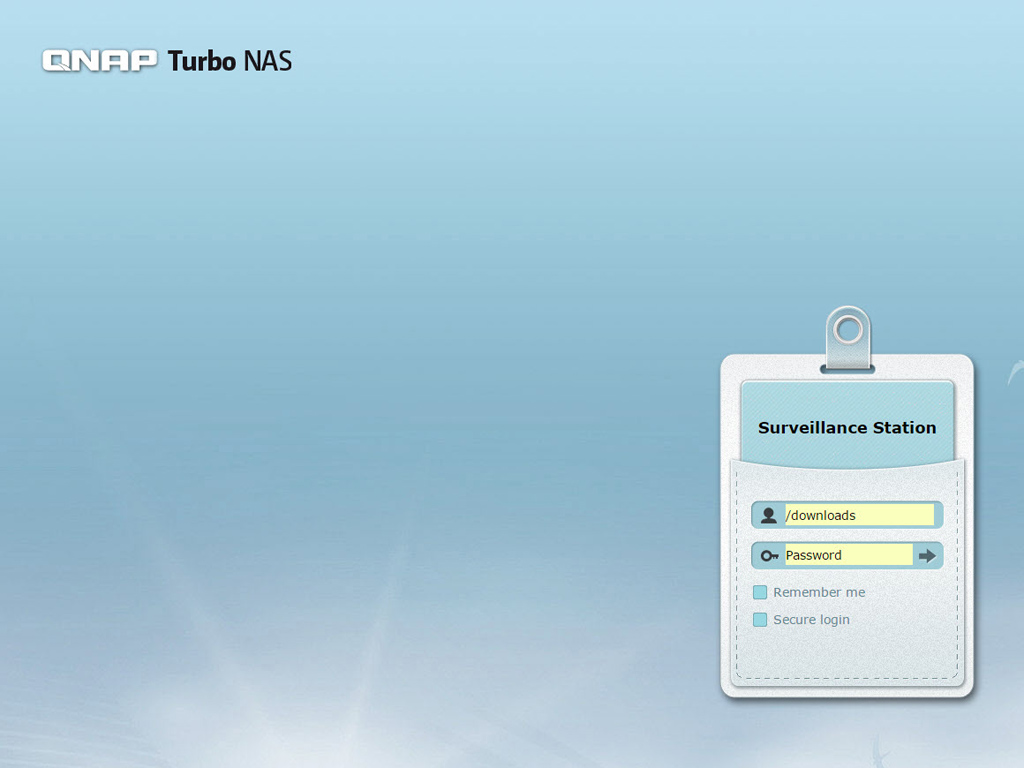
You have to download and install Surveillance Station, found in QNAP's App Center, since it doesn't come pre-installed. Once you input your credentials, you will be transferred to the Surveillance Station's web interface.
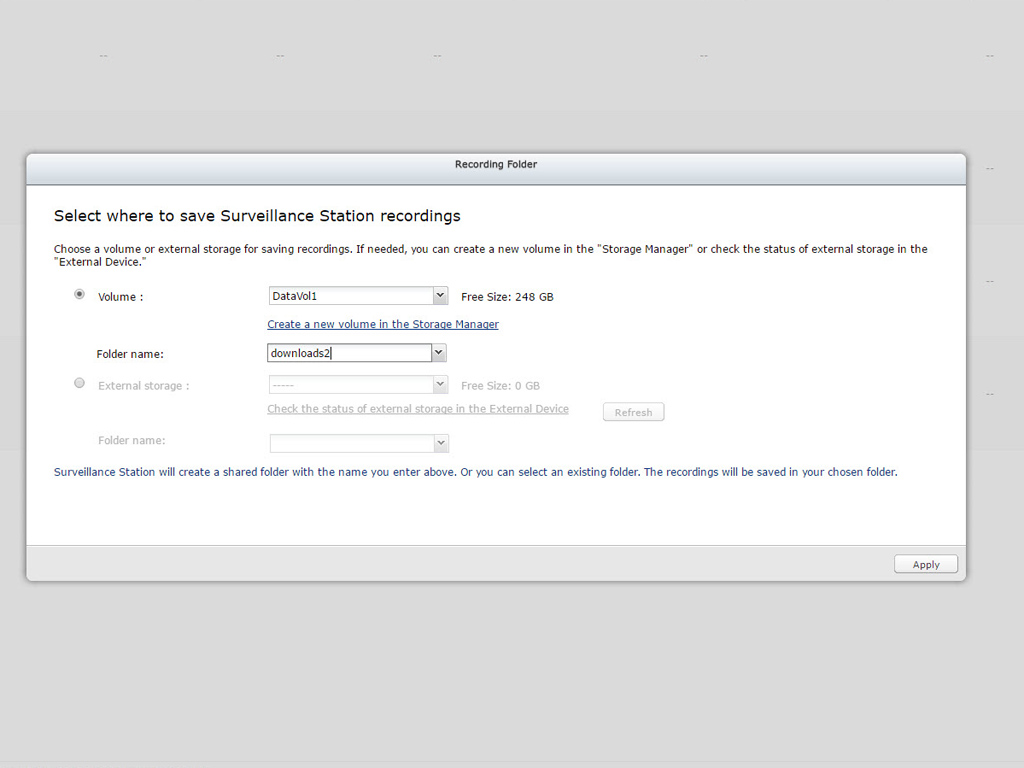
You have to select a default folder for your recordings.
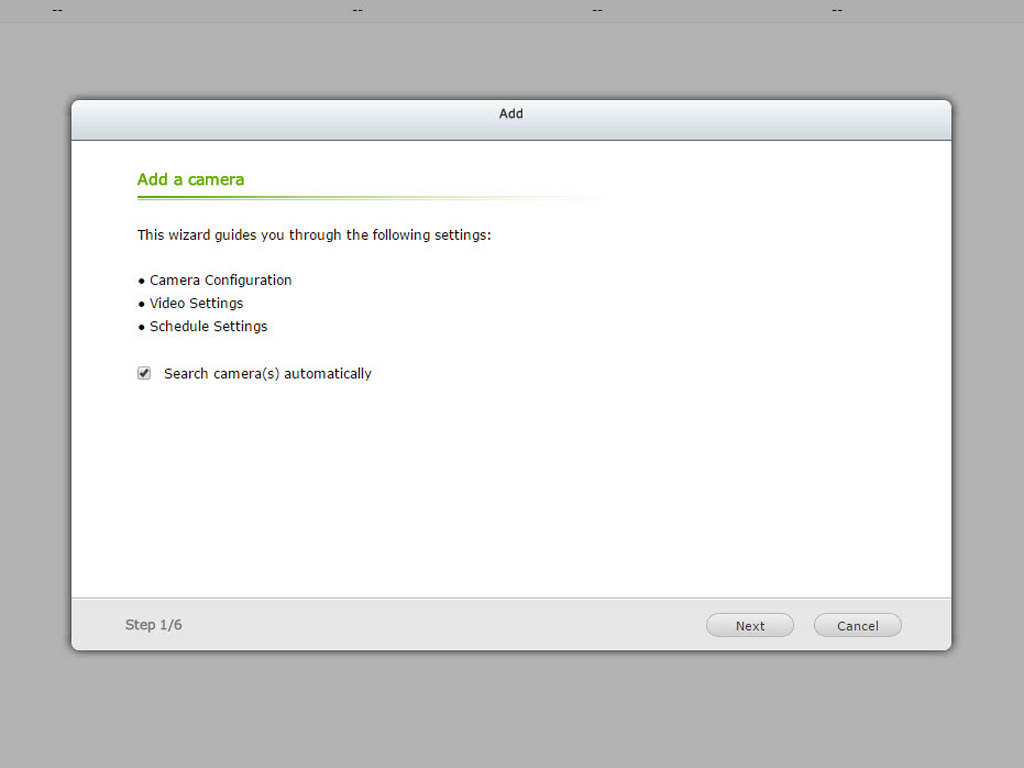
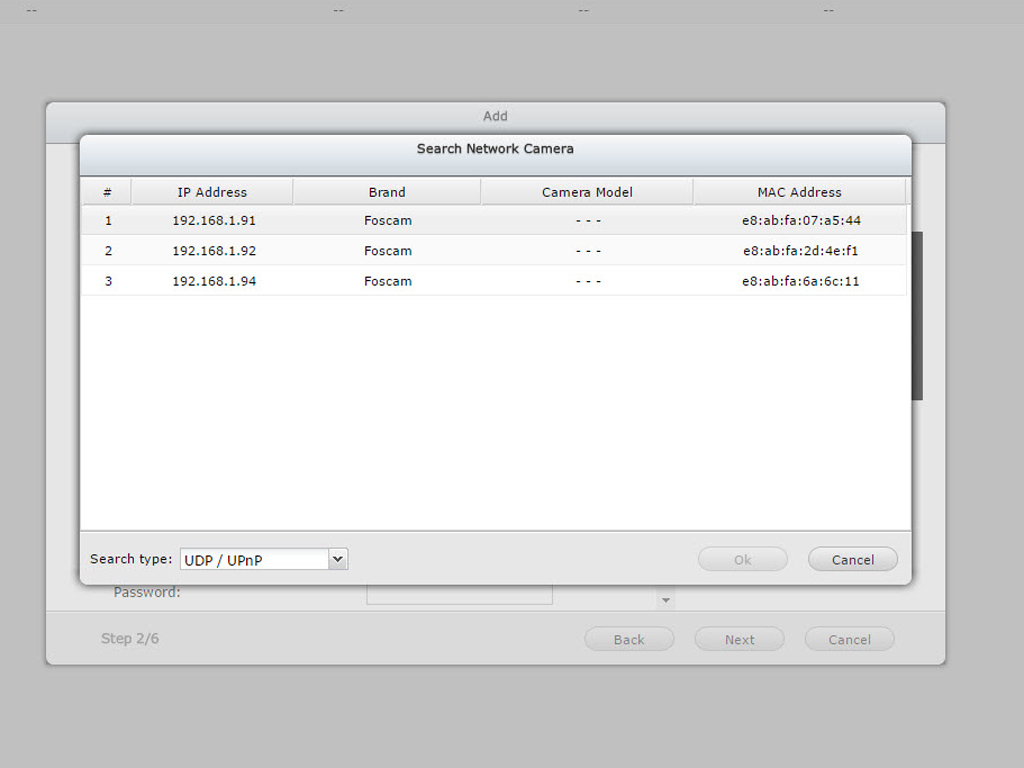
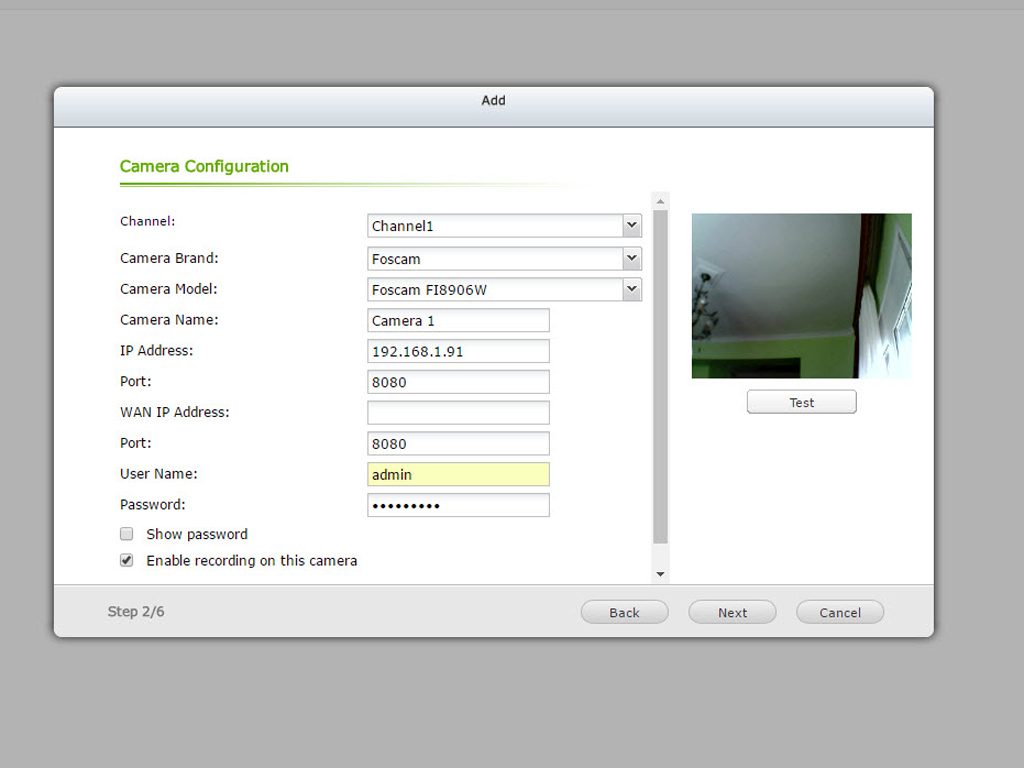
Use this panel to easily set up the IP cameras you deployed. We installed a Foscam FI8906W, one of the more popular wireless IP cameras supported by Surveillance Station.
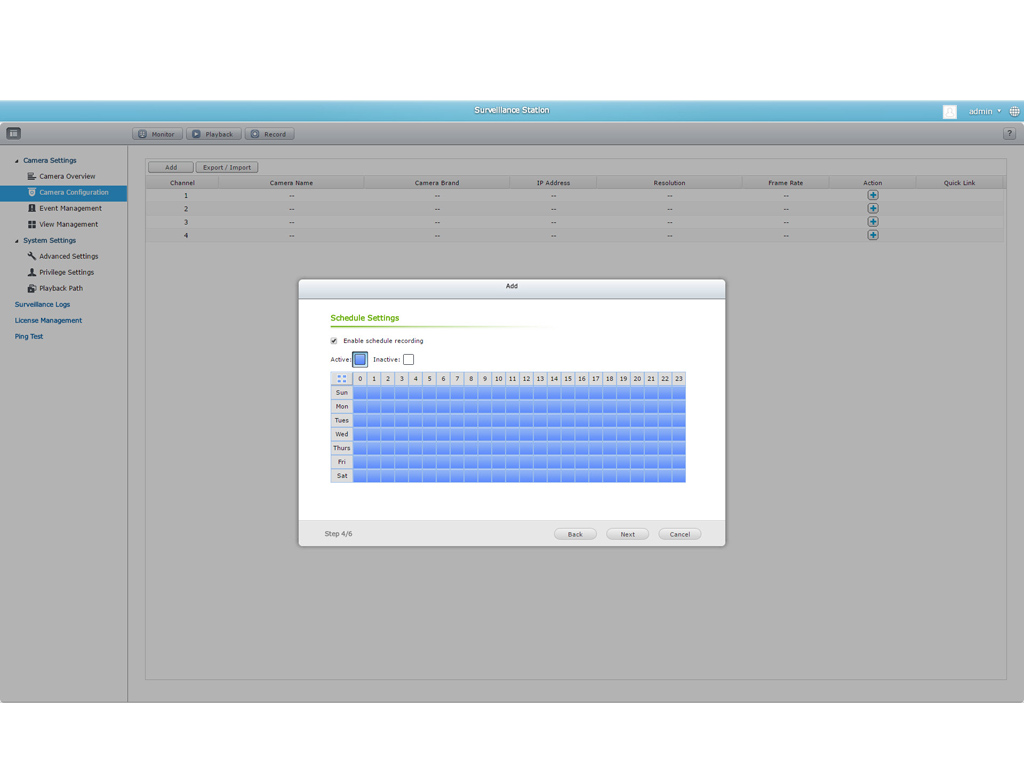

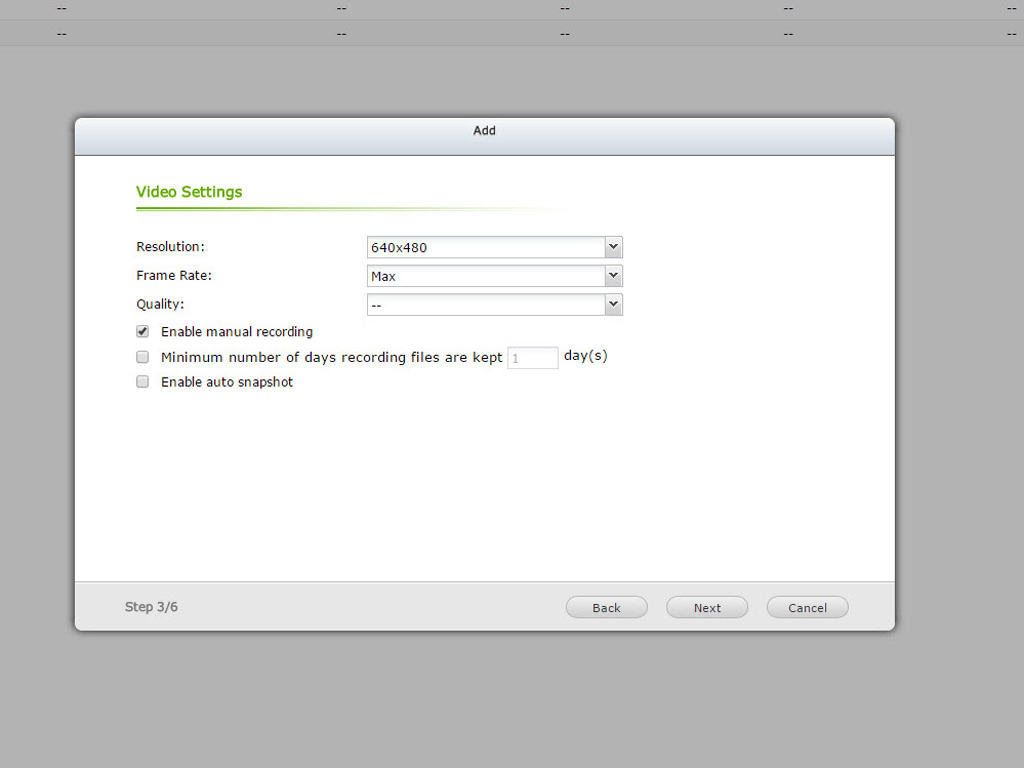
There are several other option, like scheduled recording, which you can configure while installing the camera.
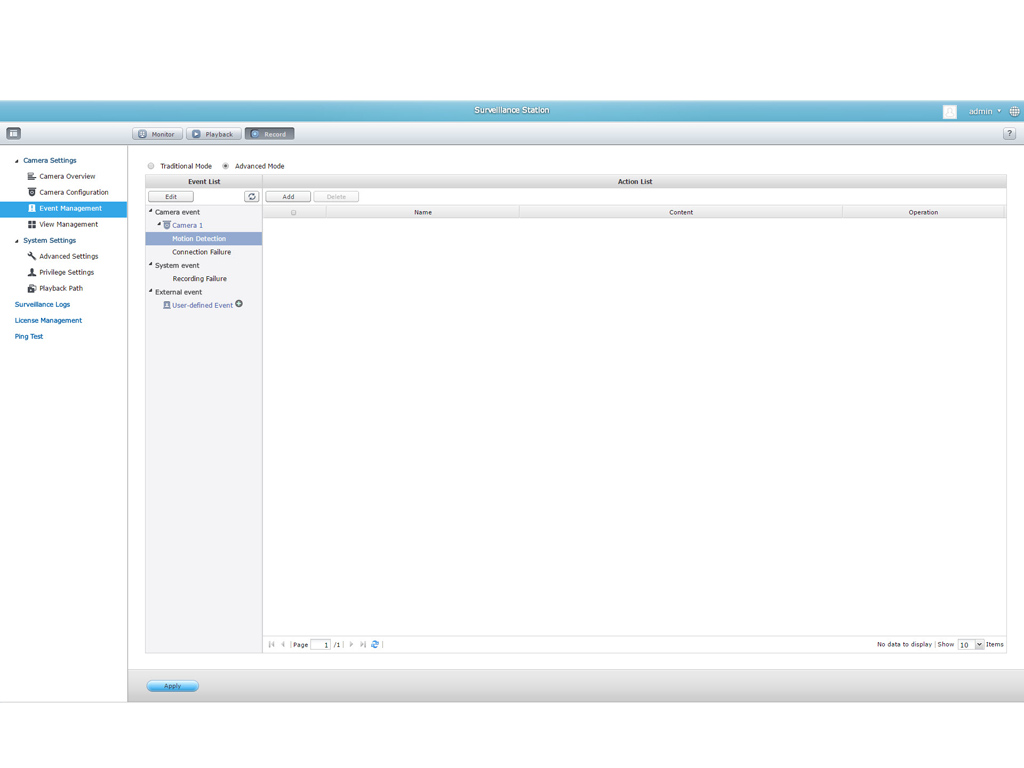
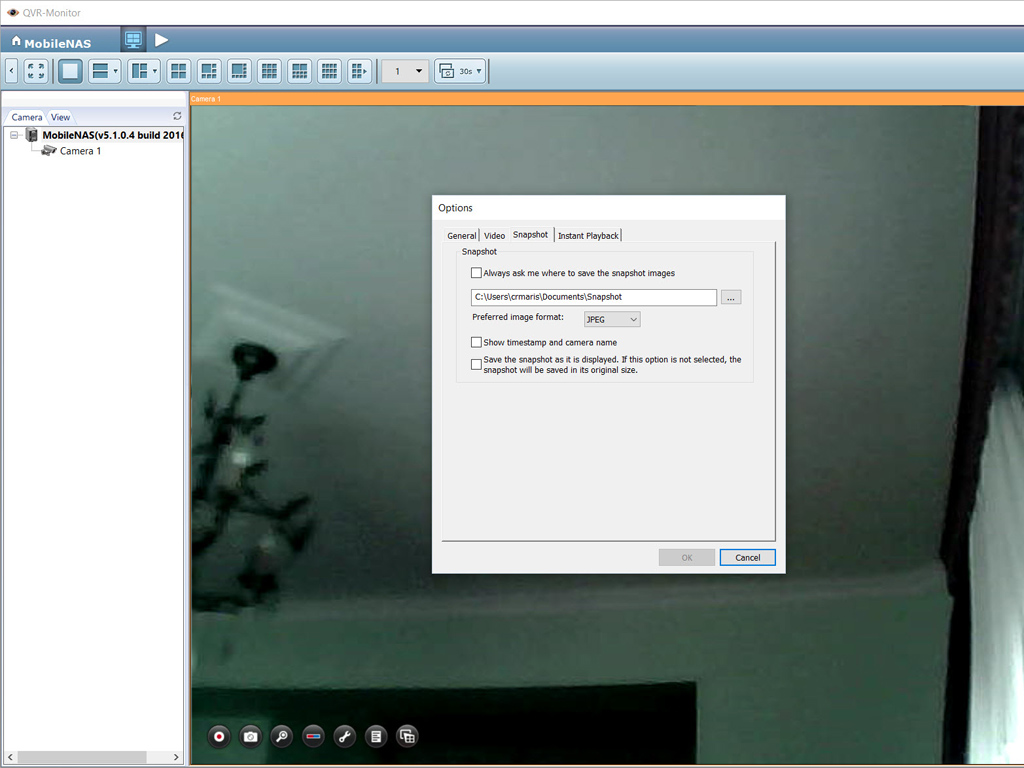
You can set alarms which trigger based on events in either normal or advanced mode. The latter provides you with more options.
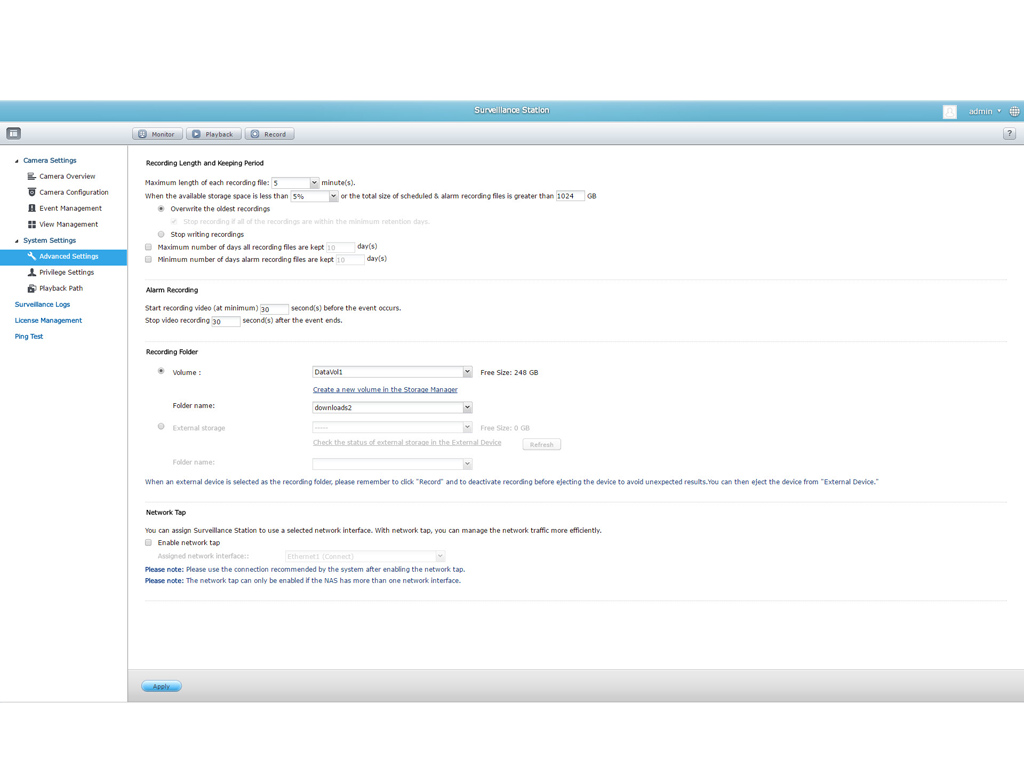
You can set the maximum length of each recorded file in the System Settings tab, define what the system will do once available storage space for recordings reaches a specified threshold, or specify how many days to keep recordings—for recordings triggered by alarms or not. You can also configure an alarm-recording function and set access permissions to the cameras your NAS controls. There is even an option to set the RTP (Real-time Transport Protocol) port range.
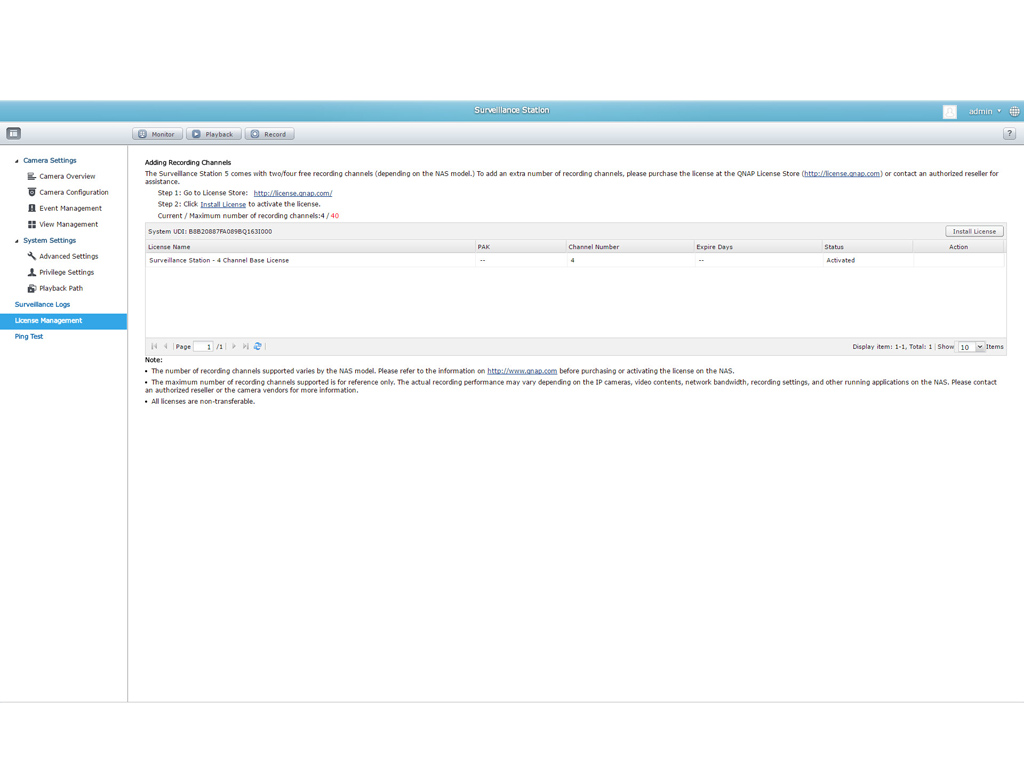
The TBS-453A supports up to 40 recording channels; however, it only comes with licenses for four. You will have to buy additional licenses from QNAP's store if you want to utilize more channels.

To use the surveillance monitoring function in Chrome, you will first have to install the QVR client application.
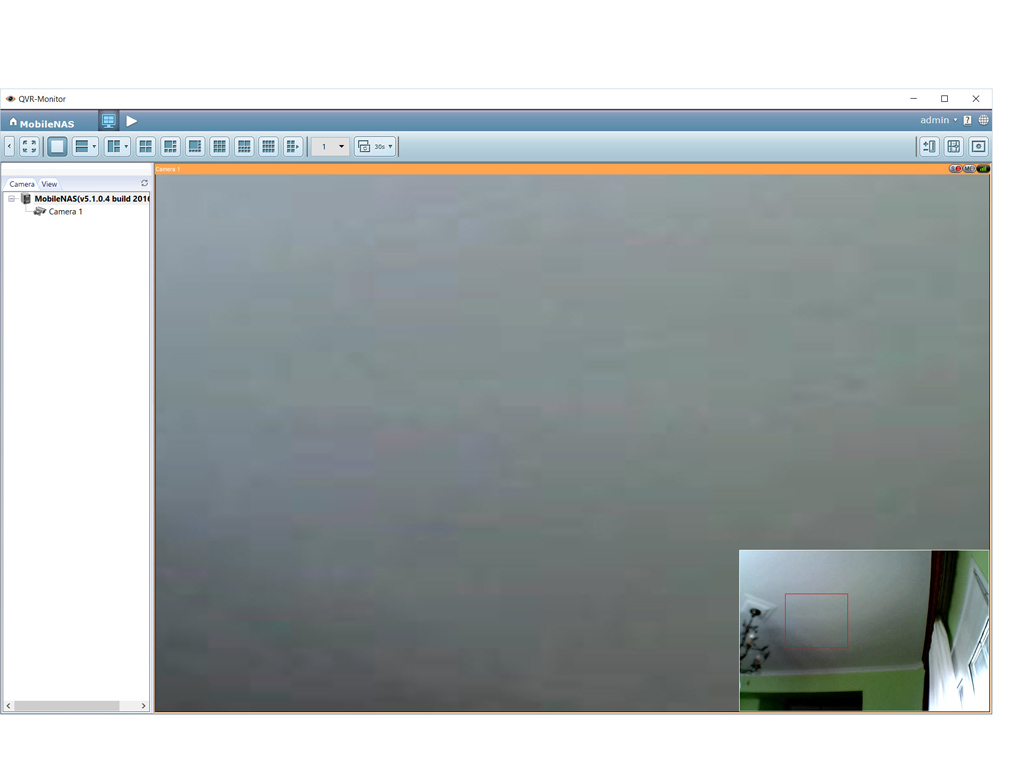


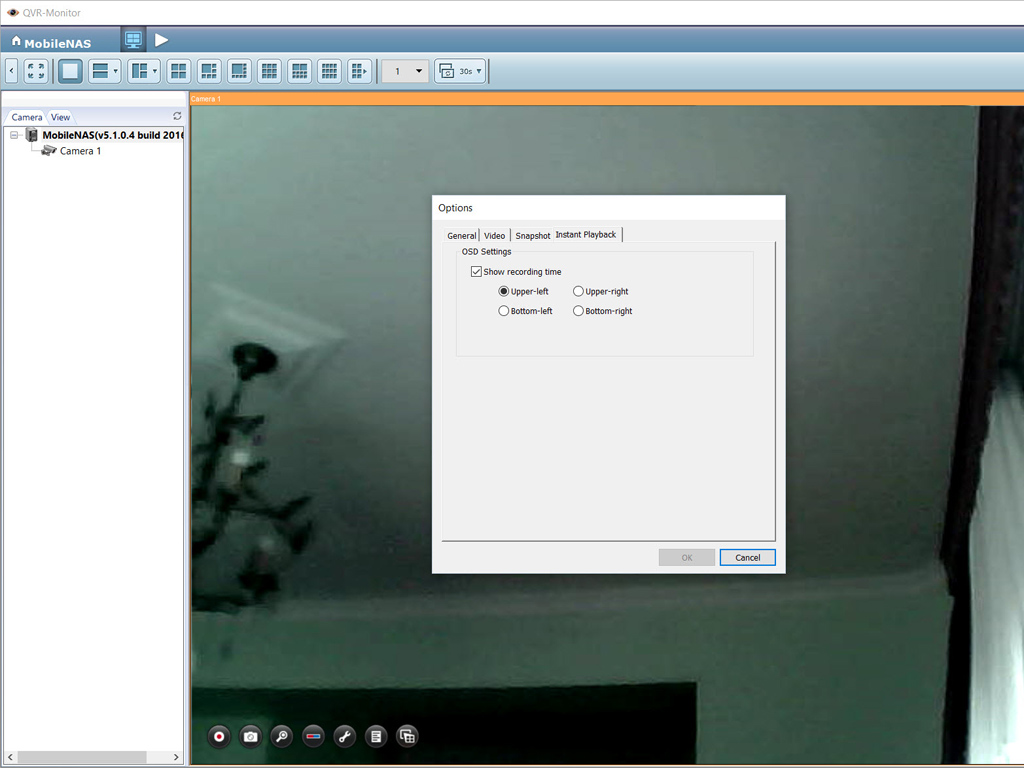
The Surveillance Station's monitoring interface is brimming with functionality.
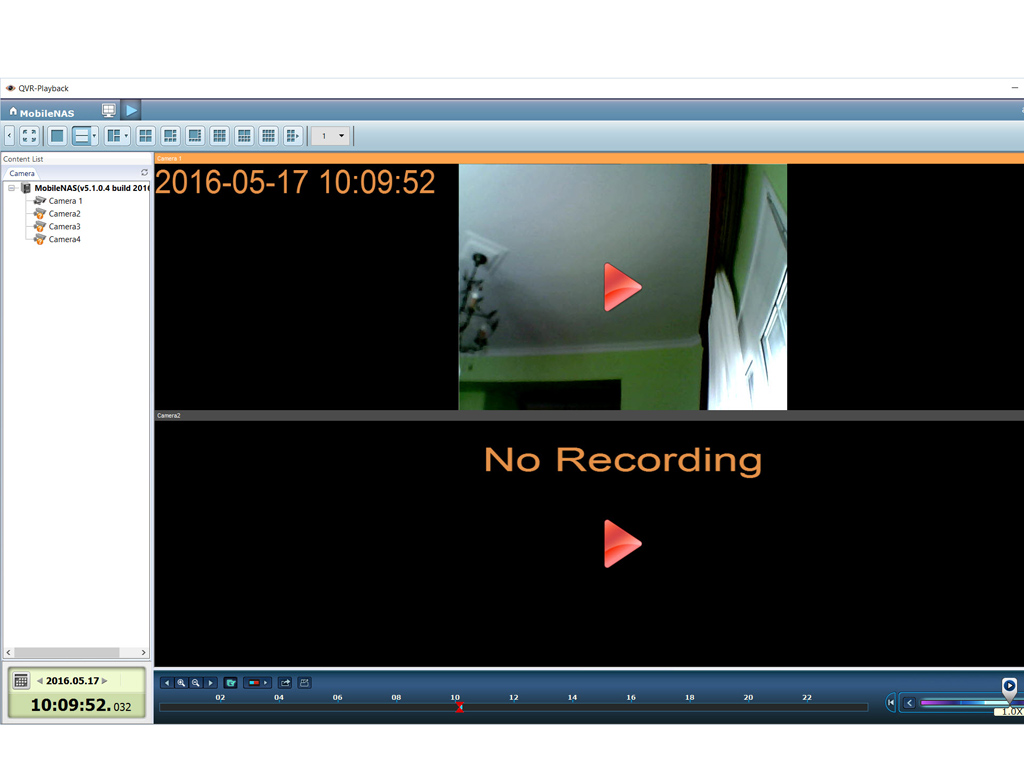
Here is a screenshot of the playback interface. It allows you to playback all saved camera recordings.
Apr 17th, 2025 16:50 EDT
change timezone
Latest GPU Drivers
New Forum Posts
- SK hynix A-Die (Overclocking thread) only for RYZEN AM5 users (53)
- Rtx5070 lost 2%-5% performance after last driver 576.02. (1)
- AAF Optimus Modded Driver For Windows 10 & Windows 11 - Only for Realtek HDAUDIO Chips (426)
- Looking for a rolling workbench recommendation (2)
- RX 9000 series GPU Owners Club (360)
- Windows 11 fresh install to do list (39)
- What are you playing? (23388)
- i9-14900HX Running Hot — FIVR Undervolting Locked (7)
- ThrottleStop Settings i7-10750H (1)
- Help For XFX RX 590 GME Chinese - Vbios (6)
Popular Reviews
- G.SKILL Trident Z5 NEO RGB DDR5-6000 32 GB CL26 Review - AMD EXPO
- ASUS GeForce RTX 5060 Ti TUF OC 16 GB Review
- NVIDIA GeForce RTX 5060 Ti PCI-Express x8 Scaling
- ASUS GeForce RTX 5080 TUF OC Review
- Palit GeForce RTX 5060 Ti Infinity 3 16 GB Review
- DAREU A950 Wing Review
- ASUS GeForce RTX 5060 Ti Prime OC 16 GB Review
- Zotac GeForce RTX 5060 Ti AMP 16 GB Review
- MSI GeForce RTX 5060 Ti Gaming OC 16 GB Review
- MSI GeForce RTX 5060 Ti Gaming Trio OC 16 GB Review
Controversial News Posts
- NVIDIA GeForce RTX 5060 Ti 16 GB SKU Likely Launching at $499, According to Supply Chain Leak (182)
- NVIDIA Sends MSRP Numbers to Partners: GeForce RTX 5060 Ti 8 GB at $379, RTX 5060 Ti 16 GB at $429 (127)
- Nintendo Confirms That Switch 2 Joy-Cons Will Not Utilize Hall Effect Stick Technology (105)
- Over 200,000 Sold Radeon RX 9070 and RX 9070 XT GPUs? AMD Says No Number was Given (100)
- Nintendo Switch 2 Launches June 5 at $449.99 with New Hardware and Games (99)
- NVIDIA Launches GeForce RTX 5060 Series, Beginning with RTX 5060 Ti This Week (95)
- Sony Increases the PS5 Pricing in EMEA and ANZ by Around 25 Percent (85)
- NVIDIA PhysX and Flow Made Fully Open-Source (77)