 6
6
Raijintek Asterion Classic Review
Value & Conclusion »Test System
| System Parts for Case Reviews | |
|---|---|
| Processor: | Intel Core i5-6600K |
| Motherboards: | ATX: Fatal1ty Z170 Gaming K6+ mATX: ASRock Z170M Pro4S mini-ITX: ASRock Z170M-ITX/ac Provided by: ASRock |
| Graphic Card: | Long: NVIDIA GeForce GTX 280 OEM Short: HIS Radeon 5350 HD |
| Memory: | 16 GB ADATA XPG Dazzle DDR4 2800 MHz CL17-17-17 1.25V 16 GB ADATA XPG Z1 DDR4 3000 MHz CL18-18-18 1.35V 16 GB ADATA XPG Z1 DDR4 2400 MHz CL16-16-16 1.20V Provided by: ADATA |
| HDD: | Western Digital 320 GB 7200 RPM |
| SSD: | ADATA Premier Pro SP920 MLC 256 GB ADATA Ultimate SU800 3D TLC 256 GB ADATA Premier SP550 TLC 240 GB Provided by: ADATA |
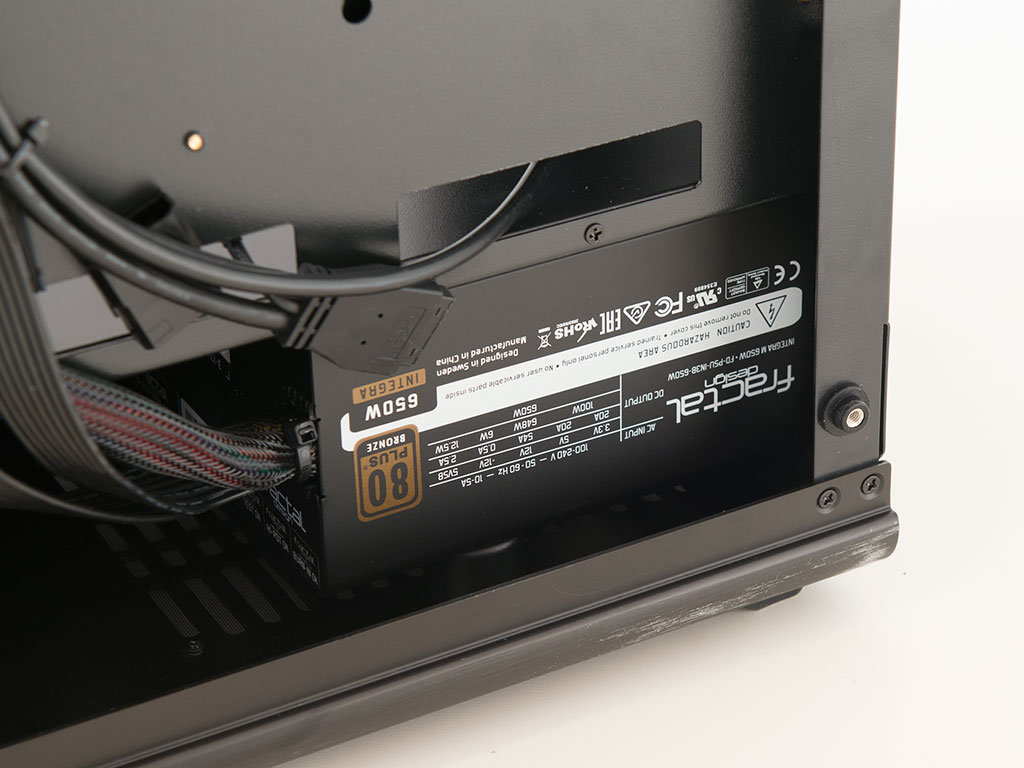
| Power Supply: | Fractal Design Integra M 650W ATX 2.4 Provided by: Fractal Design |
| Cooling: | Air Cooling Mini-ITX: Thermalright AXP-100R Air Cooling mATX: Thermalright Macho 90 Air Cooling ATX: Thermalright Macho 120 Provided by: PC-COOLING.de |
Assembly
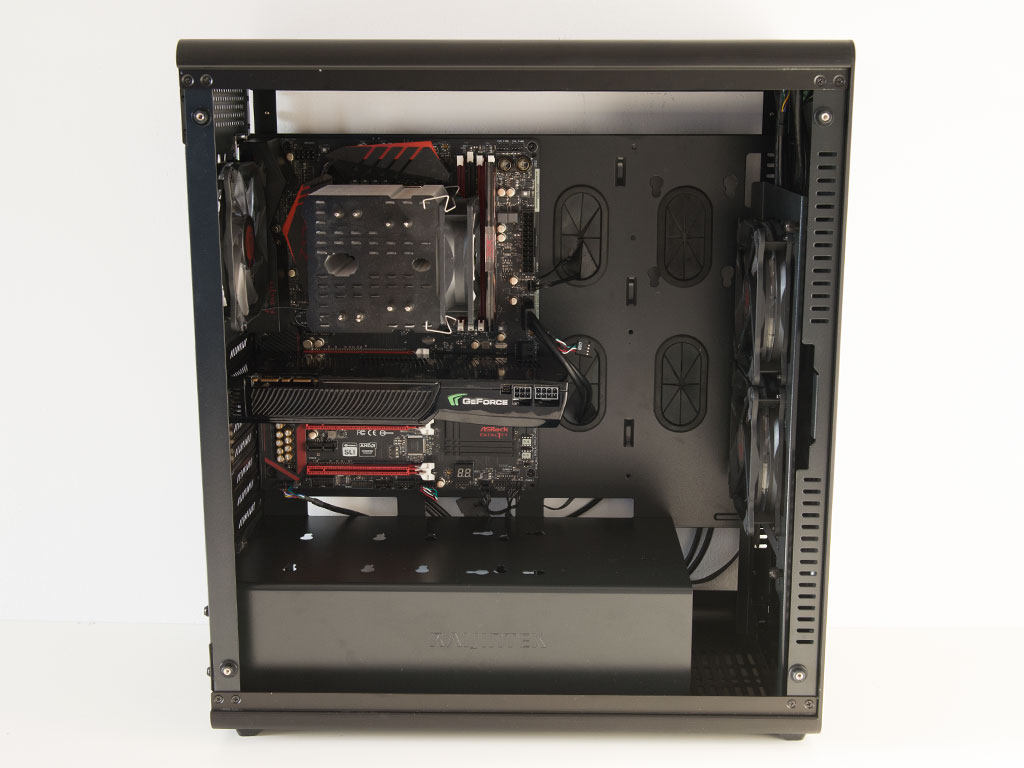
Installing the motherboard is done by traditional means, with the use of spacer and screws. There is plenty of space around the board, so you should have no issues reaching all the connectors. Thanks to the well-placed openings, the initial cable routing looks quite clean.

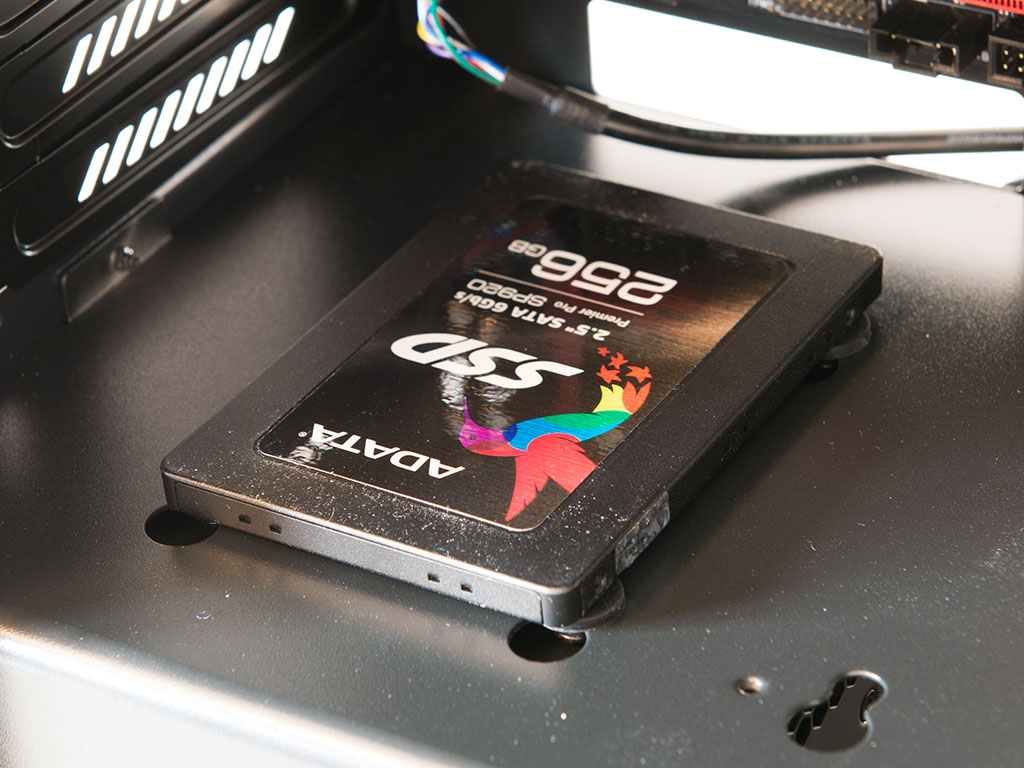
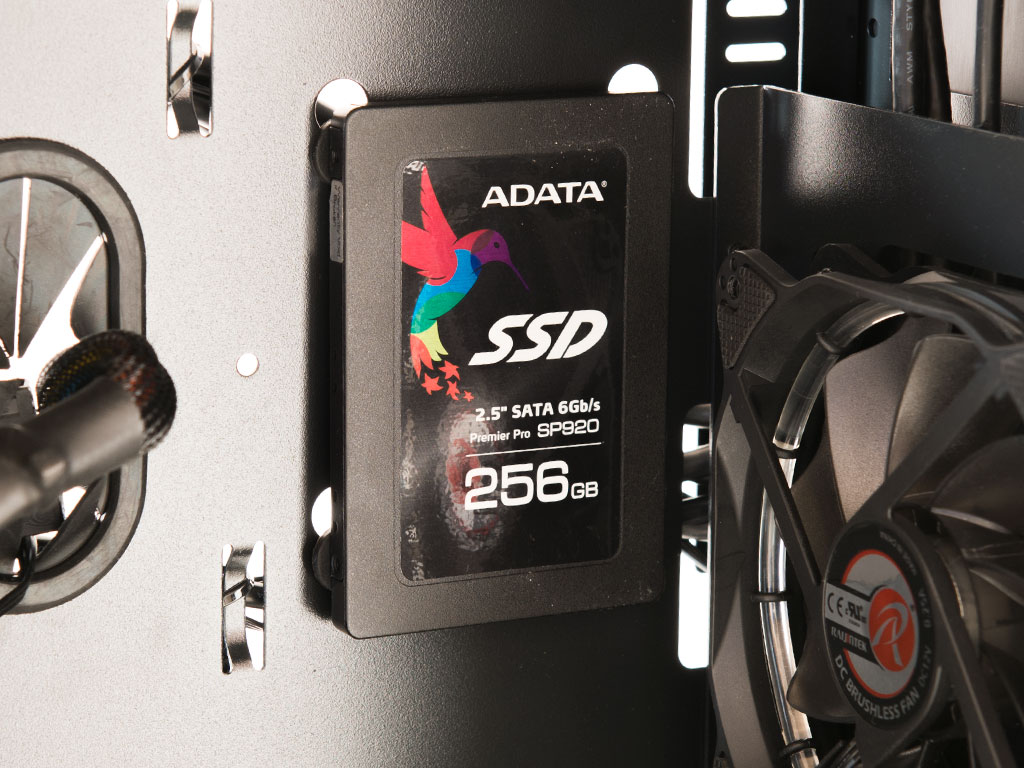
To add a 2.5" drive to the Asterion, simply apply the rubber-ringed screws. This can be done without any tools thanks to the rubber's grip. Once in place, you are free to place it onto the shroud or the motherboard tray. Thanks to the flat tray, you are free to place the drive on the backside or front of the chassis. I felt bold and wanted to show off the ADATA drive, so I chose to place it into the interior of the chassis.
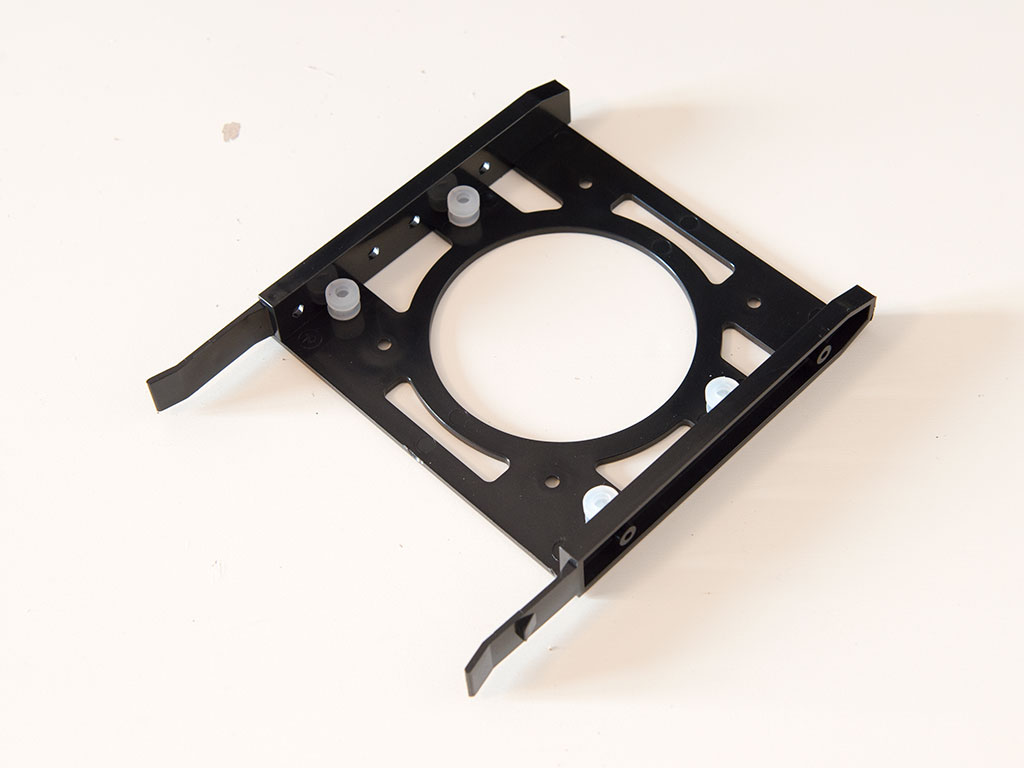
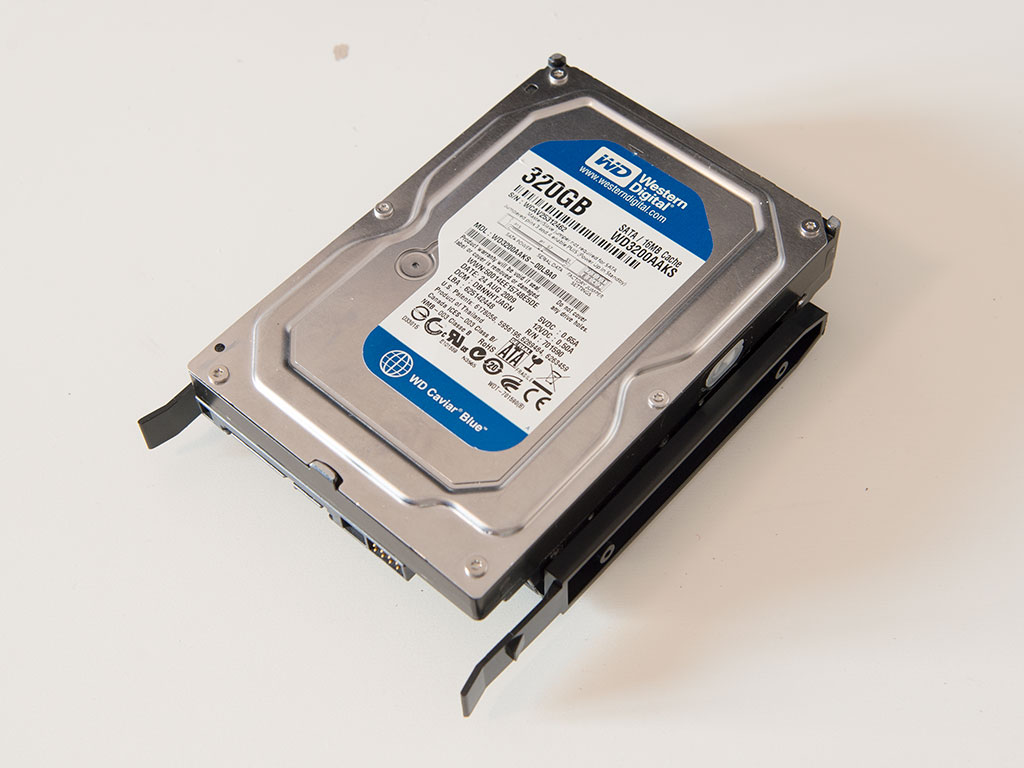
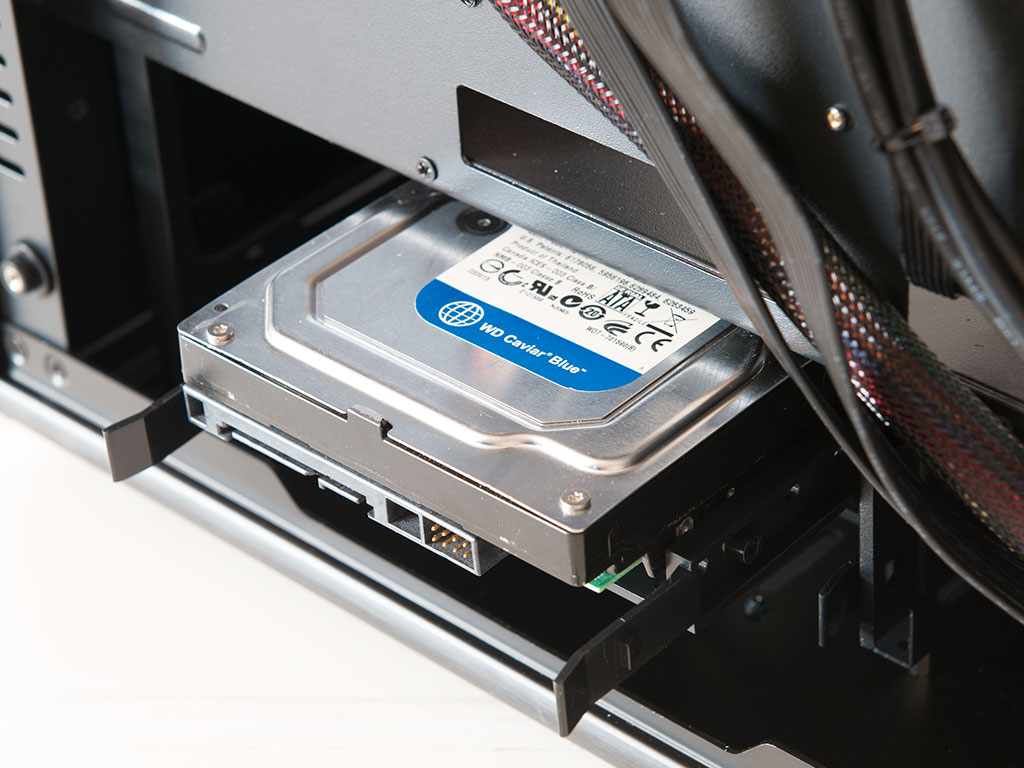
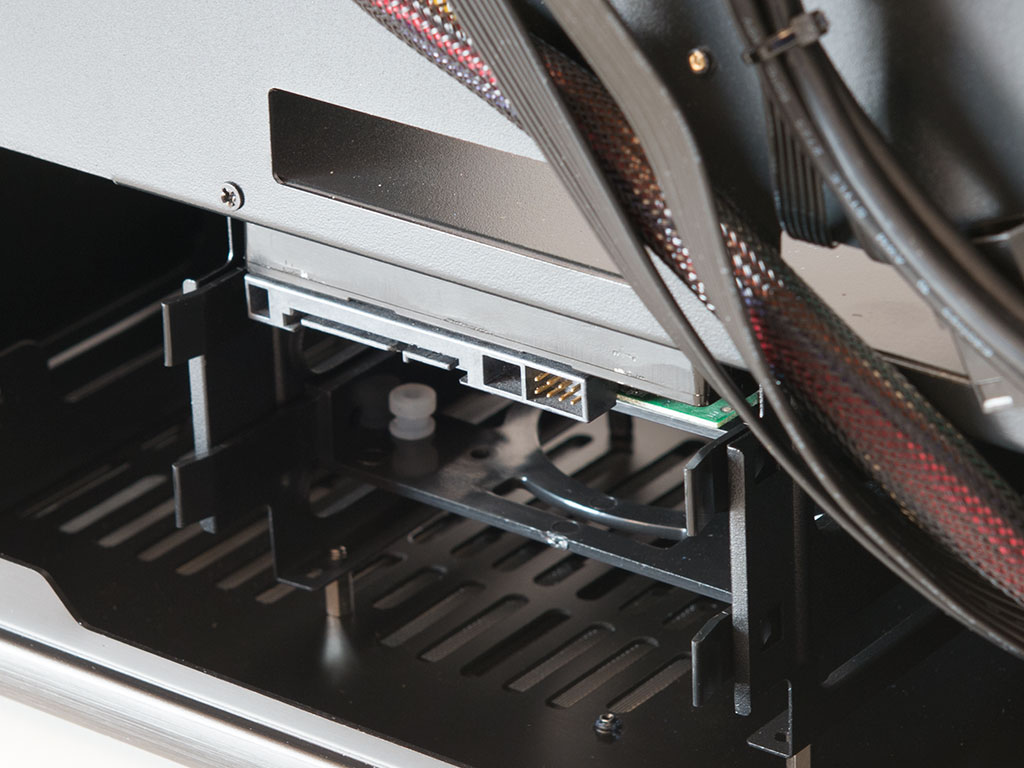
While there is a position on the shroud for a 3.5" inch drive as well, it employs the same installation method as the 2.5" variants, so instead, I went for the plastic tray. Thanks to the white rubber rings, you won't have to worry about any vibrations here either. Interestingly enough, there is enough space for you to theoretically install a 2.5" drive underneath the larger one at the same time. However, Raijintek does not advertise this as a possibility, and you will have a hard time reaching the connectors. Once in the tray, simply slide the drive back into one of two bays.
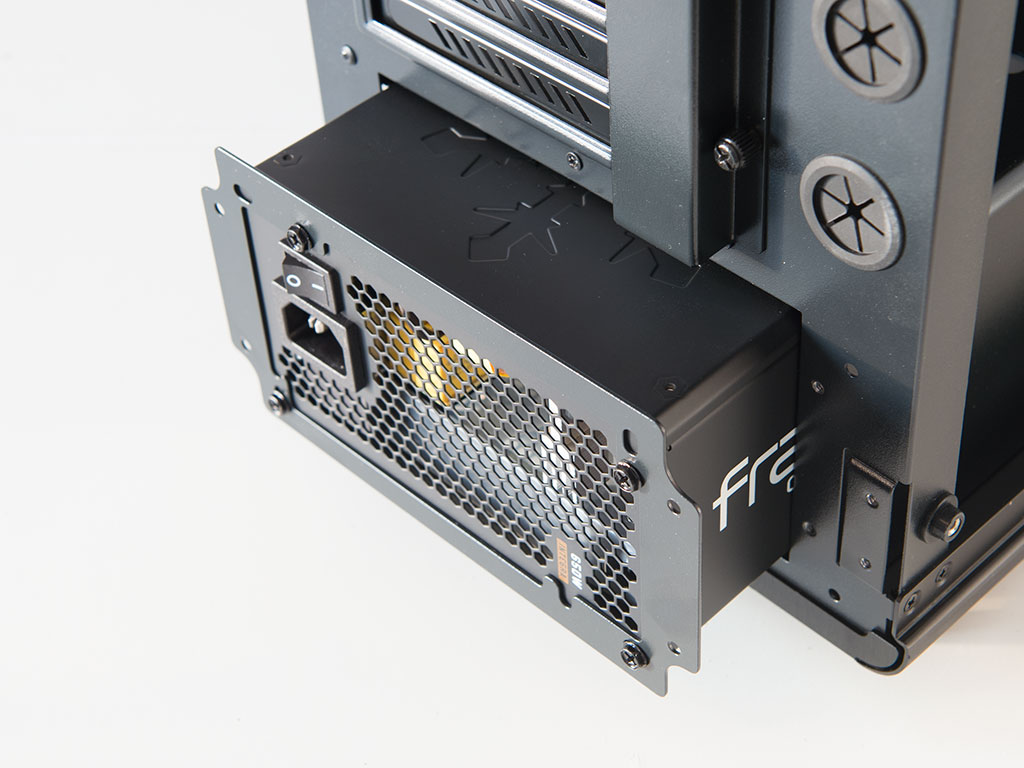
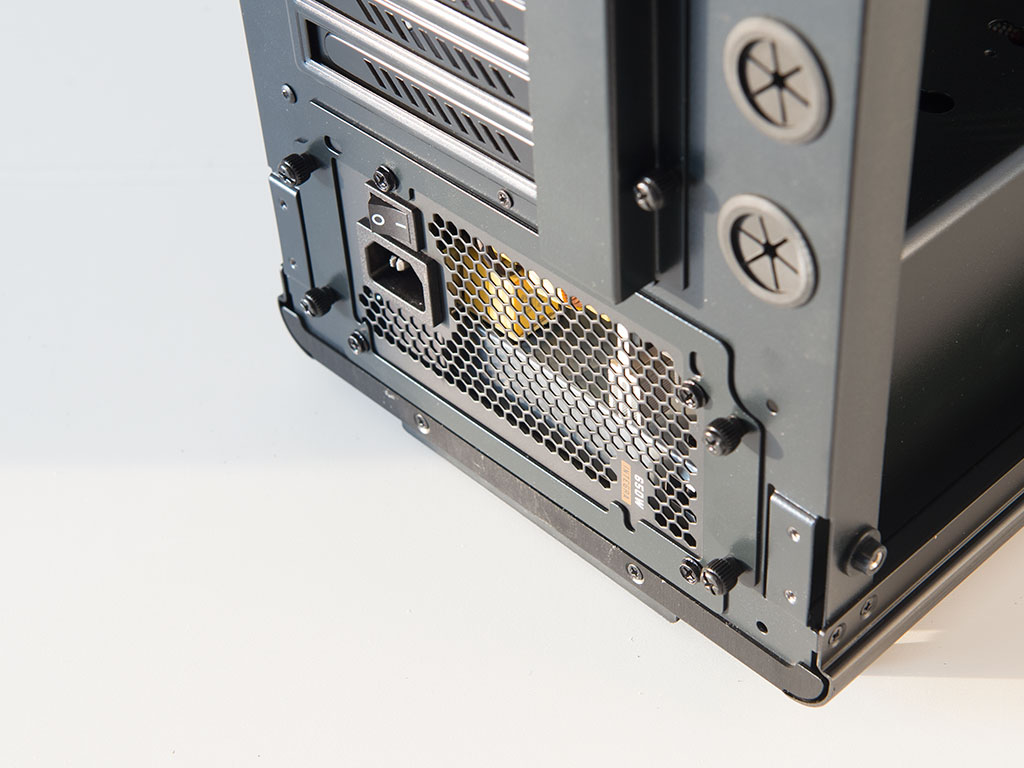
Installing the PSU requires the use of a screwdriver to mount the unit onto the metal frame. Once in place, simply slide it into place and use the thumbscrews to hold it in place.
One small design issue is the fold at the top edge of the motherboard tray. As it is bent 90° but does not offer a flat piece around the CPU power connector's area, the edge will make hard contact with the cable, which could cause damage if you do not watch out.
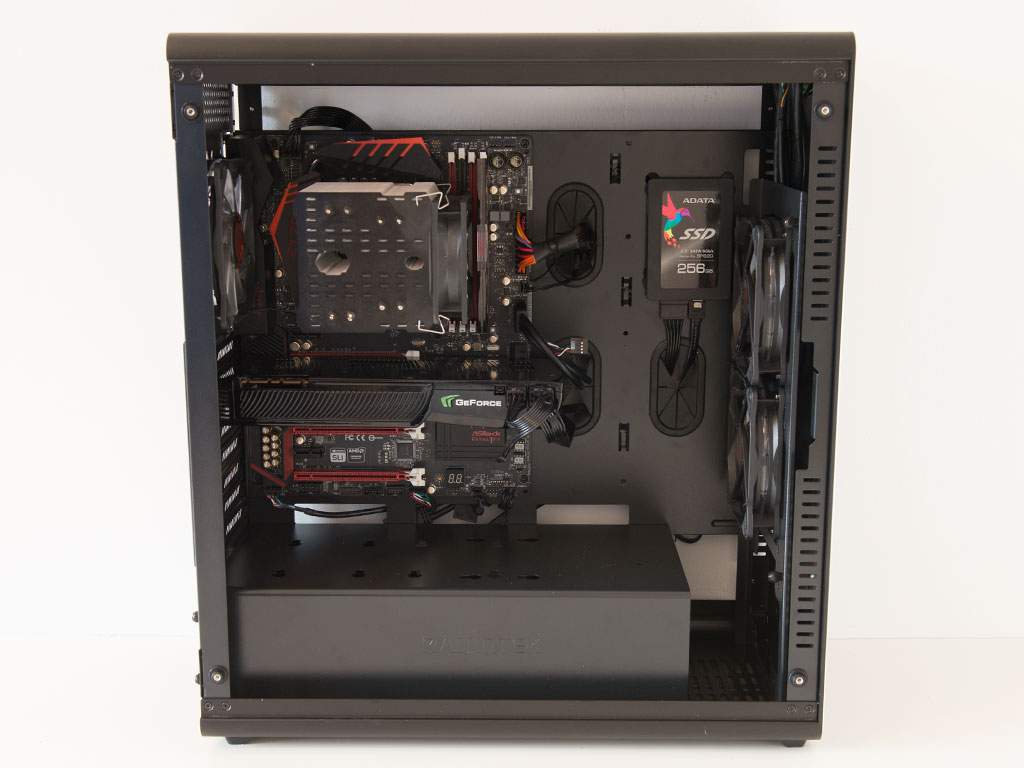
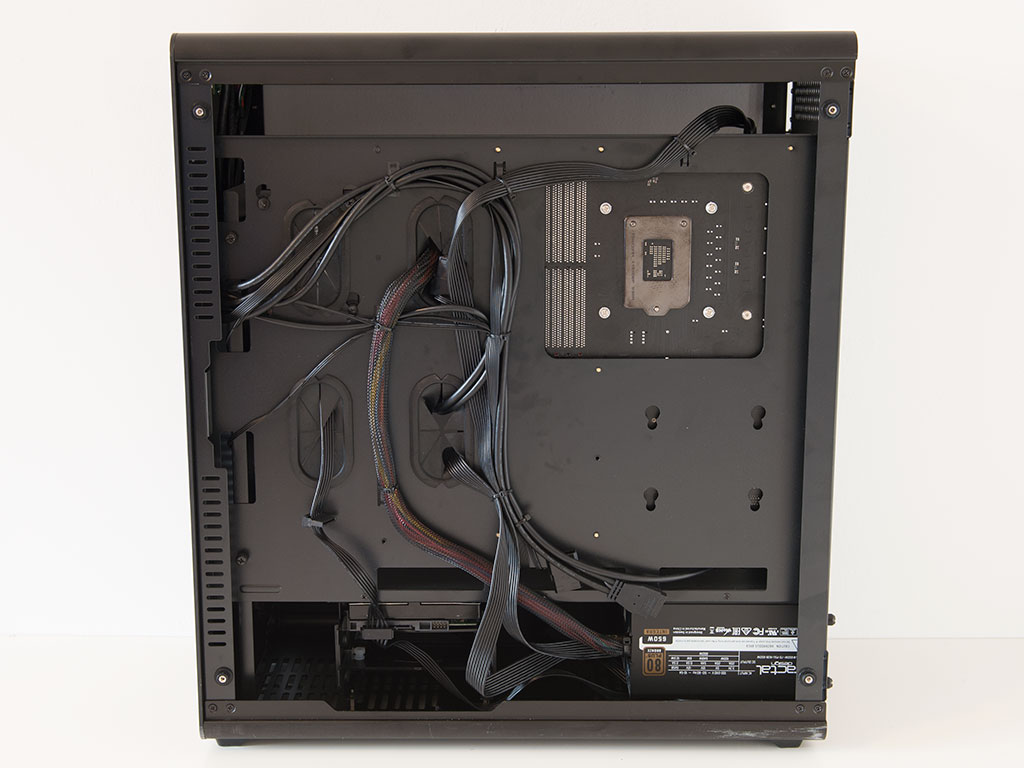
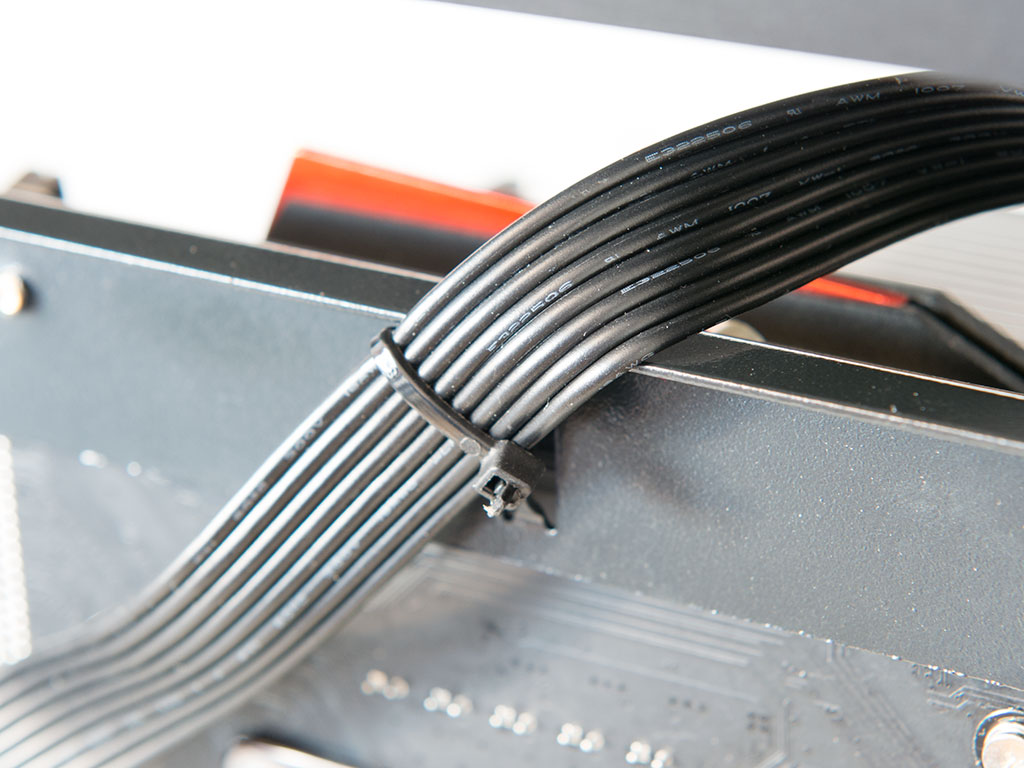
With everything in place, the interior makes a really clean impression because of the well-placed openings around the motherboard. In the rear, cable management is grouped around the grommet-covered openings as that is where the zip-tie hooks are.
Finished Looks
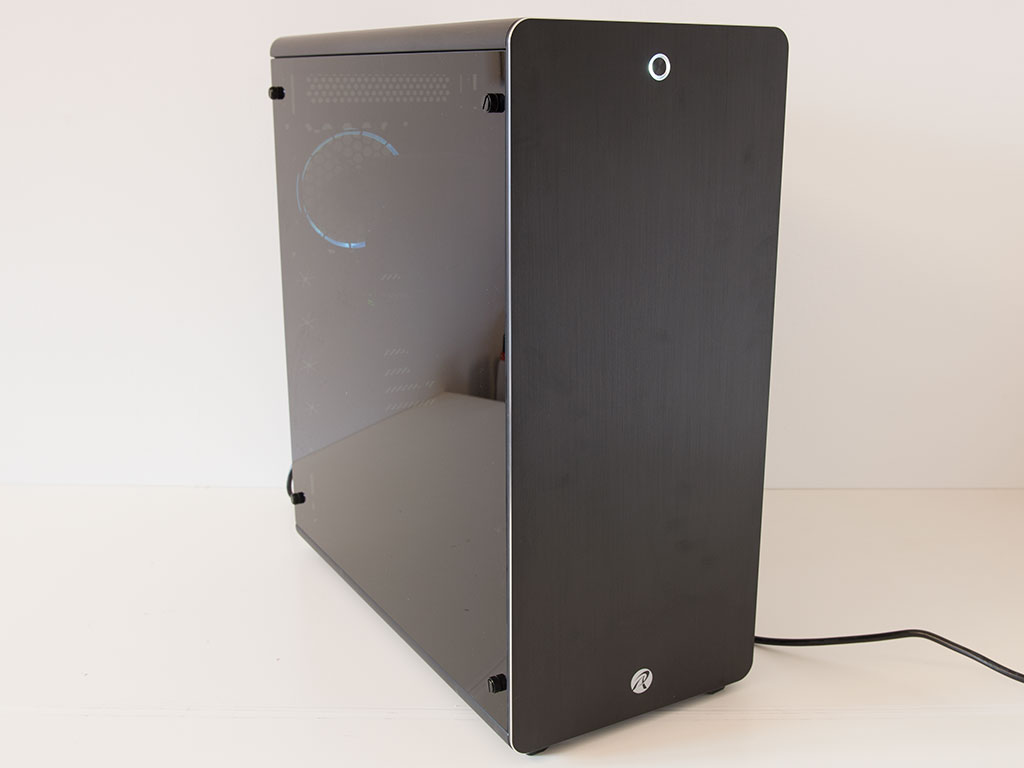
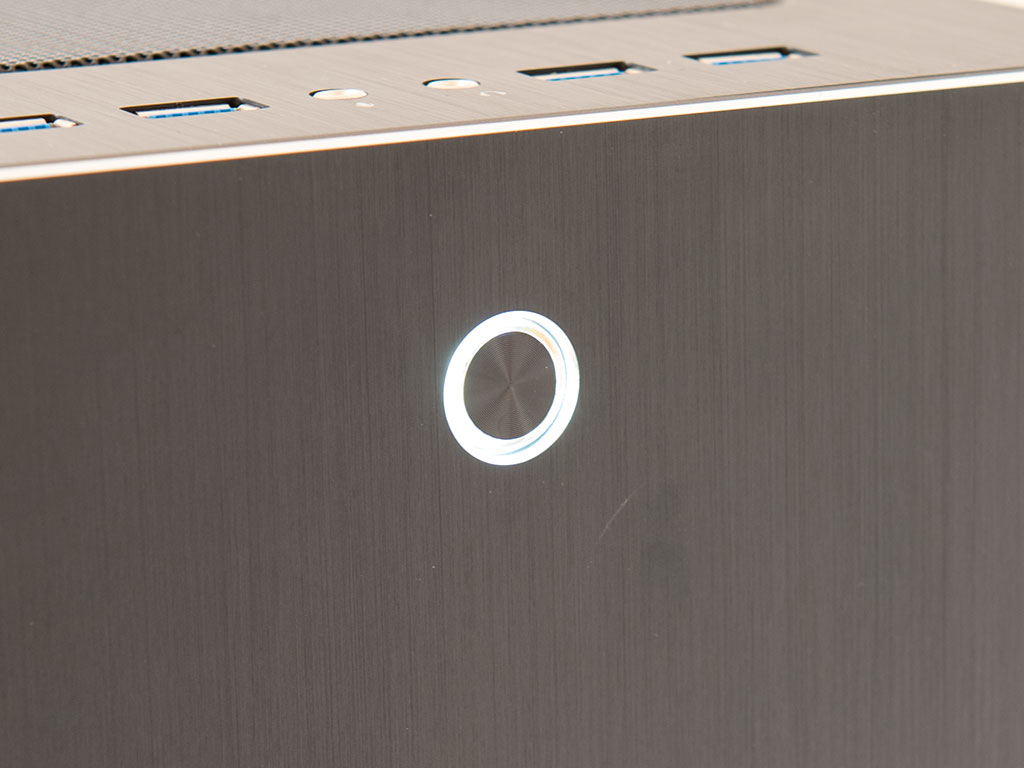
With the glass panels back in place, the Raijintek Asterion continues to make a very clean impression. The white LED around the power button is a nice touch as well.

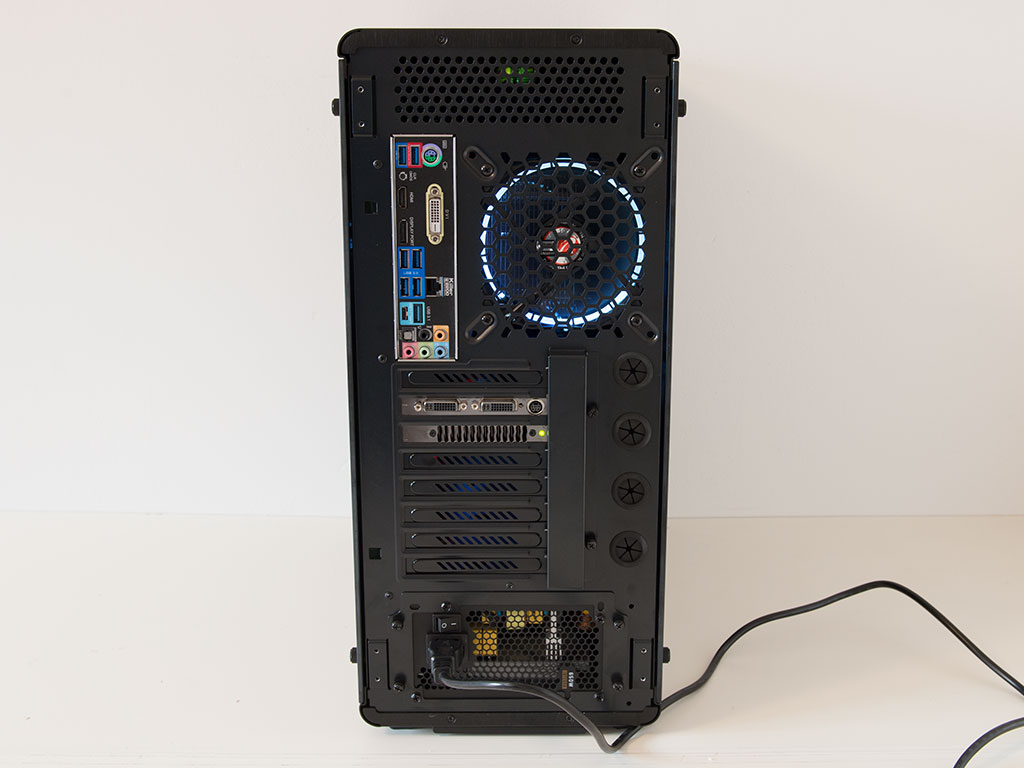
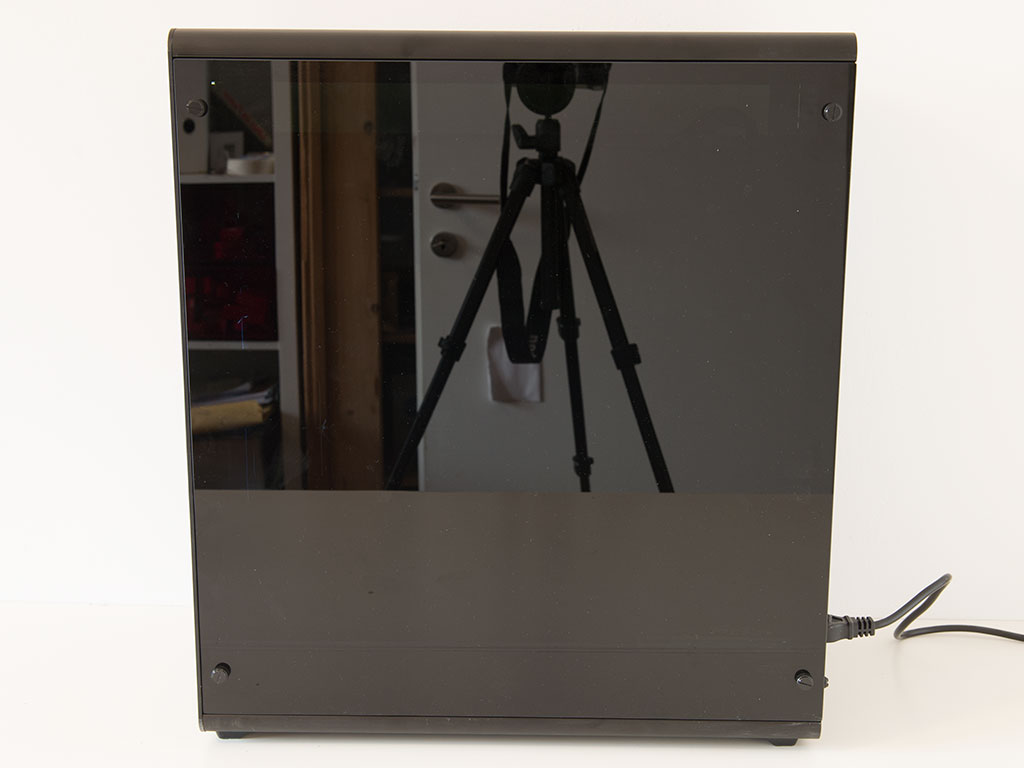
As mentioned before, the side panels are tinted quite heavily, which makes it difficult to see what is inside. Even the three retail quality 120 mm, LED-ringed fans are dimmed considerably. Looking at the rear, the light of the fan becomes much more visible as we turn the Asterion around. Everything is where you would expect it to be in a mid-tower chassis. On the opposing side, you can't really see anything, meaning that any cable mess you may end up with is well hidden.
Feb 7th, 2025 14:01 EST
change timezone
Latest GPU Drivers
New Forum Posts
- Help me decide..........OLED monitors (24)
- Copying big amount data from HDD (5)
- Which SSD enclosure to buy? (9)
- Trying to flash Asus RX 470 (x5) Obtained From a Mining Rig (1)
- Should I make a thermal maintenance on my GPU? (16)
- Opinions on AI (429)
- What's your latest tech purchase? (23104)
- What are you playing? (22800)
- Sapphire Pulse Radeon RX 5600 XT - BIOS Flashing (P25Q80H eeprom) (3)
- Tomb Raider IV-VI Remastered Discussion (4)
Popular Reviews
- Kingdom Come Deliverance II Performance Benchmark Review - 35 GPUs Tested
- Spider-Man 2 Performance Benchmark Review - 35 GPUs Tested
- Corsair Frame 4000D Review
- Formovie Cinema Edge 4K UST Laser Projector Review
- ASUS ROG Harpe Ace Extreme Review
- NVIDIA GeForce RTX 5080 Founders Edition Review
- Kingdom Come: Deliverance 2 Handheld Performance Review
- Gigabyte GeForce RTX 5080 Gaming OC Review
- MSI GeForce RTX 5080 Vanguard SOC Review
- AMD Ryzen 7 9800X3D Review - The Best Gaming Processor
Controversial News Posts
- AMD Radeon 9070 XT Rumored to Outpace RTX 5070 Ti by Almost 15% (285)
- AMD is Taking Time with Radeon RX 9000 to Optimize Software and FSR 4 (256)
- AMD Denies Radeon RX 9070 XT $899 USD Starting Price Point Rumors (239)
- Edward Snowden Lashes Out at NVIDIA Over GeForce RTX 50 Pricing And Value (235)
- AMD Radeon RX 9070 XT & RX 9070 Custom Models In Stock at European Stores (226)
- New Leak Reveals NVIDIA RTX 5080 Is Slower Than RTX 4090 (215)
- AMD's Radeon RX 9070 Launch Faces Pricing Hurdles (175)
- AMD Radeon RX 9070 XT Tested in Cyberpunk 2077 and Black Myth: Wukong (169)