Mar 13th, 2025 12:30 EDT
change timezone
Latest GPU Drivers
New Forum Posts
- Tiktok channel cheating people into running powershell and unknowingly downloading malware. (1)
- And so... I bought Arrow Lake (13700k to 265k), my thoughts. (22)
- wierd case of 2 equal laptops (2)
- 22" same price, brand, but not type, compare (3)
- The future of RDNA on Desktop. (137)
- The TPU UK Clubhouse (25889)
- Free Games Thread (4557)
- Warning message when unlocking PP0 Current Limit (6)
- Nvidia's GPU market share hits 90% in Q4 2024 (gets closer to full monopoly) (904)
- I'm looking for a good tool to make the 3D scanning of my mini-pc using the photogrammetry and my Kinect 2. (97)
Popular Reviews
- AMD Ryzen 9 9950X3D Review - Great for Gaming and Productivity
- Sapphire Radeon RX 9070 XT Nitro+ Review - Beating NVIDIA
- XFX Radeon RX 9070 XT Mercury OC Magnetic Air Review
- FSP MP7 Black Review
- Dough Spectrum Black 32 Review
- ASUS Radeon RX 9070 TUF OC Review
- ASUS GeForce RTX 5090 TUF Review
- AMD Ryzen 7 9800X3D Review - The Best Gaming Processor
- NVIDIA GeForce RTX 5070 Founders Edition Review
- MSI MAG B850 Tomahawk Max Wi-Fi Review
Controversial News Posts
- NVIDIA GeForce RTX 50 Cards Spotted with Missing ROPs, NVIDIA Confirms the Issue, Multiple Vendors Affected (513)
- AMD Radeon RX 9070 and 9070 XT Listed On Amazon - One Buyer Snags a Unit (261)
- AMD RDNA 4 and Radeon RX 9070 Series Unveiled: $549 & $599 (260)
- AMD Mentions Sub-$700 Pricing for Radeon RX 9070 GPU Series, Looks Like NV Minus $50 Again (249)
- NVIDIA Investigates GeForce RTX 50 Series "Blackwell" Black Screen and BSOD Issues (244)
- AMD Radeon RX 9070 and 9070 XT Official Performance Metrics Leaked, +42% 4K Performance Over Radeon RX 7900 GRE (195)
- AMD Radeon RX 9070-series Pricing Leaks Courtesy of MicroCenter (158)
- AMD Radeon RX 9070 XT Reportedly Outperforms RTX 5080 Through Undervolting (103)
 2
2
Sharkoon TG7M RGB Review
Thermal Stress Test »Review System
| System Parts for Case Reviews | |
|---|---|
| Processor: | ATX: Intel Core i5-11600K mATX/ITX: Intel Core i5-10600K Provided by: Intel |
| Motherboards: | ATX: Gigabyte Z590 AORUS PRO AX ITX: Gigabyte Z590I Vision D Provided by: Gigabyte mATX: ASRock B560M Steel Legend Provided by: ASRock |
| Graphics Card: | Gigabyte Radeon RX 6600 Eagle Provided by: Gigabyte ZOTAC GAMING GeForce RTX 3060 Ti Twin Edge OC Provided by: Zotac |
| Memory: | 16 GB XPG SPECTRIX D50 3200 MHz 16 GB XPG SPECTRIX D60G DDR4 3000 MHz 16 GB XPG GAMMIX D20 DDR4 3200 MHz Provided by: ADATA |
| HDD: | Toshiba MG08ADA400E 7200 RPM SATA III Provided by: Toshiba |
| SSD: | ATX:XPG SPECTRIX S20G 500 GB mATX: XPG GAMMIX S50 Lite 1 TB ITX: ADATA Falcon 512 GB ADATA Ultimate SU800 512 GB ADATA Ultimate SU720 500 GB Provided by: ADATA |
| Power Supply: | ATX: Fractal Design ION+ 650W 80 Plus Gold SFX: Fractal Design ION SFX-L 650W 80 Plus Gold Provided by: Fractal Design |
| Cooling: | be quiet! Pure Loop 120/240/280/360 Provided by: be quiet! |
Assembly
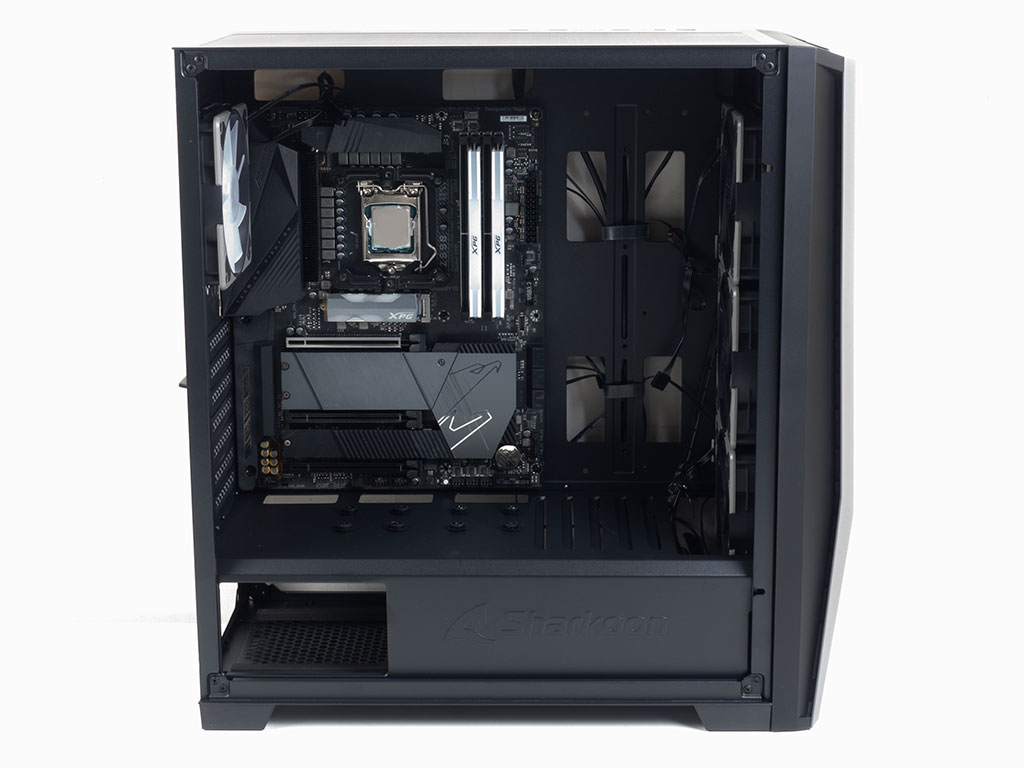
Installing the motherboard is straightforward. The dimensions of the chassis leave plenty of space above the board, and all cable-routing holes line up nicely on all three edges. Adding a GPU to that setup is done with screws and a screw driver, but does require placing the vertical cover plate once your expansion cards are in place. Sharkoon mentions 380 mm of space for your pixel pusher, which is plenty.
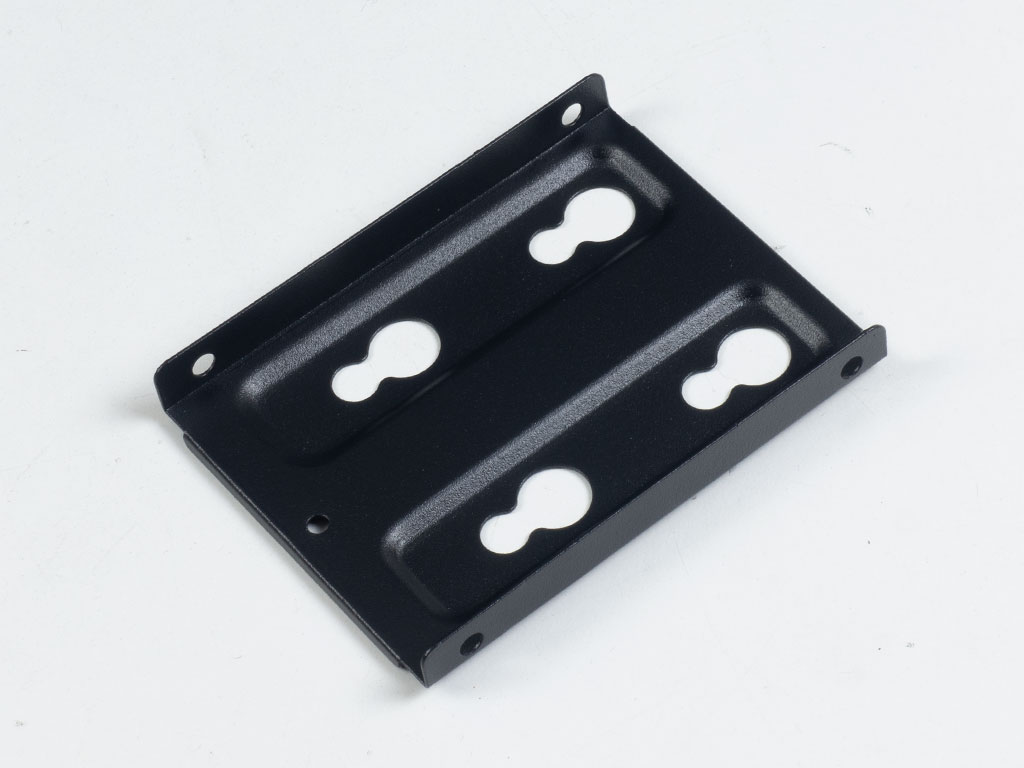

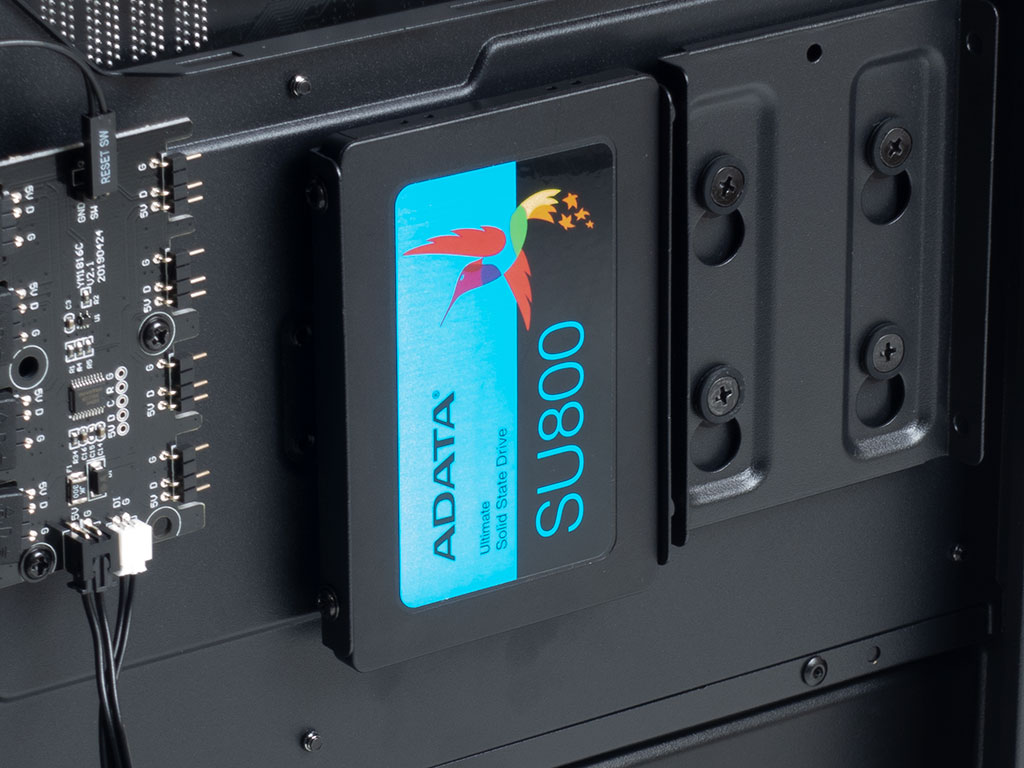
Using the metal tray to add a 2.5" drive to the mix, you will again need to use the right screws and a screw driver. Once filled, that tray may go on the backside of the motherboard if you want to hide it from view.
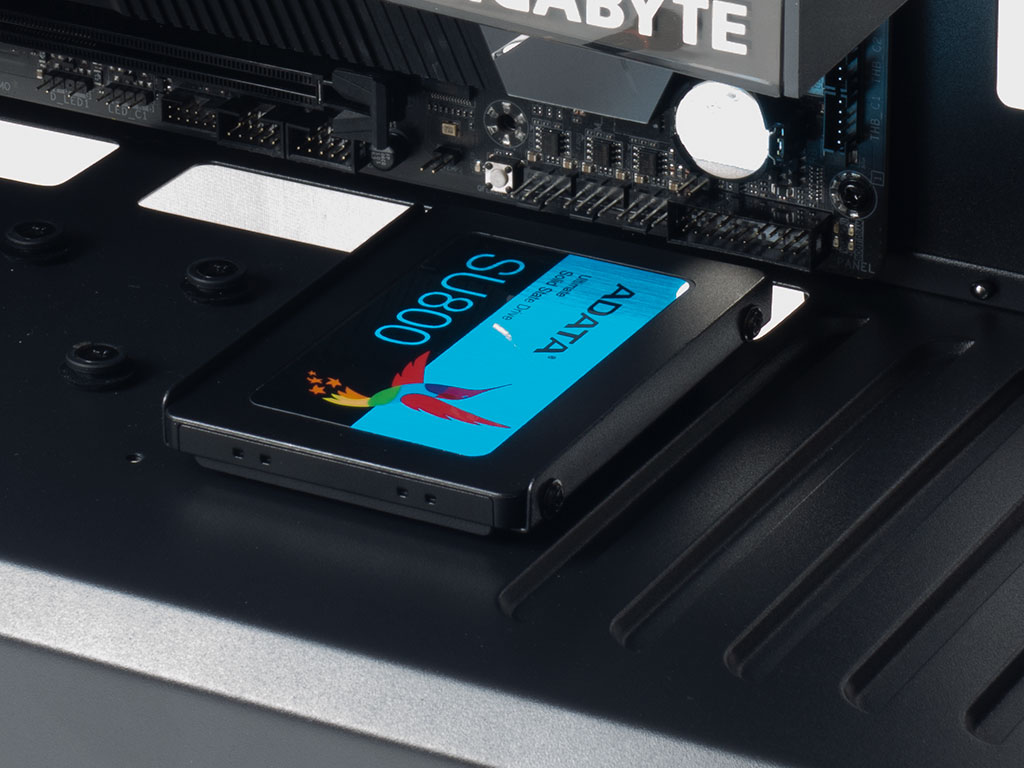
Alternatively, you may place it on the shroud where it lines up nicely with the opening along the bottom edge of the motherboard. This should be handy for those with ARGB-equipped drives for that added bit of bling.
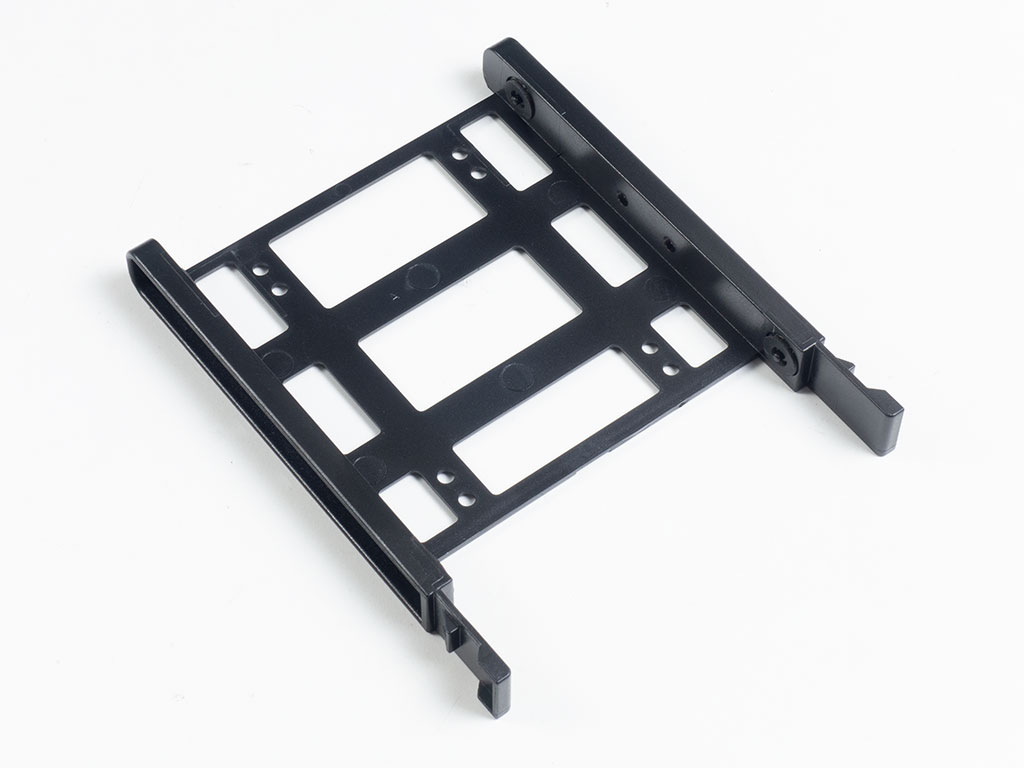
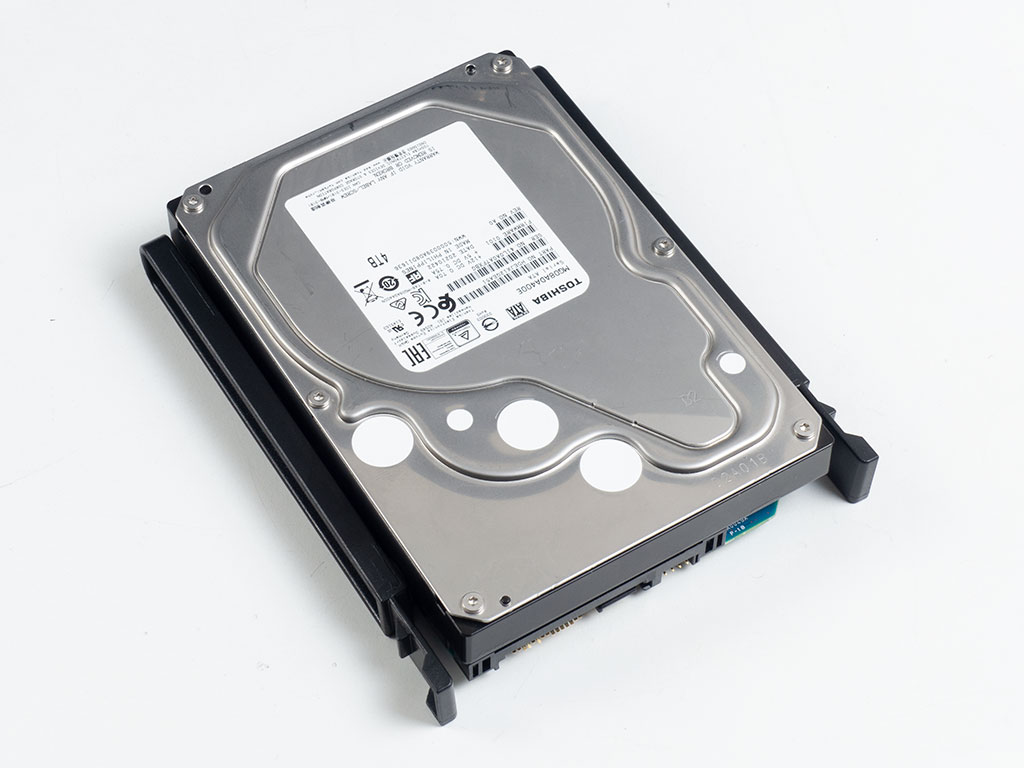
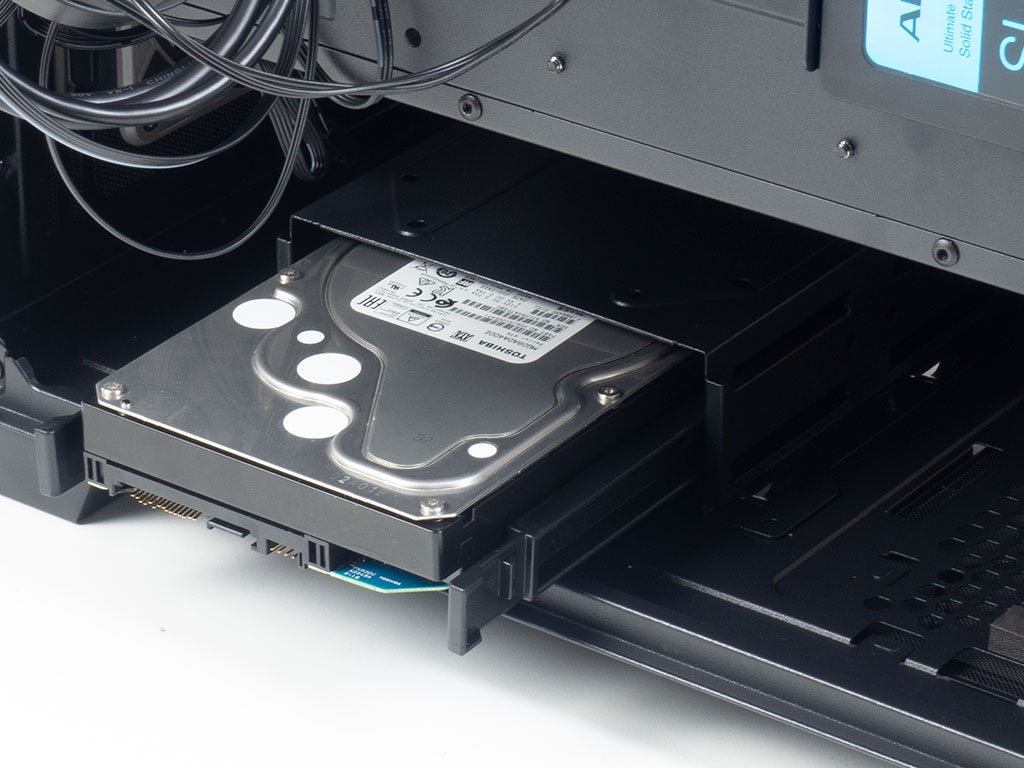
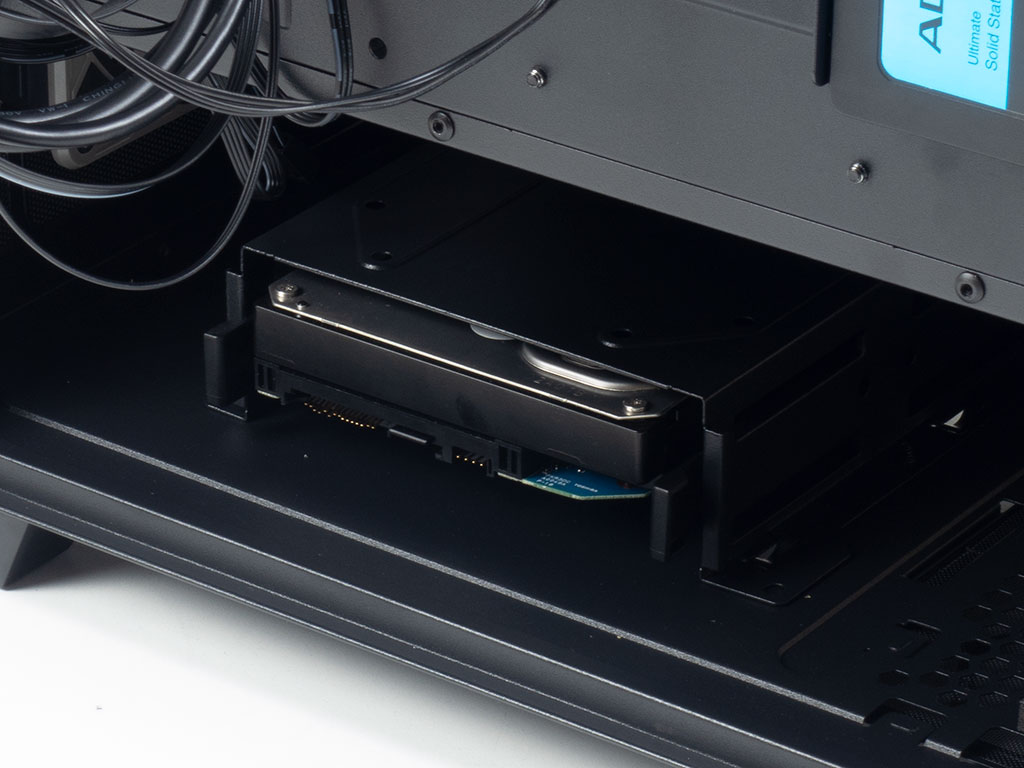
While you may screw a 2.5" or 3.5" drive down on top of the HDD cage if you need that extra space, most builds these days will likely only employ a single spinning rust storage unit, which may be clipped into the plastic tray without any additional tools or parts. Once in place, simply slide the tray back into the cage until it snaps down securely.
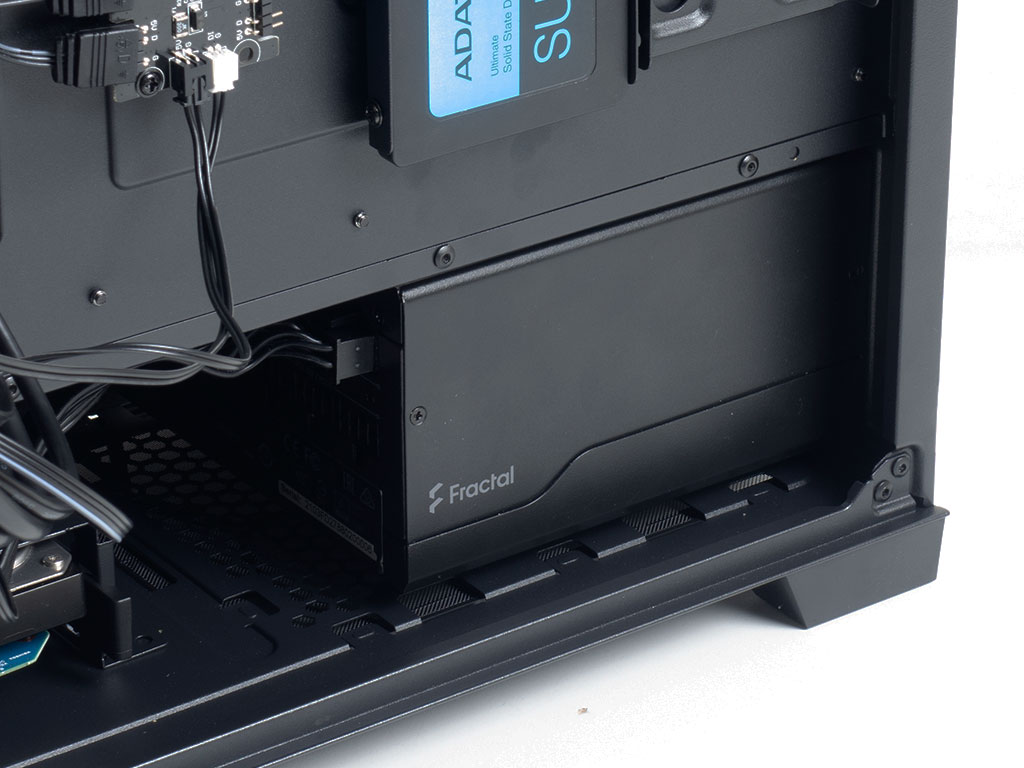
Adding the power supply is done by securing it with classic screws through the back of the TG7M RGB. There is lots of space, so you should easily be able to retain its storage capabilities while utilizing longer PSUs.
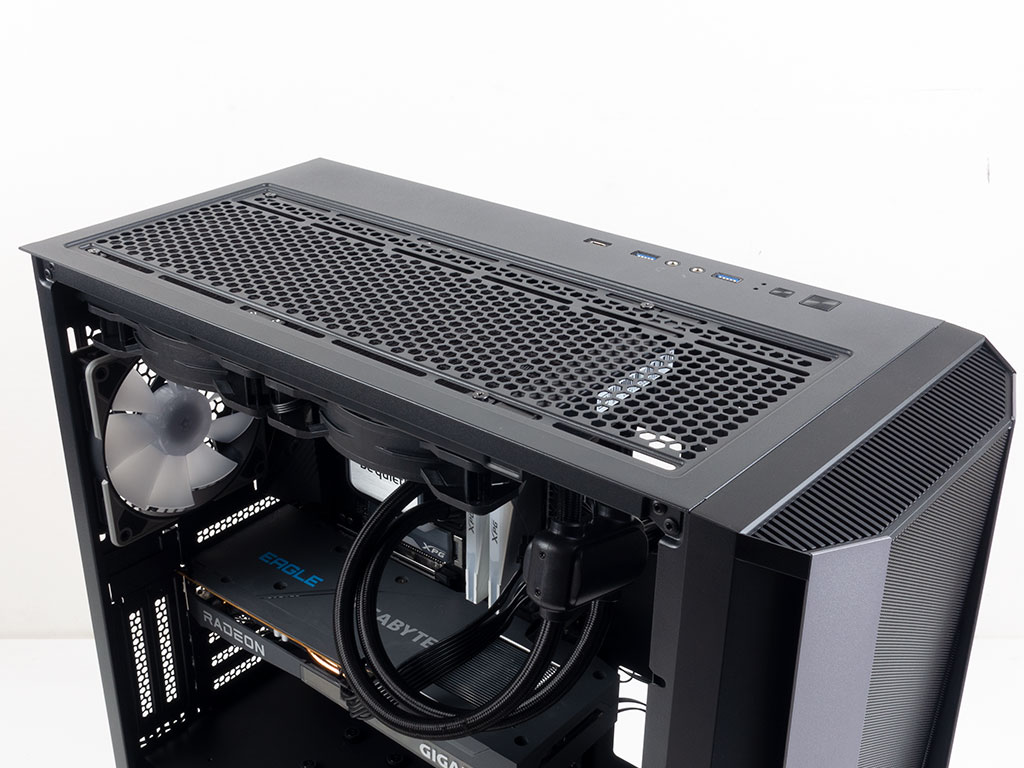
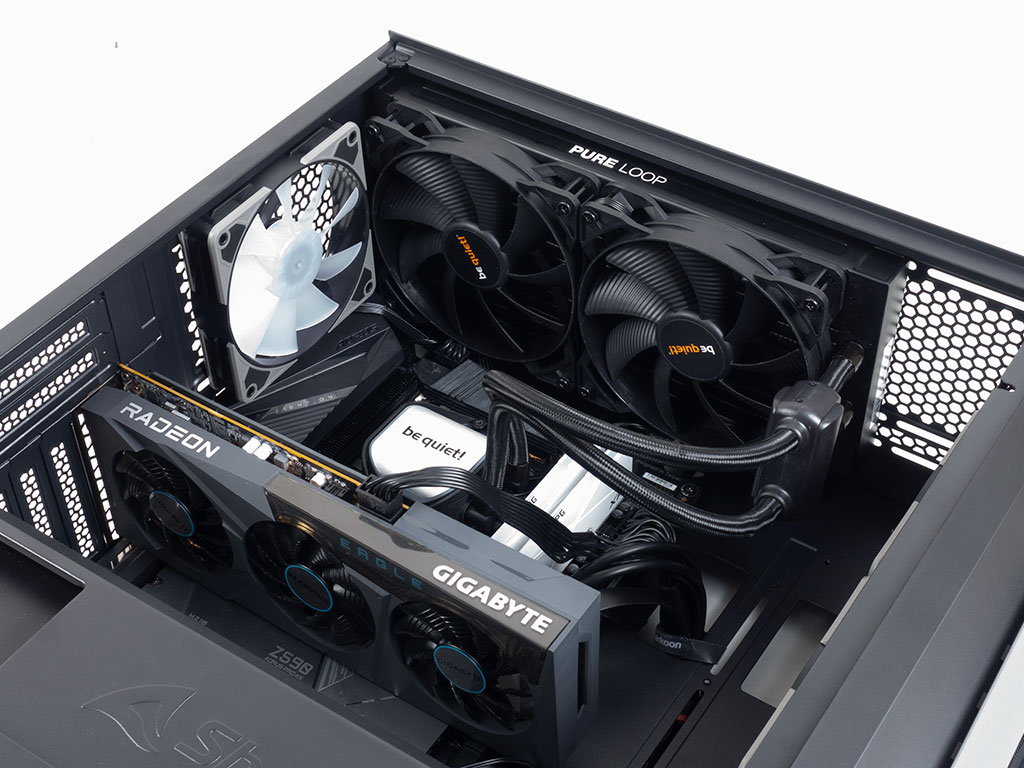
As we always try to install the biggest viable AIO inside review builds, the initial attempt was to go for a 360 mm unit. However, either Sharkoon is overly optimistic or the be quiet! 360 mm Pure Loop 2 is just a tad too big because of its bulky end pieces. As such, we went with the 280 mm variant instead. Thanks to the room above the motherboard, the AIO easily fits without interfering with any board components. But you should really ensure all the wiring is connected to the board before placing the cooler as it will make cable management quite difficult.
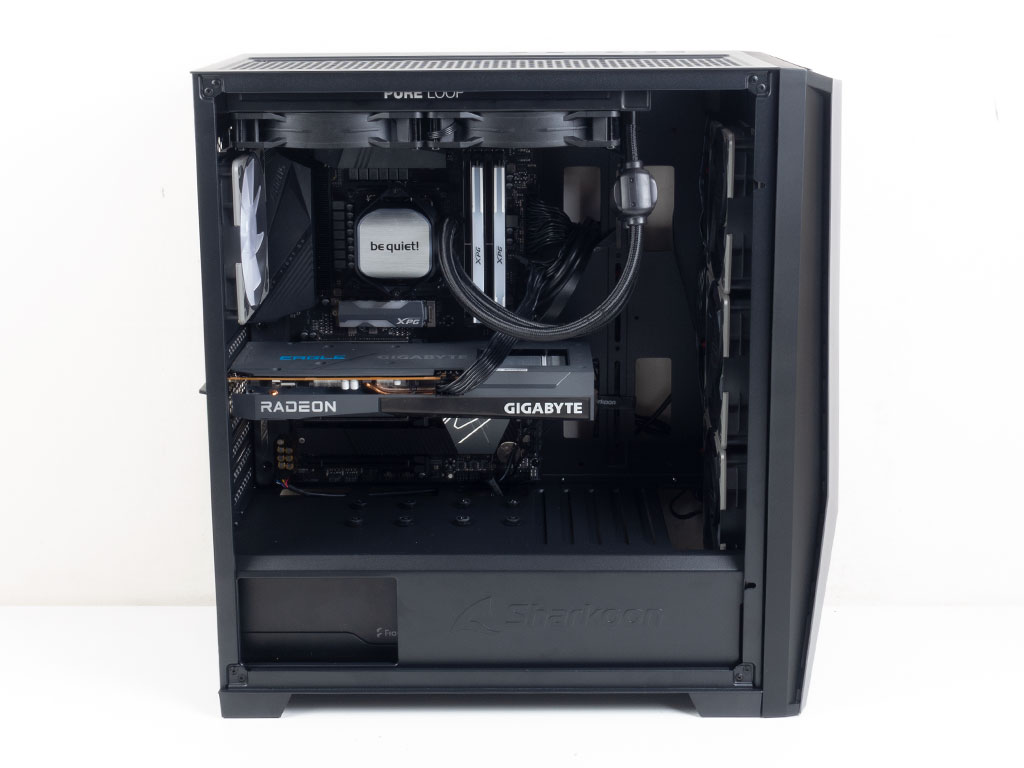
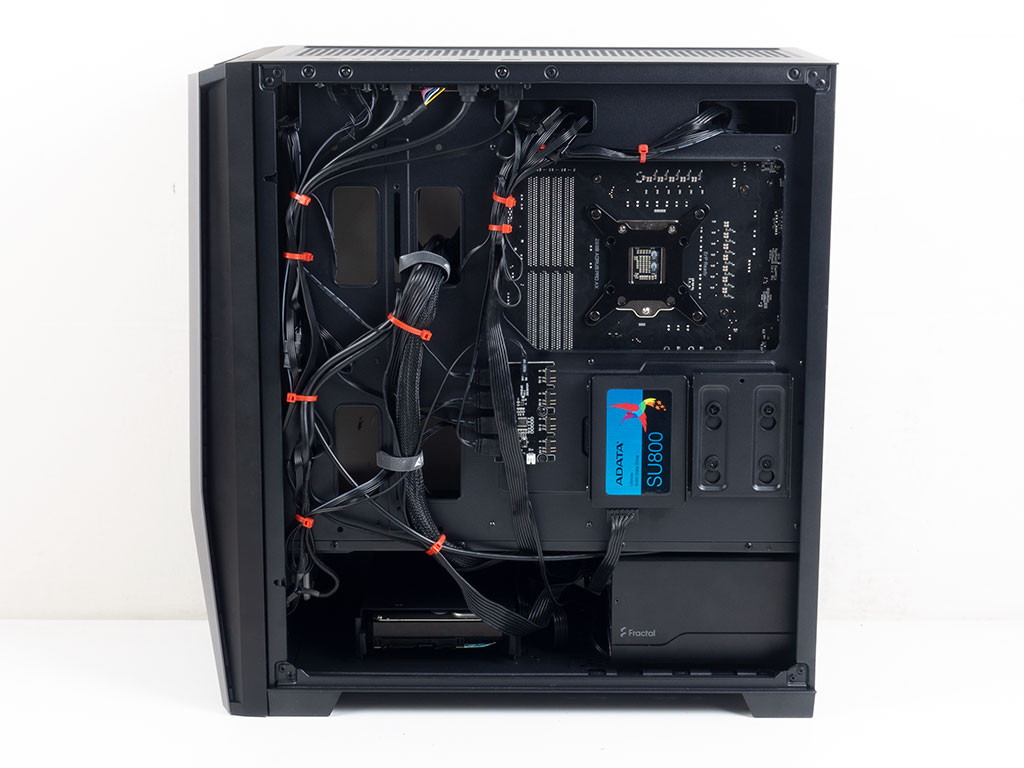
With everything installed and a bit of extra time spent on cable management, the interior of the Sharkoon TG7M RGB looks quite alright. We could have routed the PCIe cable through the bottom cable-routing hole, but the core issue is that there are no grommets. Behind the motherboard tray, a leftover strand of wires is zip-tied to the only real apparent cable hooks, with the right-most grouping attaching to cable hooks on the edge of the cutout for the CPU cooler. In other words, the middle strand is just held in place by the Velcro strips and zip ties.


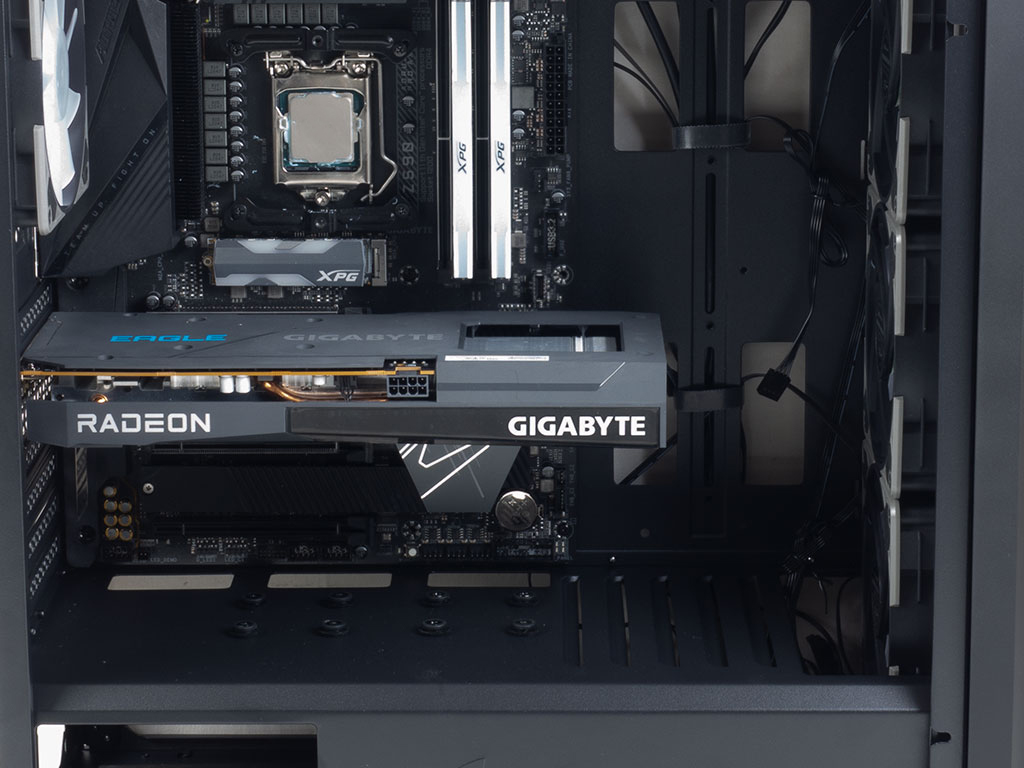
As Sharkoon also sent us the vertical GPU kit, we mounted it and installed the GPU in it as well. Assembly is easy enough, with the ribbon cable nice and long. That means the remaining horizontal expansion slots may still be utilized as the PCIe 3.0 cable is long enough to wrap around and still reach the metal shroud.
Finished Looks
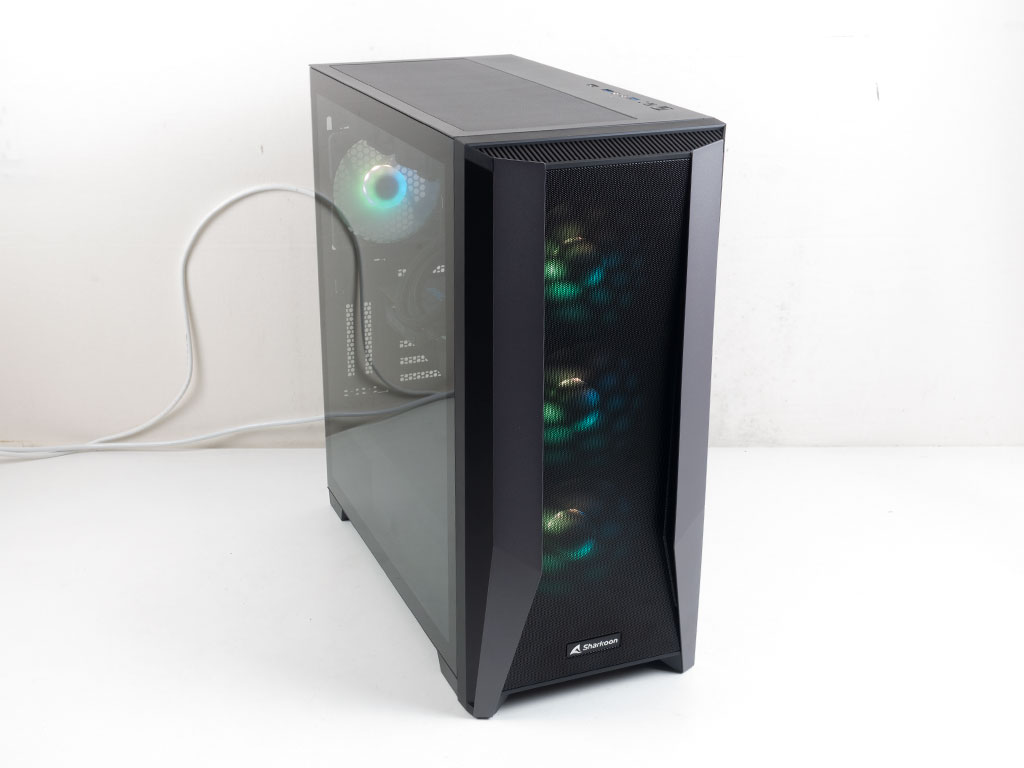
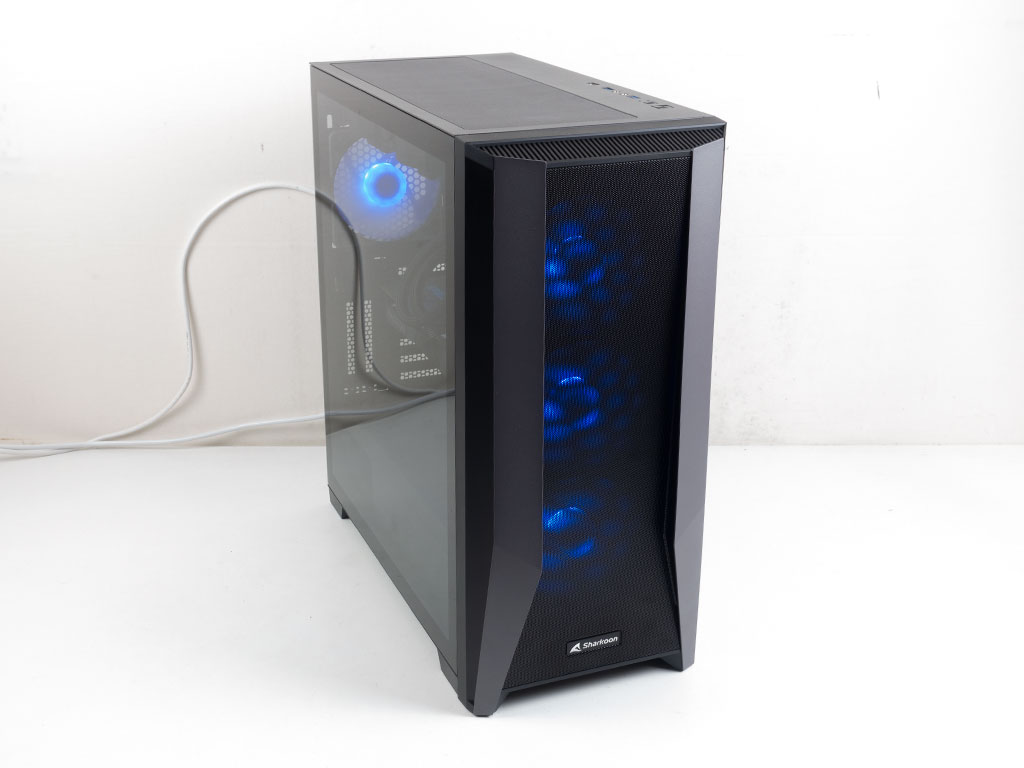
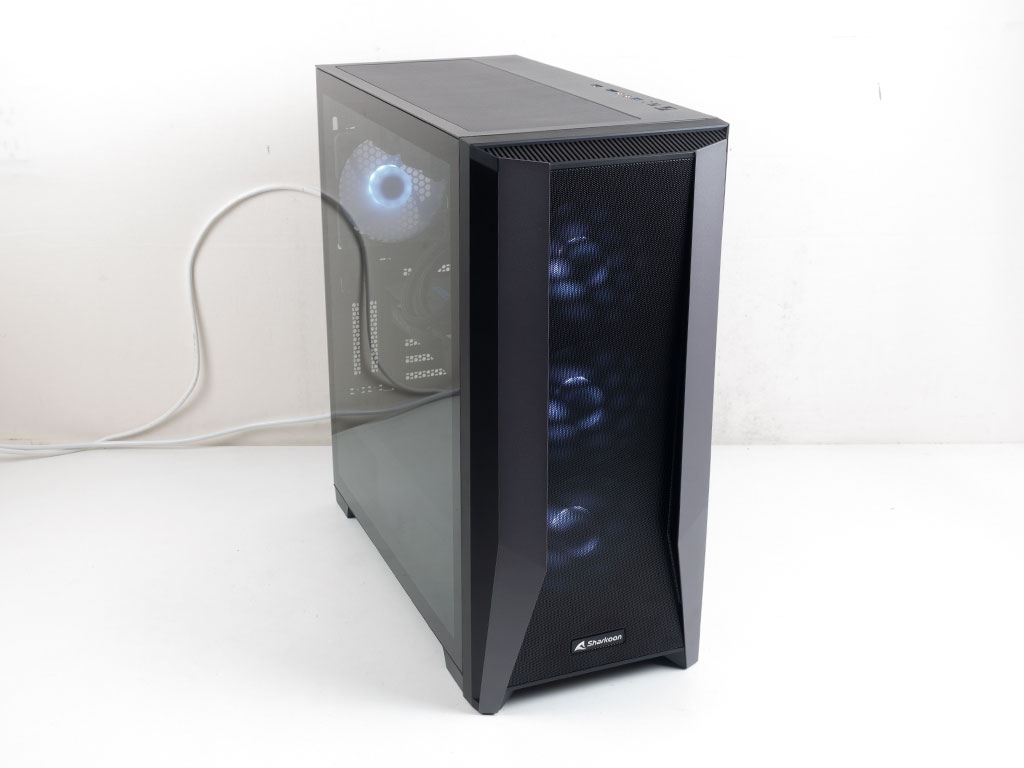
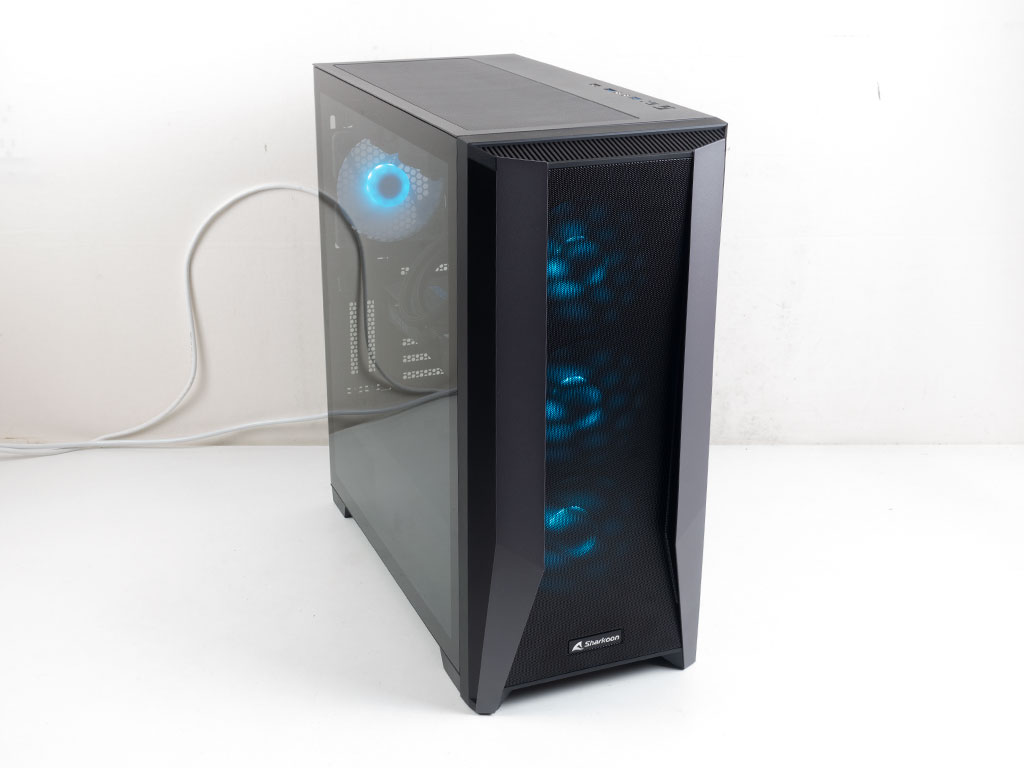
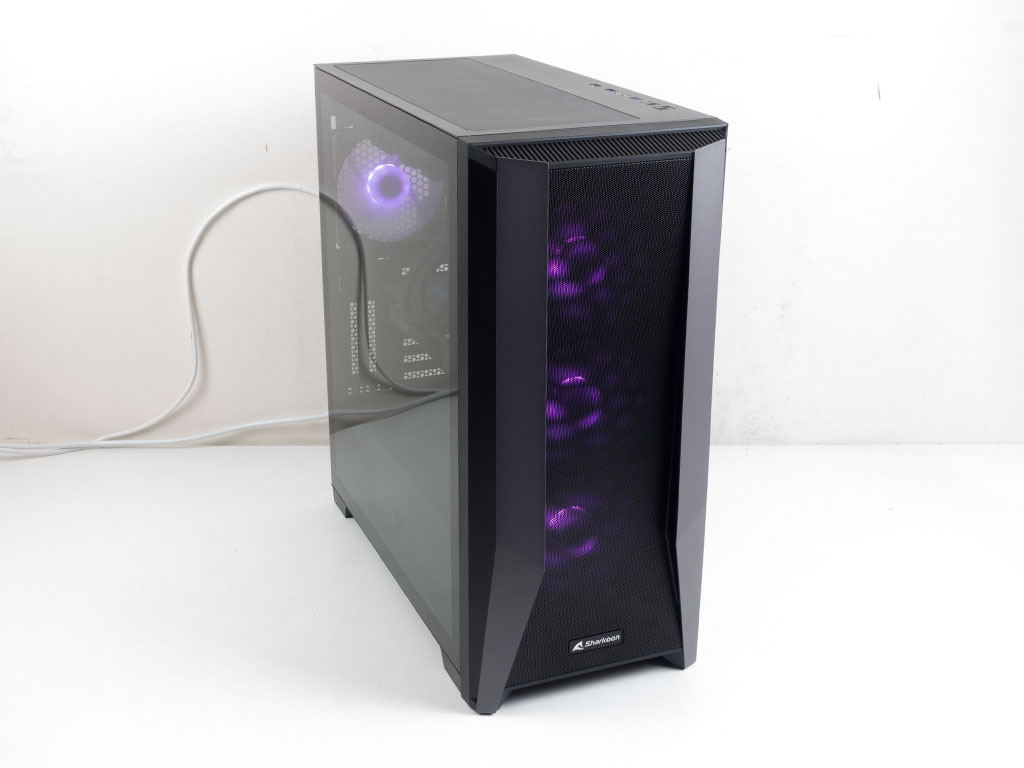
With everything turned on, the first thing we noticed wasn't the ARGB, but that the case was nice and quiet even with the four fans installed. But the sufficiently diffused RGB LEDs inside the fan hubs do look quite nice as well. A white LED in the ceiling of the TG7M RGB will also let you know that the system is powered on.
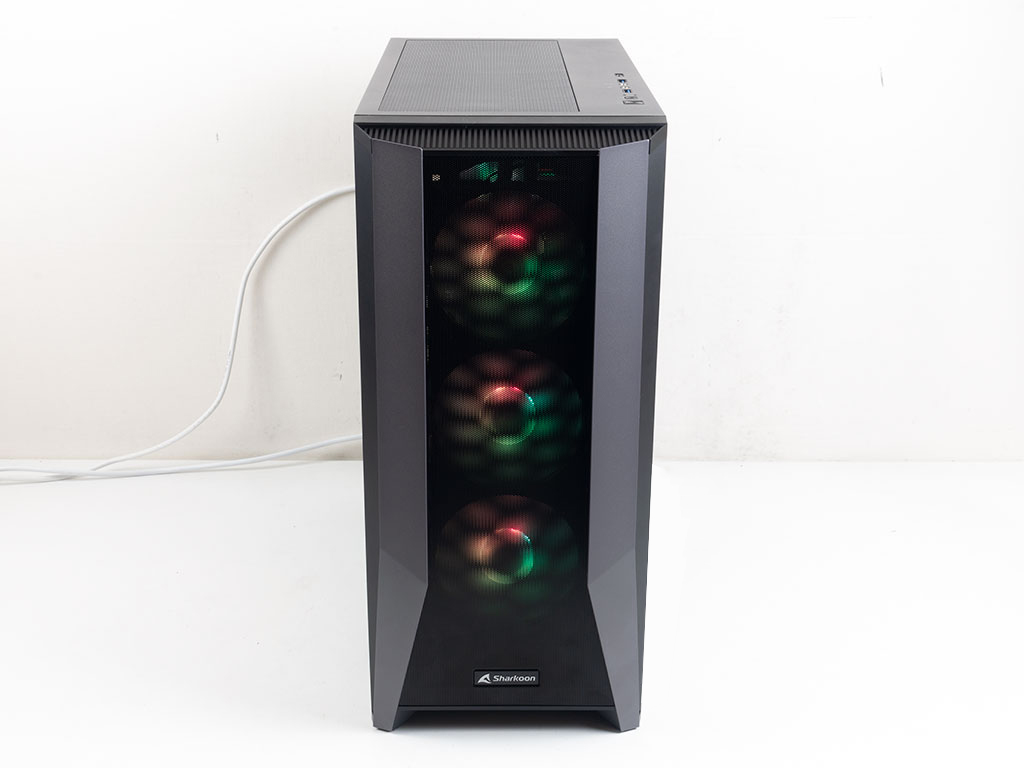
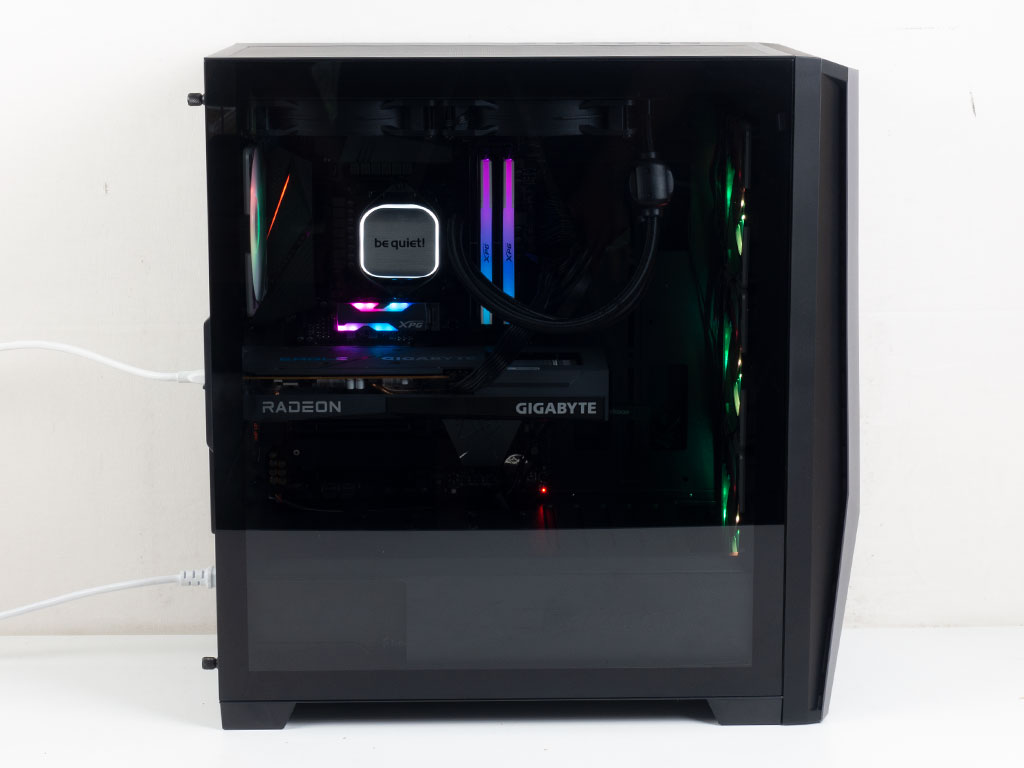
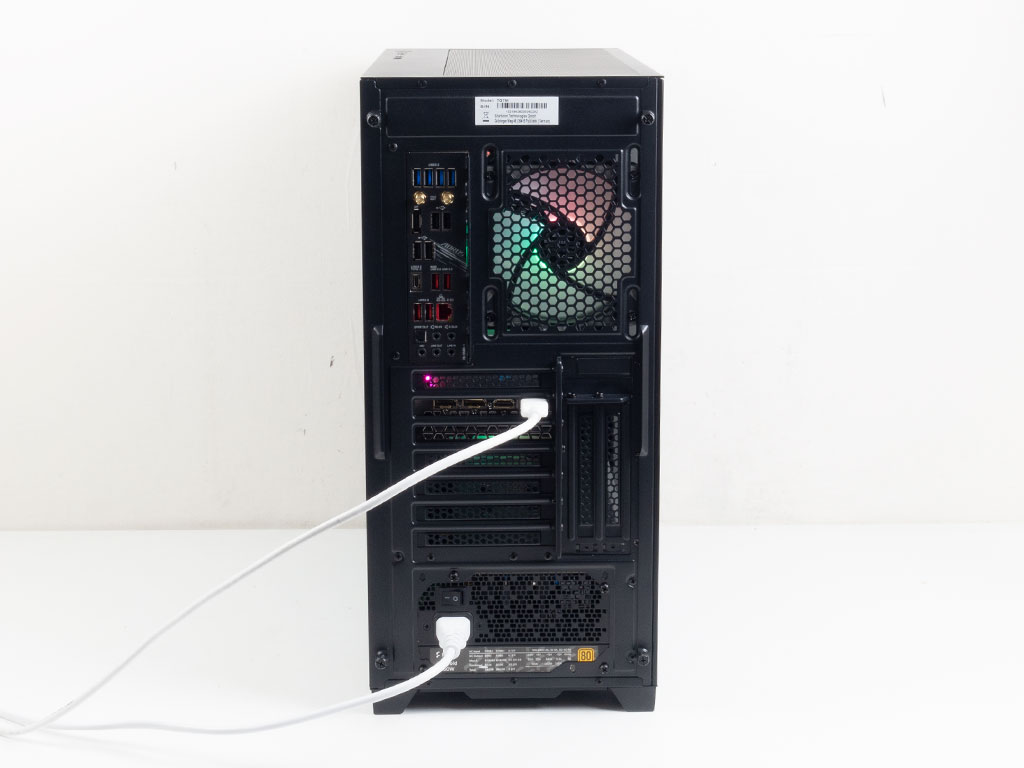
The fine metal mesh filter gives you a nice view of the three pre-installed fans in the front, while the clear glass window shows off your hardware without a lot of extra illumination. In the rear, everything is where you would expect it, with the glow of the rear exhaust fan visible, too.
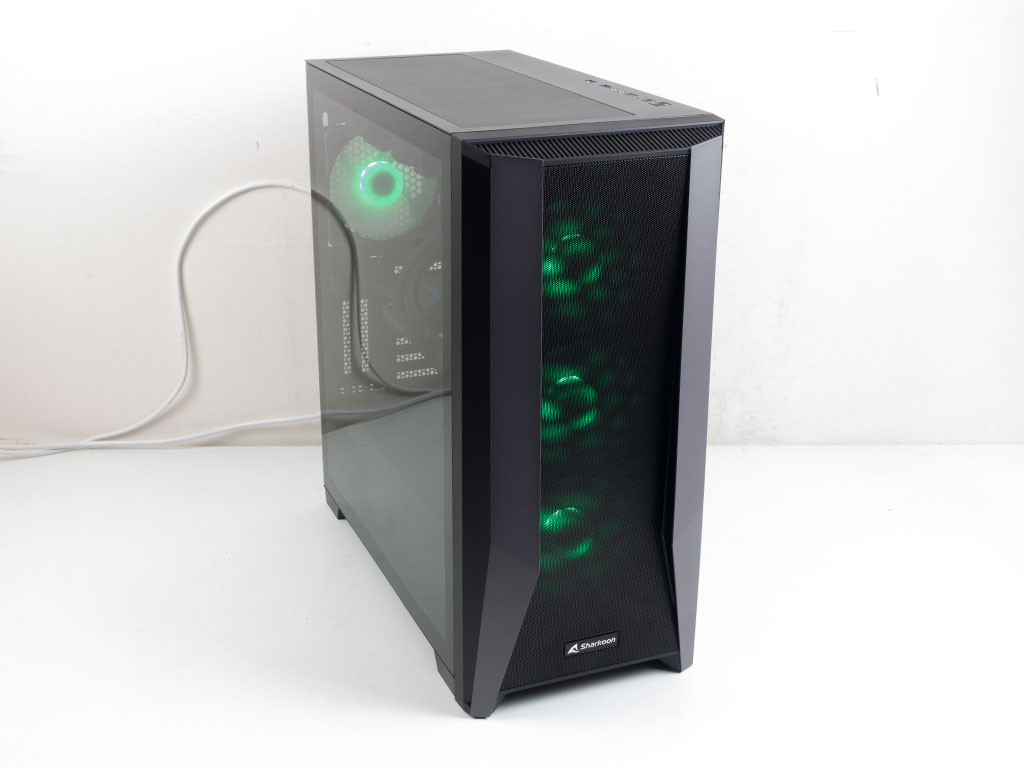
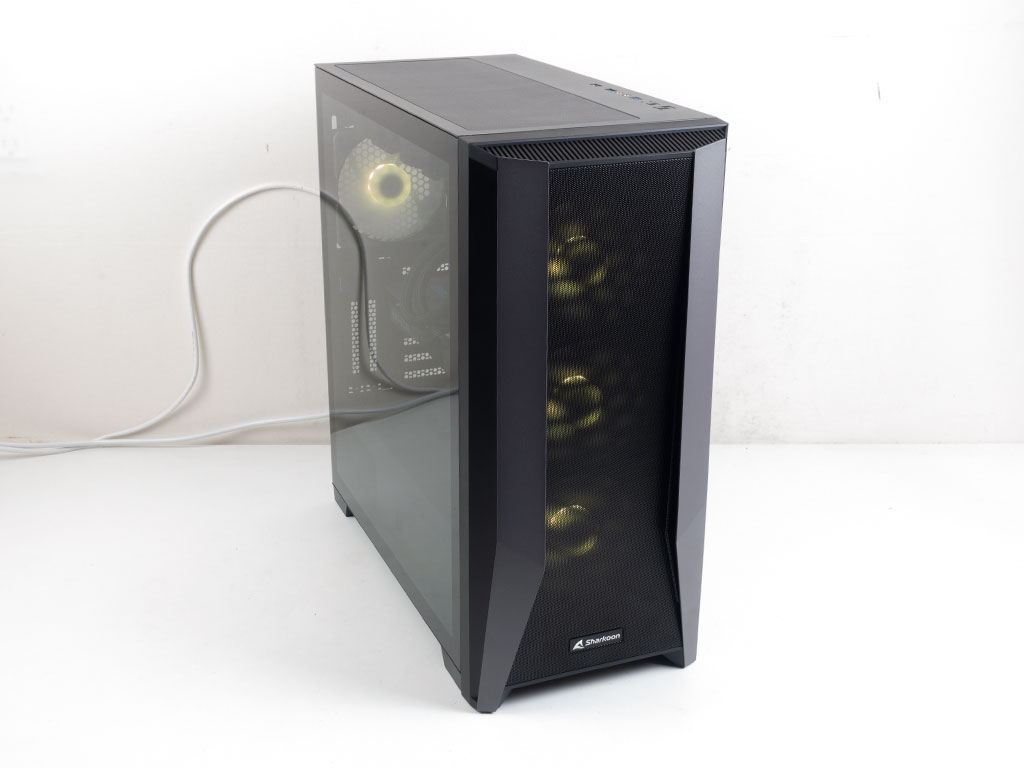
Besides cycling through a good number of animations, the Sharkoon TG7M RGB controller also offers the usual seven solid colors you may toggle through by pressing the button at the top of the chassis. Feast your eyes on those below.


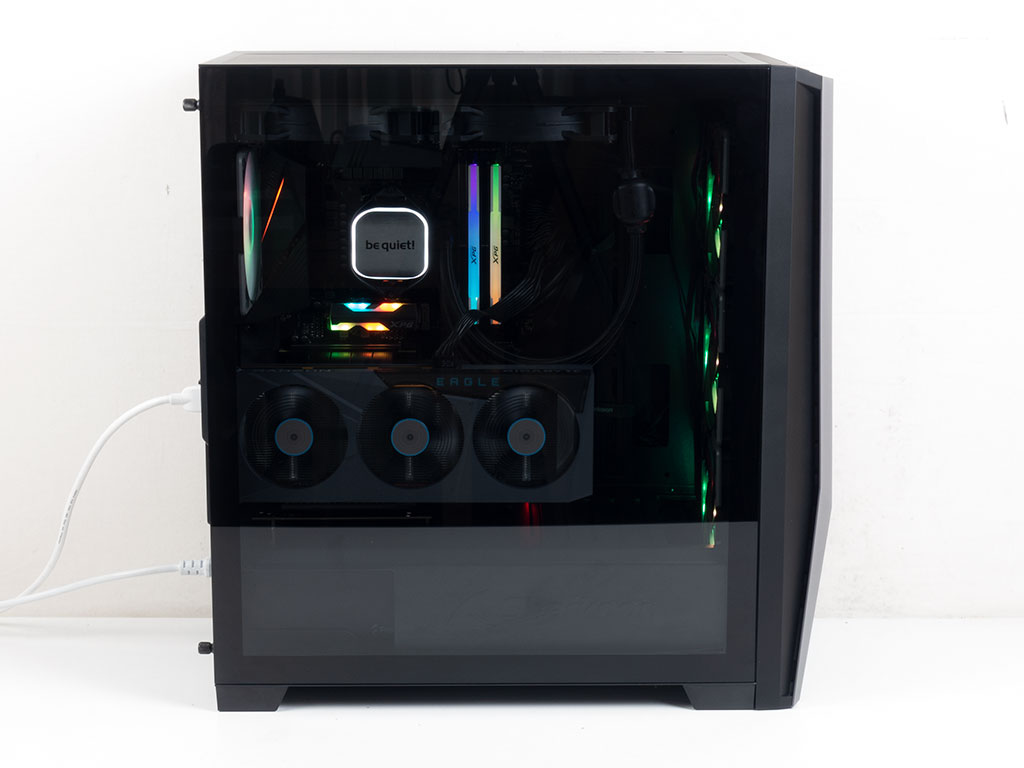
With the vertical mount, you can clearly showcase your GPU in all its glory, which is certainly a nice touch for the part of your system that may well be the most expensive even if it means thermal performance will suffer a little bit.
Mar 13th, 2025 12:30 EDT
change timezone
Latest GPU Drivers
New Forum Posts
- Tiktok channel cheating people into running powershell and unknowingly downloading malware. (1)
- And so... I bought Arrow Lake (13700k to 265k), my thoughts. (22)
- wierd case of 2 equal laptops (2)
- 22" same price, brand, but not type, compare (3)
- The future of RDNA on Desktop. (137)
- The TPU UK Clubhouse (25889)
- Free Games Thread (4557)
- Warning message when unlocking PP0 Current Limit (6)
- Nvidia's GPU market share hits 90% in Q4 2024 (gets closer to full monopoly) (904)
- I'm looking for a good tool to make the 3D scanning of my mini-pc using the photogrammetry and my Kinect 2. (97)
Popular Reviews
- AMD Ryzen 9 9950X3D Review - Great for Gaming and Productivity
- Sapphire Radeon RX 9070 XT Nitro+ Review - Beating NVIDIA
- XFX Radeon RX 9070 XT Mercury OC Magnetic Air Review
- FSP MP7 Black Review
- Dough Spectrum Black 32 Review
- ASUS Radeon RX 9070 TUF OC Review
- ASUS GeForce RTX 5090 TUF Review
- AMD Ryzen 7 9800X3D Review - The Best Gaming Processor
- NVIDIA GeForce RTX 5070 Founders Edition Review
- MSI MAG B850 Tomahawk Max Wi-Fi Review
Controversial News Posts
- NVIDIA GeForce RTX 50 Cards Spotted with Missing ROPs, NVIDIA Confirms the Issue, Multiple Vendors Affected (513)
- AMD Radeon RX 9070 and 9070 XT Listed On Amazon - One Buyer Snags a Unit (261)
- AMD RDNA 4 and Radeon RX 9070 Series Unveiled: $549 & $599 (260)
- AMD Mentions Sub-$700 Pricing for Radeon RX 9070 GPU Series, Looks Like NV Minus $50 Again (249)
- NVIDIA Investigates GeForce RTX 50 Series "Blackwell" Black Screen and BSOD Issues (244)
- AMD Radeon RX 9070 and 9070 XT Official Performance Metrics Leaked, +42% 4K Performance Over Radeon RX 7900 GRE (195)
- AMD Radeon RX 9070-series Pricing Leaks Courtesy of MicroCenter (158)
- AMD Radeon RX 9070 XT Reportedly Outperforms RTX 5080 Through Undervolting (103)