 29
29
Thermaltake Frio Review
Performance »Assembly

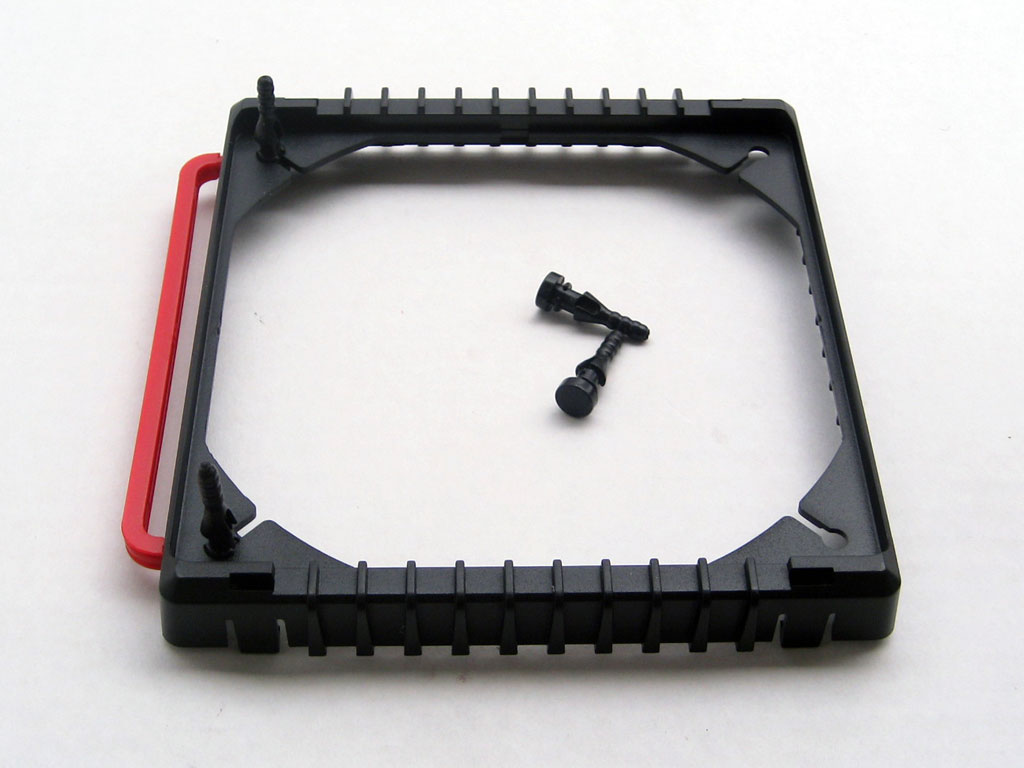
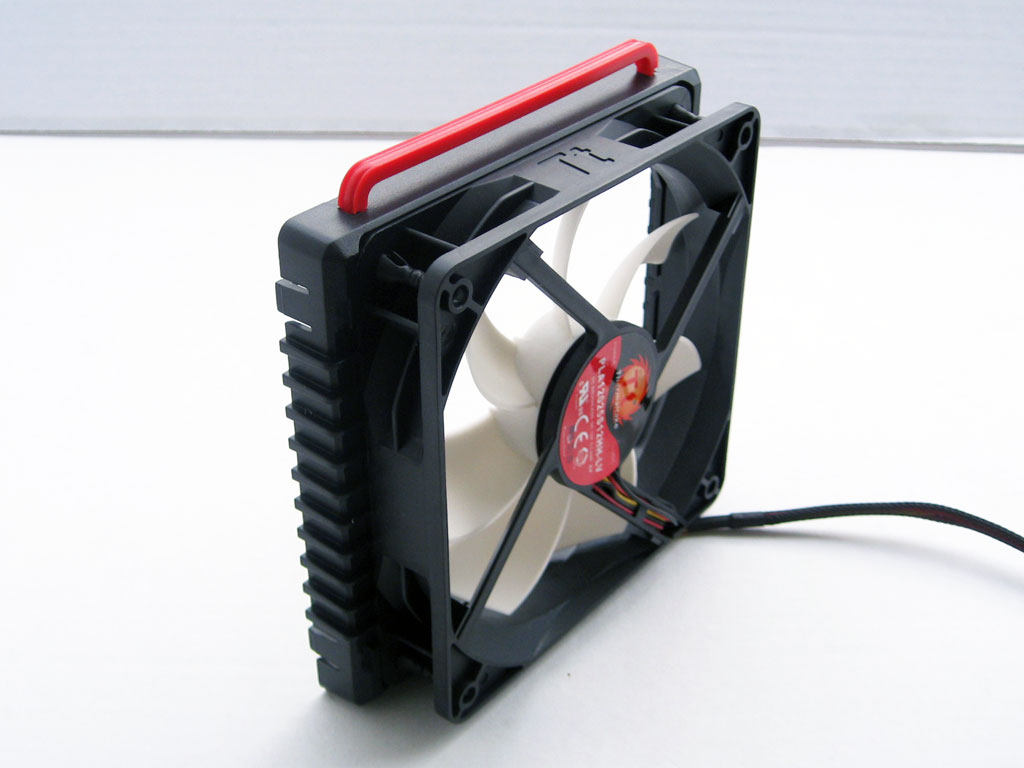
Although the Frio comes about two thirds assembled here is a breakdown of how its put together if you have taken it completely apart like we have. Atop the Frio sits a decorative plastic shield that clips on to the cooler. Two fans are included, each of which are held to its shroud with four rubber fasteners that help eliminate vibration caused by the fans rotational energy.

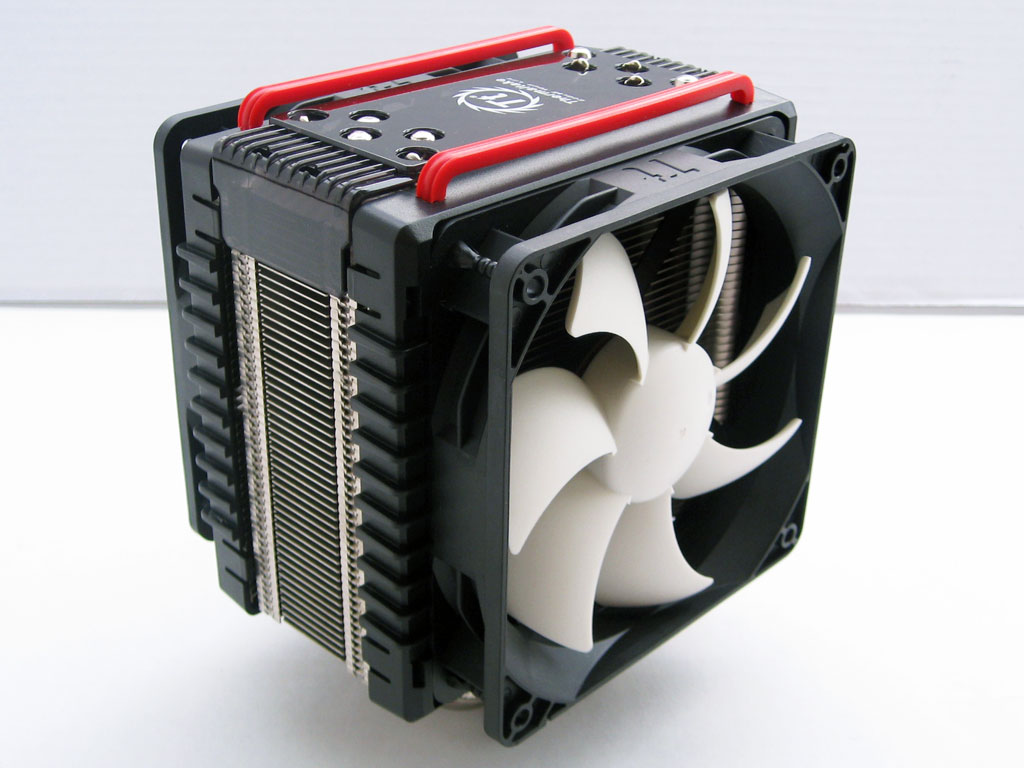
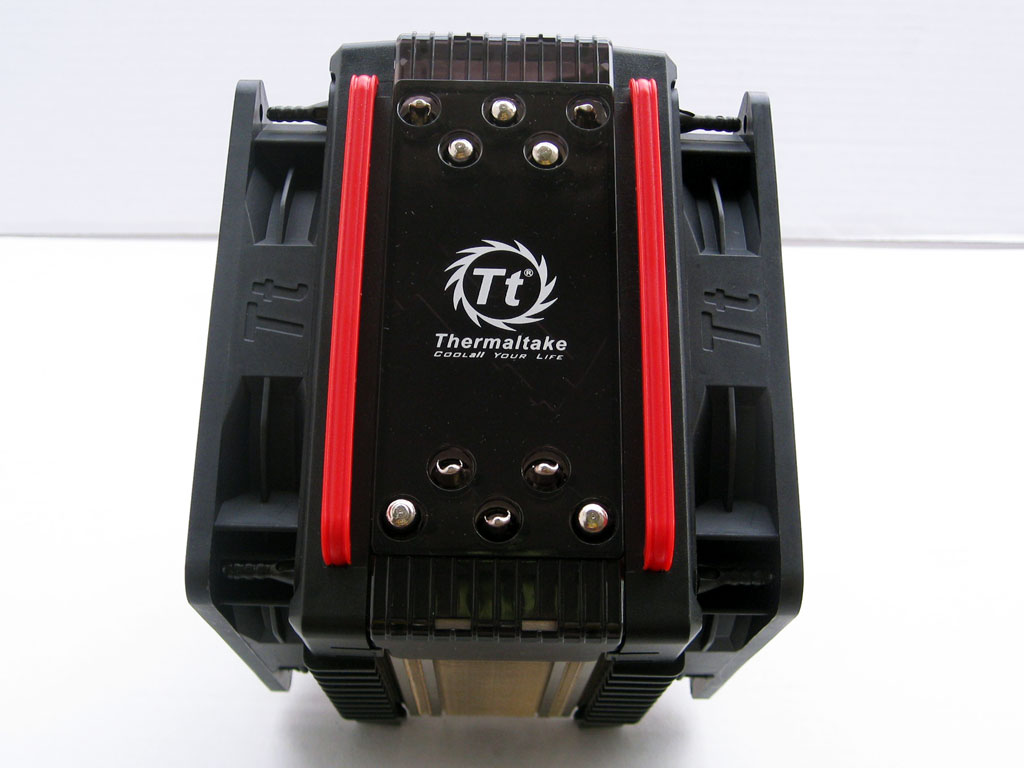
Once you have the fans securely attached to their shrouds, clip the shrouds to the front and back of the cooler to attach them. Assembled, the cooler looks aggressive with dual fans and the black, red and white look.
Installation
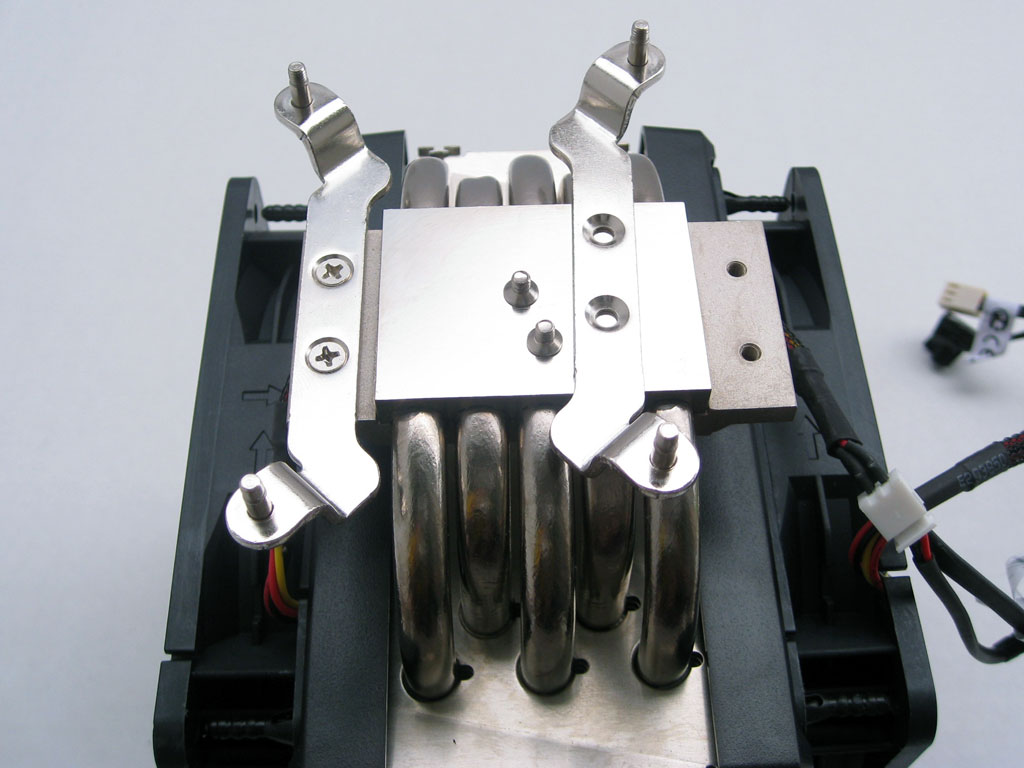
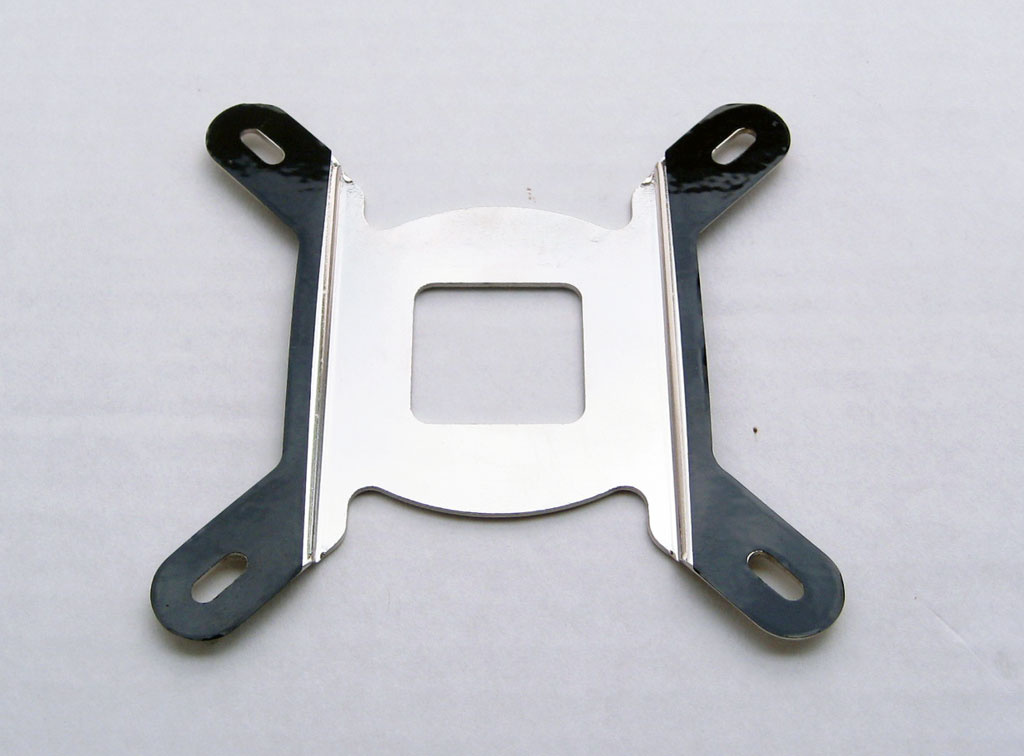
To begin installation, select the proper mounting hardware for the cpu socket you are going to install the cooler on. For this review the Frio is being installed on an Intel socket 1156 so the 1156 brackets are mounted to the base of the cooler with the four included screws. Next up, install the four foam rubber washers over the mounting posts. This keeps the metal on the brackets from shorting anything on the motherboard out and causing hardware failure and it also prevents over-tightening of the cooler.
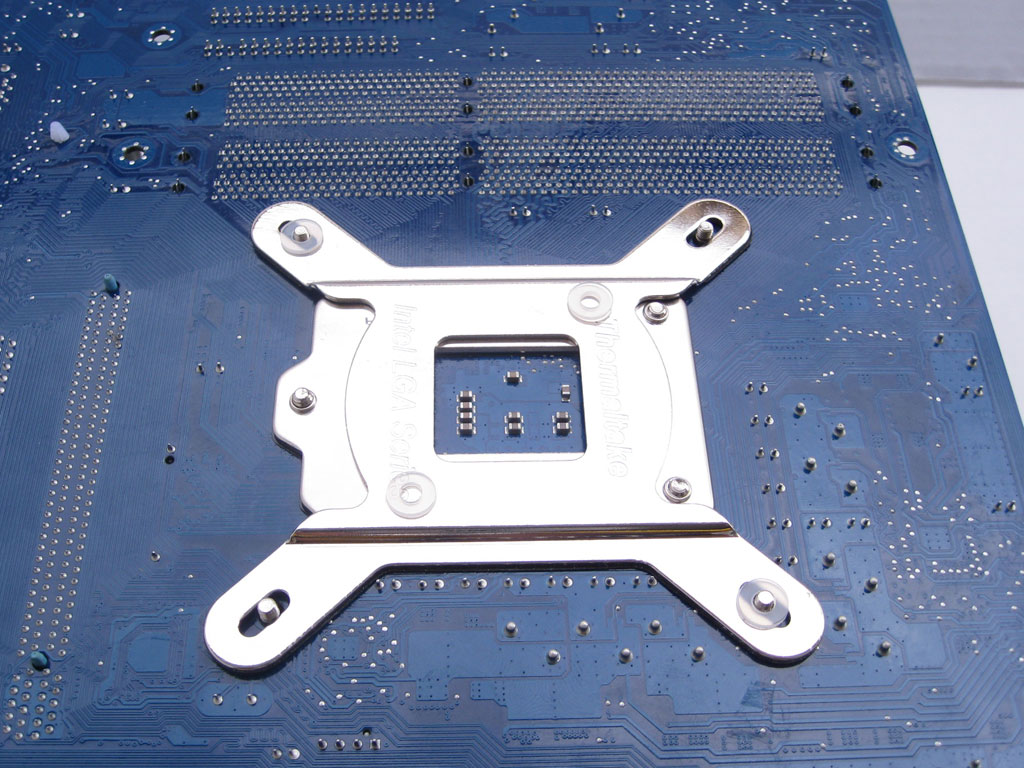
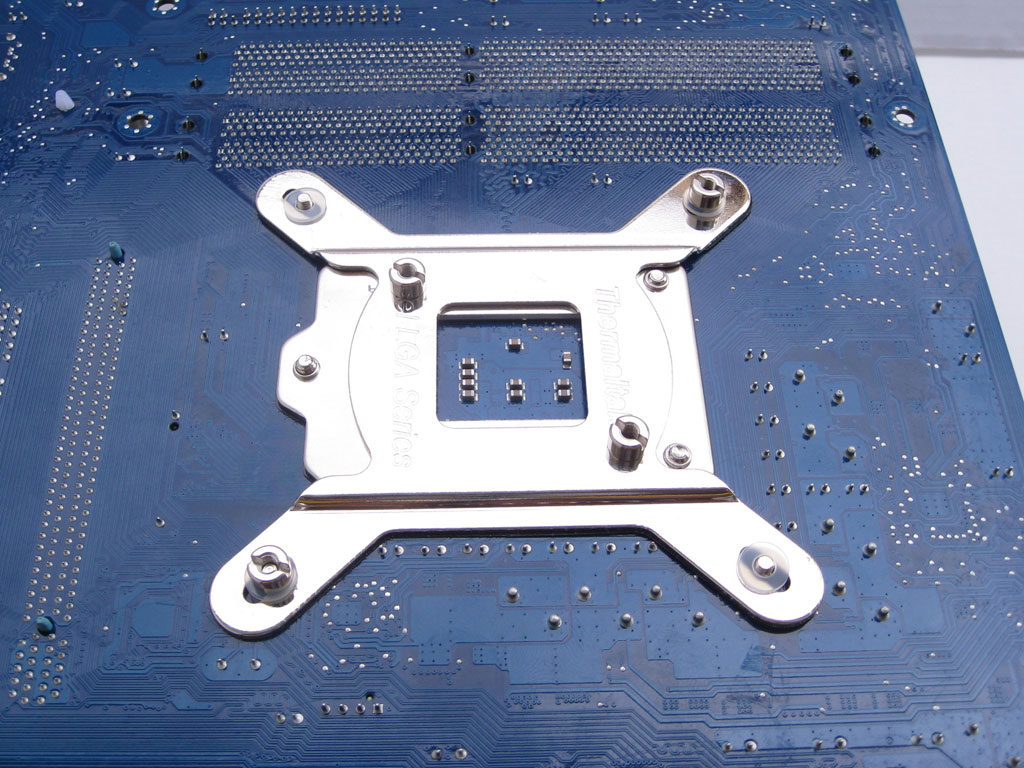
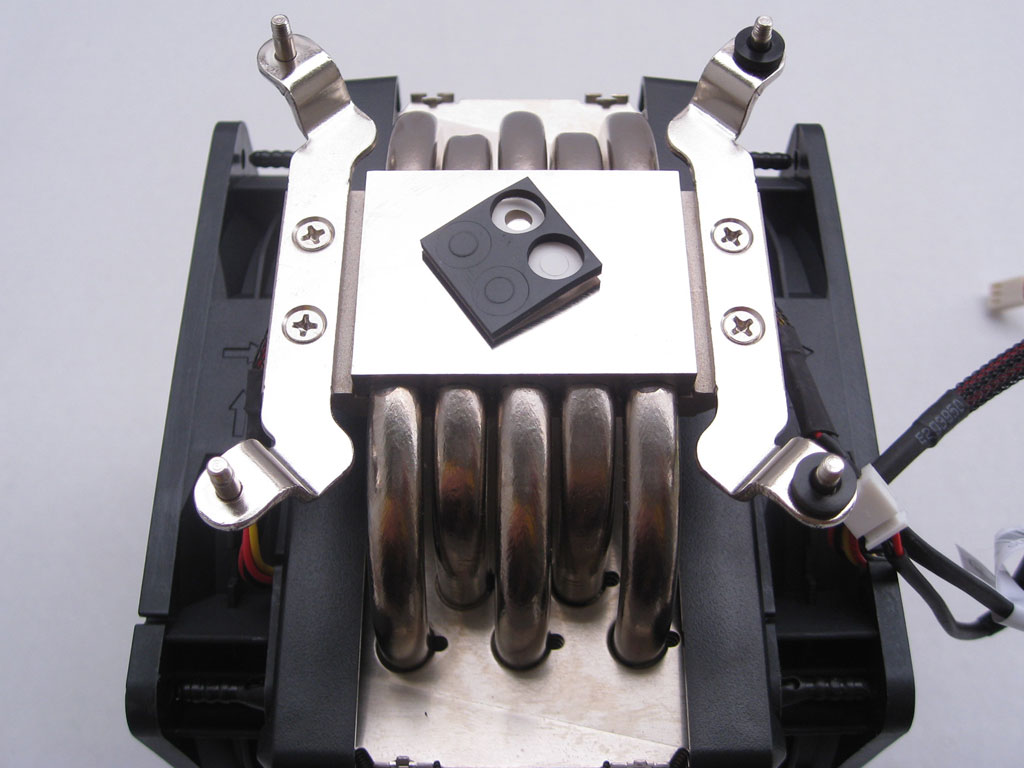
While there are many methods for applying TIM(Thermal Insulation Material), the method I use for Socket 1156 CPU's is a small line the size of a grain of rice in placed in the center of the CPU's IHS(Integrated Heat Spreader). Once the TIM has been applied, carefully place the cooler over the CPU making sure the four mounting posts make way through the corresponding holes in the motherboard. I found that at this point in the installation flipping the motherboard over and resting the cooler on a flat surface makes the following steps of the installation go a lot smoother. The Intel Back-plate included with the Frio can be used for all Intel sockets and is shaped to accommodate the CPU back-plate of sockets 1156 and 1366. The under side of the back-plate has a protective coating to prevent any shorting out of components. When installing, be sure to orientate the plate properly or you could risk damaging the motherboard or even the CPU. Install the four plastic washers and follow up with the four nuts and tighten in an X pattern until the cooler is secure.
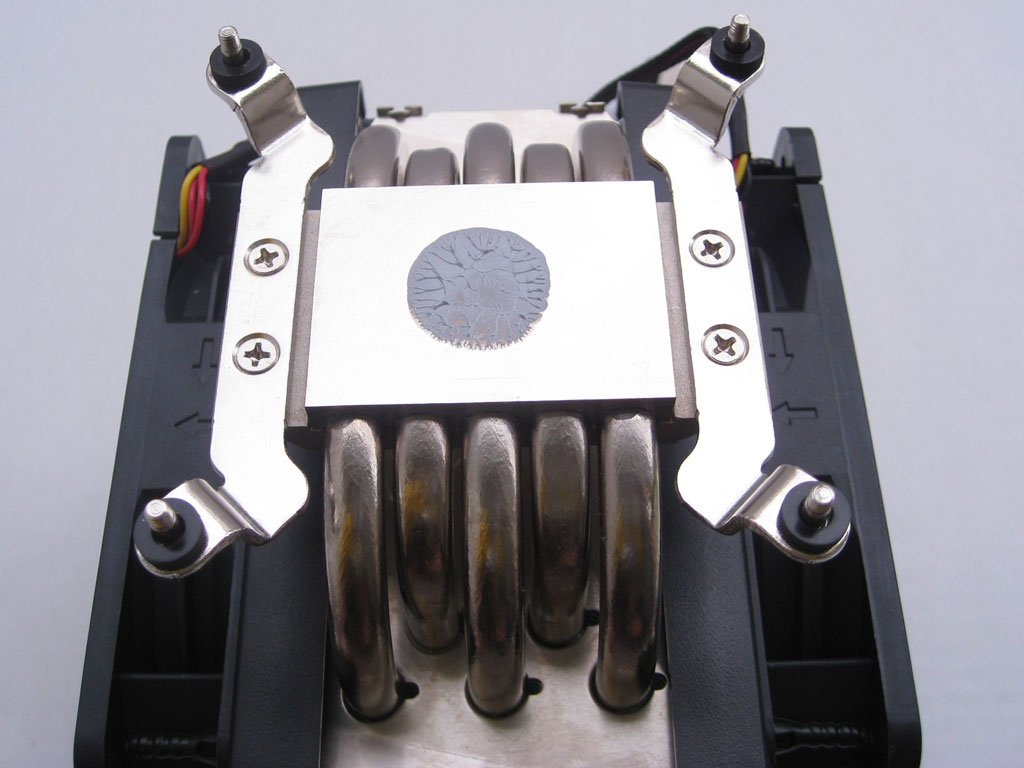
After a quick removal of the heat sink we check to see how well the cooler makes contact with the CPU's IHS by analyzing the spread pattern of the TIM. The Frio's base provides a nice even spread which is exactly what we wanted to see.
Finished look
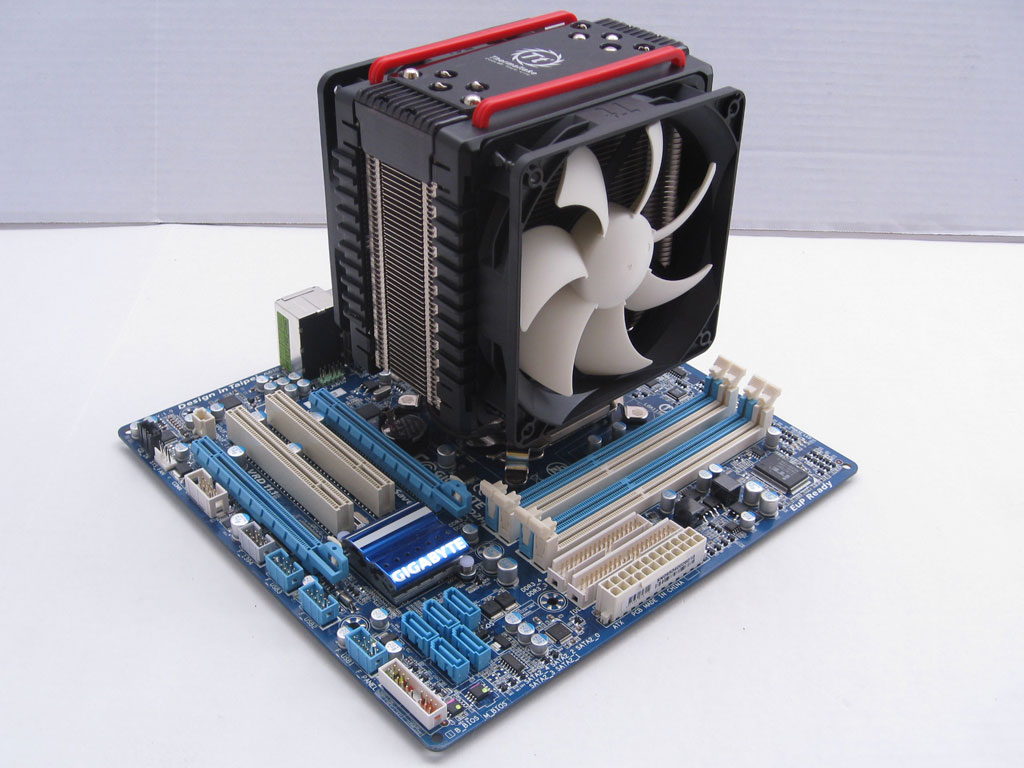
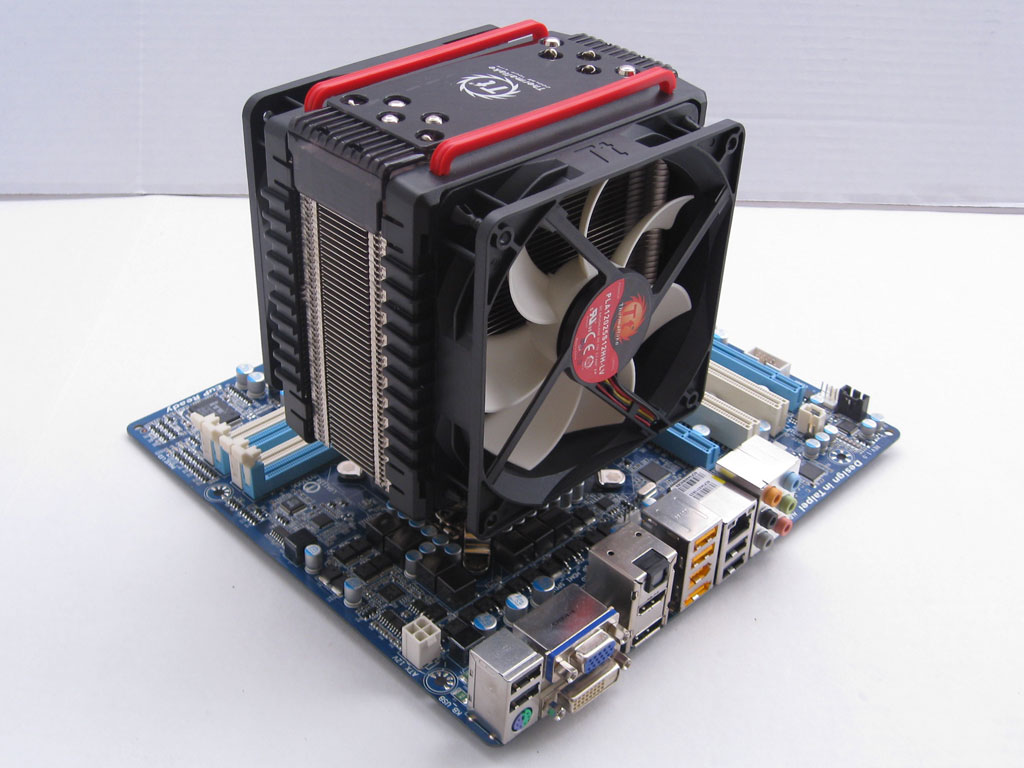
Once fully installed, the Frio looks pretty sleek and with its its color scheme will nicely compliment most motherboards on the market today. Even though with its dual fan setup the cooler takes up a good bit or room, it is a good bit smaller than most "Twin Tower" designs.
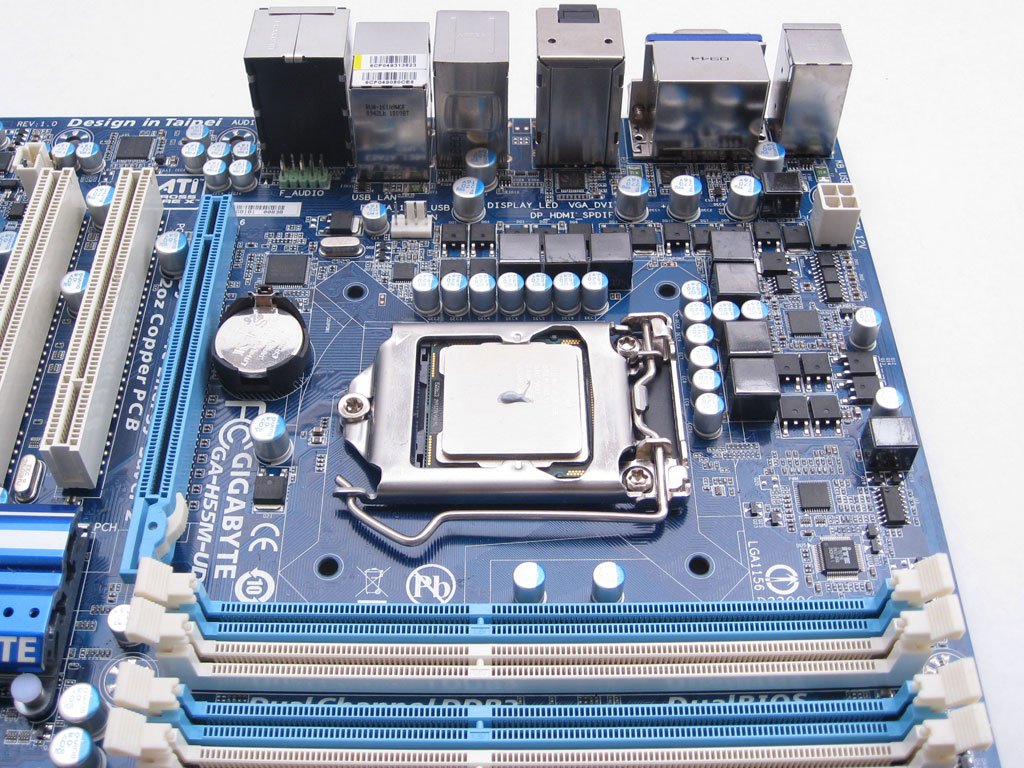
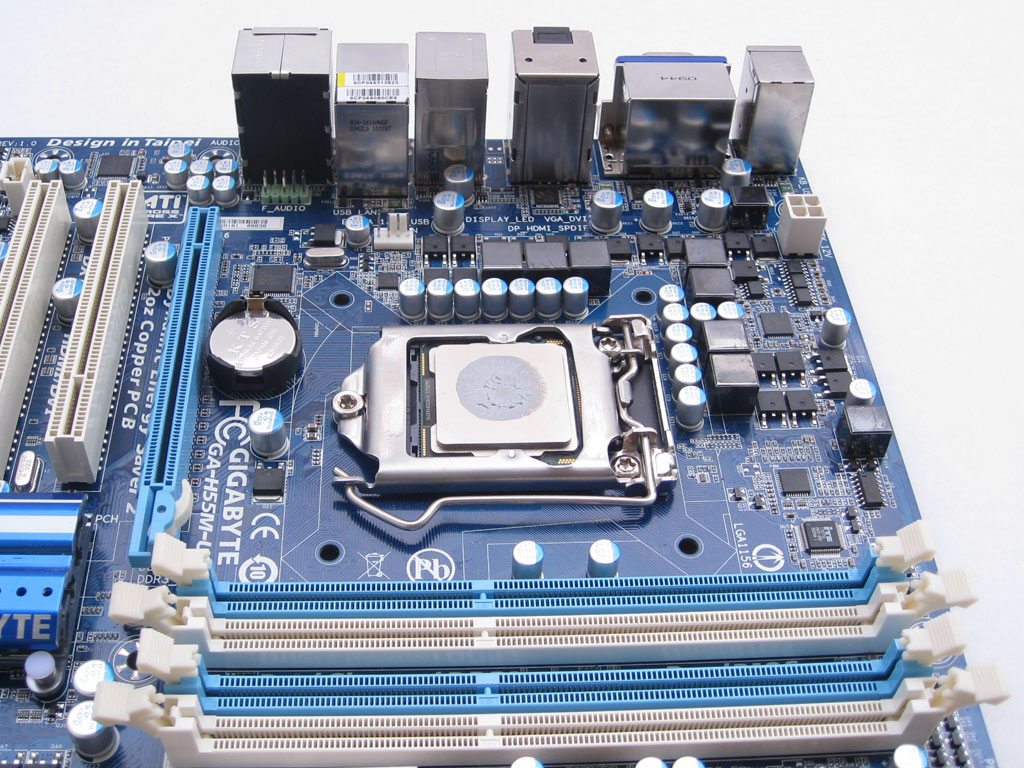
A typical issue with many coolers today is possible clearance issues with components surrounding the CPU socket. While different on all motherboards, things such as voltage regulator, north bridge and memory heat sinks often interfere with the CPU cooler. In the case of the Frio on the board used for testing in this review, The Gigabyte H55-S2H, one of the fans could offer some headaches. As you can see, the fan hangs over the memory slot closest to the CPU socket. If you are using modules with standard height heat spreaders you should have no issues as all but taller heat spreaders may prevent you from utilizing all four memory slots on this particular motherboard. Although it appears that the fan is making contact with the heat spreader in the picture, there is approximately one to two millimeters of clearance between the two.
Feb 7th, 2025 06:07 EST
change timezone
Latest GPU Drivers
New Forum Posts
- Should I make a thermal maintenance on my GPU? (14)
- AM4 and Combining Different RAM? (27)
- What's your latest tech purchase? (23089)
- Post your Monster Hunter Wilds benchmark scores (48)
- RTX 2070 Super build (63)
- Furmark detects artefacts, but I can’t see any (1)
- X79 and/or rampage IV OC'ing thread for those of us still left.... (2377)
- 3DMARK "LEGENDARY" (260)
- What are you playing? (22795)
- Sexy Hardware Close-Up Pic Clubhouse. (10264)
Popular Reviews
- Kingdom Come Deliverance II Performance Benchmark Review - 35 GPUs Tested
- Spider-Man 2 Performance Benchmark Review - 35 GPUs Tested
- Corsair Frame 4000D Review
- Formovie Cinema Edge 4K UST Laser Projector Review
- NVIDIA GeForce RTX 5080 Founders Edition Review
- ASUS ROG Harpe Ace Extreme Review
- Gigabyte GeForce RTX 5080 Gaming OC Review
- MSI GeForce RTX 5080 Vanguard SOC Review
- AMD Ryzen 7 9800X3D Review - The Best Gaming Processor
- Dan Clark Audio NOIRE X Closed-Back Headphones Review
Controversial News Posts
- AMD Radeon 9070 XT Rumored to Outpace RTX 5070 Ti by Almost 15% (285)
- AMD is Taking Time with Radeon RX 9000 to Optimize Software and FSR 4 (256)
- AMD Denies Radeon RX 9070 XT $899 USD Starting Price Point Rumors (239)
- Edward Snowden Lashes Out at NVIDIA Over GeForce RTX 50 Pricing And Value (235)
- AMD Radeon RX 9070 XT & RX 9070 Custom Models In Stock at European Stores (226)
- New Leak Reveals NVIDIA RTX 5080 Is Slower Than RTX 4090 (215)
- AMD's Radeon RX 9070 Launch Faces Pricing Hurdles (175)
- AMD Radeon RX 9070 XT Tested in Cyberpunk 2077 and Black Myth: Wukong (169)