 11
11
Thermaltake Mozart TX Review
Value and Conclusion »Installation
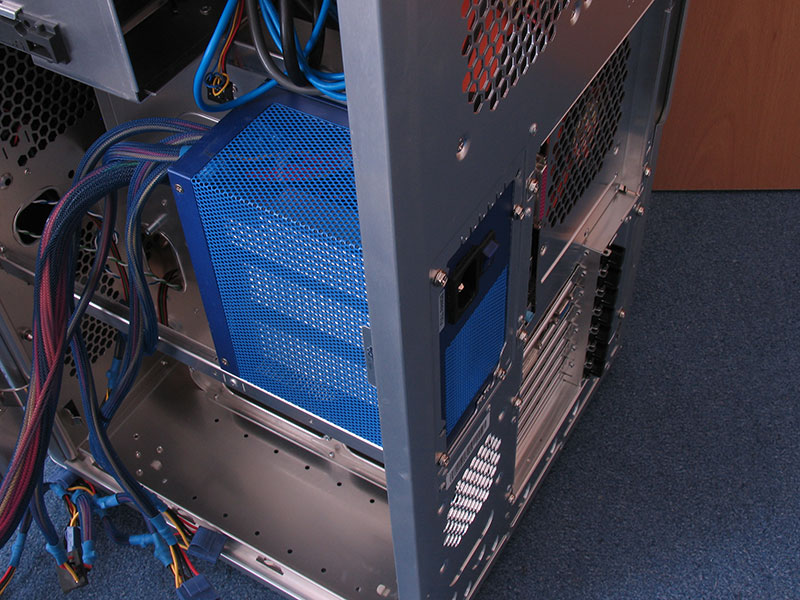
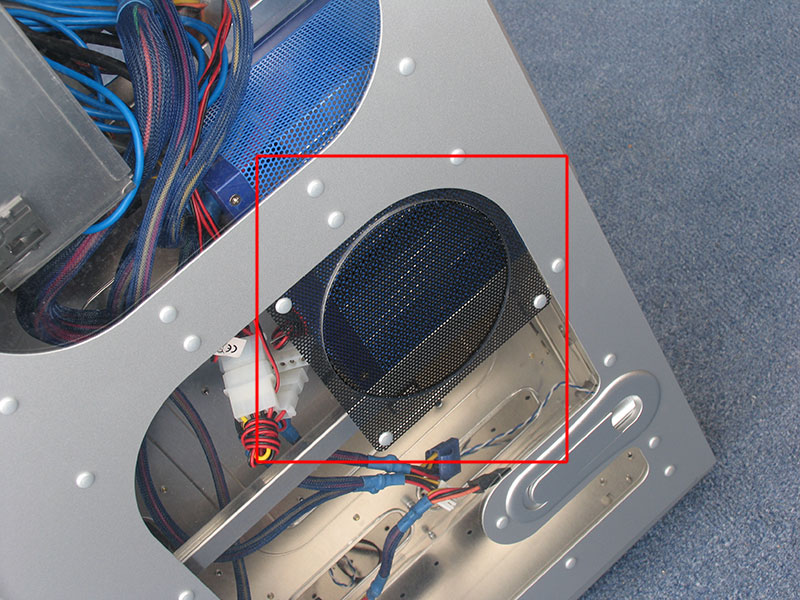
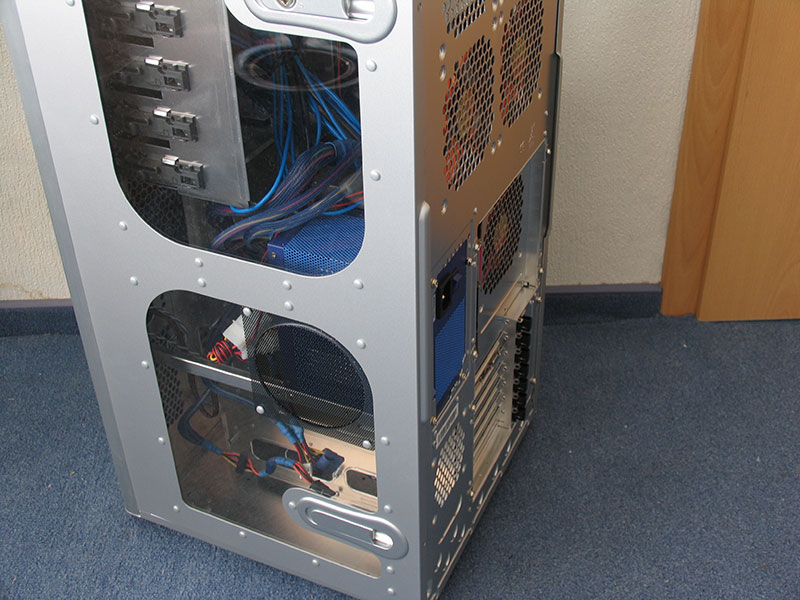
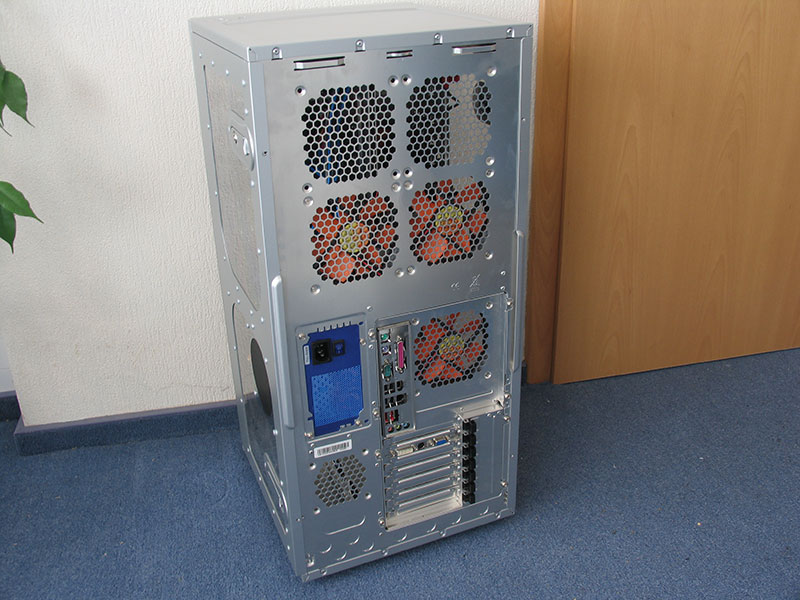
The PSU goes into its own thermal zone on the left side of the case. You can install it either way rotated, the screw holes allow it.
If your PSU has a sideways fan you can align it in a way so that no heat from the PSU will end up into the system because the PSU airflow goes just through the PSU.
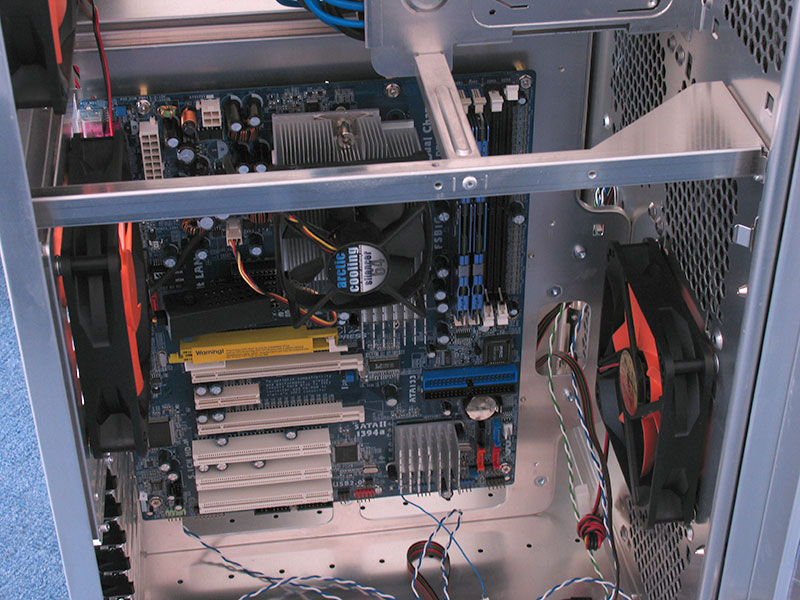
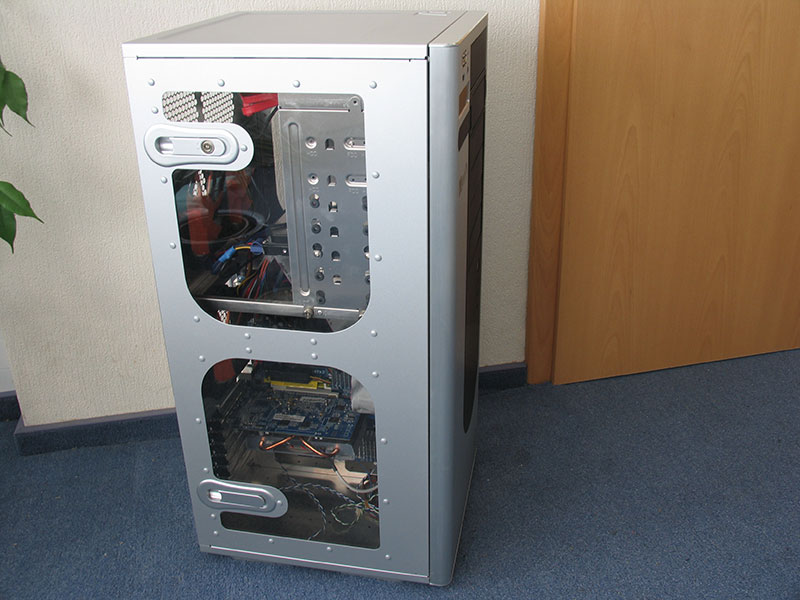
Motherboard installation is of course very easy with all the available space. The only minor issue I had is that you can't easily remove the doors - they sometimes get in your way.
The Thermaltake Mozart TX can accept all sizes of ATX and BTX motherboards.


Harddisk installation is pretty straightforward too. Remove the HD tray, insert HDD(s), screw them down with included screws, put HD tray back in and connect cables.
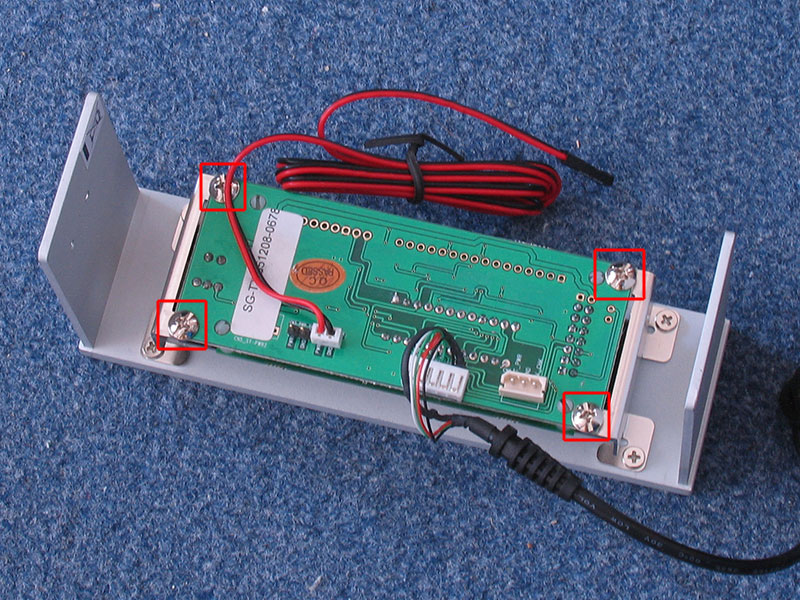
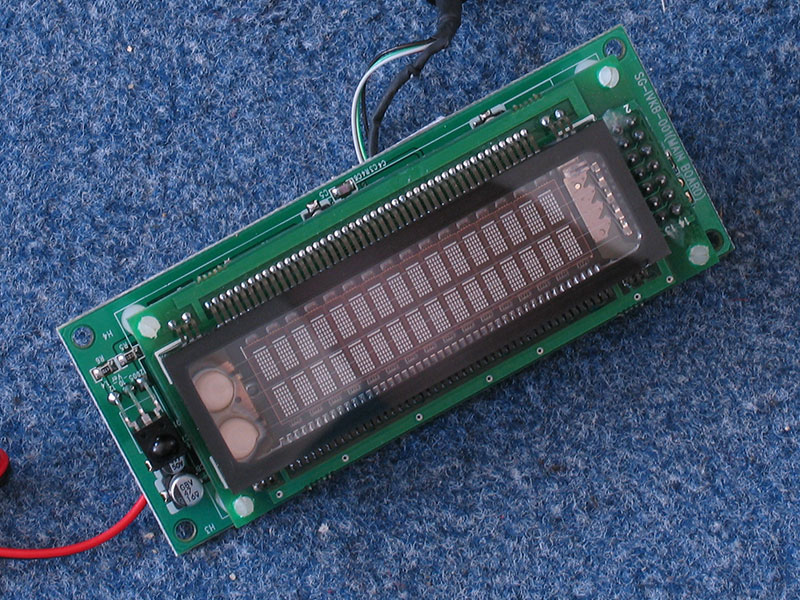
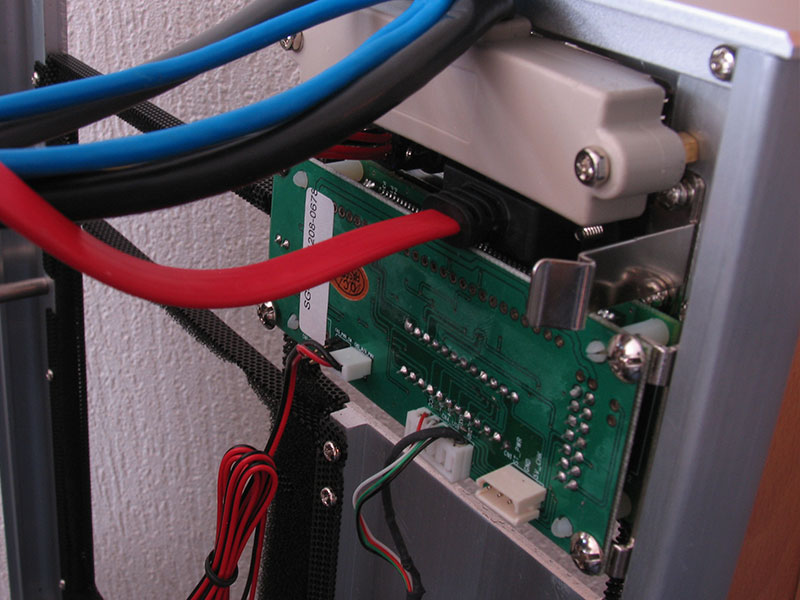
The included VFD display goes into a special mounting on the case front. In the package was a retail version of the VFD which is sold standalone. In order to install it you have to remove its front bezel by unscrewing four screws (all explained in the manual in detail) and screwing it in the front. I had some small problems here because the screw holes didn't properly align. This could be fixed with a little bit of force though.
If you want to read more about the VFD, it's the same unit as the SoundGraph iMon VFD reviewed here.
Finished look
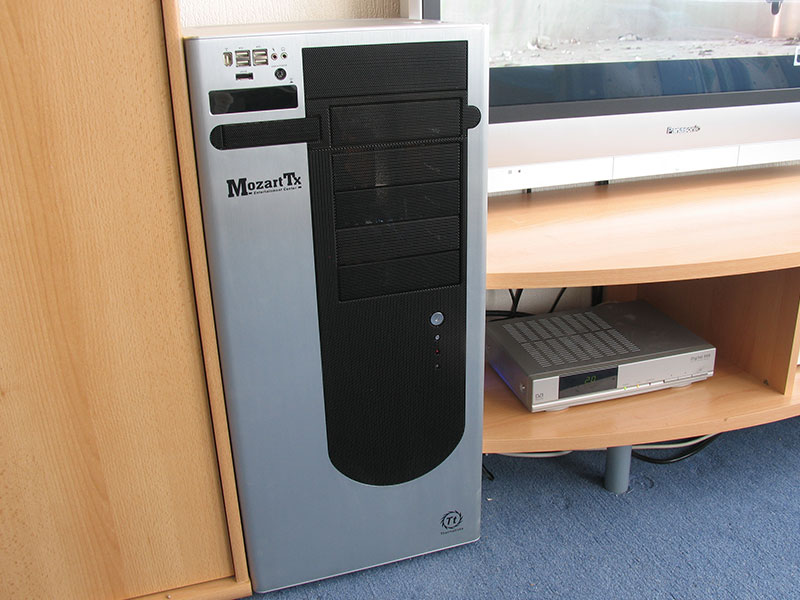
I have to say this case looks DAMN sexy in my living room. However, I think that a non-window version might look slightly better for the clean look, instead of looking too techy.


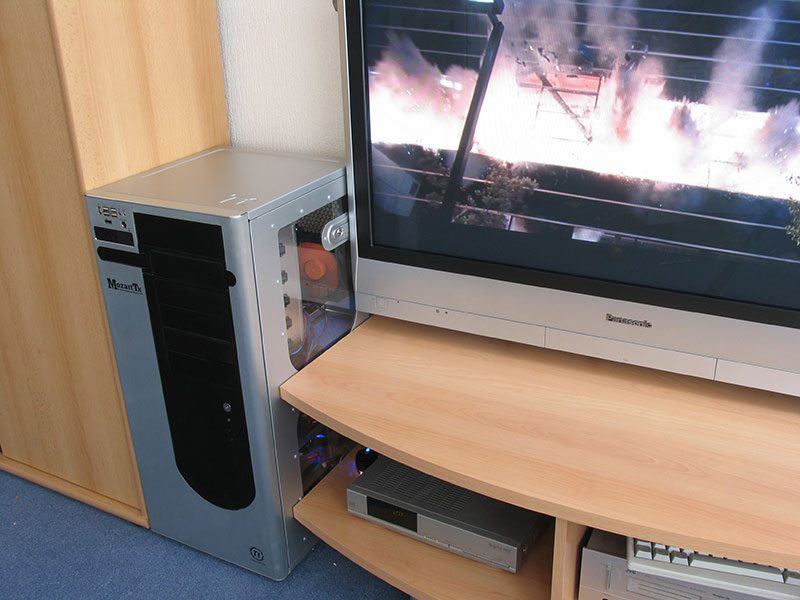
I'm very tempted to rearrange everything to find the perfect spot, on the other hand I'm personally more into small form factor Media PCs as you can see here.
Feb 11th, 2025 23:05 EST
change timezone
Latest GPU Drivers
New Forum Posts
- It's happening again, melting 12v high pwr connectors (248)
- Were Ryzen 8000 CPUs a big mistake from AMD? (5)
- What are you playing? (22865)
- RTX5000 Series Owners Club (87)
- TECHPOWERUP HWBOT Contest Submissions List (66)
- Help me decide..........OLED monitors (28)
- 9800X3D OC Limits? (10)
- Do I need to spend extra money on my MOBO? (48)
- USB-C JBOD box (24)
- I dont like my new CPU Cooler (85)
Popular Reviews
- Civilization VII Performance Benchmark Review - 35 GPUs Tested
- Kingdom Come Deliverance II Performance Benchmark Review - 35 GPUs Tested
- Team Group T-Force XTREEM DDR5-7200 48GB CL34 Review
- ASRock Phantom Gaming B850I Lightning Wi-Fi Review
- DAREU A980 Pro Max Review
- AMD Ryzen 7 9800X3D Review - The Best Gaming Processor
- NVIDIA GeForce RTX 5080 Founders Edition Review
- Corsair Frame 4000D Review
- Spider-Man 2 Performance Benchmark Review - 35 GPUs Tested
- MSI GeForce RTX 5080 Vanguard SOC Review
Controversial News Posts
- AMD Radeon 9070 XT Rumored to Outpace RTX 5070 Ti by Almost 15% (287)
- AMD is Taking Time with Radeon RX 9000 to Optimize Software and FSR 4 (256)
- AMD Denies Radeon RX 9070 XT $899 USD Starting Price Point Rumors (239)
- Edward Snowden Lashes Out at NVIDIA Over GeForce RTX 50 Pricing And Value (239)
- AMD Radeon RX 9070 XT & RX 9070 Custom Models In Stock at European Stores (226)
- New Leak Reveals NVIDIA RTX 5080 Is Slower Than RTX 4090 (215)
- AMD's Radeon RX 9070 Launch Faces Pricing Hurdles (175)
- AMD Radeon RX 9070 XT Tested in Cyberpunk 2077 and Black Myth: Wukong (169)