 0
0
Spire X2 6019B Review
Value & Conclusion »Assembly
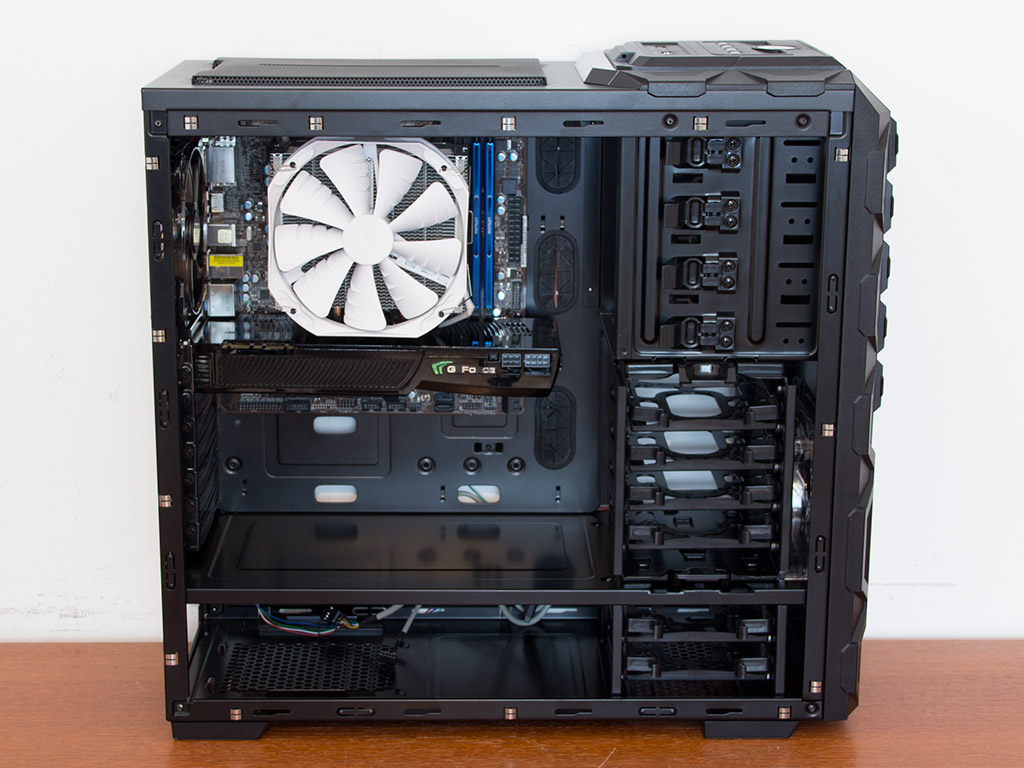

Installing the motherboard is done by traditional means. Simply use the spacers and screws to pin it down properly. With the use of the large top-blow cooler, there is very little space to the ceiling fan, which will make connecting certain items at the motherboard's top edge quite difficult. The worst case scenario would include removing the top fan.
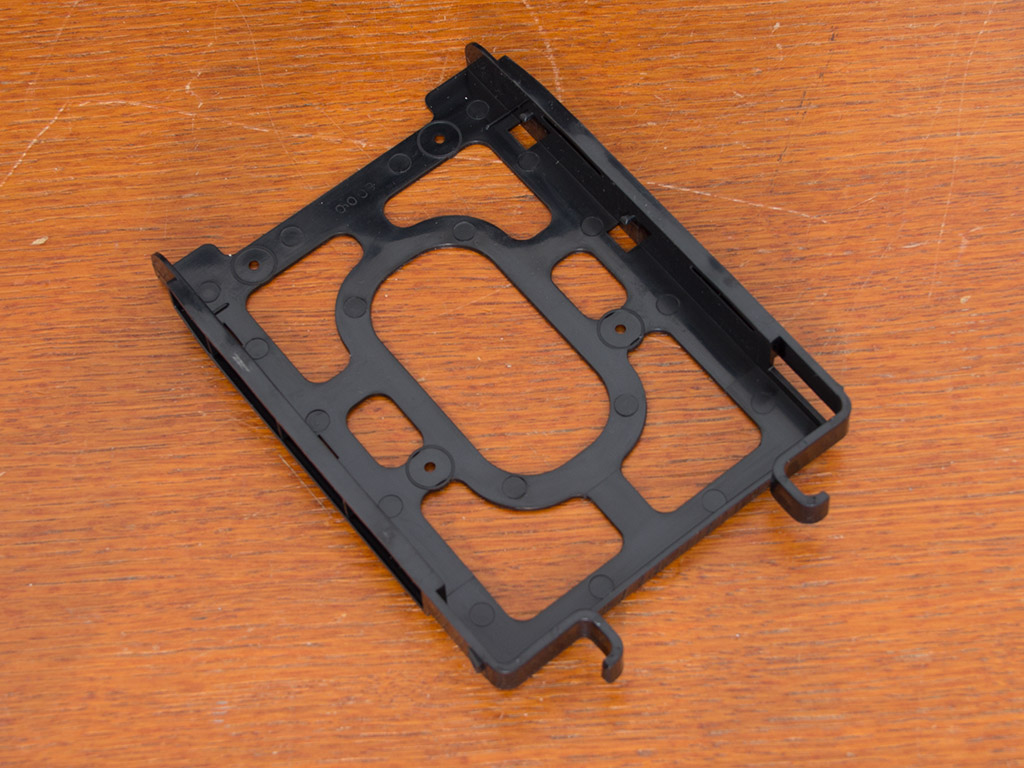
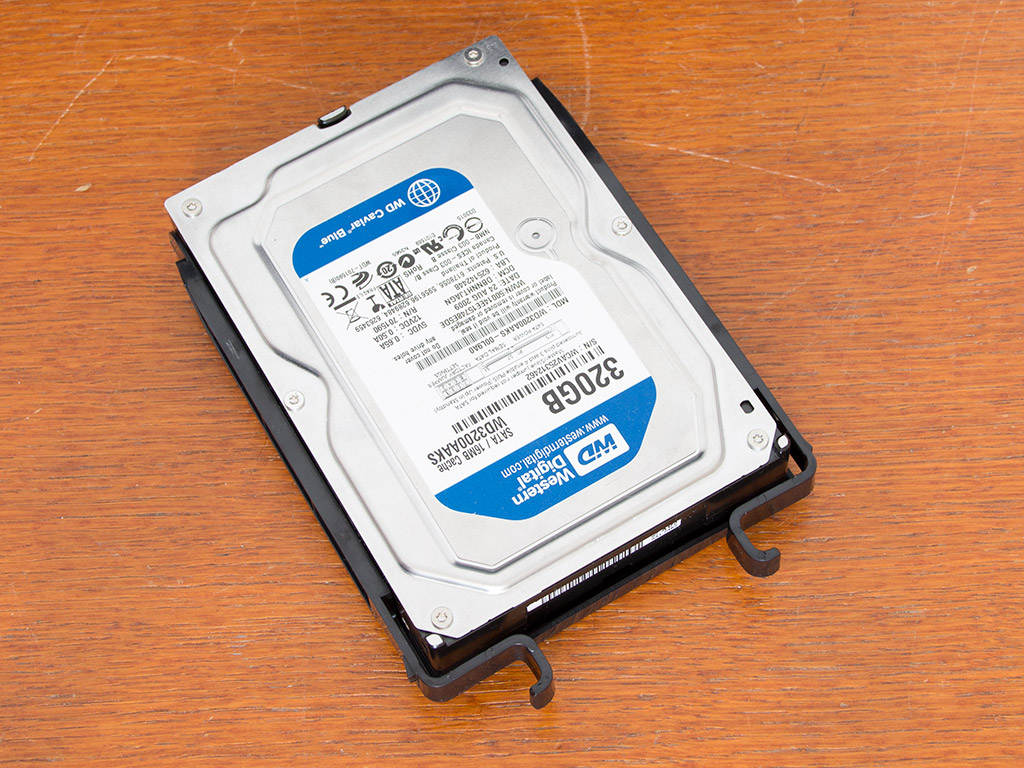
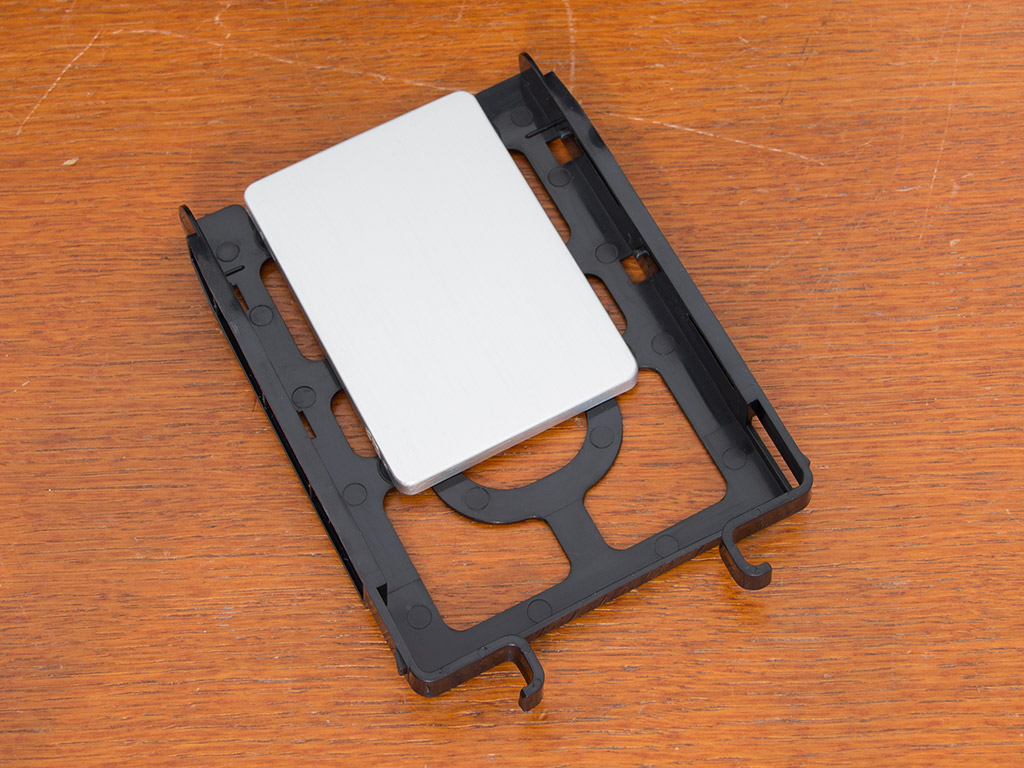
The plastic trays within the 6019B are quite simple but get the job done nicely. You will not need any tools for 3.5" hard drives because the trays come equipped with plastic pins that hold it in place well. You do need to grab four of the included screws and a screwdriver when installing an SSD, though.
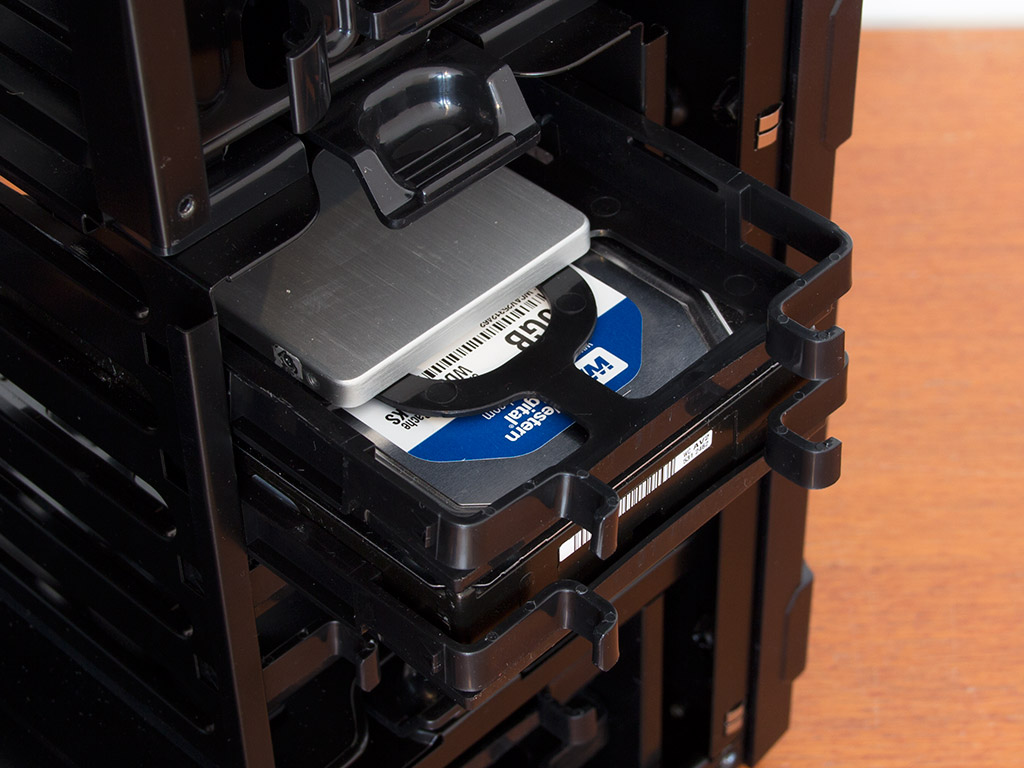
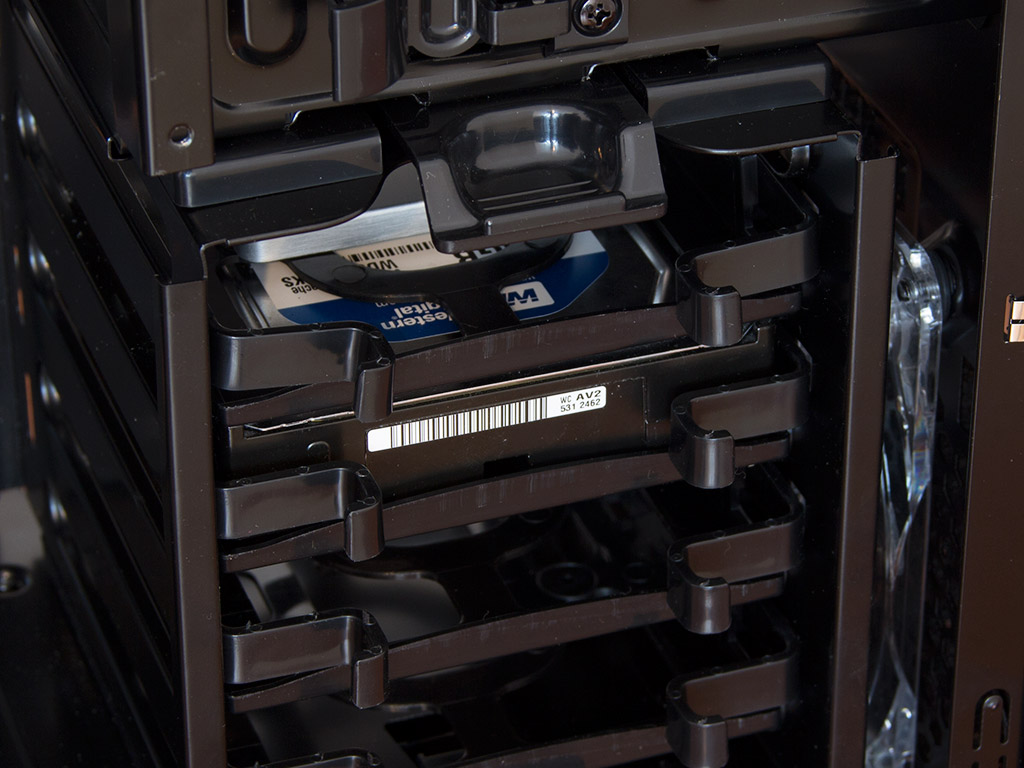
Once filled, simply slide the trays into place. They will snap in nicely, so you won't have to worry about them wiggling or vibrating around. However, it would have been nice if the hard drive had some sort of rubber ring to make absolutely certain none do.
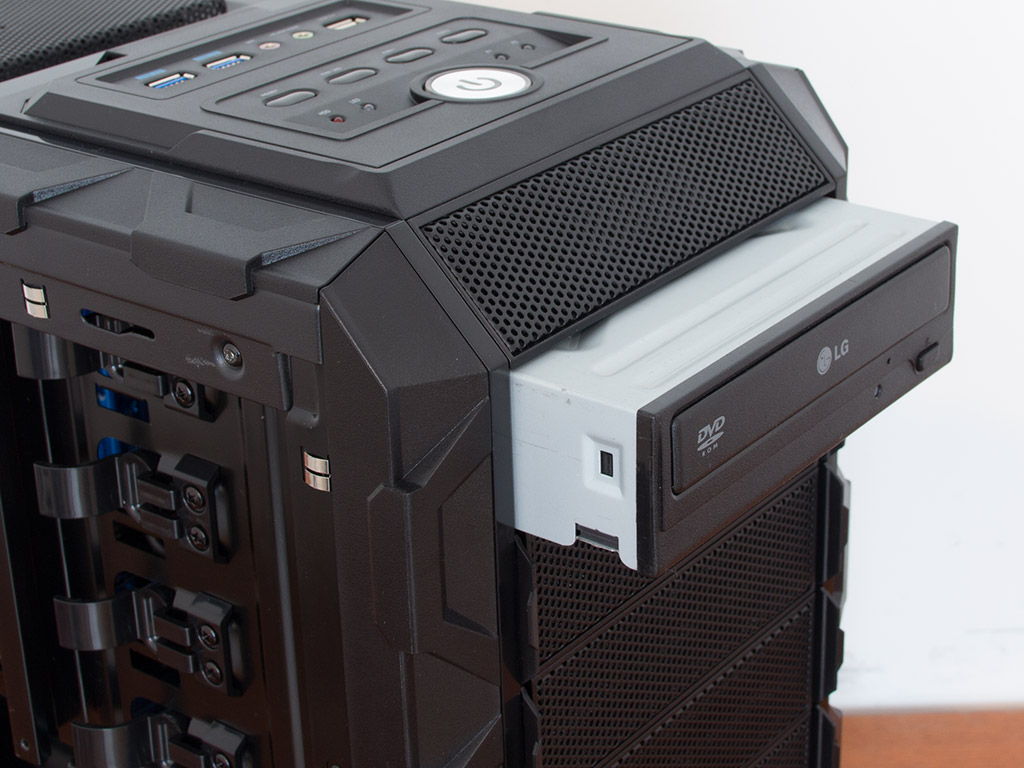
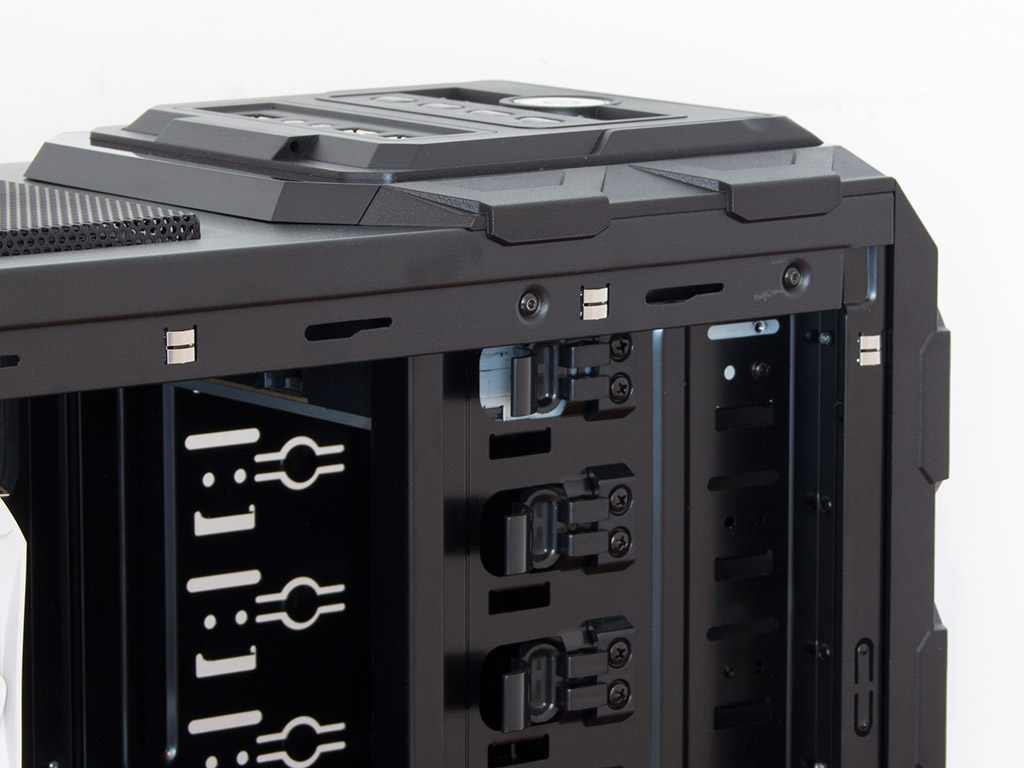
Installing the optical drive is quite easy and does not require any tools or additional parts. Simply remove the cover of your choice and slide the drive into place. The tension lock should snap into place. While it does connect properly with the drive, you really should, as expected, use at least one or two screws to keep the drive in place, as the tension lock is not strong enough to cope with the drive properly.
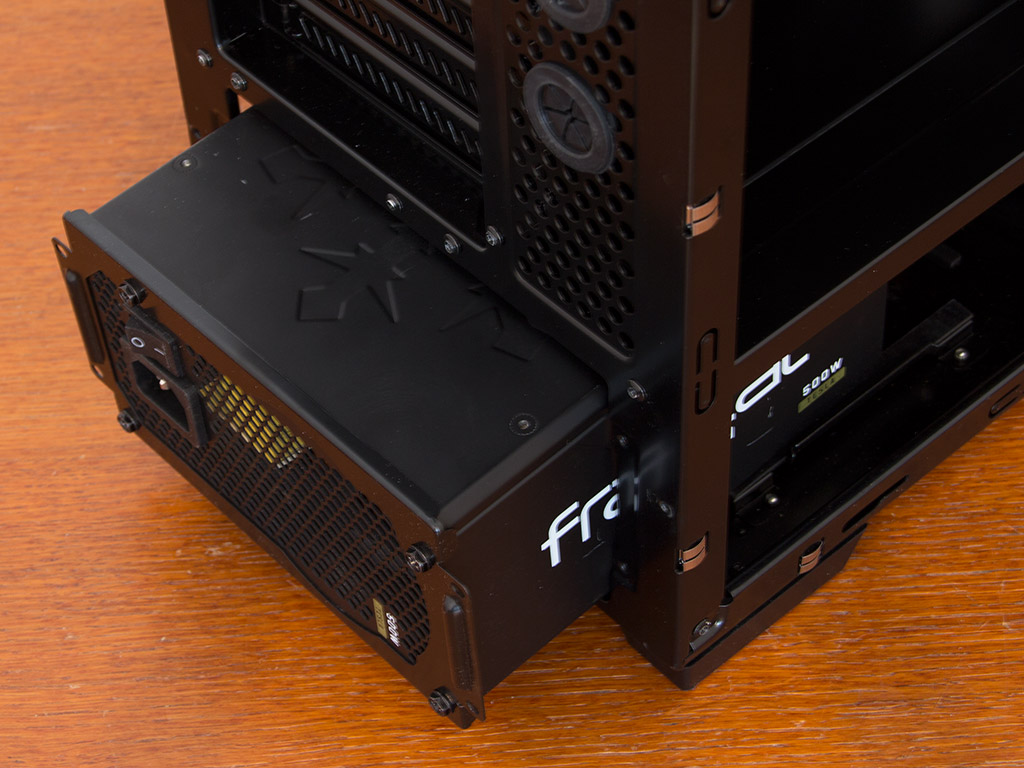
Last but not least, installing the PSU is quite easy, even though the compartment seems a bit tight. Just slide the drive in and secure the frame to the exterior of case wall at the rear once the outer frame is in place.
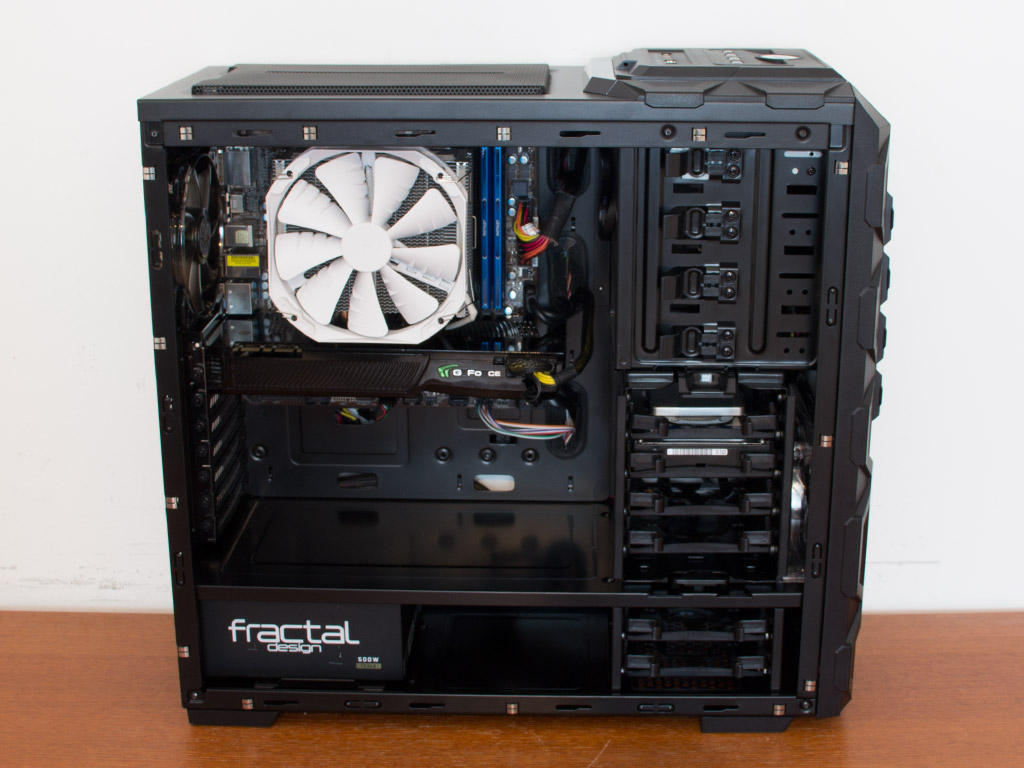
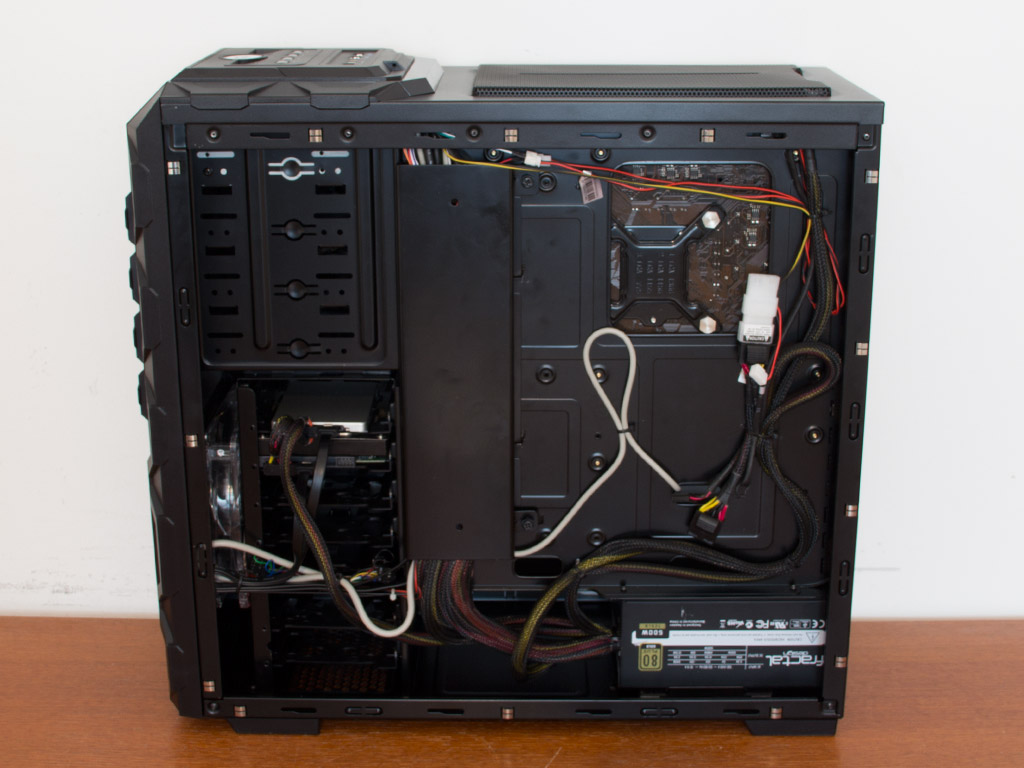
With everything in place and a bit of time spent on cable management, the X2 6019B makes an excellent, clean impression. I had to move a few cables out of the duct since it was filled to the rim already, but the many possibilities of zip-tying loose leads to the underside of the motherboard tray made securing everything a non-issue. As feared, the small opening in the motherboard tray is not big enough to give you access to an installed CPU cooler's backplate.
Finished Looks
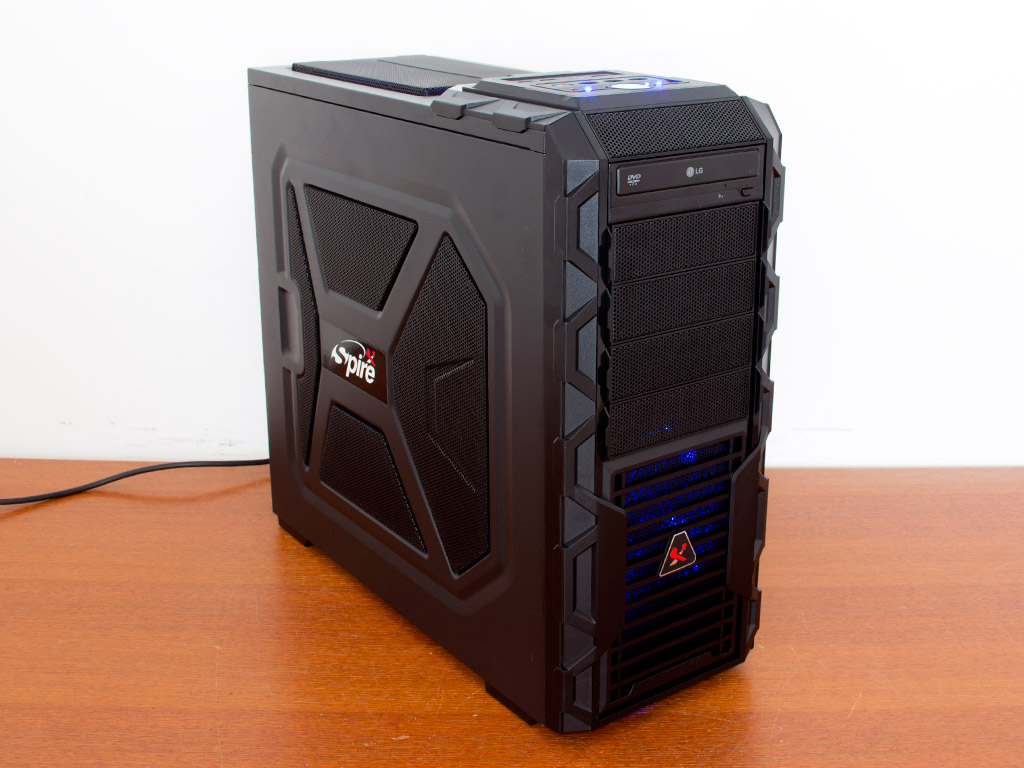
With the side panels back in place, I did place the Spire X2 sticker on the panel for the above picture, as that seemed to be the proper location for it due to its shape and size. I, in all honesty, do not like it because it is too big and looks a bit cheap when applied. That said, the X2 6019B makes a great impression as a compact gaming chassis.

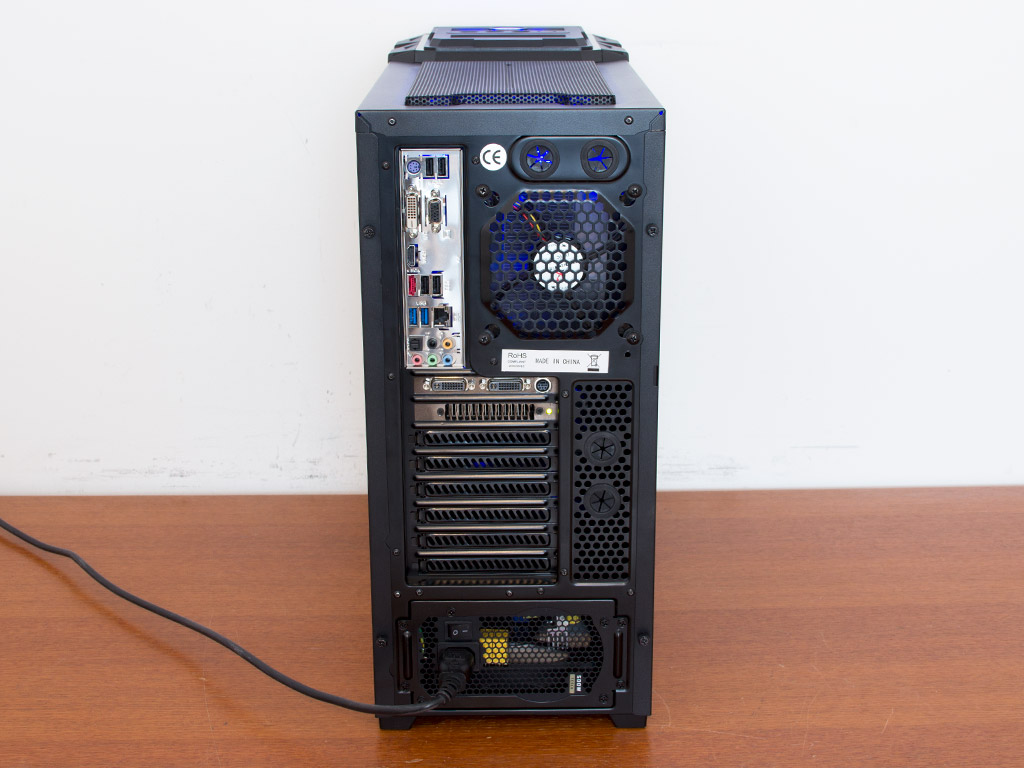
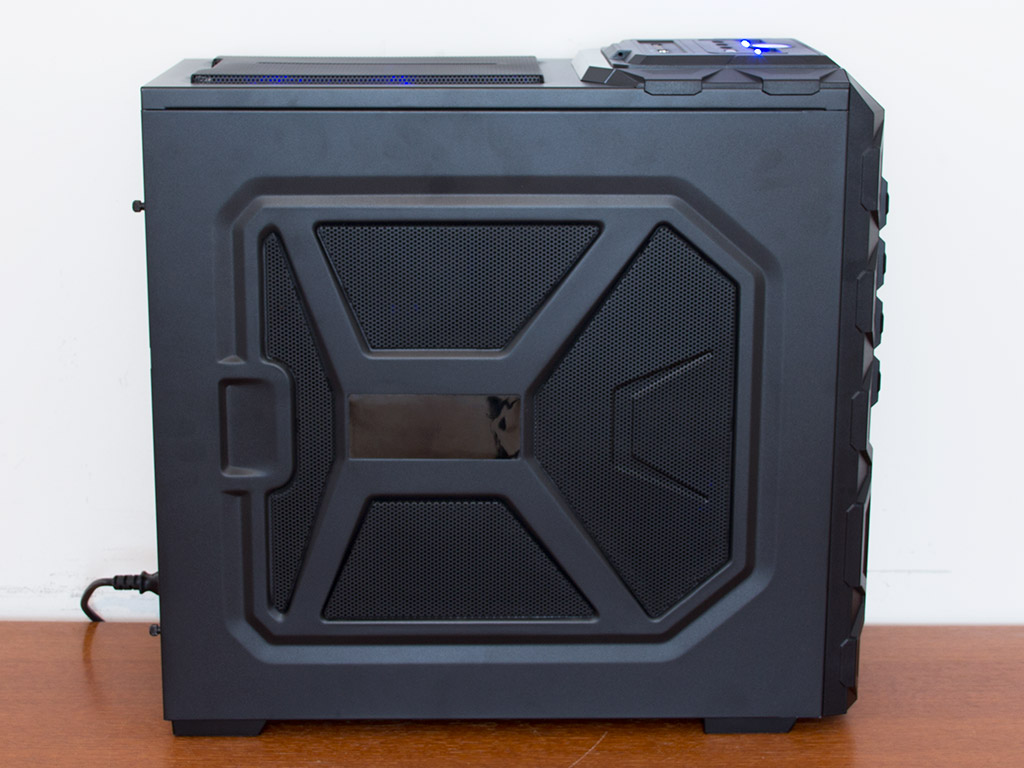
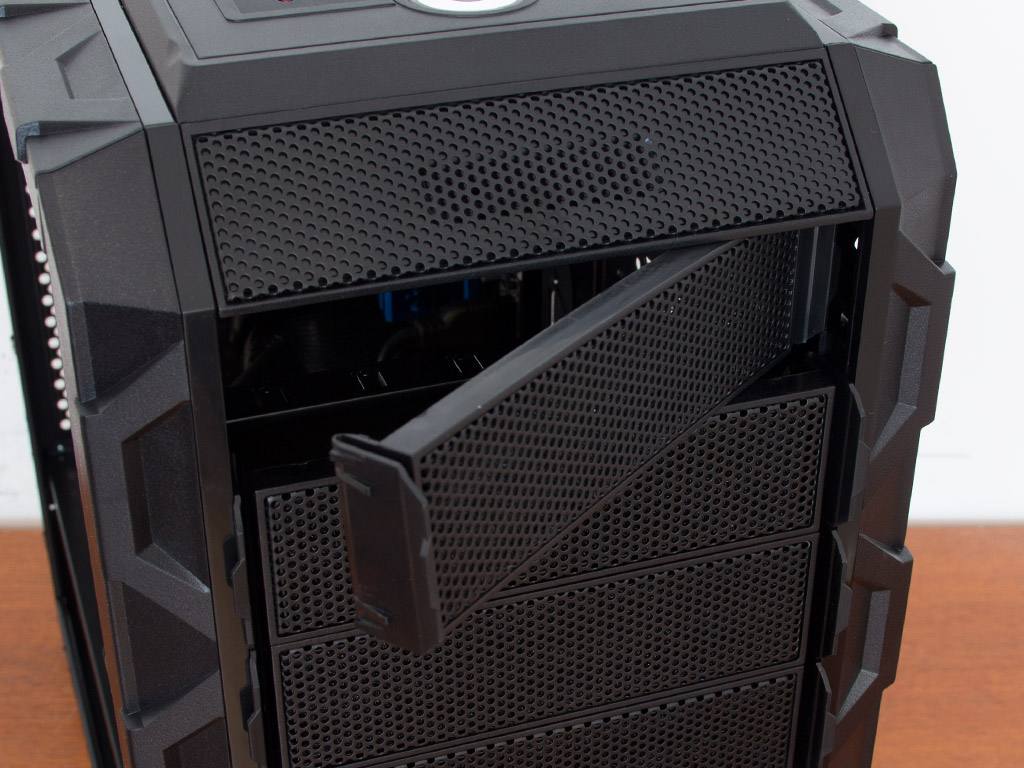
The front of the chassis and the optical drive fit nicely, and everything is where you would expect to find it in the rear. Looking at its side will not reveal any of the hardware through the opening as the dust filters covers things up nicely. This is fine because it still serves its purpose by letting air in and out of the case.
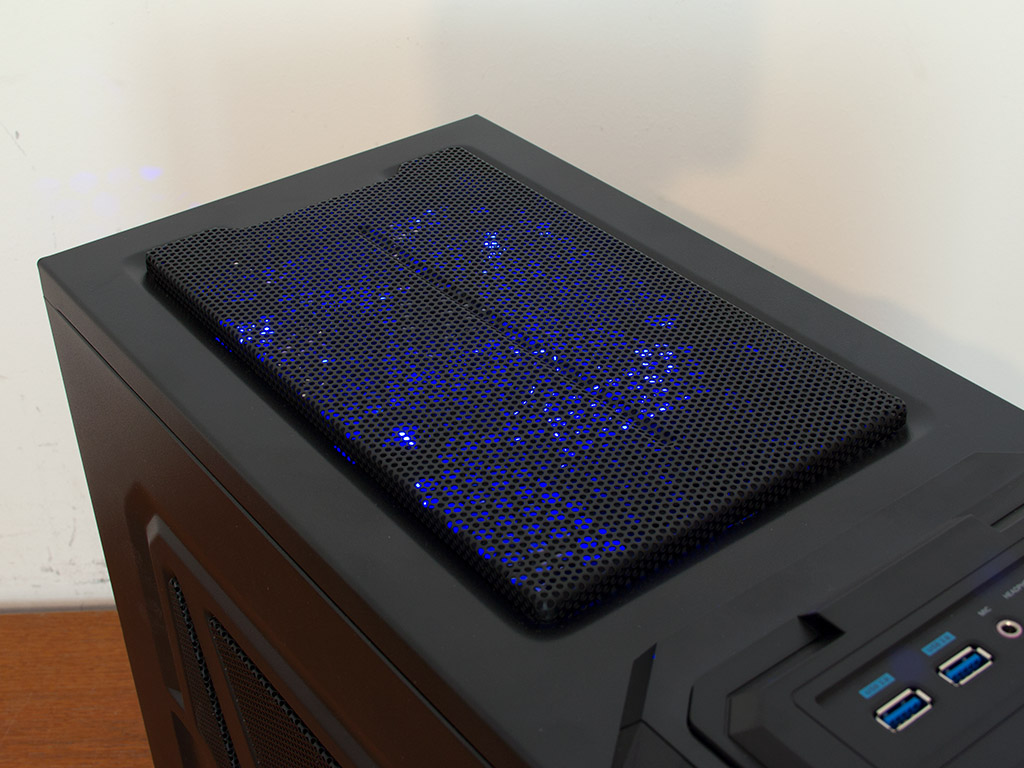
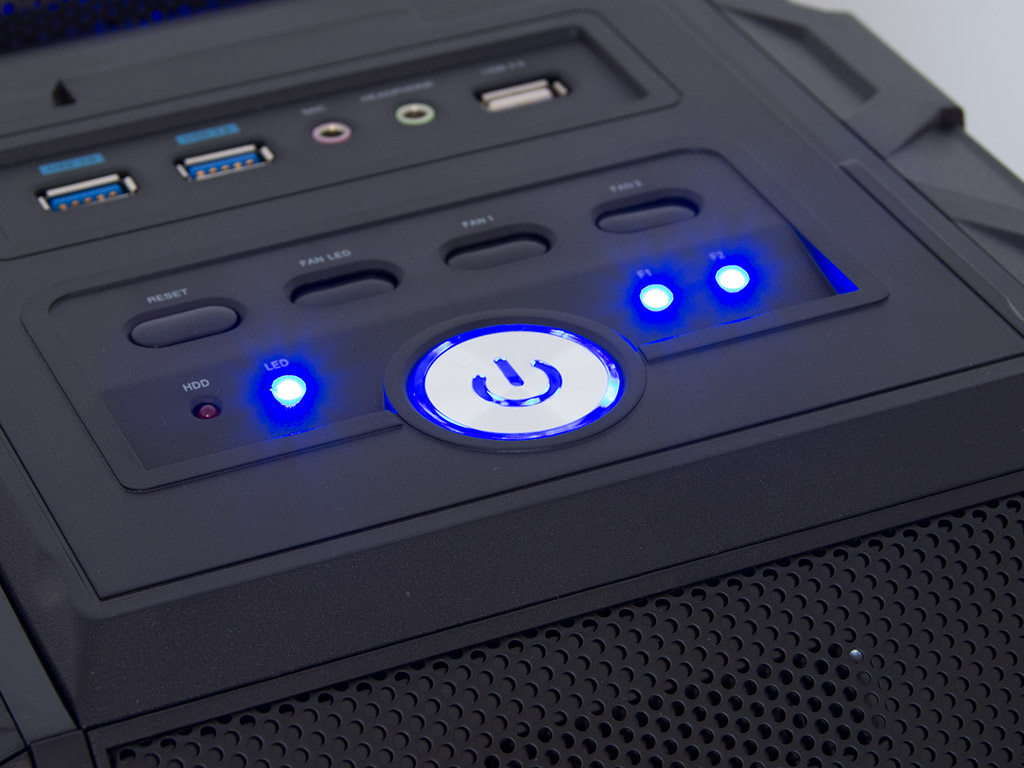
The power button's LED is quite bright as are the little ones for the fan controller and LED button. They all light up in blue. When you turn off the fan connected to one of the switches, the light will turn off as well, letting you know which fan is currently not running.
Apr 23rd, 2025 04:41 CDT
change timezone
Latest GPU Drivers
New Forum Posts
- Now possible to hot hot spot can effect 50 series Nvidia gpu longevity. (2)
- Since when has Gigabyte's warranty been prorated? (7)
- New home setup or stick with powerline (0)
- Recommended PhysX card for 5xxx series? [Is vRAM relevant?] (233)
- 5060 Ti 8GB DOA (222)
- We are minority in internet, Dead Internet Theory (0)
- Mouse battery + Front mouse buttons don't want to work. (6)
- What are you playing? (23441)
- Help me identify Chip of this DDR4 RAM (31)
- S95B (OLED TV) with HDMI VRR disabled has a sharper and punchier image? (1)
Popular Reviews
- NVIDIA GeForce RTX 5060 Ti 8 GB Review - So Many Compromises
- ASRock X870E Taichi Lite Review
- ASUS GeForce RTX 5060 Ti TUF OC 16 GB Review
- Upcoming Hardware Launches 2025 (Updated Apr 2025)
- NVIDIA GeForce RTX 5060 Ti PCI-Express x8 Scaling
- Sapphire Radeon RX 9070 XT Pulse Review
- Sapphire Radeon RX 9070 XT Nitro+ Review - Beating NVIDIA
- Palit GeForce RTX 5060 Ti Infinity 3 16 GB Review
- MSI GeForce RTX 5060 Ti Gaming OC 16 GB Review
- AMD Ryzen 7 9800X3D Review - The Best Gaming Processor
Controversial News Posts
- NVIDIA GeForce RTX 5060 Ti 16 GB SKU Likely Launching at $499, According to Supply Chain Leak (182)
- NVIDIA Sends MSRP Numbers to Partners: GeForce RTX 5060 Ti 8 GB at $379, RTX 5060 Ti 16 GB at $429 (127)
- NVIDIA Launches GeForce RTX 5060 Series, Beginning with RTX 5060 Ti This Week (115)
- Nintendo Confirms That Switch 2 Joy-Cons Will Not Utilize Hall Effect Stick Technology (105)
- Nintendo Switch 2 Launches June 5 at $449.99 with New Hardware and Games (99)
- Sony Increases the PS5 Pricing in EMEA and ANZ by Around 25 Percent (85)
- NVIDIA PhysX and Flow Made Fully Open-Source (77)
- Windows Notepad Gets Microsoft Copilot Integration (75)