 16
16
Zalman CNPS14X Review
Finished Looks »Installation
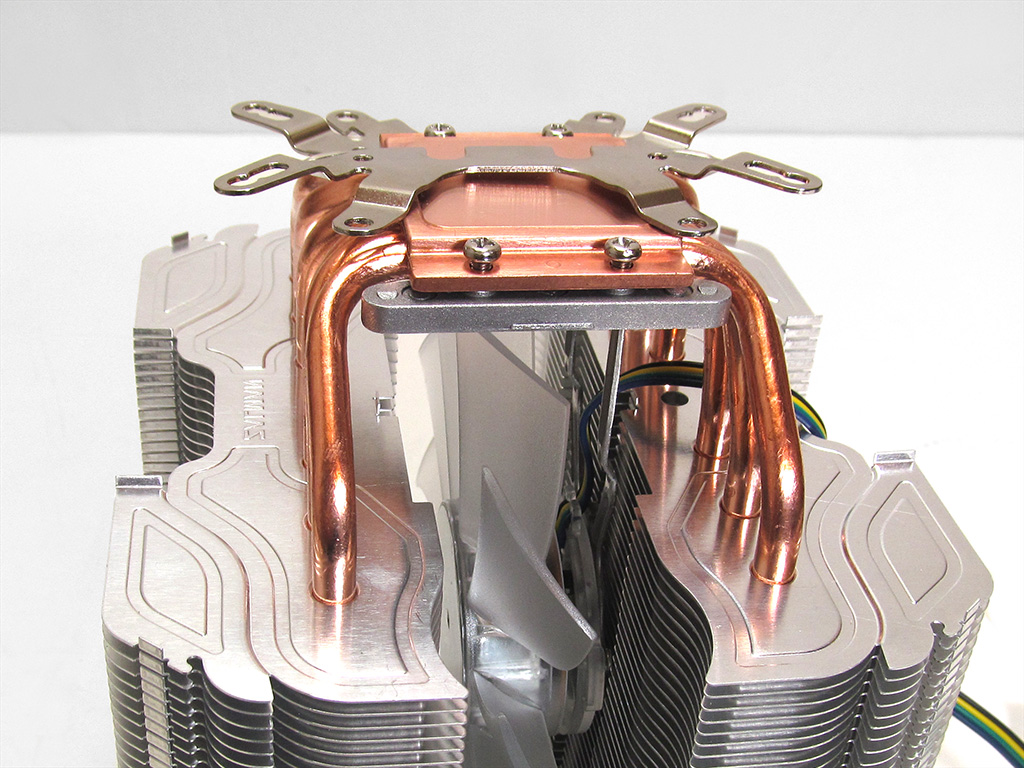
First up when installing the Zalman CNPS14X is securing the mount to the heatsink's base. This is done by loosening the screws that hold the fan in place and then sliding the mounting clips into place between the two. Tighten them down after setting them in place properly.
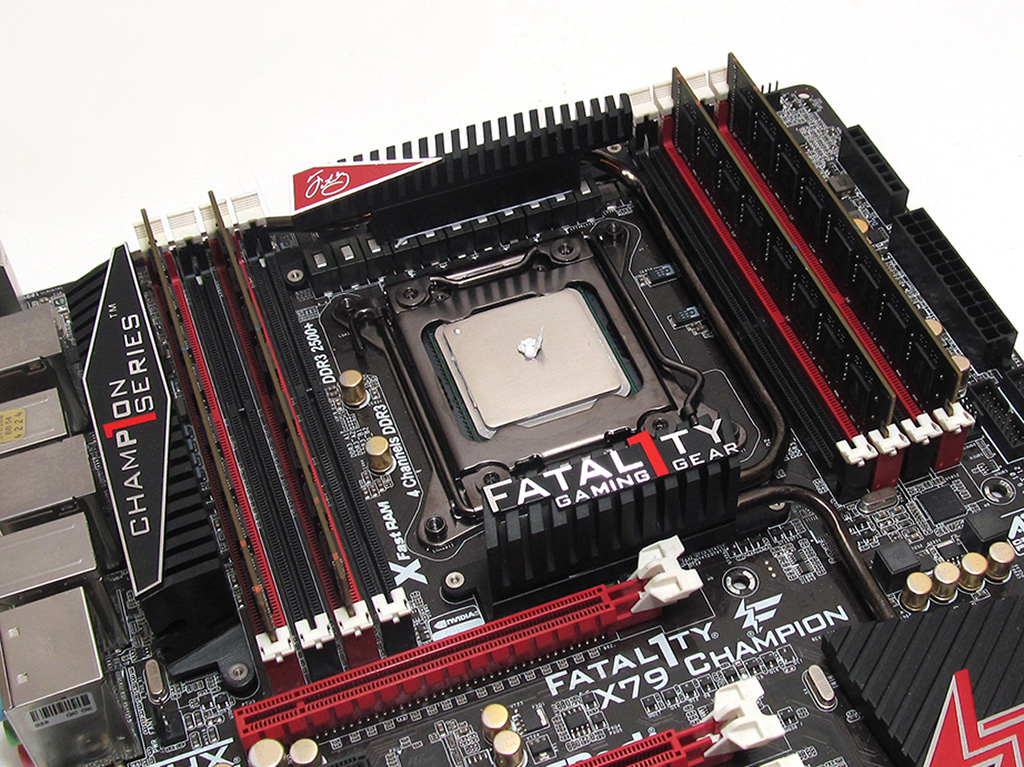
On LGA2011, users will need to put the nuts for that socket through the proper holes on the mounting clips. With the nuts in place, apply thermal paste in preparation for mounting.
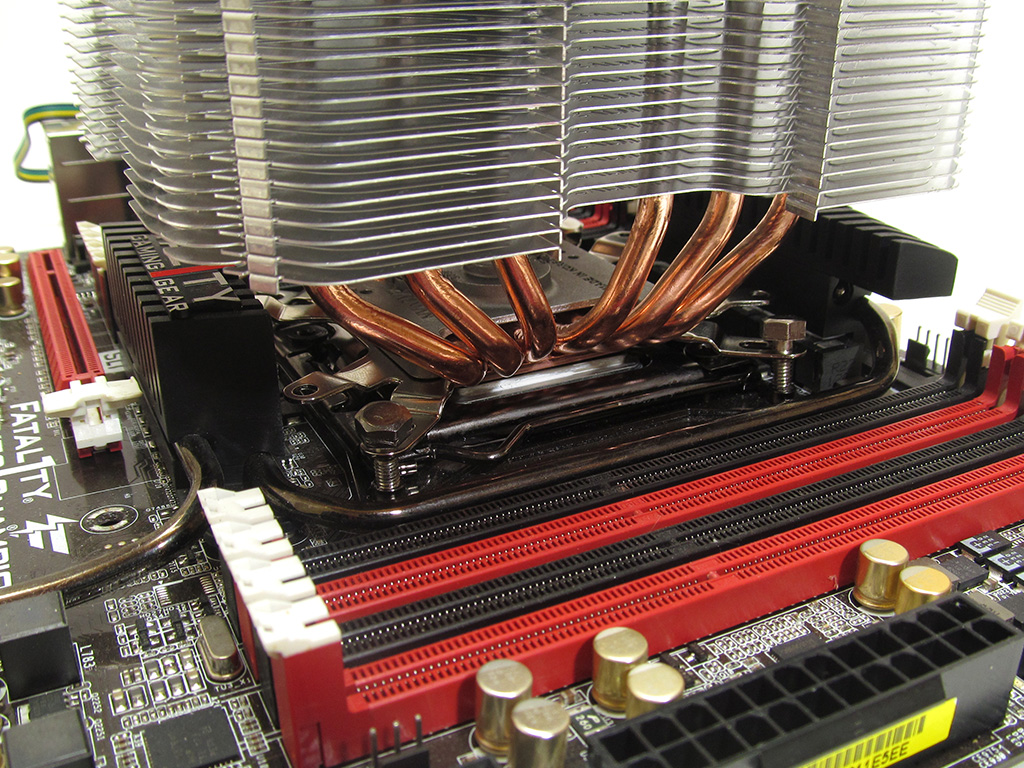
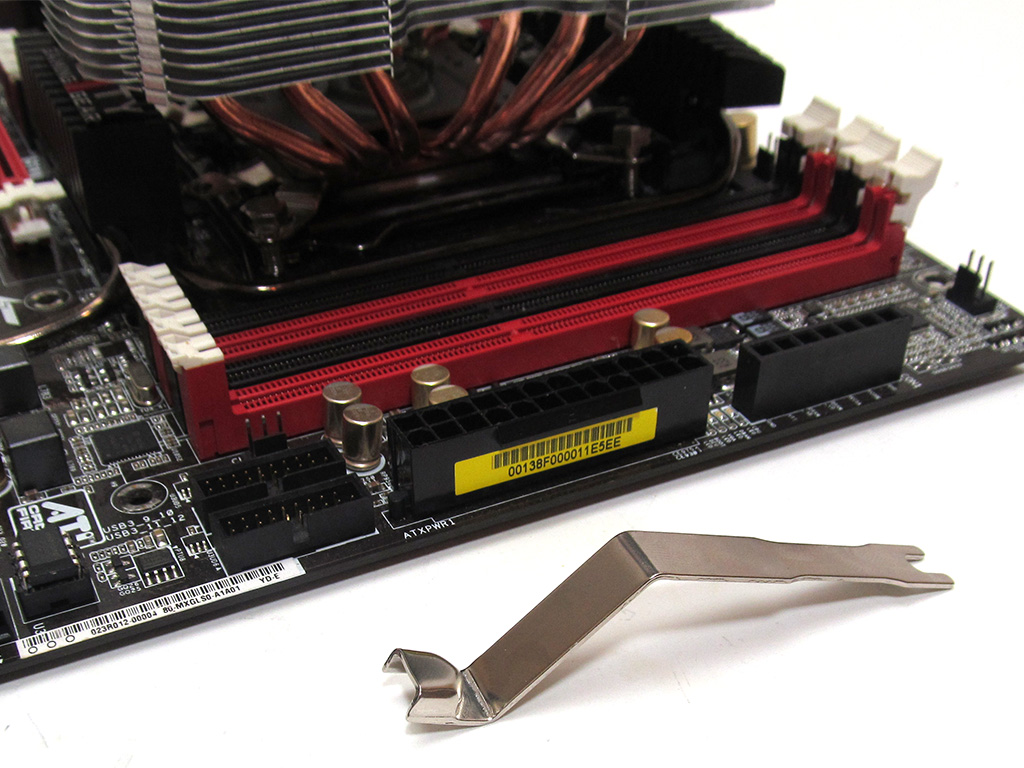
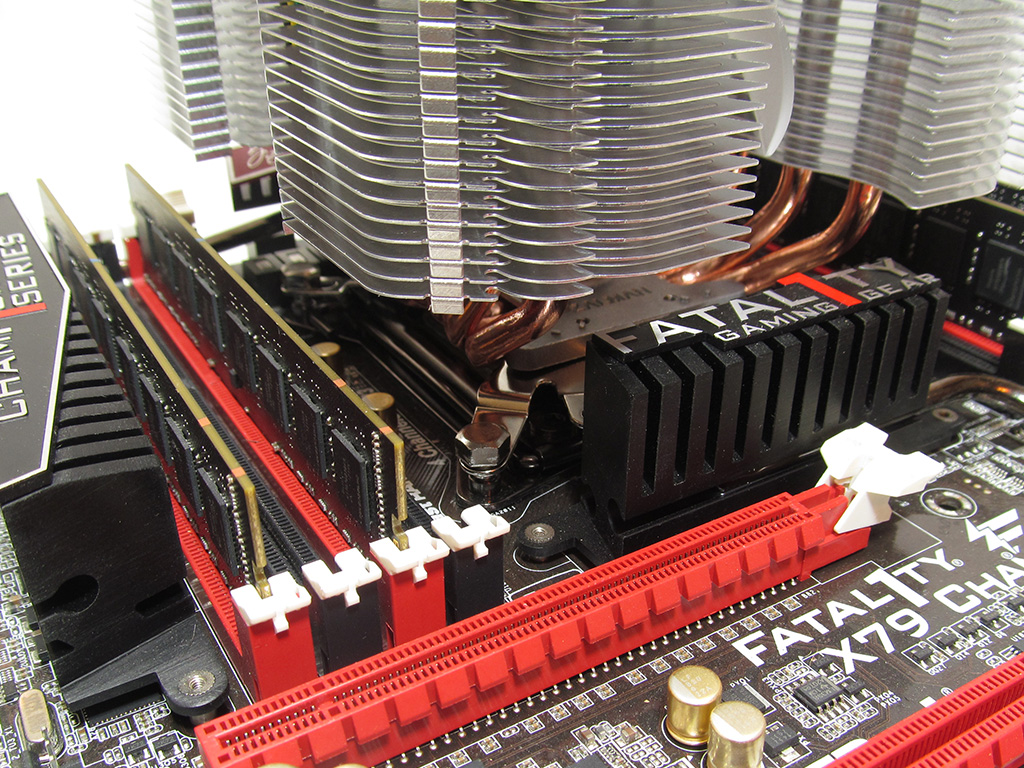
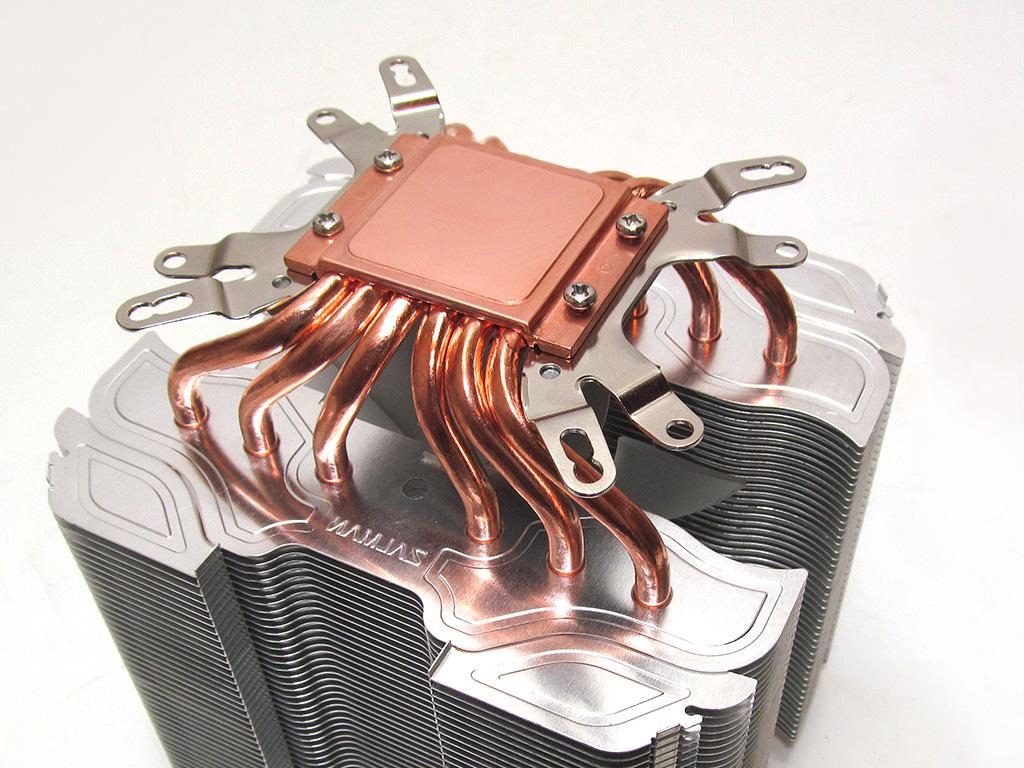
Line up the four nuts with the four mounting holes on the LGA2011 socket and apply a bit of pressure. Using the tool provided by Zalman, tighten the nuts down in order to hold the cooler in place. This process is extremely tedious and users will want to remove system memory to make it a bit easier. Overall, this system is clumsy and aggravating to work with, so be prepared to run into some issues, especially if you have big hands.
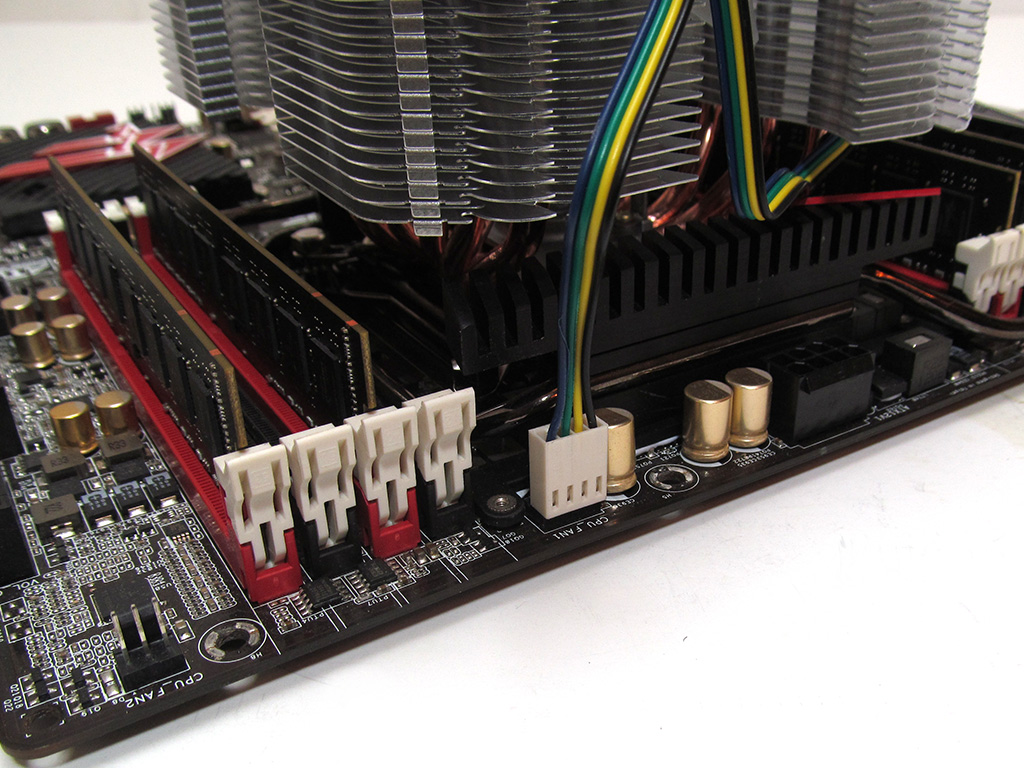
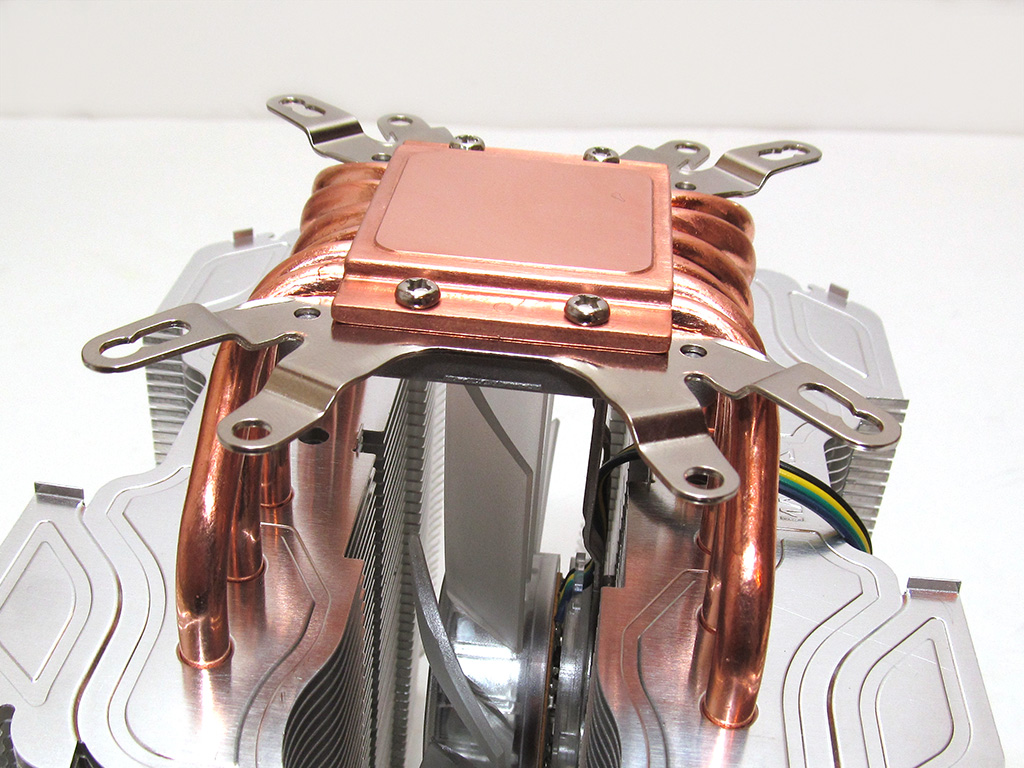
Plug the fan into the motherboard fan header after getting the cooler mounted. With that done, the cooler is ready to go.
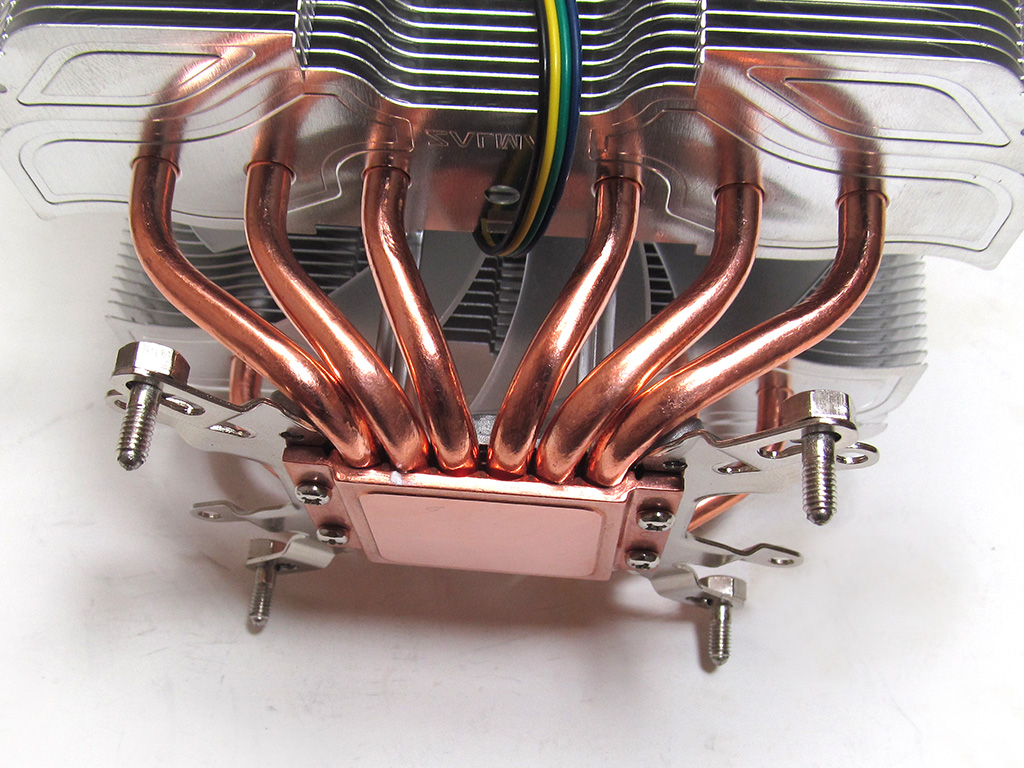
The Zalman CNPS14X's mounting hardware, while universal, is a pain to work with. It is reminiscent of CPU cooler designs from six or seven years ago because it is clumsy, aggravating, and far from easy. I would rate it a 3 on a scale of 1 (hardest) to 10 (easiest).
Feb 7th, 2025 08:50 EST
change timezone
Latest GPU Drivers
New Forum Posts
- White SATA dvd-rom : did they even exist? (29)
- AM4 and Combining Different RAM? (41)
- Opinions on AI (422)
- Furmark detects artefacts, but I can’t see any (3)
- Will you buy a RTX 5090? (413)
- What's your latest tech purchase? (23095)
- Microcenter GPU Stock status (5)
- RTX 2070 Super build (67)
- Free Games Thread (4431)
- Post your Monster Hunter Wilds benchmark scores (57)
Popular Reviews
- Kingdom Come Deliverance II Performance Benchmark Review - 35 GPUs Tested
- Spider-Man 2 Performance Benchmark Review - 35 GPUs Tested
- Corsair Frame 4000D Review
- Formovie Cinema Edge 4K UST Laser Projector Review
- NVIDIA GeForce RTX 5080 Founders Edition Review
- ASUS ROG Harpe Ace Extreme Review
- MSI GeForce RTX 5080 Vanguard SOC Review
- Gigabyte GeForce RTX 5080 Gaming OC Review
- Kingdom Come: Deliverance 2 Handheld Performance Review
- AMD Ryzen 7 9800X3D Review - The Best Gaming Processor
Controversial News Posts
- AMD Radeon 9070 XT Rumored to Outpace RTX 5070 Ti by Almost 15% (285)
- AMD is Taking Time with Radeon RX 9000 to Optimize Software and FSR 4 (256)
- AMD Denies Radeon RX 9070 XT $899 USD Starting Price Point Rumors (239)
- Edward Snowden Lashes Out at NVIDIA Over GeForce RTX 50 Pricing And Value (235)
- AMD Radeon RX 9070 XT & RX 9070 Custom Models In Stock at European Stores (226)
- New Leak Reveals NVIDIA RTX 5080 Is Slower Than RTX 4090 (215)
- AMD's Radeon RX 9070 Launch Faces Pricing Hurdles (175)
- AMD Radeon RX 9070 XT Tested in Cyberpunk 2077 and Black Myth: Wukong (169)