The Shift X Project


Owner:
Posted:
October 22nd 2018
Updated:
Viewed:
7,010 times
Rating:
 10 votes total
Incredible (8.7)
Submit vote:
Please register on the forums & login to vote.
Key Features:


This modder's other projects:
- 600bhp - By MetallicAcid
- 909EK
- BF2042 PC mod by MetallicAcid
- Bismarck - By MetallicAcid
- C700P Personal rig
- Chino (Custom Antec Torque)
- DBP900 Rev.MA
- Define Signature
- Echelon
- Elegance by MetallicAcid
- Grandeur
- MetallicAcid's FT03
- MetallicAcid's FT03 (air version)
- MetallicAcid's In Win 925
- MetallicAcid's Redefined
- MetallicAcid's ROG Gene V TJ08-E
- MetallicAcid's TJ07
- Nano Machine
- Origami - By MetallicAcid
- Phase One
- Raijintek Ophion Evo Custom Loop
- Rey - A Star Wars Project
- Rollcage - An In Win D-Frame Mini project
- Tekken7
- The Fractal Effect
- Torque Copper Edition
- WetBench BC1
- XV - Corsair 570X project by MetallicAcid
- Yuel Beast Mobius
System Specs:
Performed Mods:
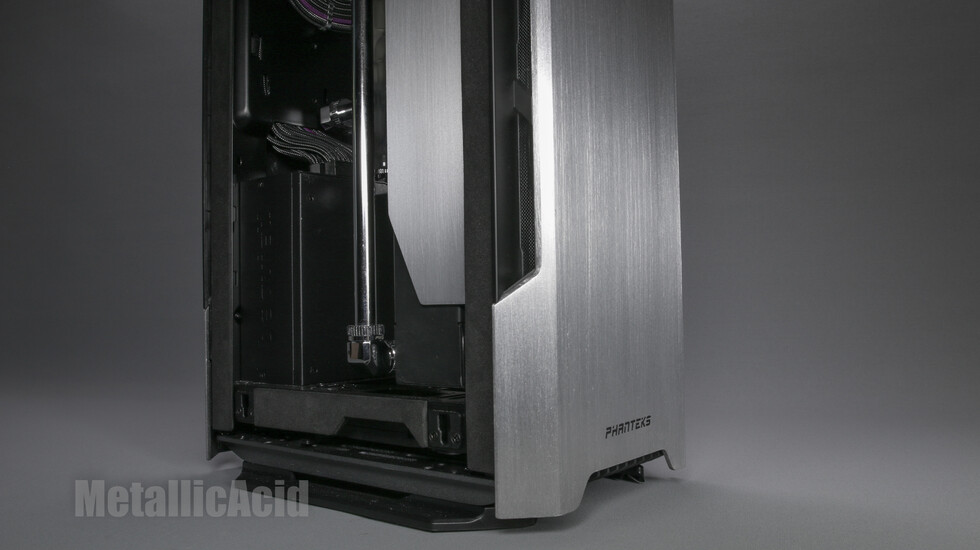
Sanded all panels to bare aluminium
Brushed all panels for premium look
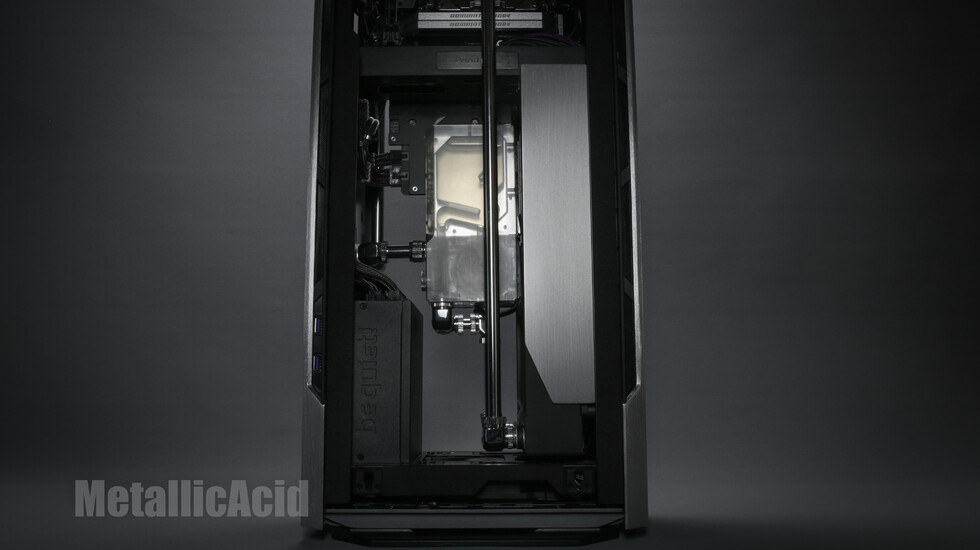
Created new internal aluminium panels
Brushed all custom panels
Cut bits from internal section to properly fit all parts
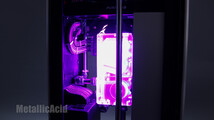
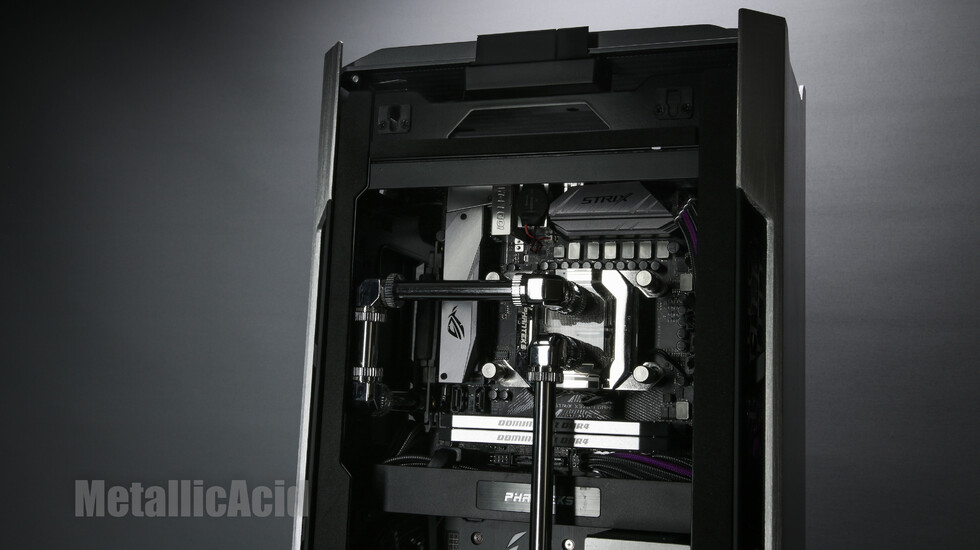
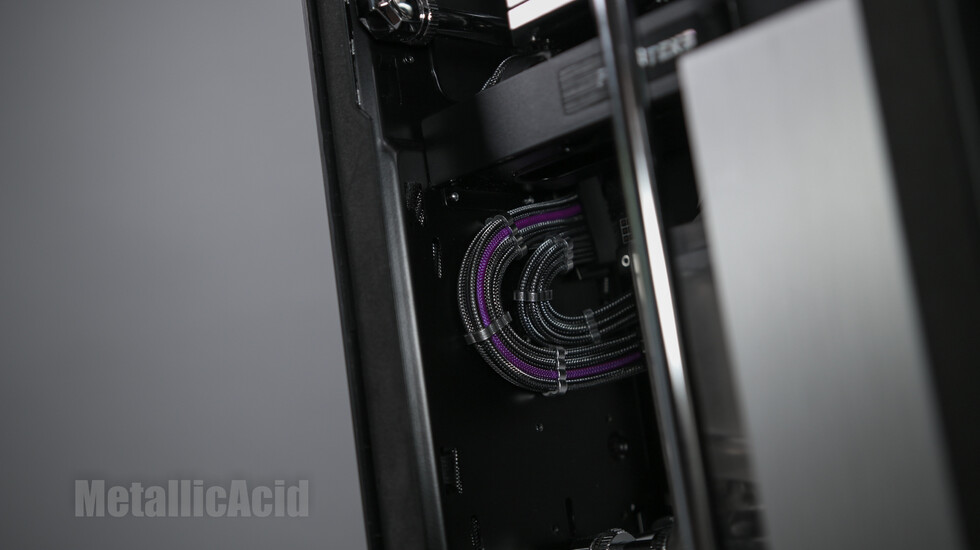
Custom water loop with chromed copper pipes
Special Tools Used:
- Orbital sander
- Sandpaper
- Dremel
Time Spent:
50 hours total
Sponsors:
Hi guys and gals.
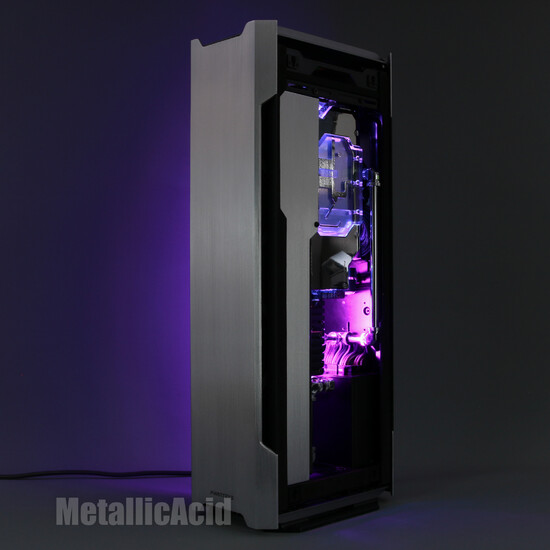
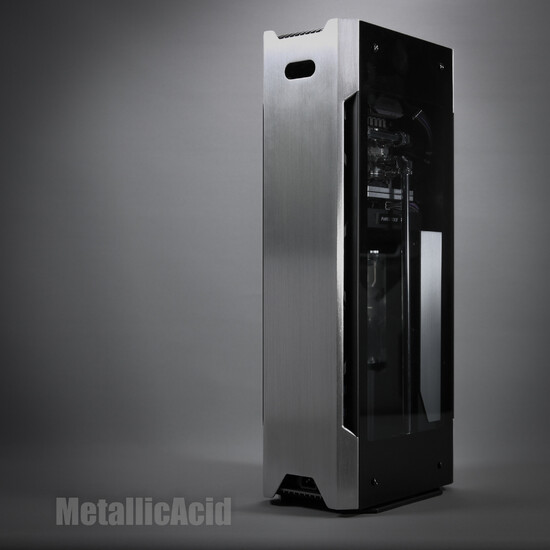
I have had the honour to make a project together with Phanteks, Inet, PCB Distribution, ASUS and Be Quiet! and CableMod to create an aesthetically pleasing project with the Evolv Shift X. and coming up soon is another project featuring the Evolv X, which will be coming soon.
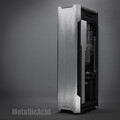
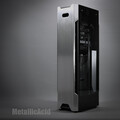
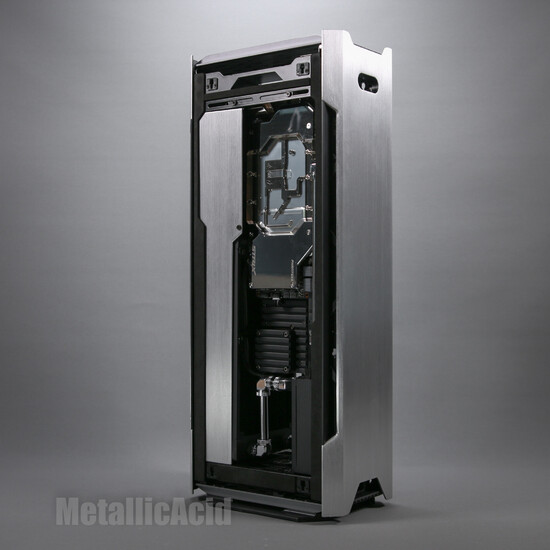
So the project plans for this chassis was to sand the entire aluminium panel back from the anodised aluminium sand blasted finish, to around 600 grit, which gave me a very flat and bare aluminium finish, then to give all of these panels a brushed finish using 80 grit sandpaper.
Giving these panels a brushed finish with sandpaper was a very long process. Firstly, removing the anodising and sanding with a machine to 600 grit took many hours and many pads of sandpaper. Total time for pro phase was around 4 hours.
Once the panels were prepped and ready for brushing, I had to set these panels into a custom made jig which held the panels securely in place so that they would not move or slip while I was sanding. If any of my sanding strokes were not straight, then the overall result of the finish would not look appealing as the sanding strokes don't run parallel to each other. This sanding/brushing process took around 10 hours.
Once the panels where sanded to a satisfactory standard, I took those panels into my garage, and gave them 2 coats of acrylic clearcoat. This helps against scratches and oxidisation.
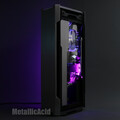
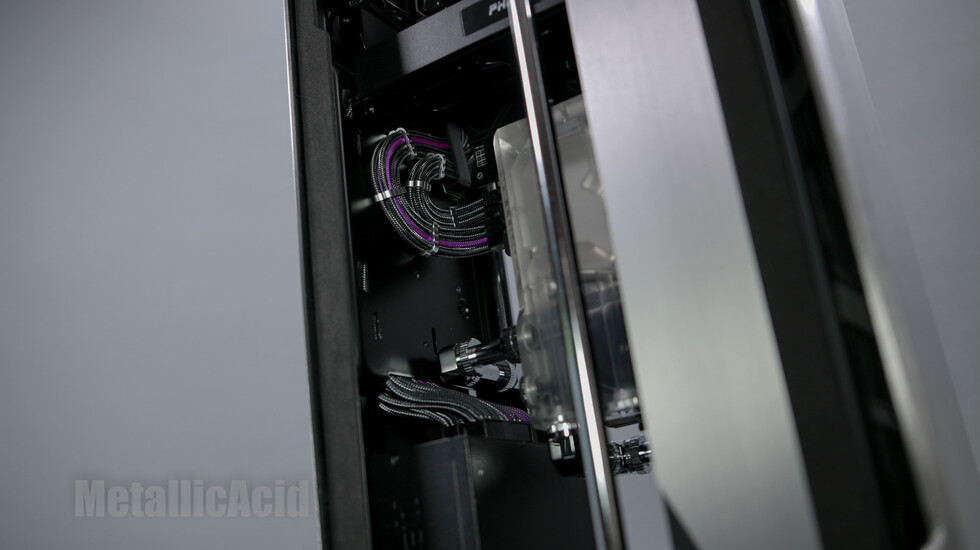
After the exterior was completed, I installed the components, then agonised over how the water loop should be for a couple of weeks. This is very normal..... unfortunately it is not the best for workflow and productivity though, haha! Then to top it off, I made some extra dress panels from aluminium, and also gave them the brushed finish treatment as well.
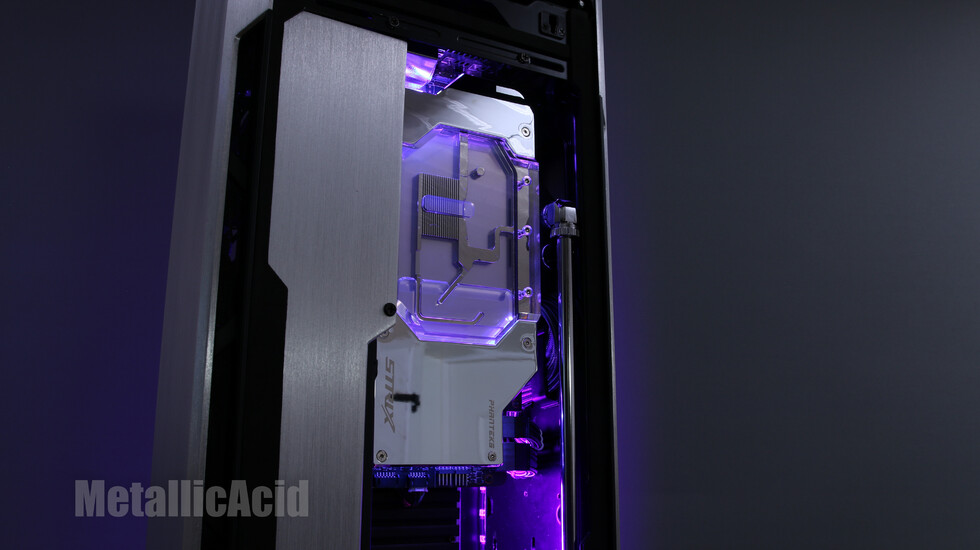
Here is the finished result. I hope that you enjoy the photos. I have tried to experiment with lighting techniques, so I hope that you can appreciate the time it took to make this project photography stand out :)
Apr 13th, 2025 12:27 EDT
change timezone
Latest GPU Drivers
New Forum Posts
- Windows 11 General Discussion (5979)
- 9070 XT strange performance in Cachyos/Windows (Low gpu utilization in games) (4)
- Acer Aspire A515-57G PL1 Limit issues (4)
- Radeon RX 6700, 6700 XT & 6750 XT users club (1129)
- RX 9000 series GPU Owners Club (306)
- Steam Deck Owners Clubhouse (510)
- Request for BIOS file of nVidia GeForce RTX A5000 from ThinkPad P15 Gen 2 (0)
- What is going to be your next tech upgrade? just curious :) (34)
- What are you playing? (23374)
- CPU issue with throttle stop (1)
Popular Reviews
- Thermaltake TR100 Review
- The Last Of Us Part 2 Performance Benchmark Review - 30 GPUs Compared
- TerraMaster F8 SSD Plus Review - Compact and quiet
- Zotac GeForce RTX 5070 Ti Amp Extreme Review
- ASUS GeForce RTX 5080 TUF OC Review
- ASRock Z890 Taichi OCF Review
- Sapphire Radeon RX 9070 XT Pulse Review
- Sapphire Radeon RX 9070 XT Nitro+ Review - Beating NVIDIA
- Upcoming Hardware Launches 2025 (Updated Apr 2025)
- MSI MAG CORELIQUID A15 360 Review
Controversial News Posts
- NVIDIA GeForce RTX 5060 Ti 16 GB SKU Likely Launching at $499, According to Supply Chain Leak (181)
- MSI Doesn't Plan Radeon RX 9000 Series GPUs, Skips AMD RDNA 4 Generation Entirely (146)
- Microsoft Introduces Copilot for Gaming (124)
- NVIDIA Sends MSRP Numbers to Partners: GeForce RTX 5060 Ti 8 GB at $379, RTX 5060 Ti 16 GB at $429 (123)
- Nintendo Confirms That Switch 2 Joy-Cons Will Not Utilize Hall Effect Stick Technology (105)
- Over 200,000 Sold Radeon RX 9070 and RX 9070 XT GPUs? AMD Says No Number was Given (100)
- Nintendo Switch 2 Launches June 5 at $449.99 with New Hardware and Games (99)
- NVIDIA PhysX and Flow Made Fully Open-Source (77)
Comments on The Shift X Project
There are no comments yet.