 11
11
Aerocool P7-C1 Review
A Closer Look - Inside »A Closer Look - Outside
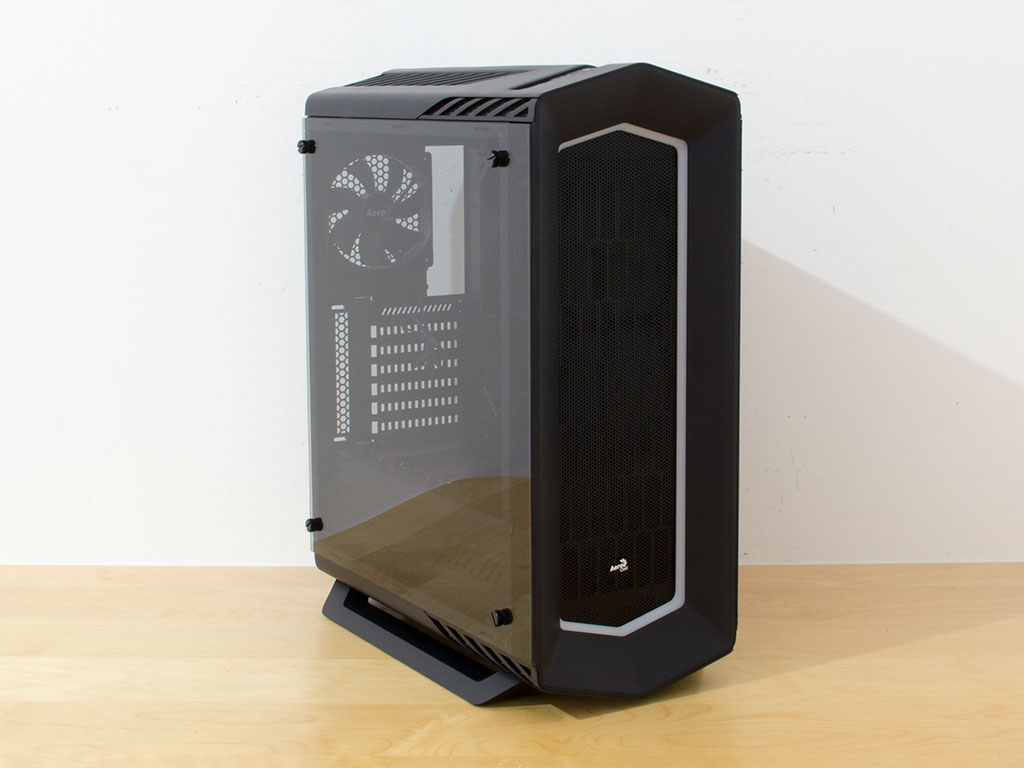
The Aerocool P7-C1 looks pretty sweet out of the box. This goes to show what a difference the exterior design can make considering it uses the same internal frame as the Silverstone RL05 or Rosewill Gram.
There are no drive bays. The front is instead one big air vent. Around it is a white frame, which is where the RGB LEDs are embedded. In the rear, you can clearly see where the chassis frame ends and the extensive exterior layout starts. Even though the chassis employs plastic, Aerocool has made sure the panels and feet are really sturdy.
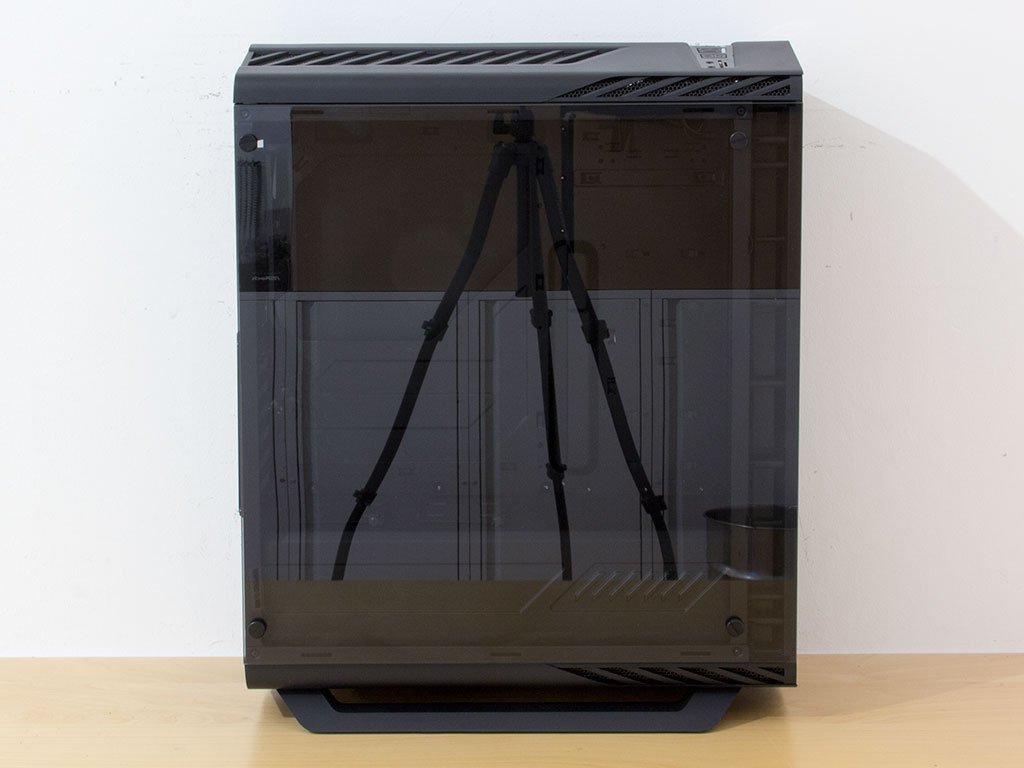
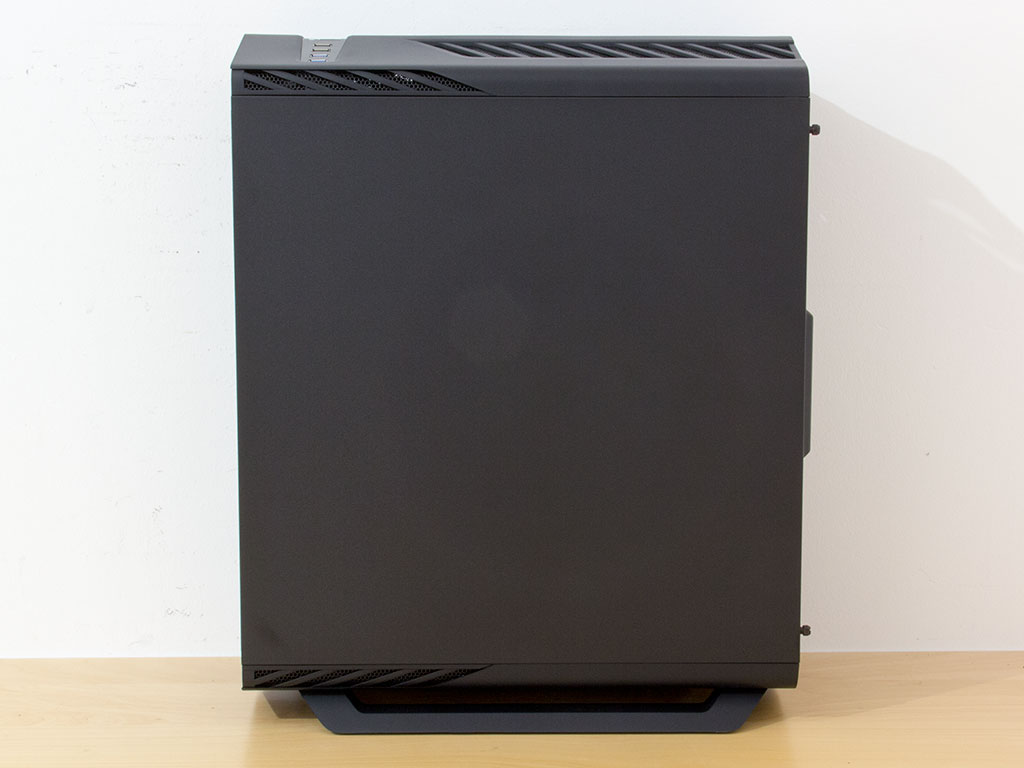
Aerocool has chosen to place a slightly tinted glass side panel on the main side of the chassis, while going for a solid metal panel on the opposite side. Even though this causes a bit of an uneven look, it is totally worth it.
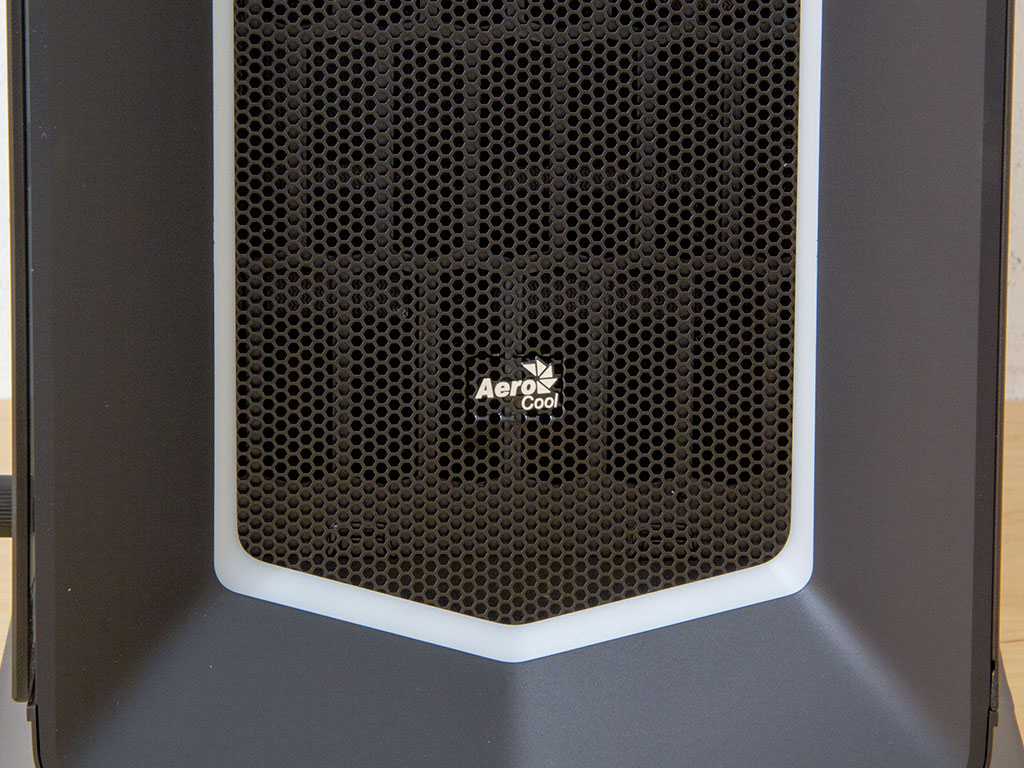
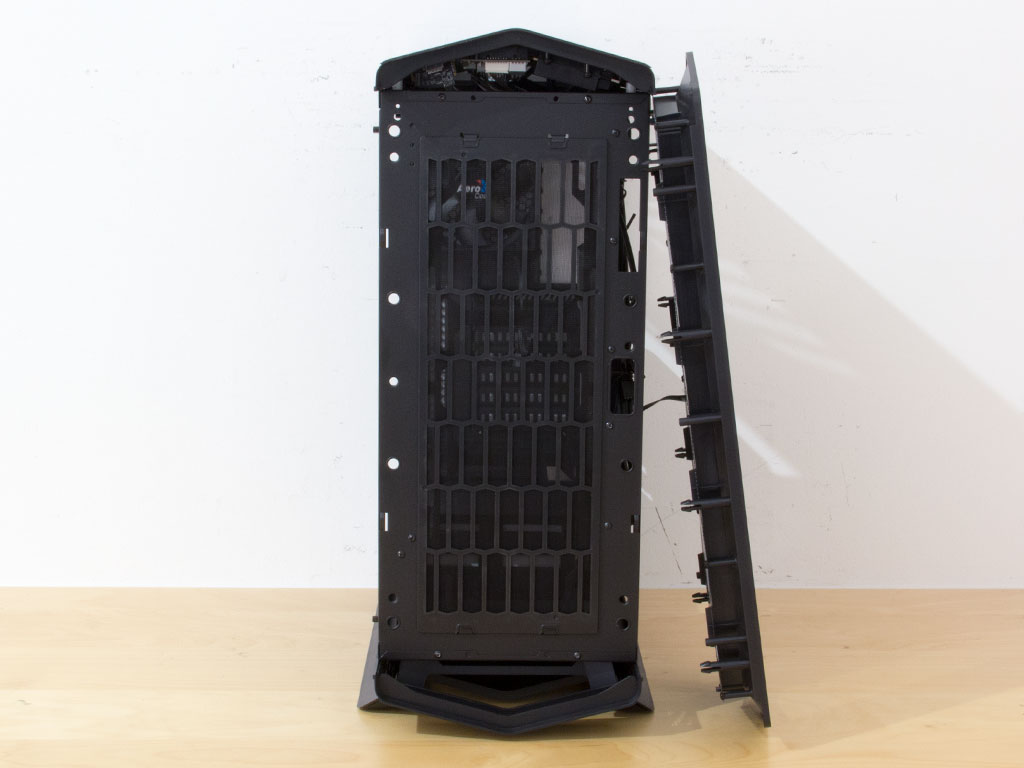
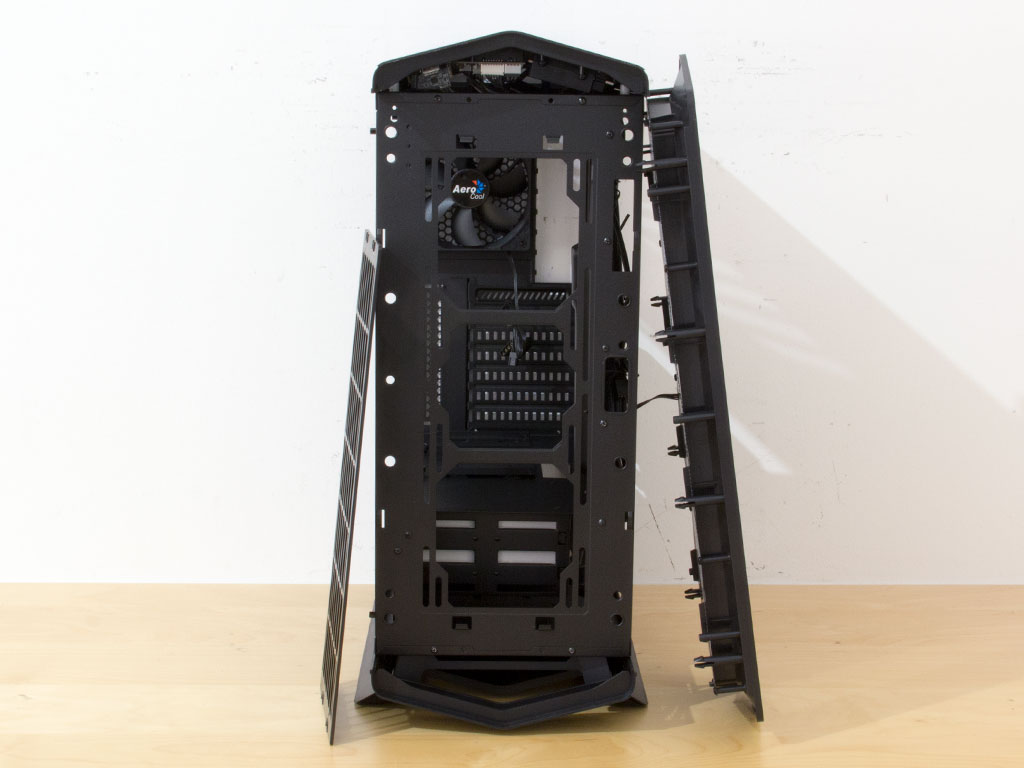
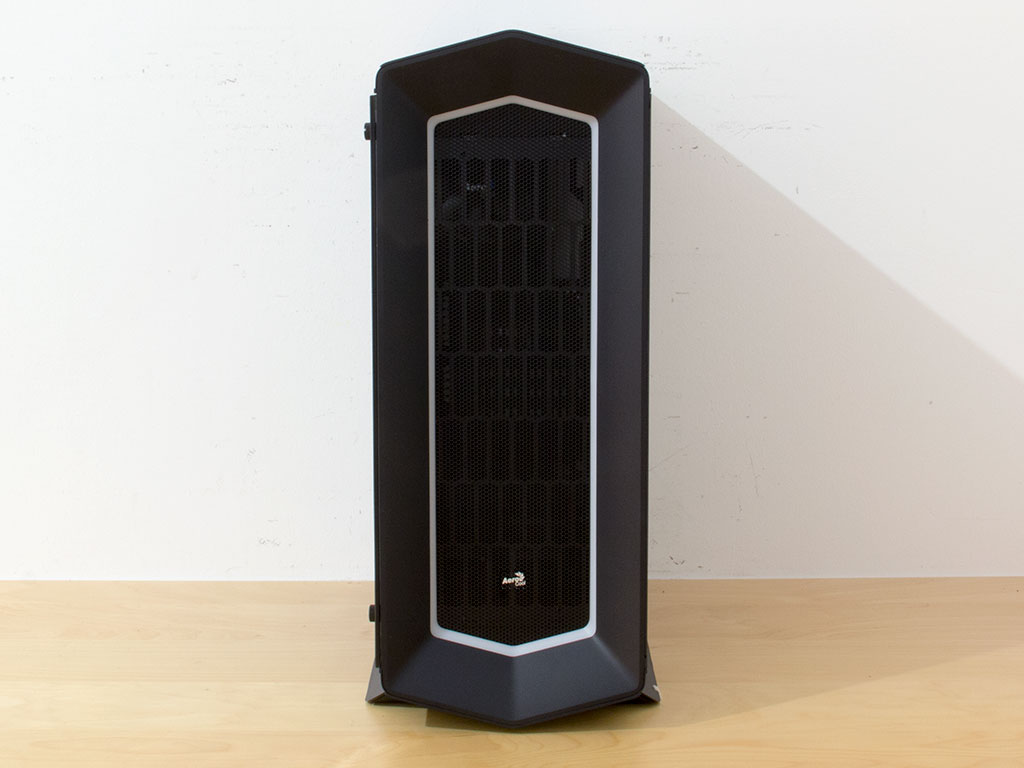
You will only find a tiny Aerocool logo on the chassis' front. You may pry the entire panel off to reveal a large dust filter. With it removed, you can clearly see the three fan-mounting possibilities. You may either go for three 120 mm units or two 140 mm variants. The interior design even allows for a 280 or 360 mm radiator there instead.
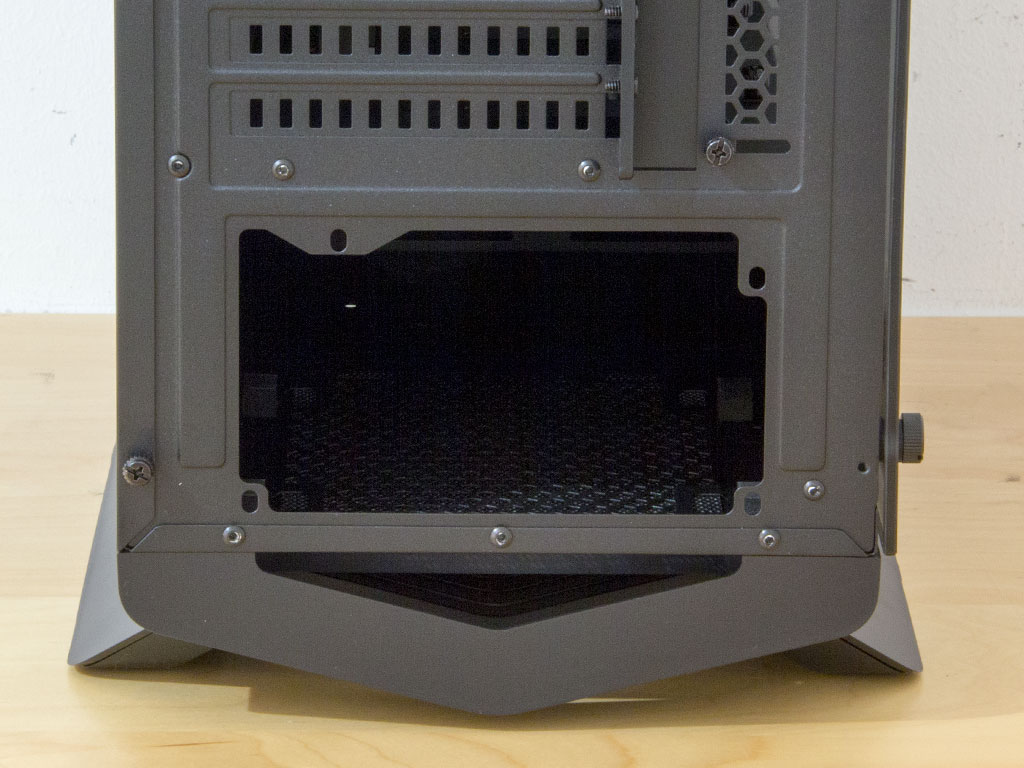
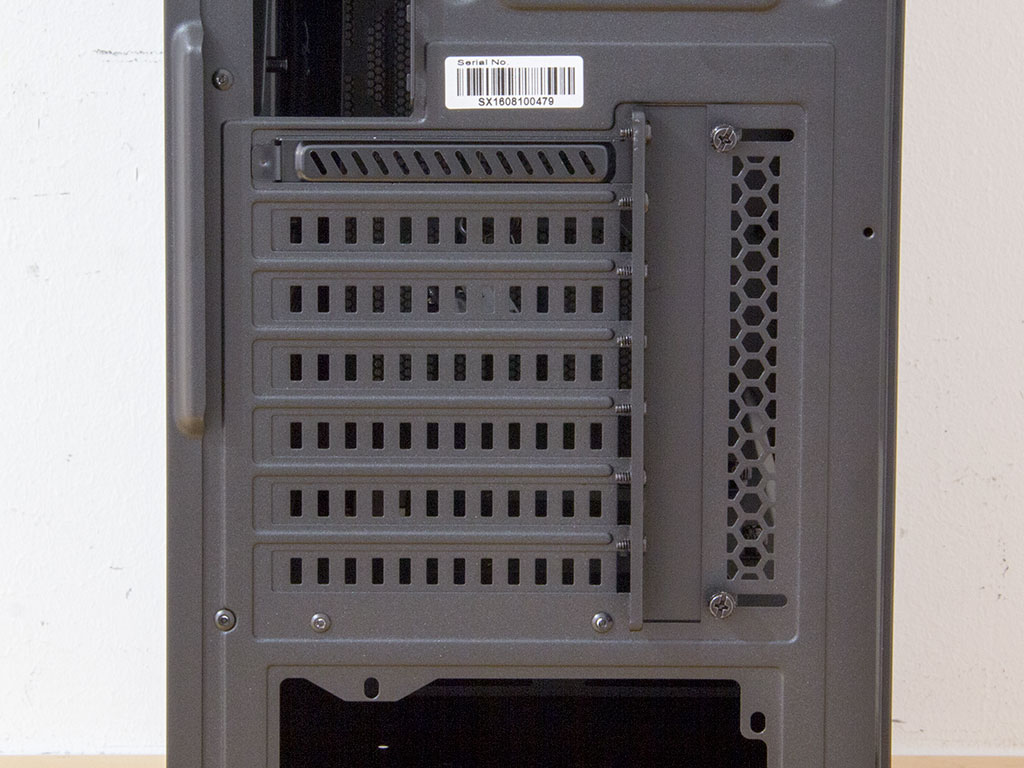
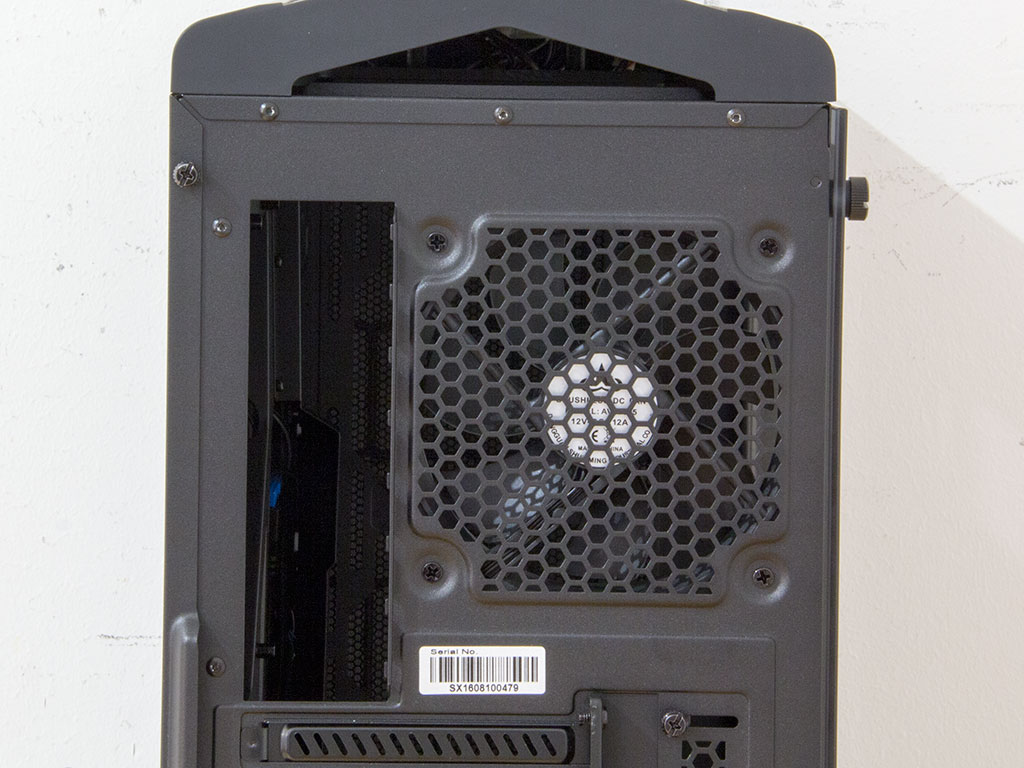
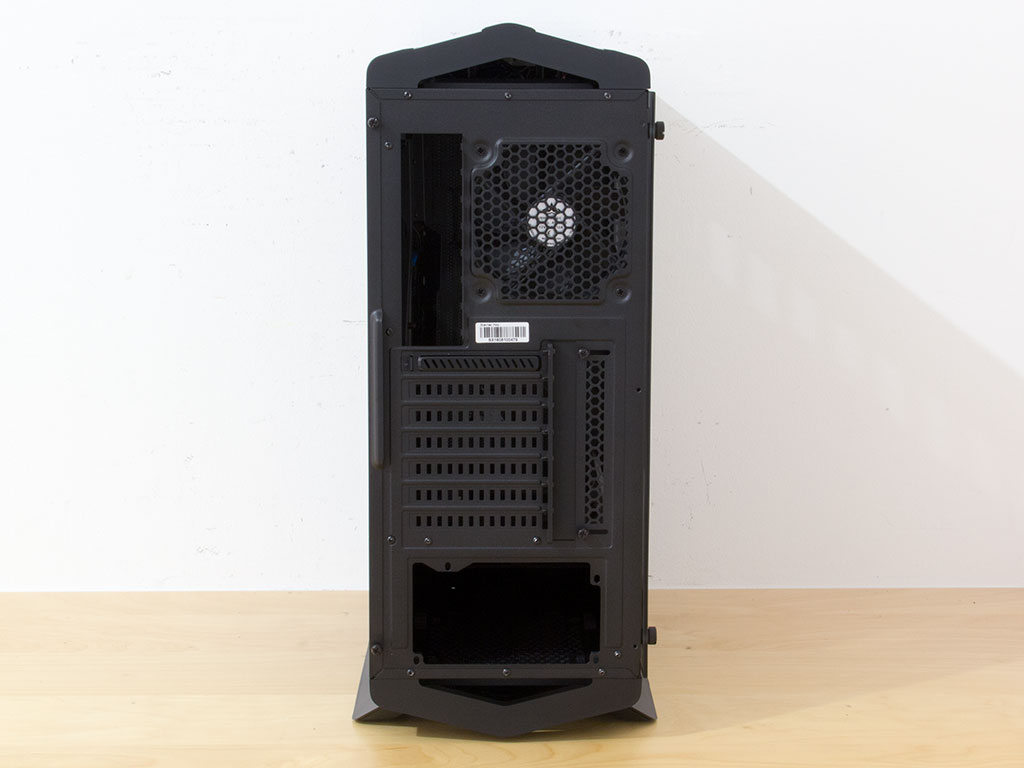
In the rear, at the very bottom, is a pretty normal PSU bay with a single set of mounting holes to make sure you always install the power supply the right way. Above that are the seven expansion slots, each protected by a reusable cover. These are held in place by a bent piece of metal that is in turn secured with two normal screws. In the very top is a 120 mm fan to aid with cooling for the CPU area of the system.
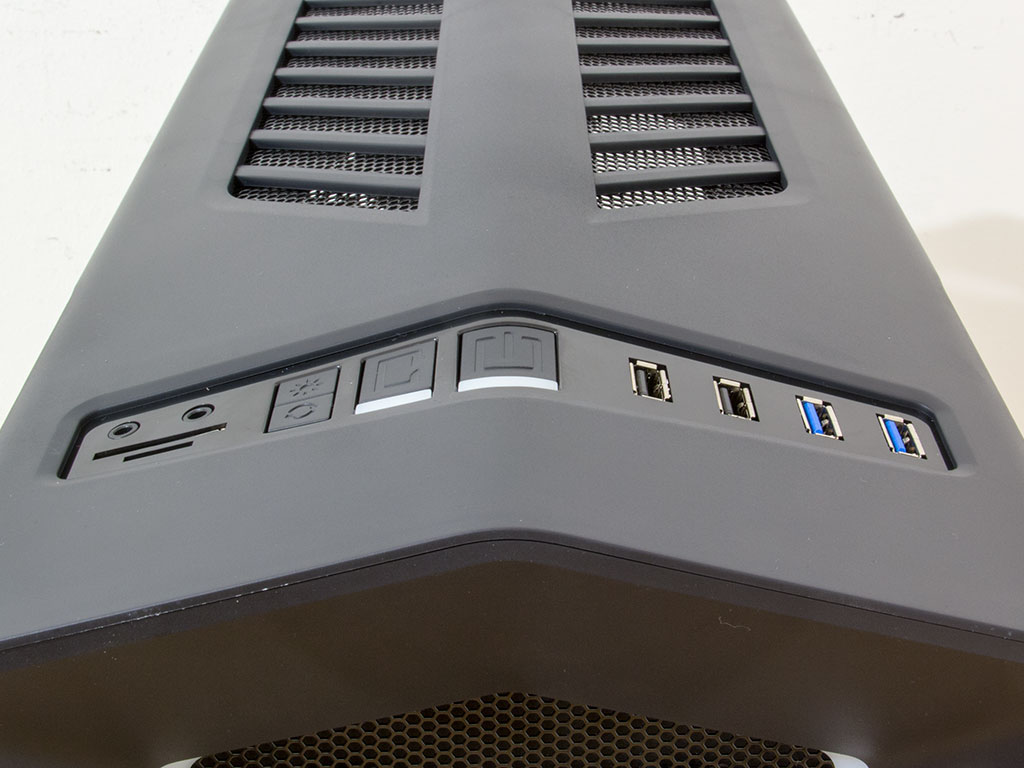
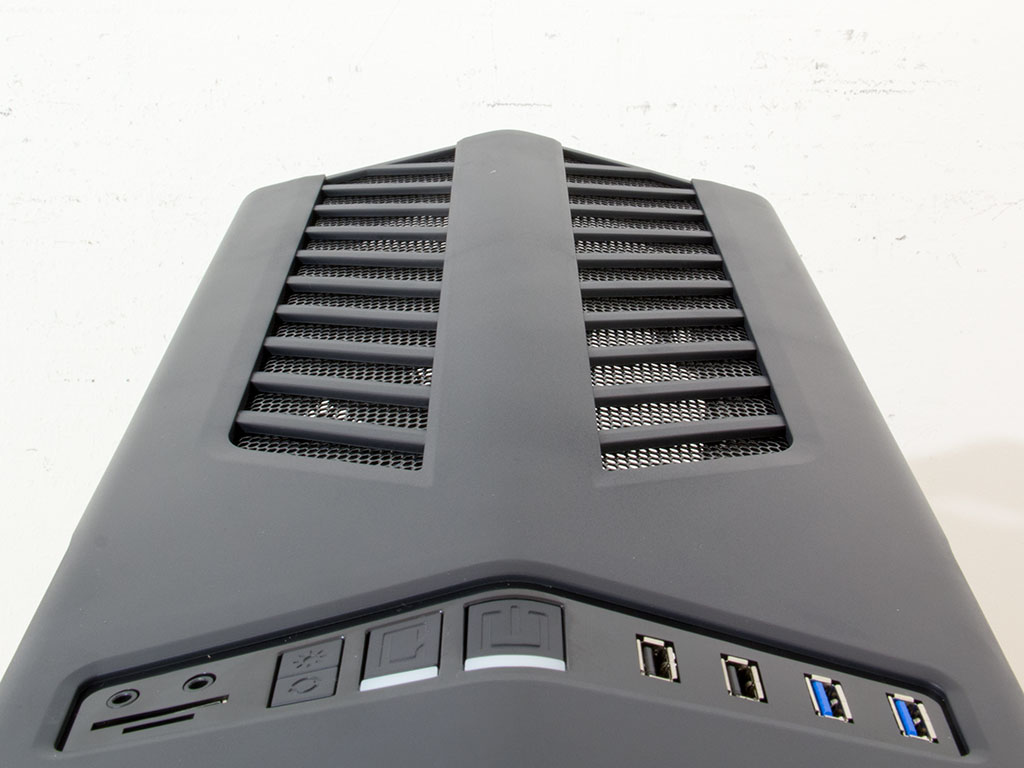
You will find all the I/O in the top. Aerocool included two USB 2.0, two USB 3.0, the usual audio I/O, power and reset buttons, and the LED color switch. But there is also an SD card reader for full-sized and microSD cards - pretty useful!
Apr 22nd, 2025 19:22 EDT
change timezone
Latest GPU Drivers
New Forum Posts
- Asus Rog Dominus Extreme. LGA 3647 Xeon. (8)
- 5060 Ti 8GB DOA (184)
- 5070 Ti power limit questions (55)
- 990 Pro 4TB - Why is the controller temperature so high in my PC? (2)
- RX 9000 series GPU Owners Club (479)
- Mouse battery + Front mouse buttons don't want to work. (5)
- RTX 5070 hotspot find on back of PCB 107C ~ 338F (0)
- TS Bench not activating all CPU cores (1)
- Waterloop 24/7 or no? (4)
- What are you playing? (23431)
Popular Reviews
- ASRock X870E Taichi Lite Review
- ASUS GeForce RTX 5060 Ti TUF OC 16 GB Review
- NVIDIA GeForce RTX 5060 Ti PCI-Express x8 Scaling
- Palit GeForce RTX 5060 Ti Infinity 3 16 GB Review
- Sapphire Radeon RX 9070 XT Pulse Review
- Upcoming Hardware Launches 2025 (Updated Apr 2025)
- MSI GeForce RTX 5060 Ti Gaming OC 16 GB Review
- Sapphire Radeon RX 9070 XT Nitro+ Review - Beating NVIDIA
- NVIDIA GeForce RTX 5060 Ti 8 GB Review - So Many Compromises
- Teevolution Terra Pro Review
Controversial News Posts
- NVIDIA GeForce RTX 5060 Ti 16 GB SKU Likely Launching at $499, According to Supply Chain Leak (182)
- NVIDIA Sends MSRP Numbers to Partners: GeForce RTX 5060 Ti 8 GB at $379, RTX 5060 Ti 16 GB at $429 (127)
- NVIDIA Launches GeForce RTX 5060 Series, Beginning with RTX 5060 Ti This Week (115)
- Nintendo Confirms That Switch 2 Joy-Cons Will Not Utilize Hall Effect Stick Technology (105)
- Nintendo Switch 2 Launches June 5 at $449.99 with New Hardware and Games (99)
- Sony Increases the PS5 Pricing in EMEA and ANZ by Around 25 Percent (85)
- NVIDIA PhysX and Flow Made Fully Open-Source (77)
- Windows Notepad Gets Microsoft Copilot Integration (75)