 12
12
Aerocool Tor Pro Review
Assembly & Finished Looks »A Closer Look - Inside
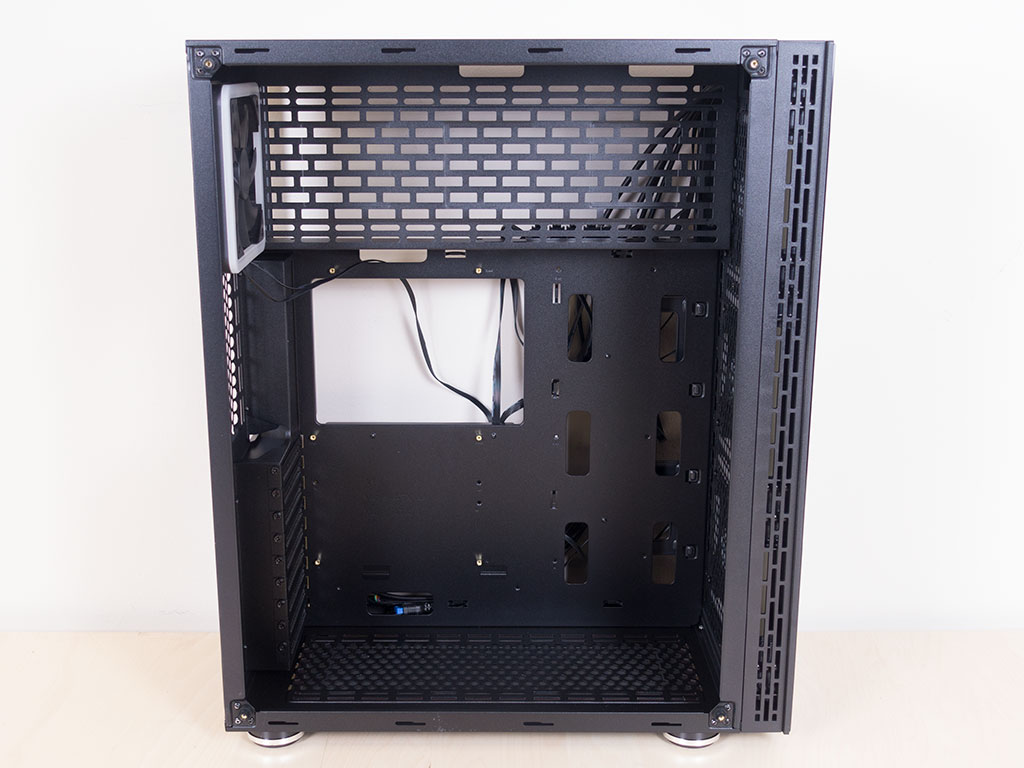
To access the interior, simply remove all the thumbscrews holding the panels in place. Taking a first look at the interior, the Aerocool Tor Pro is actually quite unique to allow for additional cooling towards the top, while the bottom half looks quite traditional in terms of layout for the motherboard.
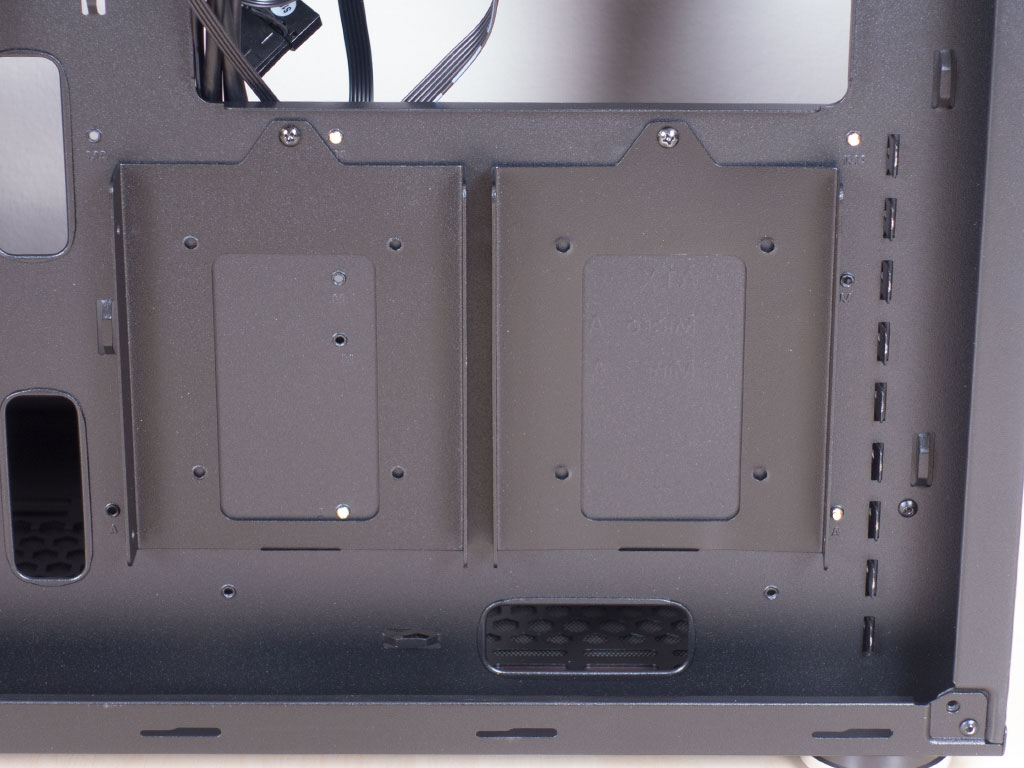
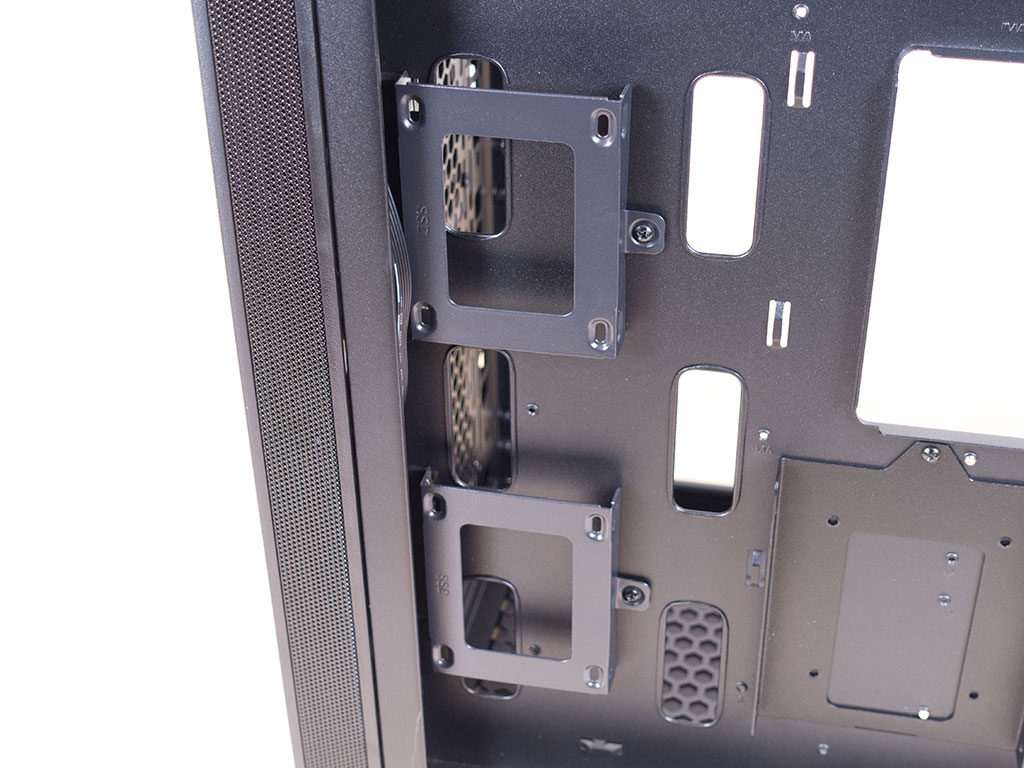
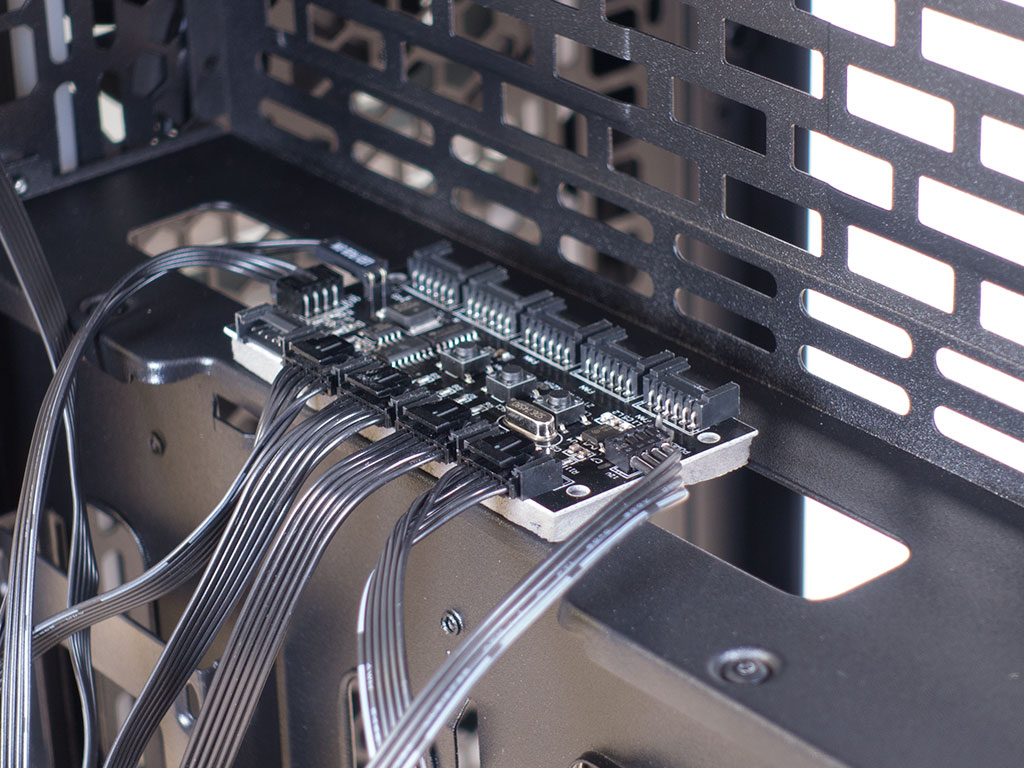
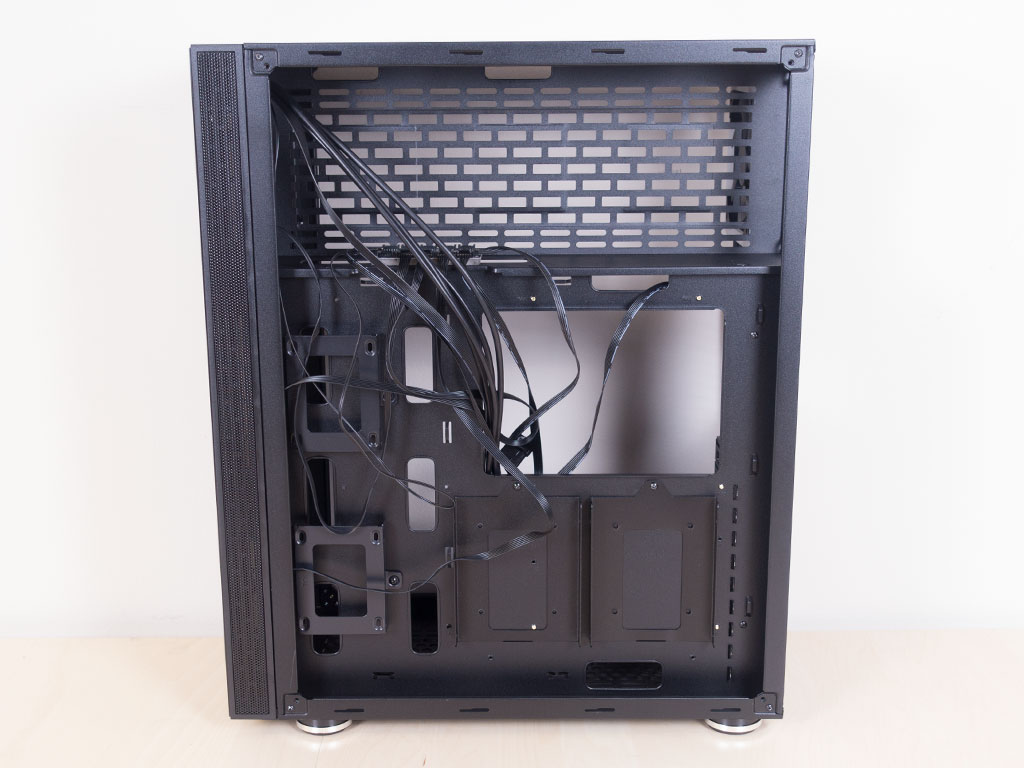
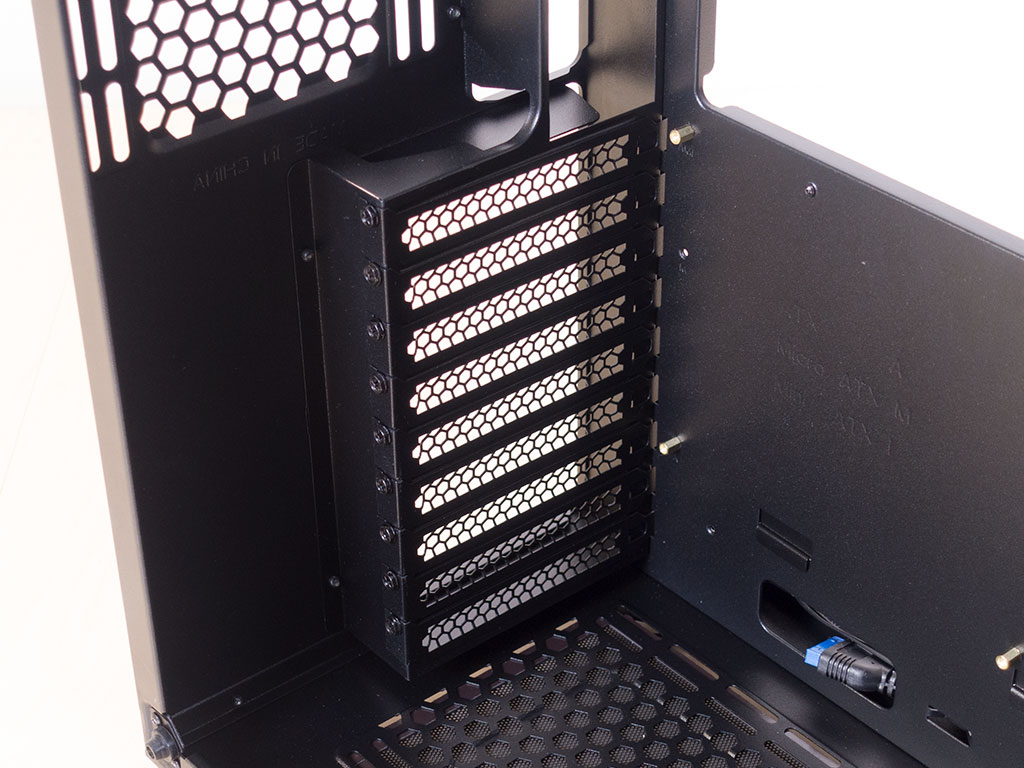
On the back of the motherboard tray, you will find two 3.5" hard-drive trays made out of metal, which are held in place by individual screws. Aerocool also included two metal 2.5" trays, which brings the total number of storage possibilities to four. While this is fine for most people, a case of this size could have more. You will find the same capable 10-port fan/RGB controller as in the Tor in the very top of the chassis.
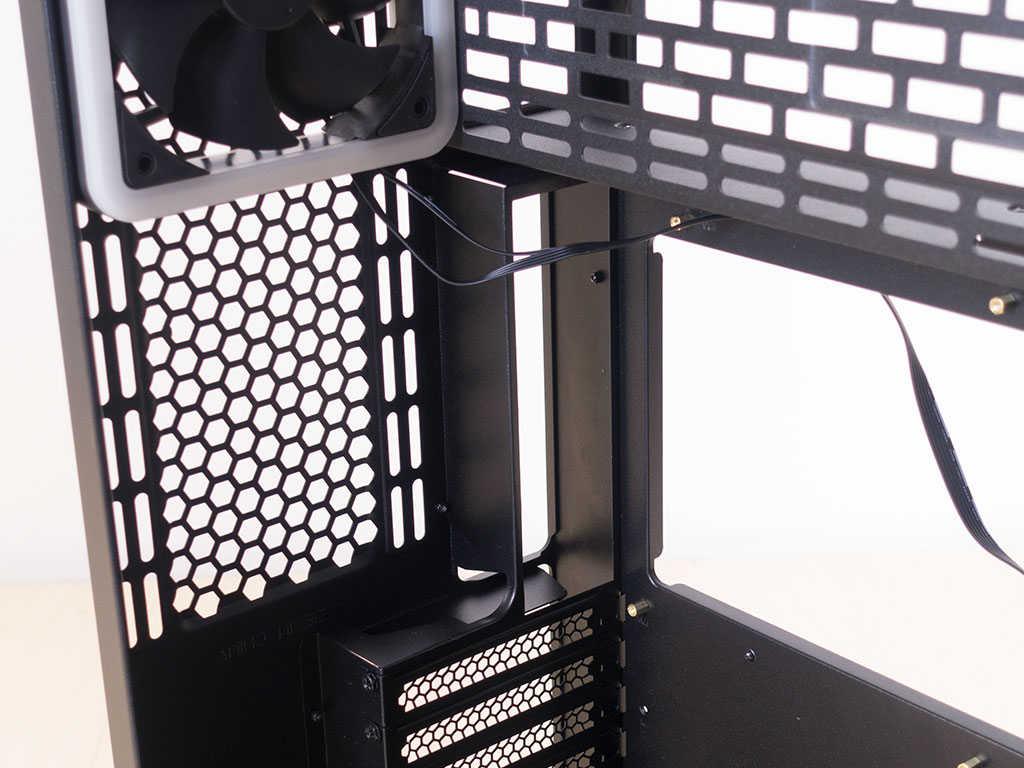

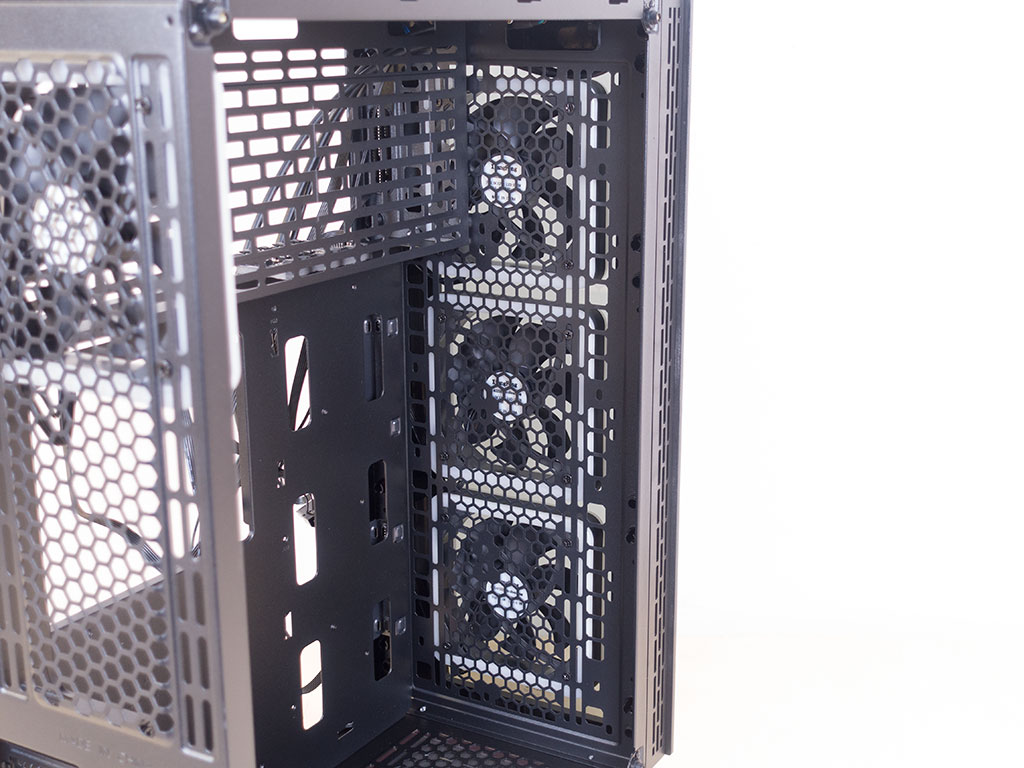
In the rear, the bottom eight expansion slots feature individual, reusable covers, which is nice to see as the Tor utilizes breakout variants. Above that is the large air vent with loads of mounting holes, so you should easily be able to install any configuration of 120/140 mm fans or a radiator of up to 280 mm here. The aforementioned 120 mm fan with its RGB LED frame can be found in the top, next to the basic but functional PSU bay.
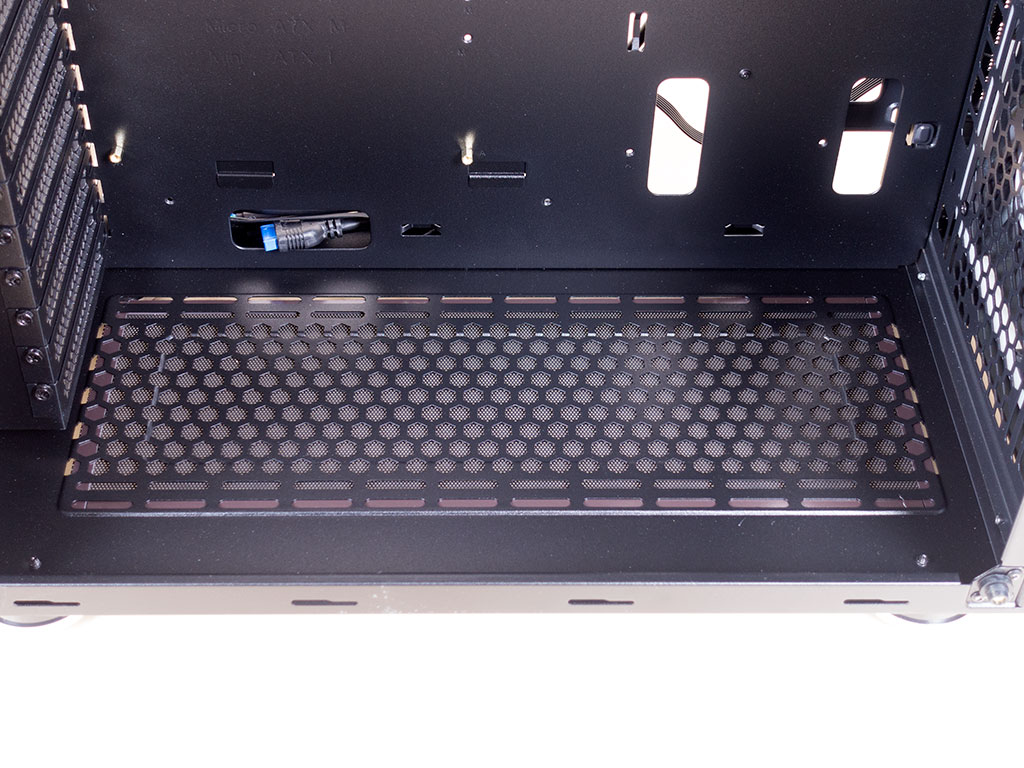
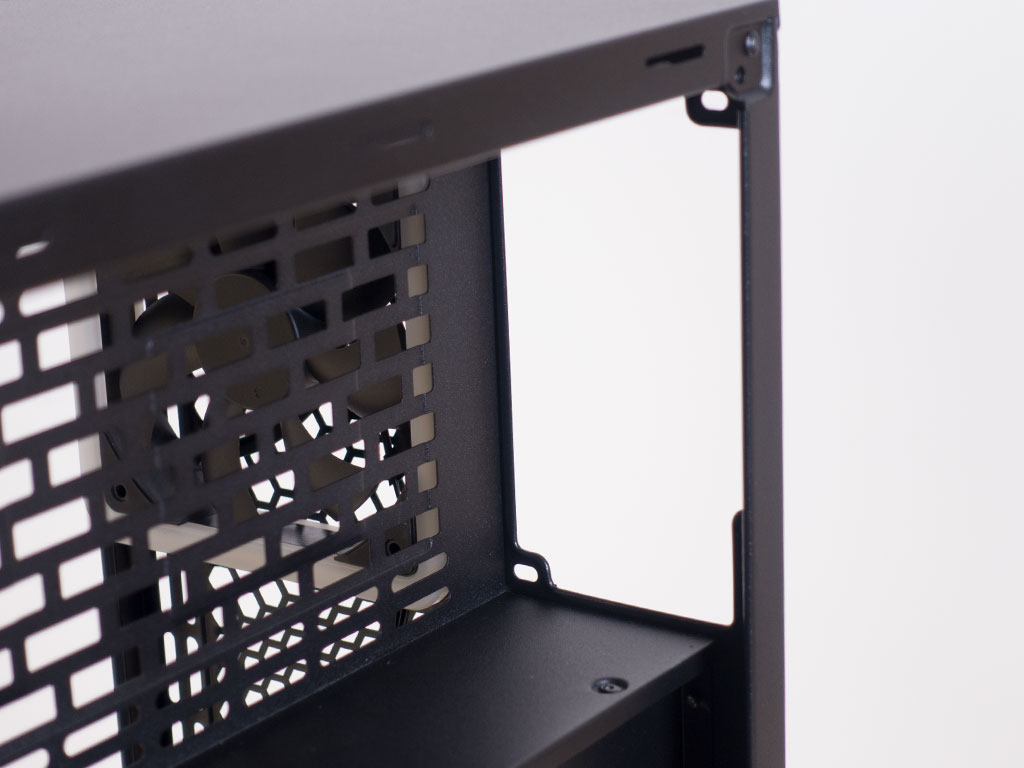
Looking at the floor, the cutouts allow you to install up to three 120/140 mm fans here, or even a 360/420 mm radiator if you want to go all out. The same holds true for the front, which means that you can pack up to a mind boggling four radiators inside the Tor Pro overall.
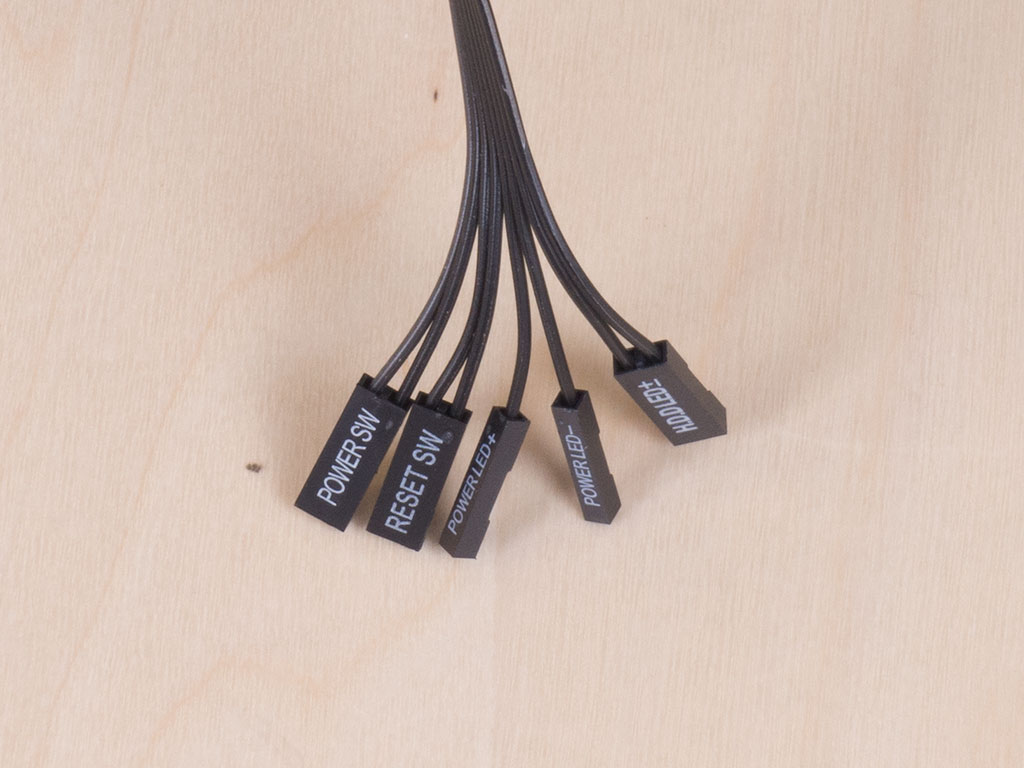
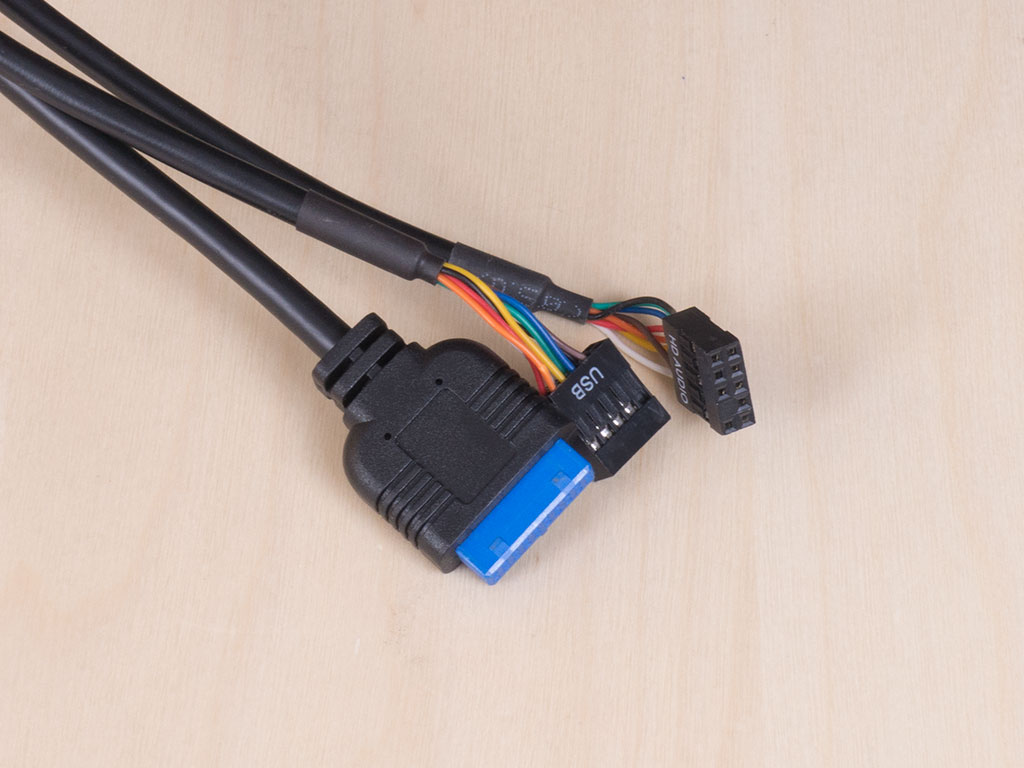
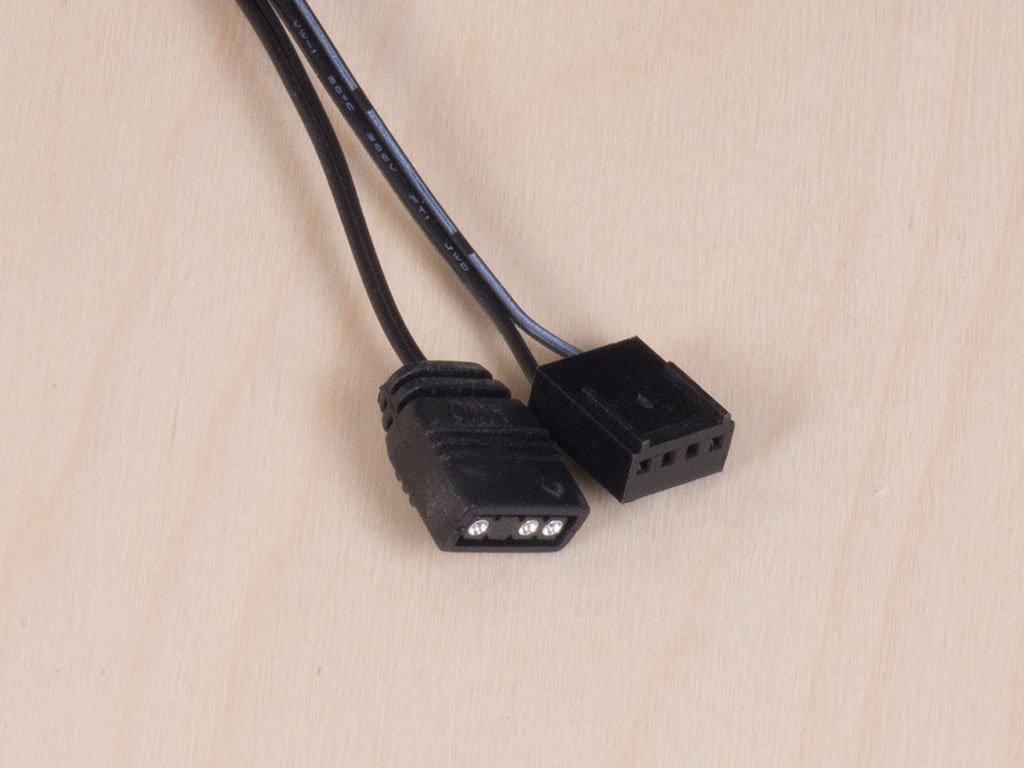
All the cables within the Aerocool Tor are of the default variety with the exception of a 3-pin fan header and RGB LED connector combo cable from the PCB. It will allow you to control the RGB and fans with your motherboard, which makes the proprietary 5-pin connectors of the RGB fans alright.
Feb 11th, 2025 02:29 EST
change timezone
Latest GPU Drivers
New Forum Posts
- Black screen after I tried to flash my HD 6850 (1)
- Asteroid 2024 YR4 reaches level 3 on the Torino Scale (55)
- 3090 zotac Trinity Oc dead or psu weak? (35)
- How important are X3D processors at 1440p and beyond? (25)
- What are you playing? (22838)
- Black Screen Issue on Biostar RX 6700 XT – BIOS and Overclocking Concerns (4)
- Your PC ATM (35237)
- Case fan with controller (3)
- How well does a 4090 or 4080 perform on X99/5820K system? (116)
- Last game you purchased? (679)
Popular Reviews
- Civilization VII Performance Benchmark Review - 35 GPUs Tested
- Kingdom Come Deliverance II Performance Benchmark Review - 35 GPUs Tested
- ASRock Phantom Gaming B850I Lightning Wi-Fi Review
- Team Group T-Force XTREEM DDR5-7200 48GB CL34 Review
- Spider-Man 2 Performance Benchmark Review - 35 GPUs Tested
- Kingdom Come: Deliverance 2 Handheld Performance Review
- NVIDIA GeForce RTX 5080 Founders Edition Review
- AMD Ryzen 7 9800X3D Review - The Best Gaming Processor
- DAREU A980 Pro Max Review
- Corsair Frame 4000D Review
Controversial News Posts
- AMD Radeon 9070 XT Rumored to Outpace RTX 5070 Ti by Almost 15% (286)
- AMD is Taking Time with Radeon RX 9000 to Optimize Software and FSR 4 (256)
- AMD Denies Radeon RX 9070 XT $899 USD Starting Price Point Rumors (239)
- Edward Snowden Lashes Out at NVIDIA Over GeForce RTX 50 Pricing And Value (239)
- AMD Radeon RX 9070 XT & RX 9070 Custom Models In Stock at European Stores (226)
- New Leak Reveals NVIDIA RTX 5080 Is Slower Than RTX 4090 (215)
- AMD's Radeon RX 9070 Launch Faces Pricing Hurdles (175)
- AMD Radeon RX 9070 XT Tested in Cyberpunk 2077 and Black Myth: Wukong (169)