 16
16
Alphacool Core GeForce RTX 4090 Strix + TUF GPU Block Review
Installation & Lighting »Closer Examination
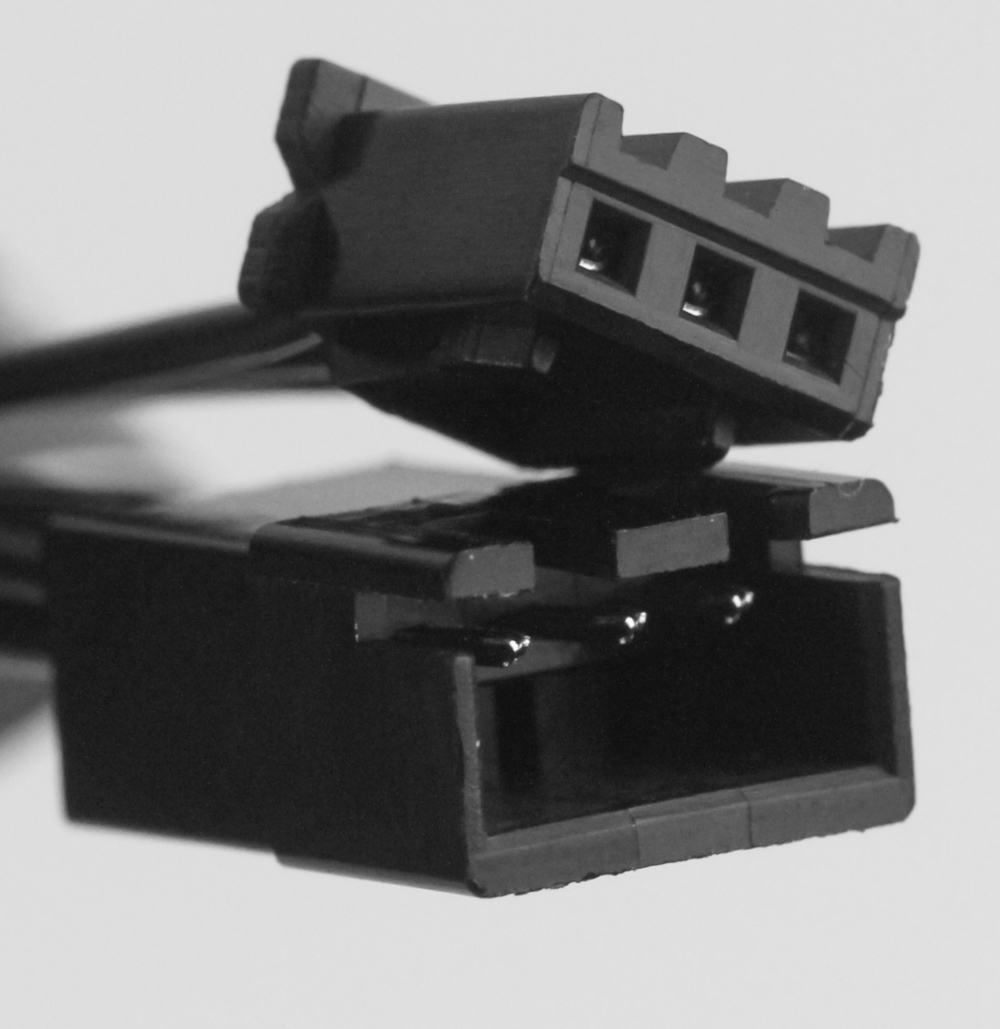
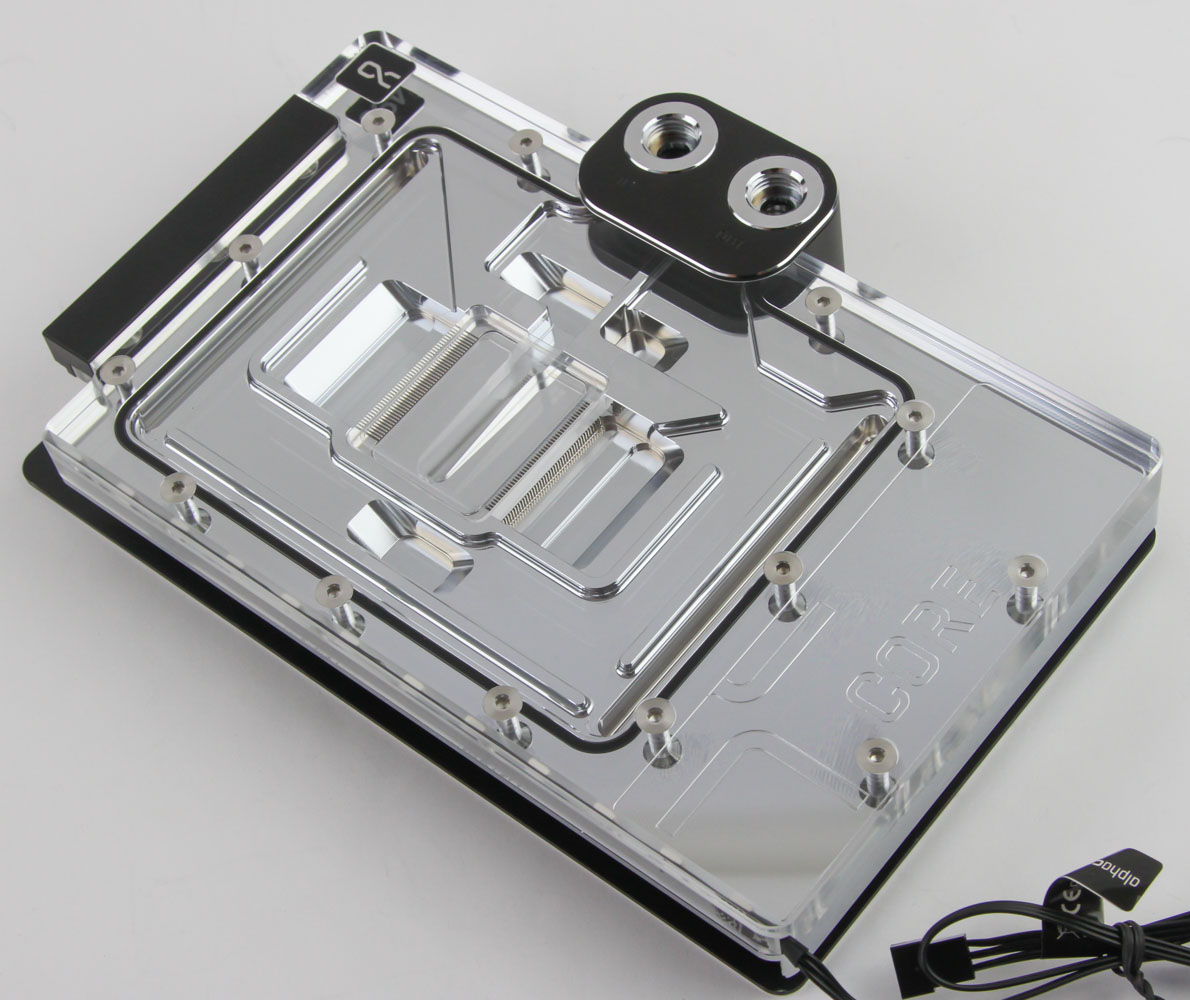
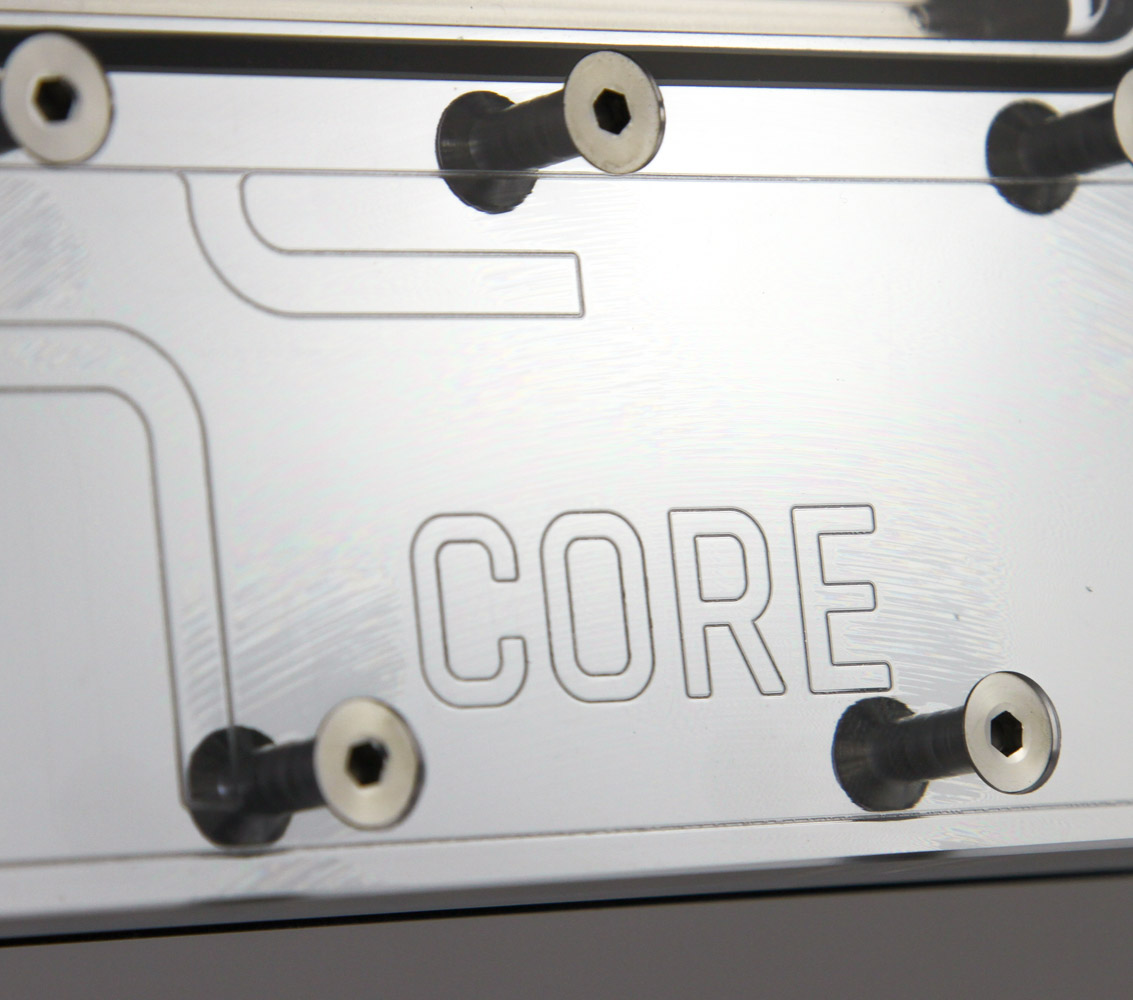
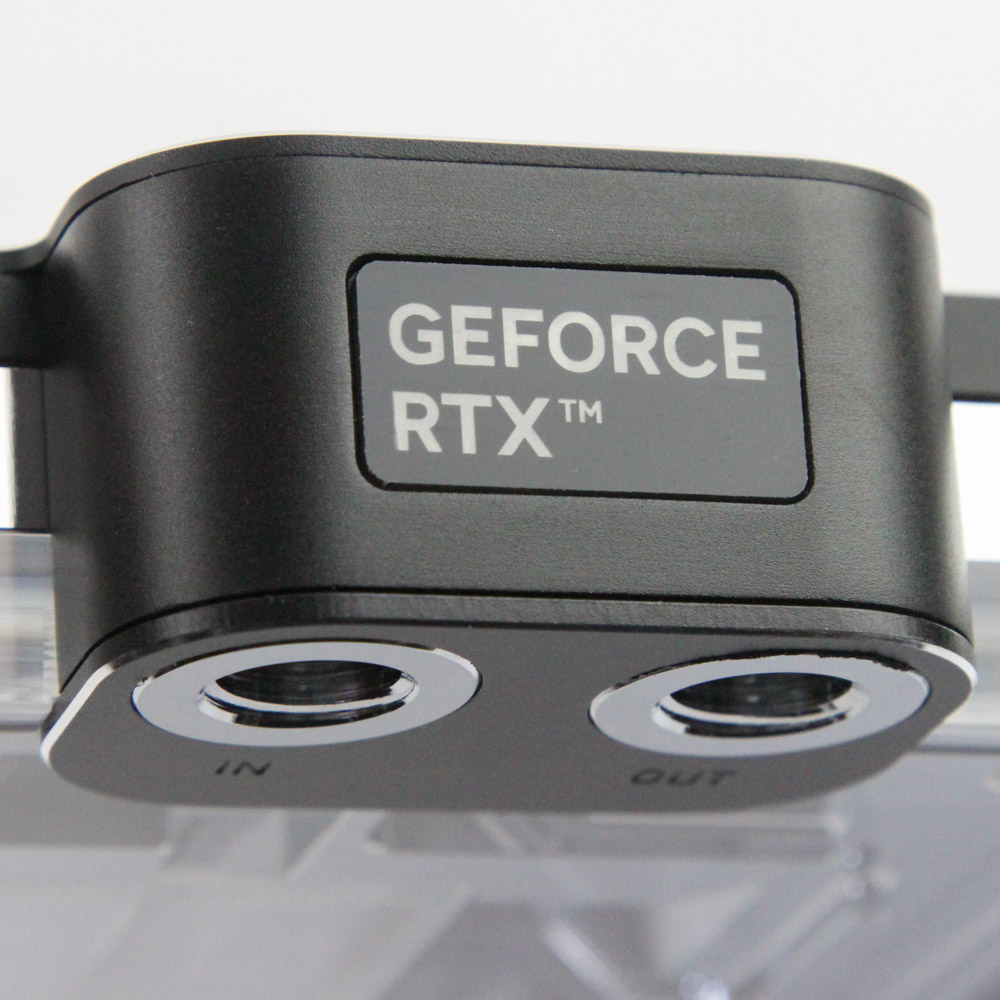

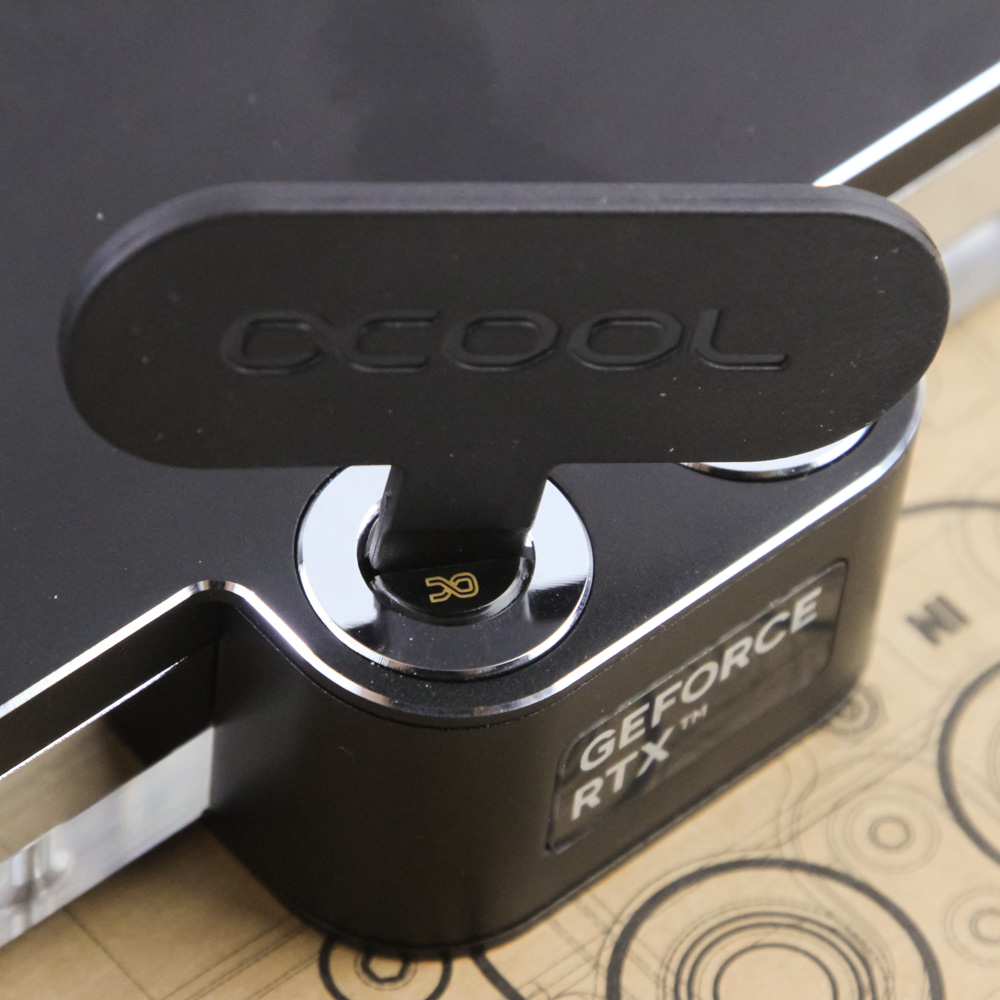
At first glance, the Alphacool Core GPU block for the RTX 4090 Strix/TUF might look somewhat short. But that's only because the GPU PCB itself goes taller than the reference design and this is a full cover block. Alphacool keeps things relatively simple with a single SKU in the Core lineup for aftermarket PCBs knowing correctly that the acrylic top/nickel-plated (chrome, in this case) copper cold plate version is the most popular design combination for GPU blocks these days. The clear top allows a good look at the cooling engine as well as the coolant going through it, should you wish to go for a colored liquid. Alternatively, there is also integrated RGB lighting courtesy 12 individually addressable RGB LEDs at the bottom connected to a cable with a daisy-chained adapter for other such compatible water blocks. The provided cable accessory allows you to connect this to a more standard 3-pin, 5 V LED header on your motherboard. Branding comes in the form of "CORE" etched on the side of the cold plate as seen through the clear top in addition to a simplified Alphacool logo badge on the top left corner. There are four BSP G1/4" ports on the I/O terminal with in/out markings to help indicate the preferred direction of coolant flow through the block. There is also a GeForce RTX badge on the terminal cover facing the user in a typical horizontal mount. The black and silver aesthetic works well here in my opinion, especially with small touches such as leaving an accent ring around the ports.
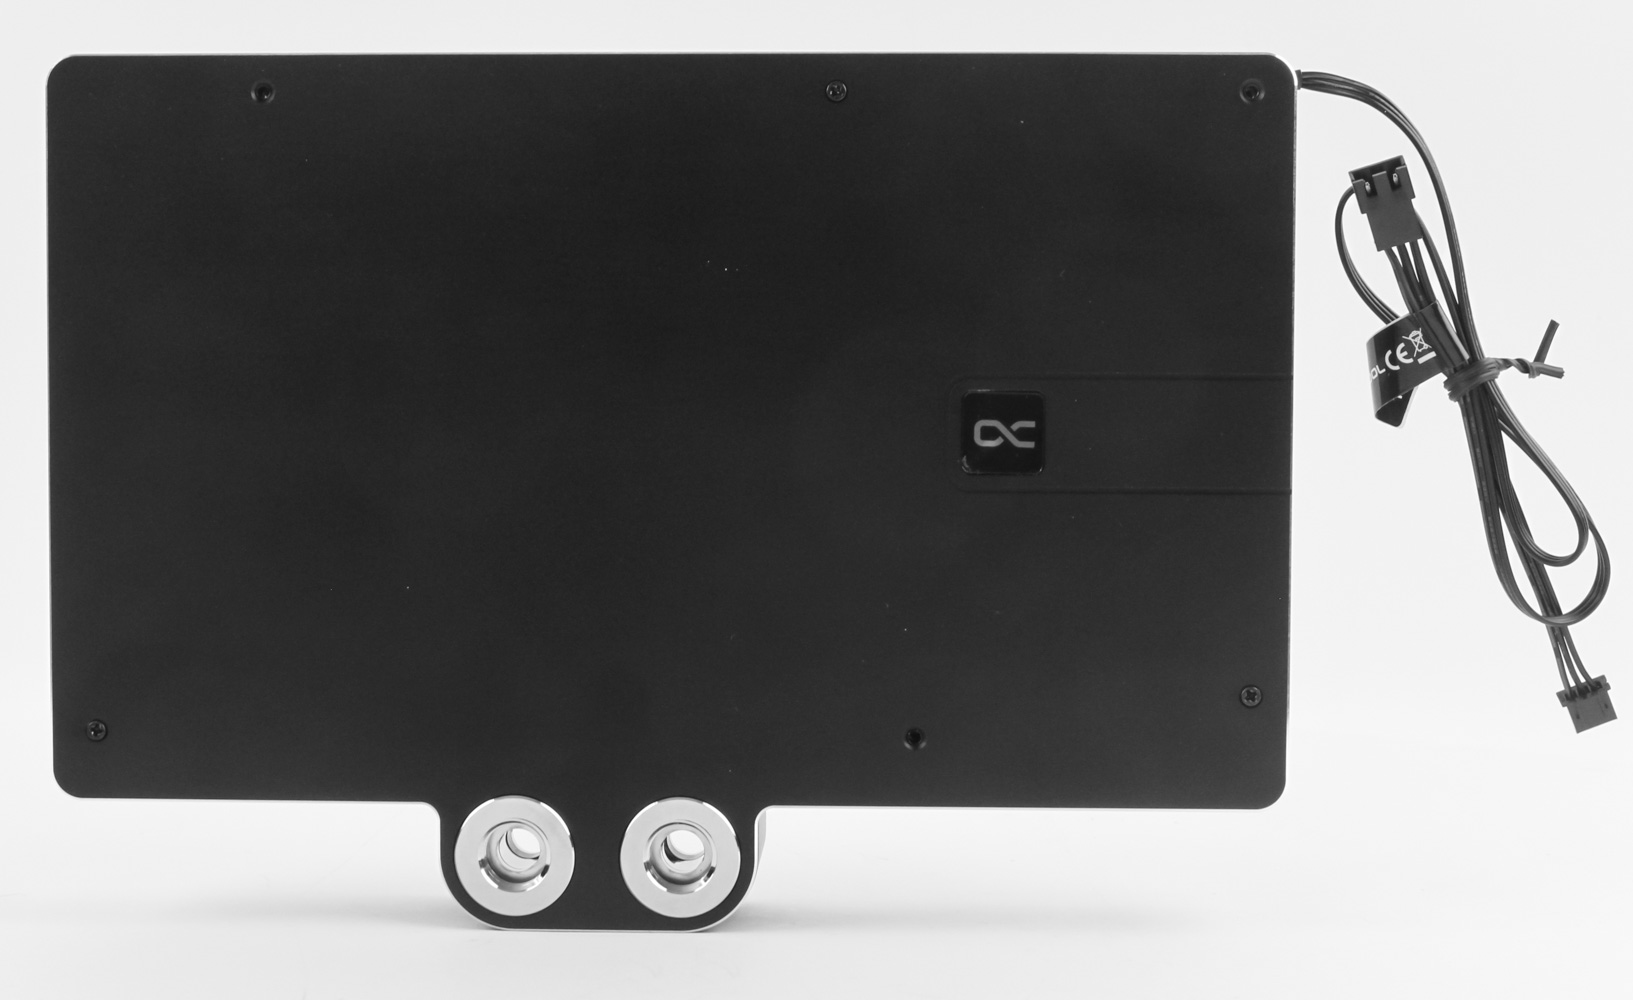
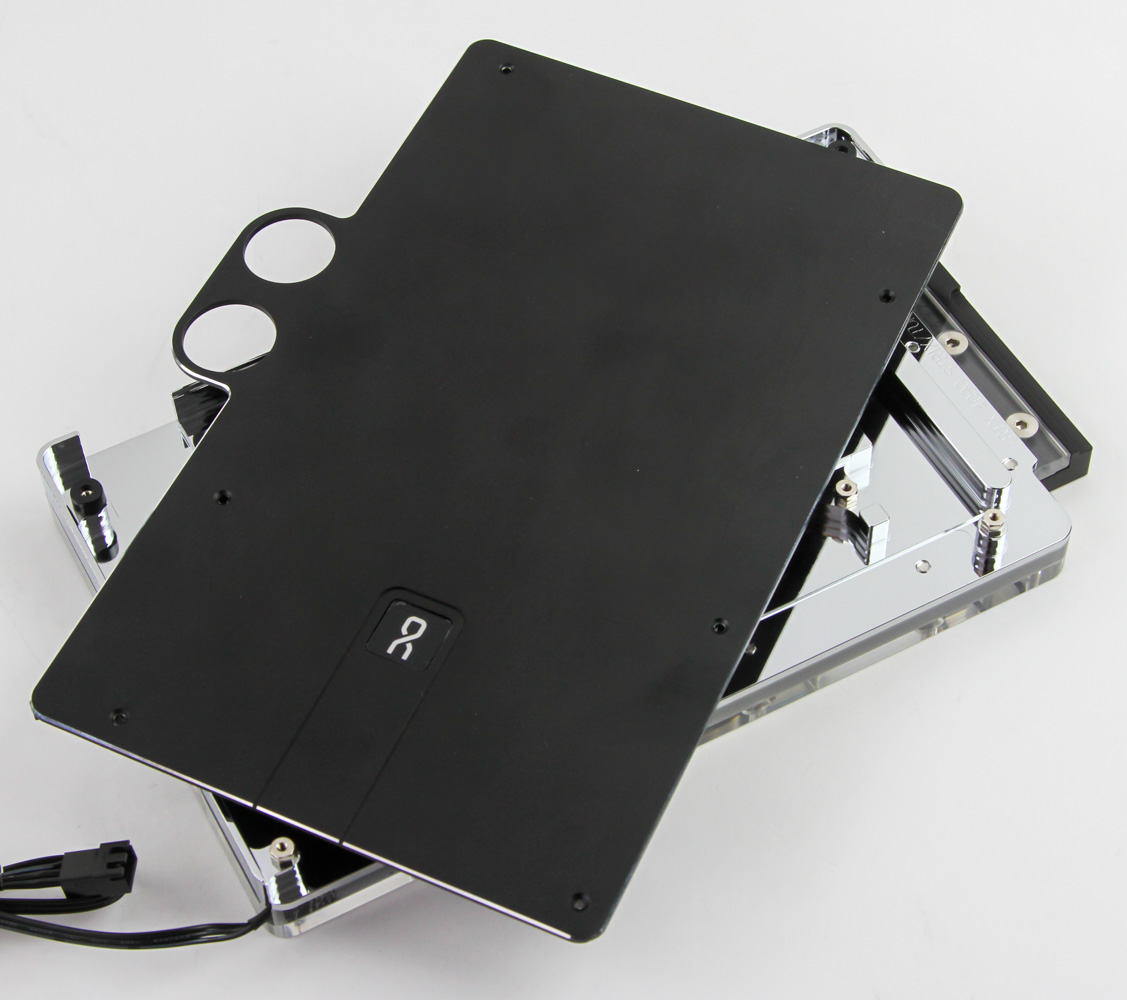

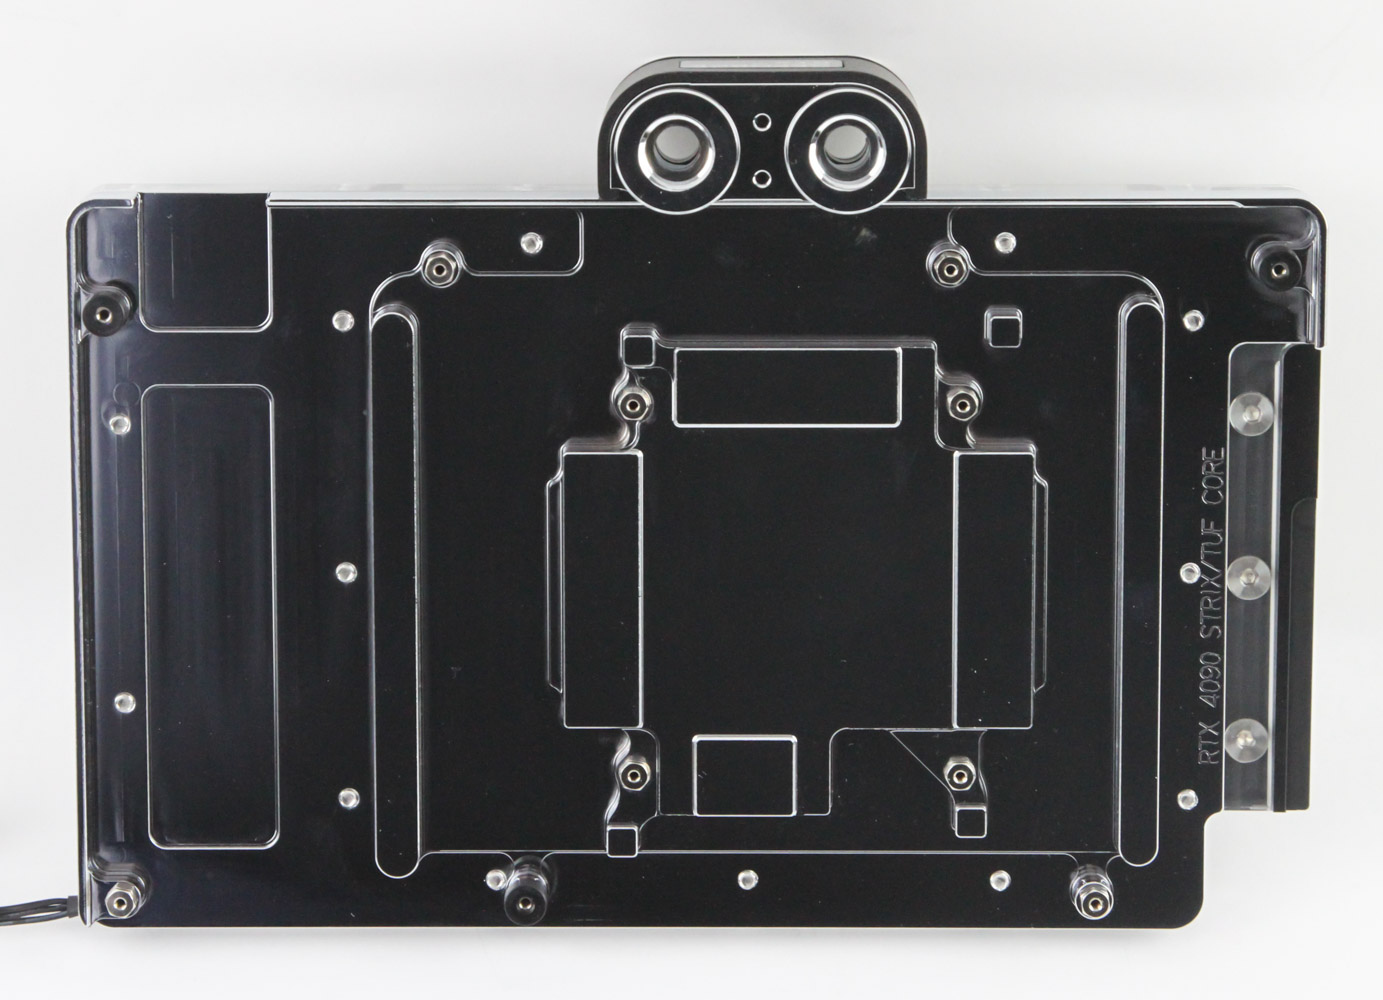
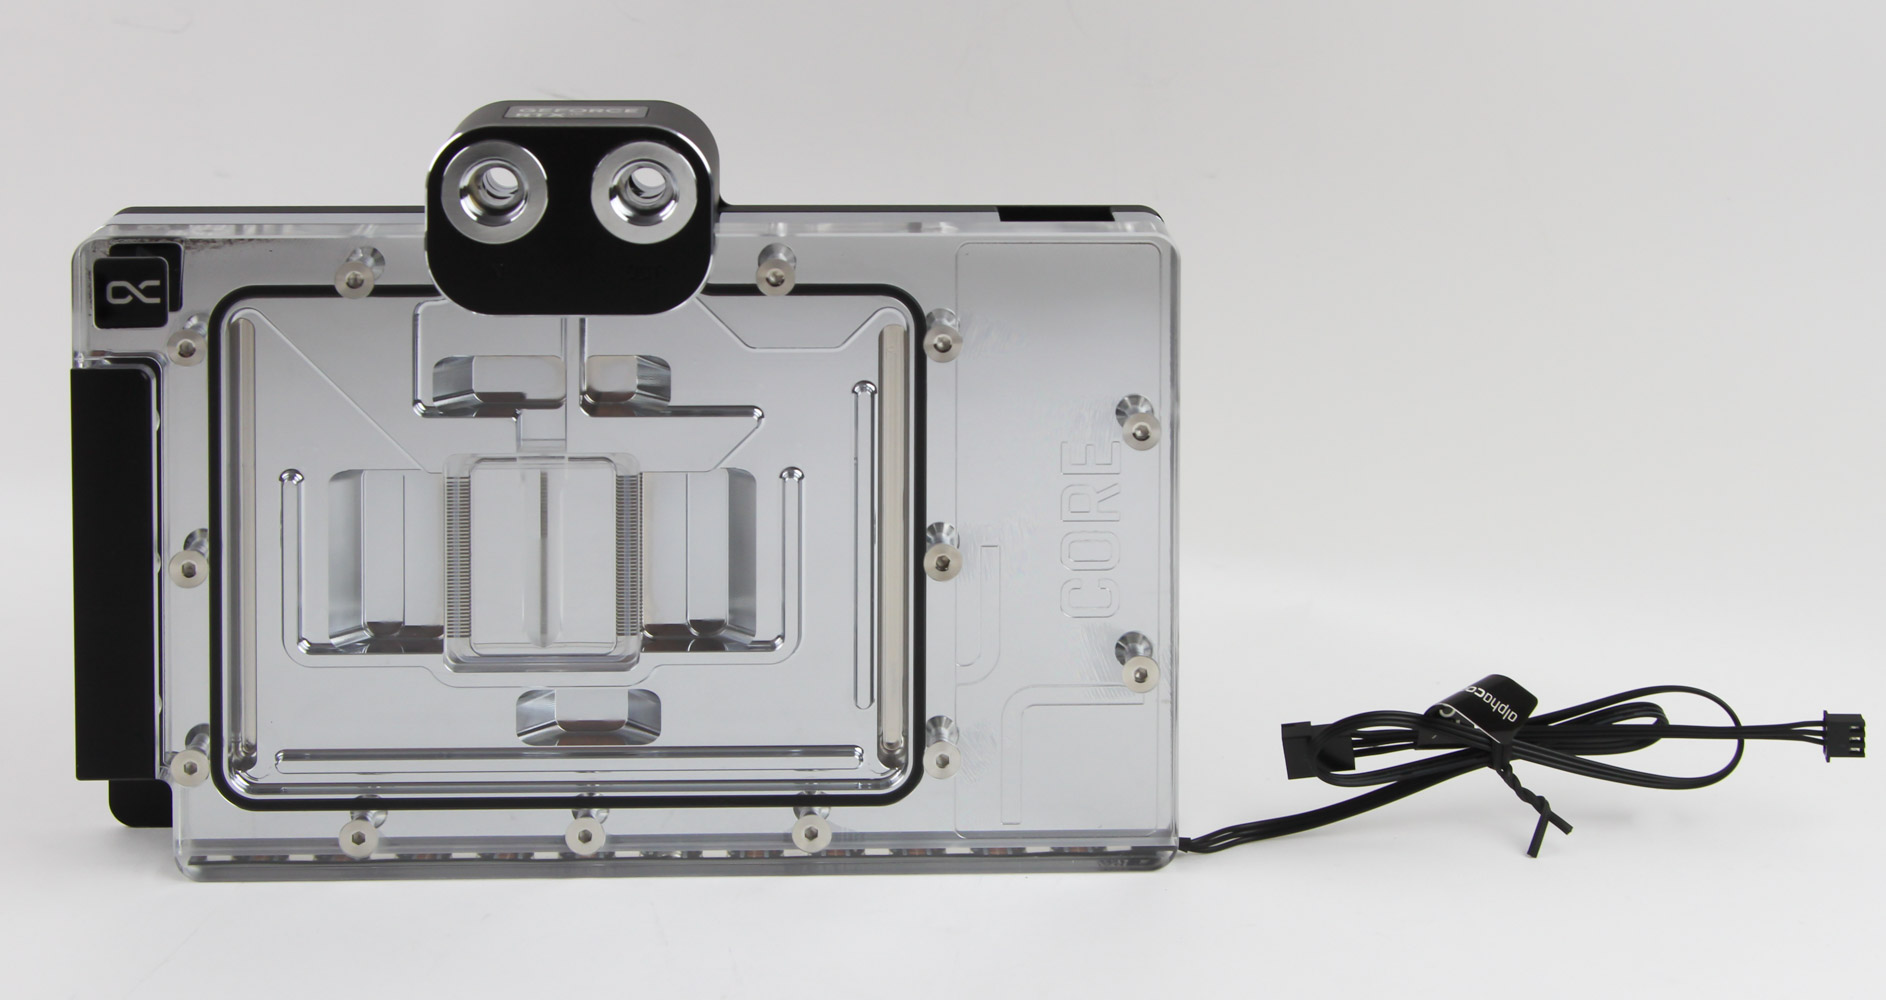
Turning the block around, we see Alphacool has a pre-installed backplate included here so users don't have to go buy one separately. Of course, this also means you are indirectly forced to pay the extra for the backplate but something tells me anyone looking to water cool a flagship GPU will likely already be getting a backplate for looks/protection from accidental coolant drip/extra cooling from the back side of the PCB. Removing the backplate is simple enough since it is held in place by three screws and it shows the use of aluminium given a black anodized finish. Interestingly, the I/O terminal cover on the back is part of the backplate so now you can see the ports are machined out of thick copper, as with the rest of the cold plate, before it gets chrome-plated.
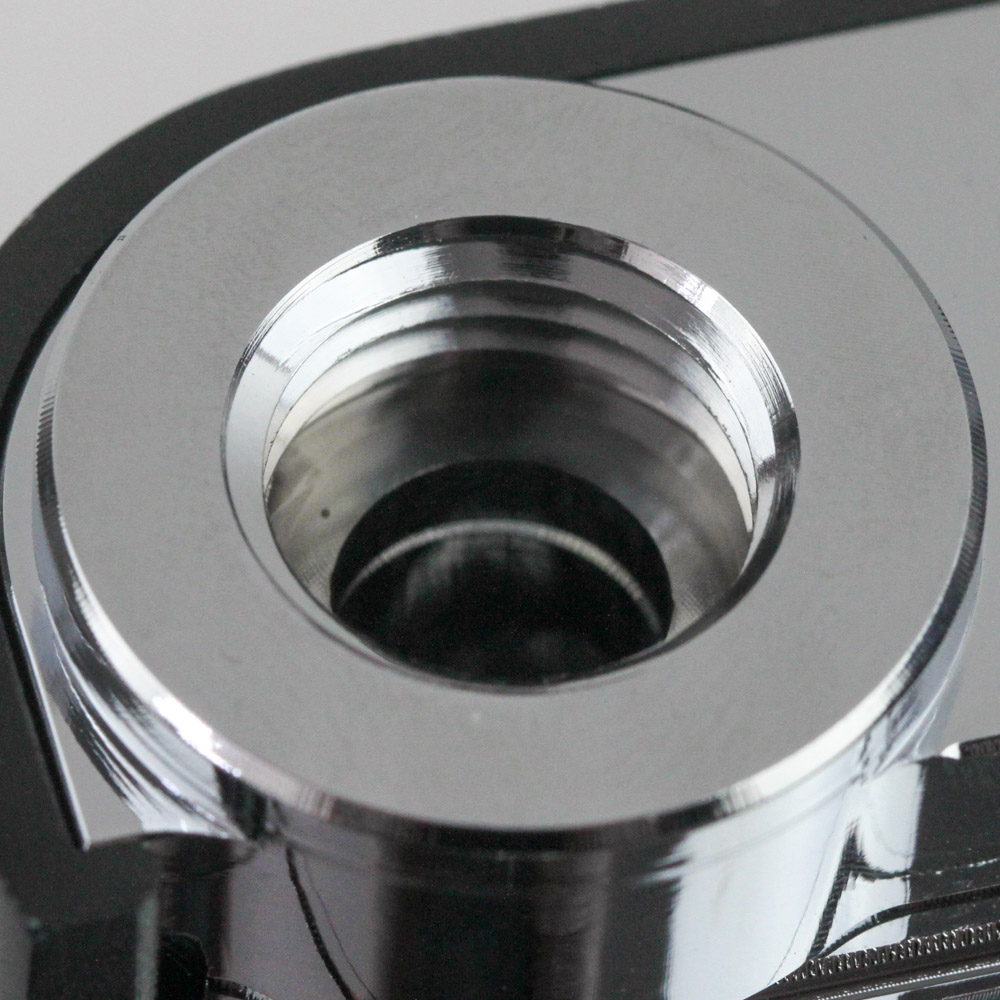
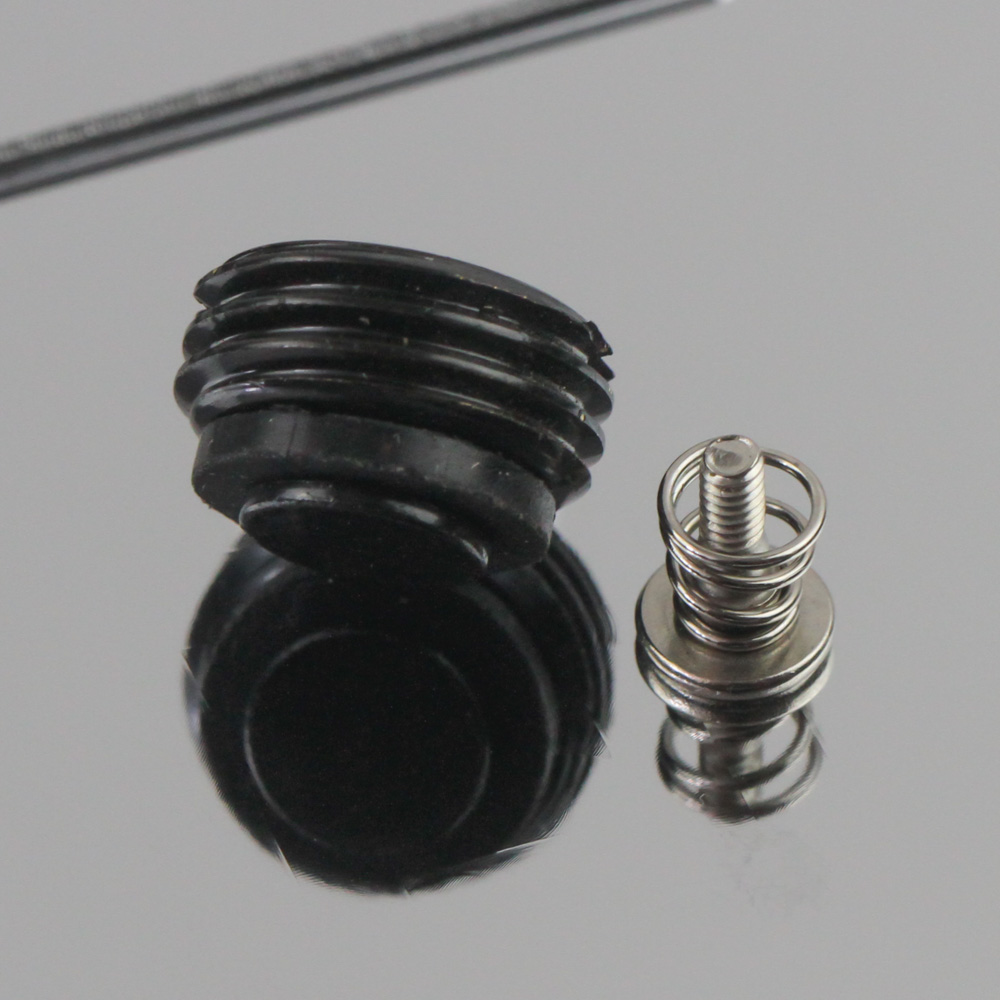
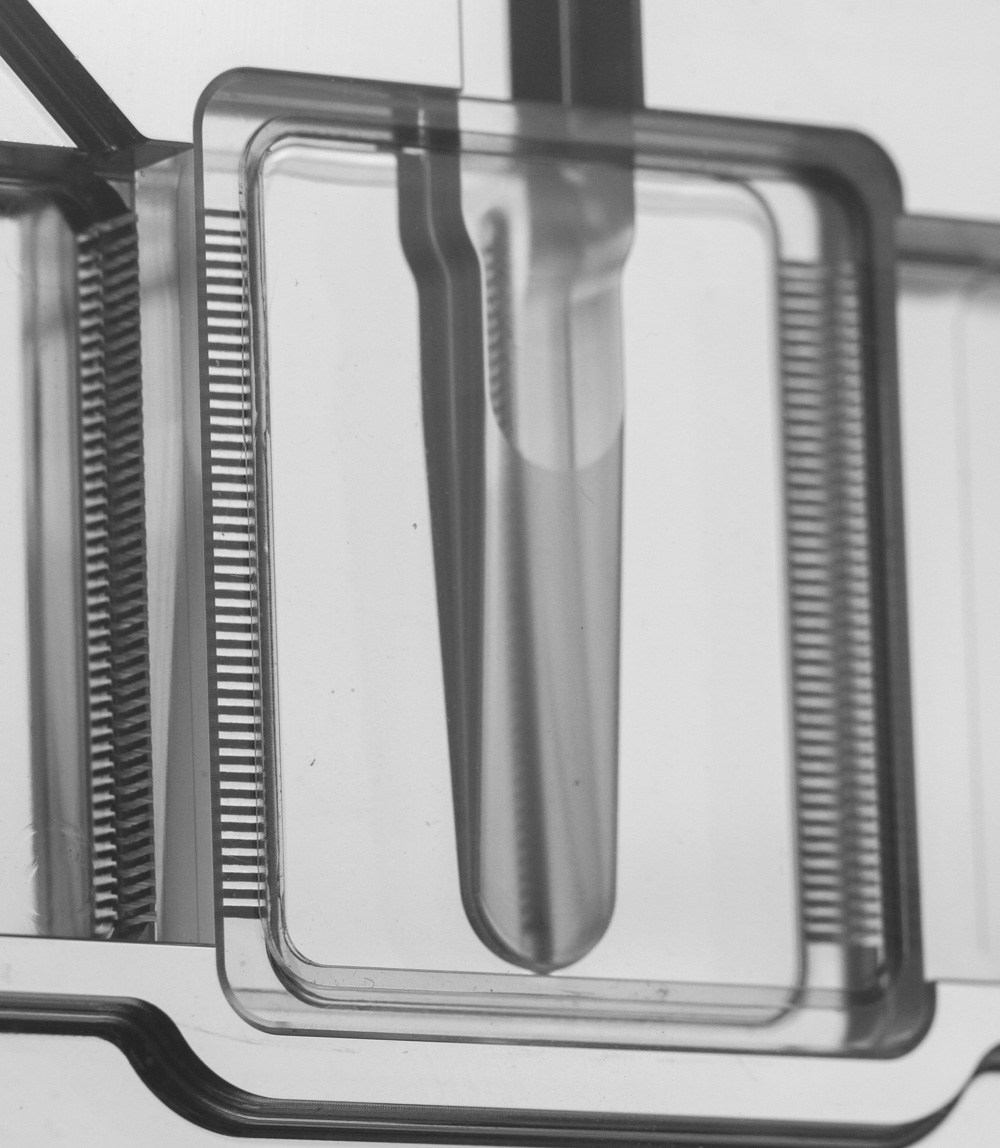
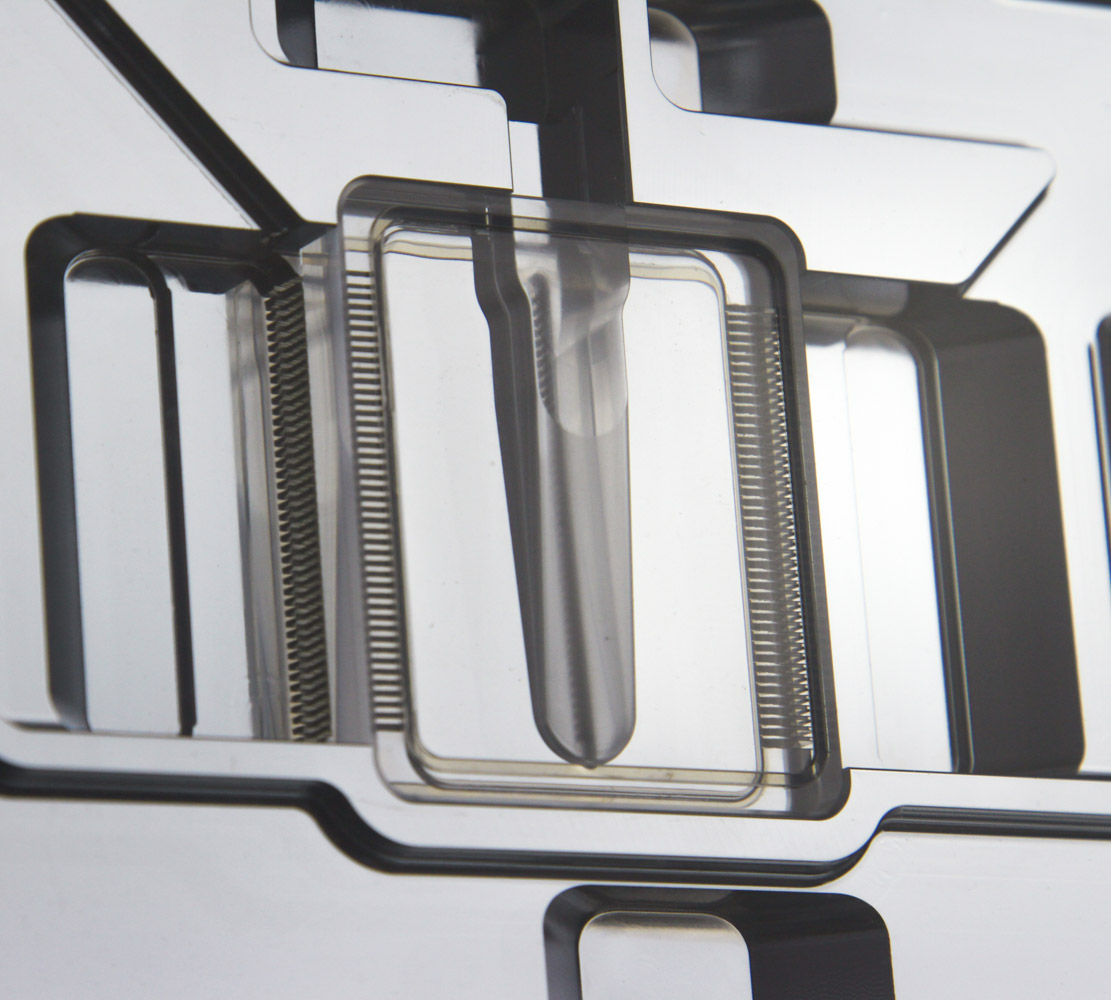
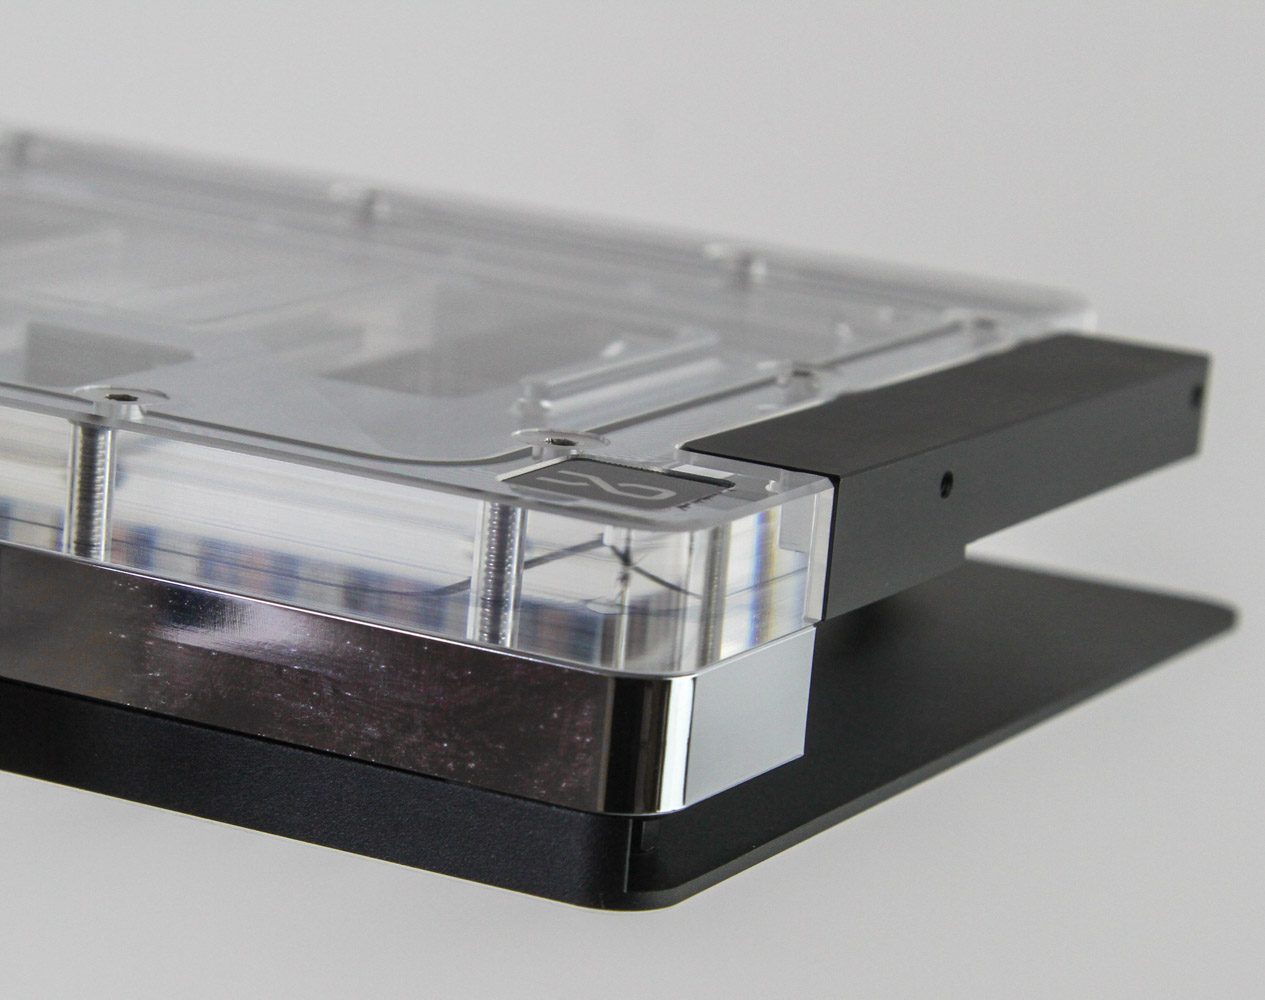
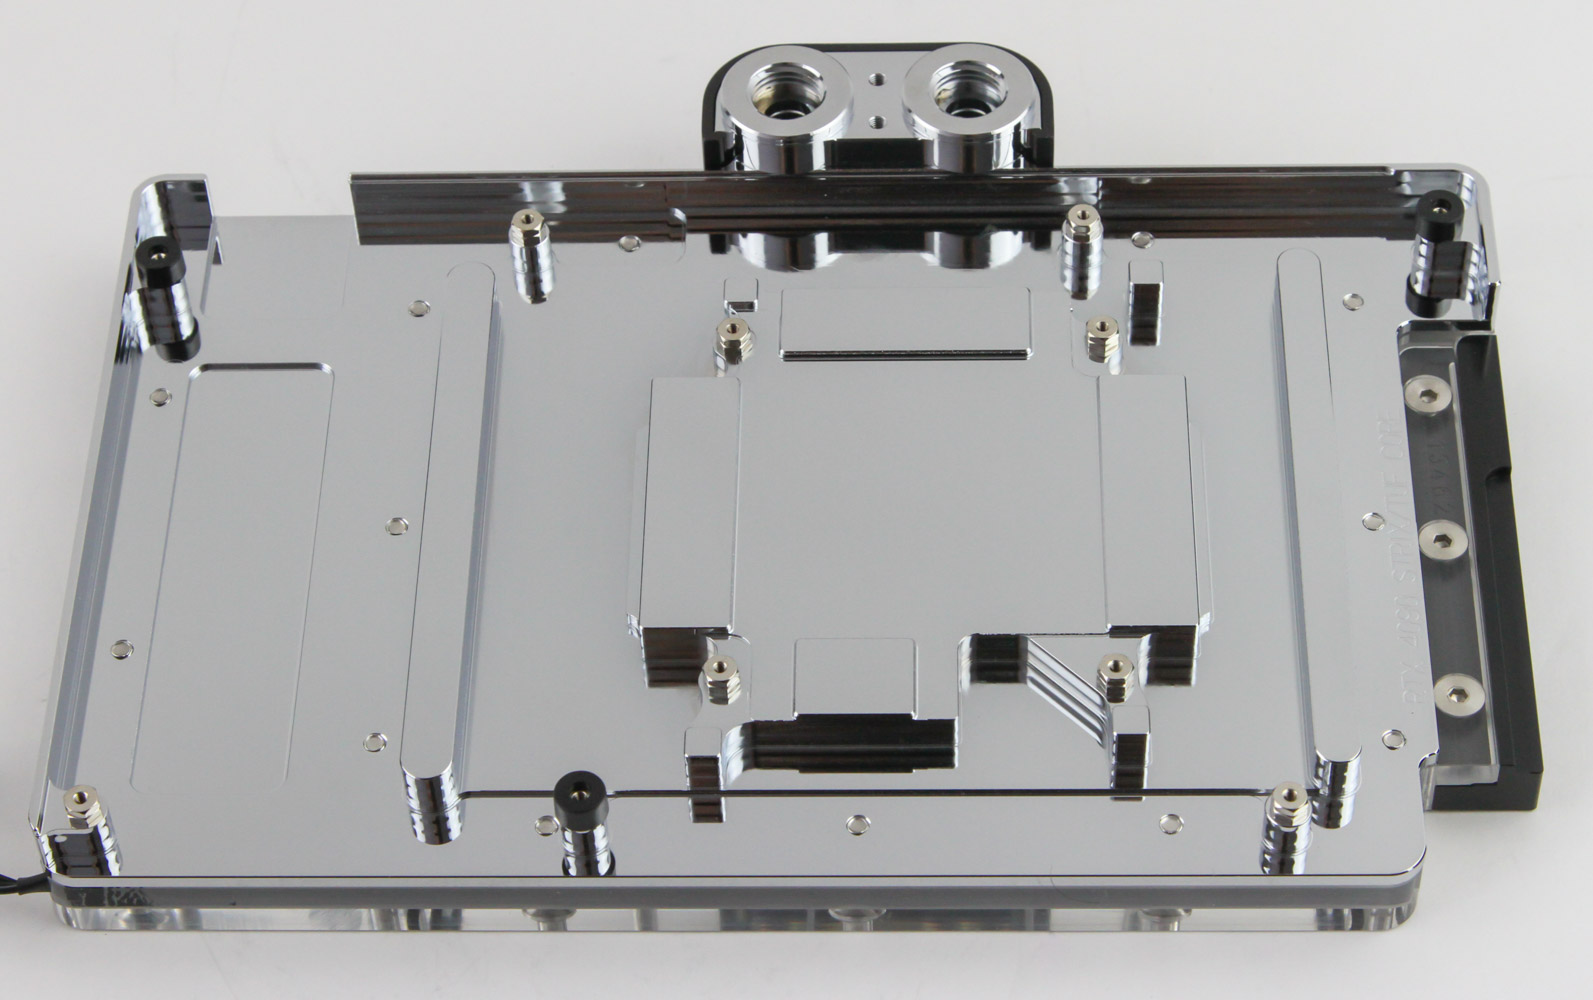
The ports are well machined and the provided stop plugs fit in nicely. You will need to use the accompanying tool to properly install them though since they go in flush against the outer walls. The cold plate itself is quite shiny to where it's hard to take photos without reflections in them. Alphacool has also polished the cold plate well enough to not leave machining parts as seen above. Given the relatively tight turnaround time for this GPU block roundup, I chose to not disassemble the block since the clear top already gave us a good look at the coolant engine complete with its ~42 microfins that are 400 µm thick with microchannels of the same width. The cold plate itself is ~11 mm thick which is typical for GPU blocks. Alphacool goes for a split central-inlet flow mechanical for the coolant which enters in the middle, splits into two sets via the integrated jet plate and goes through those microchannels to first take heat away from the GPU before going over the VRM/VRAM and then combining prior to exiting the block.
Feb 24th, 2025 03:26 EST
change timezone
Latest GPU Drivers
New Forum Posts
- The TPU UK Clubhouse (25766)
- Why is coil whine still a nuisance? (27)
- Post your Speedtest.net Speeds! (2346)
- Nvidia's GPU market share hits 90% in Q4 2024 (gets closer to full monopoly) (531)
- Authenticode fails for GPU-Z 2.63.0 (1)
- RTX 5090 - Incorrect GPU-Z Clocks, when Overclocking with the Curve Tuner (8)
- [Intel AX1xx/AX2xx/AX4xx/AX16xx/BE2xx/BE17xx] Intel Modded Wi-Fi Driver with Intel® Killer™ Features (275)
- Gigabyte AORUS RTX5080 Missing 16 ROP's (32)
- Free Games Thread (4485)
- Keep a 4080s or take a 5070ti? (50)
Popular Reviews
- ASUS GeForce RTX 5070 Ti TUF OC Review
- MSI GeForce RTX 5070 Ti Ventus 3X OC Review
- darkFlash DY470 Review
- MSI GeForce RTX 5070 Ti Vanguard SOC Review
- MSI GeForce RTX 5070 Ti Gaming Trio OC+ Review
- Galax GeForce RTX 5070 Ti 1-Click OC White Review
- Palit GeForce RTX 5070 Ti GameRock OC Review
- Fantech Aria II Pro Review
- Gigabyte GeForce RTX 5090 Gaming OC Review
- AMD Ryzen 7 9800X3D Review - The Best Gaming Processor
Controversial News Posts
- NVIDIA GeForce RTX 5090 Spotted with Missing ROPs, NVIDIA Confirms the Issue, Multiple Vendors Affected, RTX 5070 Ti, Too (454)
- AMD Radeon 9070 XT Rumored to Outpace RTX 5070 Ti by Almost 15% (304)
- AMD Plans Aggressive Price Competition with Radeon RX 9000 Series (271)
- AMD Radeon RX 9070 and 9070 XT Listed On Amazon - One Buyer Snags a Unit (247)
- Edward Snowden Lashes Out at NVIDIA Over GeForce RTX 50 Pricing And Value (241)
- AMD Denies Radeon RX 9070 XT $899 USD Starting Price Point Rumors (239)
- NVIDIA Investigates GeForce RTX 50 Series "Blackwell" Black Screen and BSOD Issues (233)
- New Leak Reveals NVIDIA RTX 5080 Is Slower Than RTX 4090 (215)