 4
4
Antec ONE Review
Assembly & Finished Looks »A Closer Look - Inside

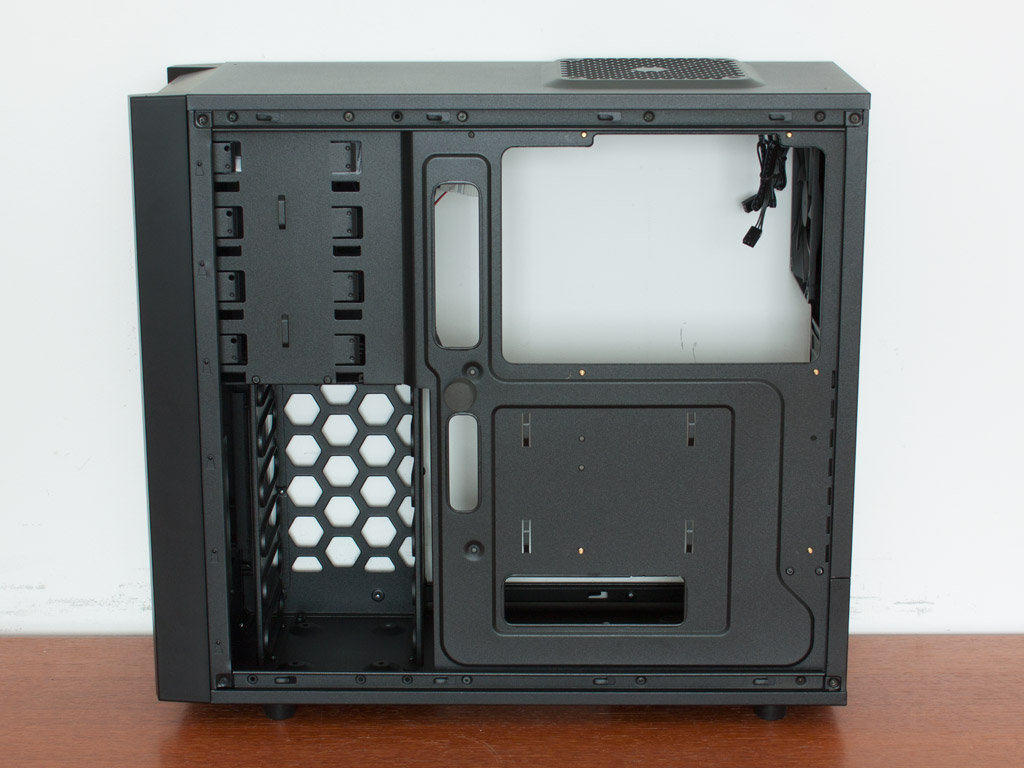
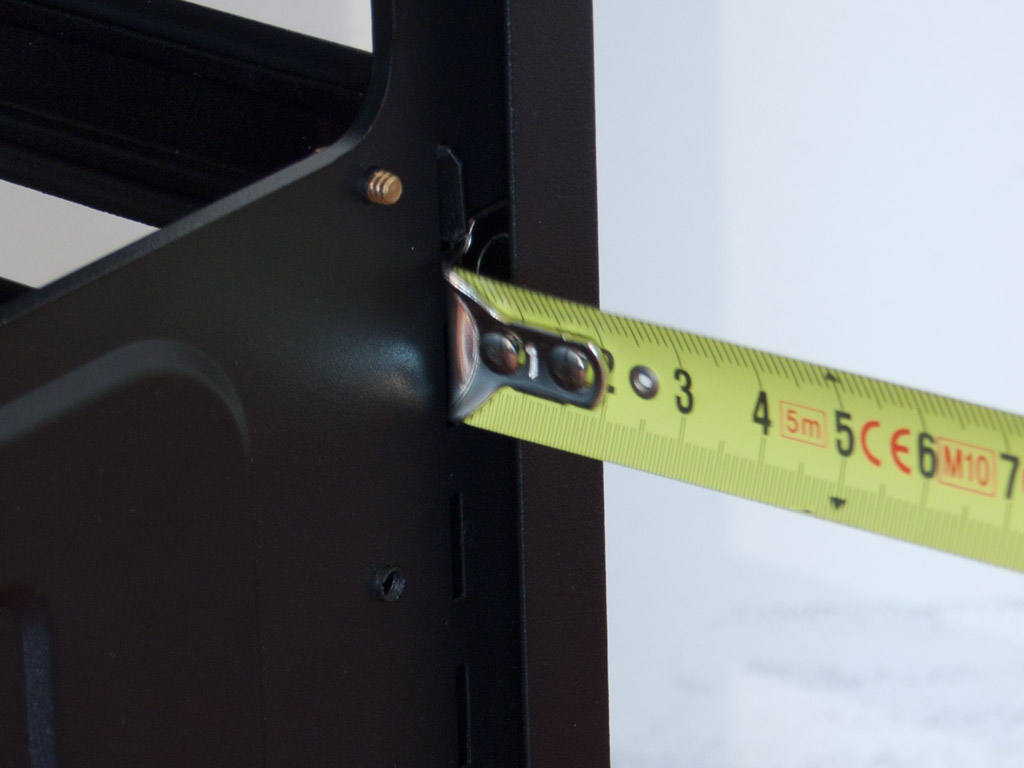
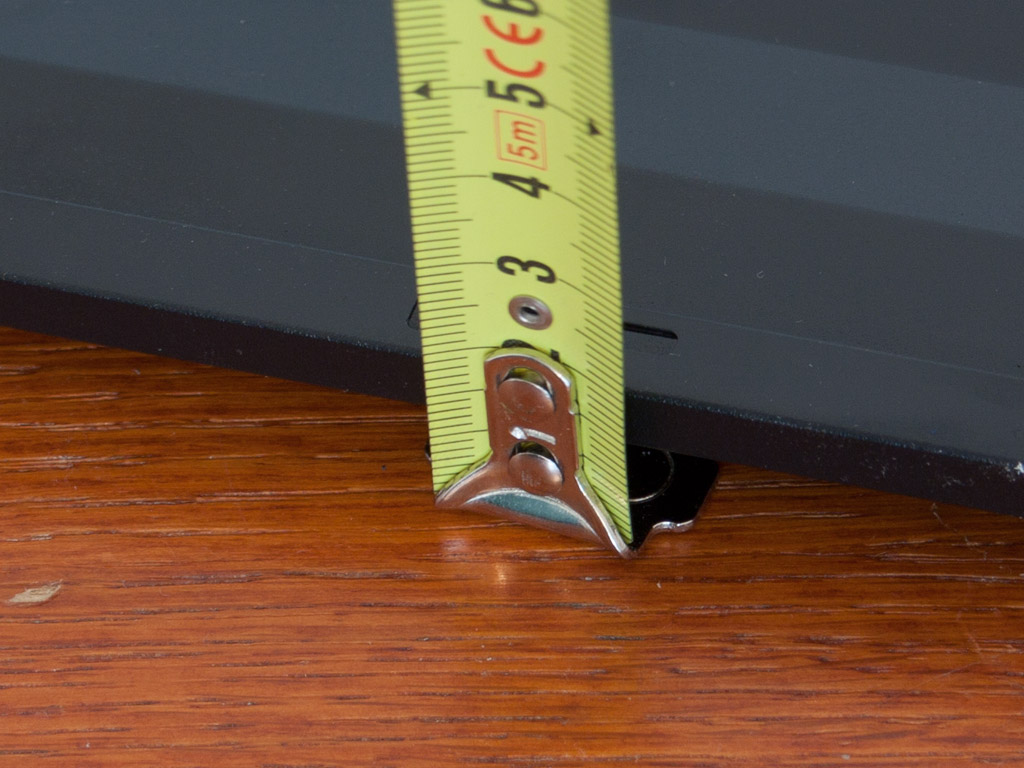
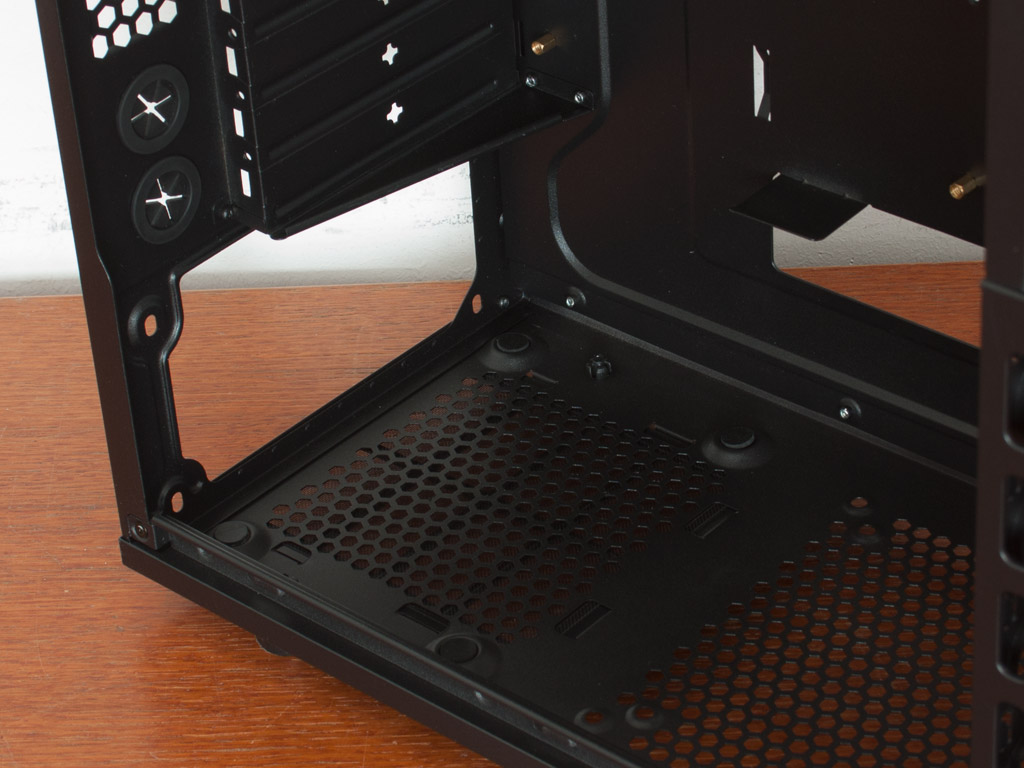
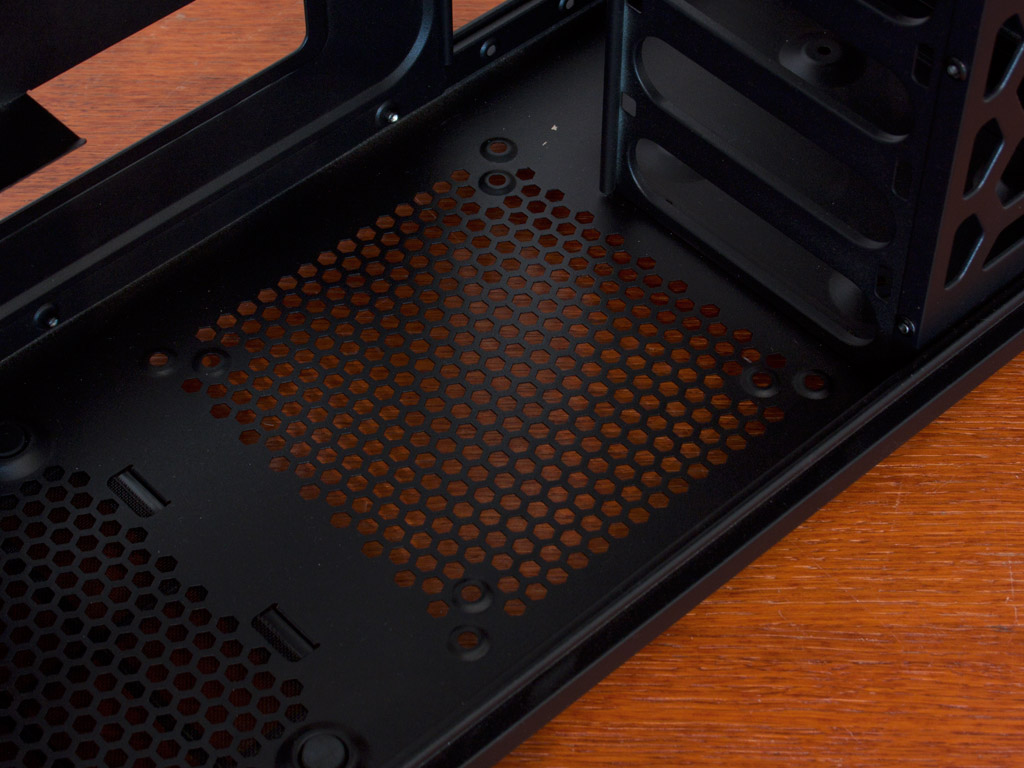
To gain access to the interior, simply remove the thumbs screws holding each side panel in place. While the layout within the ONE is traditional, with the drives in the front of the chassis, Antec is offering quite the unique tooling. For one the opening in the mainboard tray is huge, so that you should not have any issue gaining access to the motherboard underside for an easy CPU cooler change. The other, certainly more interesting, aspect are the hard drive bays. In terms of cable space behind the motherboard tray, you will have to work with around 20 mm if you take both the body and side panel into account. Not too much, but it should be enough for most users.
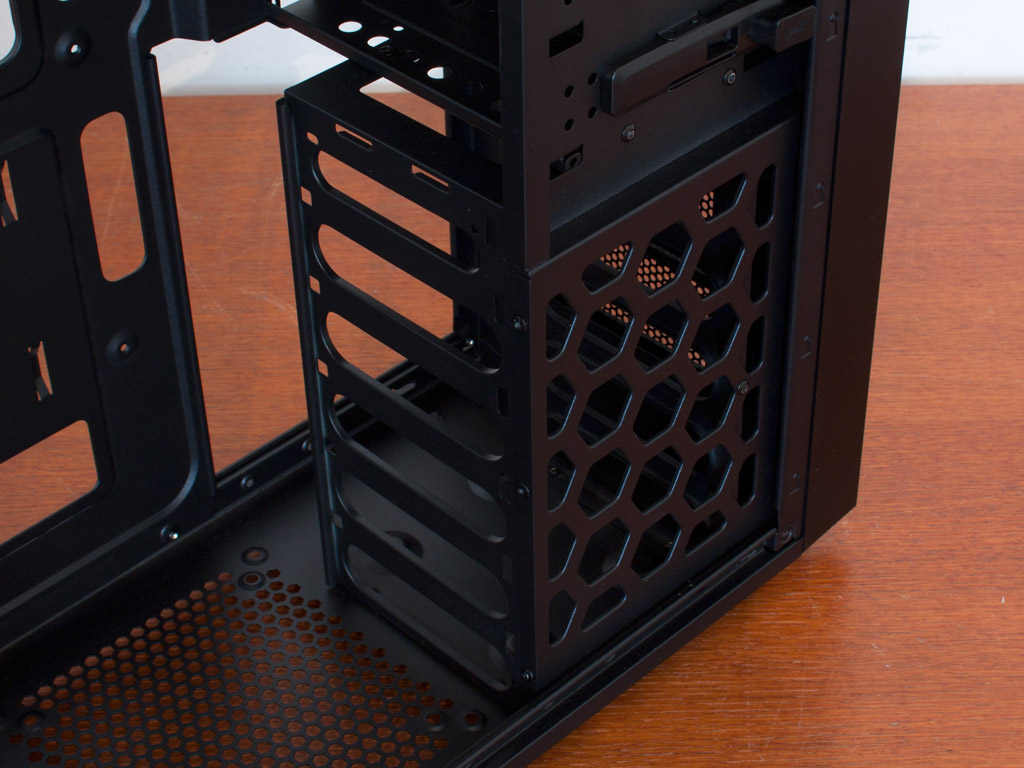
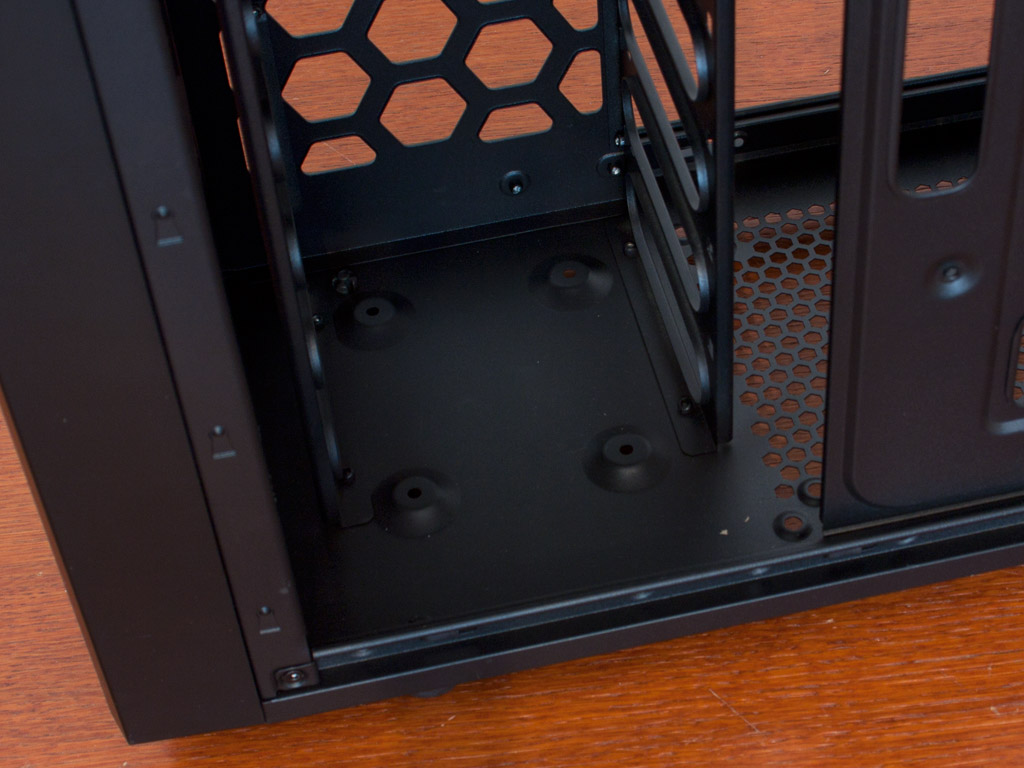
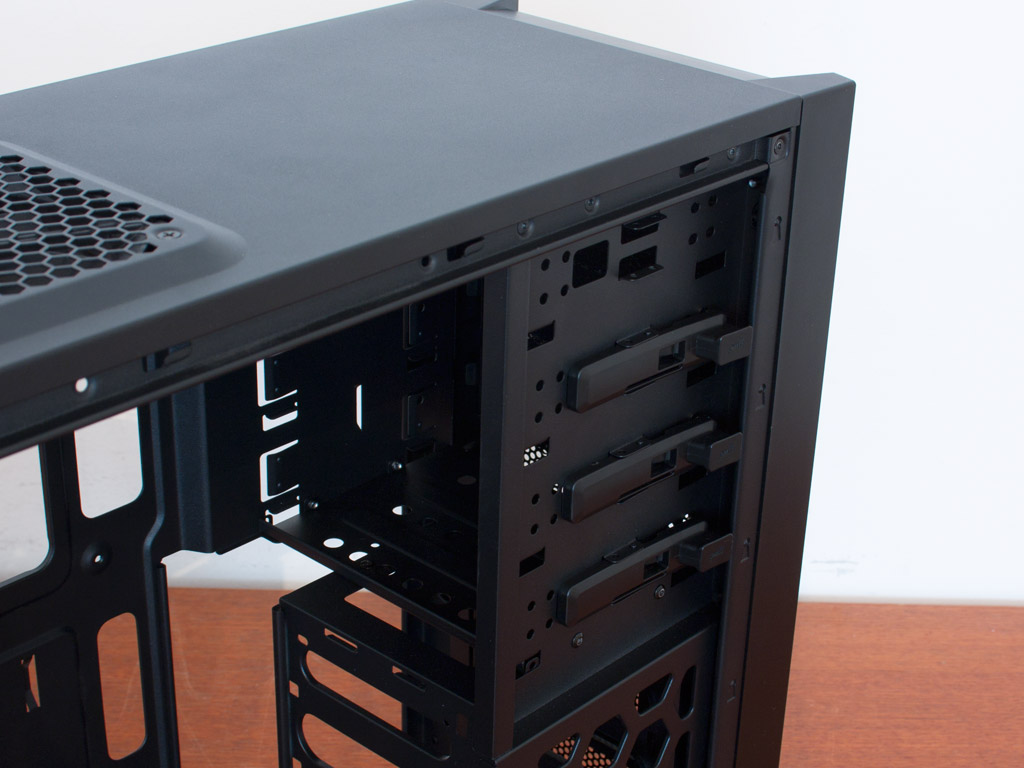
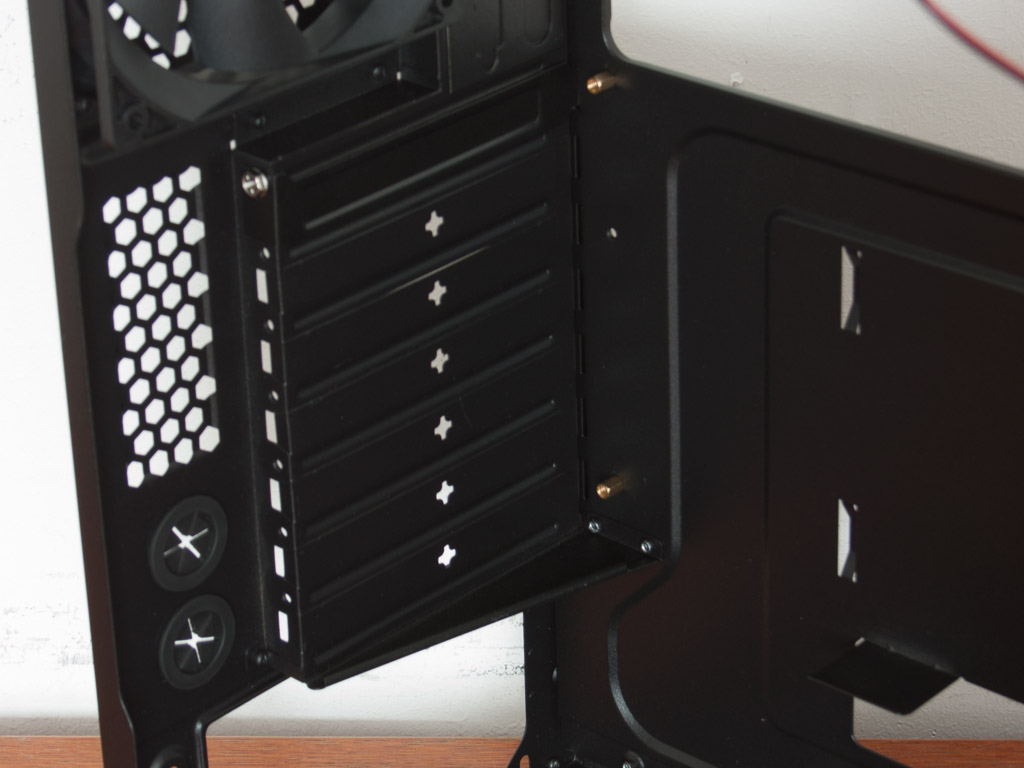
The Antec ONE may hold up to five 3.5 inch hard drives with the usually supplied trays or rails. These are to be pushed in from the mainboard side until they snap into place, with the connectors facing the open side of the construction. You may also mount a single 2.5 inch drive on the floor of the chassis. Antec mentions that you may install up to two such drives, which - as we will see later on - is just below the 5.25 inch bays. These larger variants are equipped with the same screw-less system, which can be found within the other Antec cases. You will probably be able to use the fourth, very top bay for an internal drive as well, but due to the design of the front panel, no external drive will fit here.
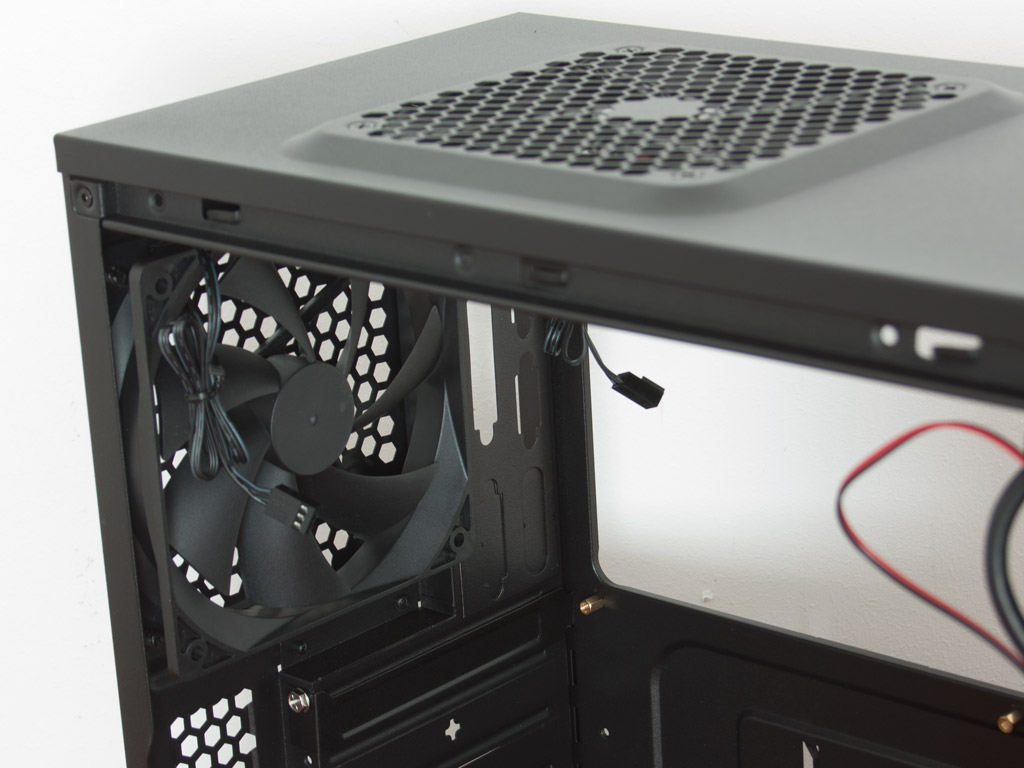
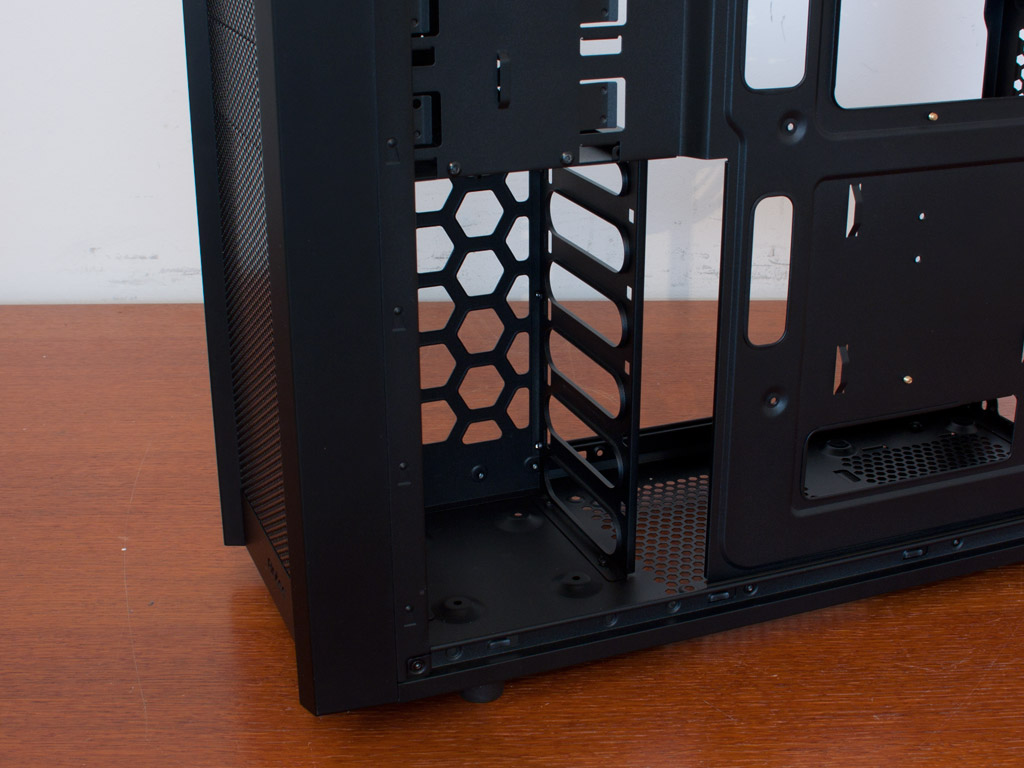
Turning our focus to the rear of the chassis, there is nothing out of the ordinary in the bottom of the chassis. Four small, foam covered bumps are used to support the weight of the PSU and to reduce vibrations. Above that are the afore mentioned expansion bays next to which are the two openings to route water cooling tubes through. As seen from the outside, the rear fan is all black and utilizes a 3-pin mainboard header for power.
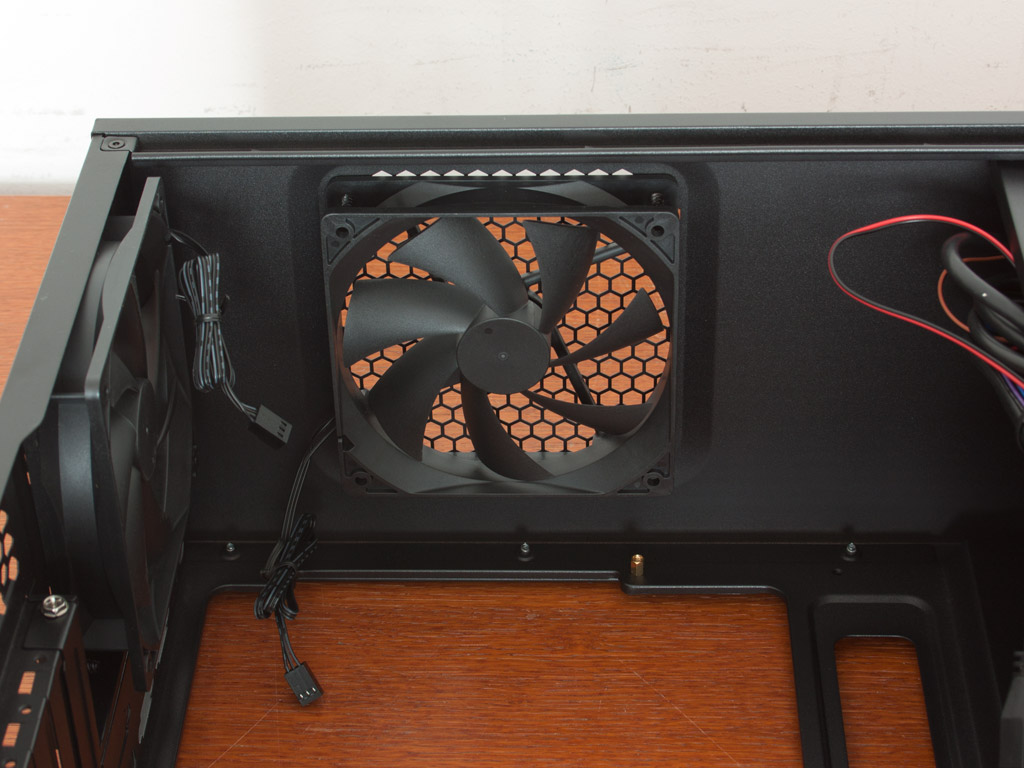
As the ceiling fan is of the same variety, you will also get the same connector. One may install an additional fan in the bottom and up to two extra ones in the front of the chassis. For a chassis in this price range, two included fans are quite alright.
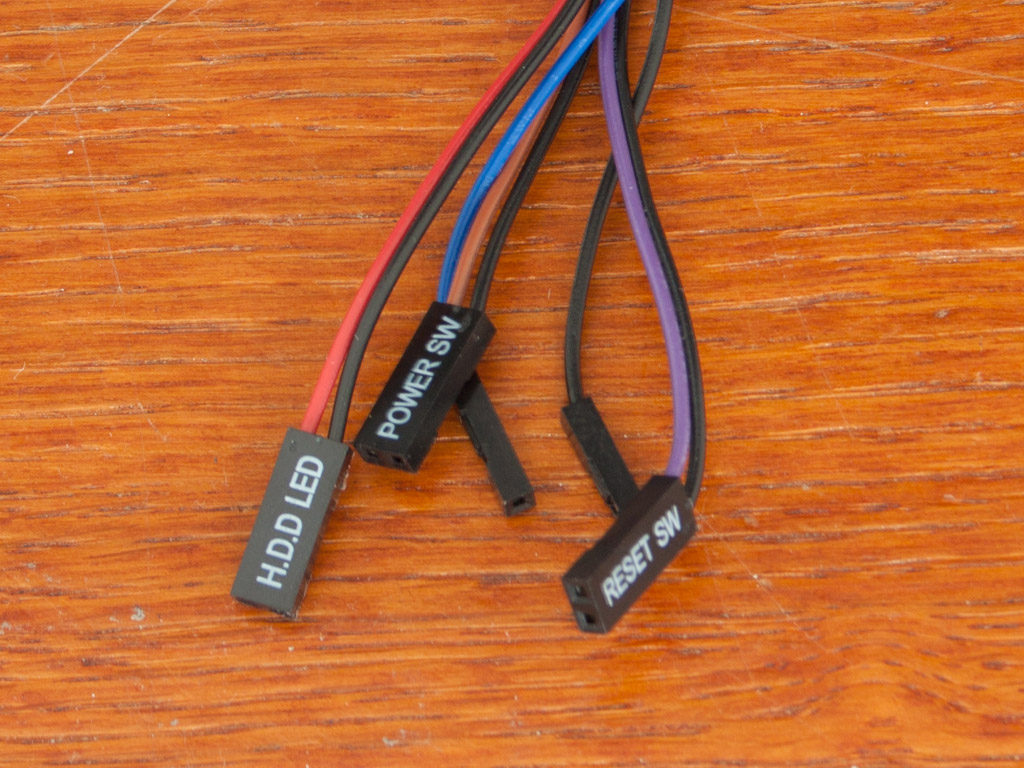
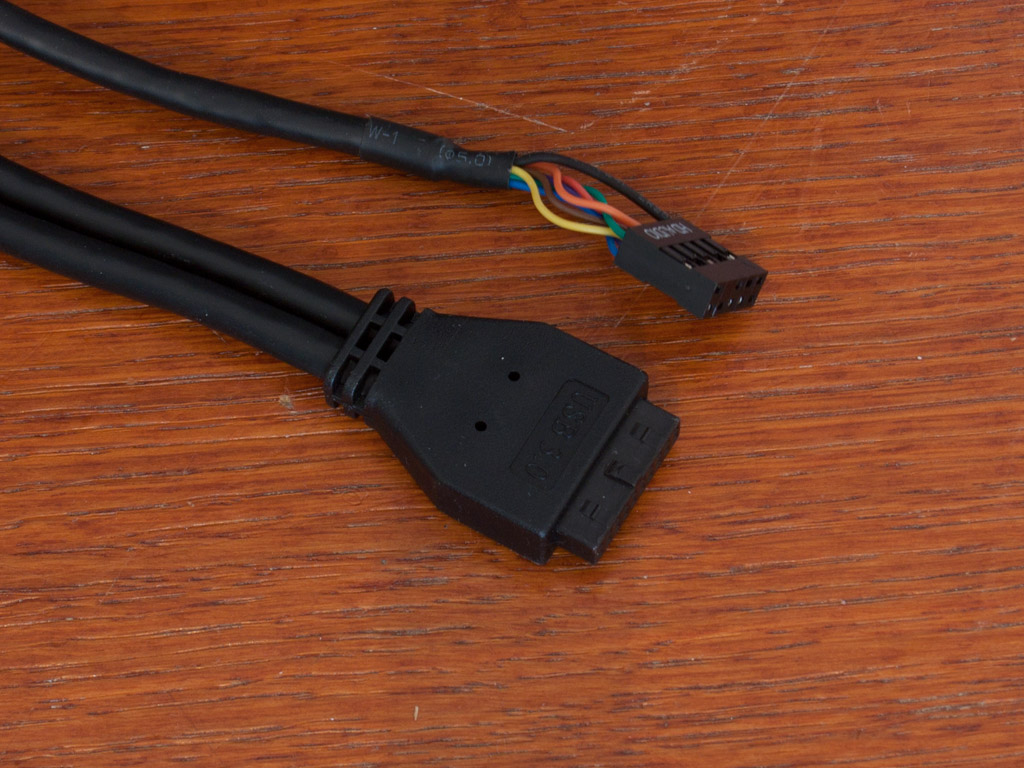
All the cables within the chassis are of the standard variety. Due to the limited I/O, you will only get an internal 20-pin USB 3.0 connector and an HD audio plug. You may of course use the USB 2.0 adapter to connect the USB cable to older motherboards as well.
Mar 18th, 2025 21:36 EDT
change timezone
Latest GPU Drivers
New Forum Posts
- HalfLife2 RTX Demo Is out! (78)
- 3DMARK "LEGENDARY" (293)
- 9070 XT - 2x HDMI high refresh displays (144 and 120 Hz) not working (29)
- Fan speed locked high - EVGA 2060 sc (8)
- Do you prefer factory overclocked GPUs? (25)
- Recently got a motherboard with a pci-e connector on it and it makes me question GPU upgrades (0)
- Best €400-450 GPU (30)
- Gtx 1050ti (26)
- Do you use Linux? (547)
- 350 watt new build advice? (3)
Popular Reviews
- Corsair SF750 750 W Review
- Sapphire Radeon RX 9070 XT Nitro+ Review - Beating NVIDIA
- AMD Ryzen 9 9950X3D Review - Great for Gaming and Productivity
- MSI GeForce RTX 5070 Gaming Trio OC Review
- Kioxia Exceria Plus G4 2 TB Review - Energy-Efficient PCIe Gen 5
- XFX Radeon RX 9070 XT Mercury OC Magnetic Air Review
- ASUS Radeon RX 9070 TUF OC Review
- ASUS GeForce RTX 5090 TUF Review
- ASRock Radeon RX 9070 XT Taichi OC Review - Excellent Cooling
- AVerMedia Core Go & Elite Go Review
Controversial News Posts
- NVIDIA GeForce RTX 50 Cards Spotted with Missing ROPs, NVIDIA Confirms the Issue, Multiple Vendors Affected (519)
- AMD RDNA 4 and Radeon RX 9070 Series Unveiled: $549 & $599 (260)
- AMD Mentions Sub-$700 Pricing for Radeon RX 9070 GPU Series, Looks Like NV Minus $50 Again (250)
- NVIDIA Investigates GeForce RTX 50 Series "Blackwell" Black Screen and BSOD Issues (244)
- AMD Radeon RX 9070 and 9070 XT Official Performance Metrics Leaked, +42% 4K Performance Over Radeon RX 7900 GRE (195)
- AMD Radeon RX 9070-series Pricing Leaks Courtesy of MicroCenter (158)
- MSI Doesn't Plan Radeon RX 9000 Series GPUs, Skips AMD RDNA 4 Generation Entirely (135)
- Microsoft Introduces Copilot for Gaming (123)