 6
6
Aqirys Sargas Review
Thermal Stress Test »Review System
| System Parts for ATX Cases | |
|---|---|
| Processor: | Intel Core i5-12600K Alder Lake 3.7 GHz, 6+4 cores / 16 threads |
| Motherboard: | ASUS TUF GAMING Z790-PLUS WIFI BIOS 1002 |
| Memory: | 2x 16 GB Lexar ARES RGB DDR5 32 GB, 6000 MHz, CL34-38-38-76 (XMP 3.0 & EXPO) |
| Graphics Card: | Gigabyte Radeon RX 6600 Eagle 8G |
| Cooling: | Fractal Design Lumen Series 240 mm, 280 mm or 360 mm |
| HDD: | Toshiba MG08ADA400E 4 TB 3.5" SATA III, 7200 RPM, 256 MB Buffer, 243 MB/s |
| SSD: | Lexar Professional NM800PRO 2 TB M.2 2280 PCIe Gen 4x4, 7500 MB/s Read, 6500 MB/s Write |
| Power Supply: | be quiet! Dark Power 13 850 W 80 Plus Titanium, ATX 3.0, Fully Modular |
Assembly
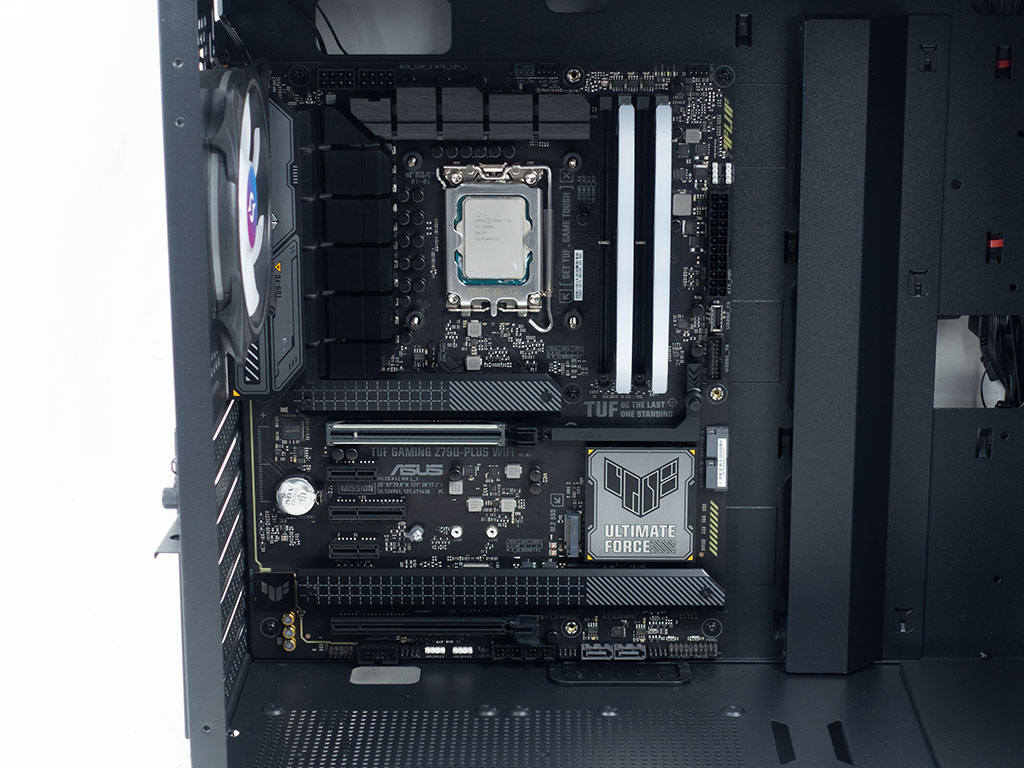
Installing the motherboard is done by traditional means using the golden spacers and screws. Aqirys doesn't pre-install all spacers for ATX boards, so you will have to do that yourself. There are openings at the top and the bottom to allow for efficient cable routing, but only one in the shroud has a grommet unfortunately. This will mean that you will have a slightly harder time hiding wires - especially if you aren't putting cooling elements into the ceiling of the Sargas.
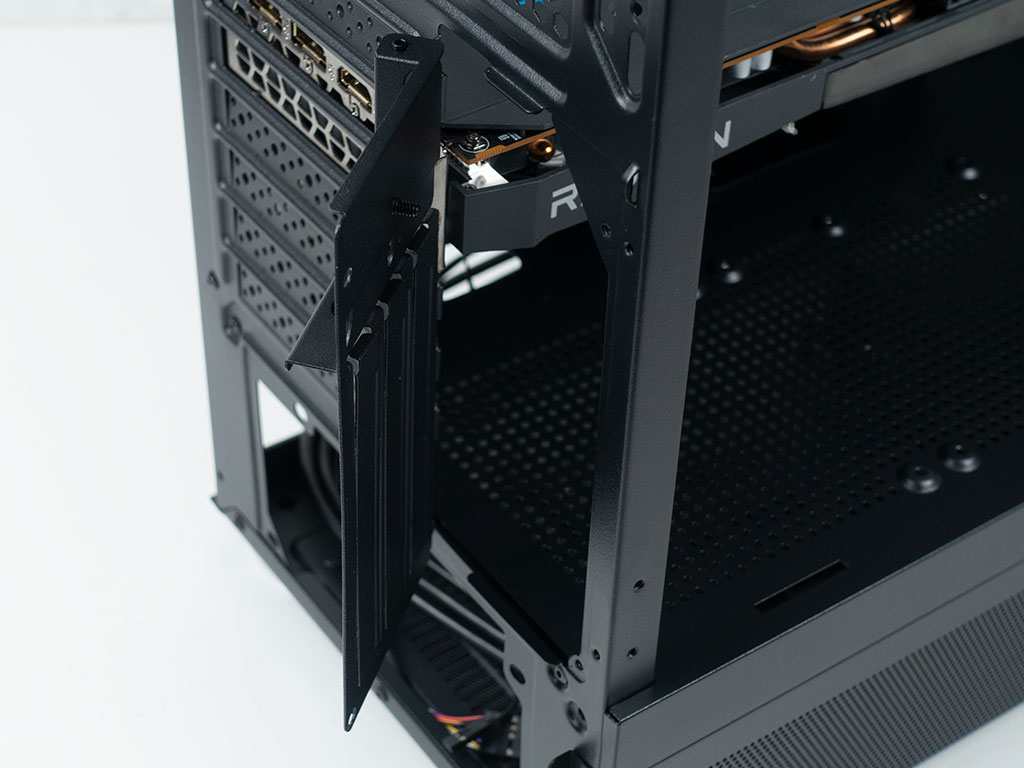
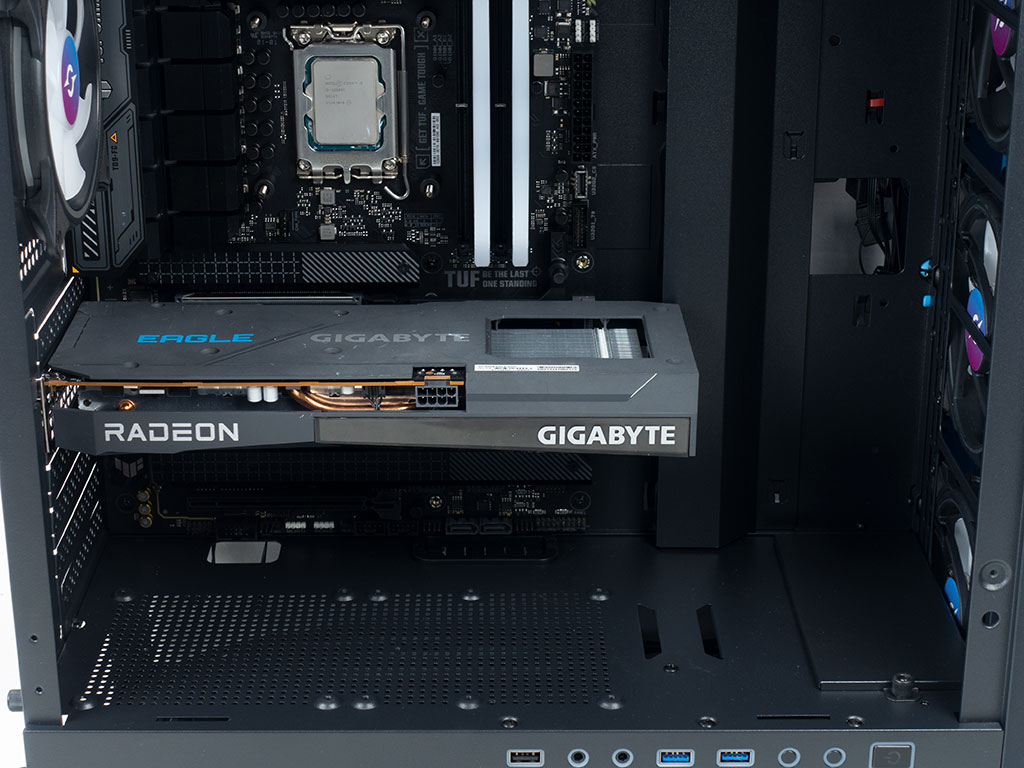
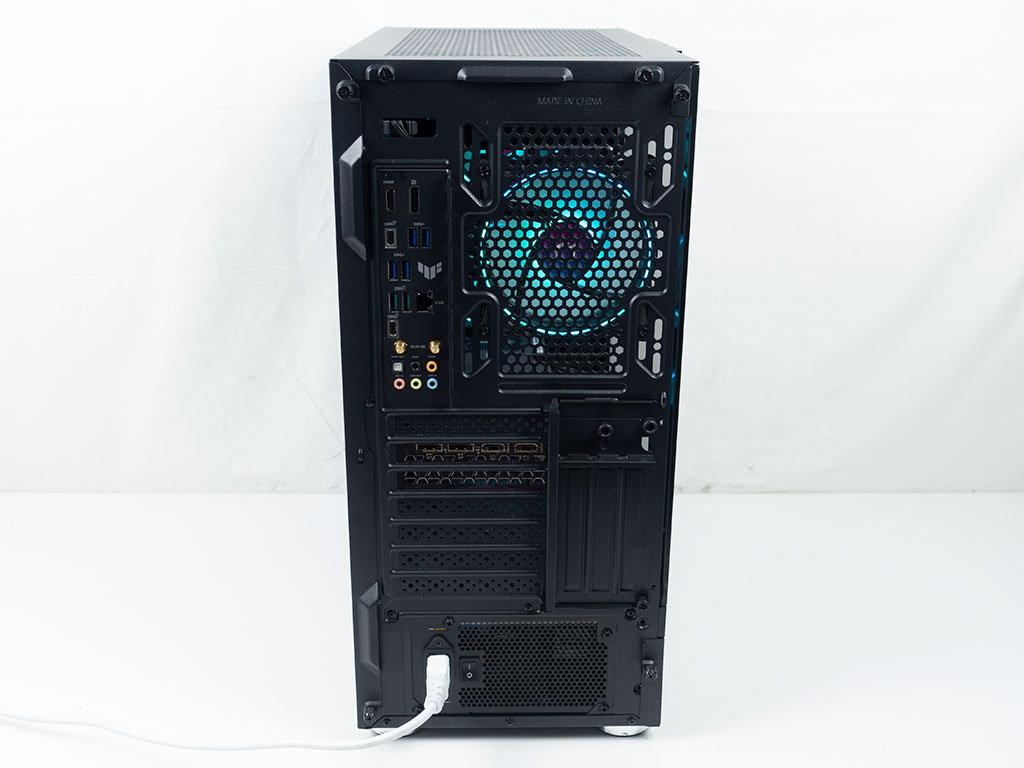
To install GPUs, you have to break out the covers that align with the expansion slots and then flip open the door before sliding the GPU into place. With 400 mm of space, you should have no issues installing even the biggest/longest pixel pushers out there.
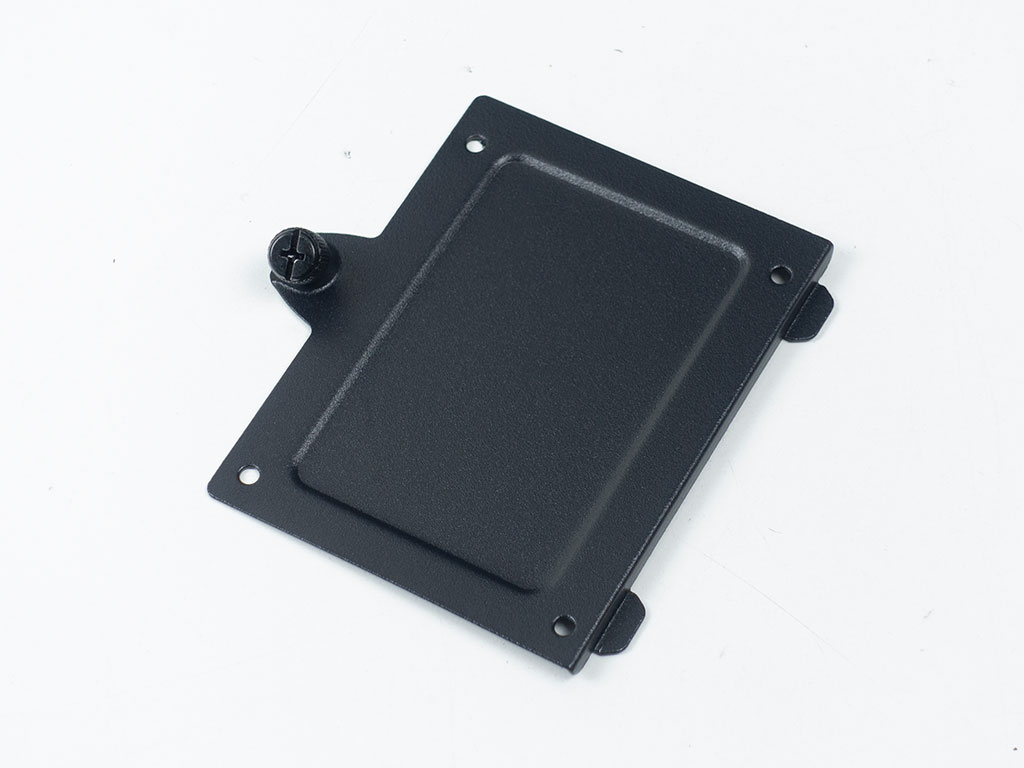

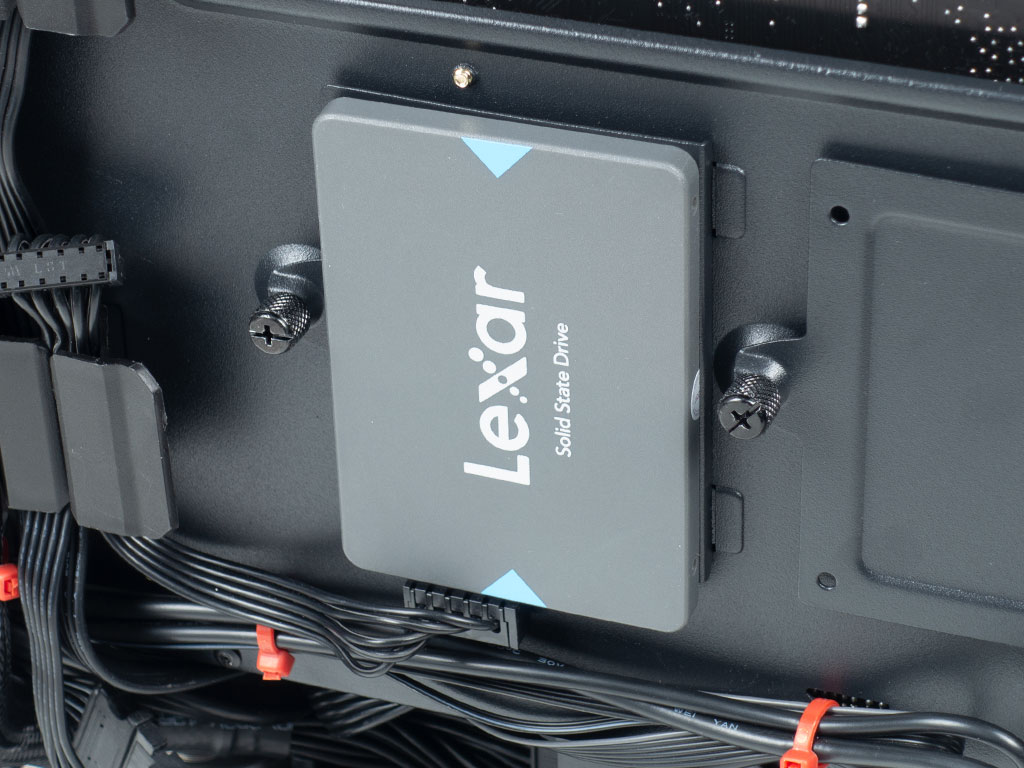
Adding an SSD hidden away from view can be easily done by taking one of the two mounting plates and screwing the storage device to it. Once filled, simply put it back into place and secure it all with the included thumb screw.
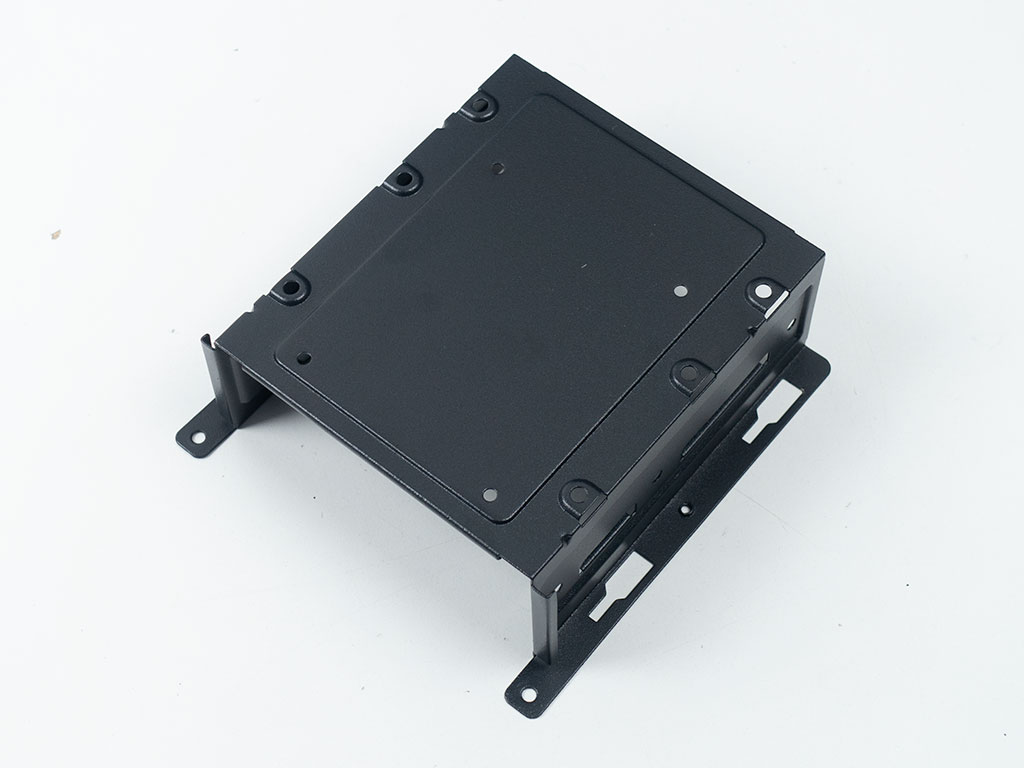
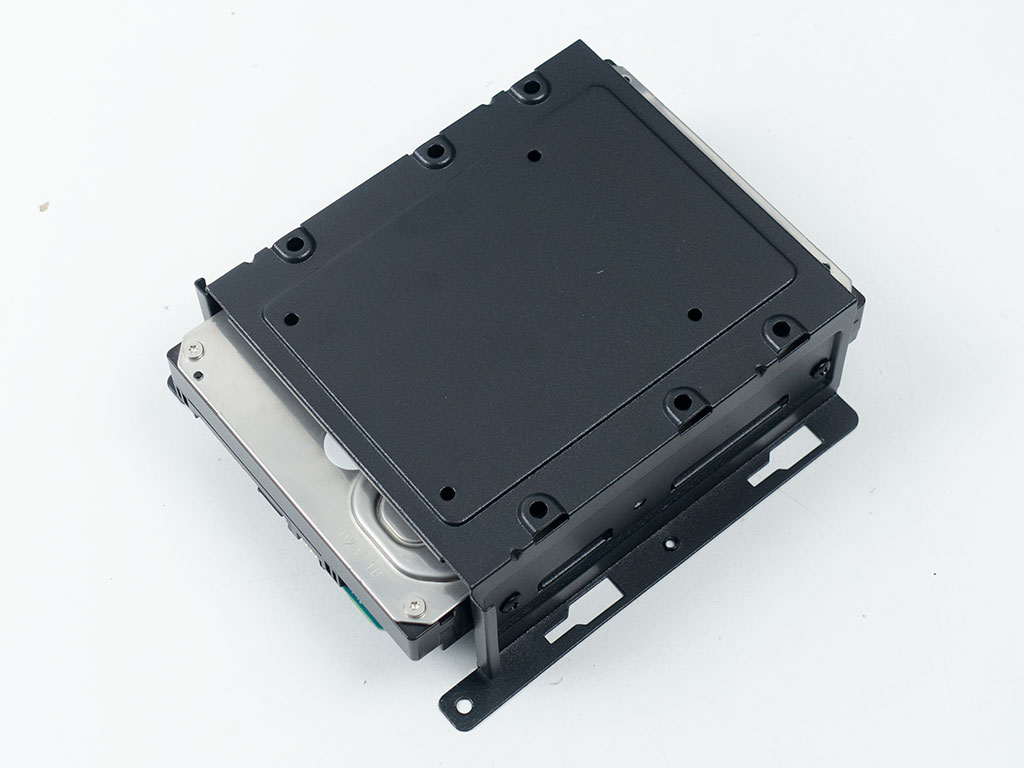
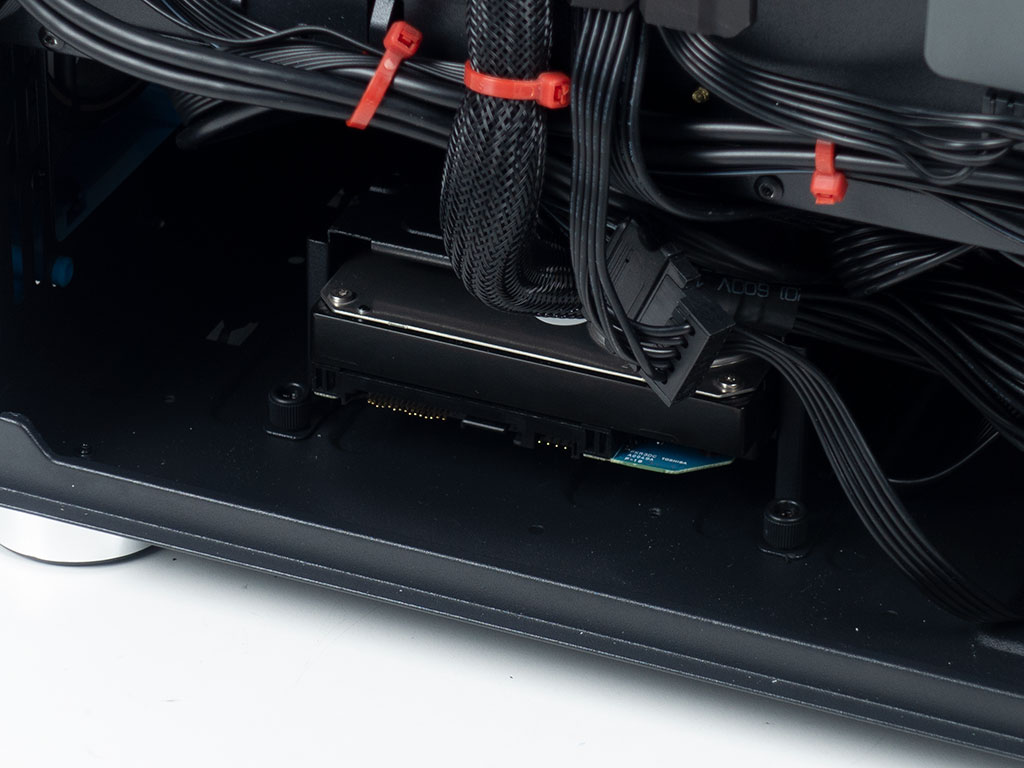
Those wanting to include classic spinning drives will have to follow a similar workflow, as you first have to remove the cage, then screw in the drive with the included screws before putting it all back and utilizing the thumb screws to pin it all down securely.
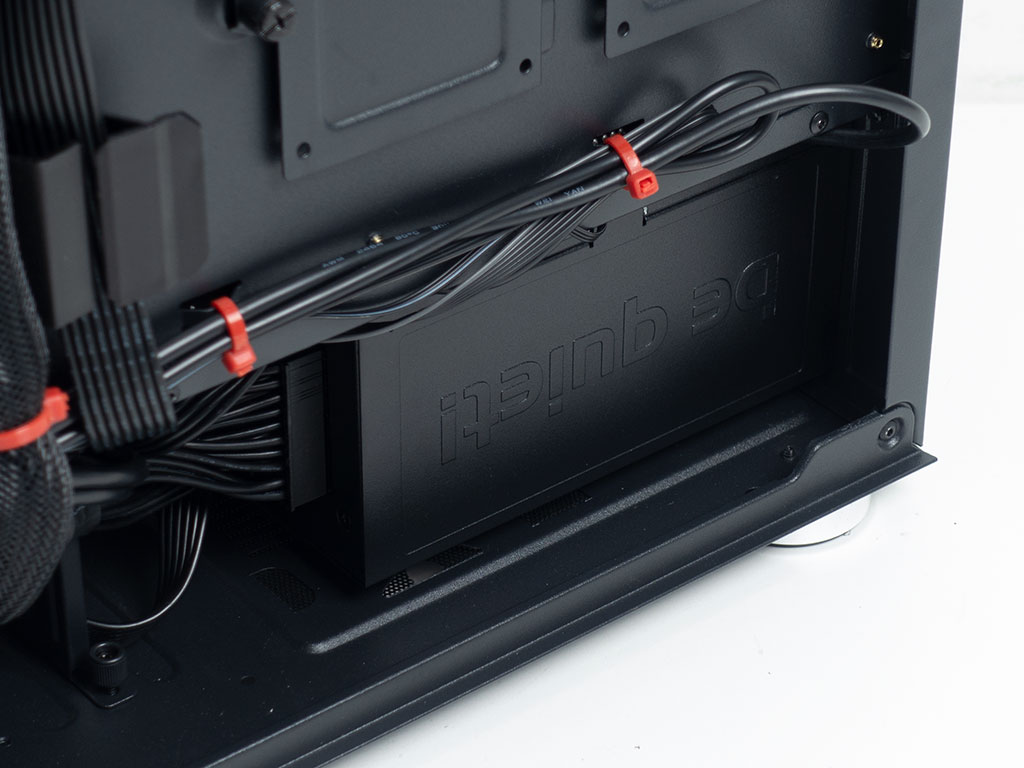
As there is 175 mm of room, you should have no issues installing a high-quality PSU to keep things running. It slides underneath the shroud easily and can then be secured with screws from the rear of the Aqirys Sargas.

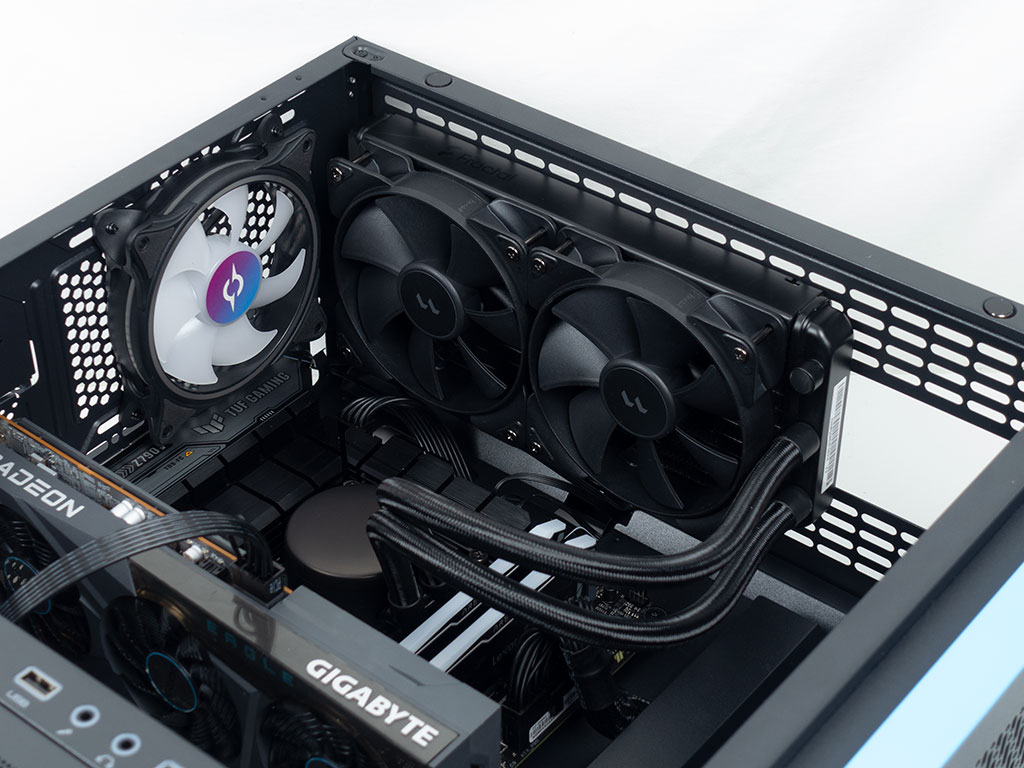
Last, but not least, adding an AIO to the ceiling is extremely flexible thanks to the many mounting holes left and right of the center cutouts in the ceiling. While we used a dual-fan unit, going for a 360 mm variant should offer the exact same installation experience. There is still room to route any cables to the connectors at the top edge of the board, but if you want to keep your life as simple as possible, you should do that before installing your ceiling mounted cooling.

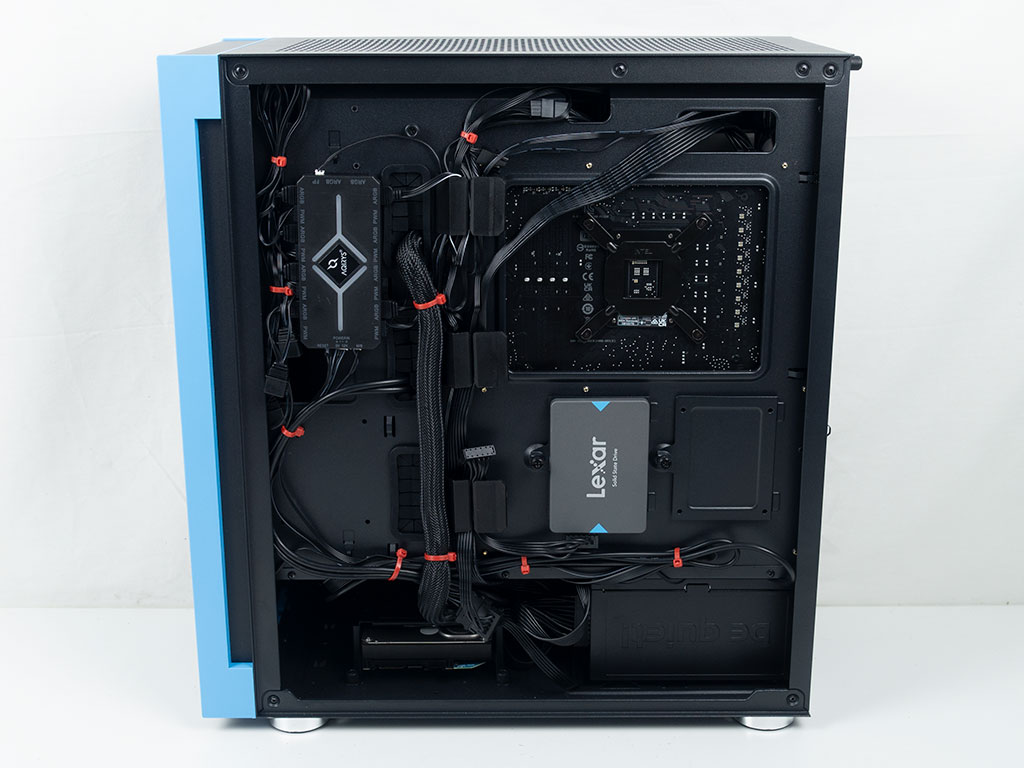
With everything installed, the interior result of the completed system is extremely clean. This is mostly due to the fact that the ceiling AIO hides all the wiring in combination with using the one grommet covered cutout in the shroud to route the PCIe power wiring among other things. In the rear, we also spent the extra time required to clean up the wiring behind the motherboard tray. As you can see, we did not end up using the plastic clips to route the thick ATX power lead from the PSU, as it would have required quite the force to push in there. Instead, the well placed zip tie hooks worked just fine.
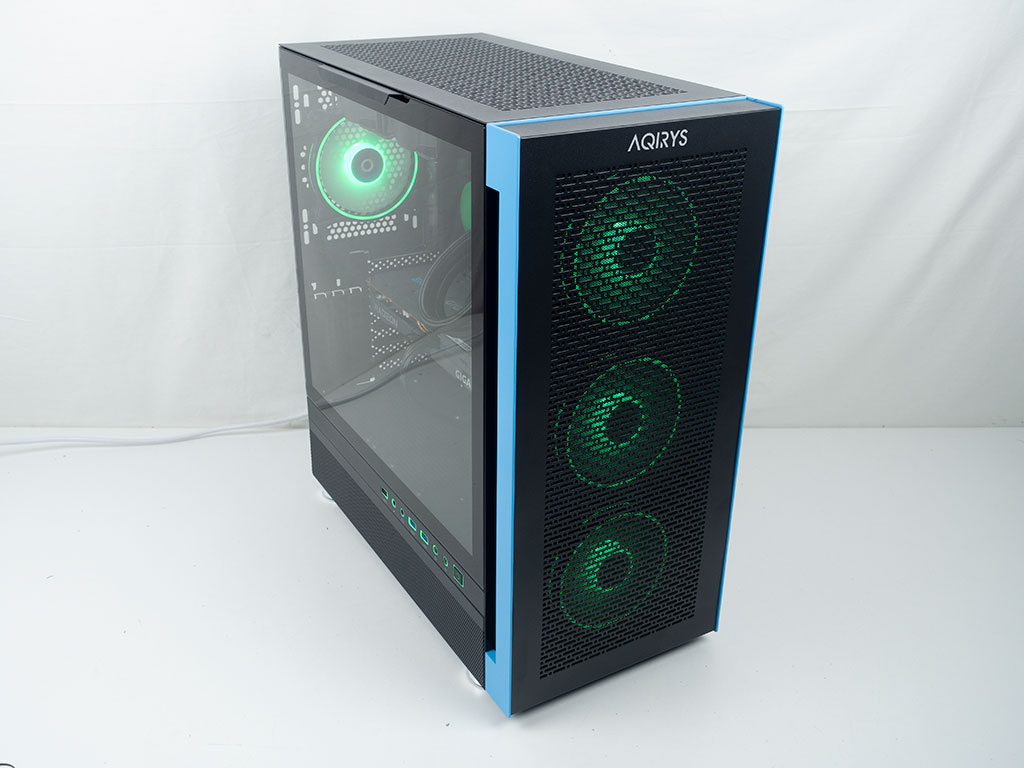
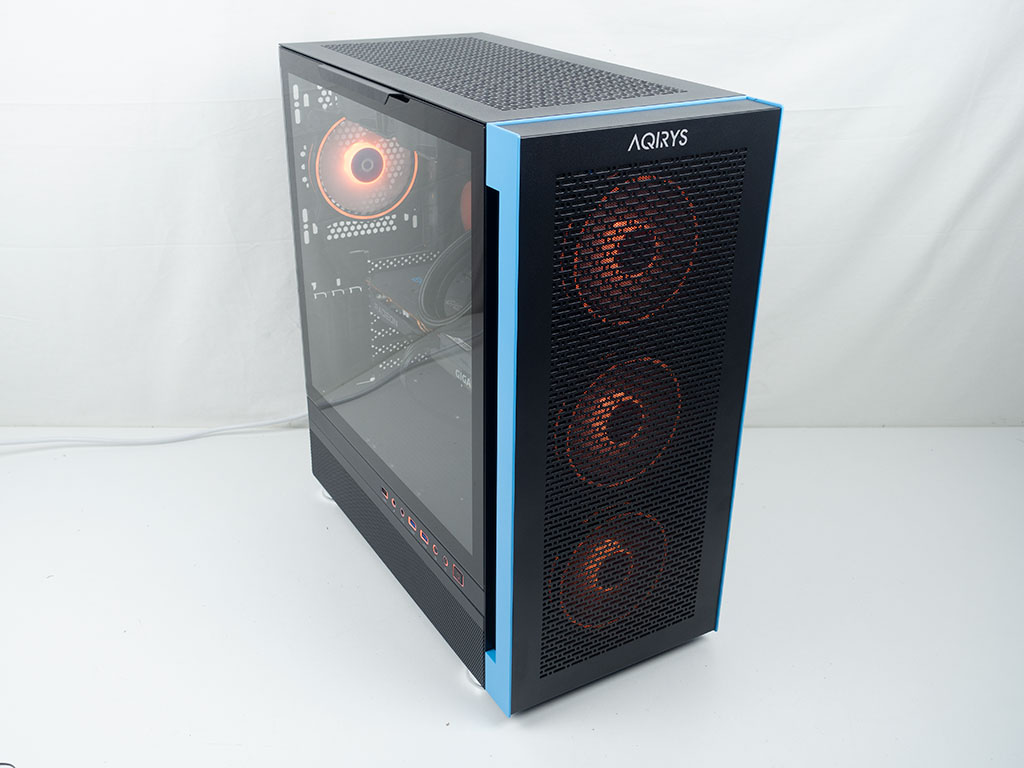
Finished Looks
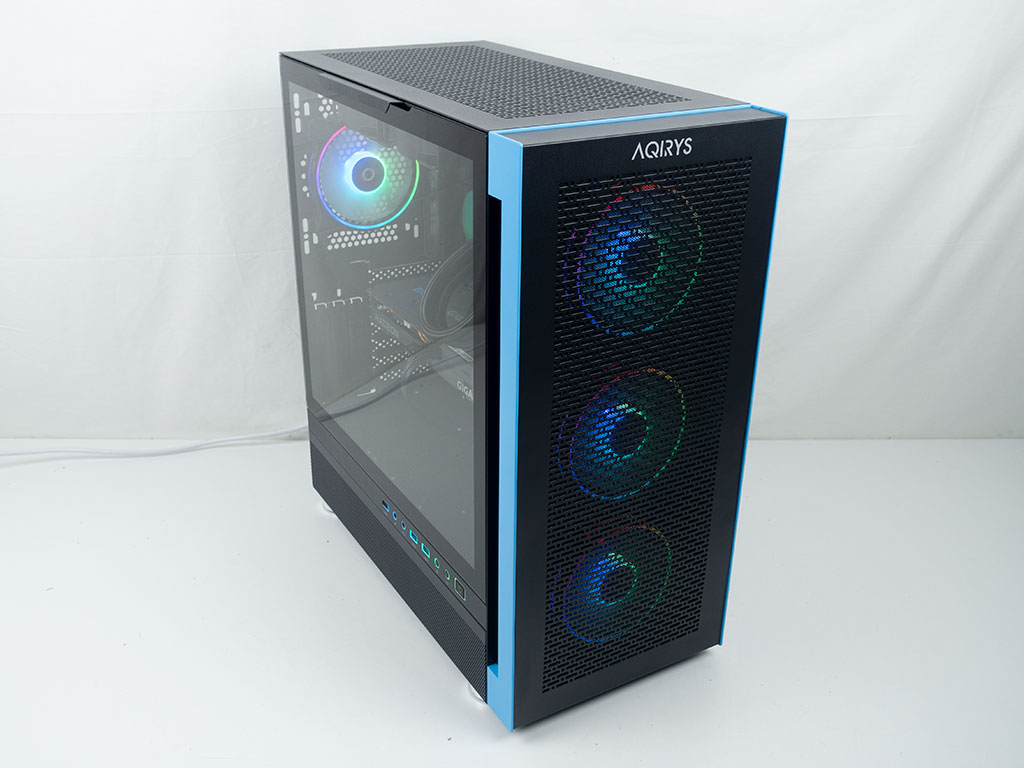

Turning the system on for the first time, you are greeted by the various ARGB elements from the fans as well as the I/O panel. Having those lit up in a dark environment is a great way to guide users to the correct plug easily. That said, seeing the power button label sideways is a bit of a weird sight.
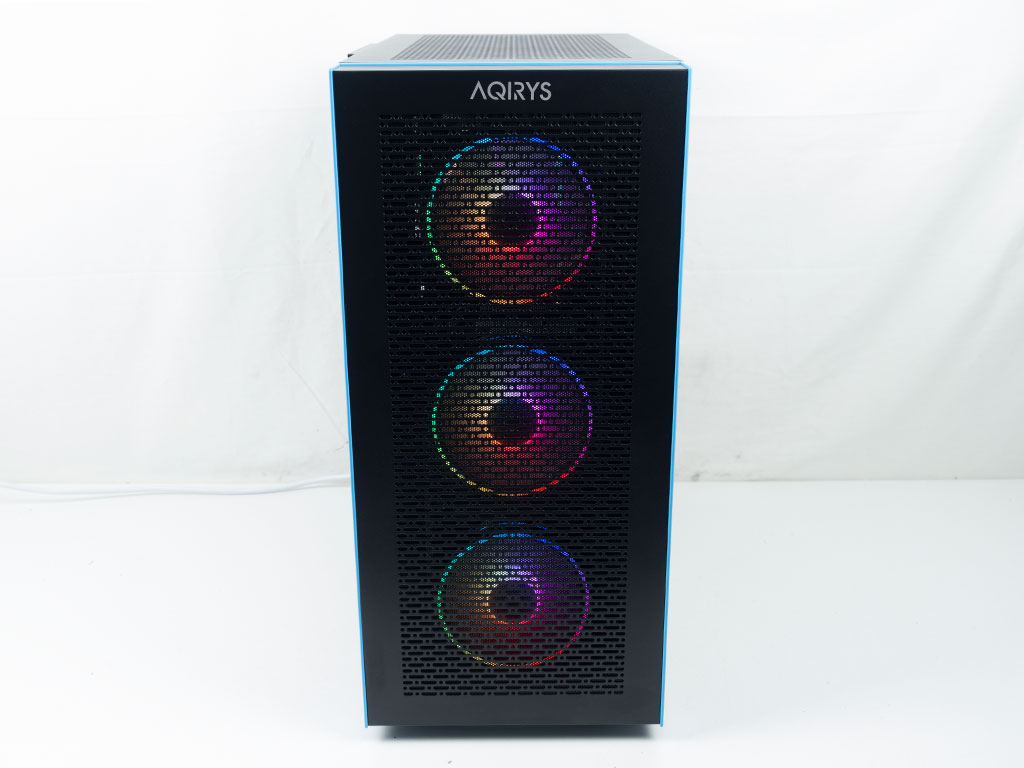
All the fans, both in the front as well as rear are easily visible, so it can be safe to assume that access to fresh air is also not an issue.
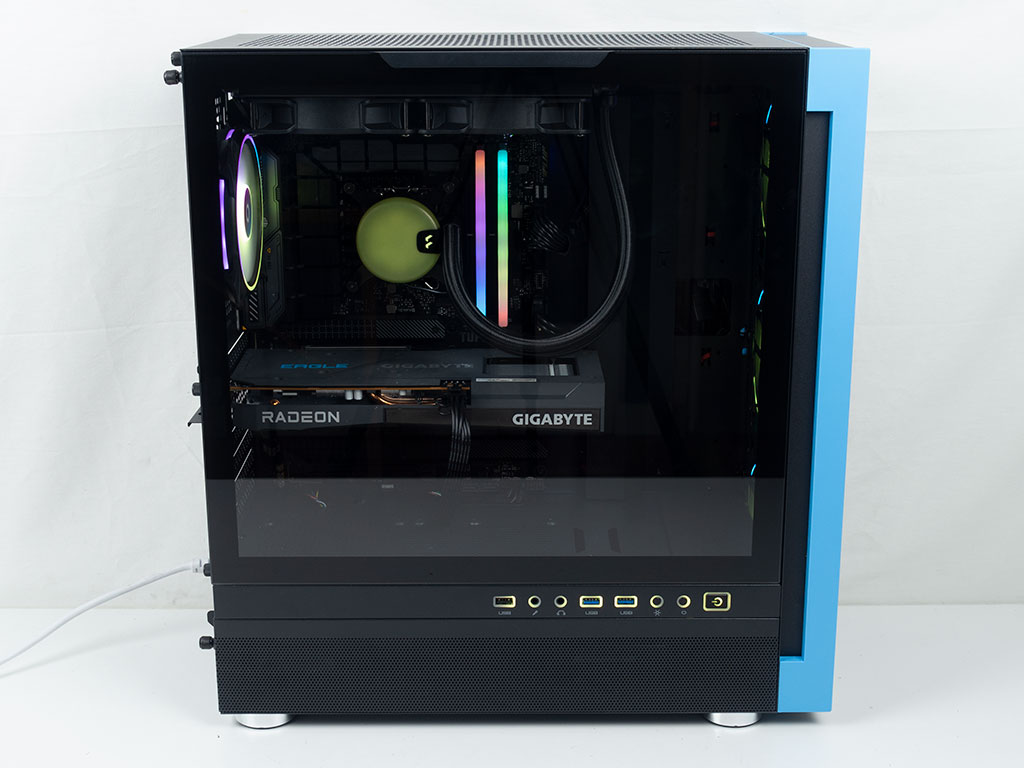
Thanks to the clean, clear window, you are able to view all your installed components easily and since the ARGB controller has its own embedded lighting it can also be seen through the fan grill of the metal panel covering the backside of the motherboard.
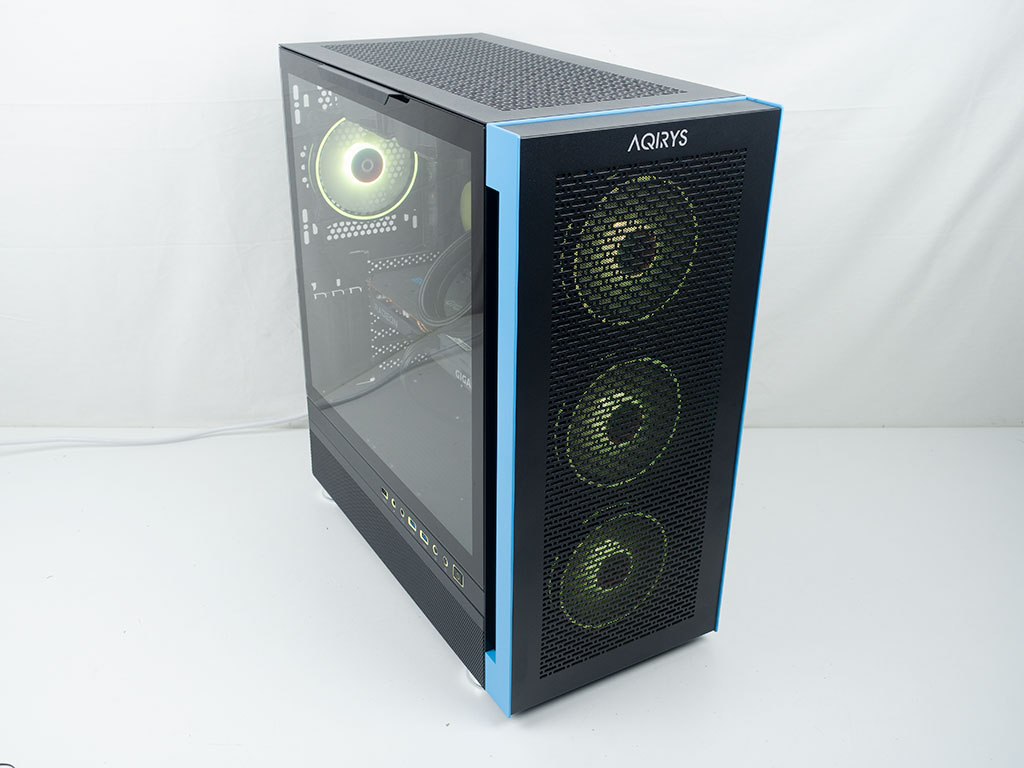
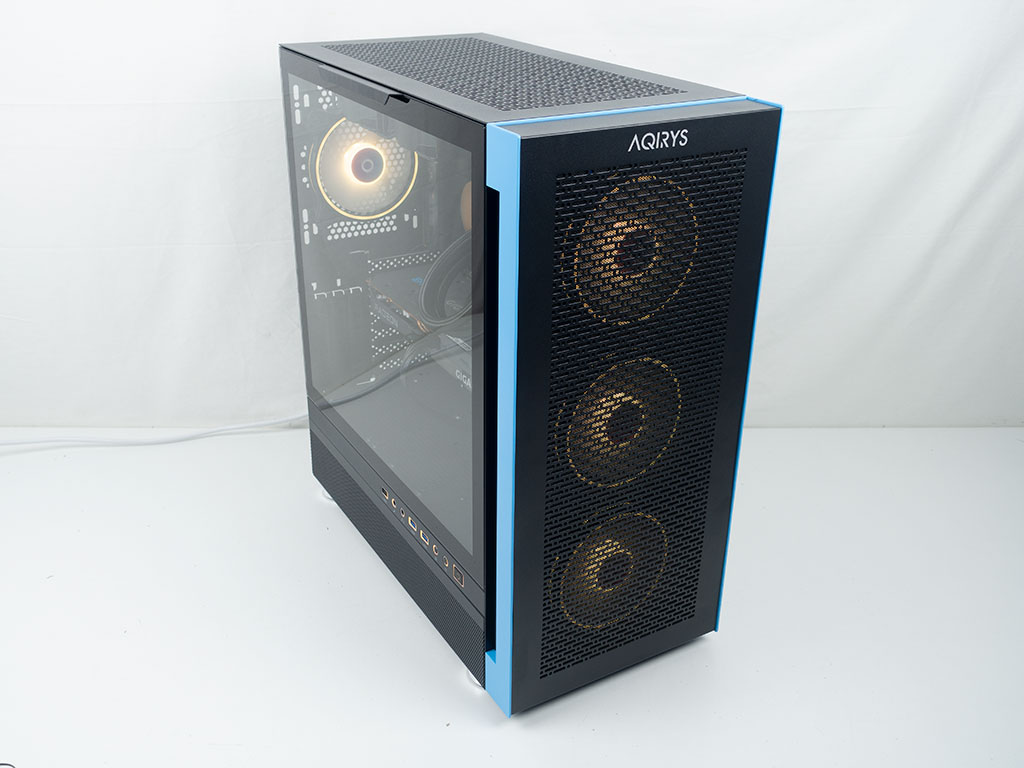
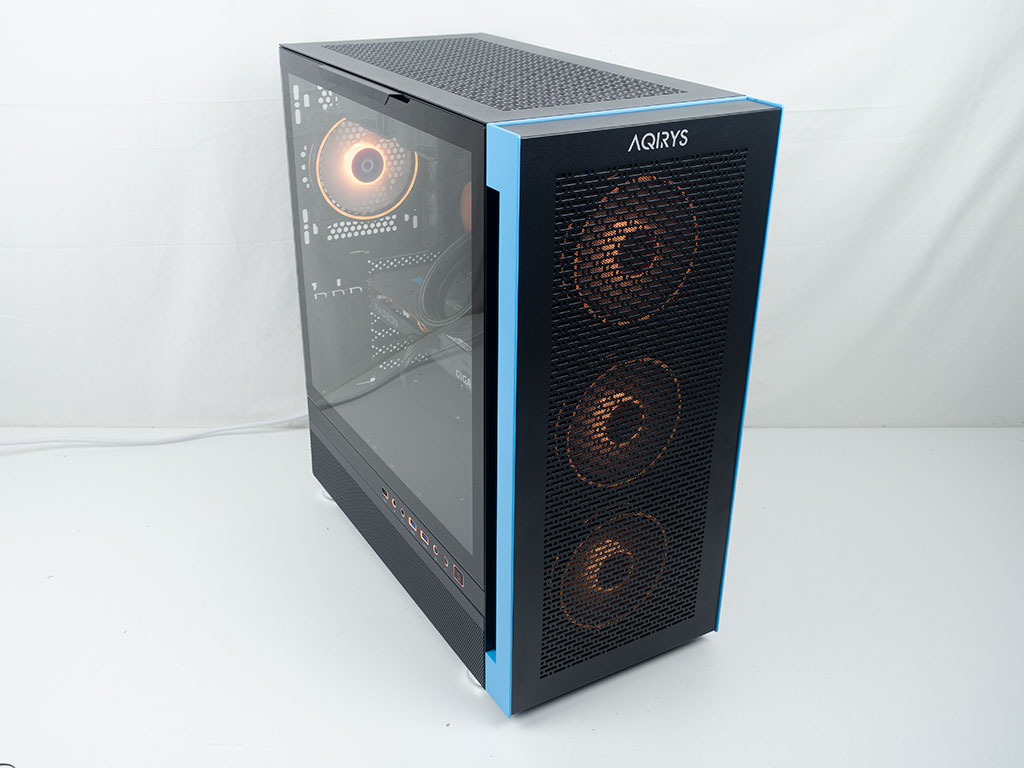
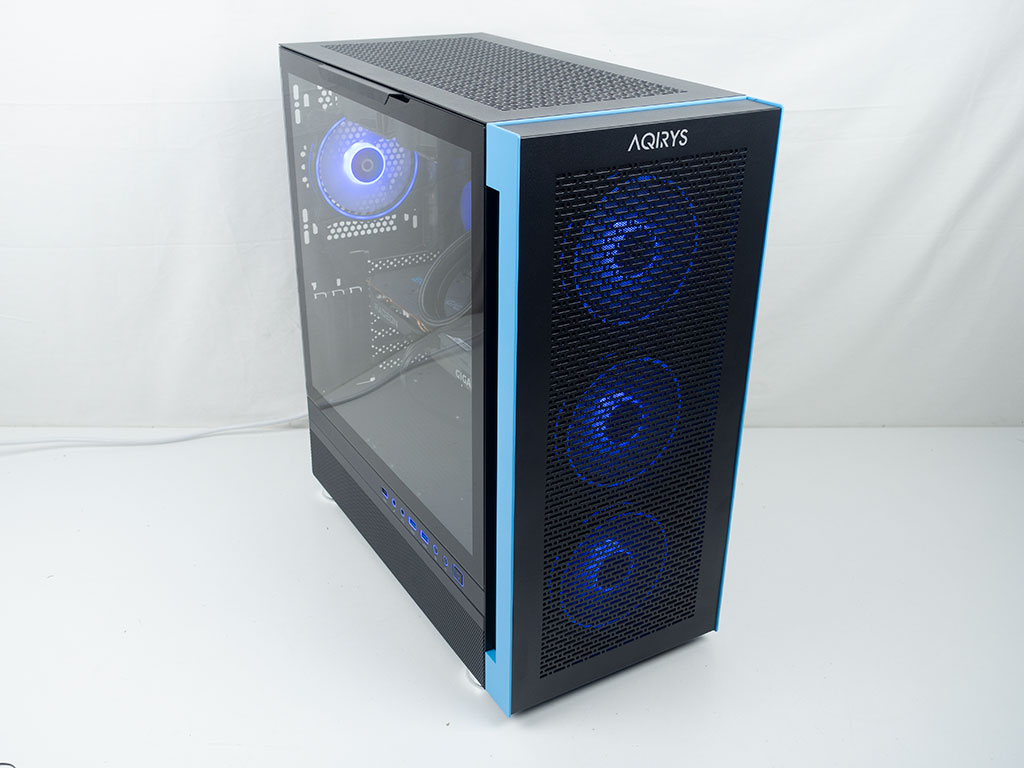
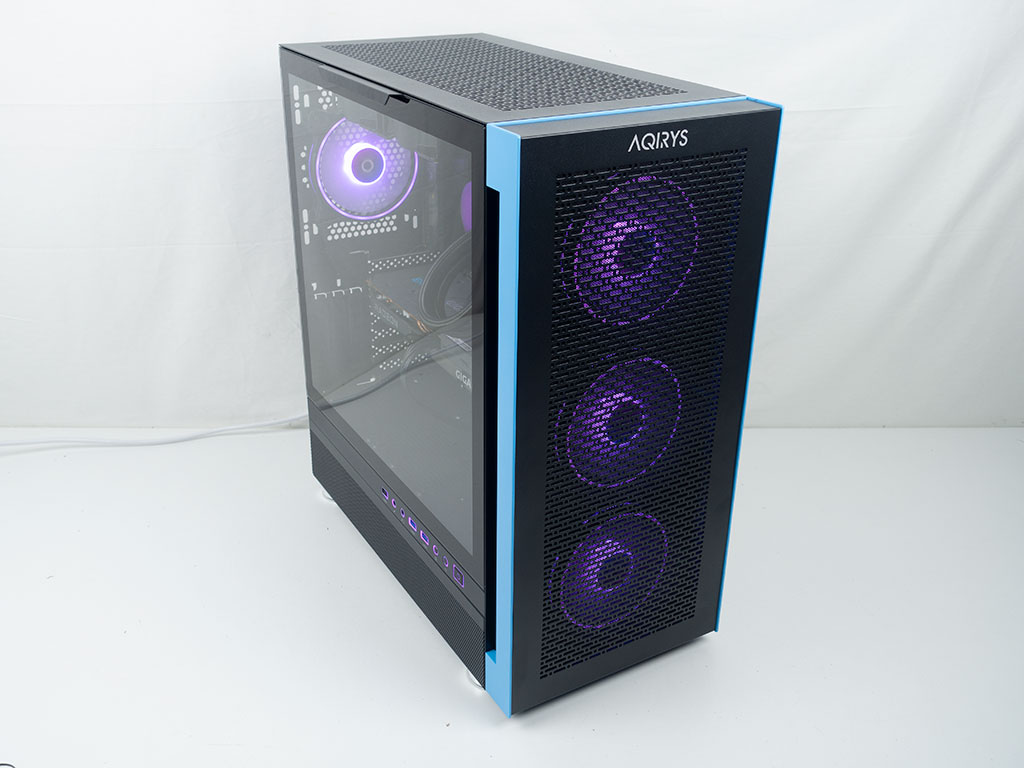
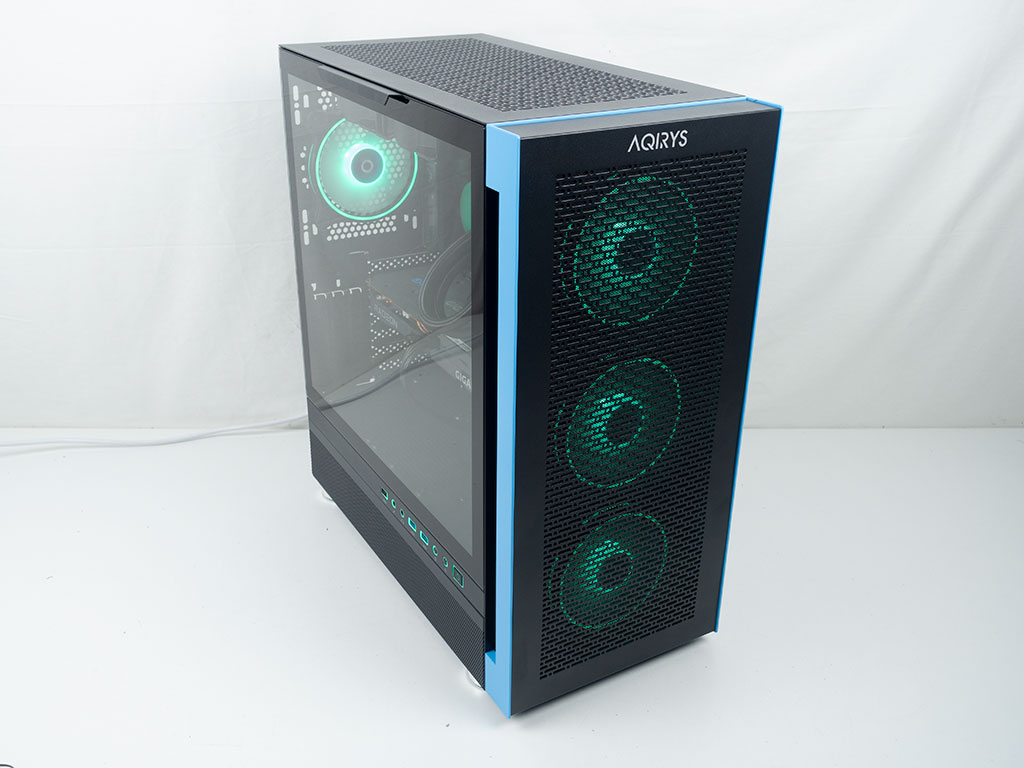
You may switch through a slew of multi- and single-color animations thanks to the embedded controller within the Aqirys Sargas. This can either be done via the remote or using the buttons on the enclosures I/O panel. In addition to this, you may also control the ARGB components by passing the signal through the controller from your motherboard instead. Besides the stored animations, the out-of-the-box setup offers an above average 12 solid color options to cycle through - all of which can be viewed below.


Mar 10th, 2025 19:21 EDT
change timezone
Latest GPU Drivers
New Forum Posts
- I'm looking for a good tool to make the 3D scanning of my mini-pc using the photogrammetry and my Kinect 2. (54)
- Post Your TIMESPY, PCMARK10 & FIRESTRIKE SCORES! (2019) (271)
- AMD RX 7000 series GPU Owners' Club (1307)
- I need a BIOS for the "Rx580 8gb" chip 215-0876406 (6)
- Biostar RX 6700 XT OC BIOS (7)
- Nvidia's GPU market share hits 90% in Q4 2024 (gets closer to full monopoly) (774)
- What's your latest tech purchase? (23278)
- Wherein lies the difference (2)
- USB hard disk box capacity limits (14)
- RX 9000 series GPU Owners Club (41)
Popular Reviews
- Sapphire Radeon RX 9070 XT Nitro+ Review - Beating NVIDIA
- XFX Radeon RX 9070 XT Mercury OC Magnetic Air Review
- ASUS Radeon RX 9070 TUF OC Review
- MSI MAG B850 Tomahawk Max Wi-Fi Review
- NVIDIA GeForce RTX 5080 Founders Edition Review
- NVIDIA GeForce RTX 5070 Founders Edition Review
- Corsair Vengeance RGB CUDIMM DDR5-8800 48 GB CL42 Review
- AMD Ryzen 7 9800X3D Review - The Best Gaming Processor
- ASUS GeForce RTX 5070 Ti TUF OC Review
- MSI GeForce RTX 5070 Ti Gaming Trio OC+ Review
Controversial News Posts
- NVIDIA GeForce RTX 50 Cards Spotted with Missing ROPs, NVIDIA Confirms the Issue, Multiple Vendors Affected (513)
- AMD Plans Aggressive Price Competition with Radeon RX 9000 Series (277)
- AMD Radeon RX 9070 and 9070 XT Listed On Amazon - One Buyer Snags a Unit (261)
- AMD RDNA 4 and Radeon RX 9070 Series Unveiled: $549 & $599 (260)
- AMD Mentions Sub-$700 Pricing for Radeon RX 9070 GPU Series, Looks Like NV Minus $50 Again (248)
- NVIDIA Investigates GeForce RTX 50 Series "Blackwell" Black Screen and BSOD Issues (244)
- AMD Radeon RX 9070 and 9070 XT Official Performance Metrics Leaked, +42% 4K Performance Over Radeon RX 7900 GRE (195)
- AMD Radeon RX 9070-series Pricing Leaks Courtesy of MicroCenter (158)