 15
15
Arbiter Studio Polar 65 Hall Effect Keyboard Review
Software »Disassembly
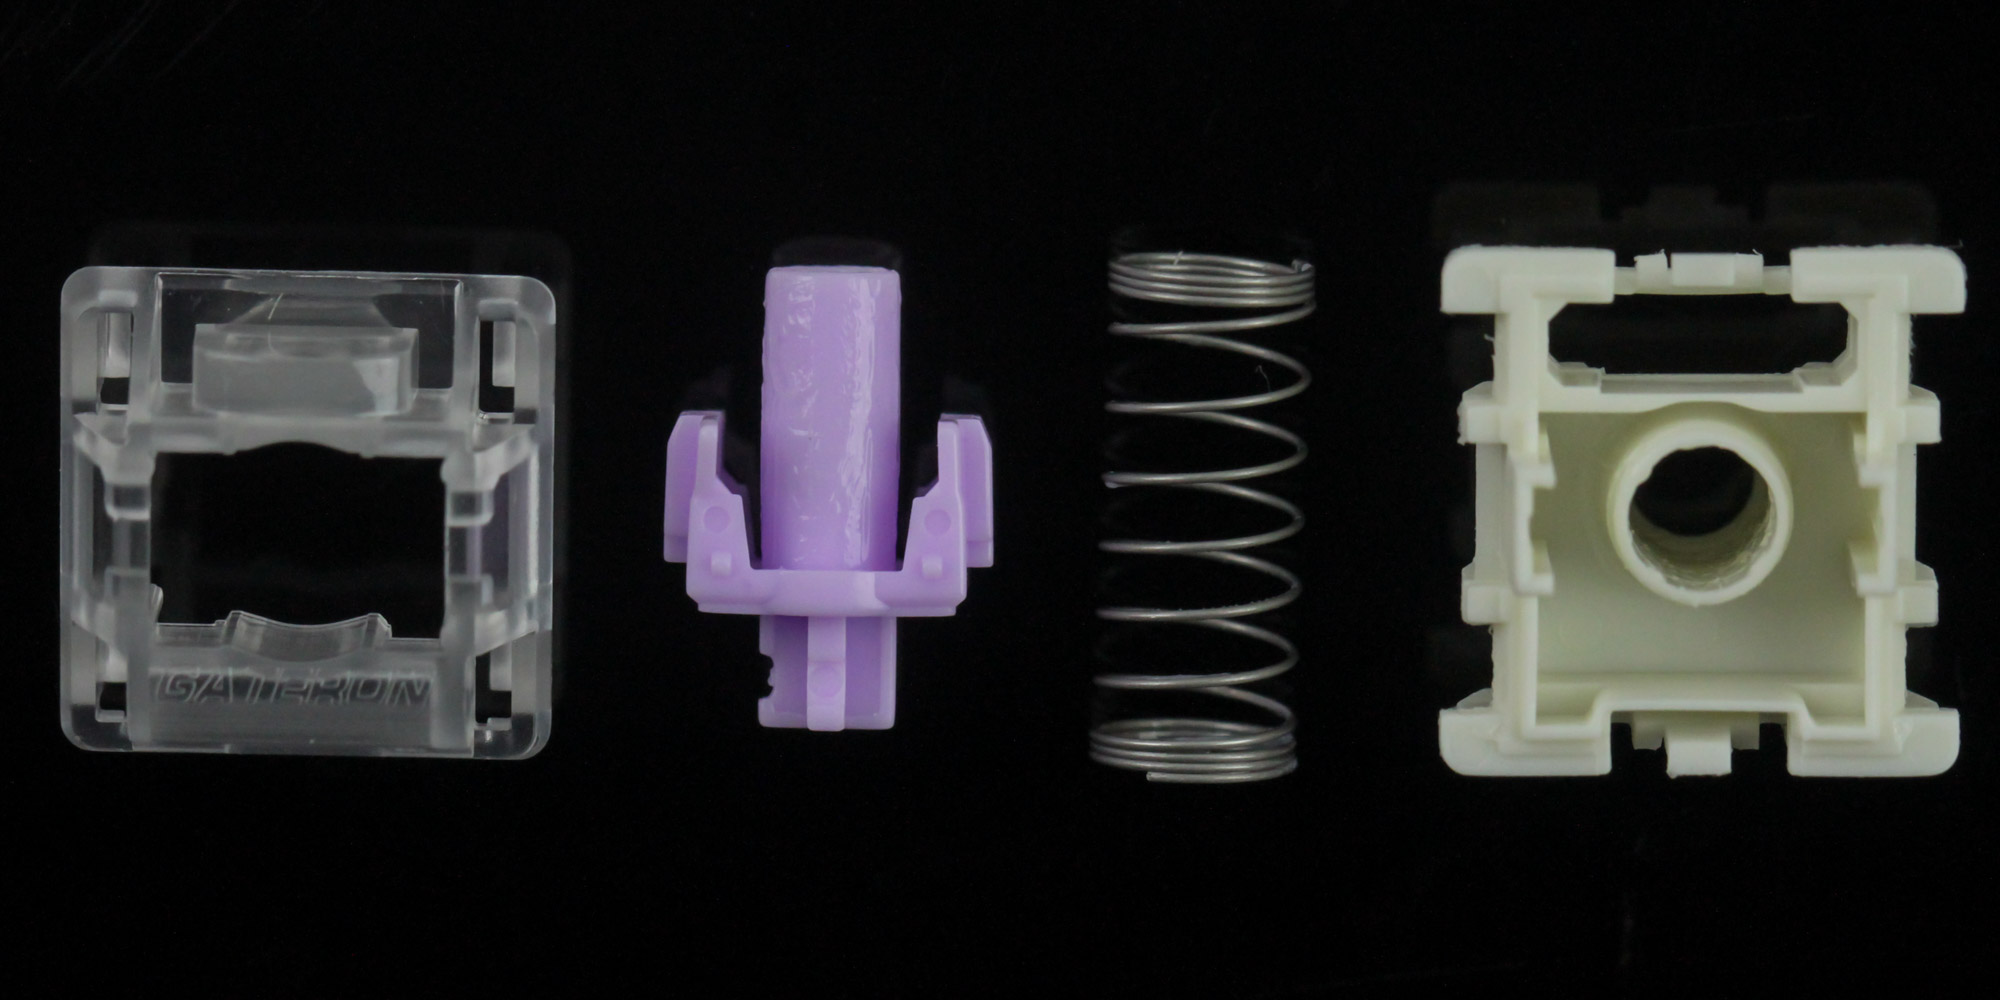
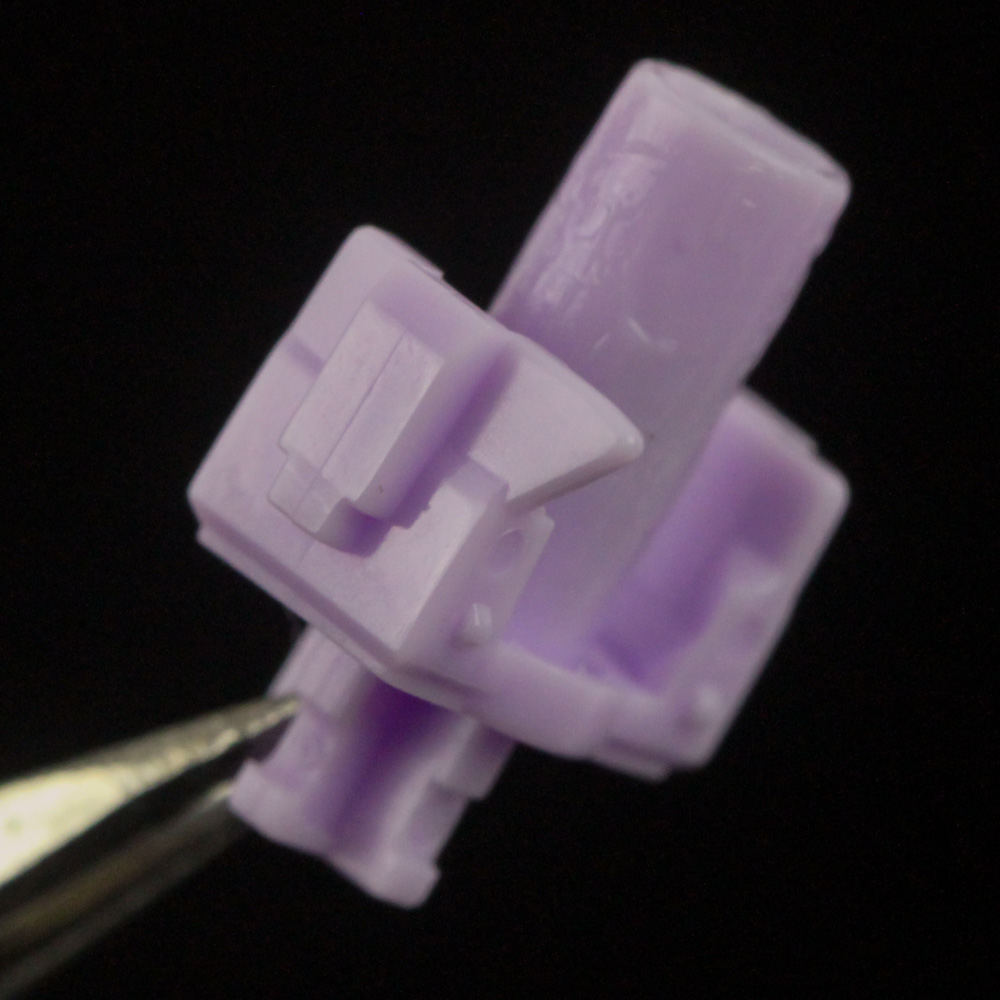
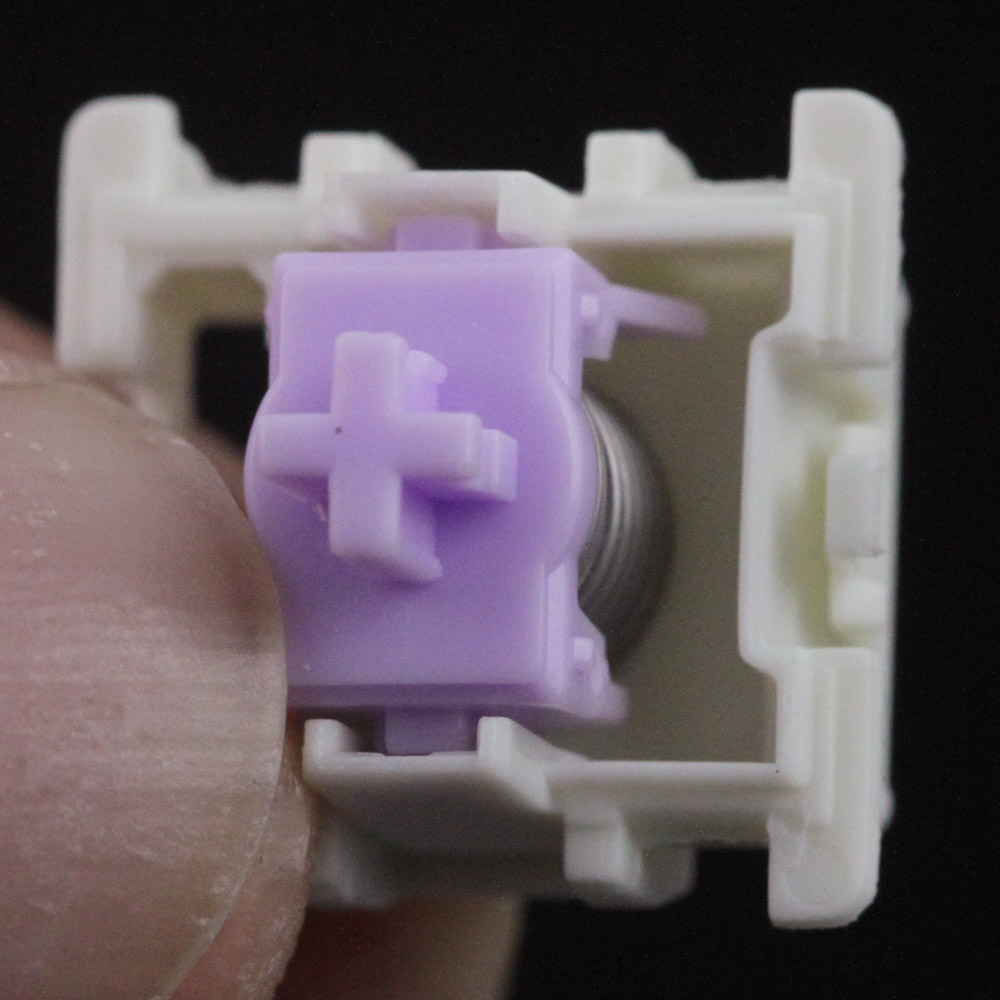
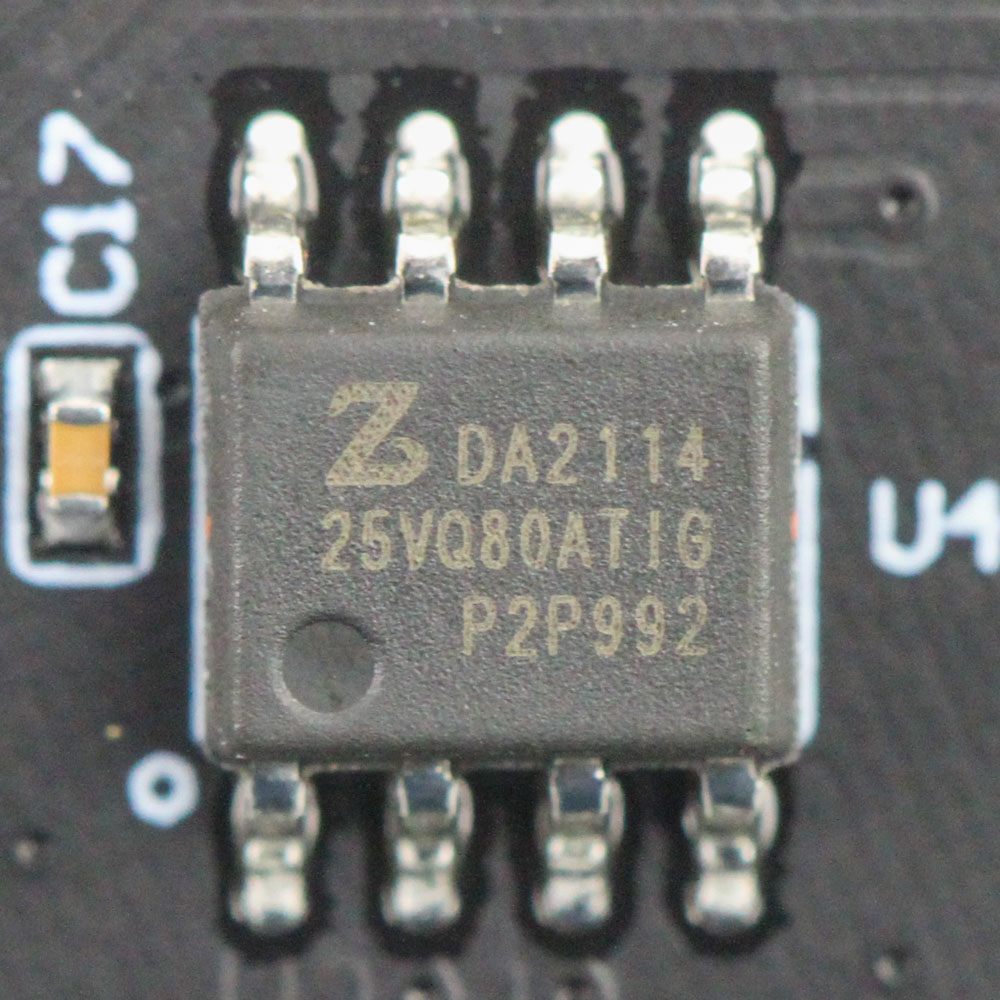
Given the hot-swappable nature of the switches, it only made sense to take one of these Fuji Hall effect magnetic switches apart. There is not much to see here, with the composition replicating the cross-point Cherry MX stem design as much as possible for keycap compatibility and to avoid re-inventing the wheel for PCB assembly. The stem is short and stubby with a tiny magnet at the end. We also see it comes pre-lubed as advertised by Arbiter Studio. The spring is also shorter and wider than those used in typical mechanical switches. The base housing actually has nothing in it, including the metal contacts that used to actuate mechanical switches. This makes the Fuji magnetic switch a truly contact-free switch with no moving parts to worry about for wear and tear. Actuation instead happens courtesy the small magnet embedded into the stem at the bottom which is read by the Hall sensor built into the PCB to detect movement of the stem, and thus the switch, up and down.
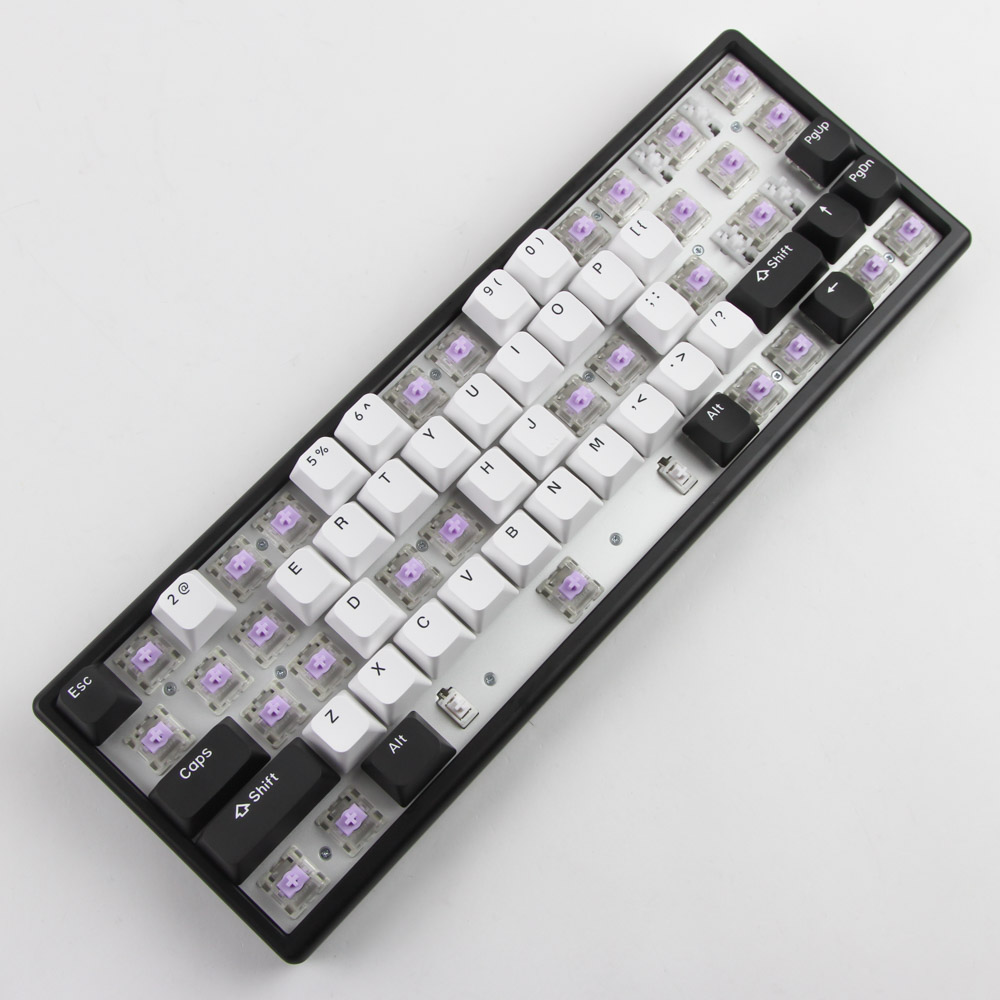

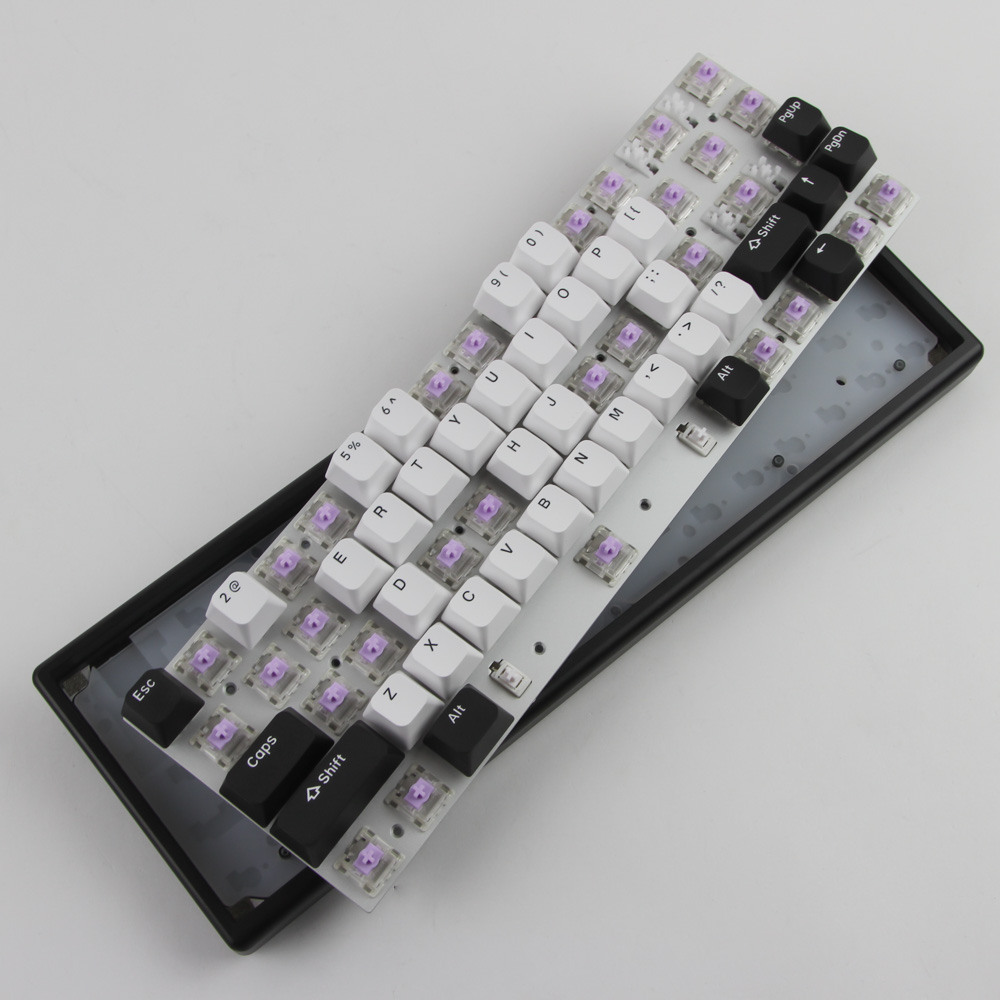
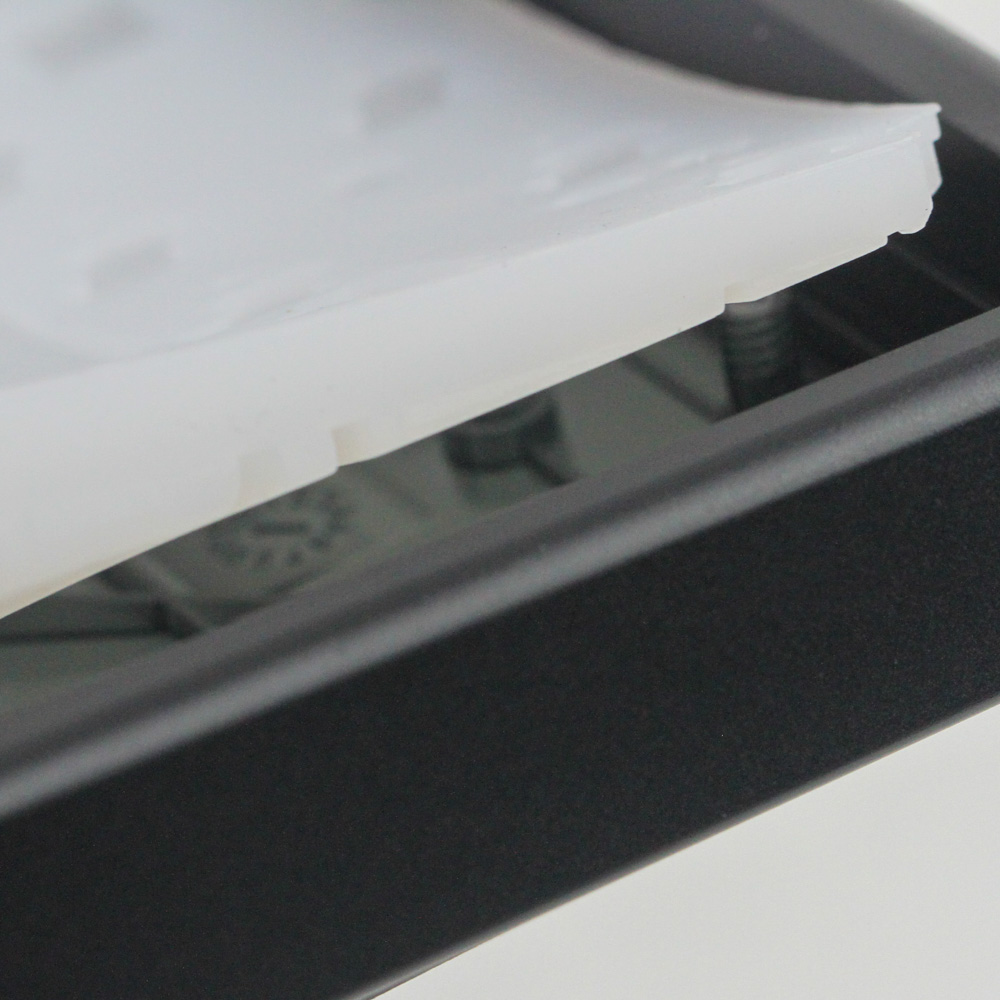
Disassembly of the Polar 65 is fairly simple since it uses an aluminium frame and plate. This means the various components are held together by screws or hot-swap switch sockets. Remove some specific keycaps, as seen above, to access the 14 Phillips head screws on the top. Now you might have to use that same screwdriver to pry out the plate/PCB piece since it can be snugly in place. This is because it is squeezed over a thick, shaped piece of dense silicone located between the PCB and the bottom case panel for added dampening.

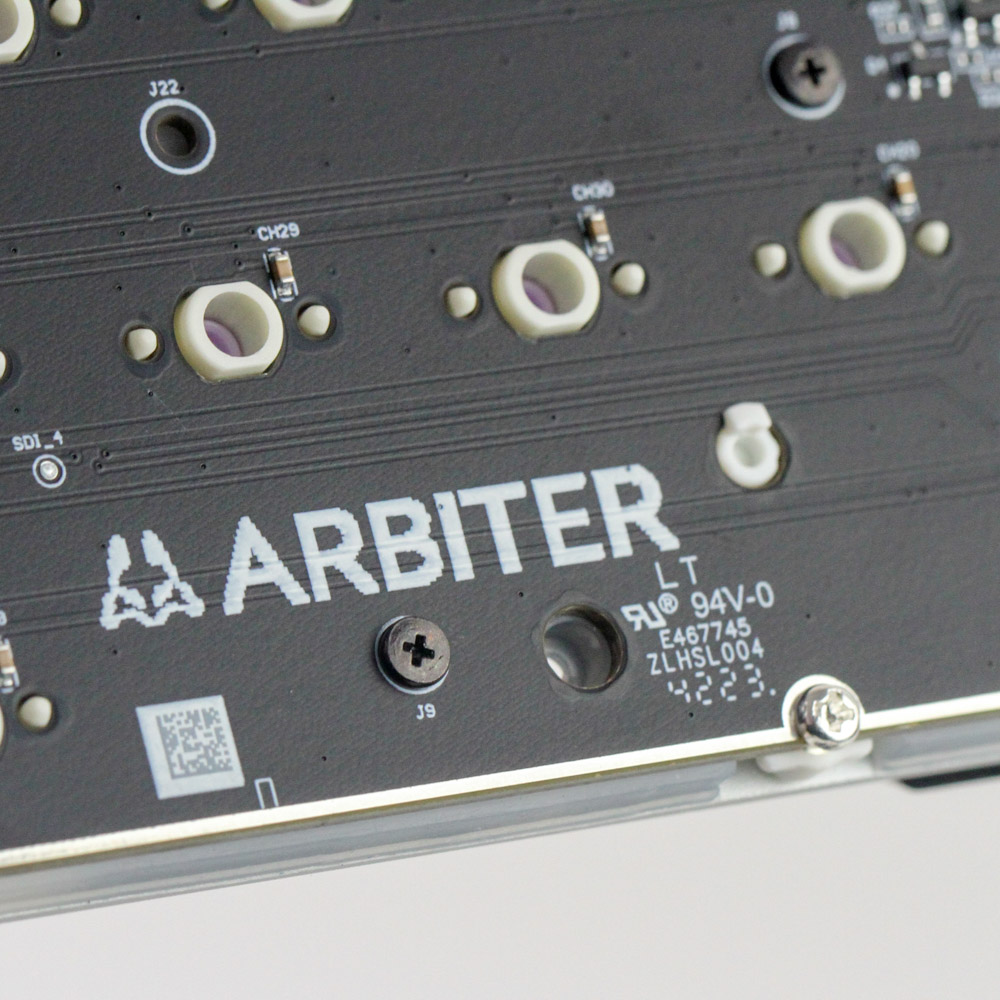
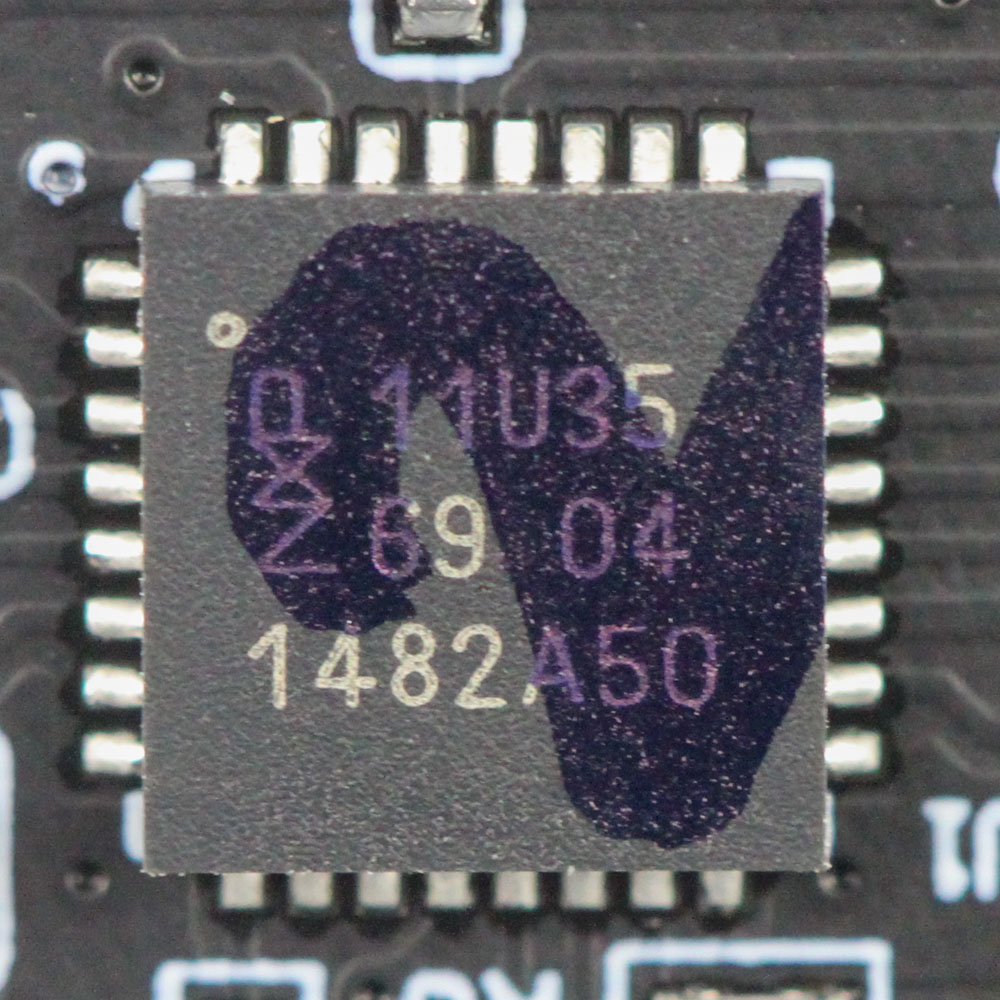

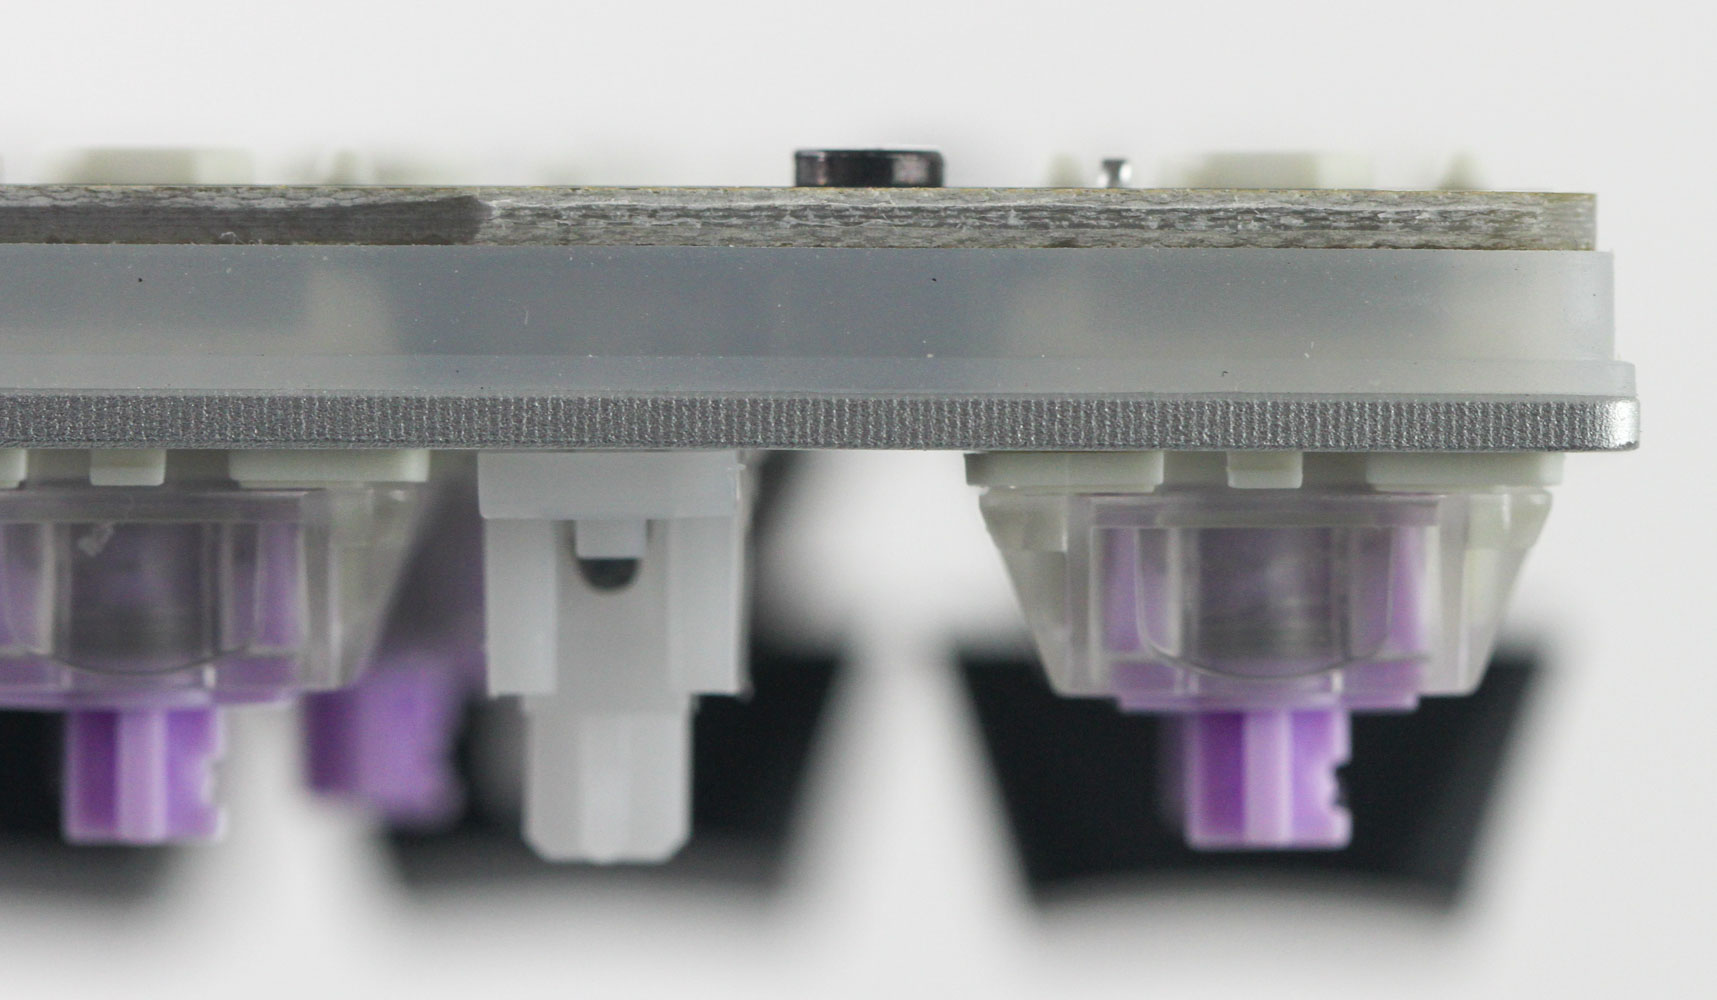
There are some more screws on the back you can remove to help separate the plate from the PCB—after having removed all the keycaps and switches, of course. This will allow you to access the stabilizers if you wish to replace/lube them yourself although I really didn't notice any need to do so. The PCB is black in color with excellent soldering quality throughout. It comes branded for Arbiter Studio and a lot of the action is on the other side where the Hall sensors are placed. Given this isn't an open-source keyboard and the actuation mechanism isn't shared with mechanical keyboards, there's not a lot more to see here aside from the other thick silicone sheet placed between the plate and the PCB itself. This is going to further dampen keystrokes, especially if you bottom out.
Before we move on, be advised that disassembly may void the warranty and that TechPowerUp is not liable for any damages incurred if you decide to go ahead and do so anyway.
Feb 11th, 2025 02:53 EST
change timezone
Latest GPU Drivers
New Forum Posts
- Daisy chaining mixed 4-pin fans (7)
- Black screen after I tried to flash my HD 6850 (4)
- Asteroid 2024 YR4 reaches level 3 on the Torino Scale (57)
- Feature 'request' - Disable NGX Updater (1)
- How important are X3D processors at 1440p and beyond? (26)
- 3090 zotac Trinity Oc dead or psu weak? (37)
- What are you playing? (22838)
- Black Screen Issue on Biostar RX 6700 XT – BIOS and Overclocking Concerns (4)
- Your PC ATM (35237)
- Case fan with controller (3)
Popular Reviews
- Civilization VII Performance Benchmark Review - 35 GPUs Tested
- Kingdom Come Deliverance II Performance Benchmark Review - 35 GPUs Tested
- ASRock Phantom Gaming B850I Lightning Wi-Fi Review
- Team Group T-Force XTREEM DDR5-7200 48GB CL34 Review
- Spider-Man 2 Performance Benchmark Review - 35 GPUs Tested
- Kingdom Come: Deliverance 2 Handheld Performance Review
- NVIDIA GeForce RTX 5080 Founders Edition Review
- AMD Ryzen 7 9800X3D Review - The Best Gaming Processor
- DAREU A980 Pro Max Review
- Corsair Frame 4000D Review
Controversial News Posts
- AMD Radeon 9070 XT Rumored to Outpace RTX 5070 Ti by Almost 15% (286)
- AMD is Taking Time with Radeon RX 9000 to Optimize Software and FSR 4 (256)
- AMD Denies Radeon RX 9070 XT $899 USD Starting Price Point Rumors (239)
- Edward Snowden Lashes Out at NVIDIA Over GeForce RTX 50 Pricing And Value (239)
- AMD Radeon RX 9070 XT & RX 9070 Custom Models In Stock at European Stores (226)
- New Leak Reveals NVIDIA RTX 5080 Is Slower Than RTX 4090 (215)
- AMD's Radeon RX 9070 Launch Faces Pricing Hurdles (175)
- AMD Radeon RX 9070 XT Tested in Cyberpunk 2077 and Black Myth: Wukong (169)