 20
20
ASUS ROG Azoth Wireless Mechanical Keyboard Review
Software »Disassembly
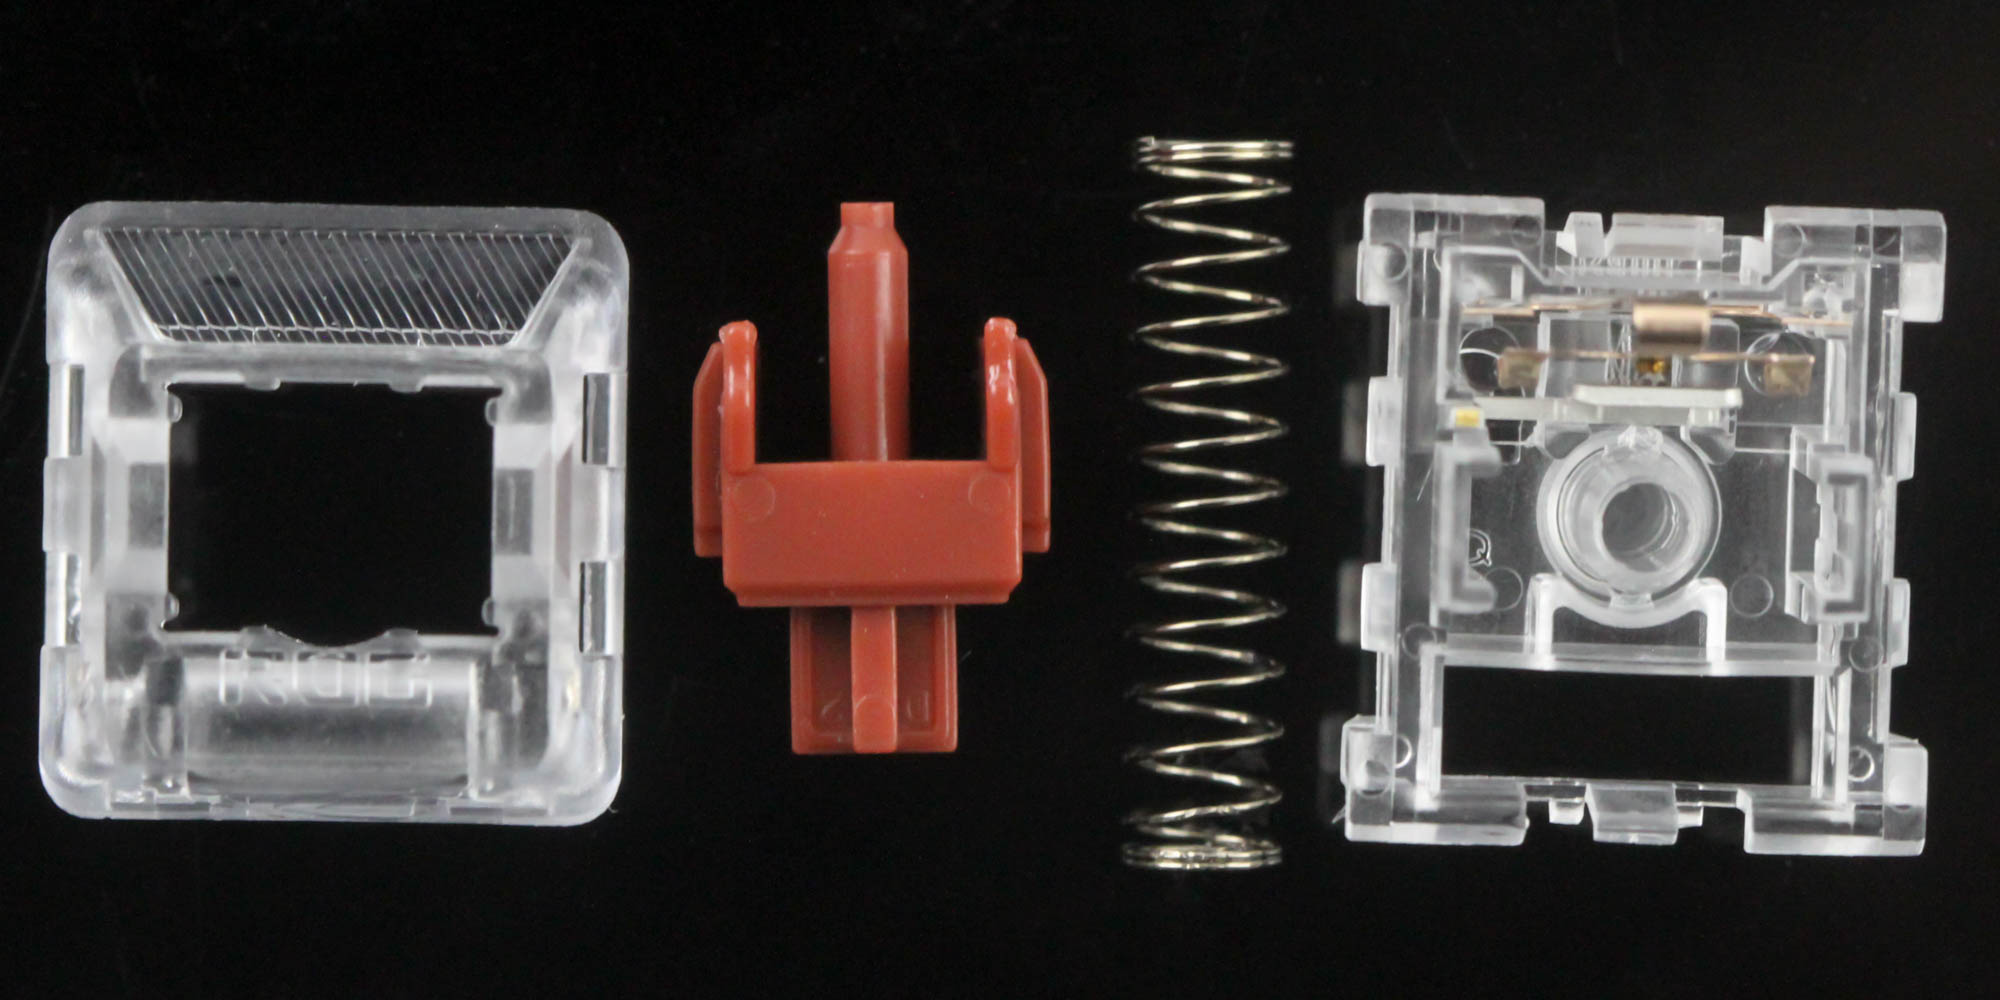
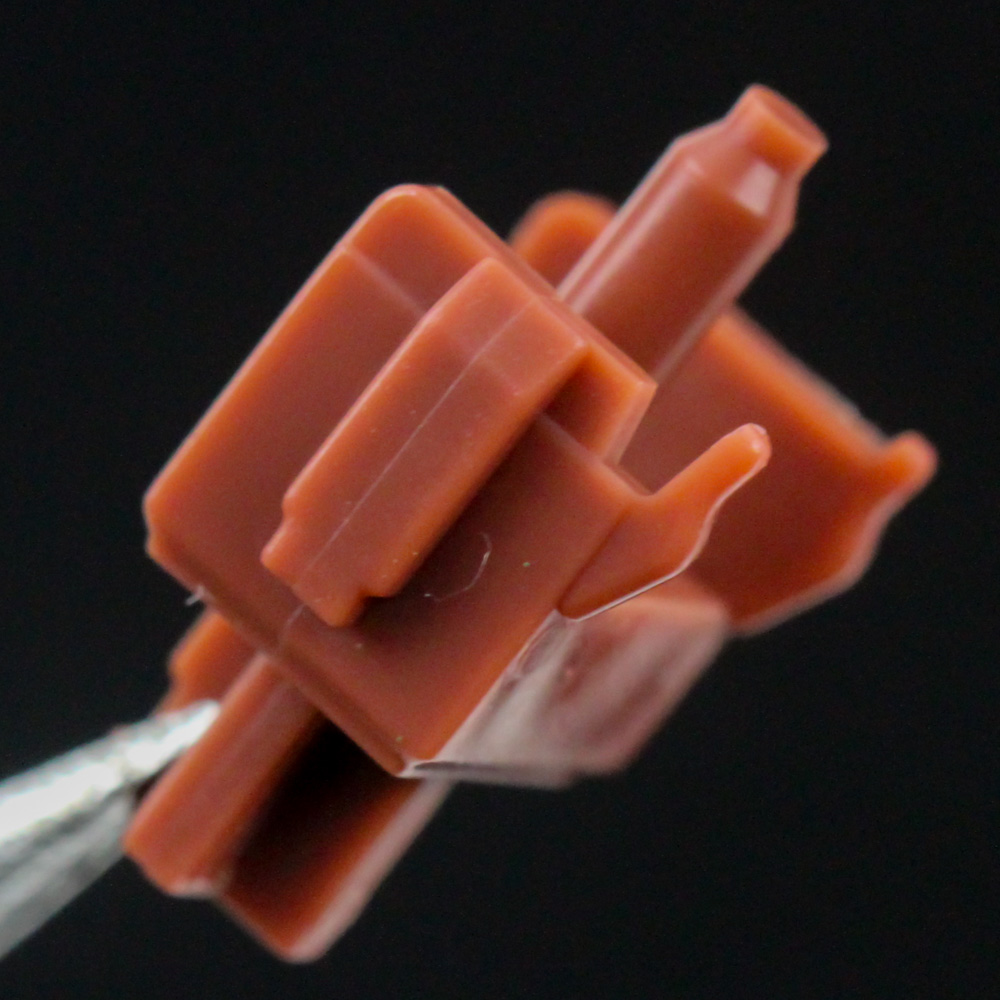
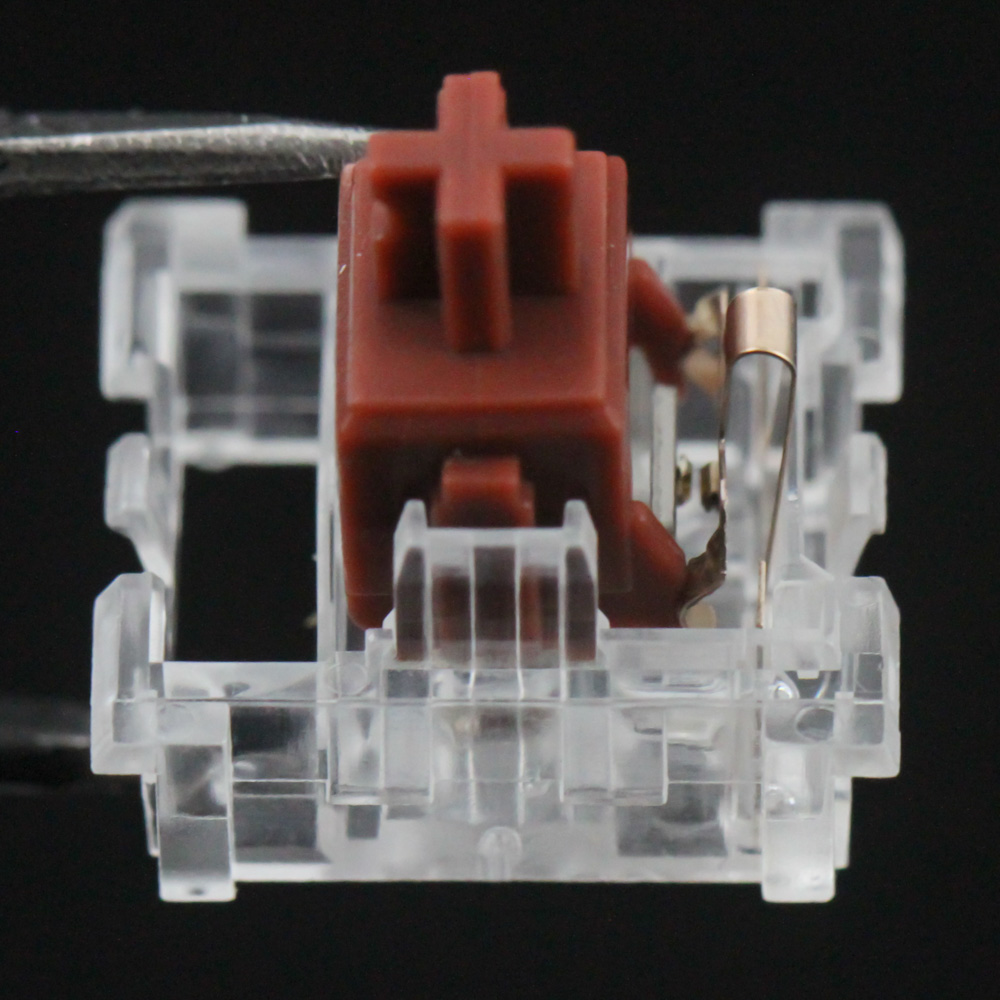
Given the hot-swappable nature of the switches, it only made sense that I take one of the ROG NX Brown switches apart. This is a 3-pin mechanical switch employing the Cherry MX stem design, so we have the usual construction with the top, crosspoint stem/slider, spring, and housing that also has the metal leaf for the actuation mechanism. The stem is pre-lubed out of the factory, and ASUS says the tolerances for all the moving parts are held to a higher standard than usual. The actuation is similar to other such switches with the bump in the stem pushing the contacts together. There is a second bump here on the stem travel path for the tactile feedback.

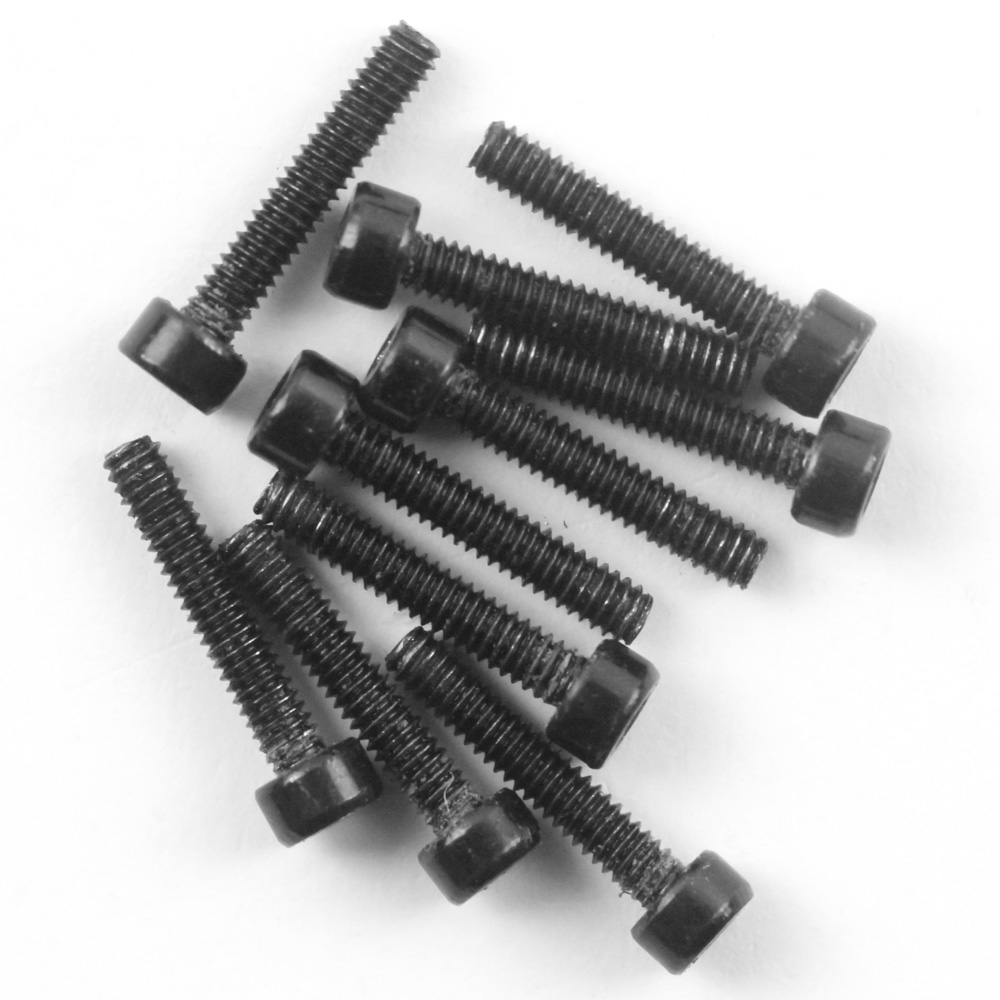
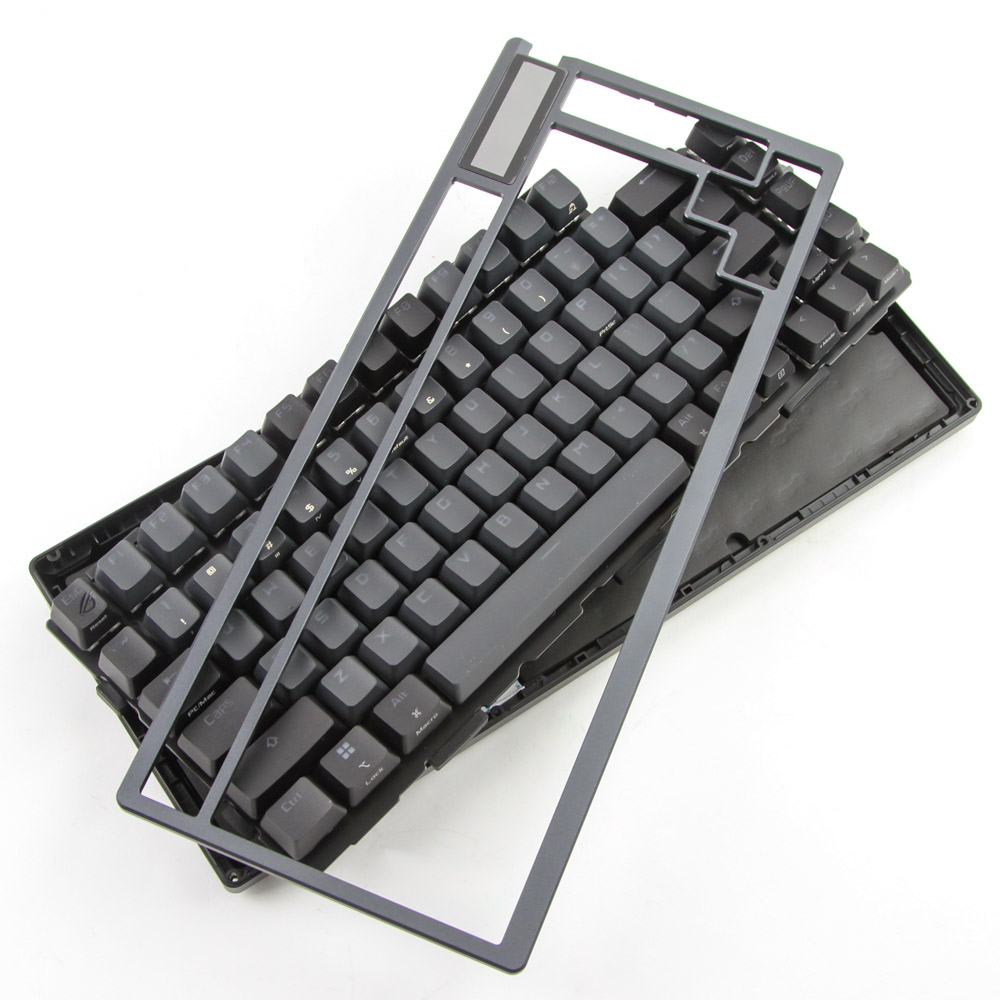

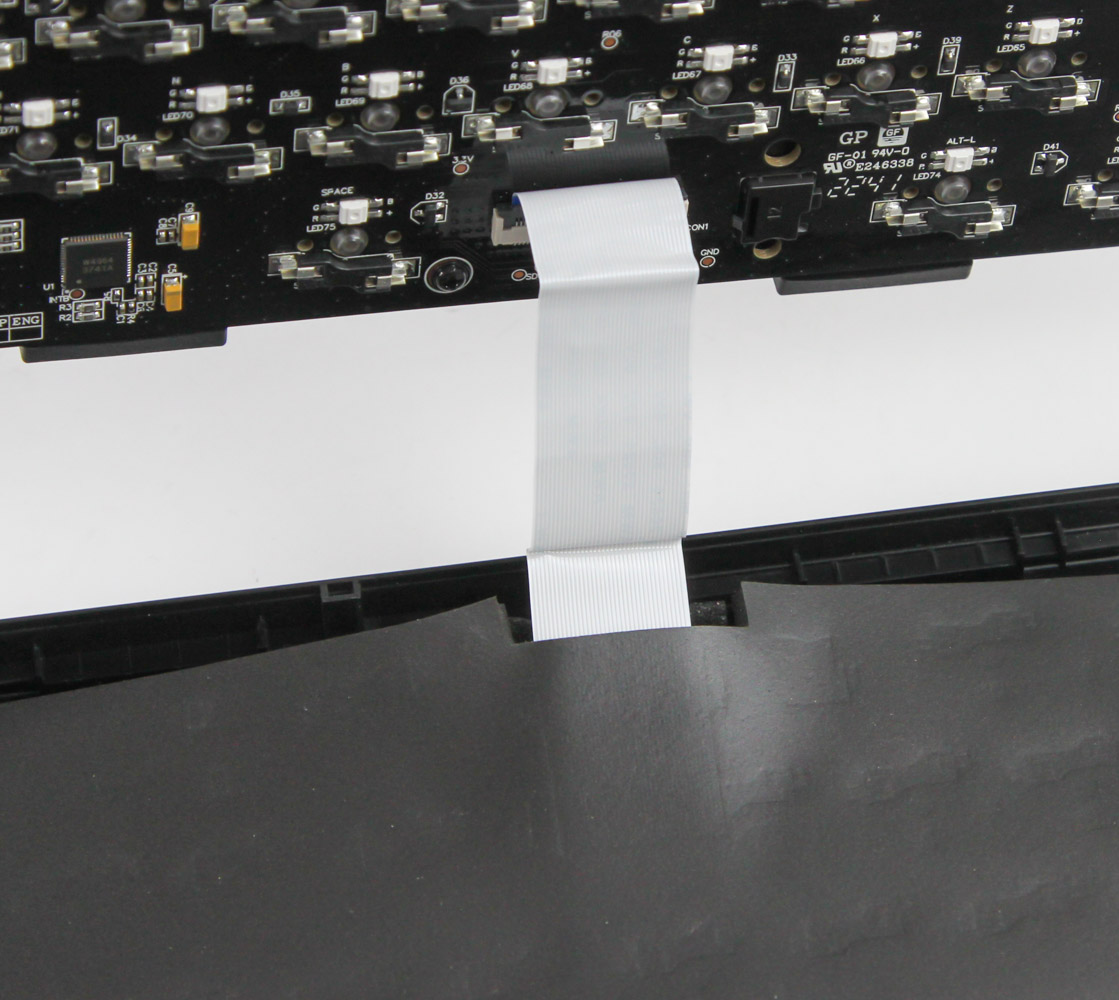
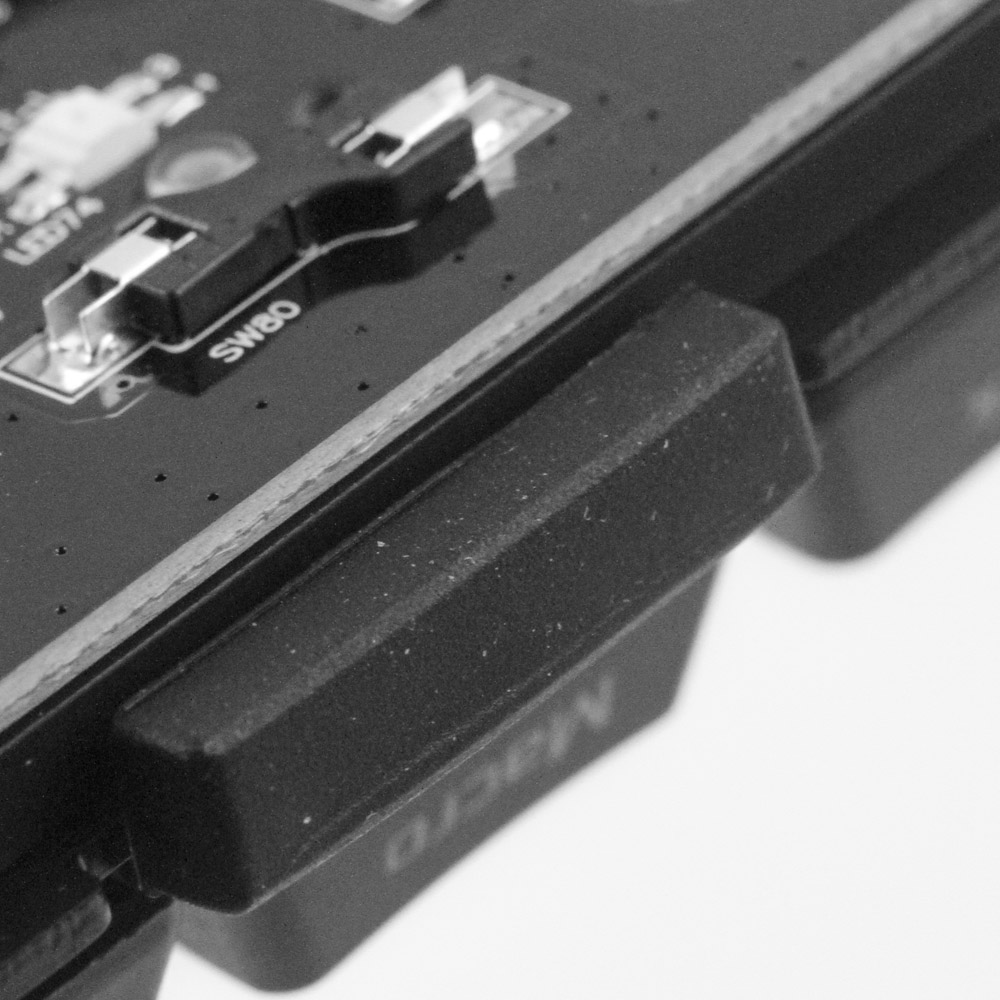
Disassembly of the keyboard itself is on the easier side of average with ASUS having opted for 10 socket-head screws accessible on the back. Taking them off allows for the top aluminium case panel to be easily lifted off wherein we get a better appreciation for the thicker metal piece compared to your typical thin frame used by most others, as well as the protective screen that goes on top of the OLED display underneath. The plate/PCB section can also be moved enough to access the ribbon cable connecting it to the bottom panel itself, although note that you may have to peel back the sticky foam sheet to access this, as seen above.
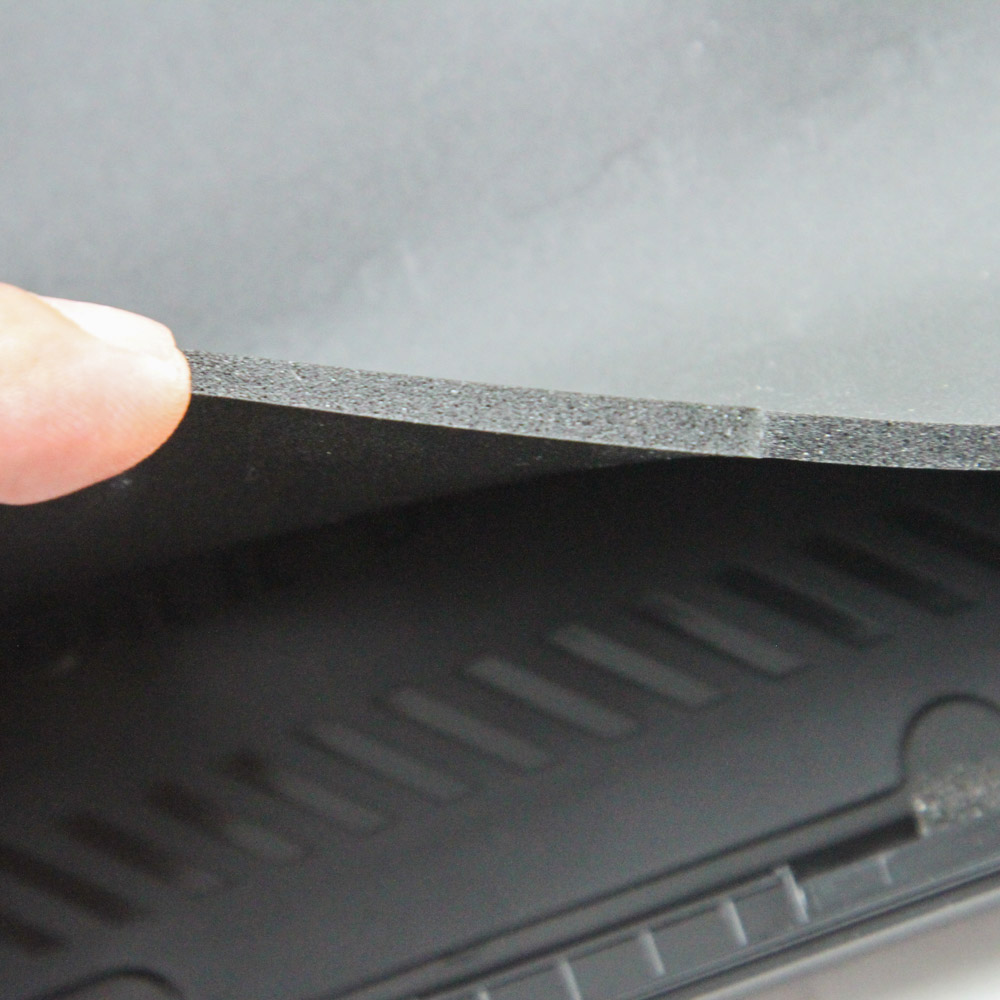
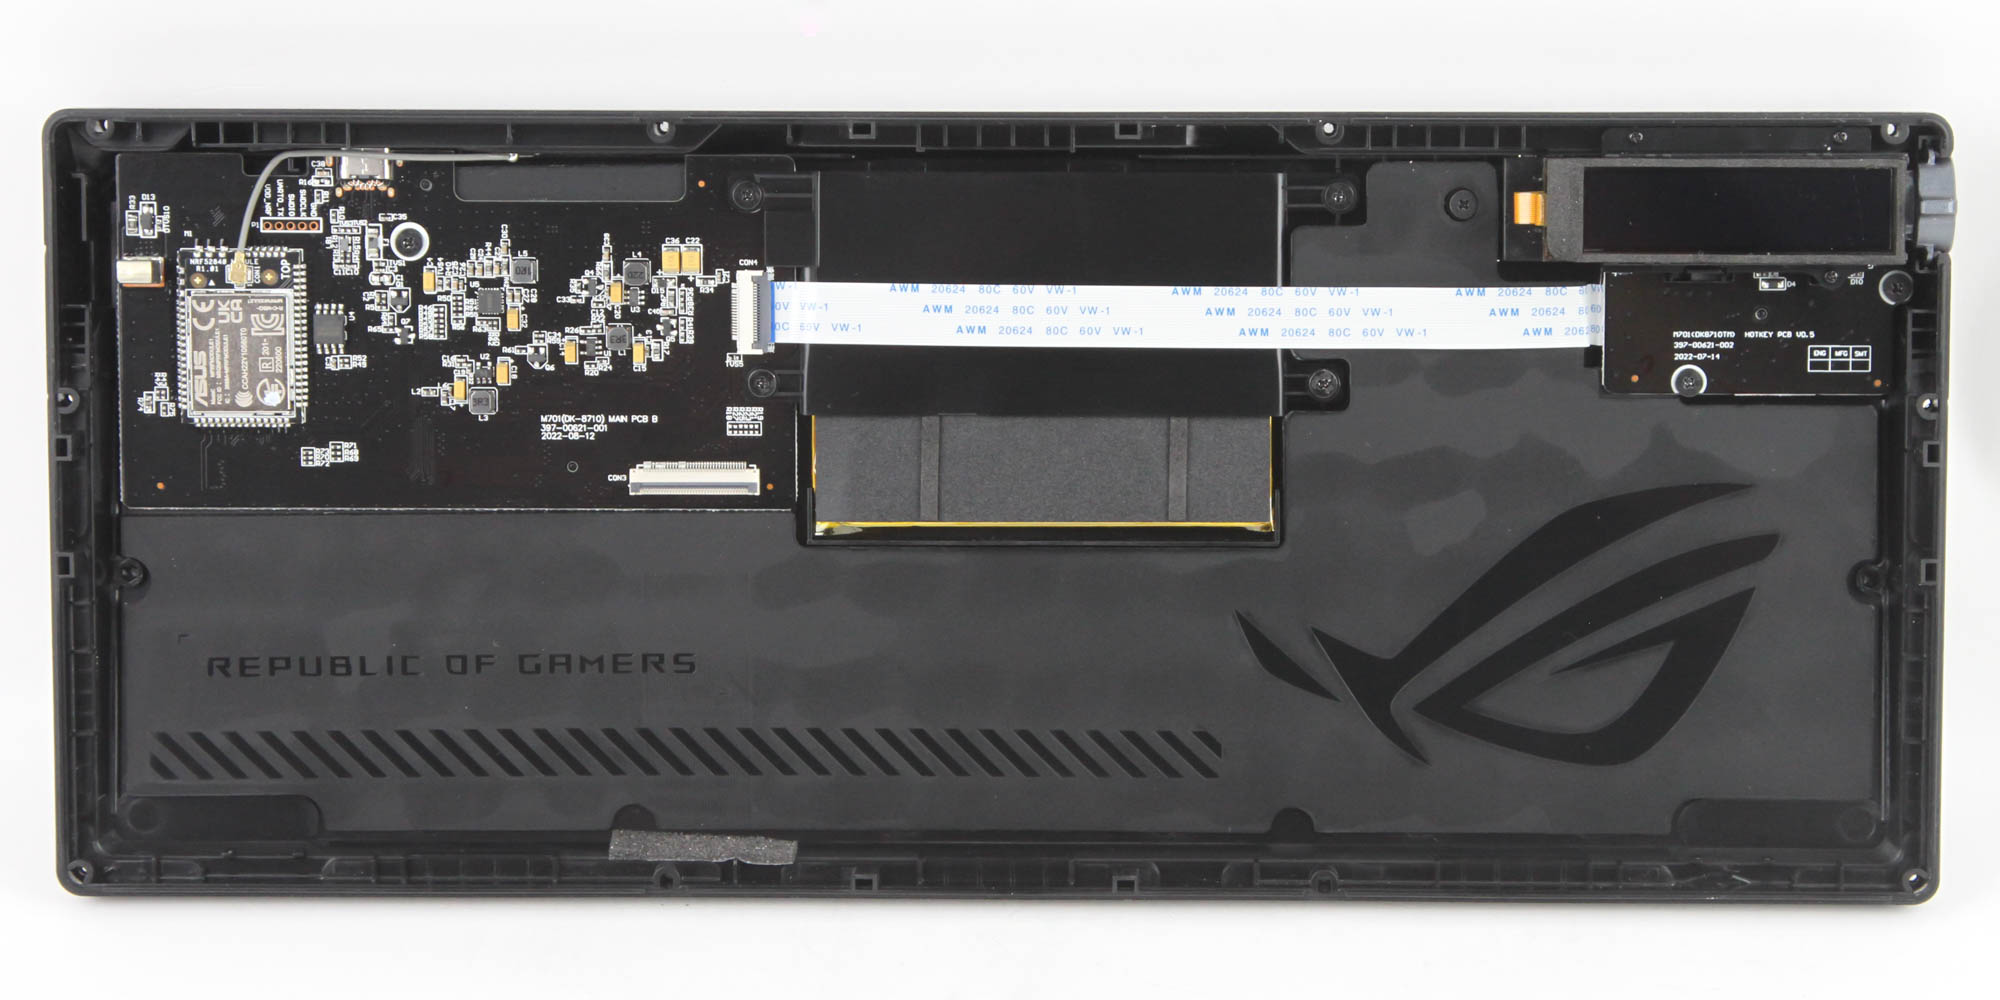
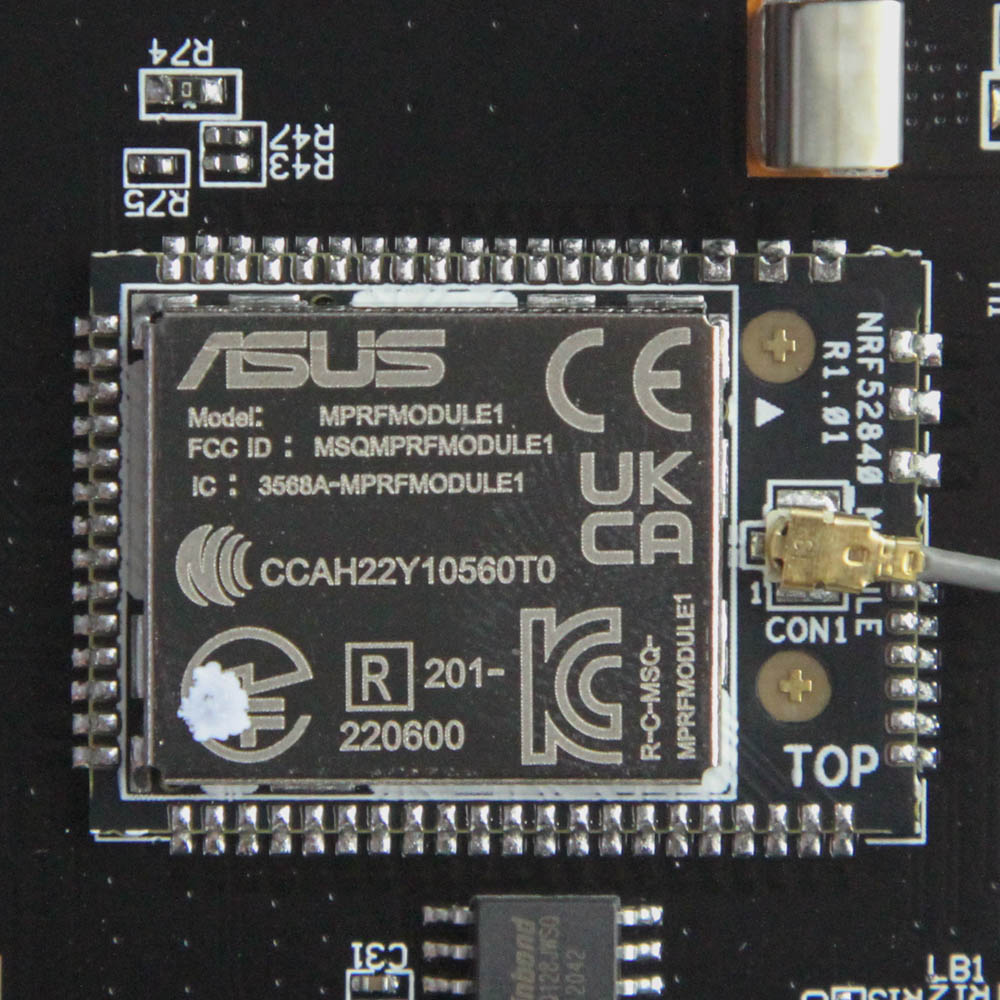
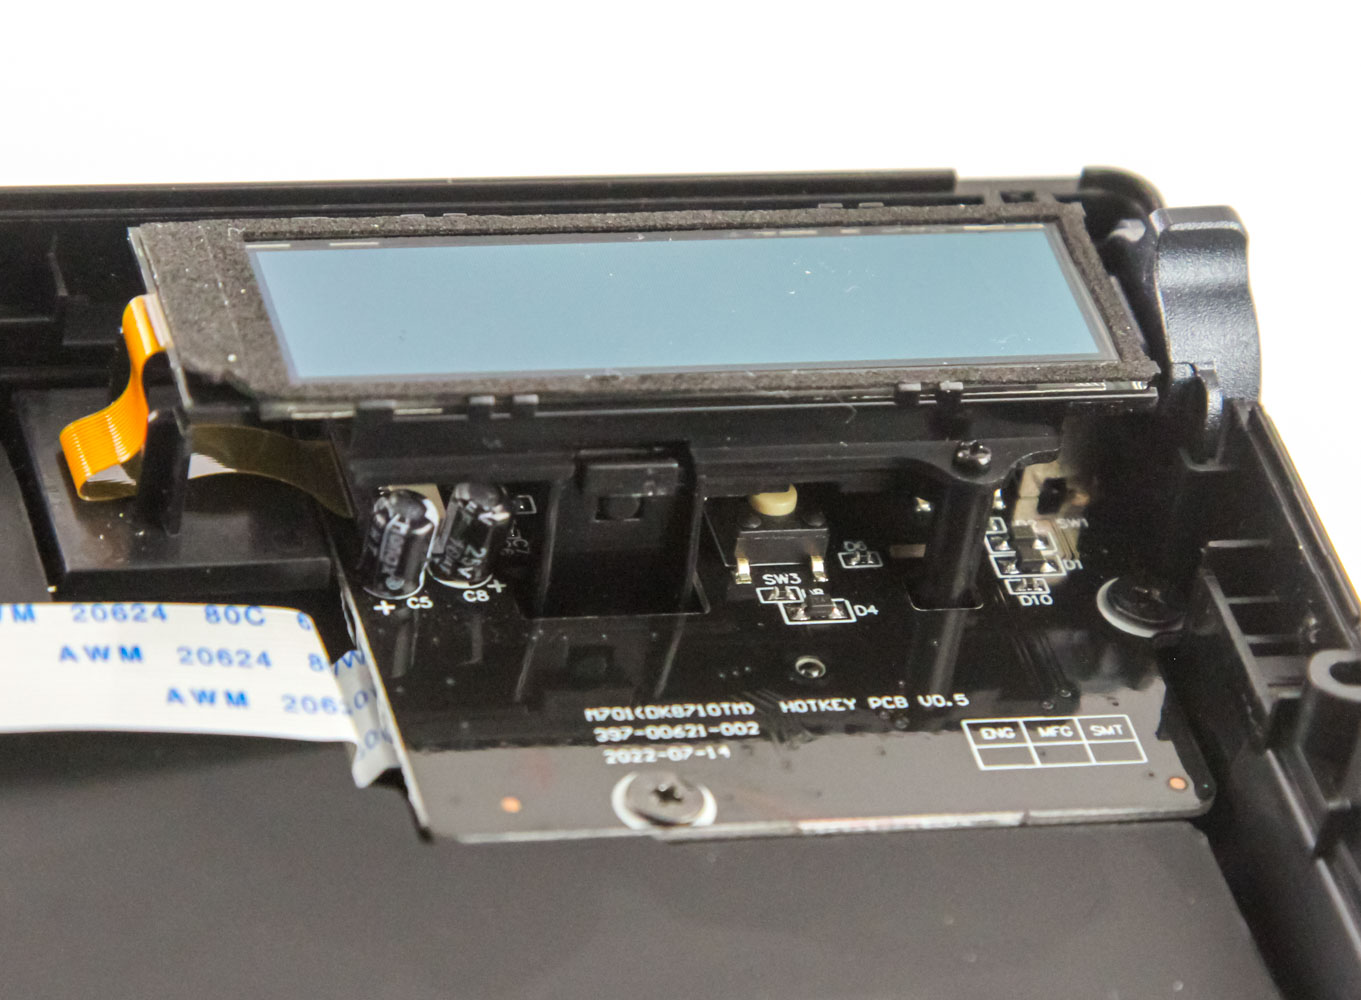

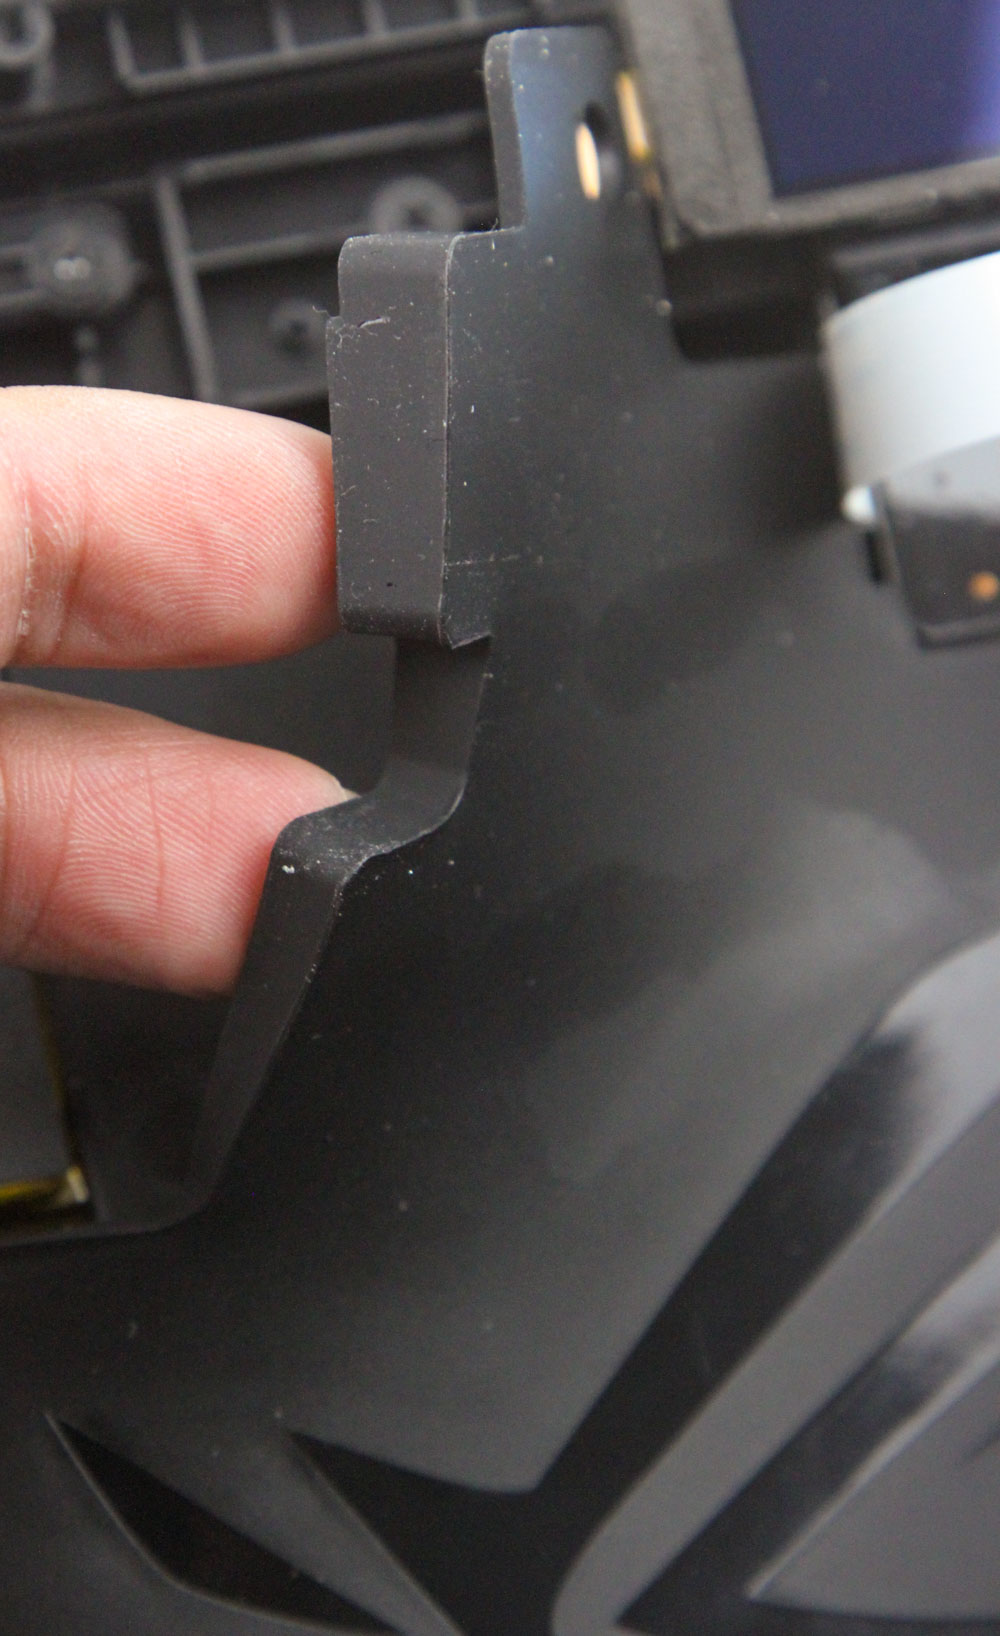
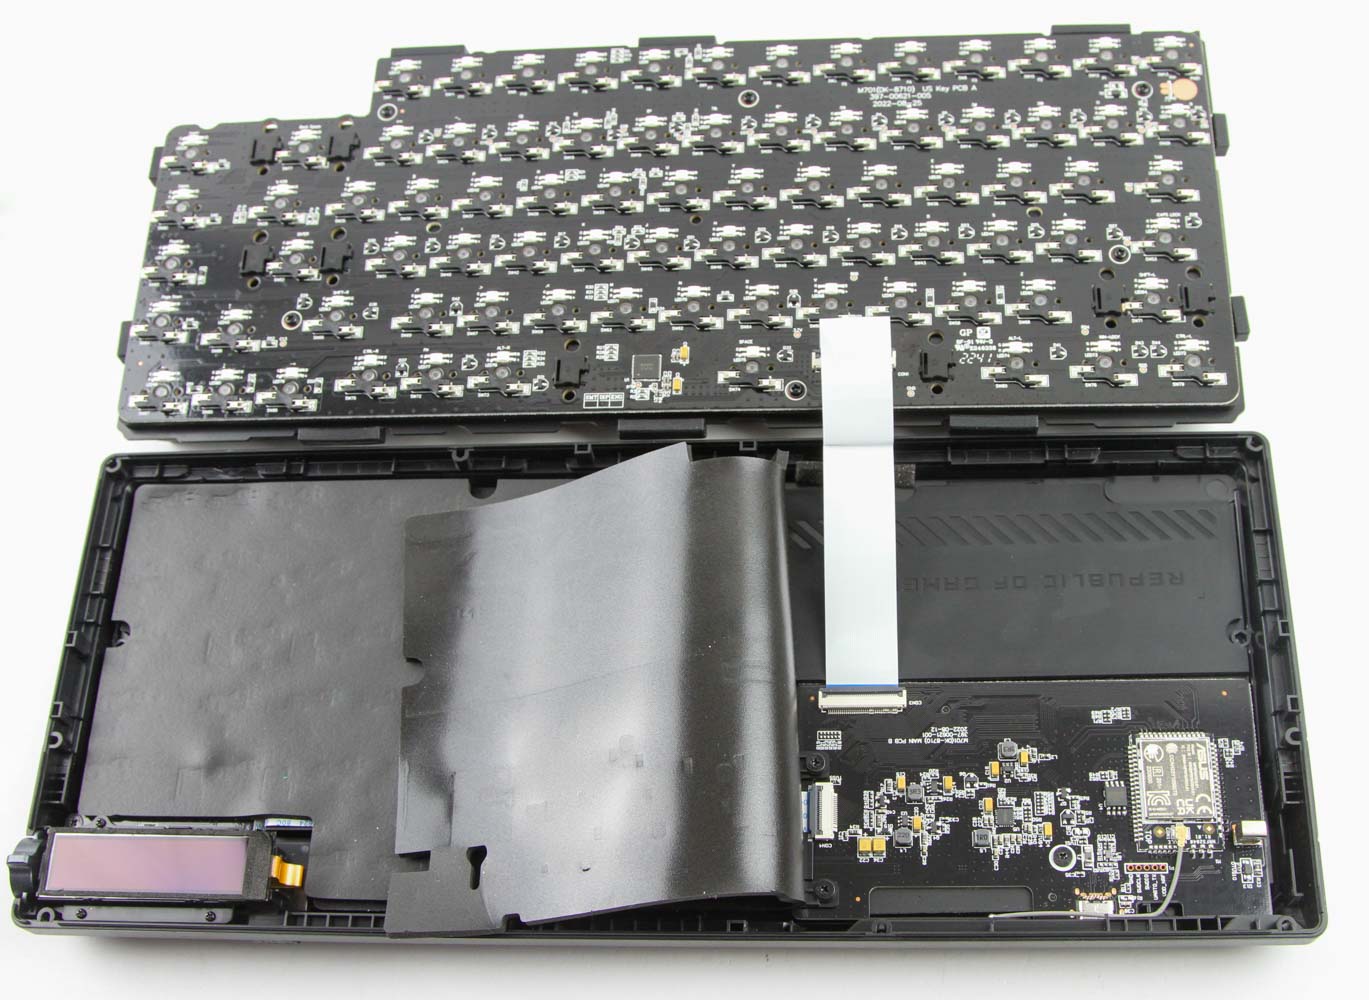
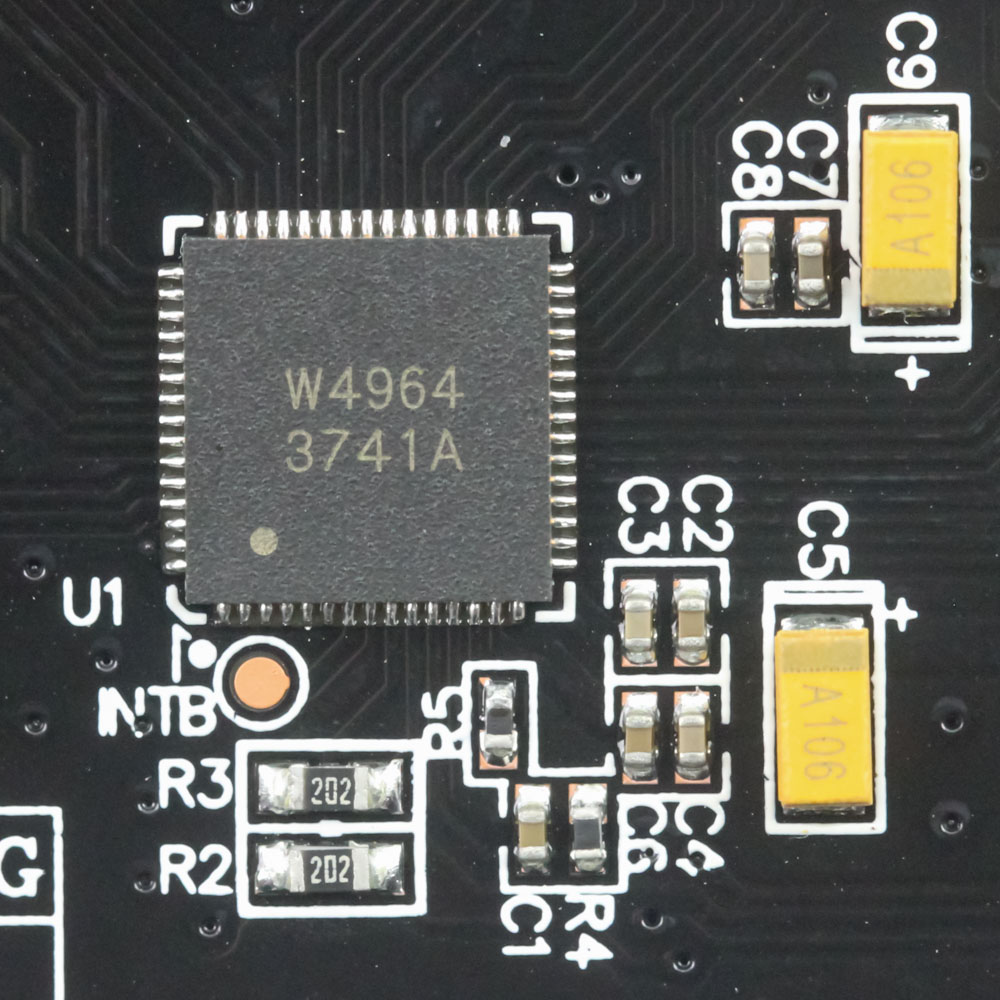
ASUS has so much foam here to where I can't help but admire the commitment towards making the Azoth appealing for even the more hardcore keyboard enthusiasts. There's an overlaying thick sheet and then an even thicker, contoured silicone sheet that gets branding too. This allows for the entire ABS plastic panel to be decoupled from the rest of the keyboard. Note also how there's a lot more going on here, so much so that the wireless microcontroller is located here on a separate PCB. On the other side is the OLED display tied to its own daughter PCB and in the middle is the battery itself which unfortunately comes well-taped to where I can't easily tell you the battery capacity.


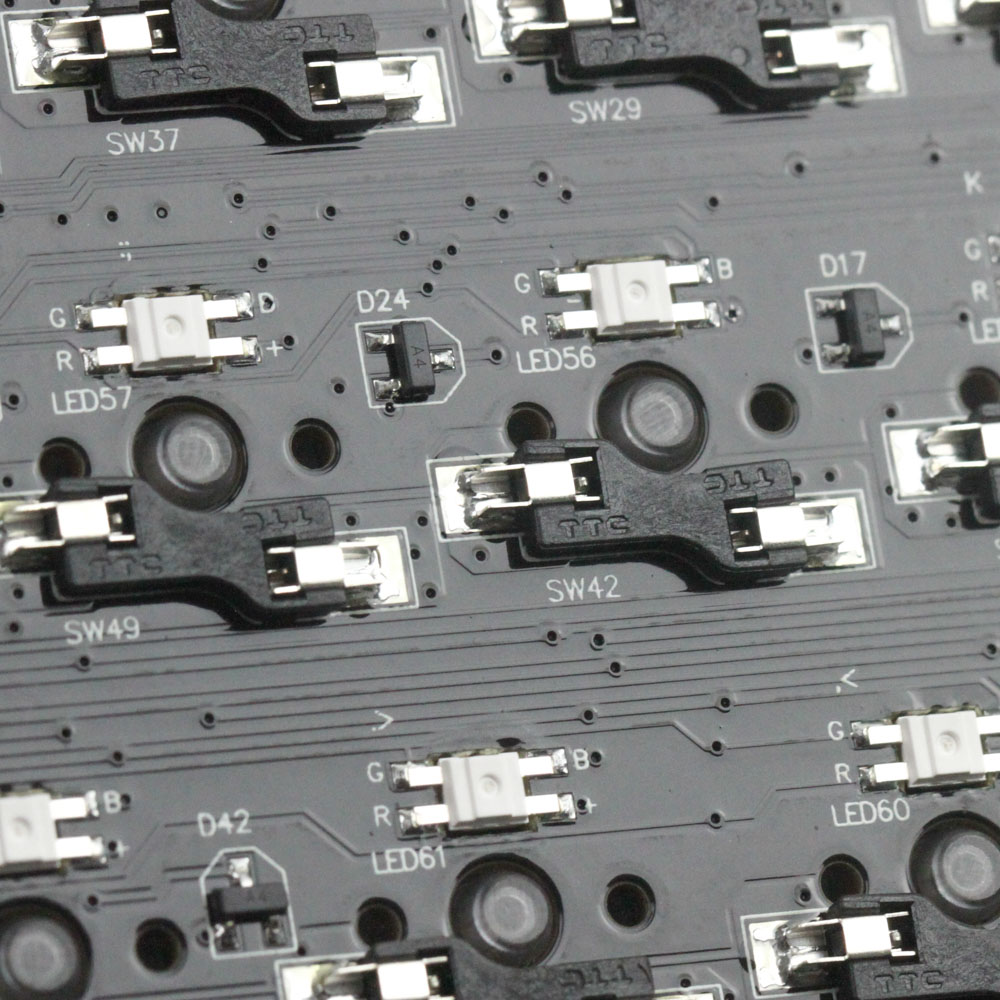
The primary PCB utilizes a gasket mount design with 10 silicone gaskets supporting the steel plate and the PCB when you press down on the switches. You can choose to remove every single keycap and switch to further separate the plate and PCB at this point, although I was more interested in seeing the TTC hot-swap switch sockets used here which don't play as nicely with some switches—I would have liked to see Kailh hot-swap sockets used instead. There isn't much more to see here, with most of the functionality on the other PCBs, although there's clearly another foam sheet between the plate and the multi-layered PCB too.
Before we move on, be advised that disassembly may void the warranty and that TechPowerUp is not liable for any damages incurred if you decide to go ahead and do so anyway.
Jan 31st, 2025 05:59 EST
change timezone
Latest GPU Drivers
New Forum Posts
- Paper launch 5080/5090 - is this a problem for Nvidia? (12)
- RTX 5080 - premature review - it sucks (134)
- What's your latest tech purchase? (23035)
- Please let me know if the UPS that I want to buy is good or not for my PC. (104)
- TPU's Nostalgic Hardware Club (19907)
- Changing HD Audio Power Timeout failed (0)
- So who’s paying $100 for GTA 6 then? (108)
- Will you buy a RTX 5090? (272)
- Possible to use NVCleanstall but also use Nvidia App? (33)
- NVCleaninstall Error Could not find file presentations.cfg (When Easy-Anti-Cheat is checked) (3)
Popular Reviews
- NVIDIA GeForce RTX 5080 Founders Edition Review
- NVIDIA DLSS 4 Transformer Review - Better Image Quality for Everyone
- Galax GeForce RTX 5080 1-Click OC Review
- ASUS GeForce RTX 5090 Astral OC Review - Astronomical Premium
- NVIDIA GeForce RTX 5090 Founders Edition Review - The New Flagship
- MSI GeForce RTX 5090 Suprim SOC Review
- MSI GeForce RTX 5080 Vanguard SOC Review
- MSI GeForce RTX 5090 Suprim Liquid SOC Review
- ASUS GeForce RTX 5080 Astral OC Review
- MSI GeForce RTX 5080 Suprim SOC Review
Controversial News Posts
- NVIDIA 2025 International CES Keynote: Liveblog (470)
- AMD Debuts Radeon RX 9070 XT and RX 9070 Powered by RDNA 4, and FSR 4 (349)
- AMD is Taking Time with Radeon RX 9000 to Optimize Software and FSR 4 (251)
- AMD Denies Radeon RX 9070 XT $899 USD Starting Price Point Rumors (233)
- AMD Radeon RX 9070 XT & RX 9070 Custom Models In Stock at European Stores (226)
- NVIDIA GeForce RTX 5090 Features 575 W TDP, RTX 5080 Carries 360 W TDP (217)
- New Leak Reveals NVIDIA RTX 5080 Is Slower Than RTX 4090 (214)
- AMD's Radeon RX 9070 Launch Faces Pricing Hurdles (175)