 2
2
Asustor AS-606T NAS Review
ADM Operating System & Administration Walk-through »Software & Initial Setup
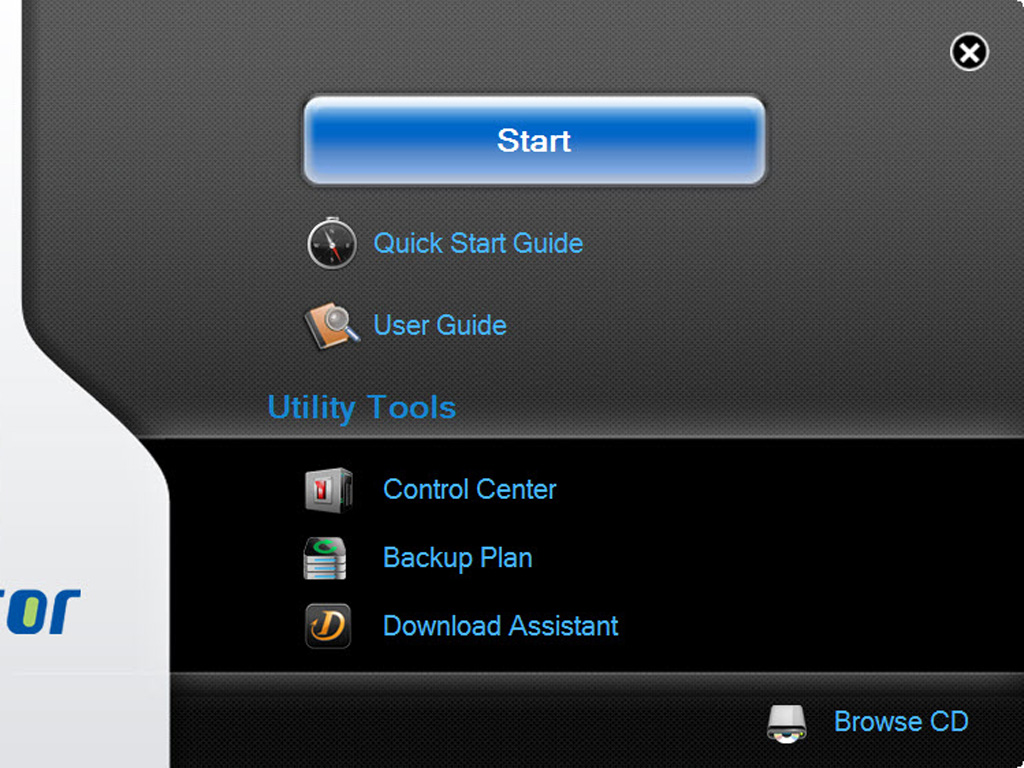
Once you make all the necessary arrangements, like connecting the AC power cord and the Ethernet wire(s) after installing some HDDs on the caddies of the NAS, it is time to load the bundled software disc into the drive of a client PC. Along with some utility programs, you will also find the user's manual and the quick start guide on this disc.
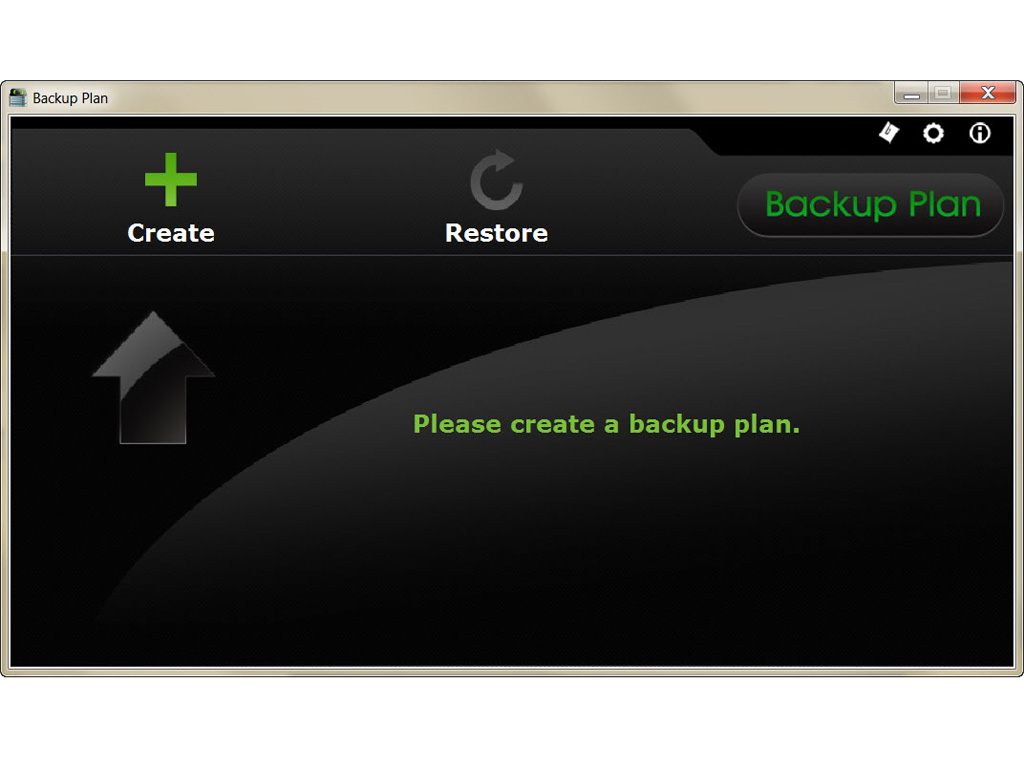
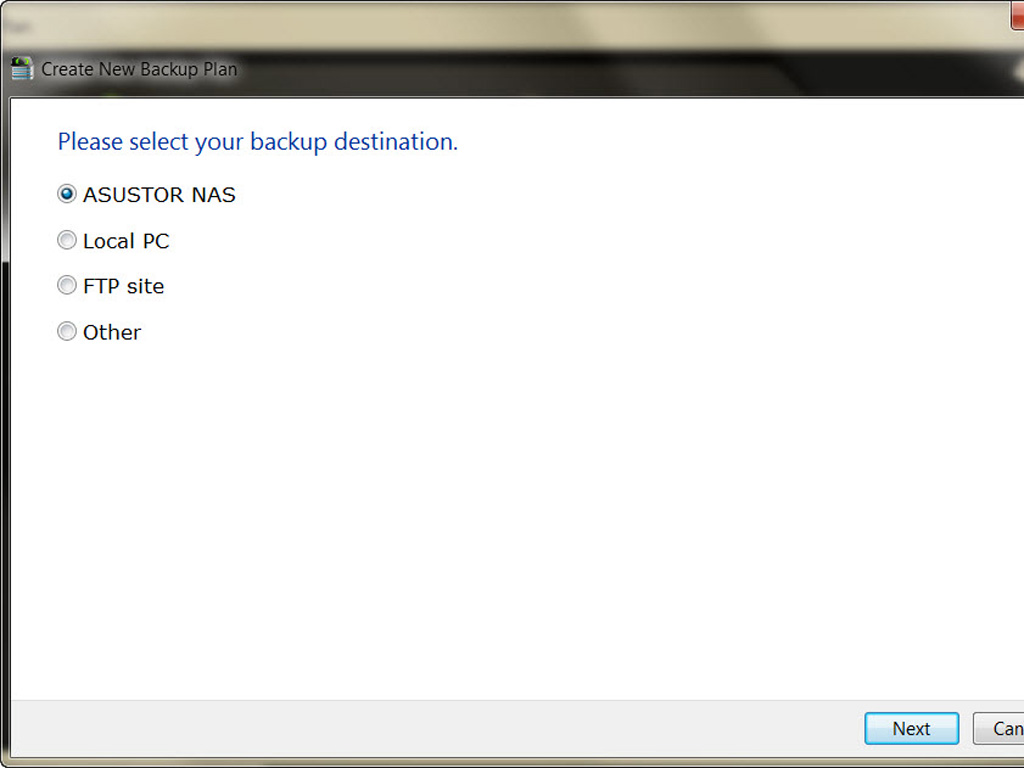
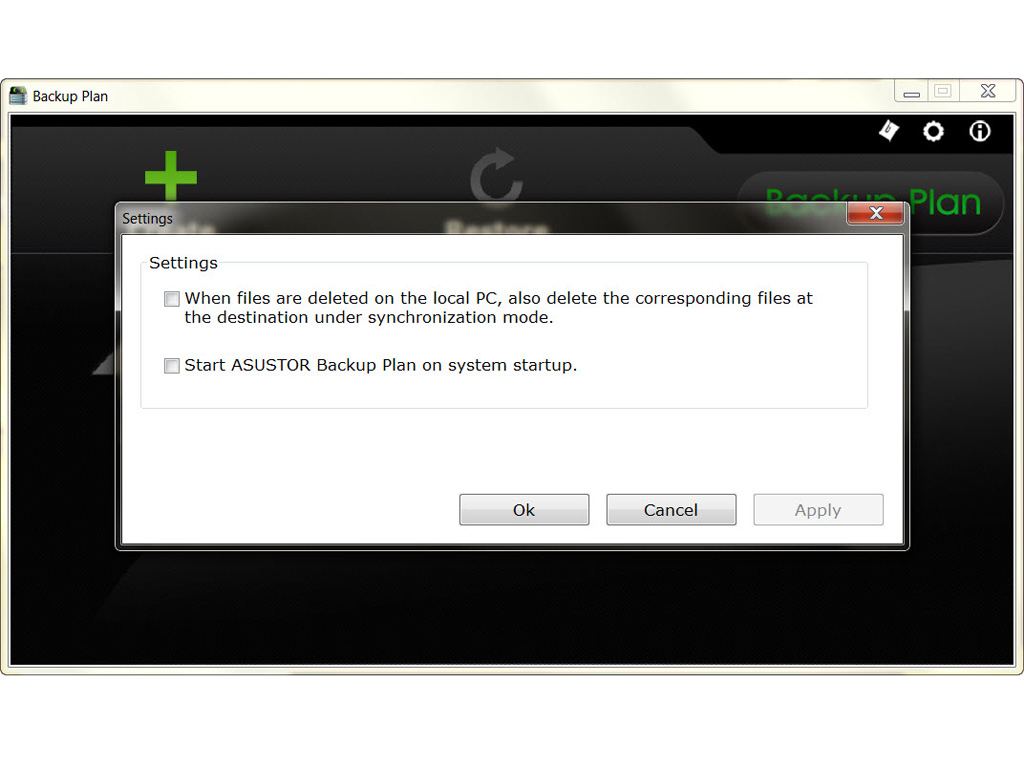
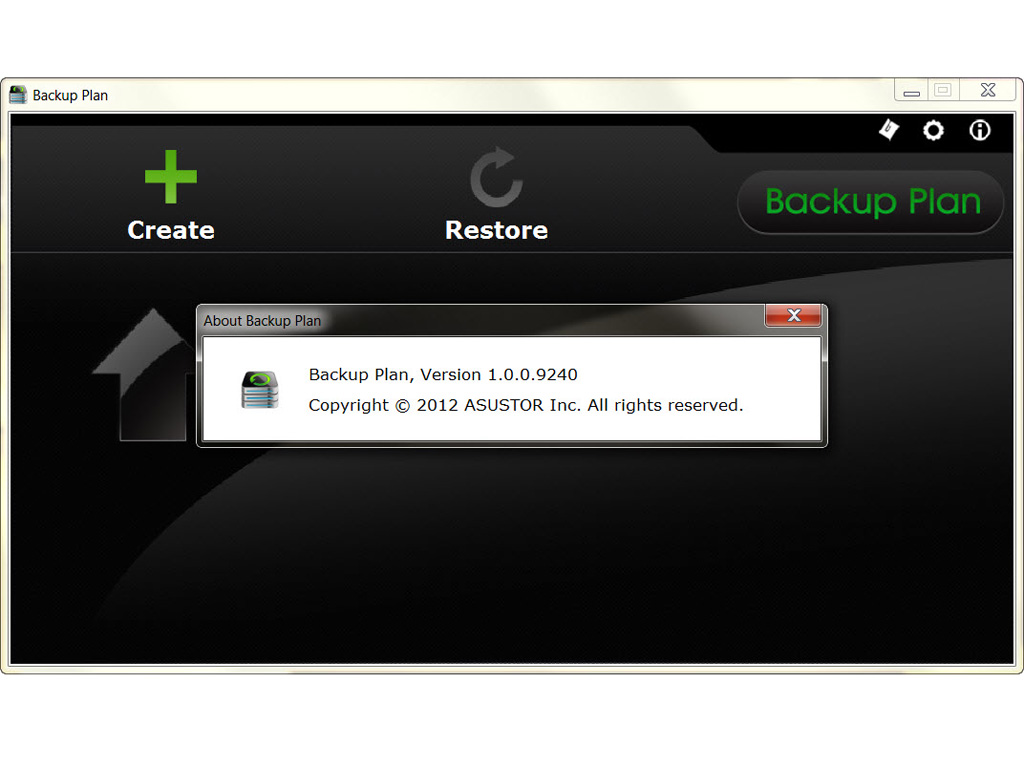
This program allows you to easily create a backup plan, or restore from a backup file. Backup Plan is quite easy to use and provides many options to cover most needs.
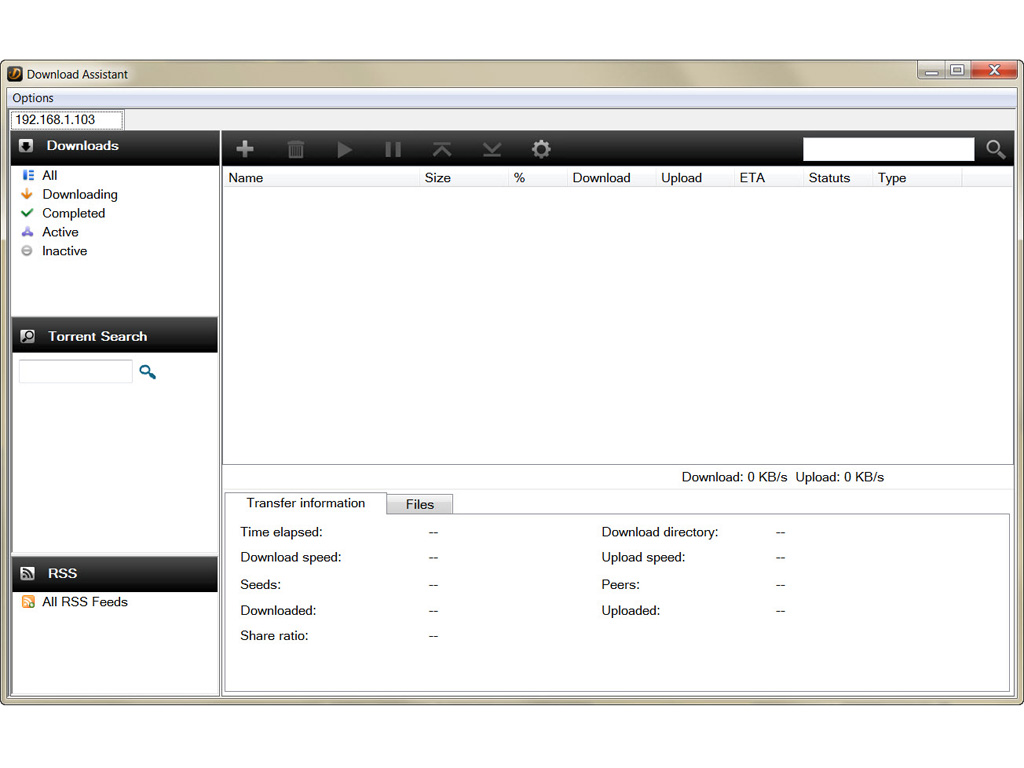
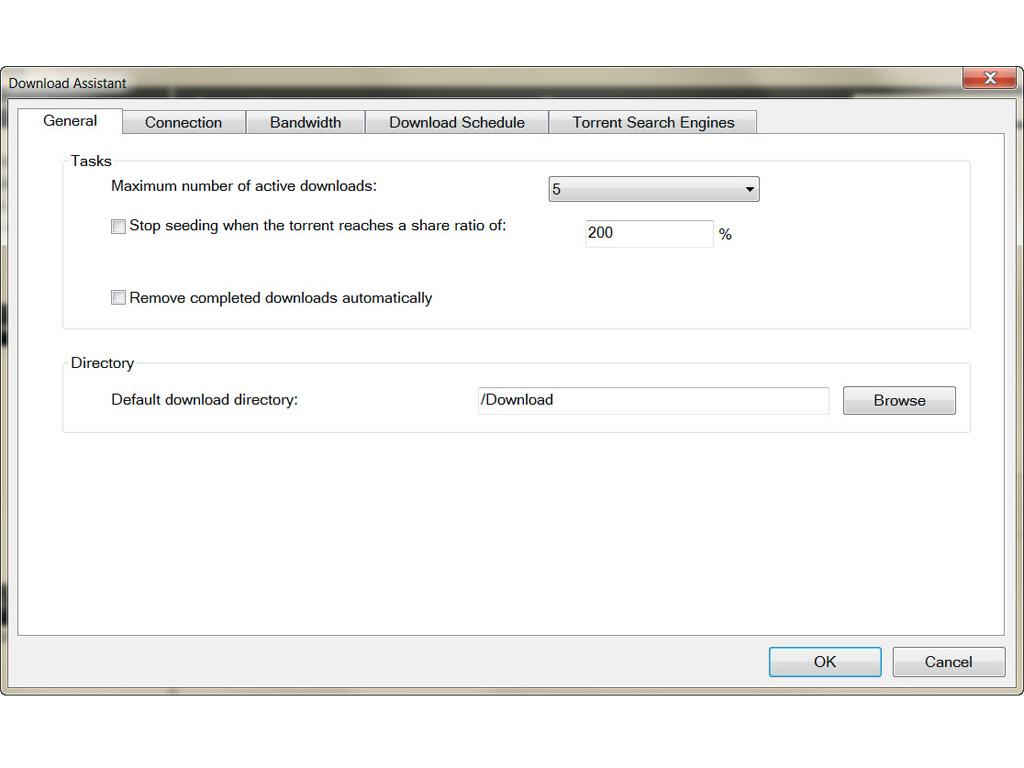
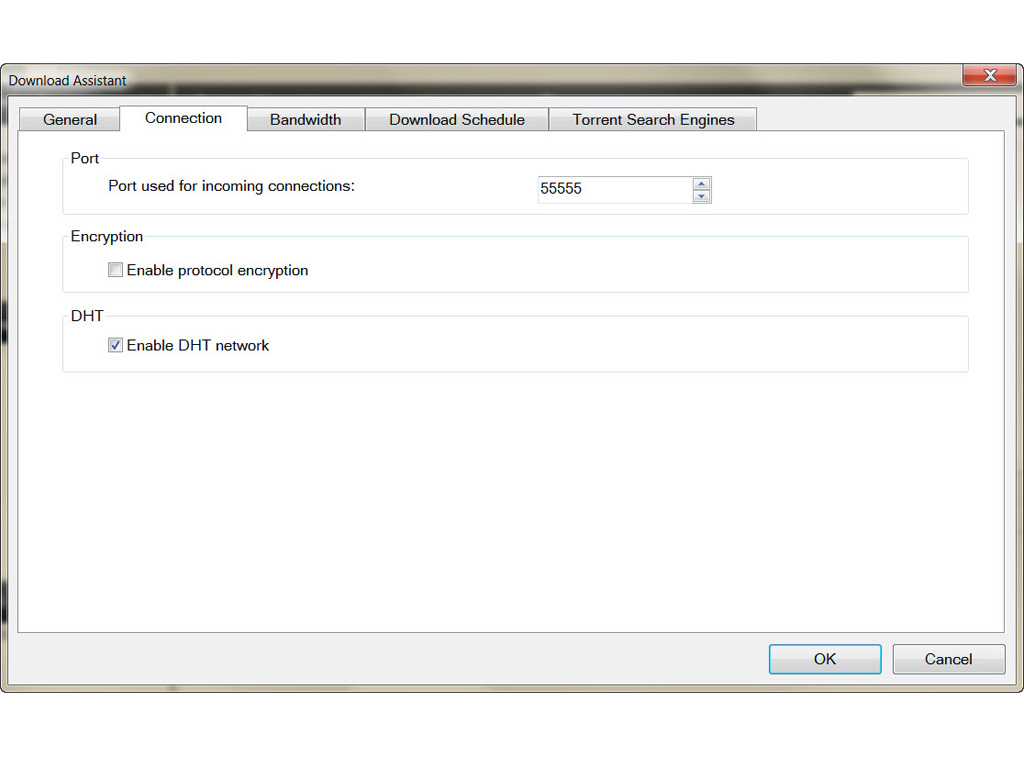
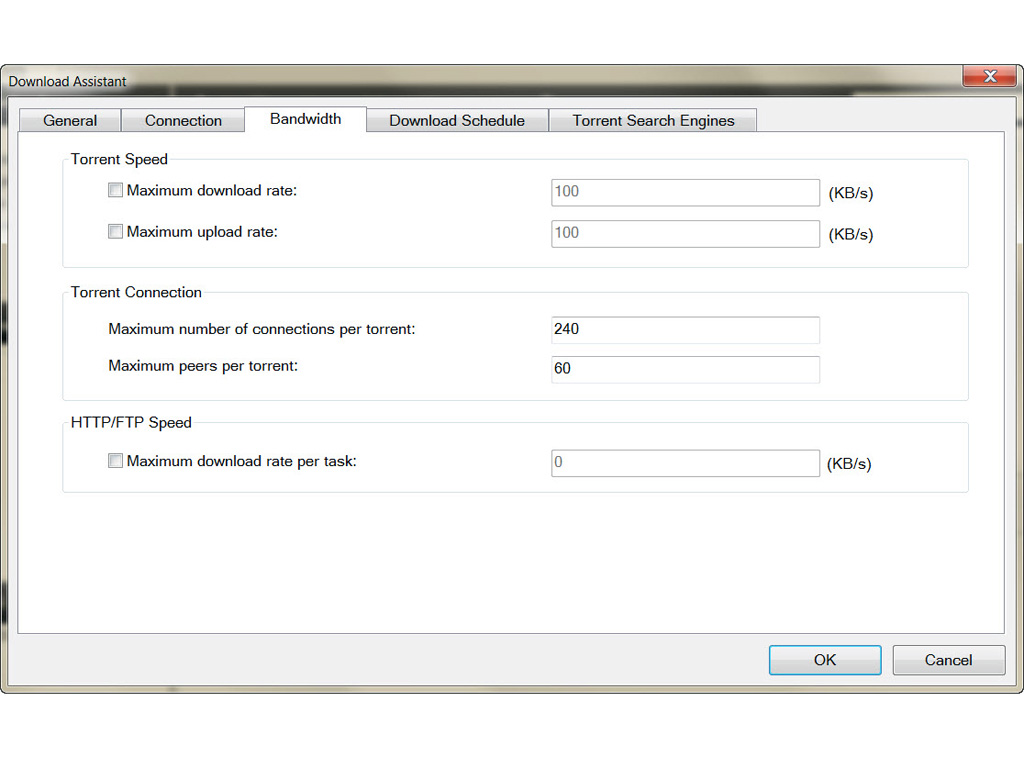
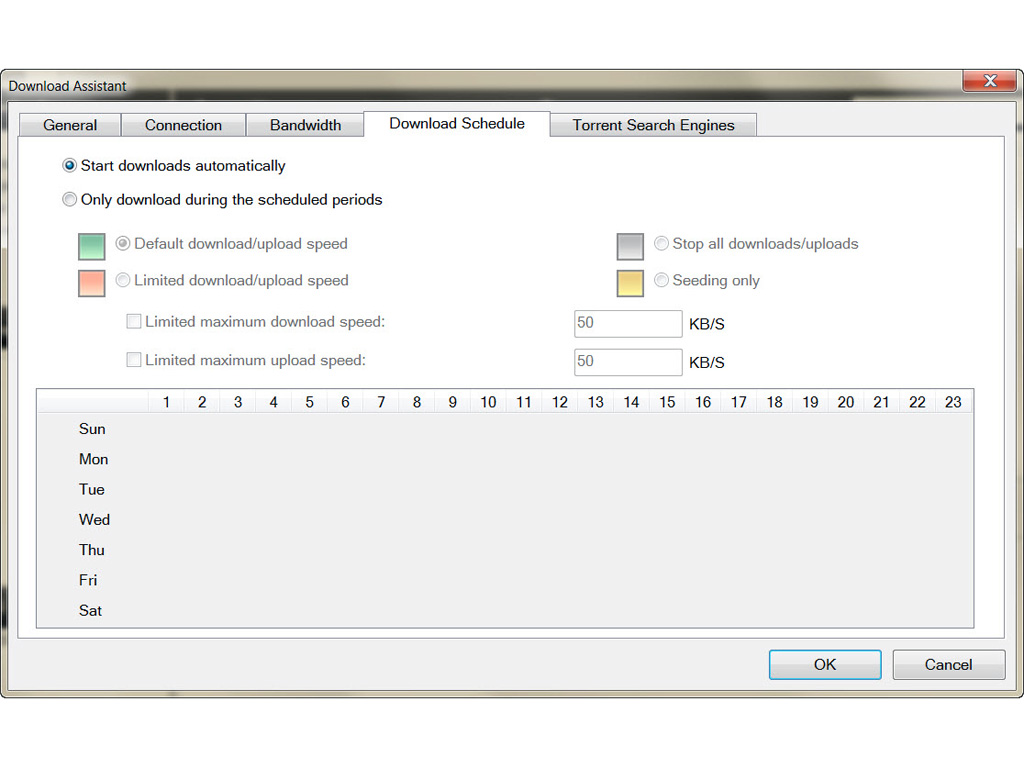
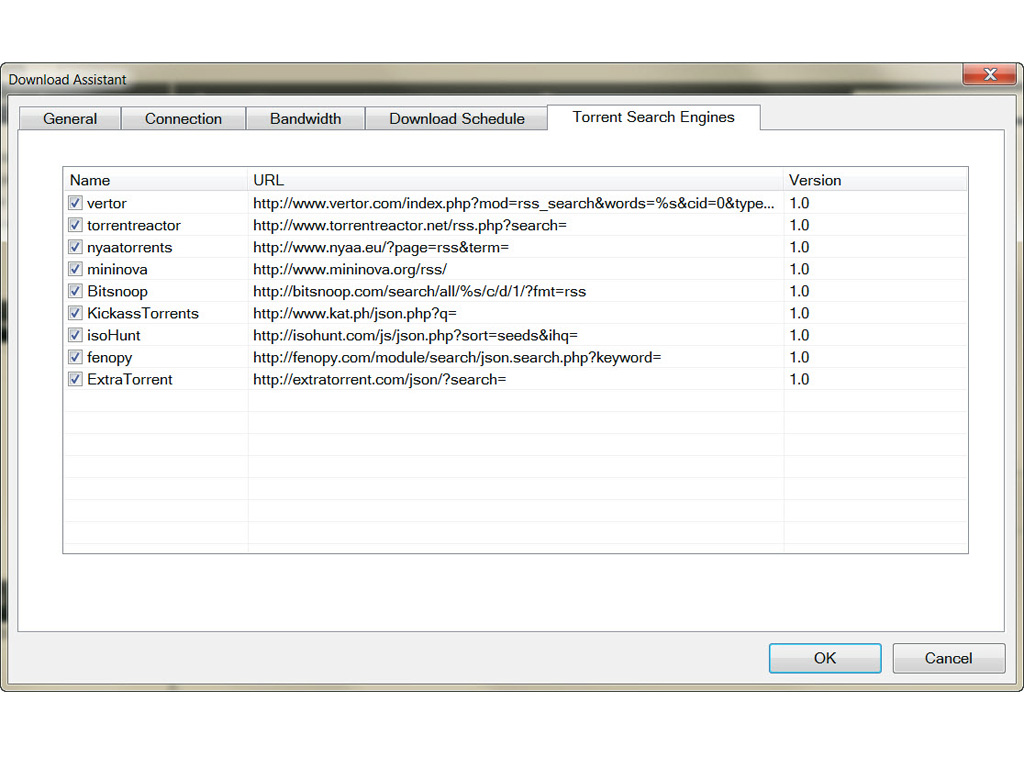
You can automatically download files directly to the NAS server with the Download Assistant program, and downloaded files will be available to all users with the proper access rights to the corresponding folders. It can also download torrent files and allows you to set the torrent search engines you prefer. You can also configure various options like connection ports, download/upload rates, number of simultaneous connections, encryption protocol, DHT network, and you have, if you like, the ability to create your own download schedule.
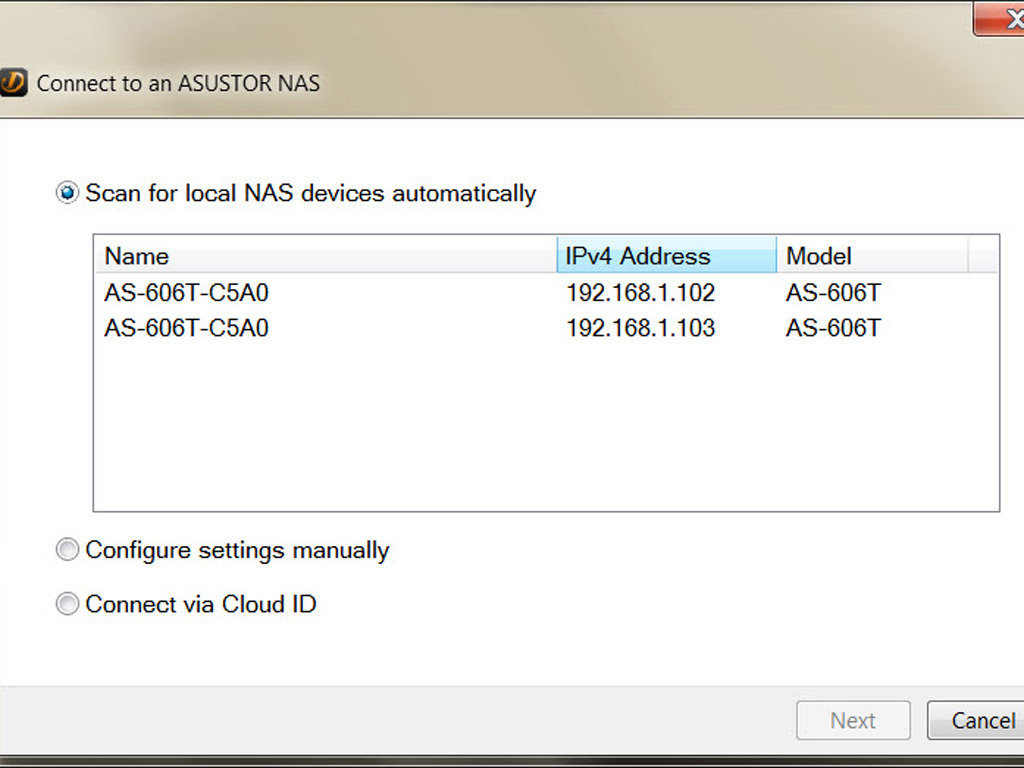
You have to, firstly, initialize the NAS before working with any of the above programs. This can easily be done through the Asustor Control Center, and we will show you how in the following paragraphs.
Initial Setup through Asustor Control Center
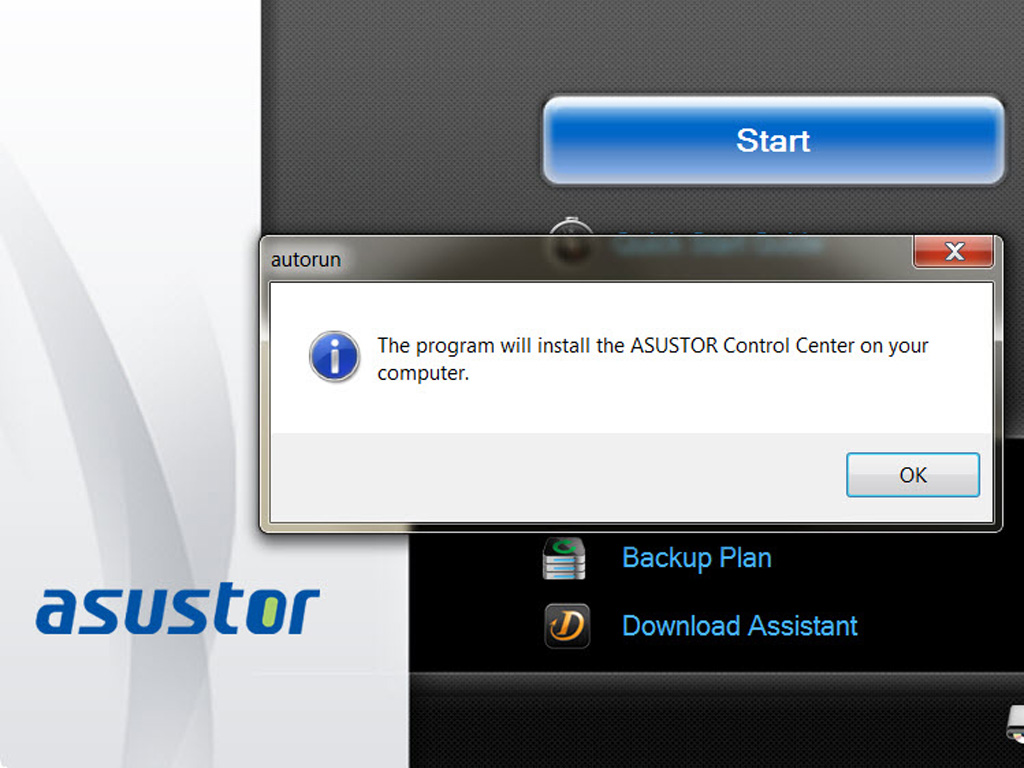
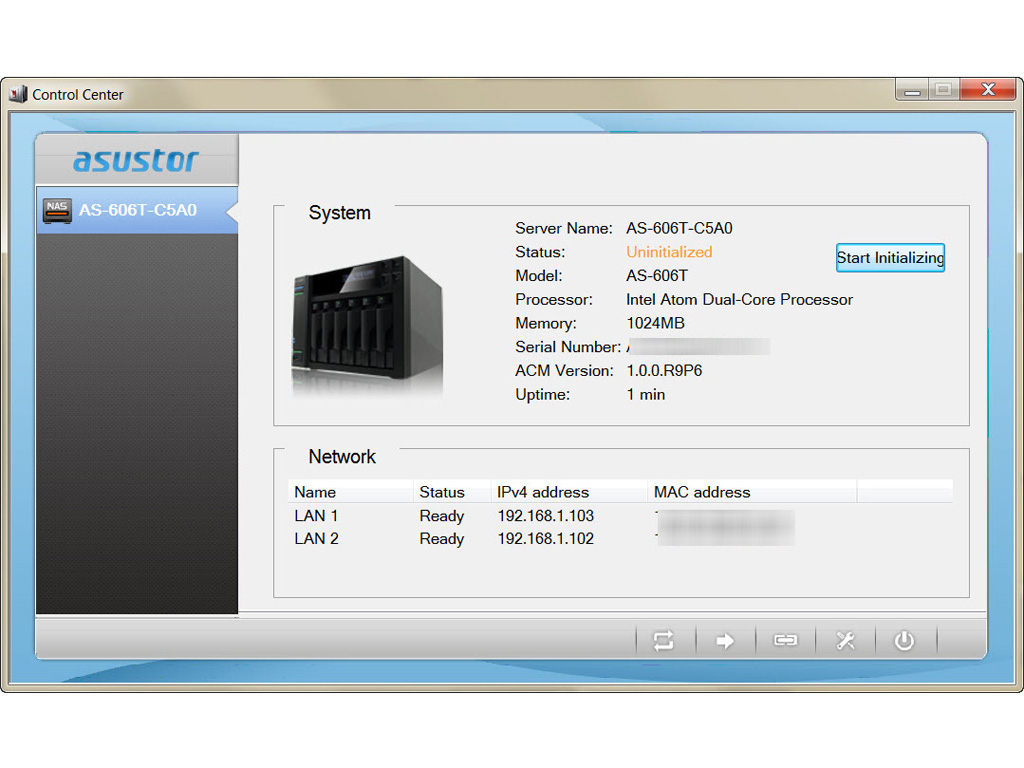
After you take a look at the quick start guide, you must install the Asustor Control Center: it will find the NAS on your network and will allow you to quickly/easily configure it. We highly recommend picking the custom setup, since it allows you to set up the RAID level that suits your needs best.
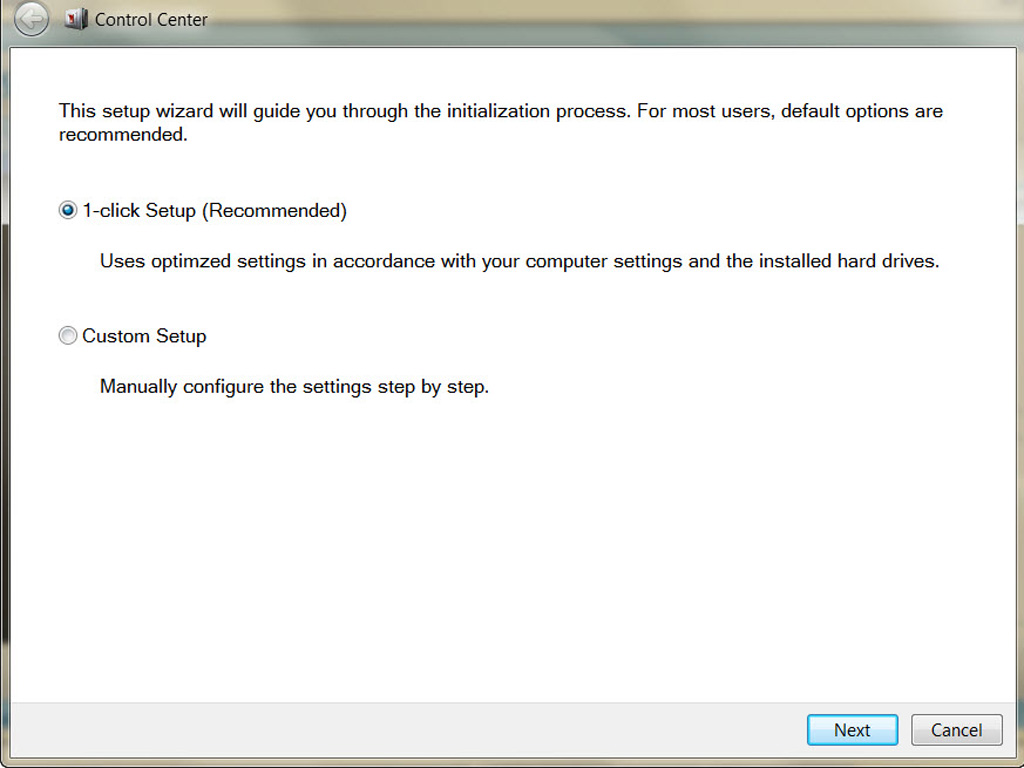
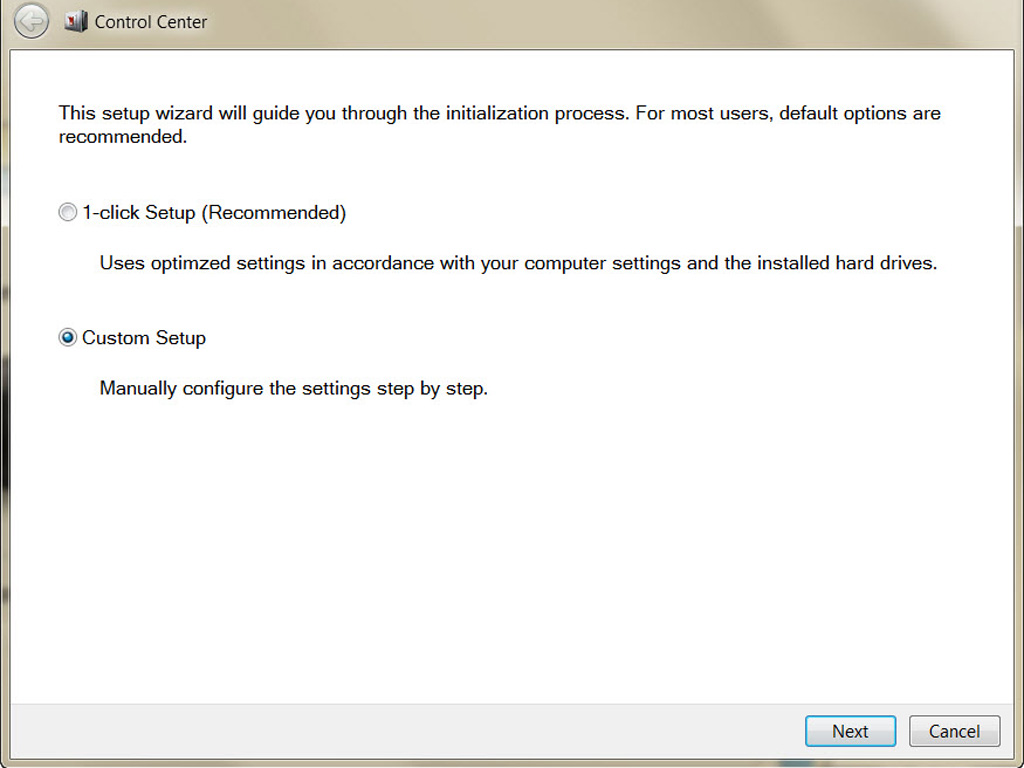
You can select between "1-click setup" to greatly simplify the whole procedure, or go ahead with the "Custom setup" option, which suits SMB NAS servers more.
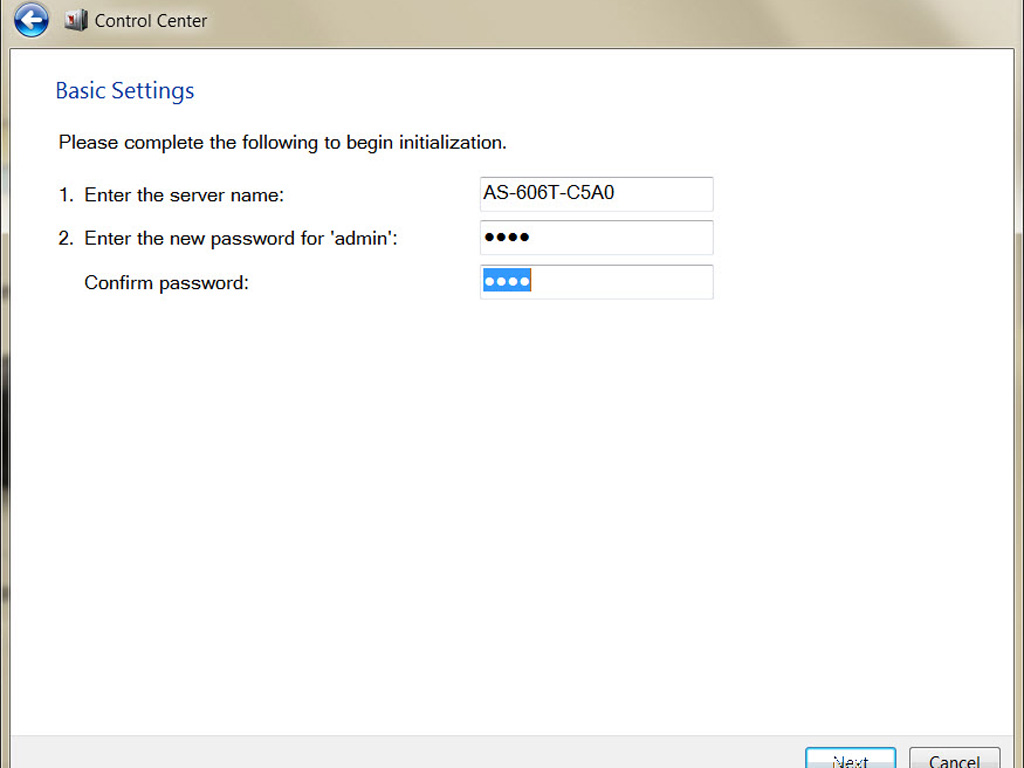
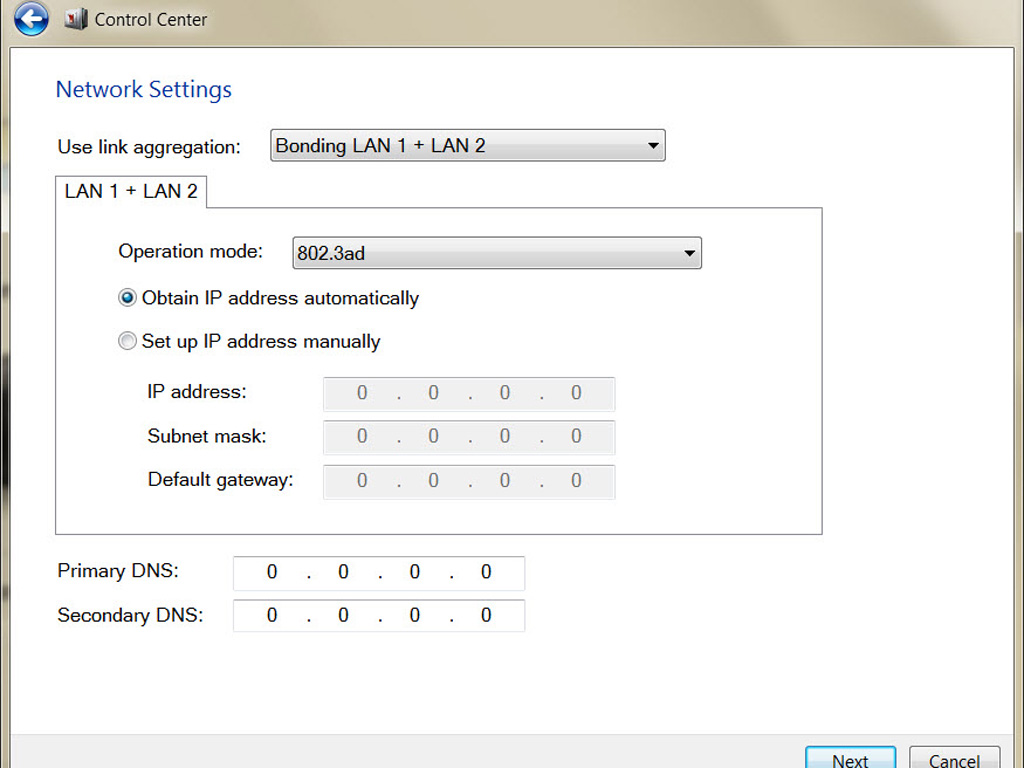
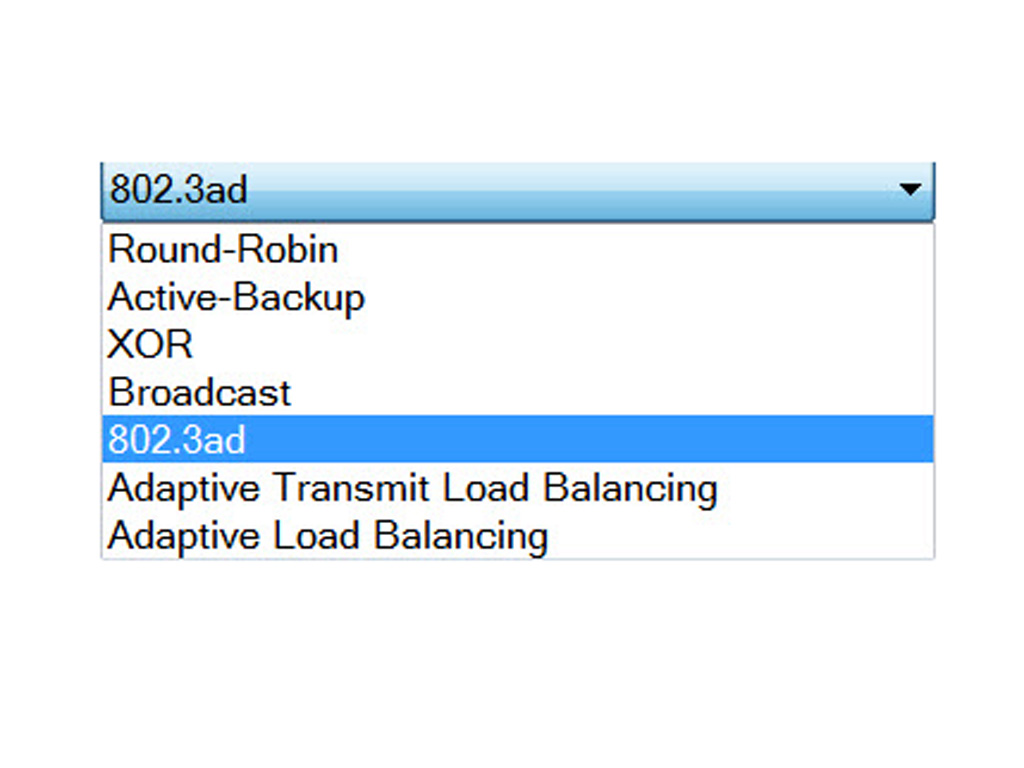
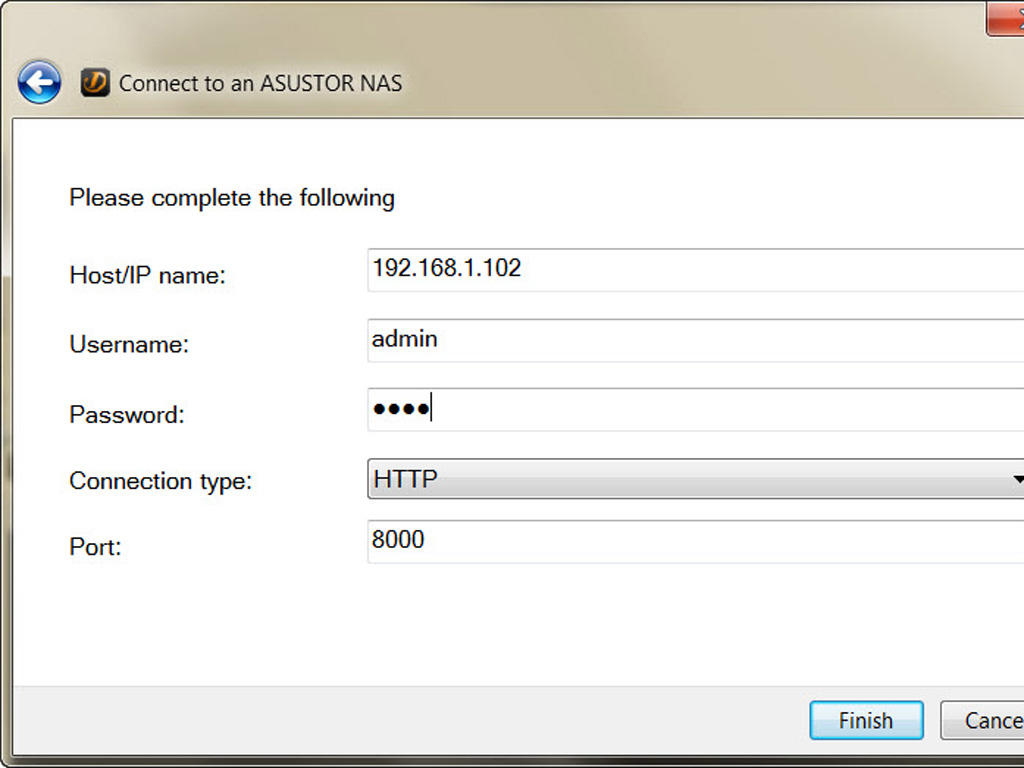
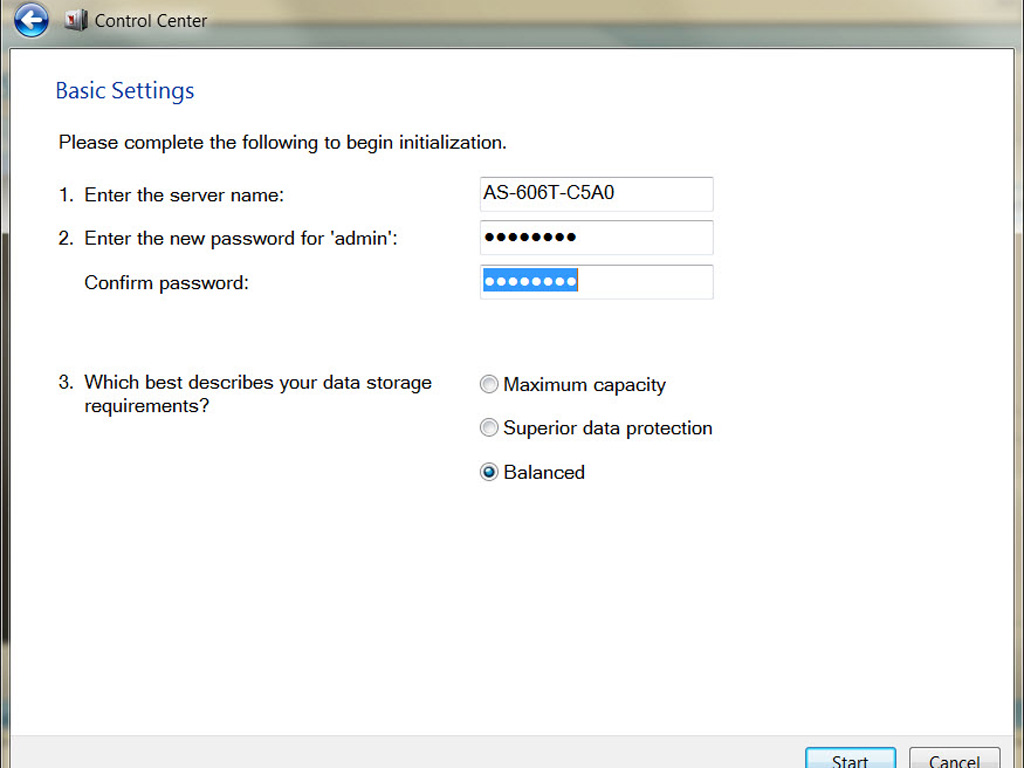
The next step will ask you to name your NAS and choose a password for the administrator account. Afterwards, you are asked to configure network settings. You can, if you want, bond both Ethernet ports and pick one of many available LACP operation modes.
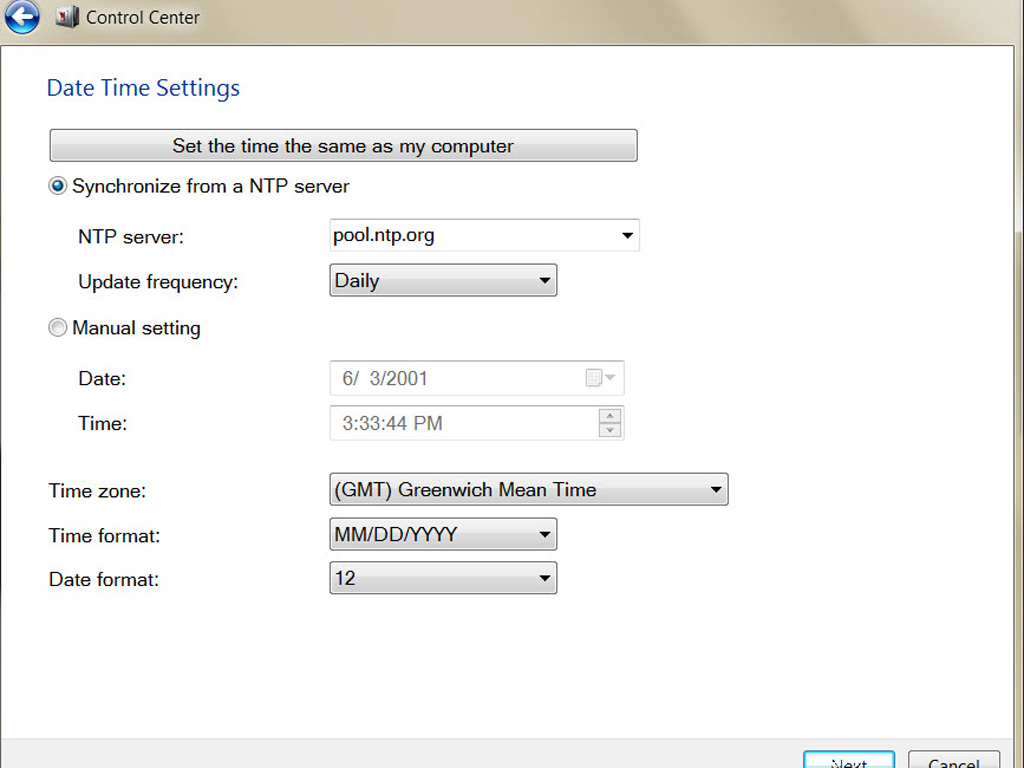
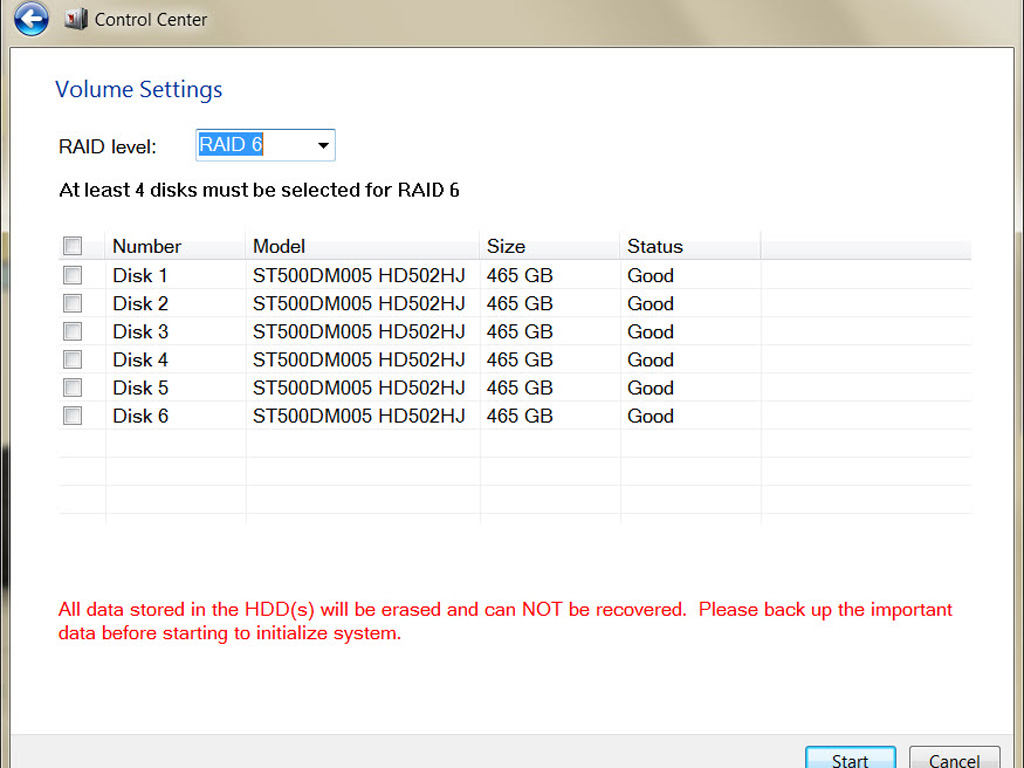
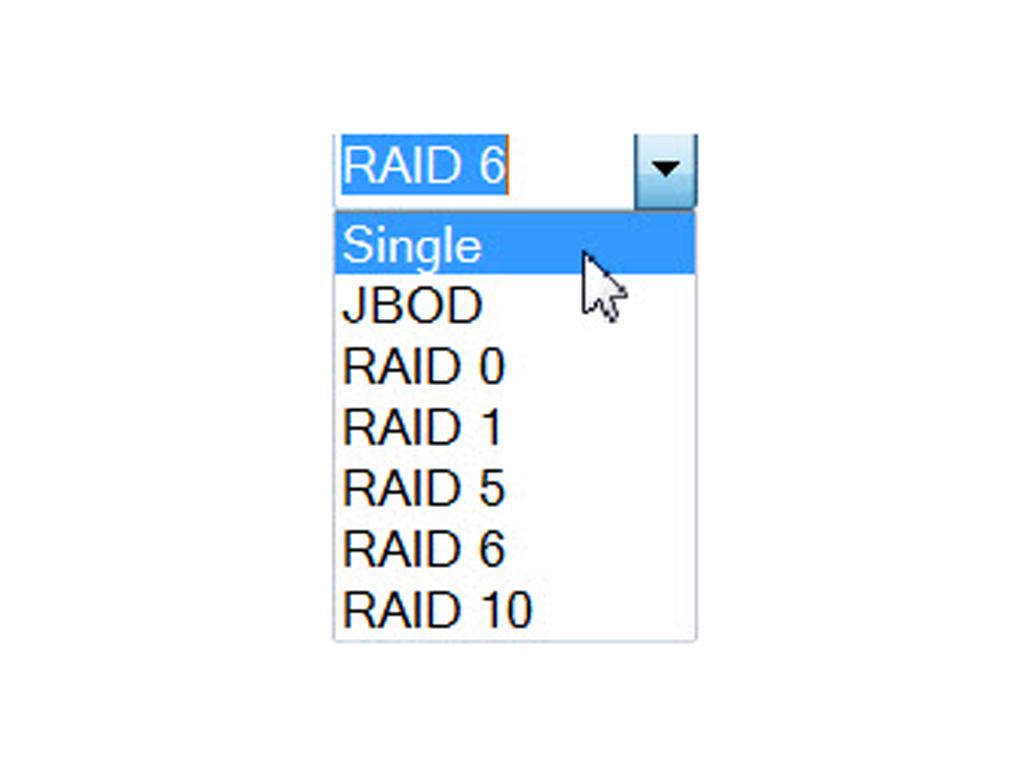
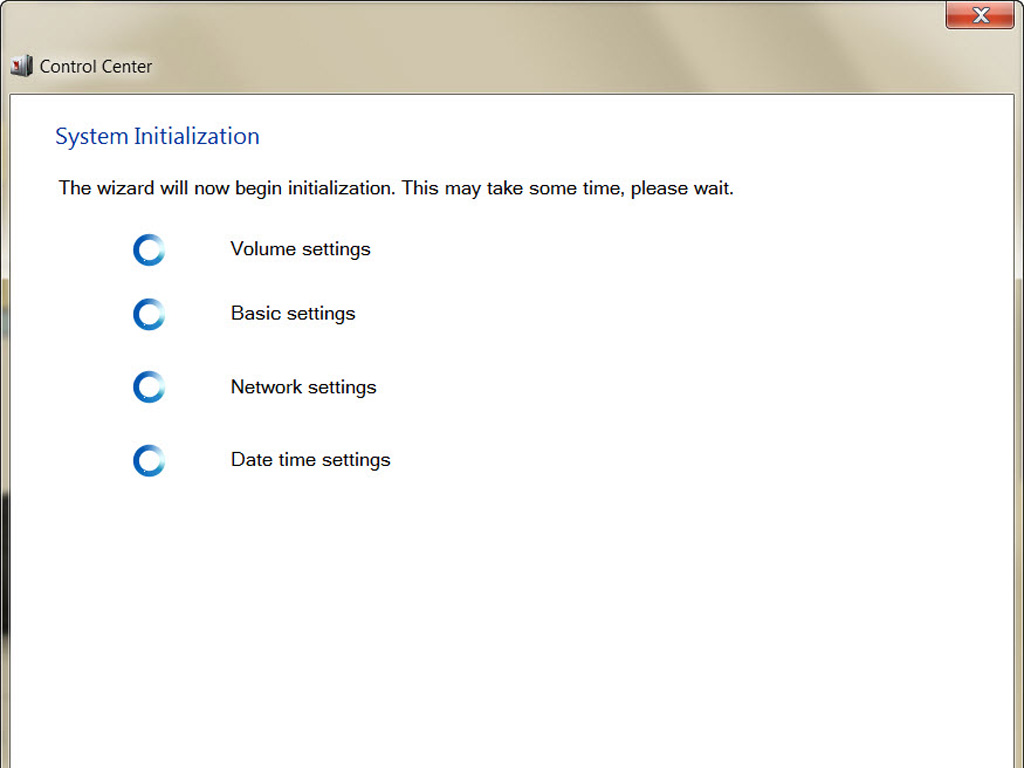
Date and time settings are configured in this step, and you can move on to the most important step - the one wherein you select the RAID level most suitable to the tasks the NAS will handle - once you finish doing so. After you finish all configuration options, the changes will be applied to the NAS rather quickly before providing you access to the administration interface.

Once you finish all of the above steps, the NAS will be ready to serve you!
Web Login Page
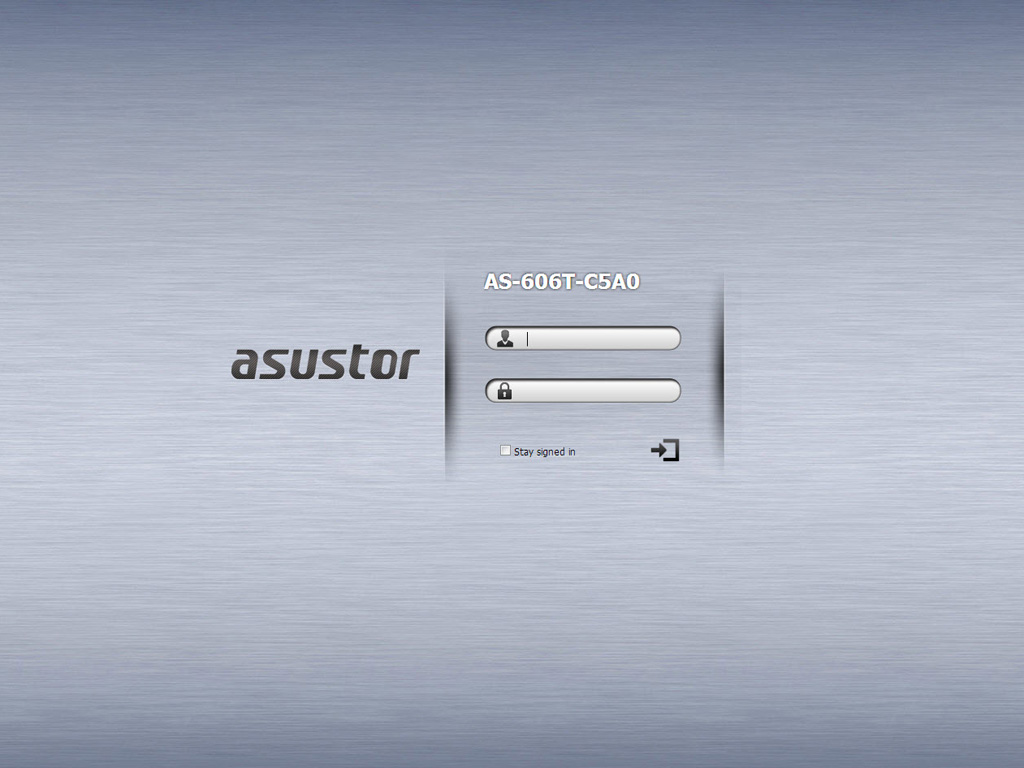
This is the web login page of the NAS through which you can enter the administrative panel. Just enter the username and your corresponding password and you are good to go.
Jan 31st, 2025 06:47 EST
change timezone
Latest GPU Drivers
New Forum Posts
- NVIDIA RTX owners only - your opinion on DLSS Image quality (435)
- Asus PCE-AC55BT can I replace the WLAN card? (0)
- Paper launch 5080/5090 - is this a problem for Nvidia? (13)
- Will you buy a RTX 5090? (273)
- I dont like my new CPU Cooler (56)
- TPU's Nostalgic Hardware Club (19908)
- RTX 5080 - premature review - it sucks (134)
- What's your latest tech purchase? (23035)
- Please let me know if the UPS that I want to buy is good or not for my PC. (104)
- Changing HD Audio Power Timeout failed (0)
Popular Reviews
- NVIDIA GeForce RTX 5080 Founders Edition Review
- NVIDIA DLSS 4 Transformer Review - Better Image Quality for Everyone
- Galax GeForce RTX 5080 1-Click OC Review
- ASUS GeForce RTX 5090 Astral OC Review - Astronomical Premium
- NVIDIA GeForce RTX 5090 Founders Edition Review - The New Flagship
- MSI GeForce RTX 5090 Suprim SOC Review
- MSI GeForce RTX 5080 Vanguard SOC Review
- ASUS GeForce RTX 5080 Astral OC Review
- MSI GeForce RTX 5090 Suprim Liquid SOC Review
- MSI GeForce RTX 5080 Suprim SOC Review
Controversial News Posts
- NVIDIA 2025 International CES Keynote: Liveblog (470)
- AMD Debuts Radeon RX 9070 XT and RX 9070 Powered by RDNA 4, and FSR 4 (349)
- AMD is Taking Time with Radeon RX 9000 to Optimize Software and FSR 4 (251)
- AMD Denies Radeon RX 9070 XT $899 USD Starting Price Point Rumors (233)
- AMD Radeon RX 9070 XT & RX 9070 Custom Models In Stock at European Stores (226)
- NVIDIA GeForce RTX 5090 Features 575 W TDP, RTX 5080 Carries 360 W TDP (217)
- New Leak Reveals NVIDIA RTX 5080 Is Slower Than RTX 4090 (214)
- AMD's Radeon RX 9070 Launch Faces Pricing Hurdles (175)