 7
7
AZZA Cast 808 Review
Thermal Stress Test »Review System
| System Parts for Case Reviews | |
|---|---|
| Processor: | Intel Core i5-9600K |
| Motherboards: | ATX: MSI Z390 GAMING EDGE AC MATX: Z370M GAMING EDGE AC Mini-ITX: MSI Z370I GAMING EDGE AC Provided by: MSI |
| Graphics Card: | ATX/mATX: Palit GeForce RTX 2080 Gaming Pro OC ITX: EVGA GTX 1650 SC Ultra Black 4 GB |
| Memory: | 16 GB XPG GAMMIX D20 DDR4 3200 MHz 16 GB XPG SPECTRIX D60G DDR4 3000 MHz CL16-18-18 1.35 V Provided by: ADATA |
| HDD: | Western Digital 320 GB 7200 RPM |
| SSD: | ITX: ADATA SX6000 Pro M.2 256 GB mATX: ADATA GAMMIX S11 Pro M.2 256 GB ATX: ADATA SPECTRIX S40G M.2 256 GB ADATA XPG SX850 256 GB ADATA Ultimate SU800 512 GB ADATA Ultimate SU720 500 GB Provided by: ADATA |
| Power Supply: | Fractal Design ION+ 750W 80 Plus Platinum Provided by: Fractal Design |
| Cooling: | be quiet! Pure Loop 120/240/280/360 ‚Provided by: be quiet! |
Assembly
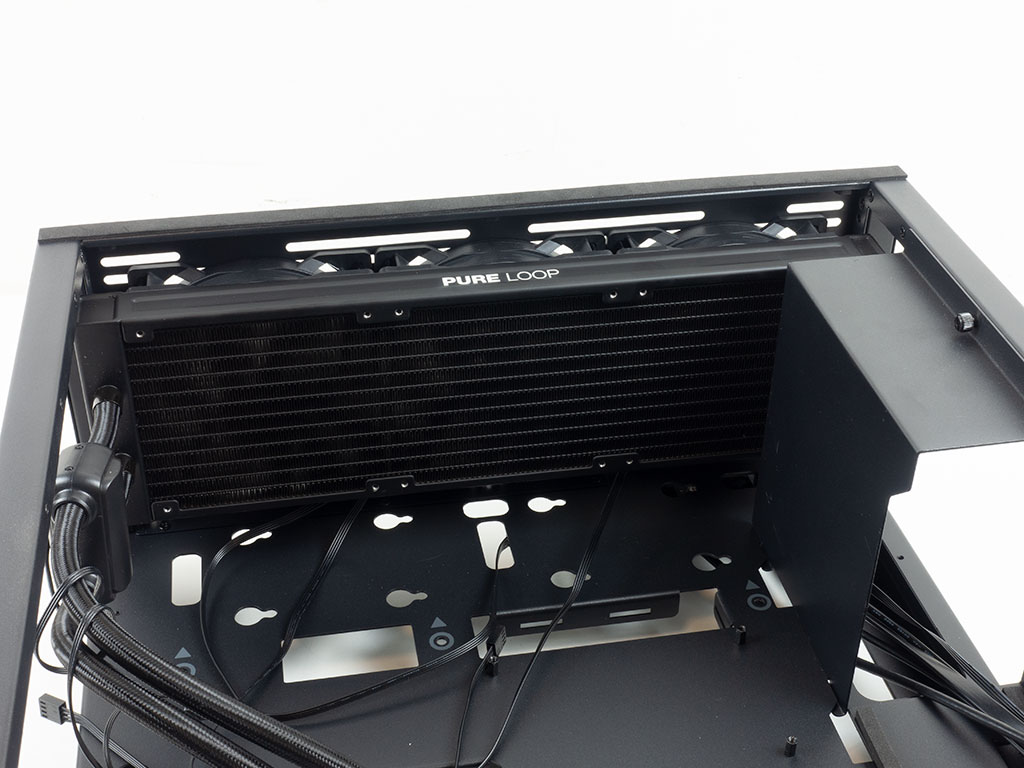
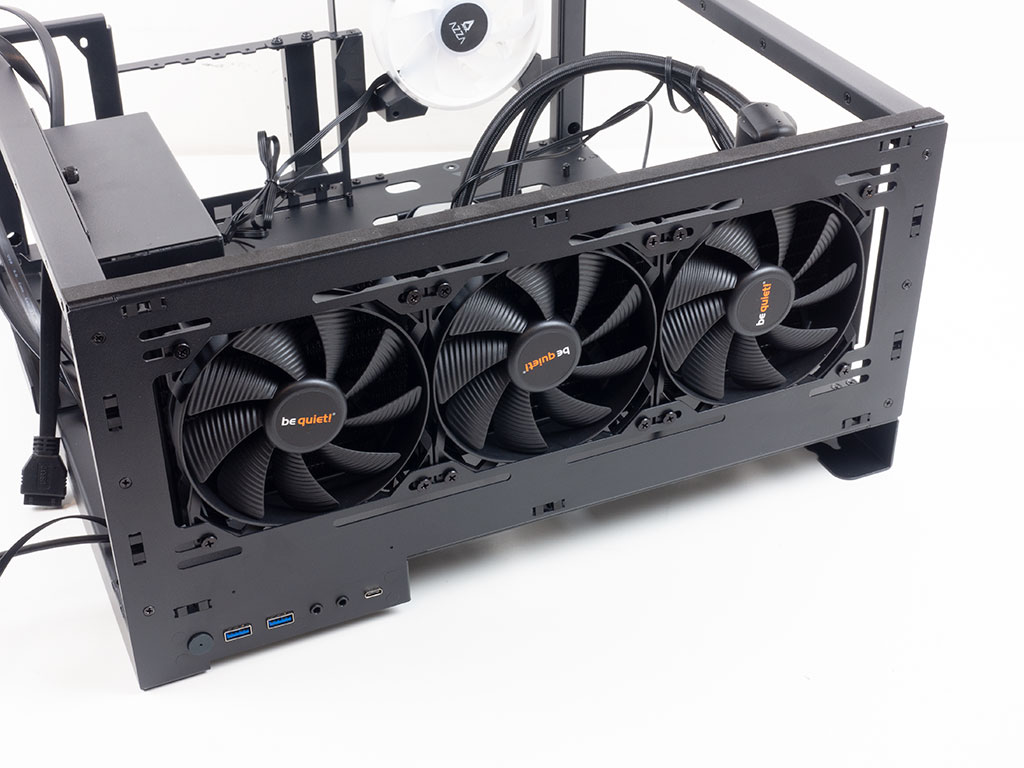
As the AZZA Cast 808 can hold a 360 mm radiator in the front, and we went ahead and installed such a unit before mounting the more fragile motherboard. Such an AIO fits perfectly, with the fans on the inside of the frame set to pull air in through the front. You could install thicker setups, but would have to take out the cable cover on the bottom of the chassis to do so.
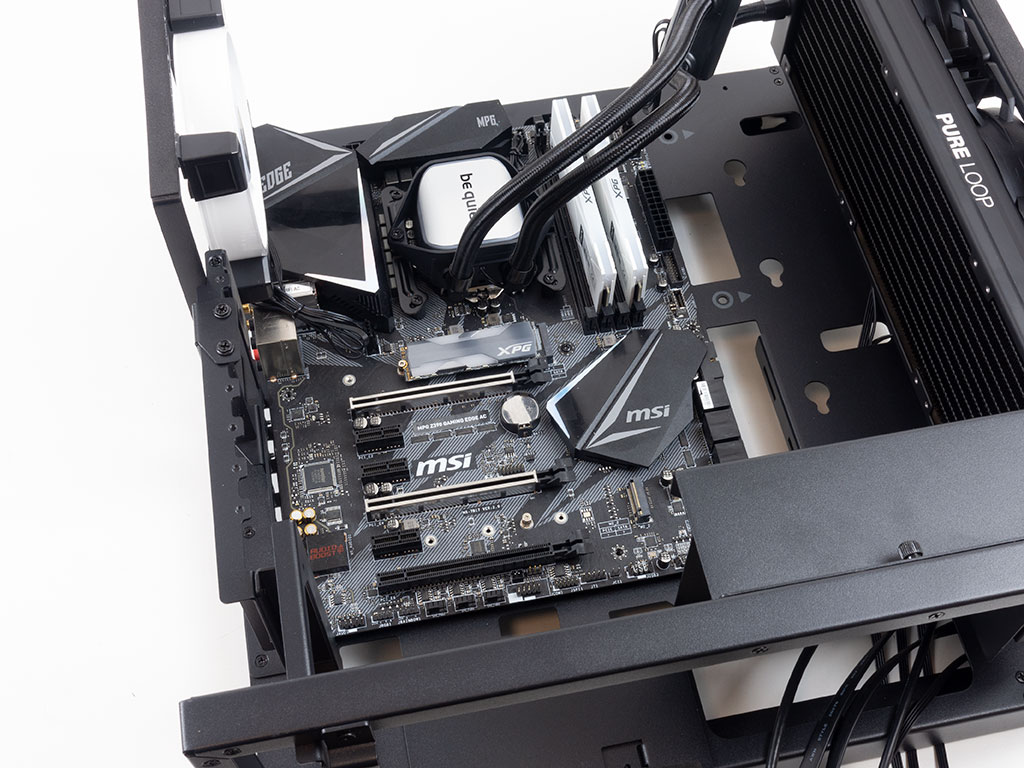
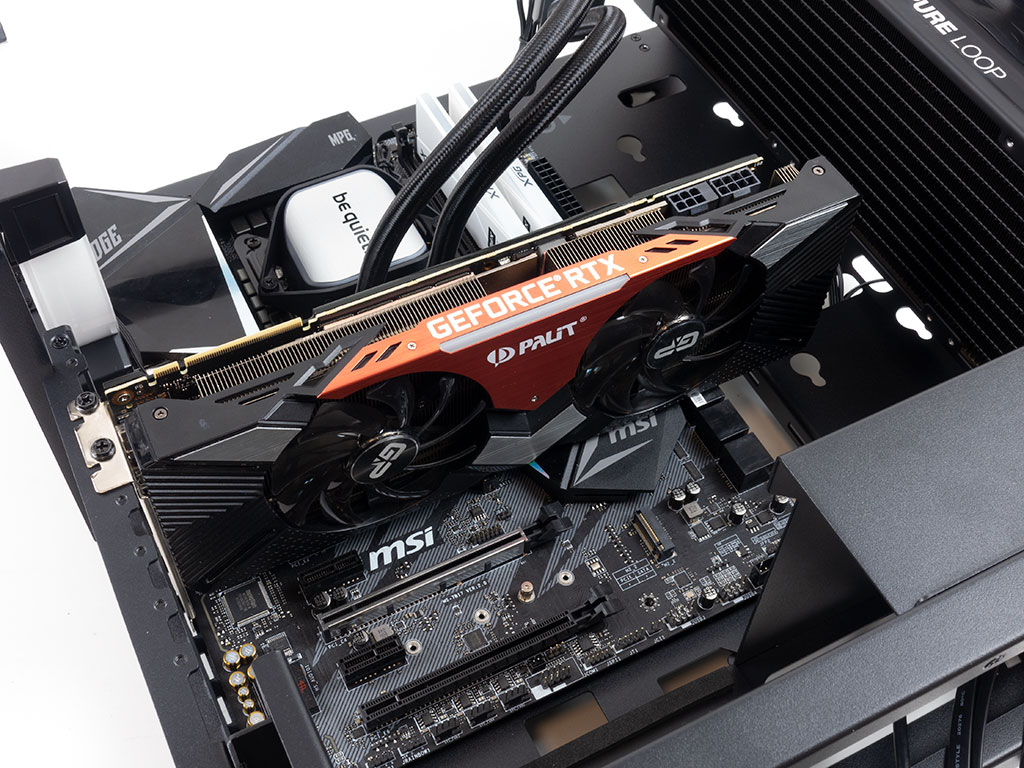
Adding the motherboard is done by traditional means, with screws to secure it to pre-installed spacers. As there is no rear panel, you can skip using the motherboard backplate. Adding a long GPU is no issue either, even with the AIO installed in the front.

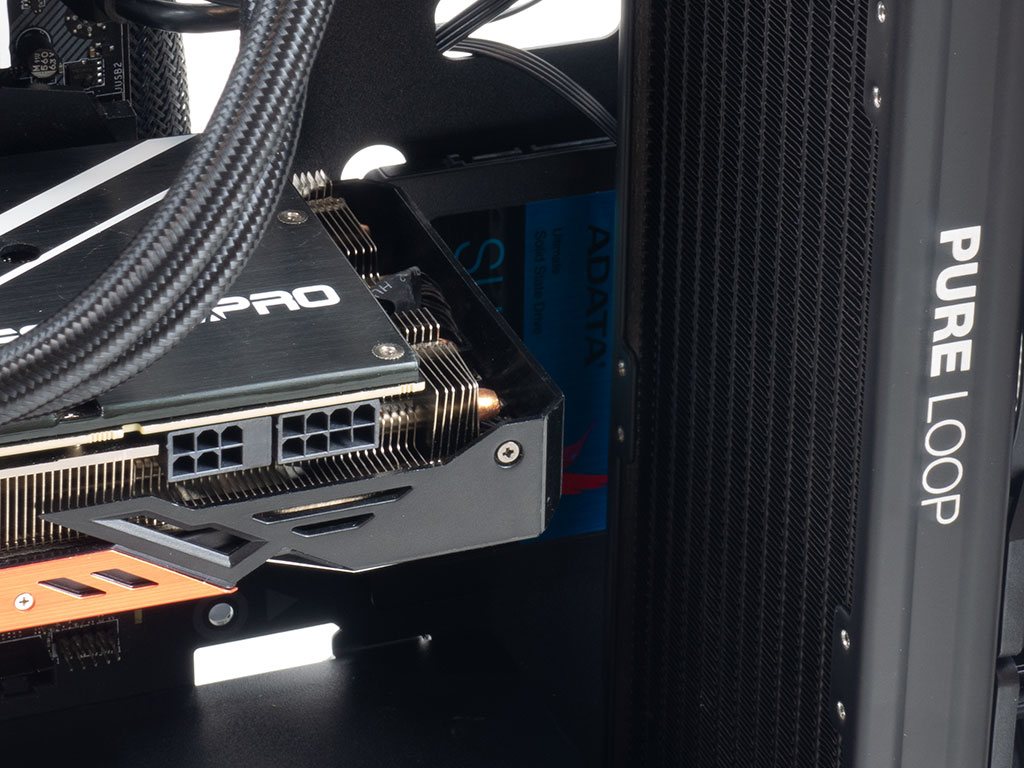
To include 2.5" SSD storage, you may pick between the plate behind the motherboard or the mounting holes within the frame. We went with the latter. Simply use the rubber-ring-equipped screws and push it into place. Even with the AIO and GPU installed, there is loads of room to get to these mounting positions.
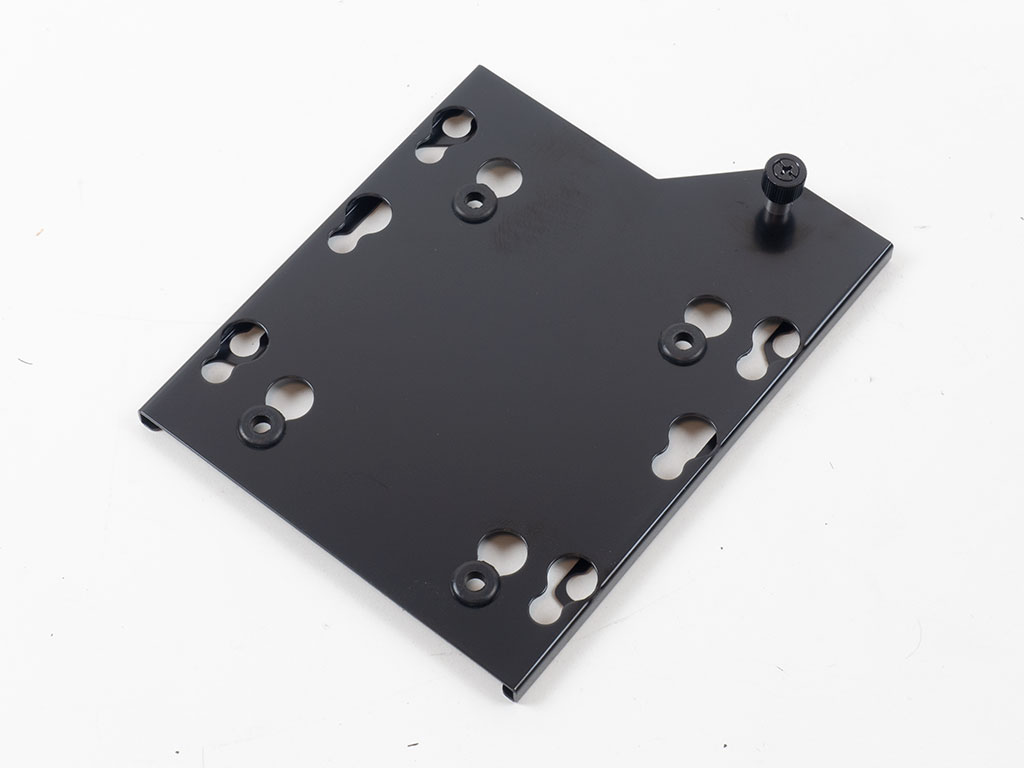
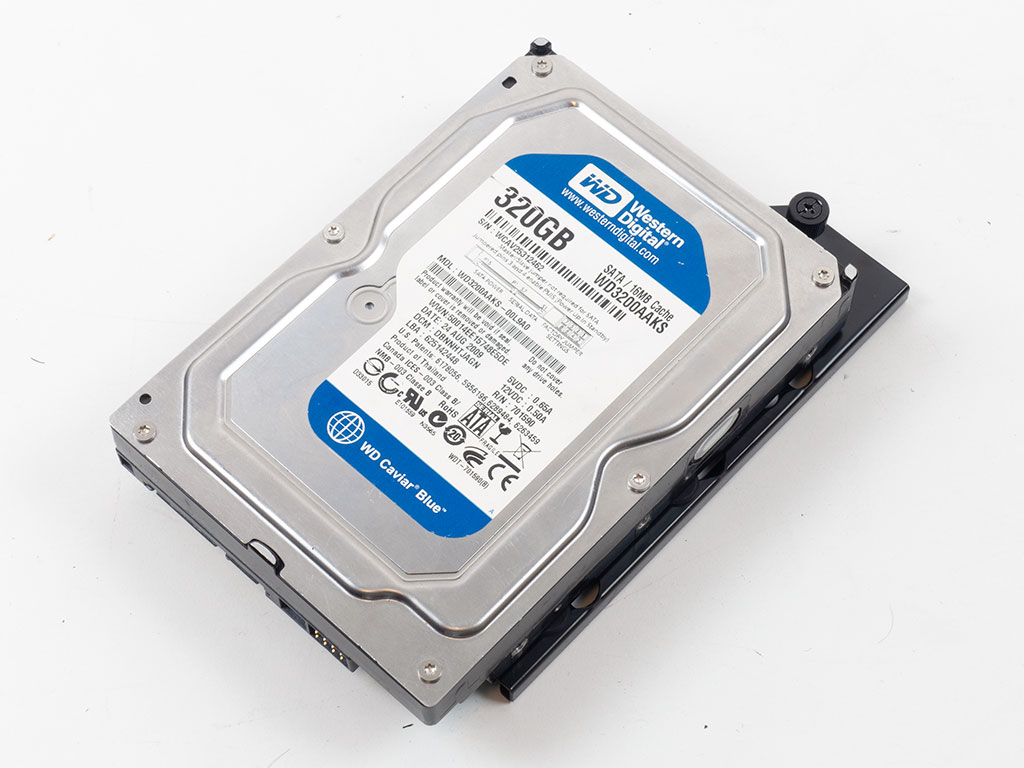
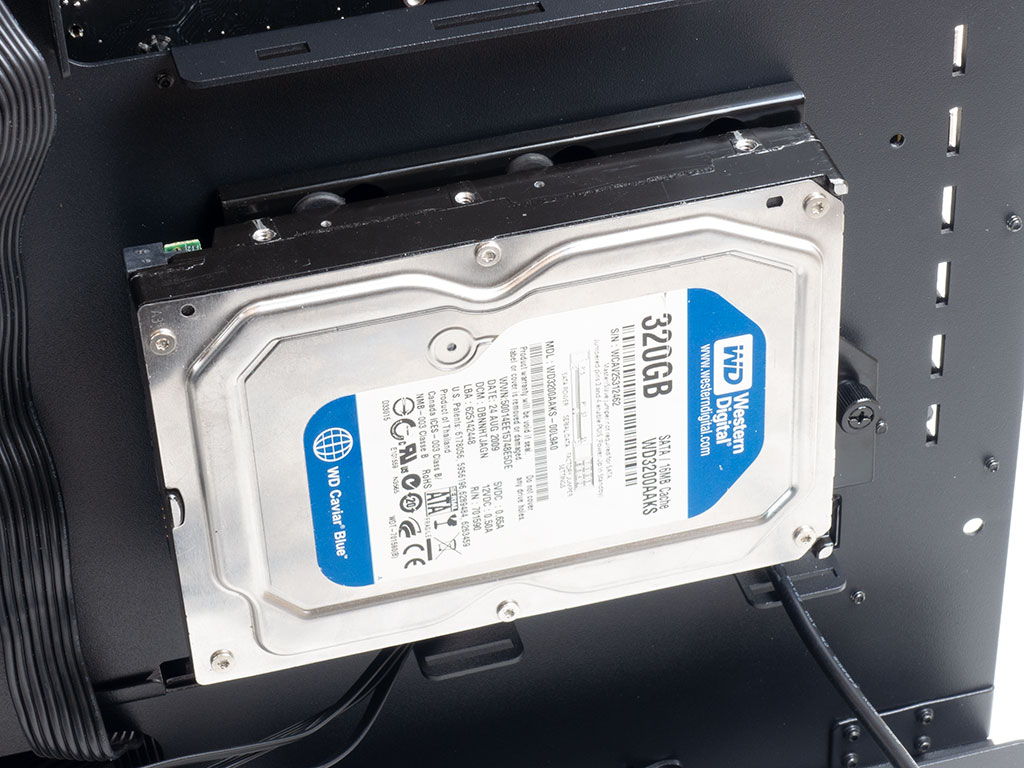
Installing a 3.5" drive is quite easy as you may first detach the plate from the frame before screwing down the drive after moving the pre-applied rubber rings to the 3.5" mounting positions. Once filled, simply put it back where you found it.
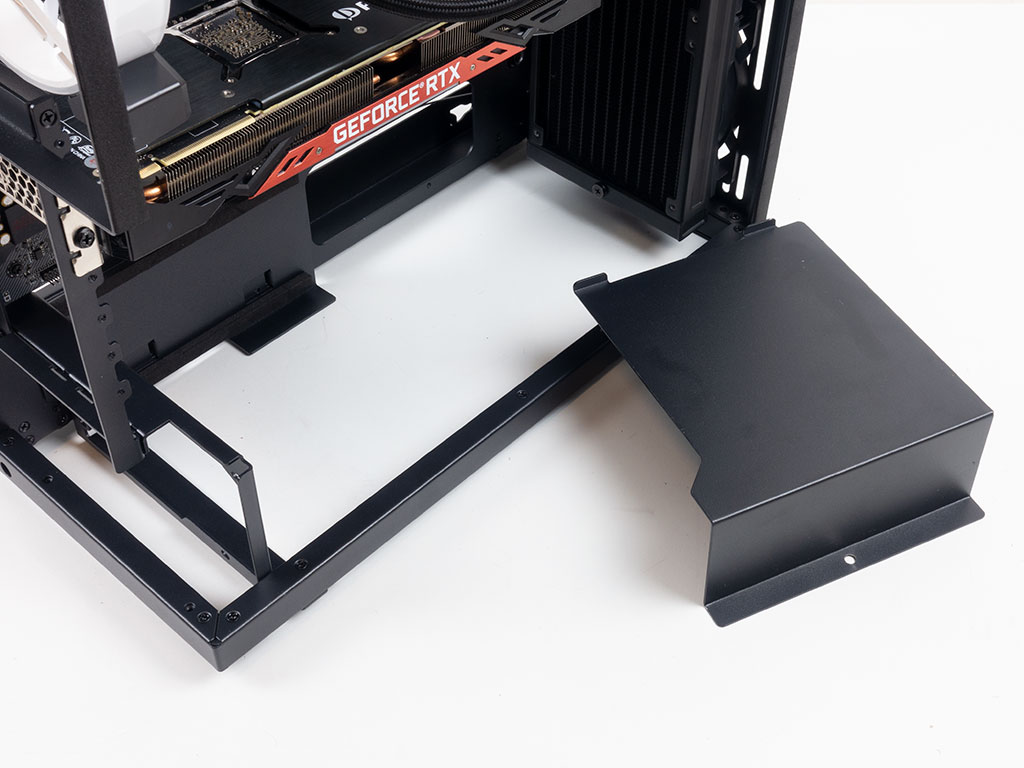
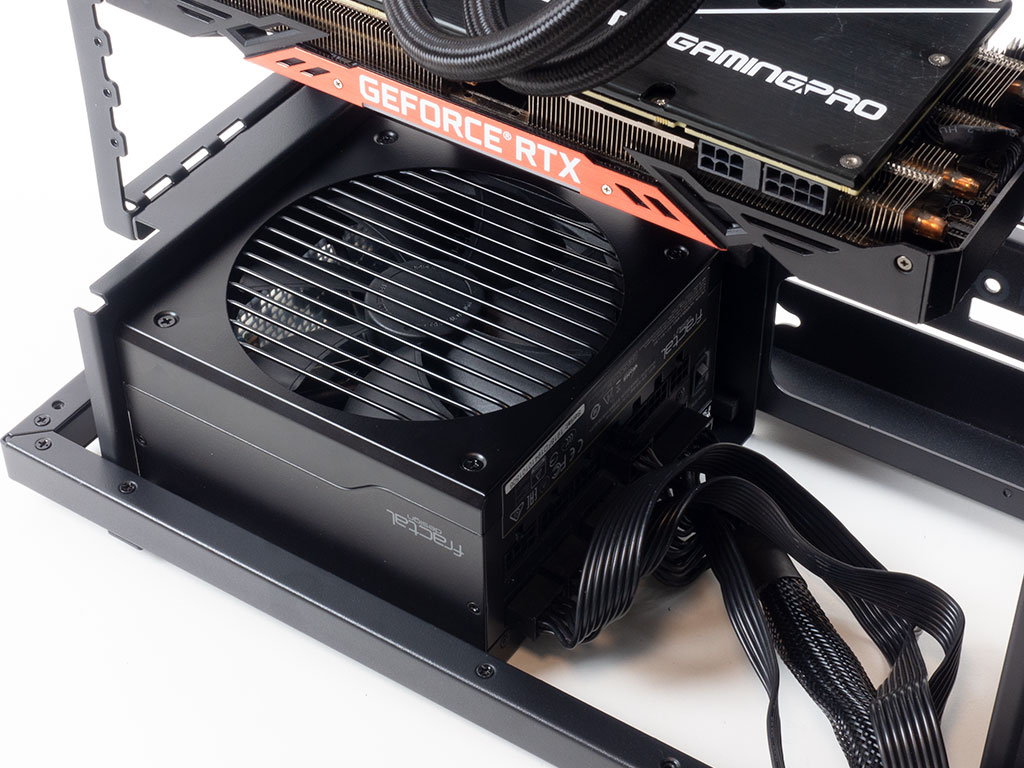
Lastly, you may install essentially any ATX PSU as there are no length restrictions. AZZA has designed the cover in a way that will have it hide all your cables nicely in the process.
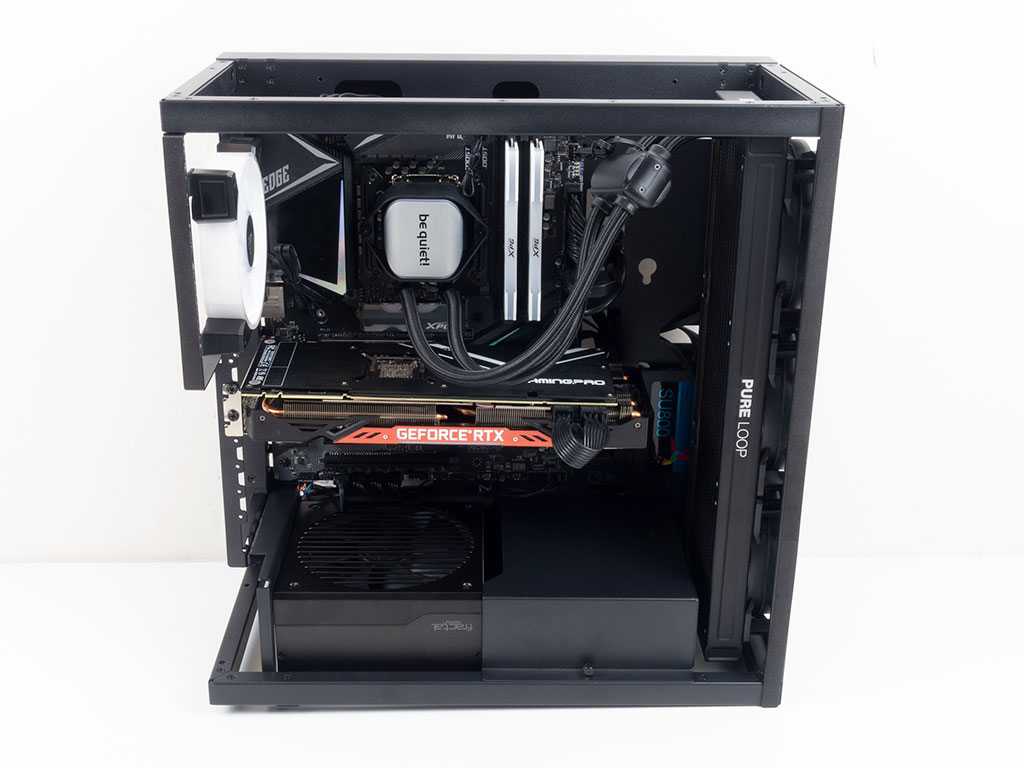
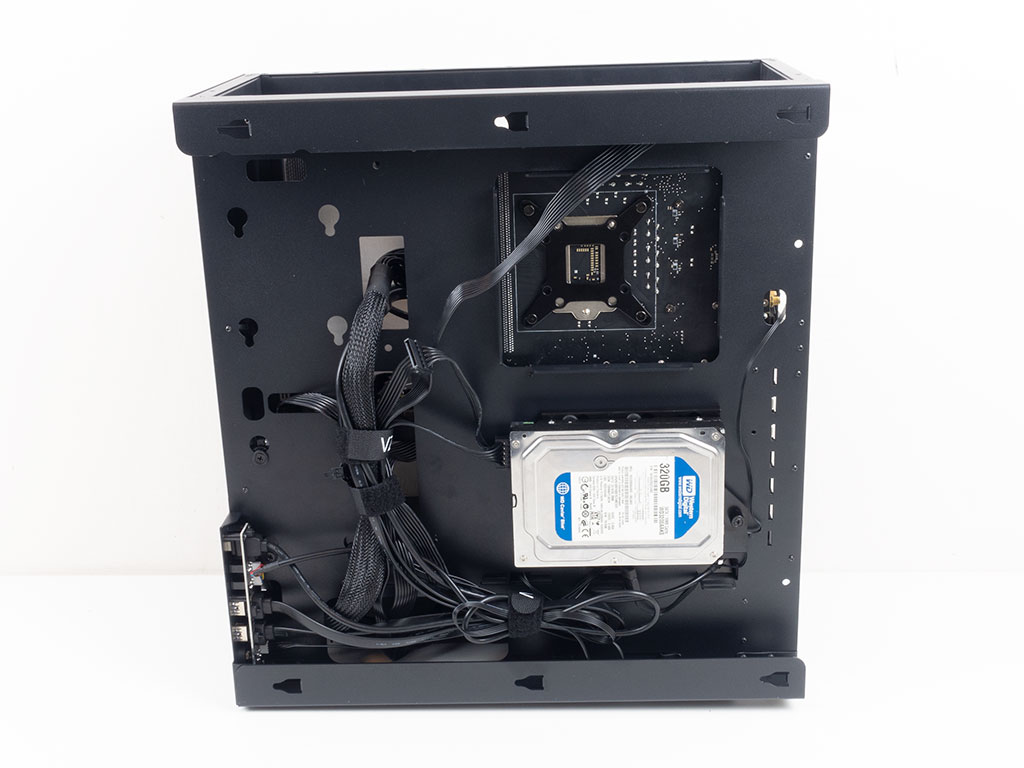
With everything installed. everything within the frame is clean and tidy. Things look a little messier behind the motherboard tray, as the spots to secure cables to are not too spread around, but the result is adequate considering these areas will be hidden.
Finished Looks
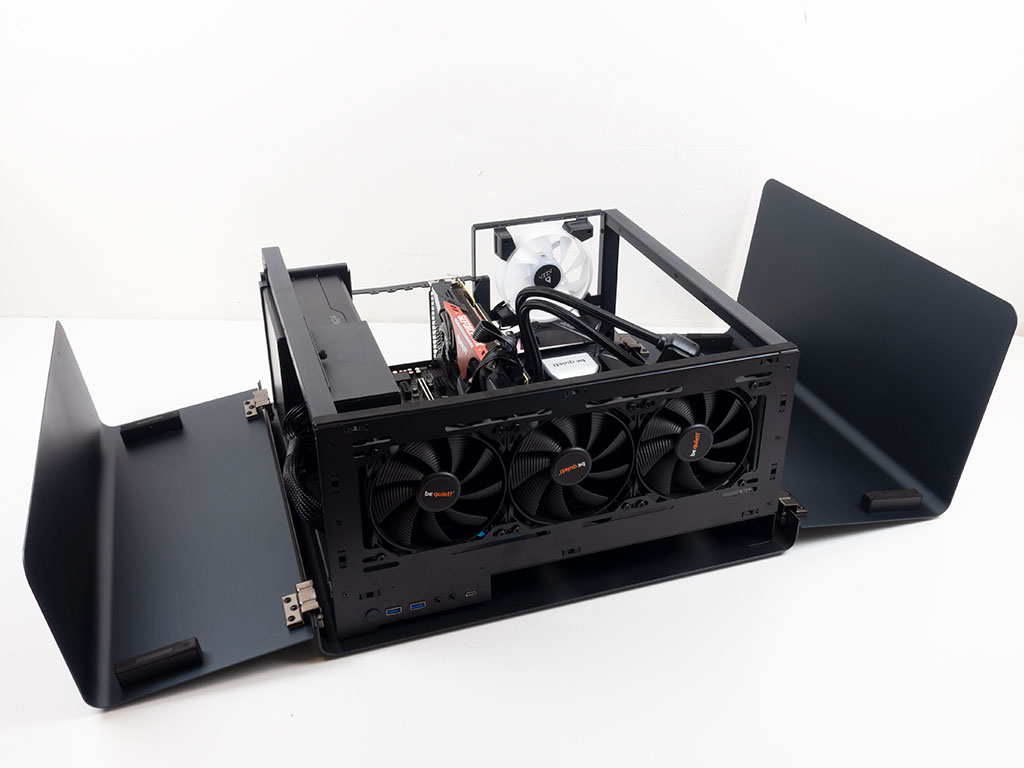
You may use the included rubber pads as feet/spacers to the steel panel, and set the chassis down in a desktop configuration. In this setup, the two panels swing open, revealing what is in essence a test bench. So while the general design does make it harder to route cables, you could use it in this configuration and have immediate access to all the components with ease.
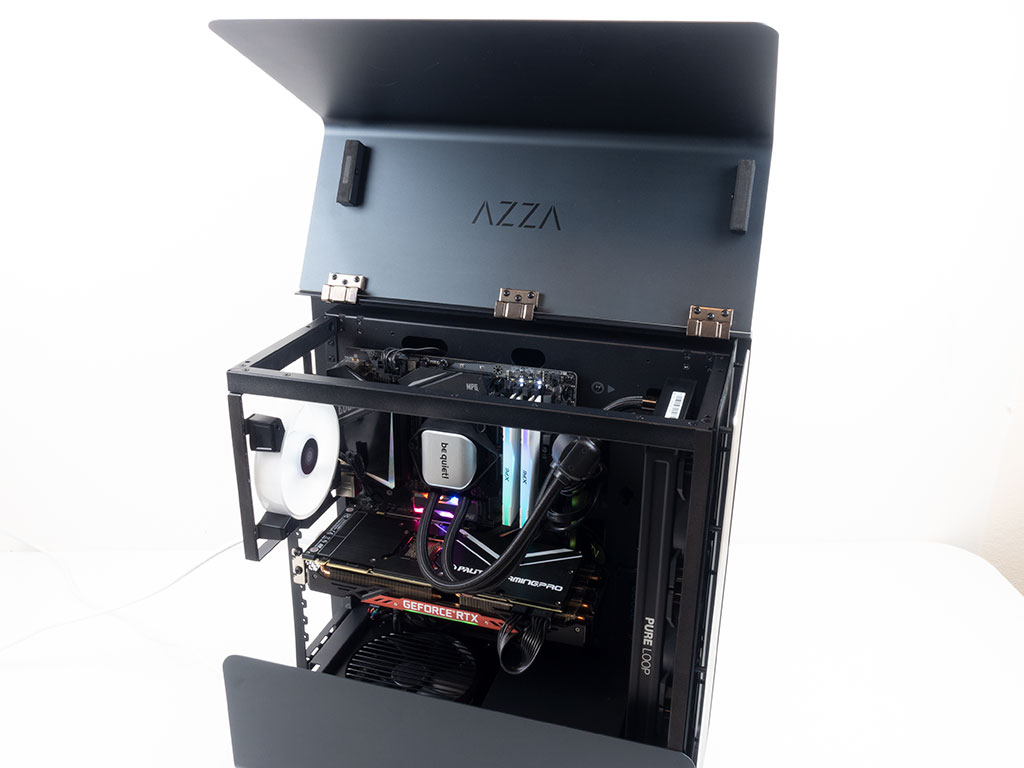
Naturally, the AZZA Cast 808 is a tower case out of the box, so standing it up, you may flip open the top cover, which is also where that cheeky internal branding really comes into play. This also gives you easy access to all your main components, like the CPU, memory, and GPU.
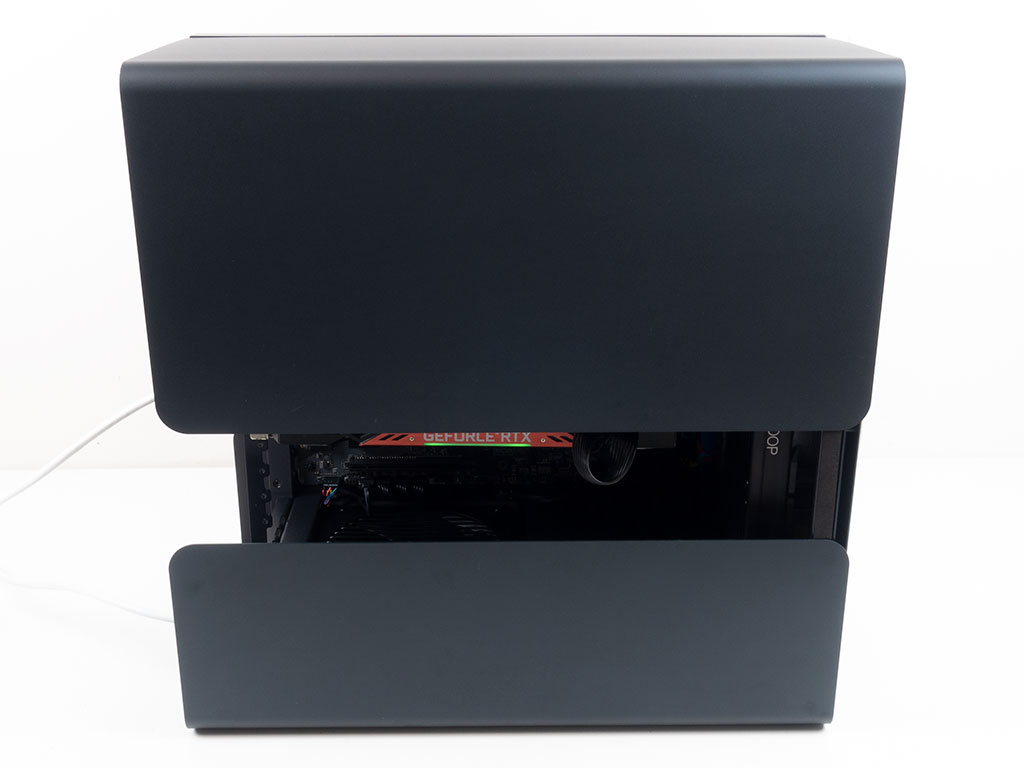
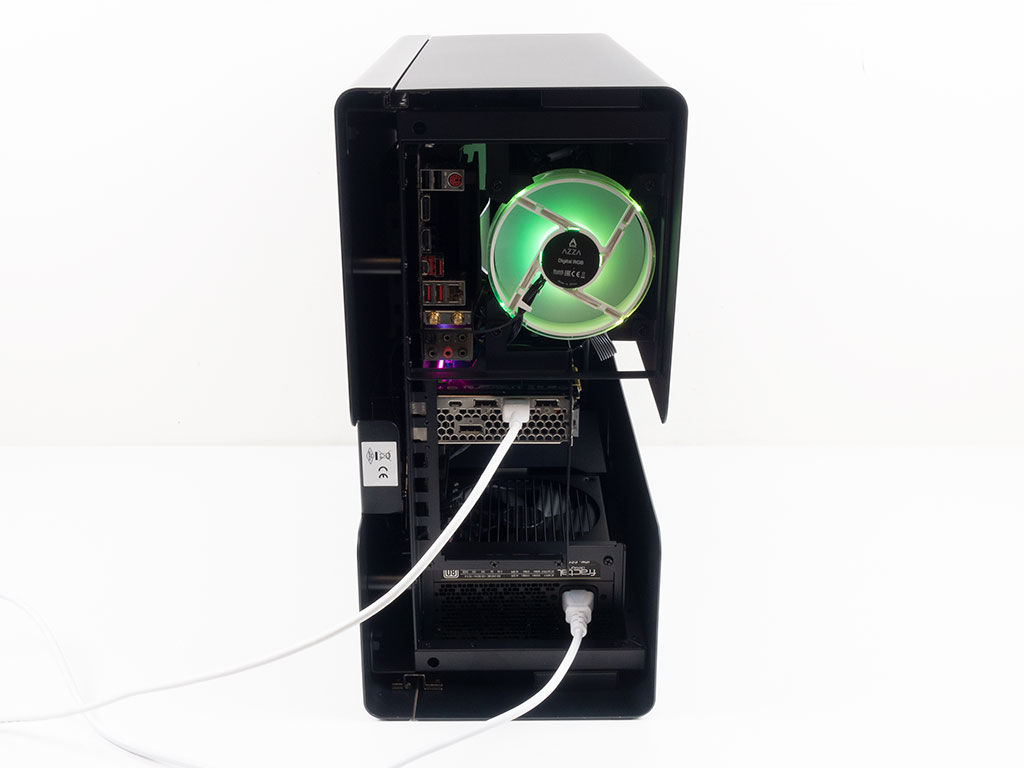
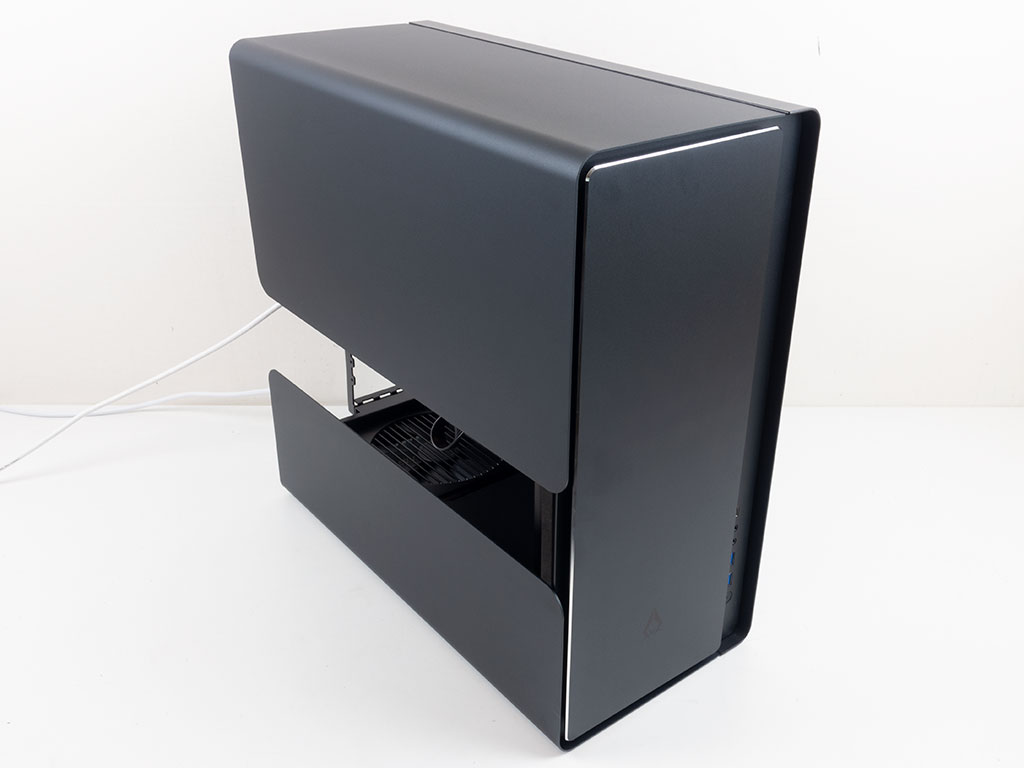
Looking at the side of the AZZA Cast 808 from a lower angle, you can see the GPU as well. Thus, flashy graphics cards are shown off nicely. If you opt to install it vertically, the fans will also be clearly visible and draw cool air from outside in the process. Looking at the rear, you can see all the components, as everything is bare. Thus, the obvious downsides with such a case are naturally the lack of dust protection and possibly noise.
May 6th, 2025 01:44 EDT
change timezone
Latest GPU Drivers
New Forum Posts
- Steam installer asked me if I got Dial Up! (12)
- Why are most shooters now hero based? (0)
- How high of a ram frequency can i run on a Z690 with an 14700Kf processor? (2)
- I need a little help with compatibility. DDR4 RAM speed. (1)
- Request for advice [Big Build] (62)
- What's your latest tech purchase? (23721)
- The TPU UK Clubhouse (26203)
- Kindly help in Identifying GPU and Suitable bios (25)
- Pc crash (7)
- is it possible to buy a sata to propietary dell pata adapter? (12)
Popular Reviews
- Arctic Liquid Freezer III Pro 360 A-RGB Review
- ASUS Radeon RX 9070 XT TUF OC Review
- Clair Obscur: Expedition 33 Performance Benchmark Review - 33 GPUs Tested
- ASUS ROG Maximus Z890 Hero Review
- Zotac GeForce RTX 5070 Ti Amp Extreme Review
- Upcoming Hardware Launches 2025 (Updated Apr 2025)
- Seasonic Vertex GX 850 W Review
- Sapphire Radeon RX 9070 XT Nitro+ Review - Beating NVIDIA
- ASUS GeForce RTX 5090 Astral Liquid OC Review - The Most Expensive GPU I've Ever Tested
- Montech HS02 PRO Review
Controversial News Posts
- AMD Radeon RX 9060 XT to Roll Out 8 GB GDDR6 Edition, Despite Rumors (131)
- NVIDIA Sends MSRP Numbers to Partners: GeForce RTX 5060 Ti 8 GB at $379, RTX 5060 Ti 16 GB at $429 (128)
- NVIDIA Launches GeForce RTX 5060 Series, Beginning with RTX 5060 Ti This Week (115)
- Nintendo Confirms That Switch 2 Joy-Cons Will Not Utilize Hall Effect Stick Technology (105)
- NVIDIA PhysX and Flow Made Fully Open-Source (95)
- Sony Increases the PS5 Pricing in EMEA and ANZ by Around 25 Percent (84)
- Parts of NVIDIA GeForce RTX 50 Series GPU PCB Reach Over 100°C: Report (78)
- Intel "Bartlett Lake-S" Gaming CPU is Possible, More Hints Appear for a 12 P-Core SKU (77)