 15
15
be quiet! Shadow Rock Slim 2 Review
Finished Looks »Installation

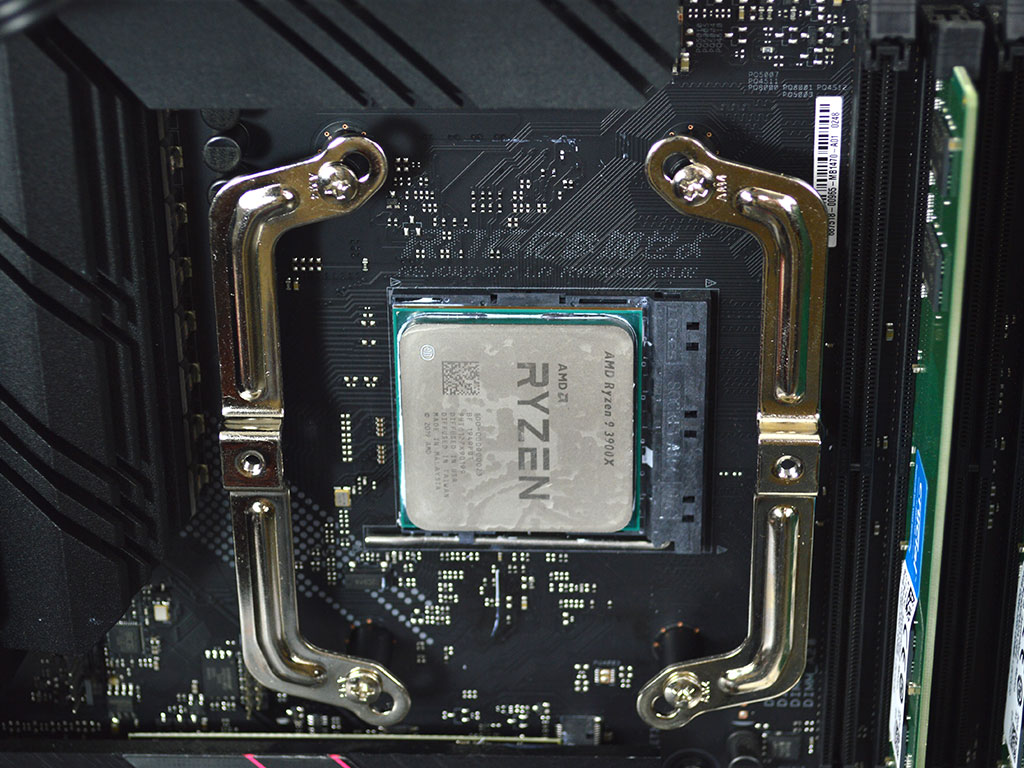
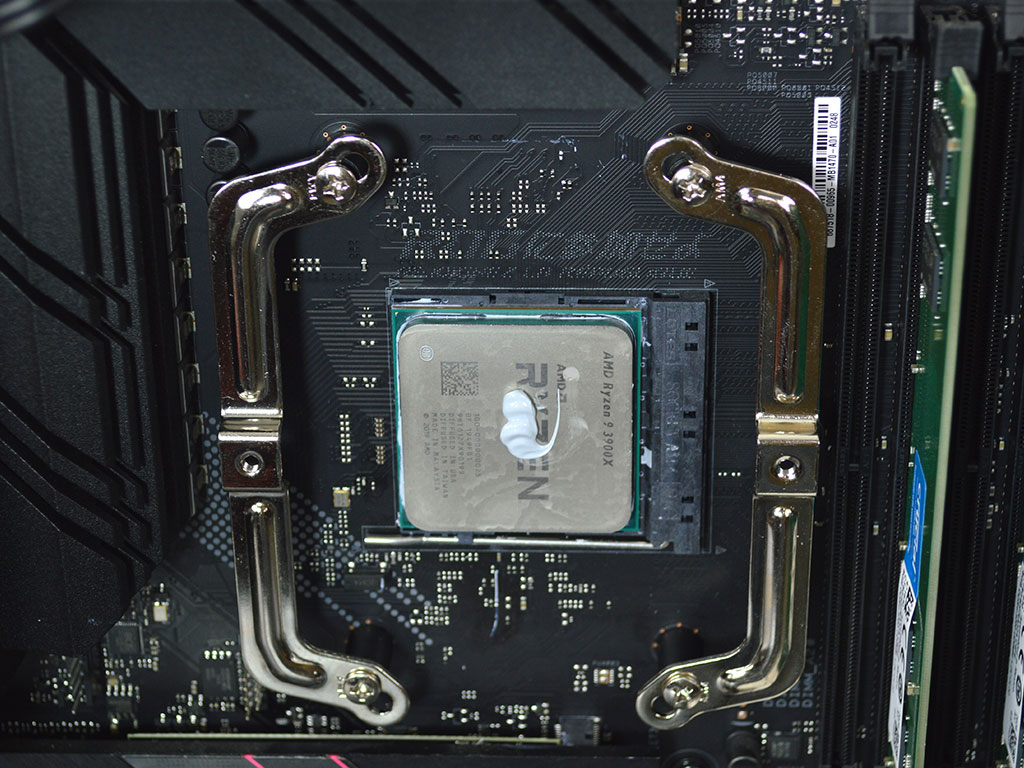
To install the be quiet! Shadow Rock Slim 2 on Socket AM4, you will need to remove the plastic retention brackets. To do so, unscrew the two screws securing one each in place. Next, keep the AMD backplate on the board and position the plastic spacers over the mounting holes. Once done, place the screw through the mounting arm, slide it through the plastic spacer, and secure it to the backplate. It's now time to apply either the included thermal paste or any other paste you may prefer.
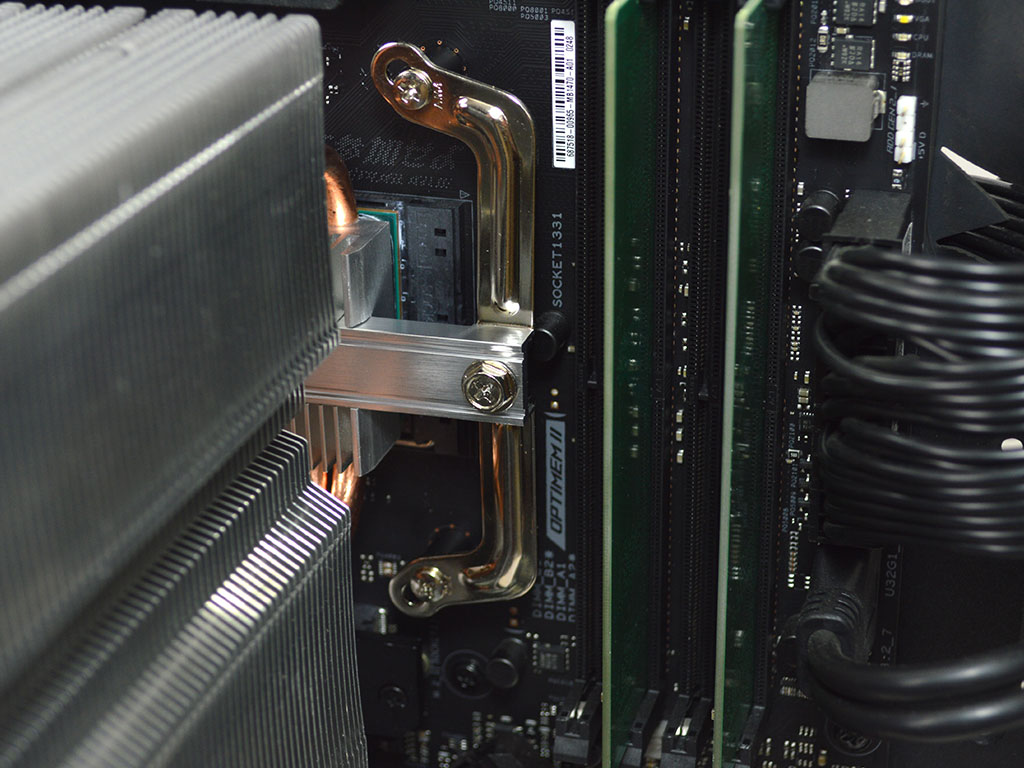
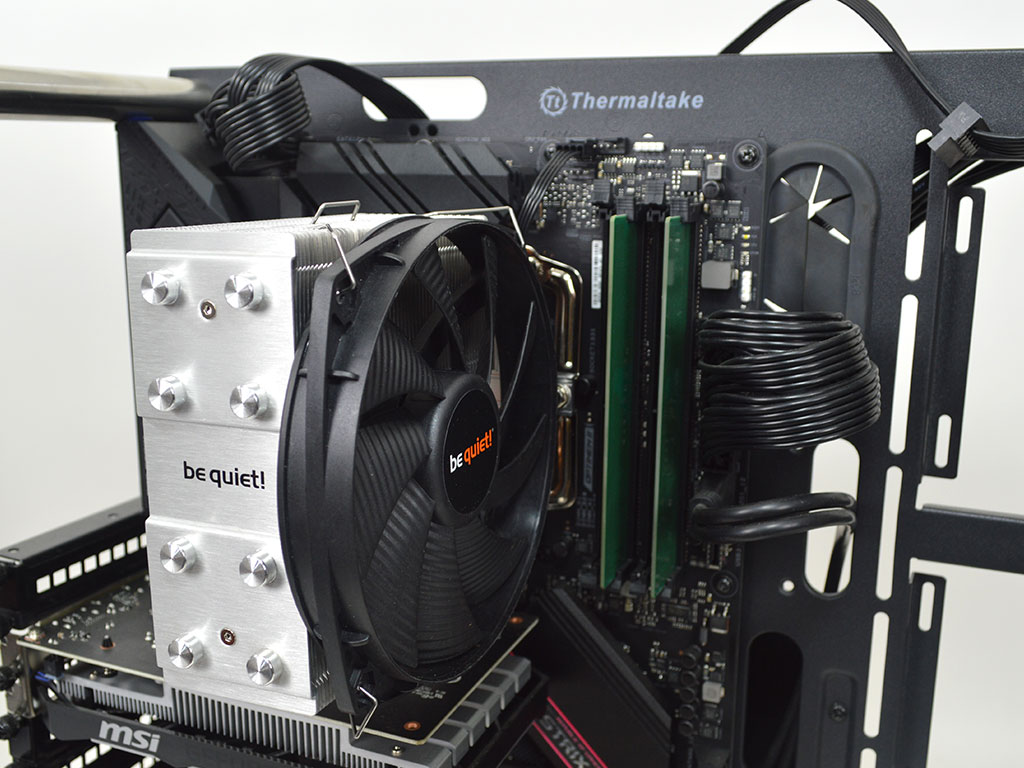
With all the brackets in place, you can position the crossbar on the heatsink base to then, using the two screws, secure the cooler to the mounting brackets. I would have preferred a captive crossbar and screws, but this step isn't as troublesome as the previous ones. Regardless, with the heatsink secure, it is time to attach the fan and plug it into the CPU fan header. With that taken care of, the CPU cooler is good to go.
The Intel mounting process is straightforward, easier than the AMD procedure, but at the very least, it is not even remotely close to the old-school nut and spanner solution. Thankfully, those days are long forgotten by most, but I still remember those dark times vividly. Still, I have to point out that trying to hold a backplate, spacers, mounting brackets, and screws all at the same time is less than ideal. I would like to see an improved mounting system that is less fiddly. However, with AMD likely moving to an LGA style socket, this issue will probably resolve itself in the coming years. That said, it hasn't changed yet and now be quiet!, like many brands, has the same problem. Intel mainstream sockets are much easier to work with when setting up the mounting hardware than their AMD counterparts.
Feb 26th, 2025 13:58 EST
change timezone
Latest GPU Drivers
New Forum Posts
- Post your Steam Game Library Categories (9)
- What local LLM-s you use? (76)
- TPU's Nostalgic Hardware Club (20007)
- Are the two M.2 pcie Gen4 x4 slots on my Zen 4 8845HS Socket FP8 Mini-PC equal? (8)
- TechPowerUp Screenshot Thread (MASSIVE 56K WARNING) (4253)
- What are you playing? (23035)
- AAF Optimus Modded Driver For Windows 10 & Windows 11 - Only for Realtek HDAUDIO Chips (334)
- The TPU UK Clubhouse (25798)
- Windows 11 General Discussion (5708)
- Post your 7-Zip v22.01 scores (411)
Popular Reviews
- Corsair Xeneon 34WQHD240-C Review - Pretty In White
- ASUS GeForce RTX 5070 Ti TUF OC Review
- Corsair Virtuoso MAX Wireless Review
- MSI GeForce RTX 5070 Ti Ventus 3X OC Review
- MSI GeForce RTX 5070 Ti Vanguard SOC Review
- MSI GeForce RTX 5070 Ti Gaming Trio OC+ Review
- Gigabyte X870 Aorus Elite WiFi 7 Review
- darkFlash DY470 Review
- AMD Ryzen 7 9800X3D Review - The Best Gaming Processor
- Gigabyte GeForce RTX 5090 Gaming OC Review
Controversial News Posts
- NVIDIA GeForce RTX 50 Cards Spotted with Missing ROPs, NVIDIA Confirms the Issue, Multiple Vendors Affected (495)
- AMD Radeon 9070 XT Rumored to Outpace RTX 5070 Ti by Almost 15% (304)
- AMD Plans Aggressive Price Competition with Radeon RX 9000 Series (274)
- AMD Radeon RX 9070 and 9070 XT Listed On Amazon - One Buyer Snags a Unit (247)
- NVIDIA Investigates GeForce RTX 50 Series "Blackwell" Black Screen and BSOD Issues (244)
- Edward Snowden Lashes Out at NVIDIA Over GeForce RTX 50 Pricing And Value (241)
- AMD Denies Radeon RX 9070 XT $899 USD Starting Price Point Rumors (239)
- AMD Radeon RX 9070 and 9070 XT Official Performance Metrics Leaked, +42% 4K Performance Over Radeon RX 7900 GRE (187)