 20
20
Beelink SER7 7840HS Mini-PC Review
(20 Comments) »Introduction
A big thank you to Beelink for supplying the review sample.
Beelink is well on its way to being a mainstream option in the Mini-PC market for PC enthusiasts. Formed in 2011, Beelink has managed to adapt to the needs of both small businesses and enterprises alongside regular consumers, delivering high-quality systems to fit numerous use cases. All of this has culminated in their continued growth, and should things continue as they are, brand awareness should remain on the rise.

This review focuses on the Beelink SER7 7840HS Mini-PC. Available online for $749, it comes fully equipped and packed with features. The review sample is preconfigured from the factory with AMD's Ryzen 7840HS processor, which sports 8 cores and 16 threads alongside an integrated graphics processor, the Radeon 780M. As for memory and storage, our test system comes equipped with 32 GB of DDR5 dual-channel SODIMM memory and a 1 TB NVMe SSD. Considering the price and specifications, it makes for an attractive system. Still, with its relatively tiny size, it will be interesting to see if temperatures can be kept under control, as the system can have the TDP manually configured from the base 54 watts to 65 watts.
| Specifications | |
|---|---|
| Model: | Beelink SER7 7840HS |
| Processor: | AMD Ryzen 7 7840HS (8 Cores / 16 Threads) Clock Speed: 3.8 GHz (Base) 5.1 GHz (Boost) |
| Integrated Graphics: | AMD Radeon 780M |
| Memory: | 2x 16 GB Crucial DDR5 5600 MHz 2x 262-pin DDR5 SO-DIMM slots (As listed: 32 GB Max / 5600 MHz) |
| Storage: | M.2 NVMe Crucial P3 1 TB 2x M.2 2280 PCIe Gen 4 1x 2.5-inch SATA 3.0 (optional / lose 1x NVMe slot) |
| Optical Drive: | None |
| Audio: | AMD K19.7 Audio Processor Realtek ALC 897 |
| Connectivity: | 1x Headphone & Microphone combo jack (front) 1x Headphone & Microphone combo jack (back) 1x HDMI 2.1 (back) 1x 2.5 GbE LAN (back) 1x DisplayPort (back) 1x USB 3.2 Type-C (front) 1x USB 3.2 Type-A (front) 2x USB 2.0 Type-A (back) 2x USB4 (back) |
| Communications: | Intel AX200NGW Wi-Fi 6 2x2 Bluetooth 5.2 1x Intel I225-V 2.5 GbE |
| Cooling: | Active cooling (heatsink/fan) |
| Operating System: | OS tested: Windows 11 Pro OS included: Yes |
| Warranty: | One year |
| MSRP: | $749.00 ($629.00 with -$120 off Coupon at time of writing) |
Packaging and Contents
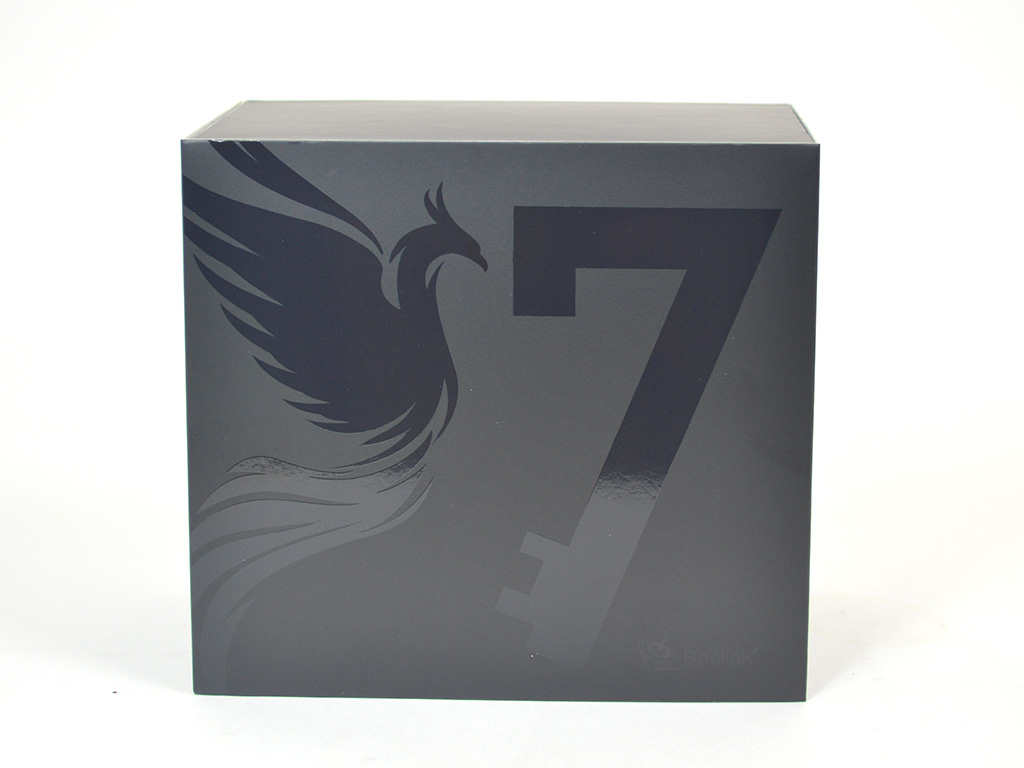
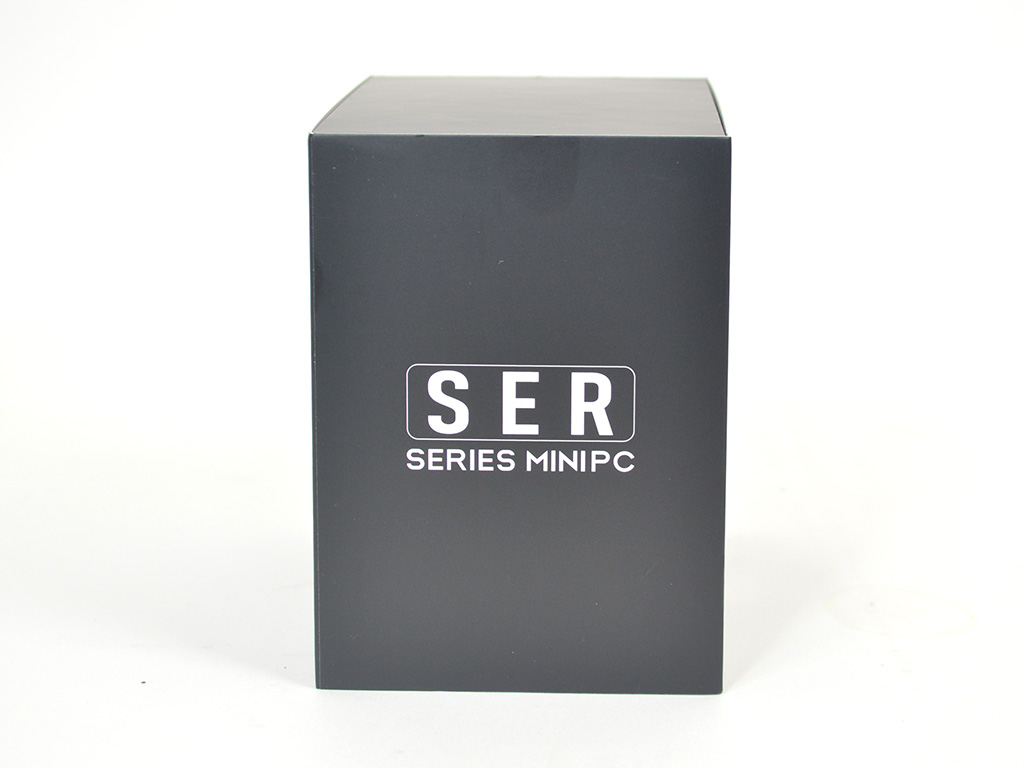
The box is pretty simple, with a black sleeve that has a rising Phoenix with the number 7 on top. Taking a look at the left side, you will find the product line designation, which is the SER series. Beyond that, there is little to find.

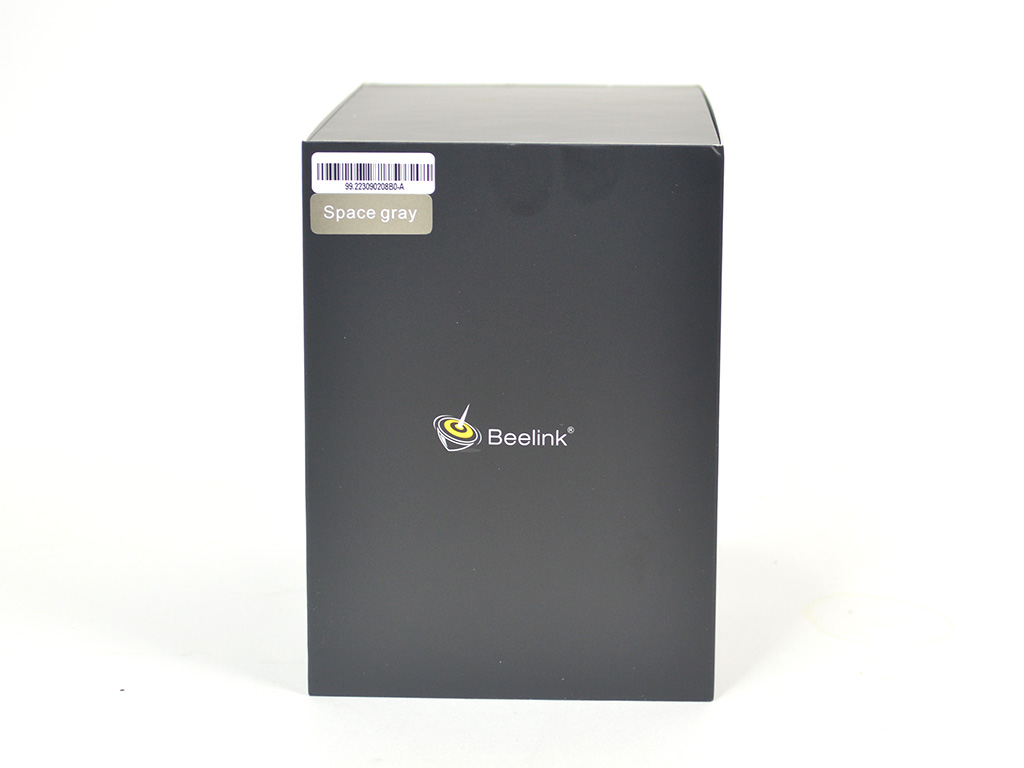
On the back of the box is where the system's simplified specifications can be found - nothing in depth, just the CPU, memory, storage, and network connectivity. Finally, the right side has the Beelink logo, barcode, and the system's particular color scheme, which in this particular case is space gray.
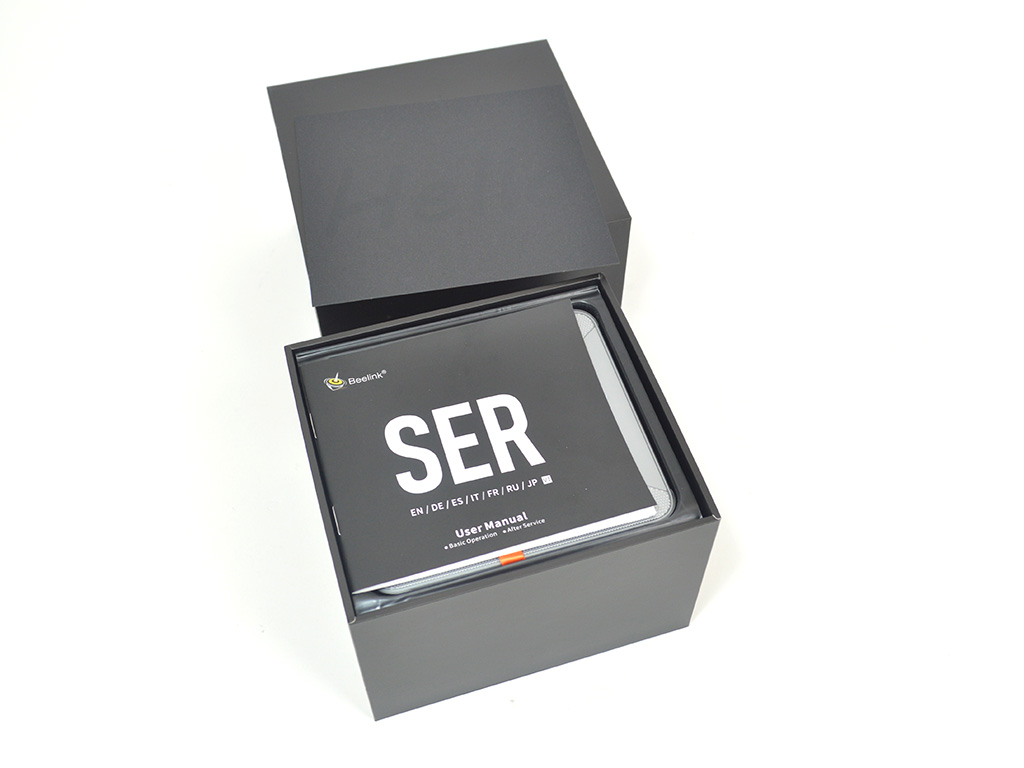
Internally, the SER 7840HS sits on top inside the box in a removable tray with all the other accessories located in a separate compartment below.
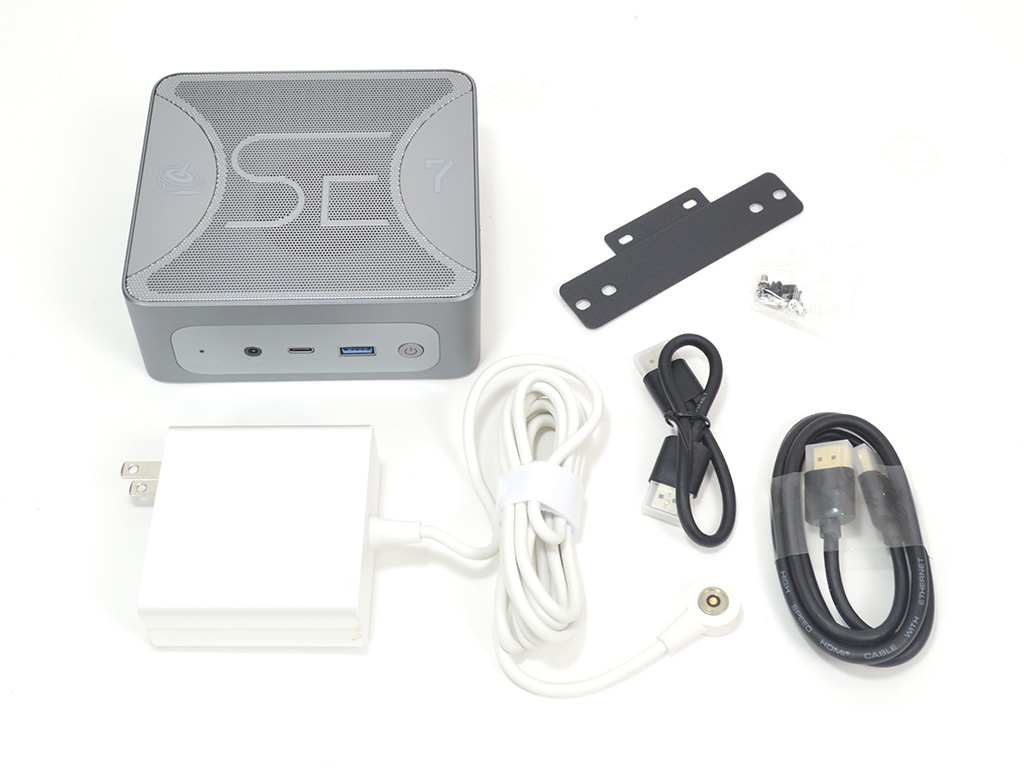
Overall, the bundled accessories package is decent. A mounting bracket with the necessary screws is included along with a couple of HDMI cables which is always a nice touch. Furthermore, you get a wall wart power plug. Basically, you get the essentials but little else.
- Beelink SER7 7840HS
- Power plug
- Mounting plate
- Mounting plate screws
- 2x HDMI cable
- Manual
A Closer Look
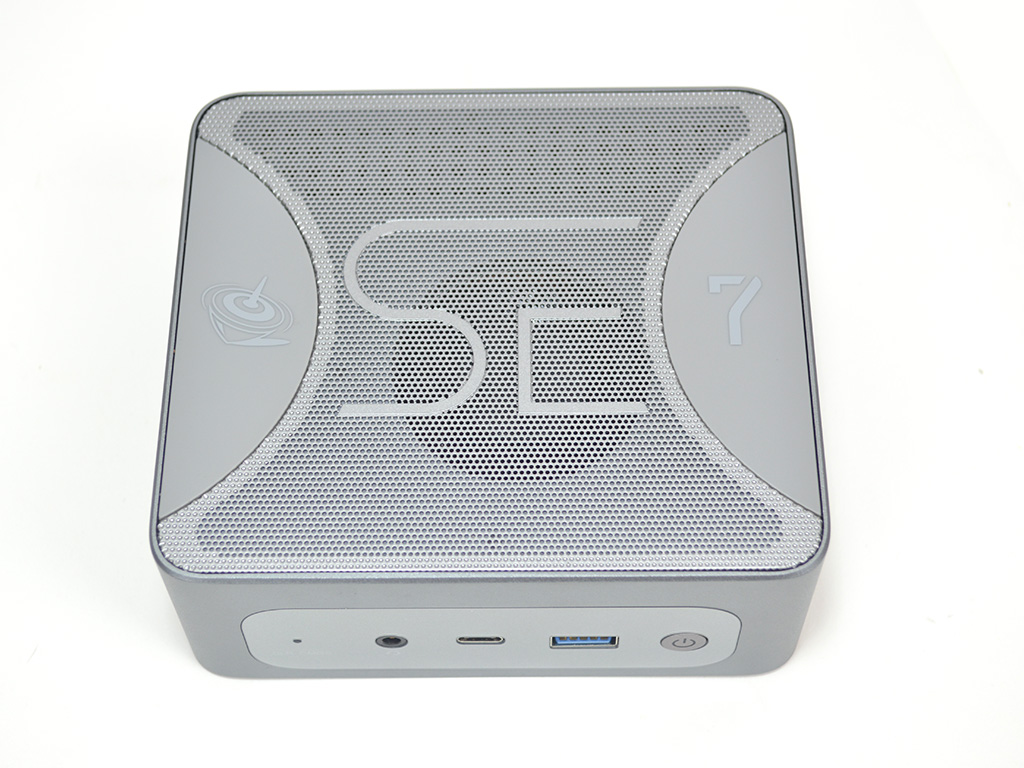
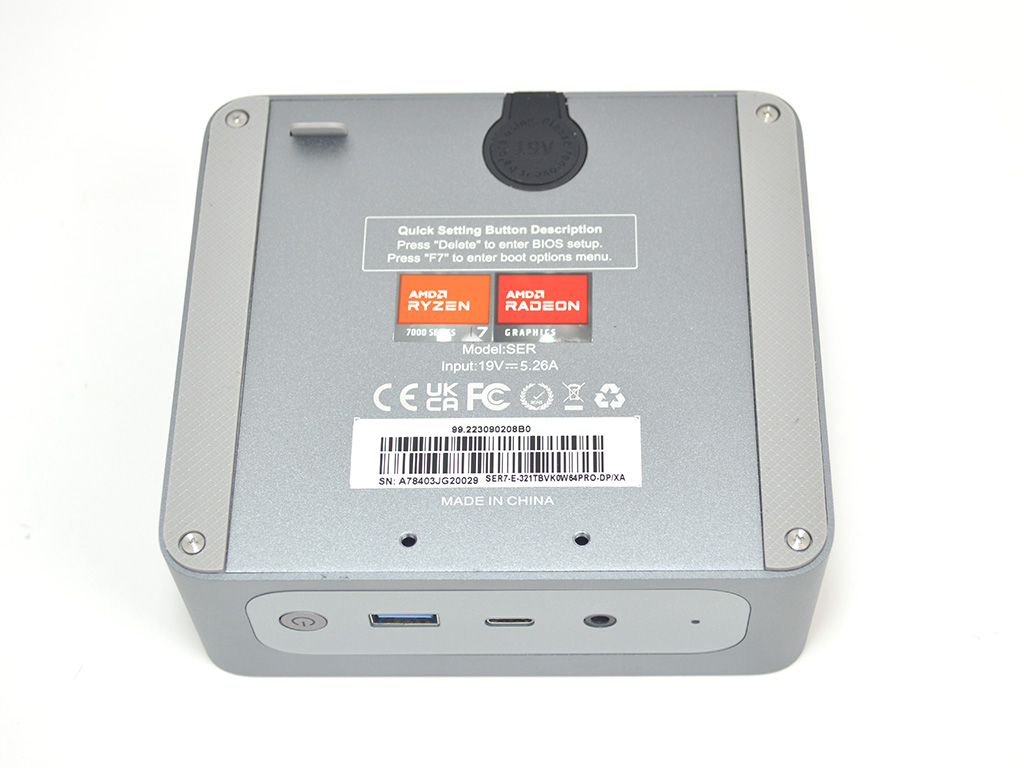
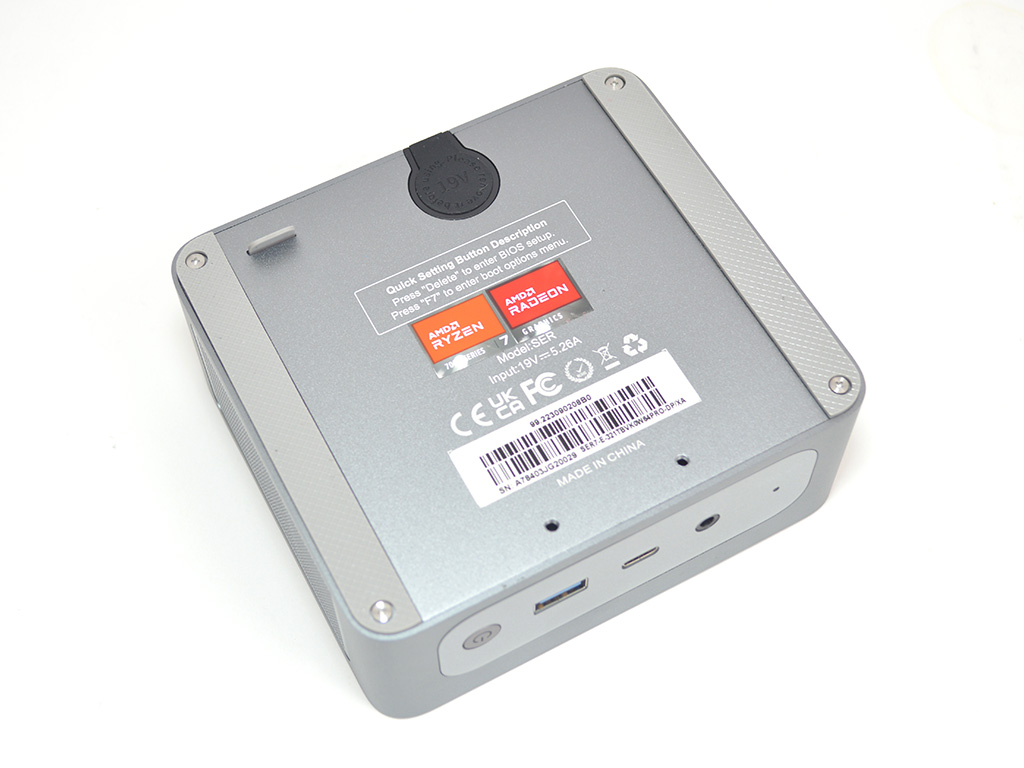
The top of the Beelink SER 7840HS has a fine textured and vented top with the company logos and SER 7 logos being somewhat visible. Meanwhile, the metal bottom plate has long rubber feet and four screws to secure it. It should also be noted that the two screw holes at the bottom are for the mounting plate. Also, interestingly enough, the unit uses a magnetic power plug on the bottom rather than a traditional barrel plug or the like. I do find it rather nice that they included a quick guide on the underside listing the keyboard shortcuts for entering the BIOS or the boot options menu. While anyone familiar with computers will know this, it is still a nice inclusion all the same.
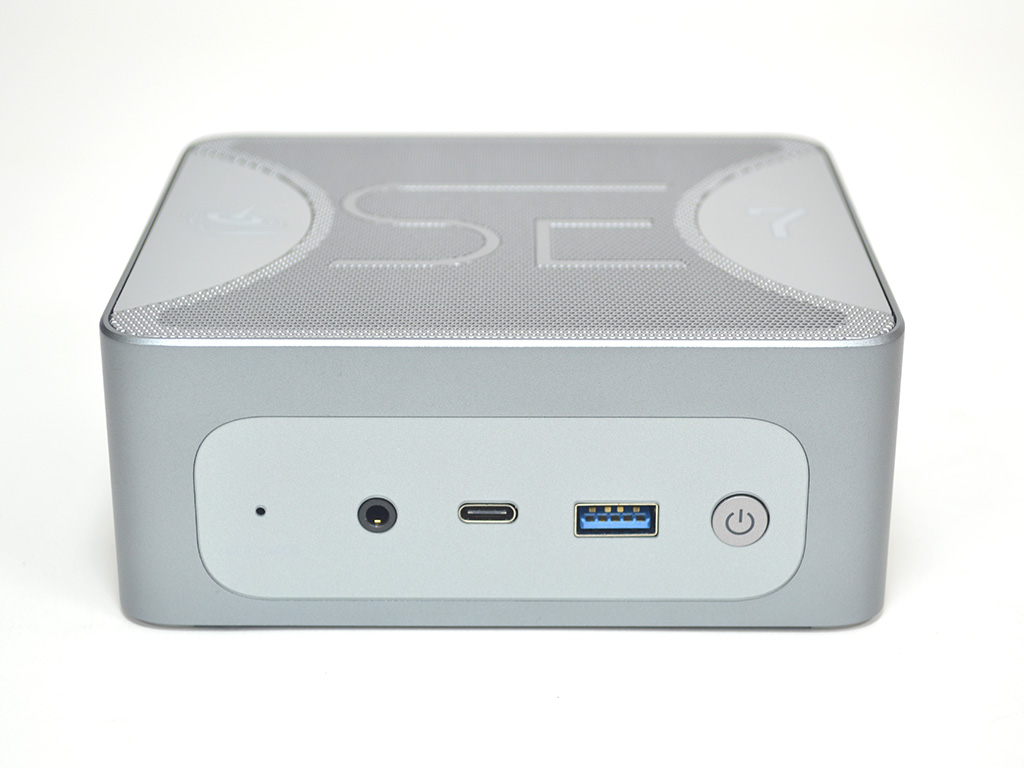

The Front I/O consists of 1x USB 3.2 Type-A ports, a USB 3.2 Type-C port, a power button, and a small hole giving users the ability to easily clear the CMOS. Rounding out the front I/O is a combo audio jack for your headphone or microphone needs. Turning to the left side is where one of the major intake vents is located.
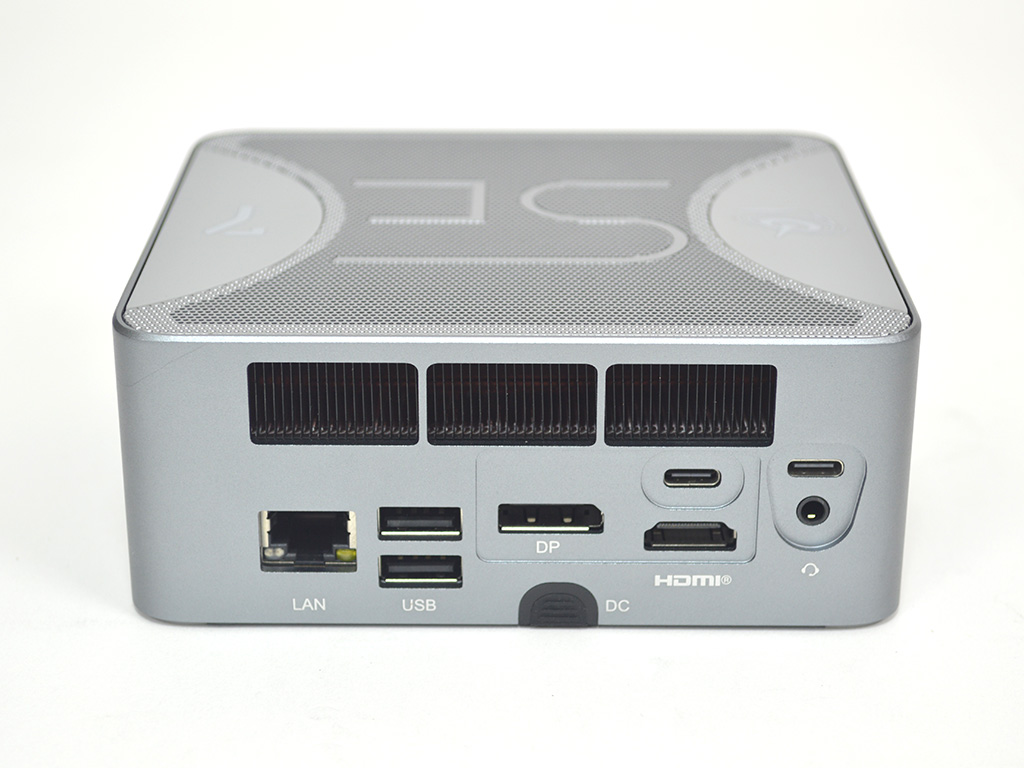
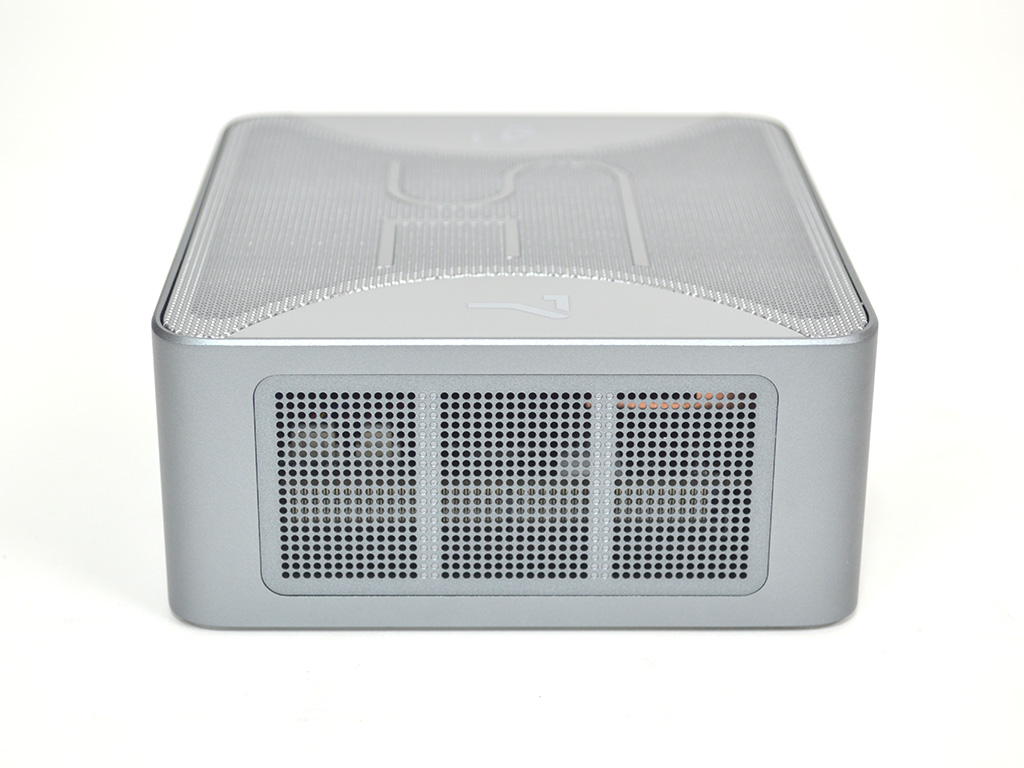
Looking at the rear I/O, you will find 2x USB4 ports, 2x USB 2.0 Type-A ports, 1x HDMI 2.1 port, 1x DisplayPort 1.4, 1x 2.5 GbE LAN, and the power plug. To keep heat under control, Beelink has used the top 1/3 of the rear as an exhaust port with three openings. This should limit airflow restriction, making the cooling solution more efficient. As for the right side, it is the same as the left, in that a large vented area allows for fresh air to be sucked into the system.
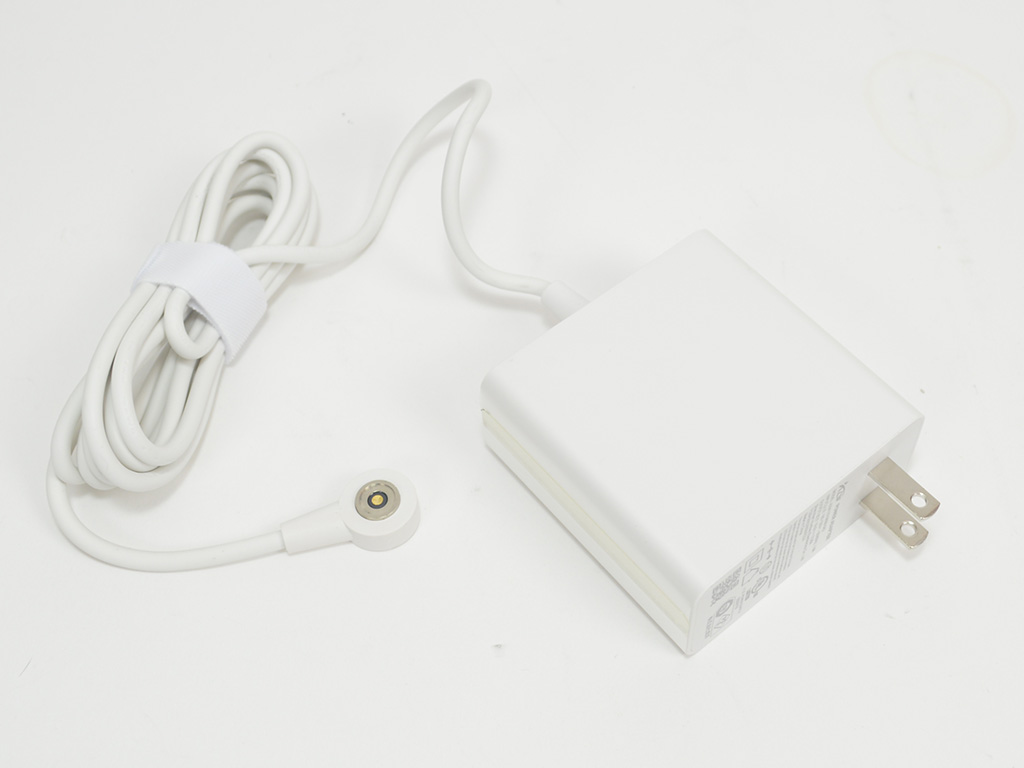

To power the system, Beelink uses the AZW11019058-0A2 wall plug, which is rated at 19 volts and 5.26 amps, which allows for a max output of 100 watts.
A Look Inside
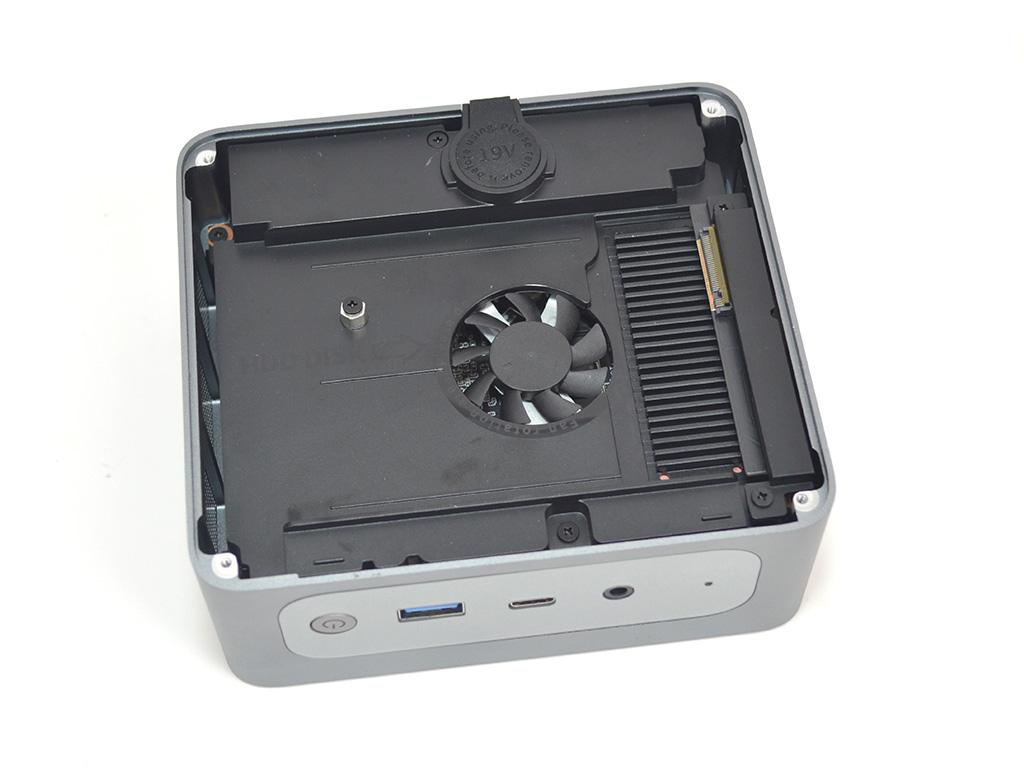
Upgrading the system is a fairly straightforward process. To start, you will need to remove the four screws holding the bottom plate to the chassis. Once done, you can lift the plate off, which will give you access to the second M.2 NVMe slot, which is a nice inclusion over the more typical 2.5-inch HDD bay only. To move the HDD / SSD tray out of the way, you will need to remove two screws in the outer corners along with the screws securing the NVMe SSD connector.
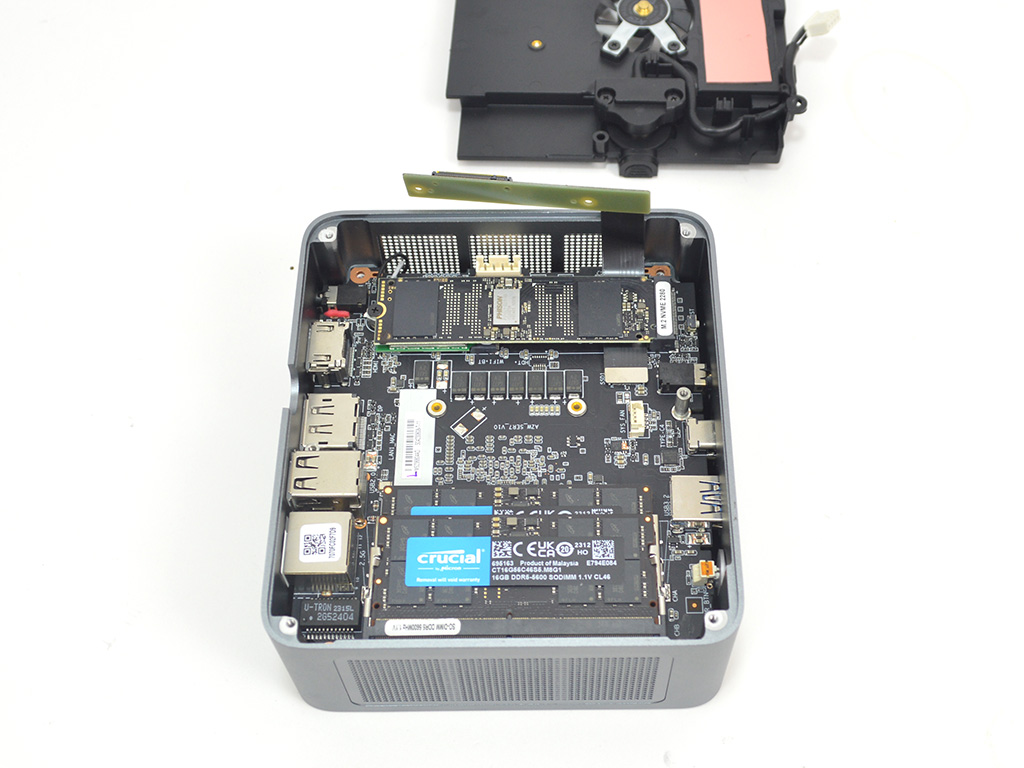
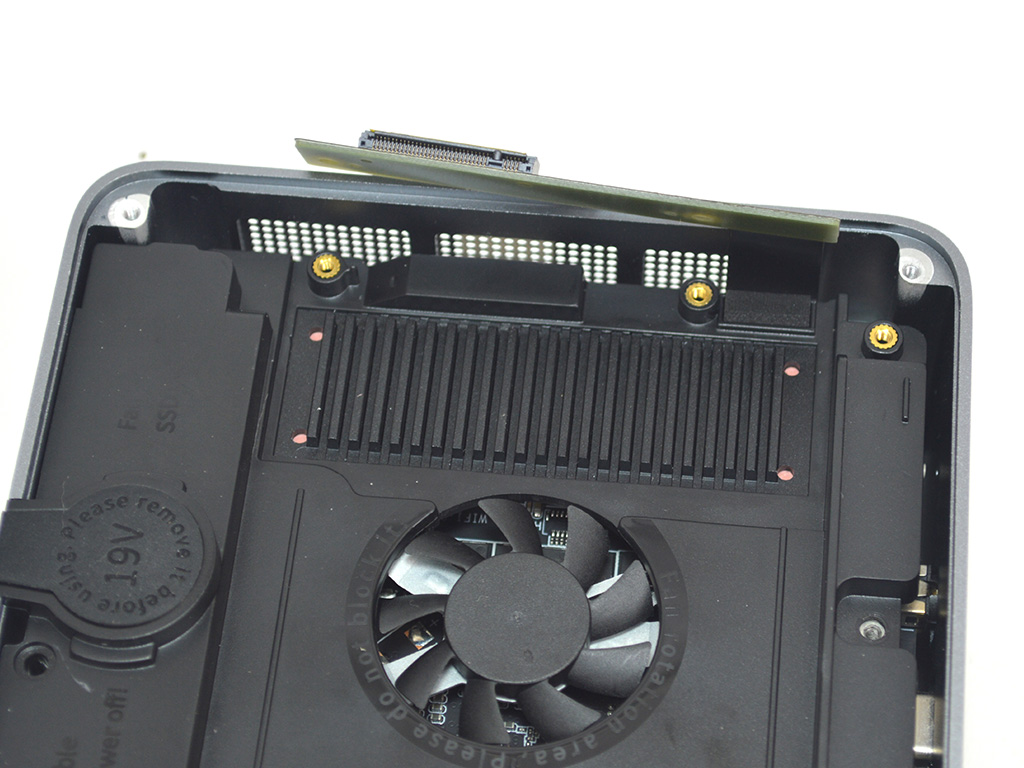
With all of that removed, you can lift the inner plate, but be careful as a fan and the power plug are connected to the mainboard underneath. Once you disconnect the fan and power plug, the inner plate can be removed. You now have access to the M.2 SSD, Wi-Fi module, and DDR5 SODIMMs.

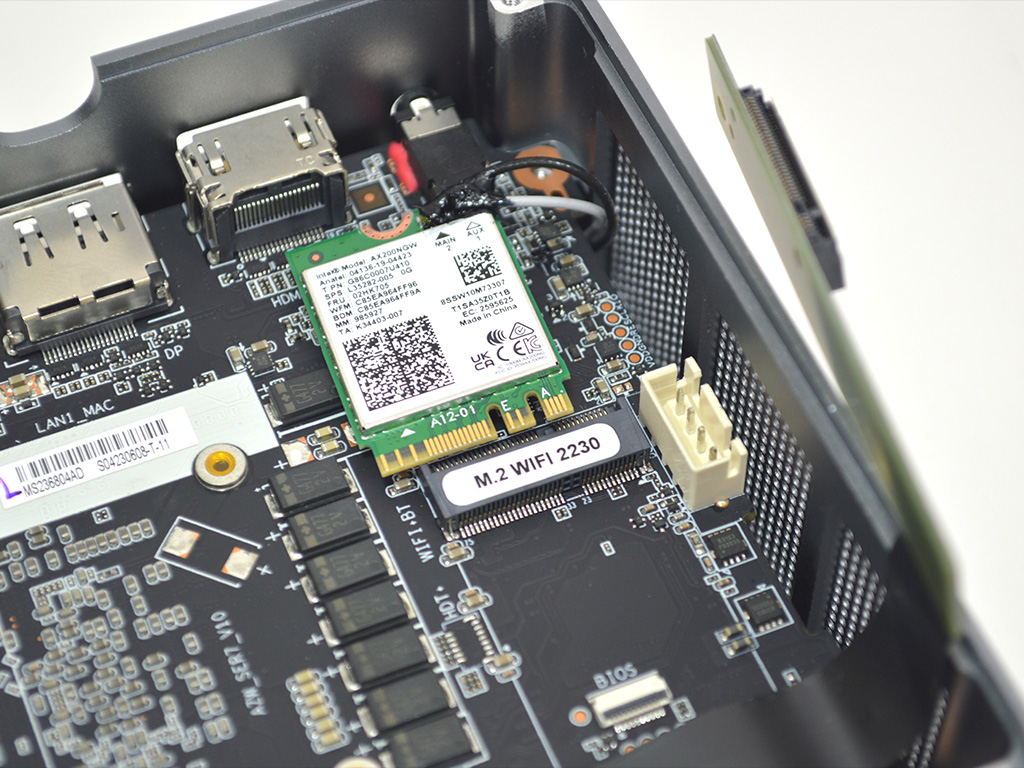
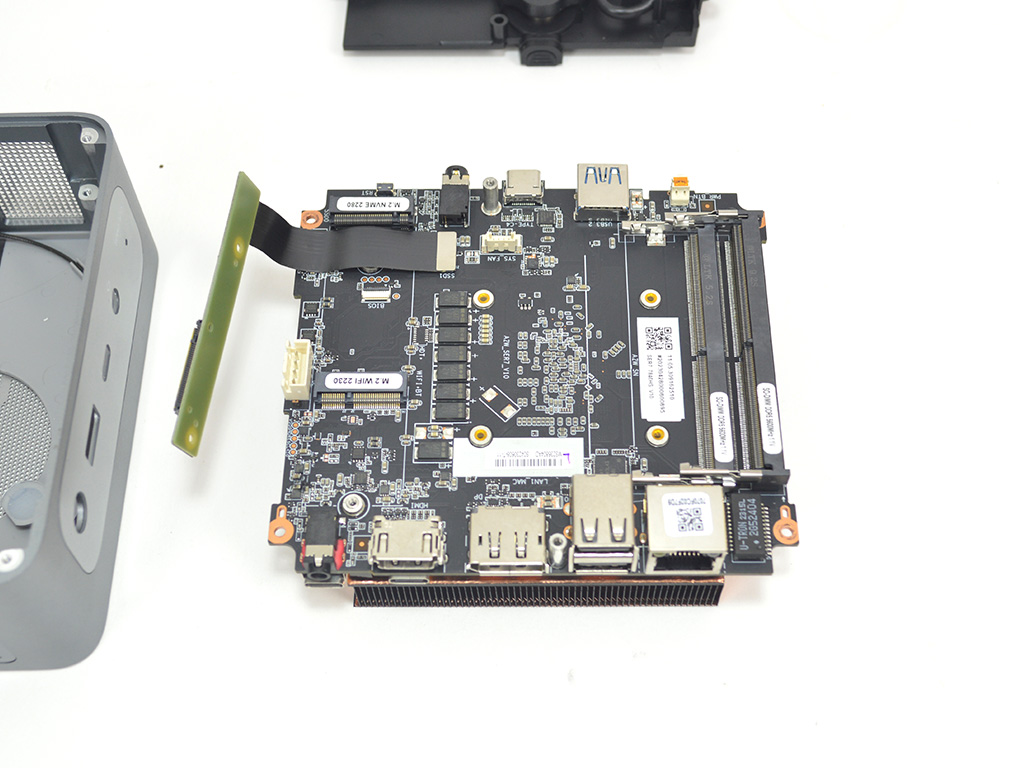
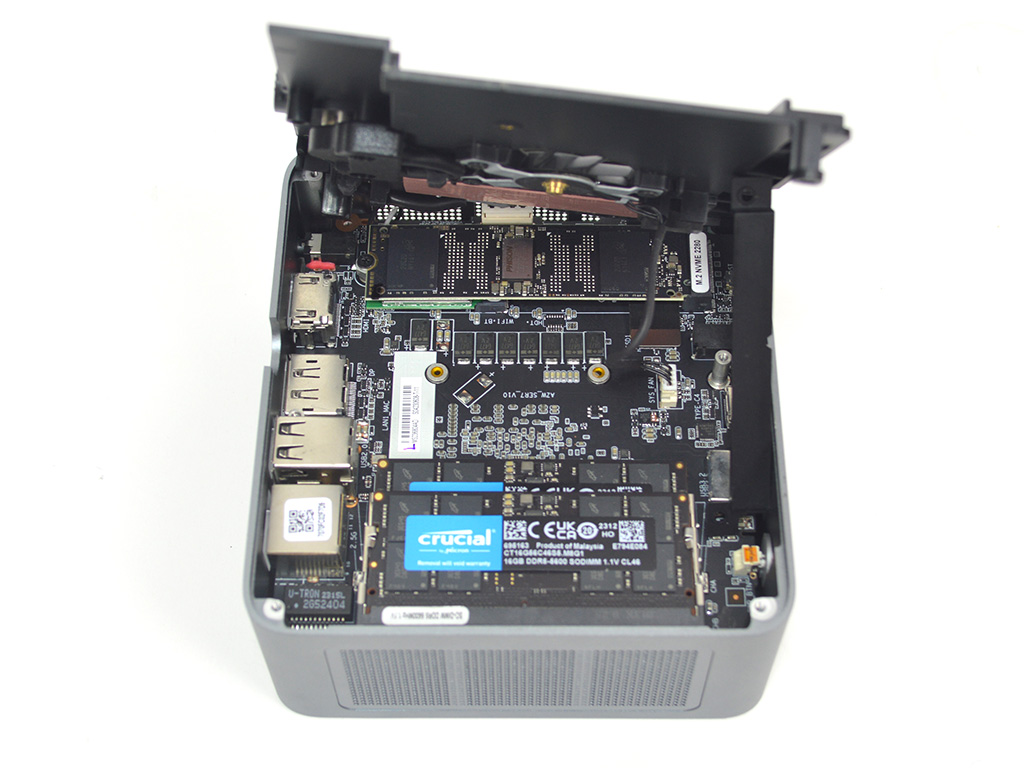
A closer look reveals the Wi-Fi module to be Intel's AX200NGW which is a 2x2 Wi-Fi 6 offering with support for Bluetooth 5.2. Back on track, removing the mainboard requires removing the M.2 Wi-Fi module which is simple enough, just unscrew the standoff and it will come out easily. Then, with the Wi-Fi module gently moved out of the way, you can pull the mainboard from the chassis.
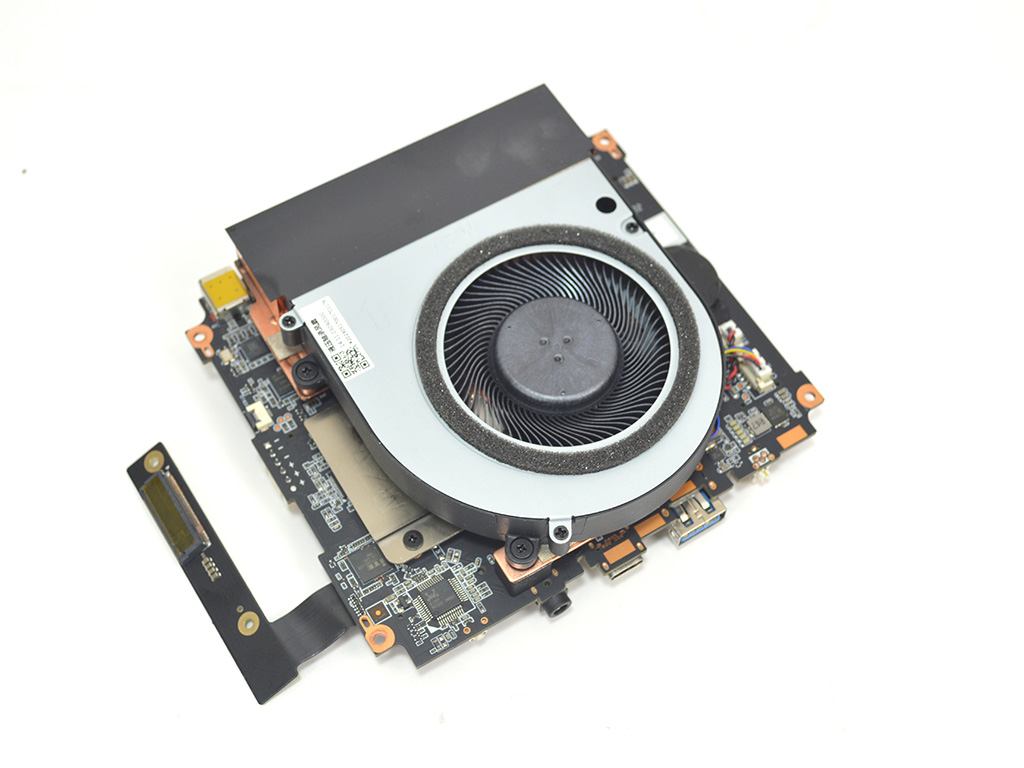
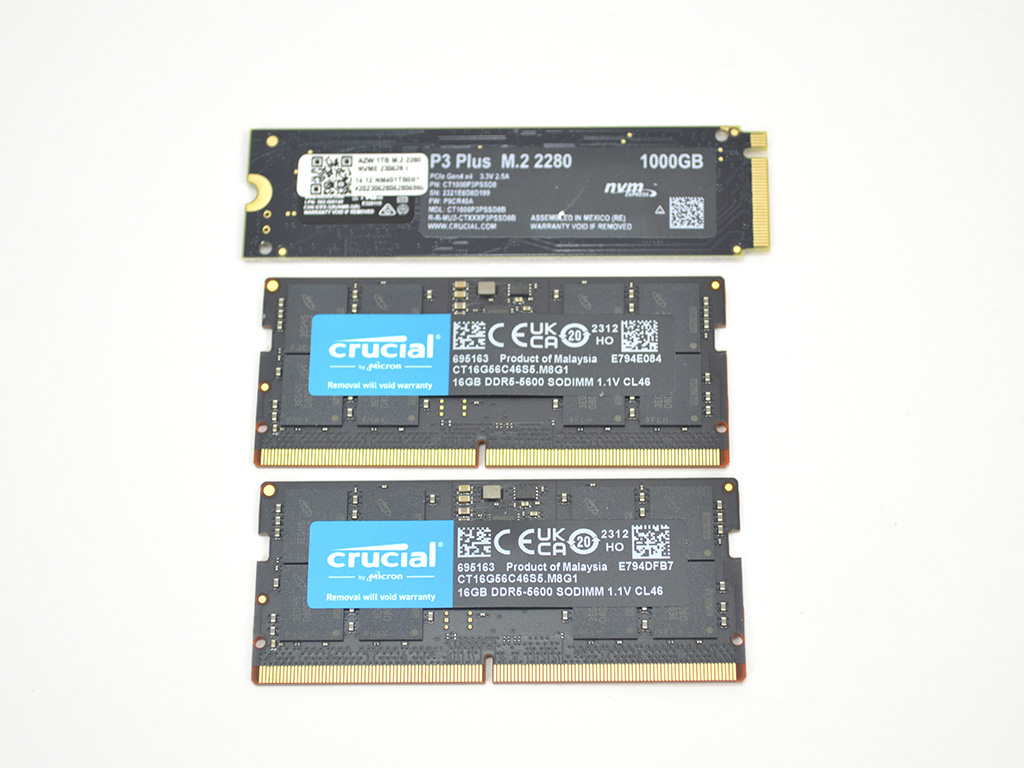
With the mainboard out, you can get a better look at the sizable heatsink used to keep the AMD Ryzen 7840HS cool, along with the CMOS battery, which is in the middle right next to the CPU fan header. All that remains is a closer look at the memory and SSD, which are both from Crucial. The 32 GB memory kit is a 2x 16 GB dual channel kit rated for 5600 MHz CL46 at 1.1 volts. Storage is handled by the Crucial P3 Plus 1 TB NVMe SSD.
Overall, the system is easy enough to take apart for general maintenance or upgrades.
Our Patreon Silver Supporters can read articles in single-page format.
Apr 12th, 2025 11:42 EDT
change timezone
Latest GPU Drivers
New Forum Posts
- RX 9000 series GPU Owners Club (296)
- How to relubricate a fan and/or service a troublesome/noisy fan. (195)
- Razer vBIOS gone wrong (3)
- i need help with a ebay rx580 8gb 2048sp (8)
- What's your latest tech purchase? (23529)
- Sexy Hardware Close-Up Pic Clubhouse. (10274)
- The TPU UK Clubhouse (26086)
- Last game you purchased? (758)
- I need help finding the correct vBIOS for my Chinese graphics card. It's an RX 580 (6)
- Wrong iGPU Clock Readings on Comet Lake (2)
Popular Reviews
- The Last Of Us Part 2 Performance Benchmark Review - 30 GPUs Compared
- Thermaltake TR100 Review
- ASRock Z890 Taichi OCF Review
- TerraMaster F8 SSD Plus Review - Compact and quiet
- Zotac GeForce RTX 5070 Ti Amp Extreme Review
- Sapphire Radeon RX 9070 XT Pulse Review
- Acer Predator GM9000 2 TB Review
- ASUS GeForce RTX 5080 TUF OC Review
- Sapphire Radeon RX 9070 XT Nitro+ Review - Beating NVIDIA
- Upcoming Hardware Launches 2025 (Updated Apr 2025)
Controversial News Posts
- NVIDIA GeForce RTX 5060 Ti 16 GB SKU Likely Launching at $499, According to Supply Chain Leak (181)
- MSI Doesn't Plan Radeon RX 9000 Series GPUs, Skips AMD RDNA 4 Generation Entirely (146)
- Microsoft Introduces Copilot for Gaming (124)
- NVIDIA Sends MSRP Numbers to Partners: GeForce RTX 5060 Ti 8 GB at $379, RTX 5060 Ti 16 GB at $429 (118)
- Nintendo Confirms That Switch 2 Joy-Cons Will Not Utilize Hall Effect Stick Technology (105)
- Over 200,000 Sold Radeon RX 9070 and RX 9070 XT GPUs? AMD Says No Number was Given (100)
- Nintendo Switch 2 Launches June 5 at $449.99 with New Hardware and Games (99)
- NVIDIA PhysX and Flow Made Fully Open-Source (77)