 17
17
BitFenix Colossus Review
Assembly & Finished Looks »A Closer Look - Inside
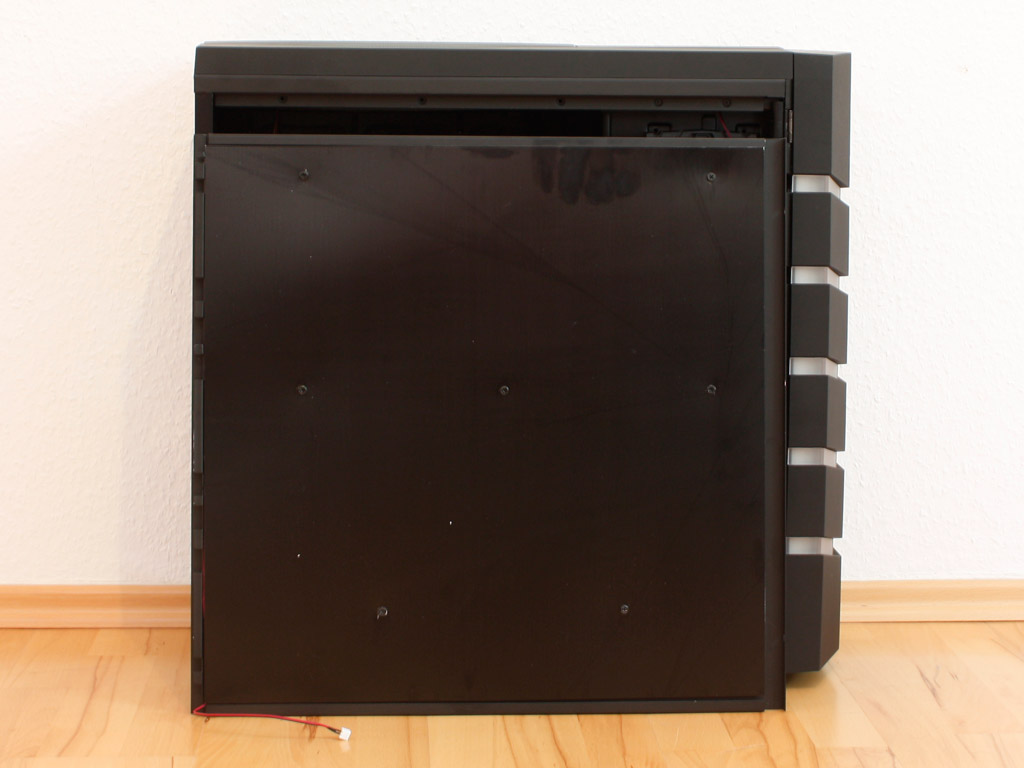
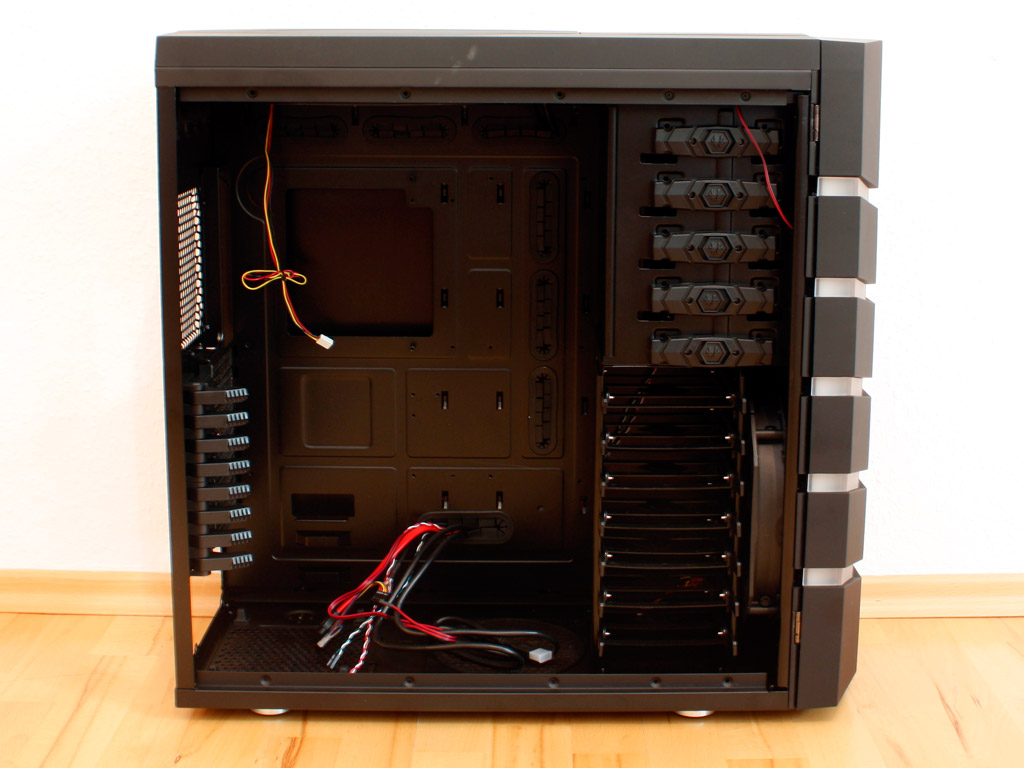
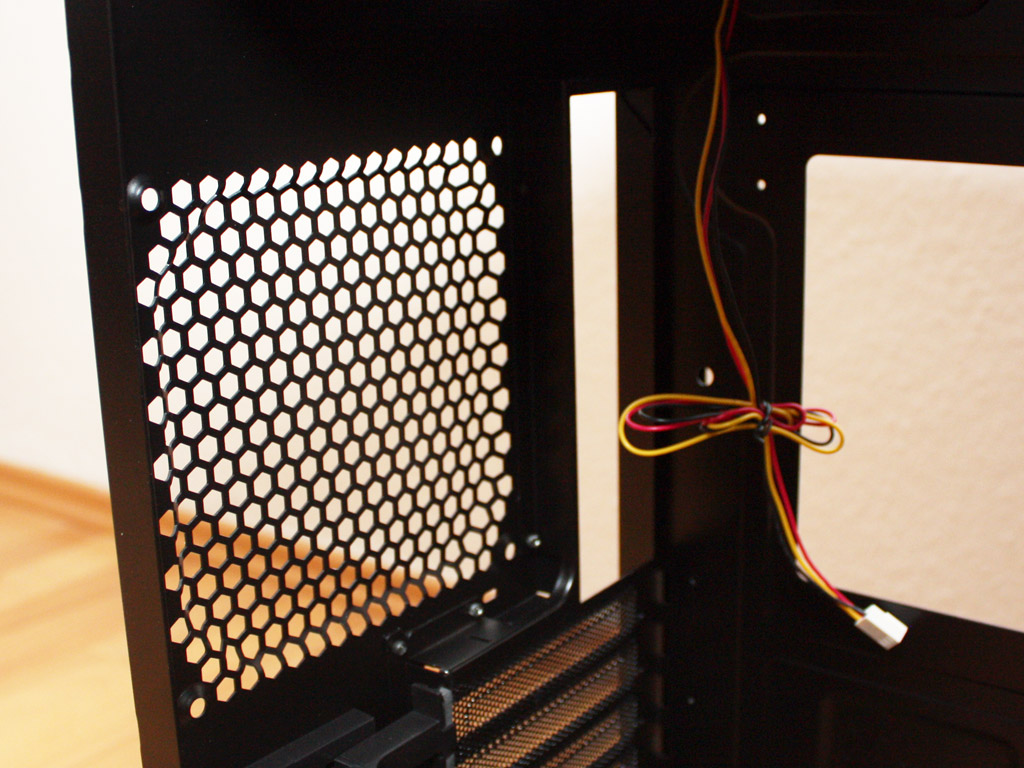
One can remove the side panels by unscrewing the pair of thumbscrews on each. As you can see above, all the LEDs and wiring are covered by a black sheet. It is interesting to note, that the door weighs as much as a small all-aluminum chassis. Taking a quick look at the interior, we can see a traditional layout. A large opening in the mainboard tray should give the user easy access to backplates of coolers and there are numerous openings to route and hide cables behind the tray. Latches are also all over the place, allowing you to use the included zip ties to secure any wiring.
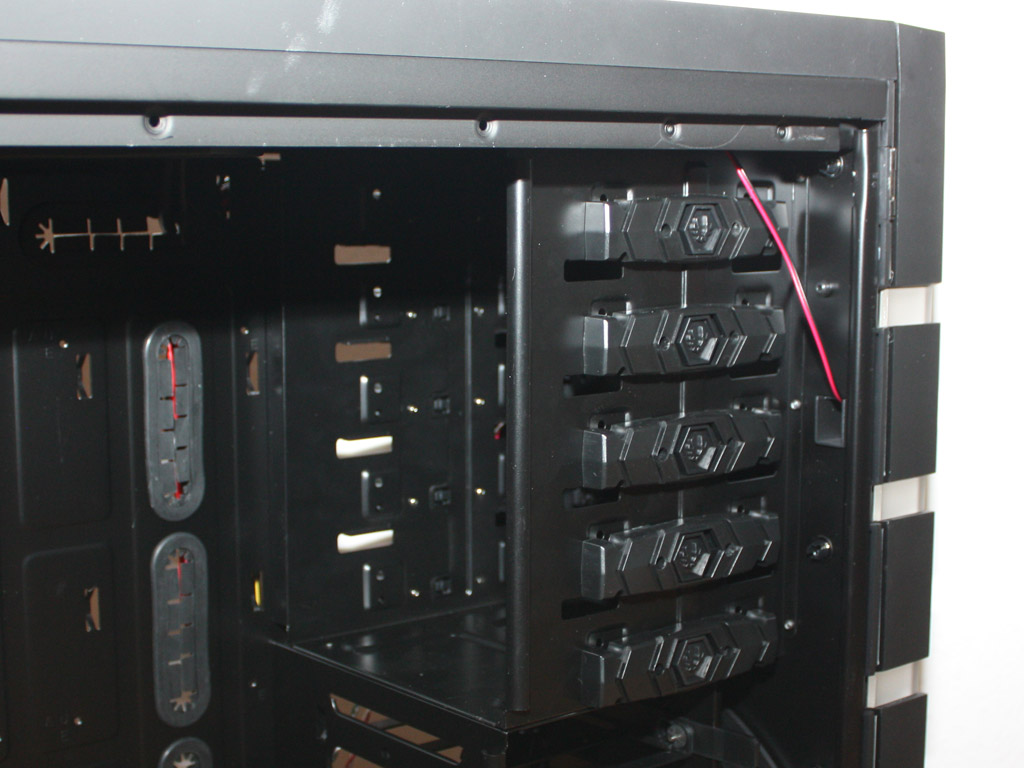

The Colossus can hold a total of five 5.25 inch devices. These feature plastic locks on both sides, which should allow for screw-less installation of all drives. Below that are the seven hard drive trays, which can be pulled out individually and do not require any tools to be filled either.
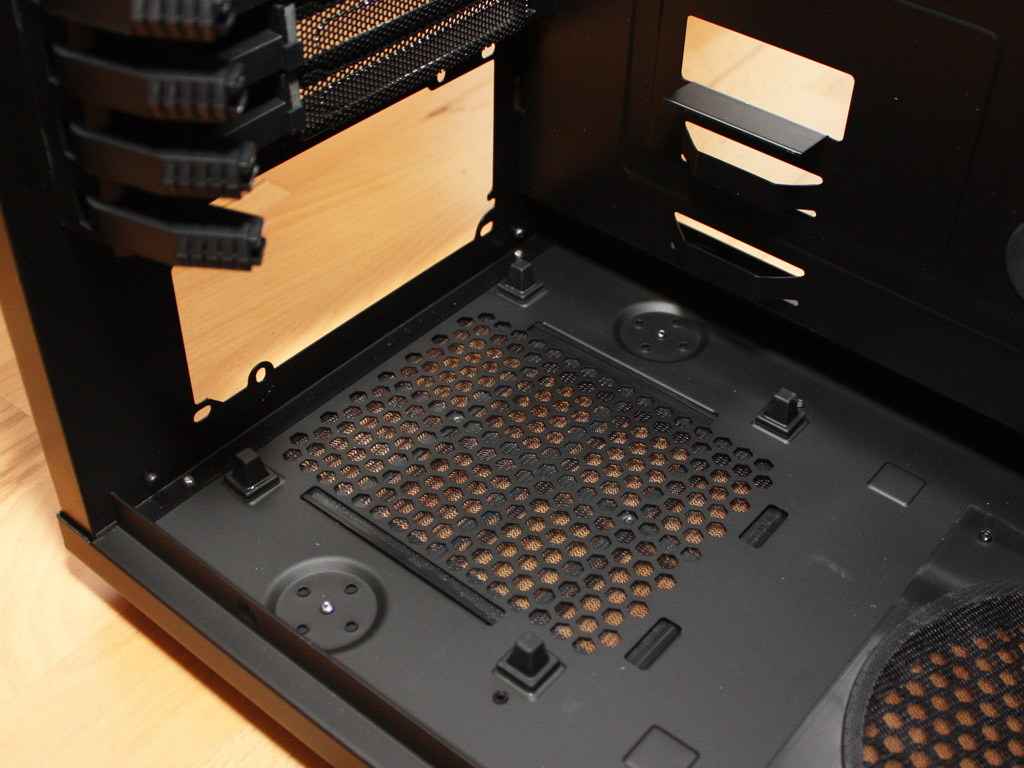

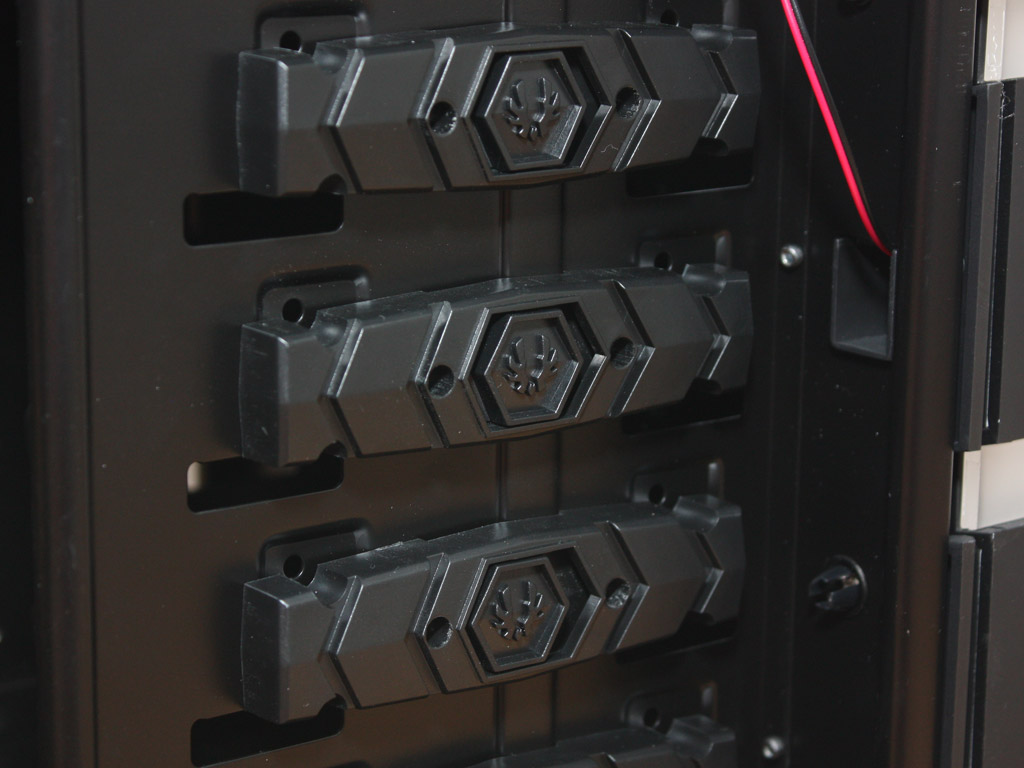
Turning our focus to the rear, the very top is intended for a 120 or 140 mm exhaust fan. Below that are the afore mentioned 8 expansion slots, but the really interesting aspect are the large plastic locks. While we have seen this type of system within many Lian Li cases, those are made of metal. BitFenix utilizes ABS plastic, but the construction quality of this contraption is excellent and these locks will easily hold even large and heavy graphic cards as we will see on the next page. While the PSU bay is nothing out of the ordinary, it does feature four little rubber bumps to kill any vibration from the power supply and a dust filter to give the unit access to clean air.
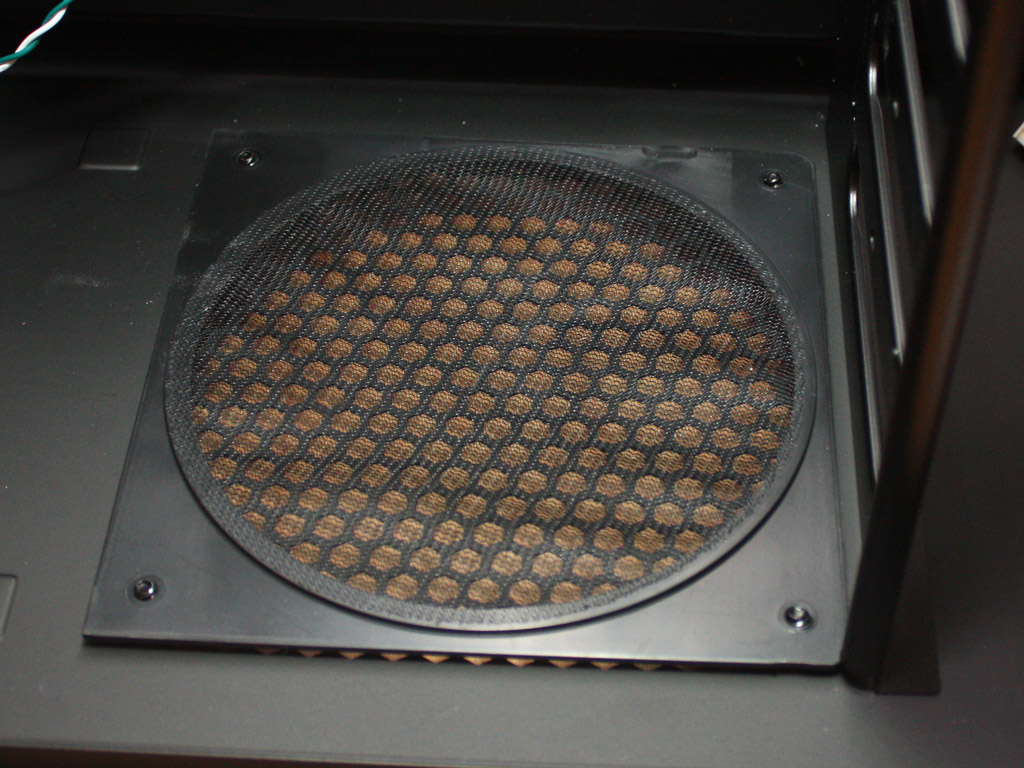
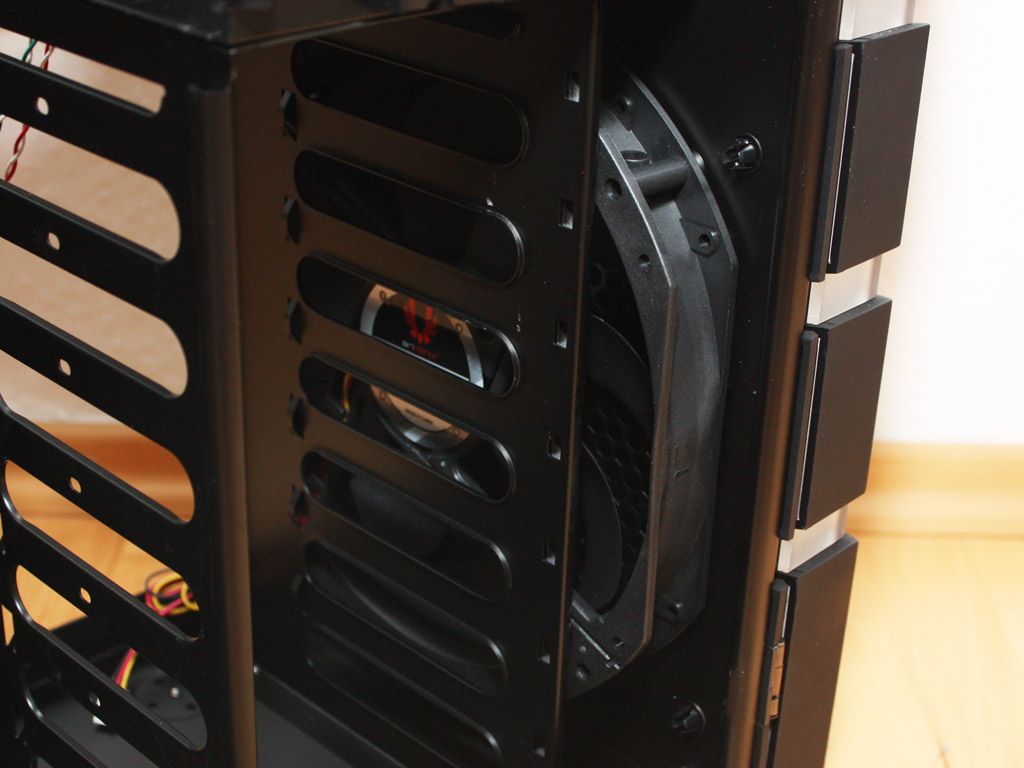
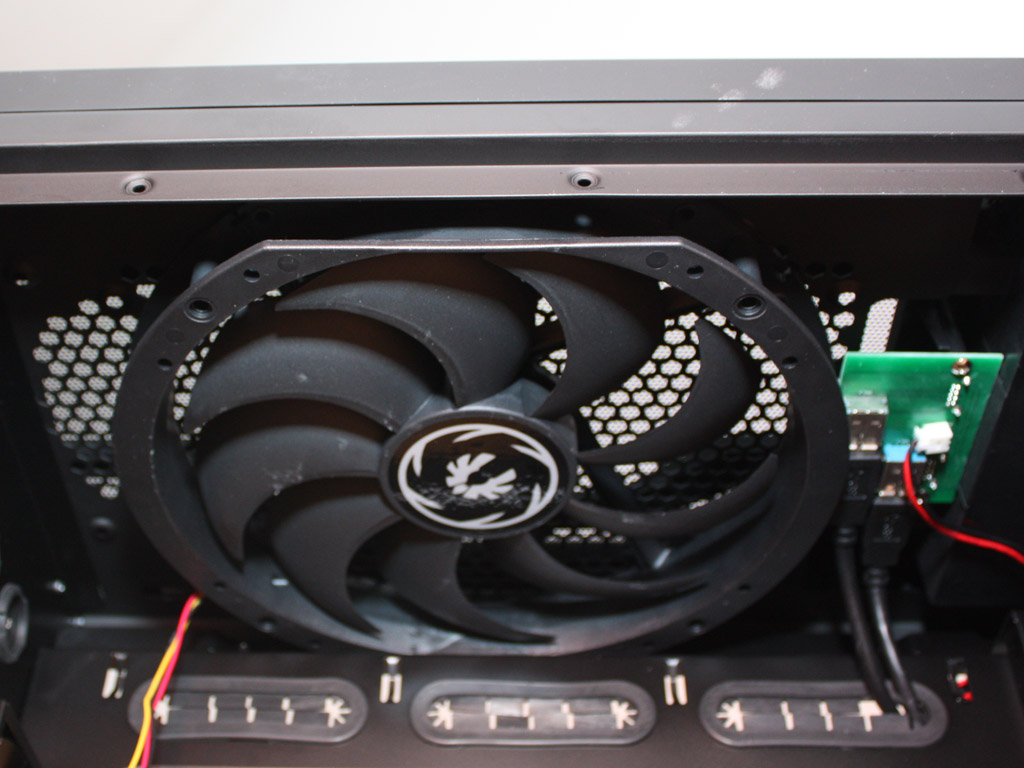
There is an additional opening to allow for air to enter the chassis in the floor of the Colossus, but BitFenix has included two massive 230 mm fans. One in the front, pulling air in and another one in the ceiling, pushing air out. It should be noted, that the white variant of the case is also equipped with white fans - certainly a nice touch.
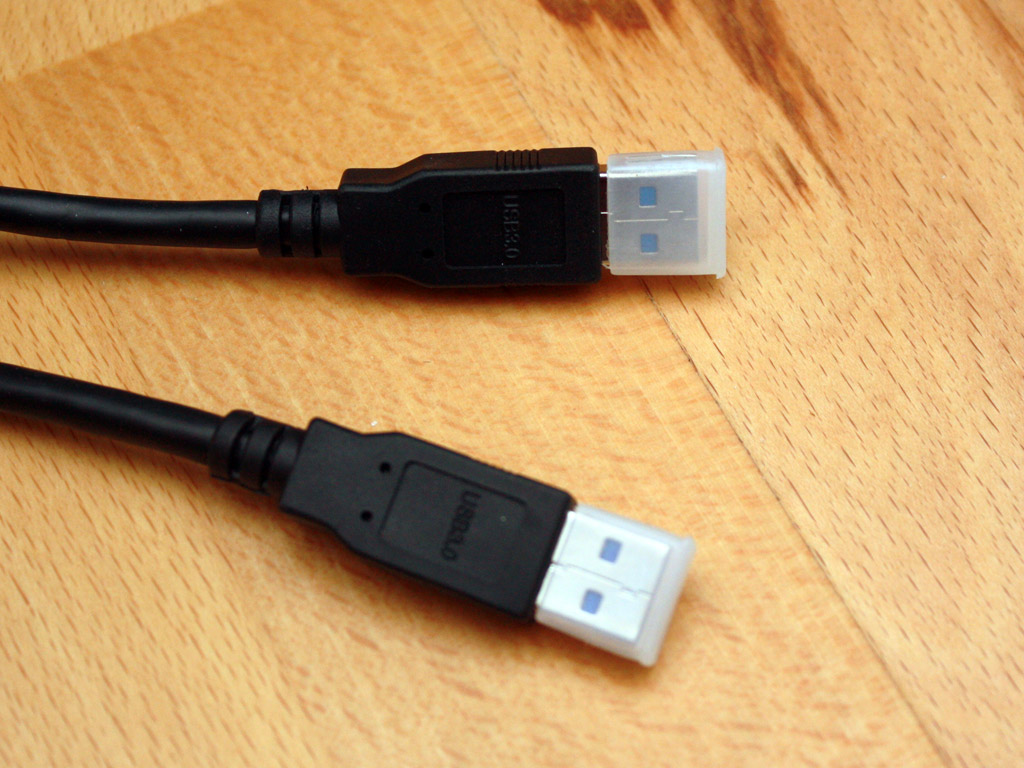
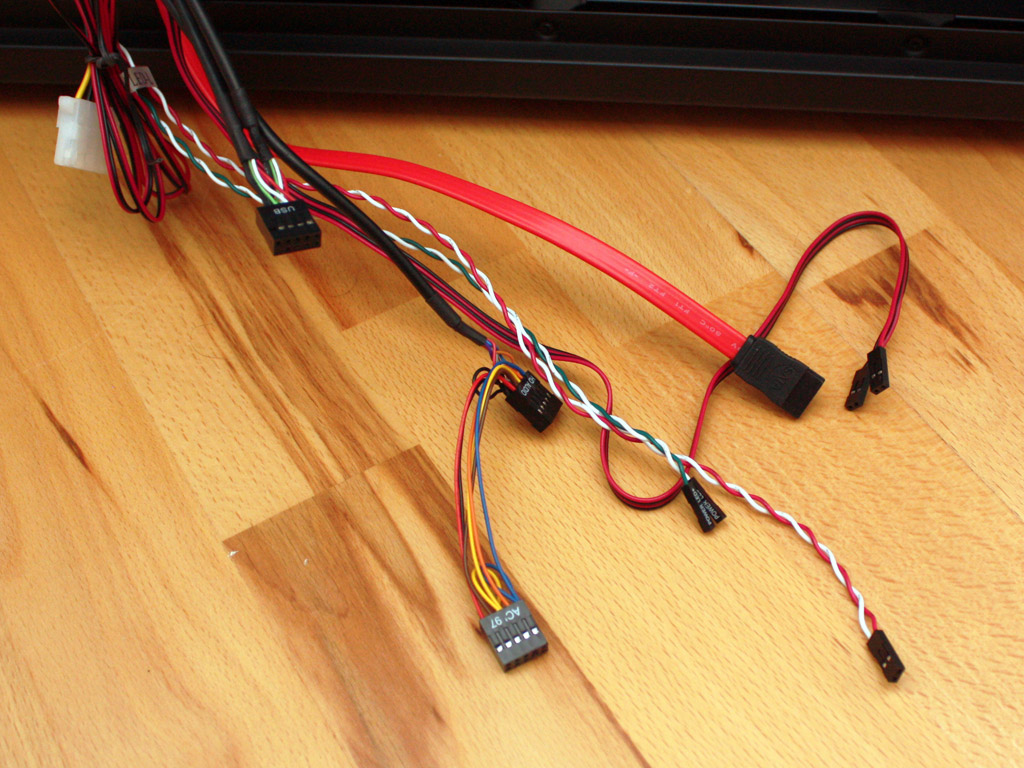
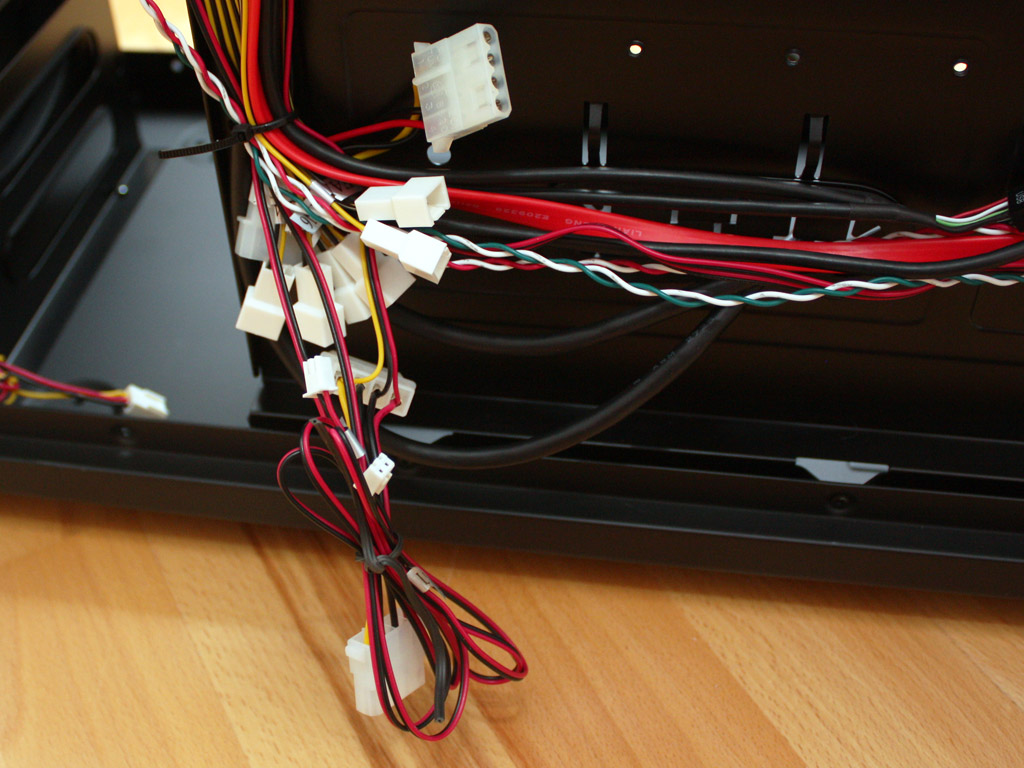
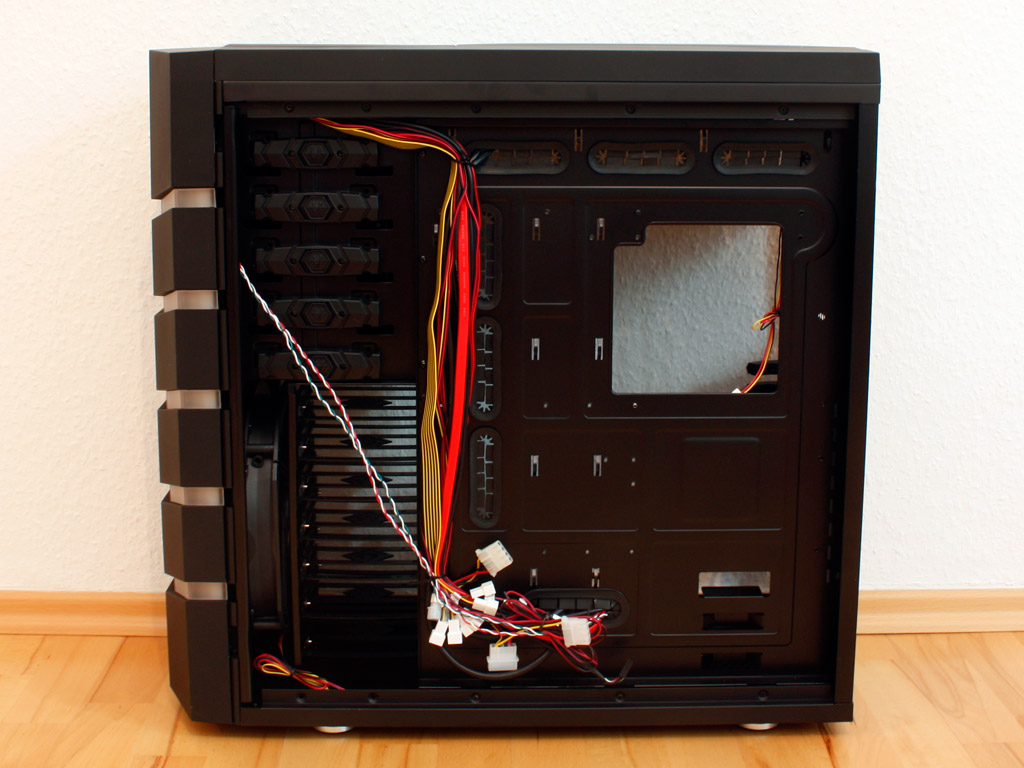
Due to the extensive connectivity, you will have to manage a lot of cables. First off, there are the two USB 3.0 cables. These have to be routed through the back of the case to the rear mainboard connectors or plugged straight into the USB 2.0 headers of the mainbard. It would have been nice if Bitfenix could have included a slot cover to run them out the back nice and cleanly, as you will have to get creative without such a piece, by routing the cables through the watercooling tube openings for example. On top of those, you will find the usual array of connectors for the other front I/O, but BitFenix allows you to adjust a total of six fans with the built-in fan controller. While this may seem like too much, the Colossus could technically hold that number of units if you were to replace the 230 mm ceiling one with two 120 mm parts and fill every other open position with a fan as well.
Feb 23rd, 2025 14:13 EST
change timezone
Latest GPU Drivers
New Forum Posts
- Zotac RTX 3060Ti Twin Edge OC LHR PCB image (3)
- Few questions about current AMD CPU (25)
- Why is coil whine still a nuisance? (24)
- As we live the age of game remakes, which game you would like to see to have a remake? (327)
- EFI partition too small, can't update Windows 11 on laptop (7)
- Ssd for new built. (4)
- RDNA4 Prediction Time Part Deux!!! (27)
- problem connecting the front panel headers to me motherboard (4)
- What are you playing? (22980)
- What local LLM-s you use? (60)
Popular Reviews
- MSI GeForce RTX 5070 Ti Ventus 3X OC Review
- ASUS GeForce RTX 5070 Ti TUF OC Review
- Ducky One X Inductive Keyboard Review
- Galax GeForce RTX 5070 Ti 1-Click OC White Review
- MSI GeForce RTX 5070 Ti Vanguard SOC Review
- darkFlash DY470 Review
- Gigabyte GeForce RTX 5090 Gaming OC Review
- MSI GeForce RTX 5070 Ti Gaming Trio OC+ Review
- Palit GeForce RTX 5070 Ti GameRock OC Review
- Fantech Aria II Pro Review
Controversial News Posts
- NVIDIA GeForce RTX 5090 Spotted with Missing ROPs, NVIDIA Confirms the Issue, Multiple Vendors Affected, RTX 5070 Ti, Too (430)
- AMD Radeon 9070 XT Rumored to Outpace RTX 5070 Ti by Almost 15% (302)
- AMD Plans Aggressive Price Competition with Radeon RX 9000 Series (271)
- AMD Radeon RX 9070 and 9070 XT Listed On Amazon - One Buyer Snags a Unit (247)
- Edward Snowden Lashes Out at NVIDIA Over GeForce RTX 50 Pricing And Value (241)
- AMD Denies Radeon RX 9070 XT $899 USD Starting Price Point Rumors (239)
- New Leak Reveals NVIDIA RTX 5080 Is Slower Than RTX 4090 (215)
- NVIDIA Investigates GeForce RTX 50 Series "Blackwell" Black Screen and BSOD Issues (209)