 11
11
BitFenix Ghost Review
Value & Conclusion »Assembly
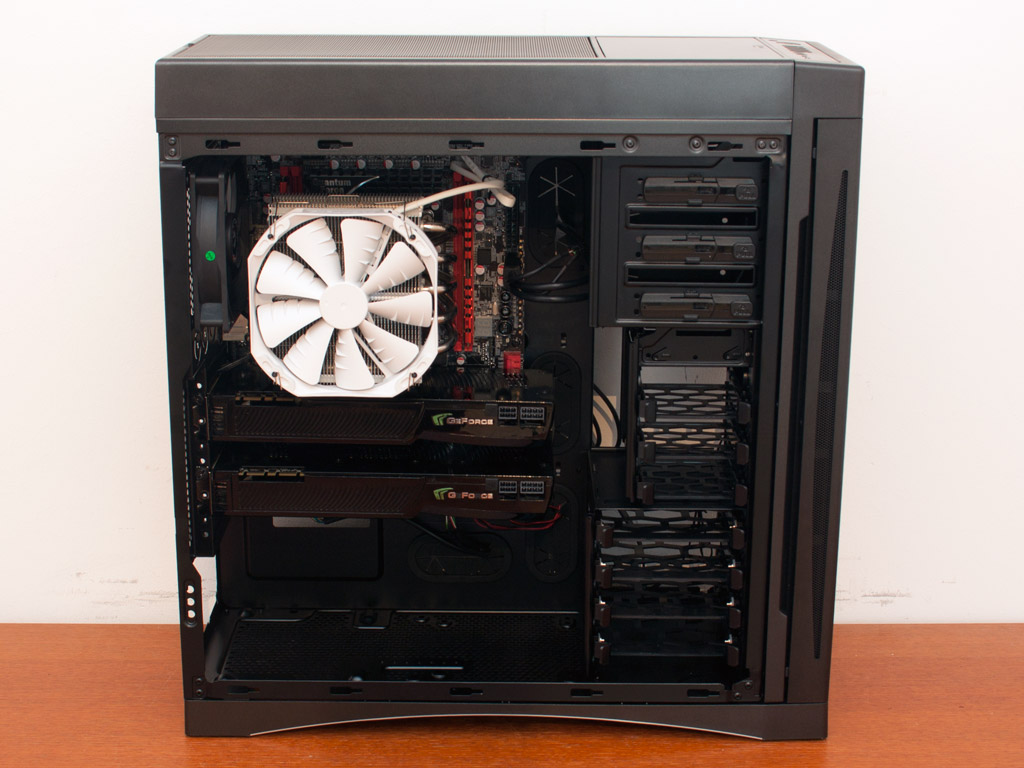
Installing the motherboard does not require any spacers, since the chassis itself comes with little bumps to screw the board to. While this saves a step in the assembly process, it also increases the chance of shorting the board out. Please invest the additional work and tape each of these bumps up so that there is an insulating area. Do not run the slight risk of damaging your components. I would rather see real spacers used to make absolutely sure nothing can go wrong.
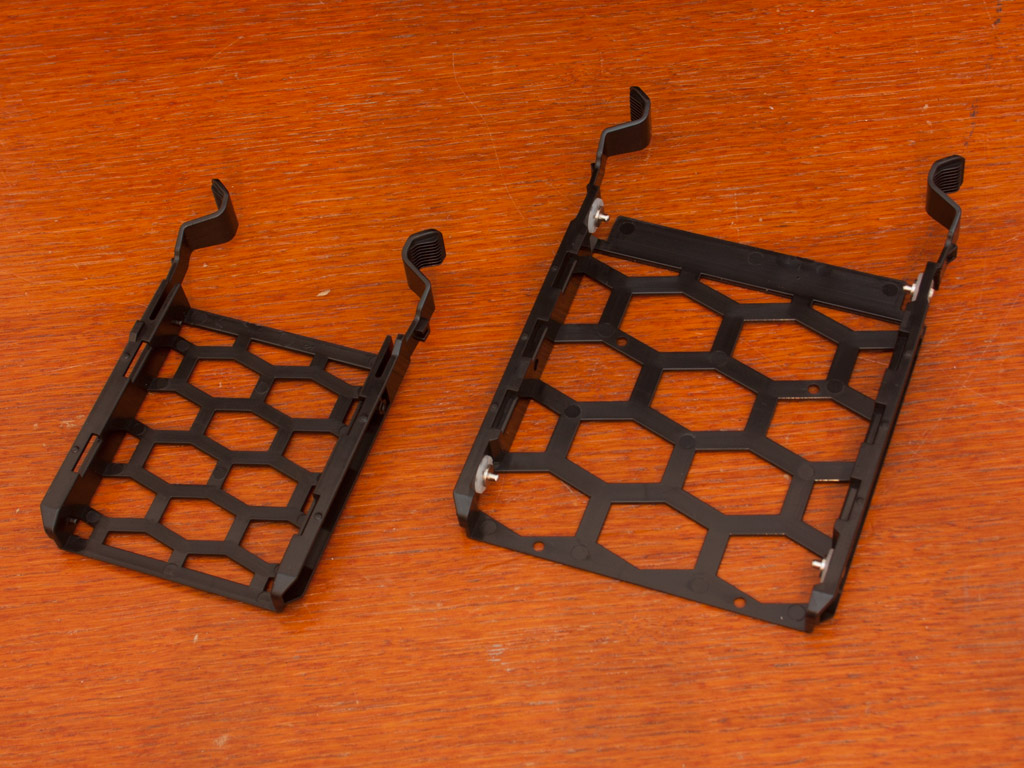
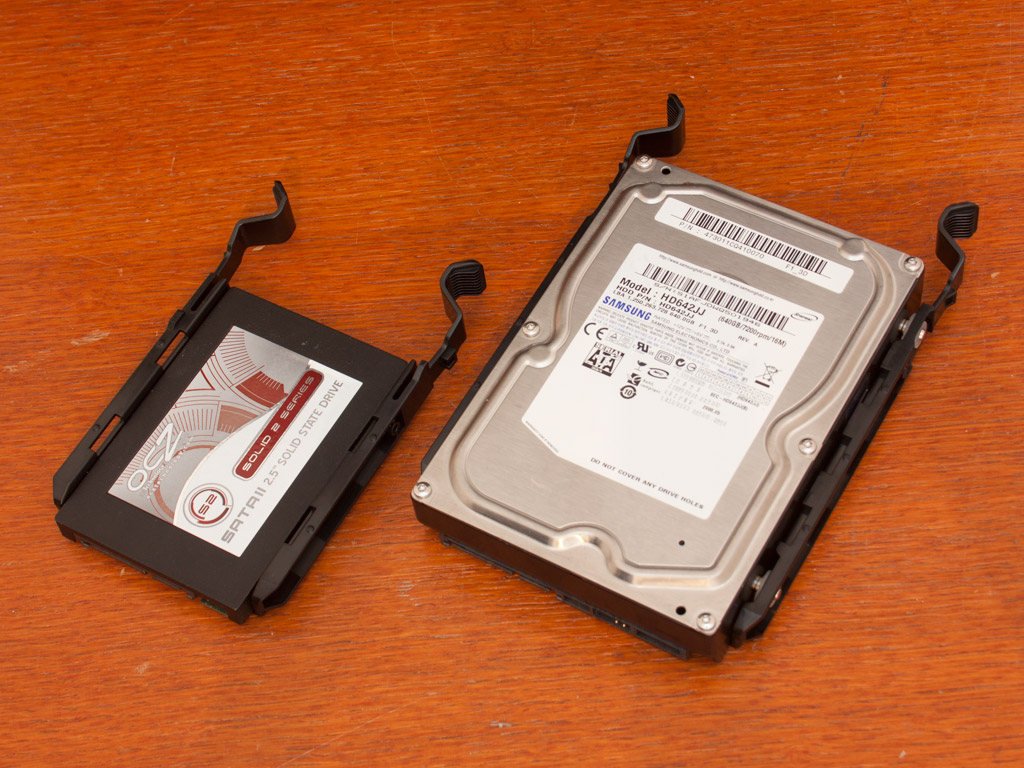
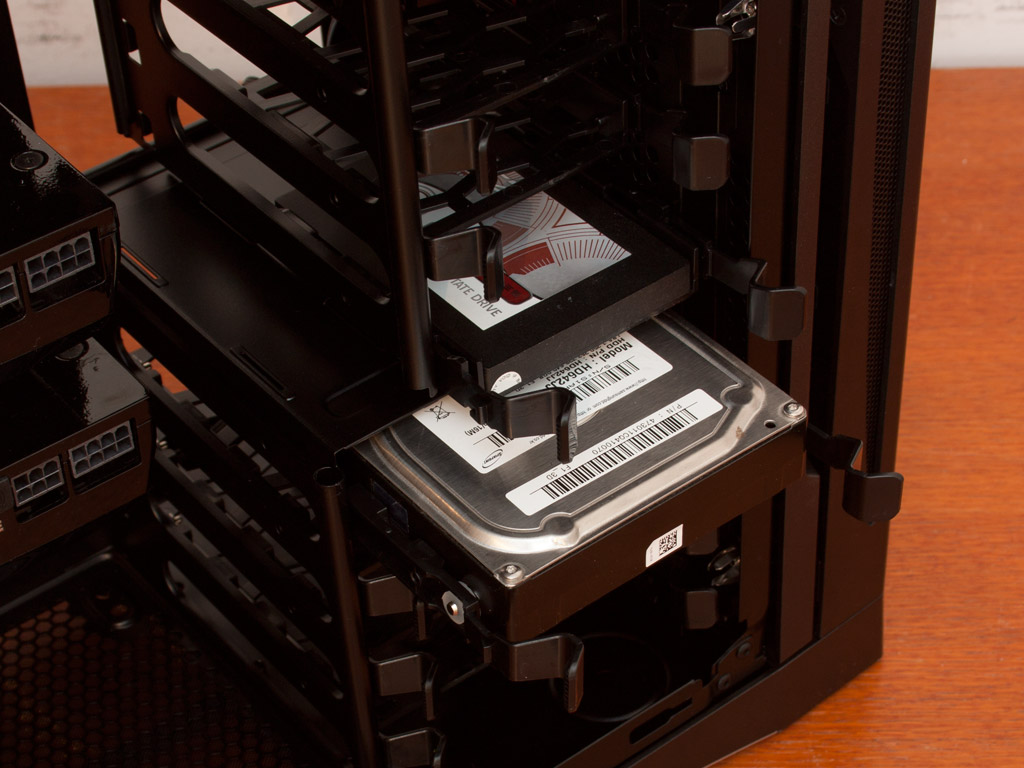
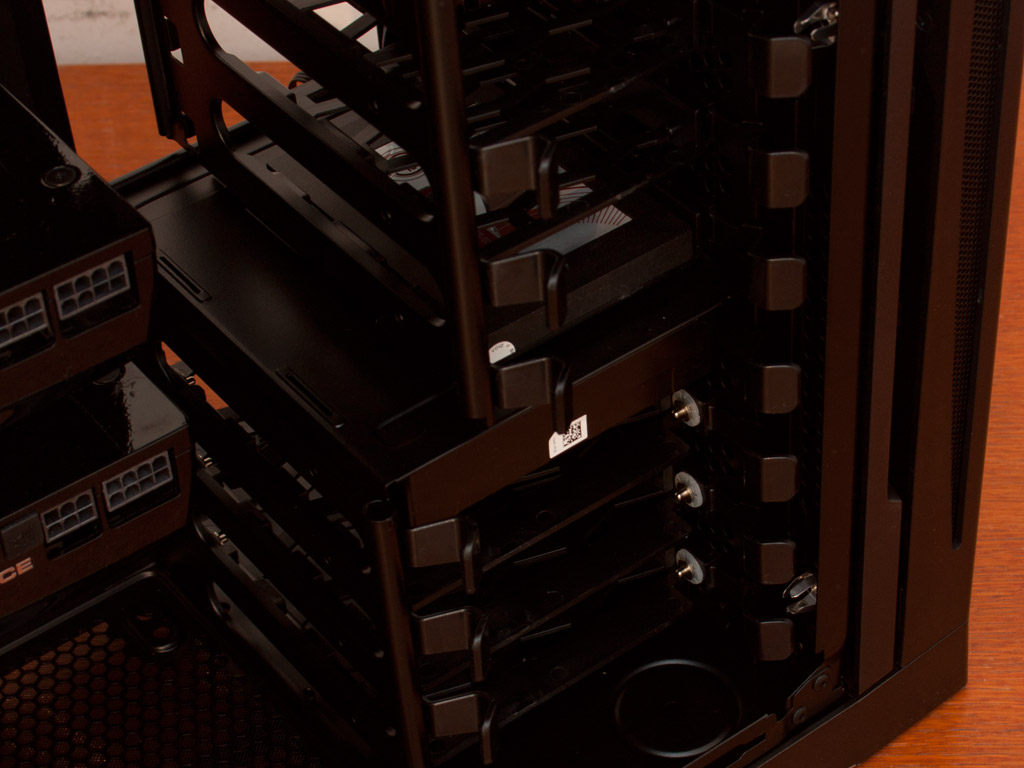
Each of the hard drives needs to be installed in a tray. You will not need any tools when installing the intended drives onto each tray, but are required to use traditional screws if you wish to place a 2.5" drive on one of the 3.5" trays. Once in place, simply slide the drive into the bay of your choice until it snaps down. The connectors of each of the drives face away from the main side-panel, making a clean interior within the Ghost possible.

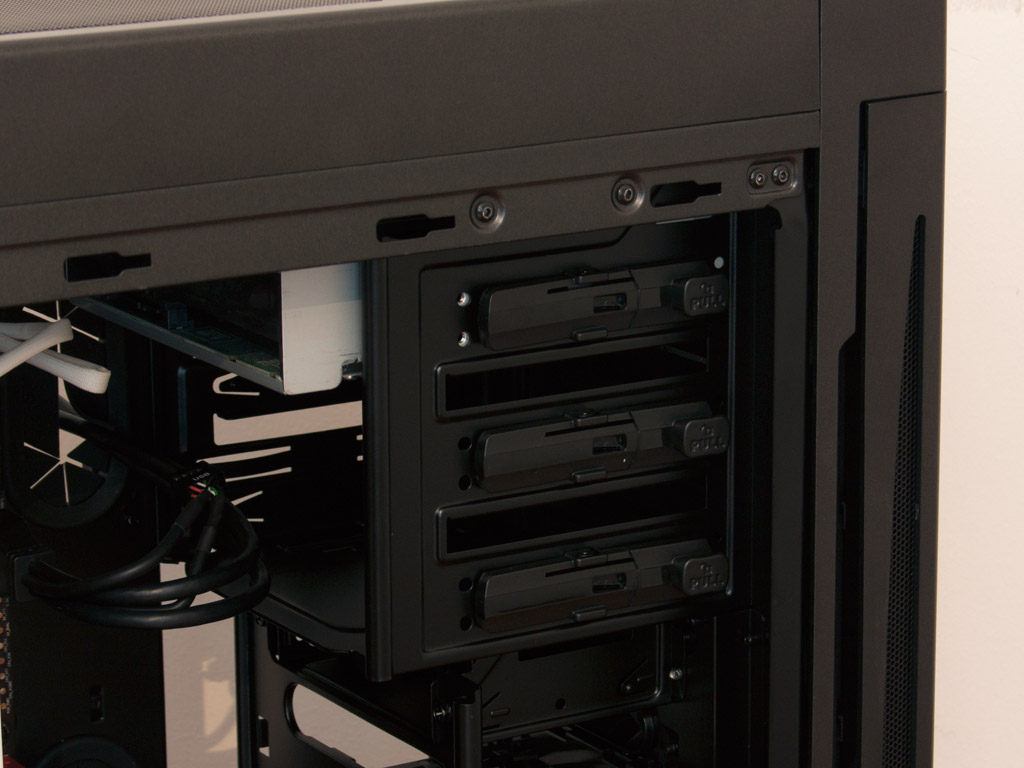
Installing an optical drive bay is quite easy as well. You can easily remove the cover of a bay without having to take off the entire front. Once free, simply slide the ODD and secure it with the locking mechanism. The drive still has a bit of play at the end, but that "bit" is within acceptable limits. Those who want to make sure that there is no movement should use traditional screws.
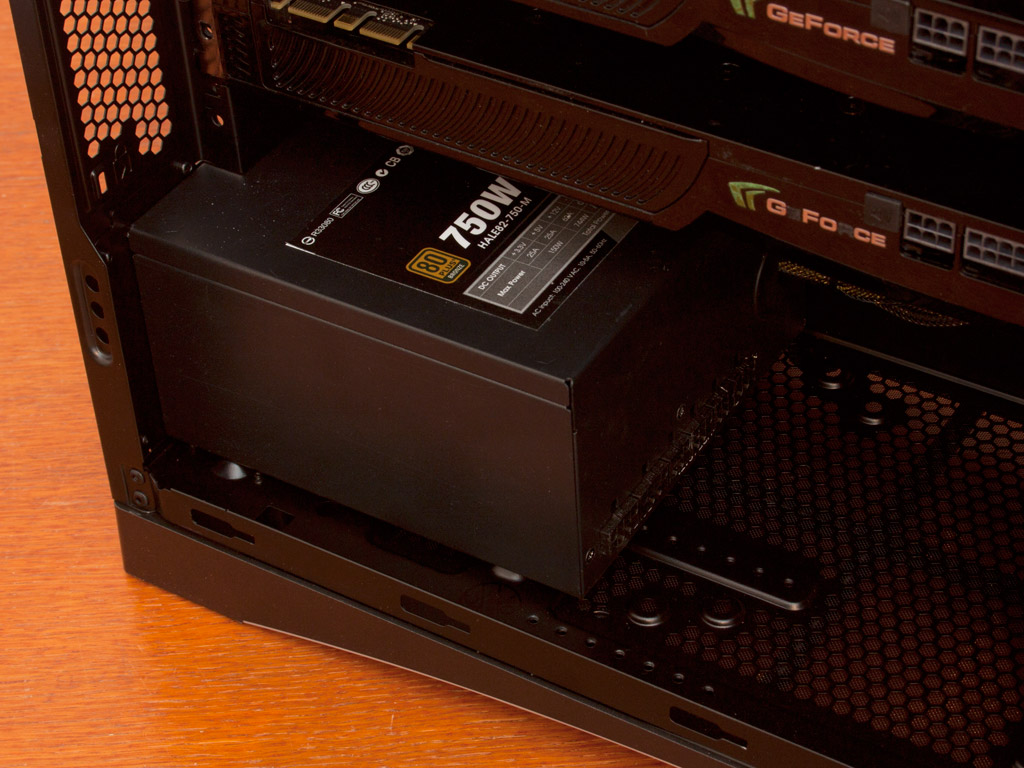
Installing the PSU is done by traditional means using the included black screws. Besides that, there is nothing out of the ordinary.
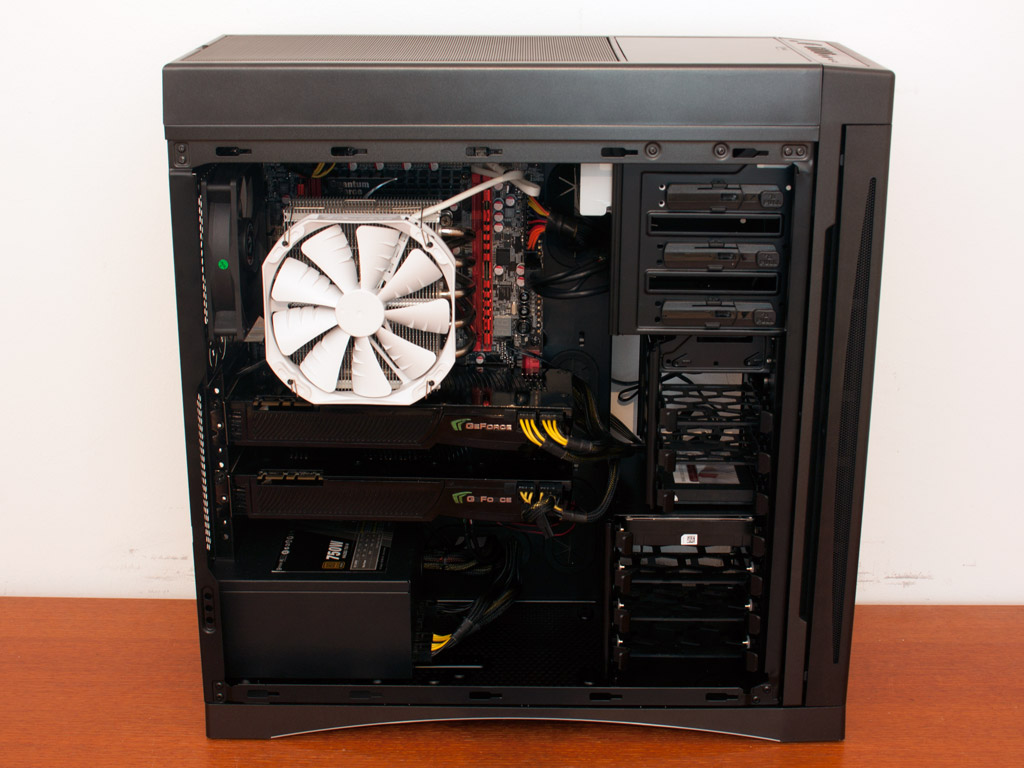

With everything installed, the BitFenix Ghost makes a good impression, since all the cables can easily be hidden behind the motherboard tray. The now installed rubber grommets do a good job of keeping that mess out of the user's sight.
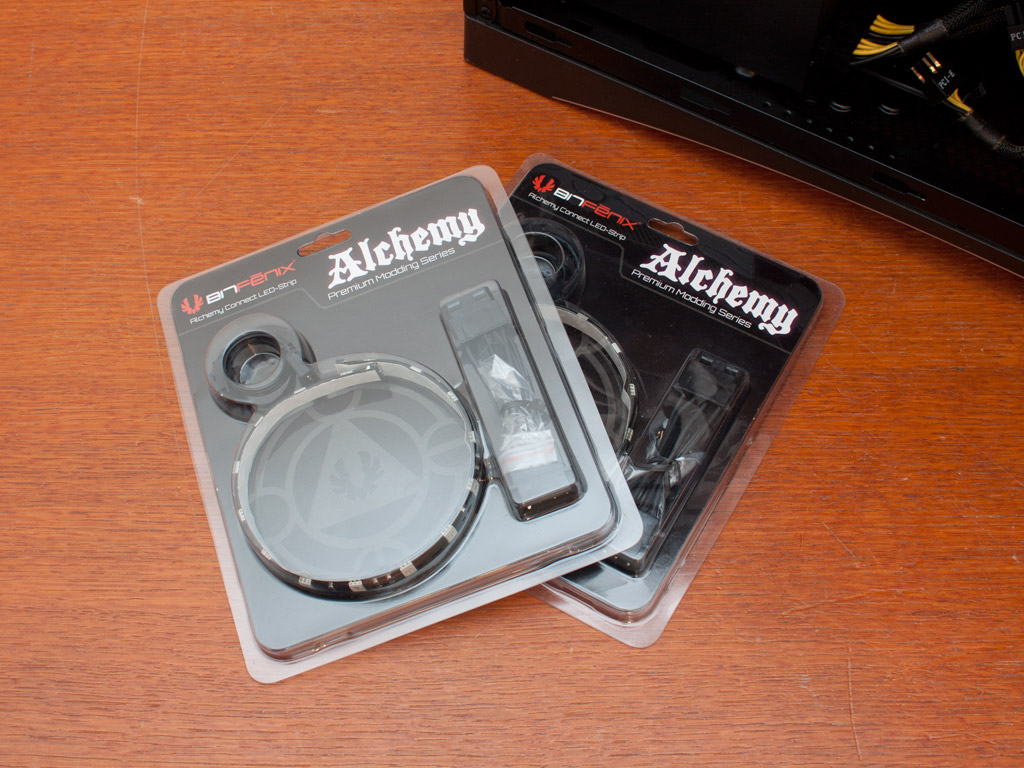
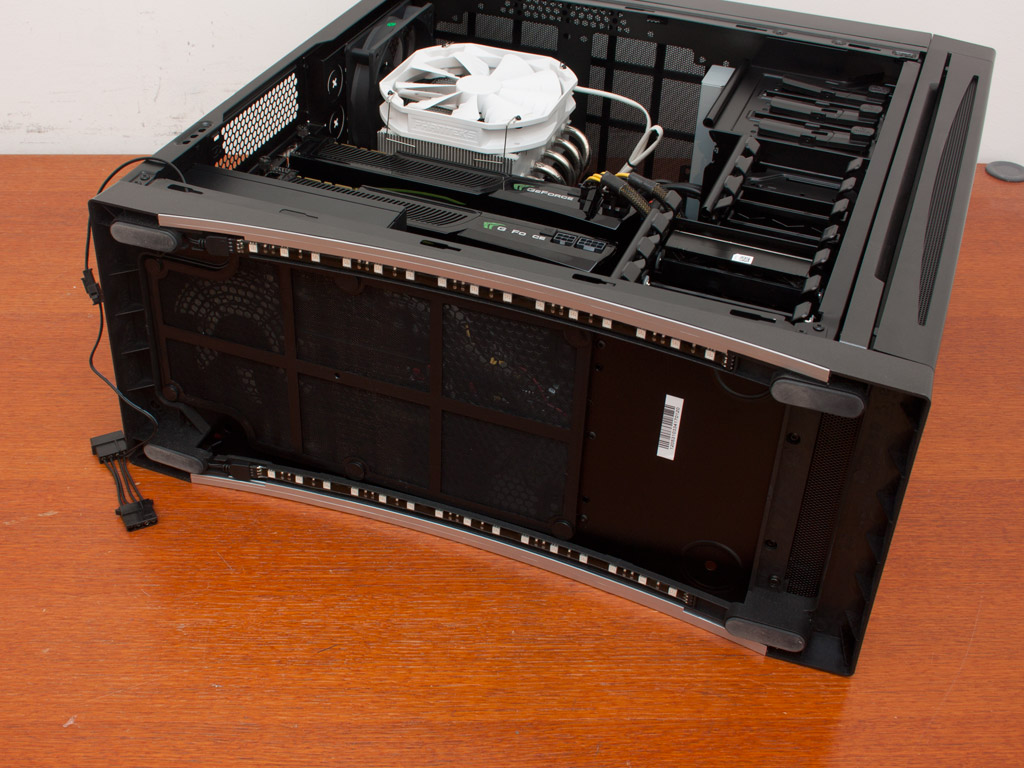
Last, but not least, installing the BitFenix Alchemy LED strips is quite easy as well. The end result is perfect thanks to the nice fit and several small opening along the underside of the chassis - no modding required.
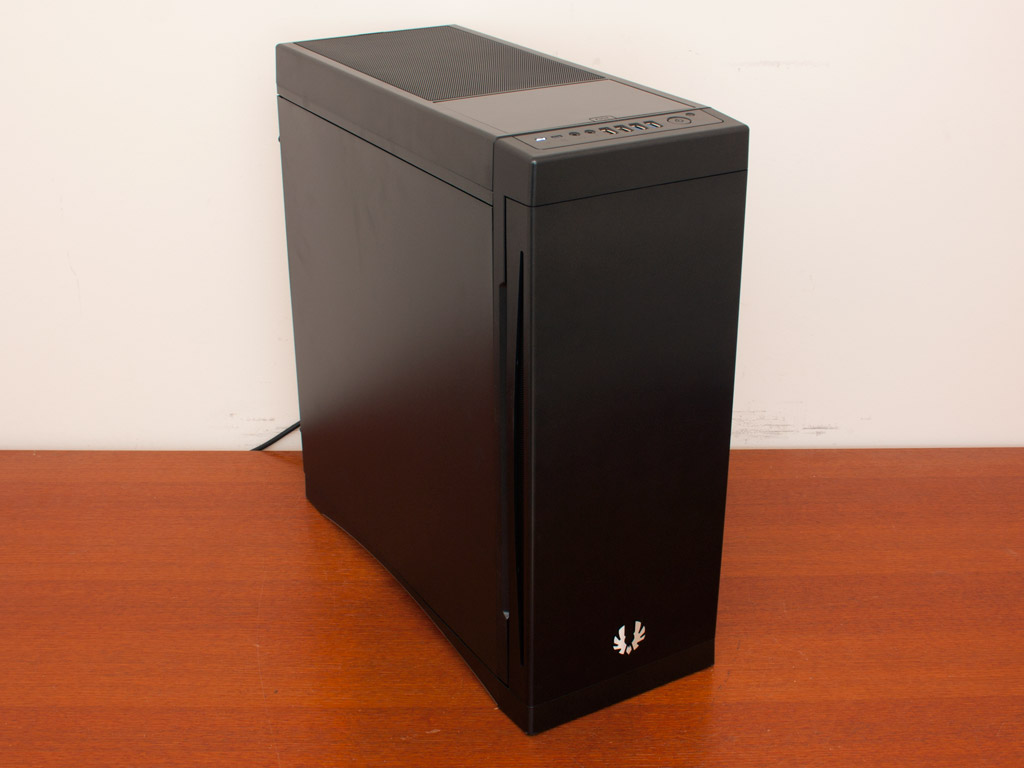
Finished Looks

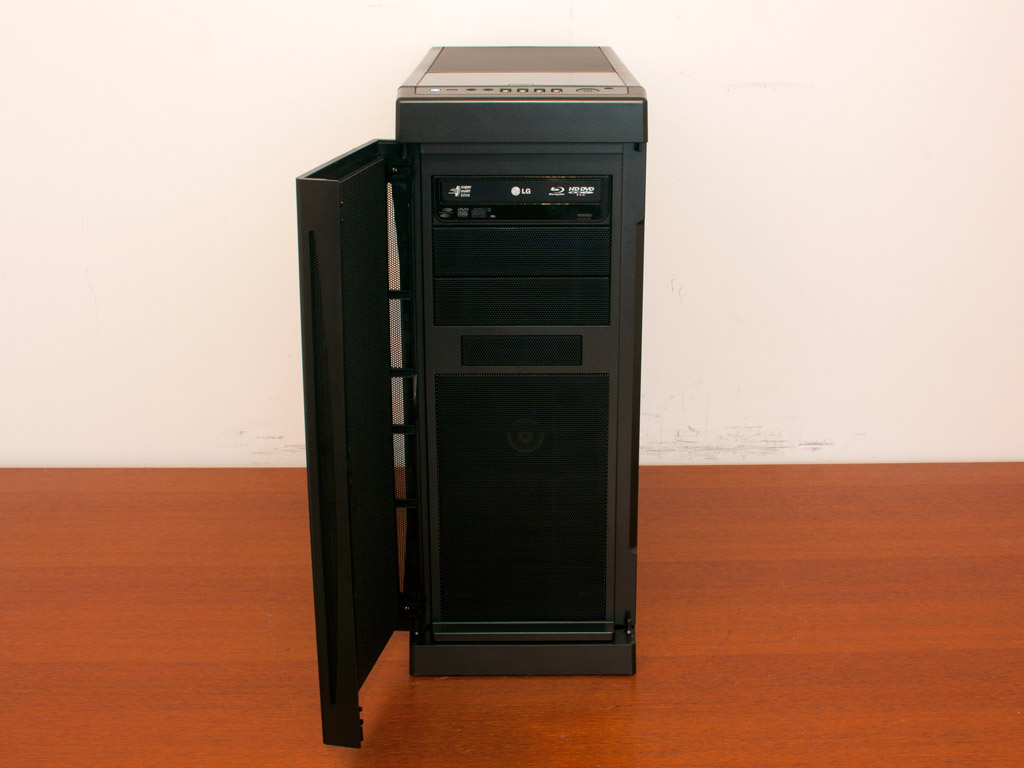
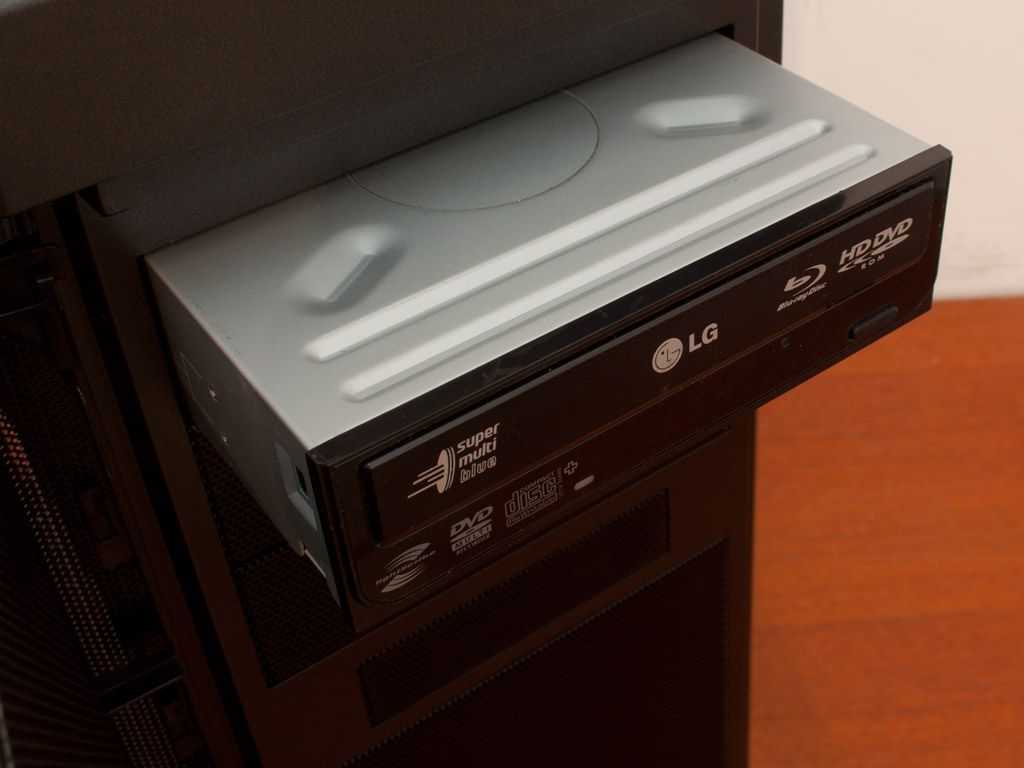
Even with the door installed, the optical drive bay can be accessed easily, as the panel swings open far enough and stays there, regardless of which side you picked.
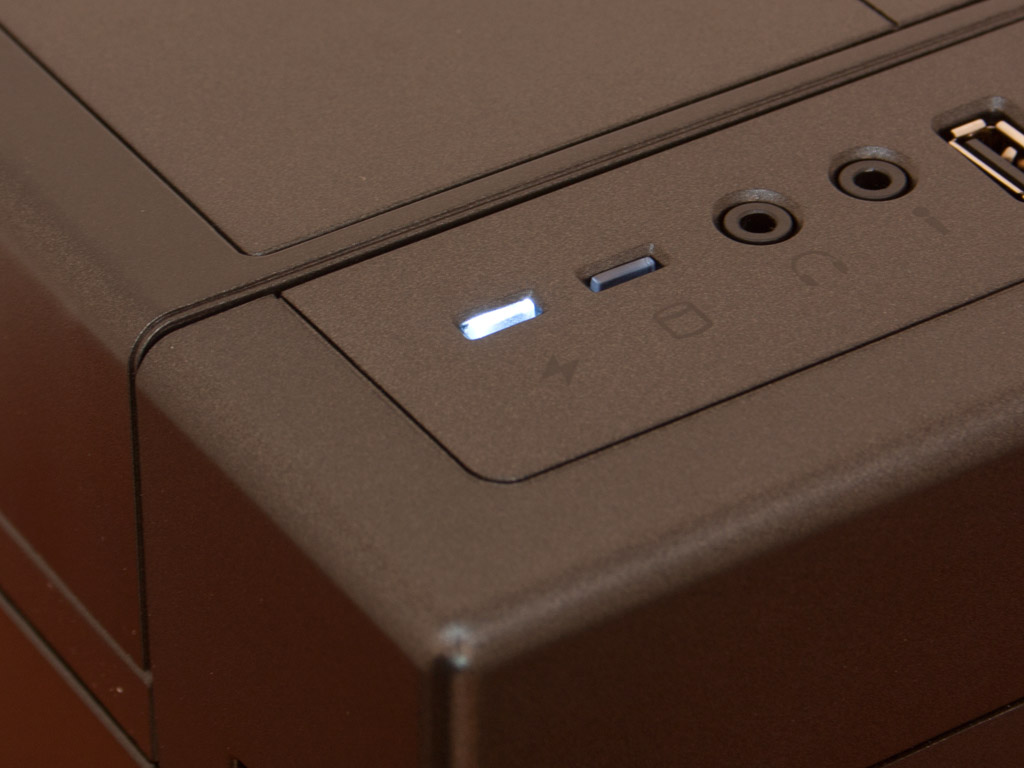
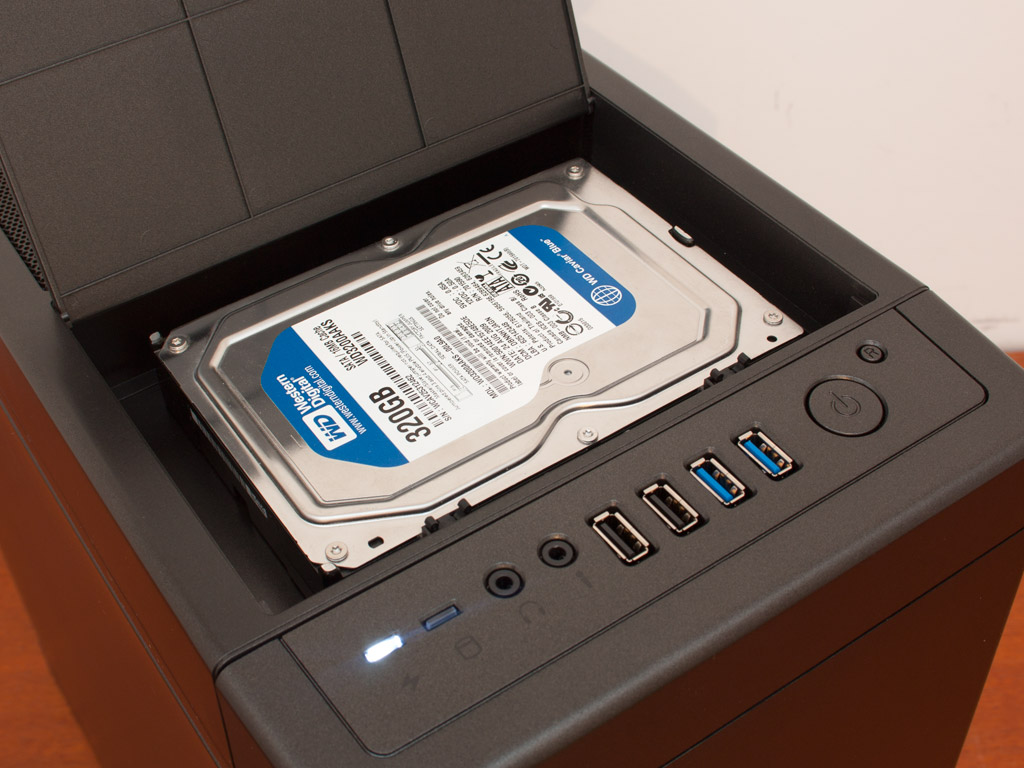
A white LED light for Power switches on with the system. The choice of color is refreshingly different. Just as advertised, the hot-swap bay works flawlessly and is sufficiently quiet thanks to the cover. The only small downside is the lack of an eject mechanism.
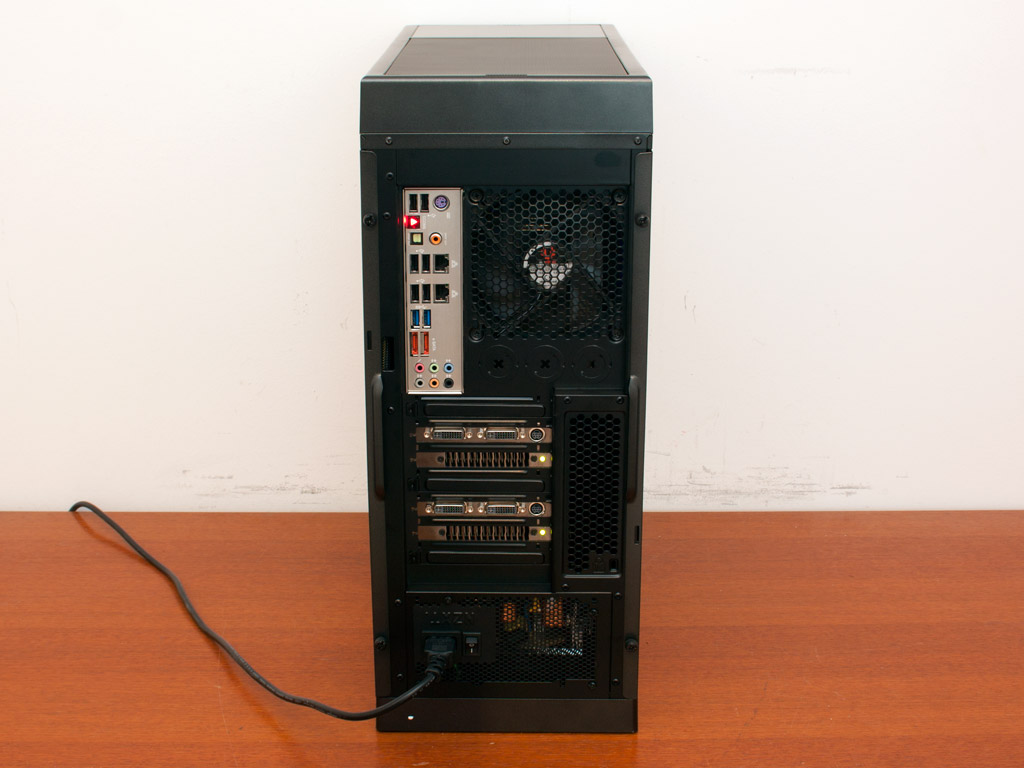
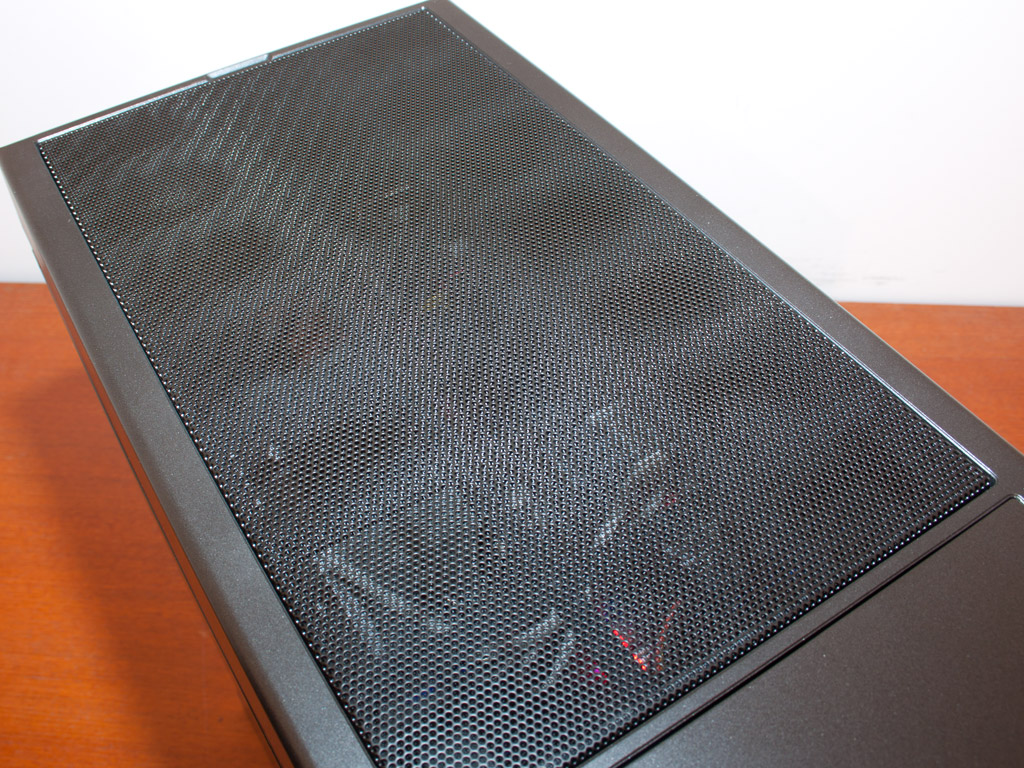
Taking a quick look at the rear, you will find everything where it should be. However, one can clearly see the hardware within by looking at the top of the chassis, making any noise from the inside travel outward without much obstruction.
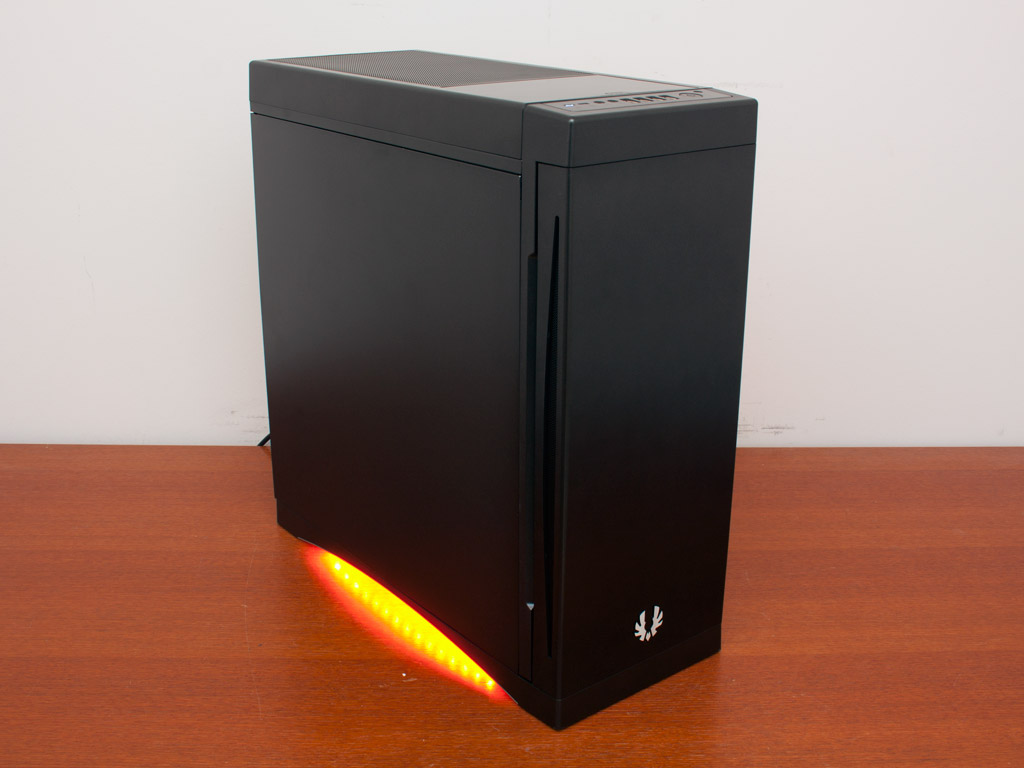
The LED lights below the chassis are an awesome way to customize one's own case a little bit. The light looks really spiffy, and you may choose between red, blue, green, orange, and white Alchemy Strips.
Feb 21st, 2025 06:16 EST
change timezone
Latest GPU Drivers
New Forum Posts
- First ever PC build (12)
- Get ready to open your wallets people (46)
- RTX 5070 Ti Benelux pricing. It hurts (2)
- Dune: Awakening benchmark - post your results (1)
- 3D Printer Club (425)
- V Rising Lycanthropy Club (22)
- What are you playing? (22962)
- [PCGamer] Former Sony exec finally says the quiet part out loud: putting PlayStation games on PC is 'almost like printing money' (29)
- Why Doesn't AMD Offer Long-Term GPU Availability Like Nvidia? (12)
- Will undervolting a 4090 keep the connector from melting? A discussion about electrical theory. (22)
Popular Reviews
- MSI GeForce RTX 5070 Ti Ventus 3X OC Review
- Gigabyte GeForce RTX 5090 Gaming OC Review
- Galax GeForce RTX 5070 Ti 1-Click OC White Review
- ASUS GeForce RTX 5070 Ti TUF OC Review
- Ducky One X Inductive Keyboard Review
- MSI GeForce RTX 5070 Ti Vanguard SOC Review
- MSI GeForce RTX 5070 Ti Gaming Trio OC+ Review
- AMD Ryzen 7 9800X3D Review - The Best Gaming Processor
- MSI MAG Z890 Tomahawk Wi-Fi Review
- NVIDIA GeForce RTX 5080 Founders Edition Review
Controversial News Posts
- AMD Radeon 9070 XT Rumored to Outpace RTX 5070 Ti by Almost 15% (302)
- AMD Plans Aggressive Price Competition with Radeon RX 9000 Series (258)
- AMD is Taking Time with Radeon RX 9000 to Optimize Software and FSR 4 (256)
- AMD Radeon RX 9070 and 9070 XT Listed On Amazon - One Buyer Snags a Unit (243)
- Edward Snowden Lashes Out at NVIDIA Over GeForce RTX 50 Pricing And Value (241)
- AMD Denies Radeon RX 9070 XT $899 USD Starting Price Point Rumors (239)
- New Leak Reveals NVIDIA RTX 5080 Is Slower Than RTX 4090 (215)
- AMD Radeon RX 9070 XT Launch Allegedly Set for March 6 (152)