 11
11
BitFenix Pandora Review
Value & Conclusion »Assembly
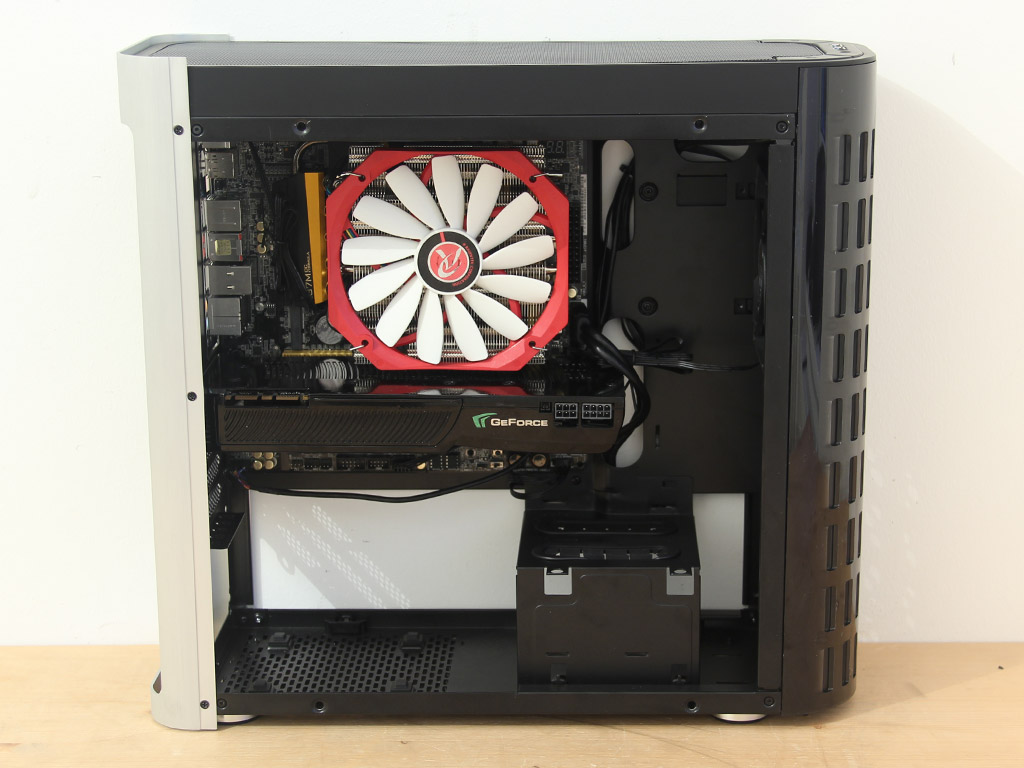
Installing the motherboard is done by traditional means, with the use of spacers and screws. You may install graphics cards of up to 350 mm in length inside the Pandora so long as you do not have a radiator and fans taking up some of that space in the front.
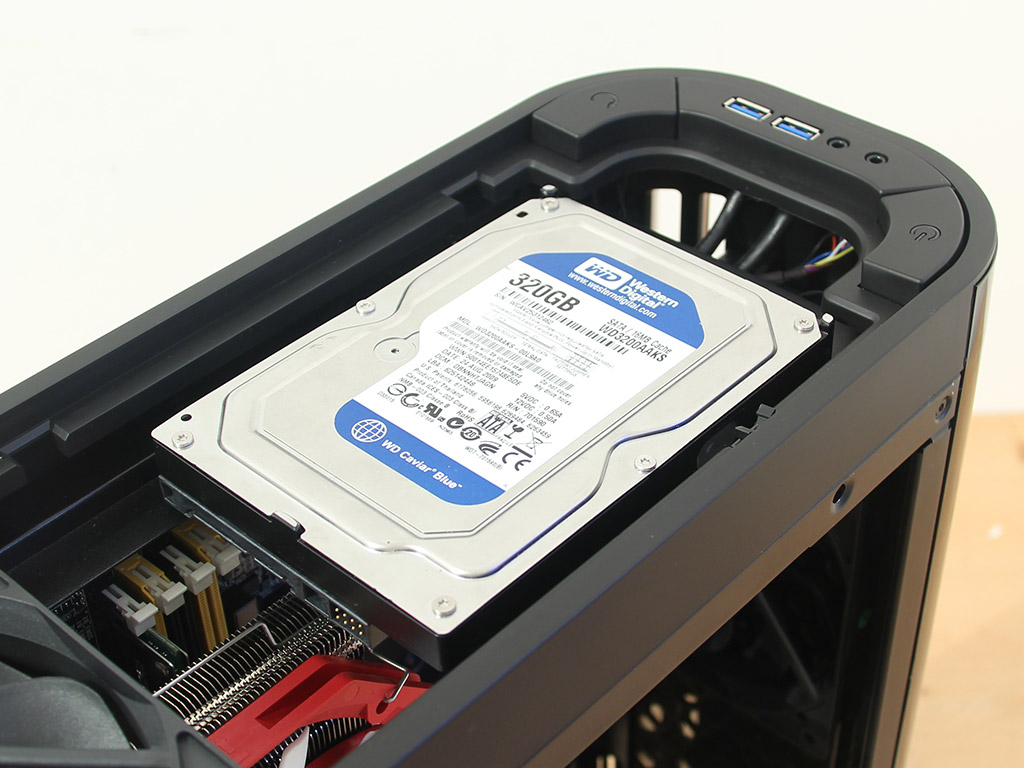
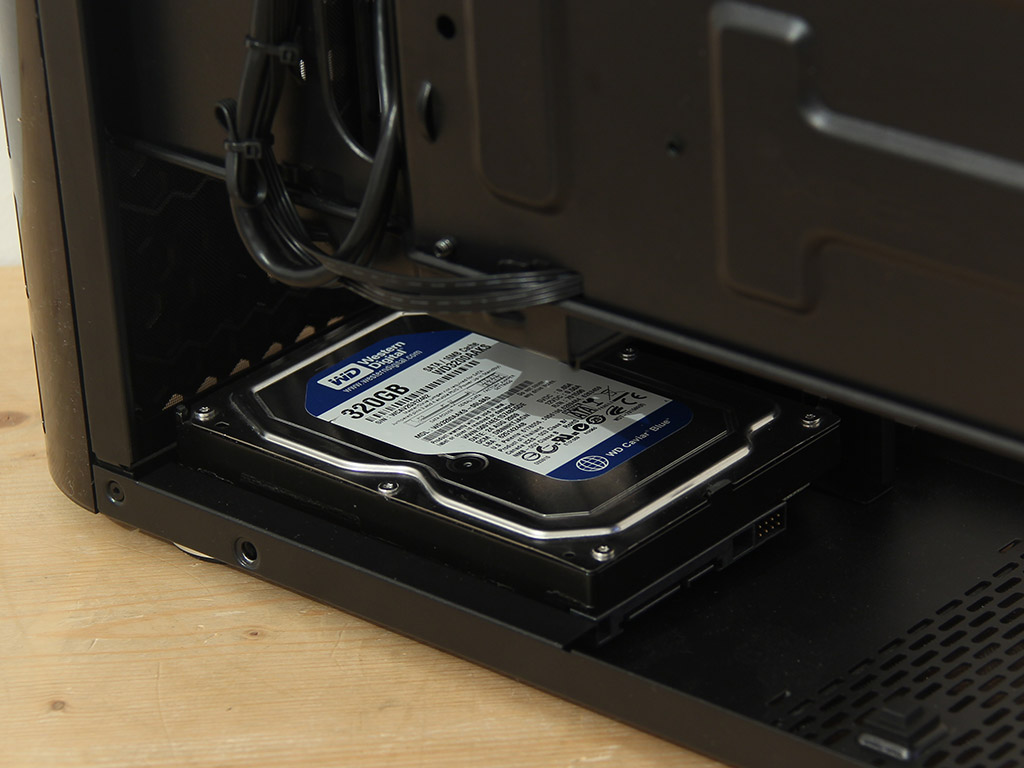
Both placements for 3.5" hard drives are lined with foam and rubber, so you won't have to worry about vibrations passing on to the rest of the chassis. Installation does require the use of tools and BitFenix's supplied screws, and you will have to tip the chassis over to get to the mounting holes on the floor.
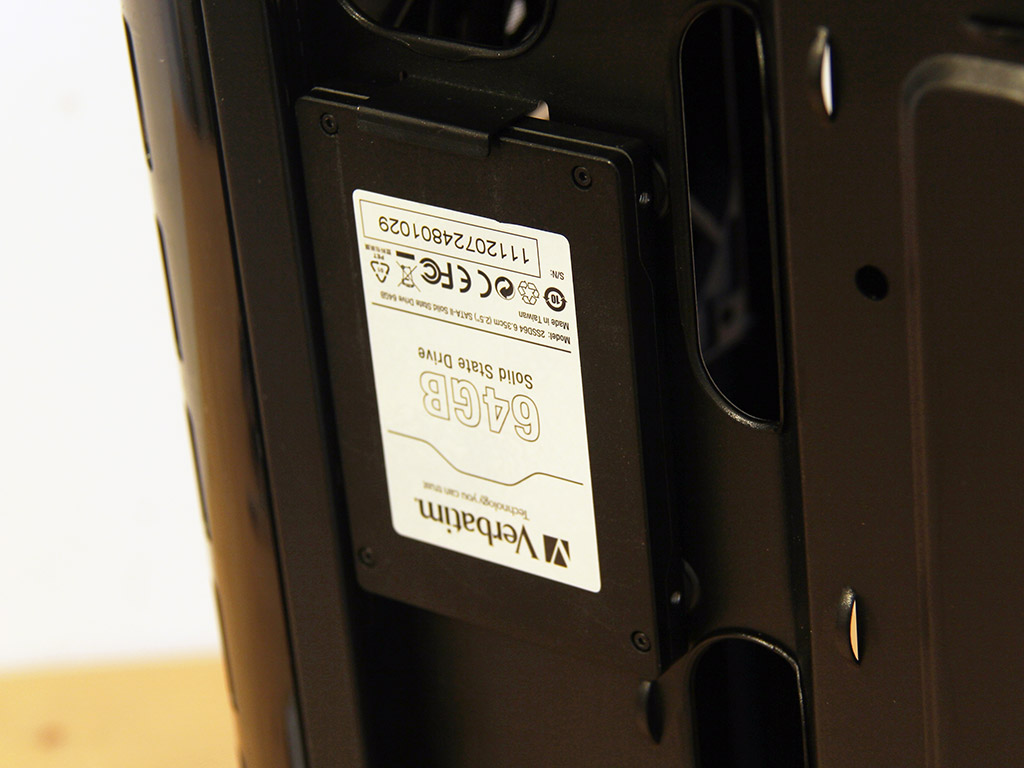
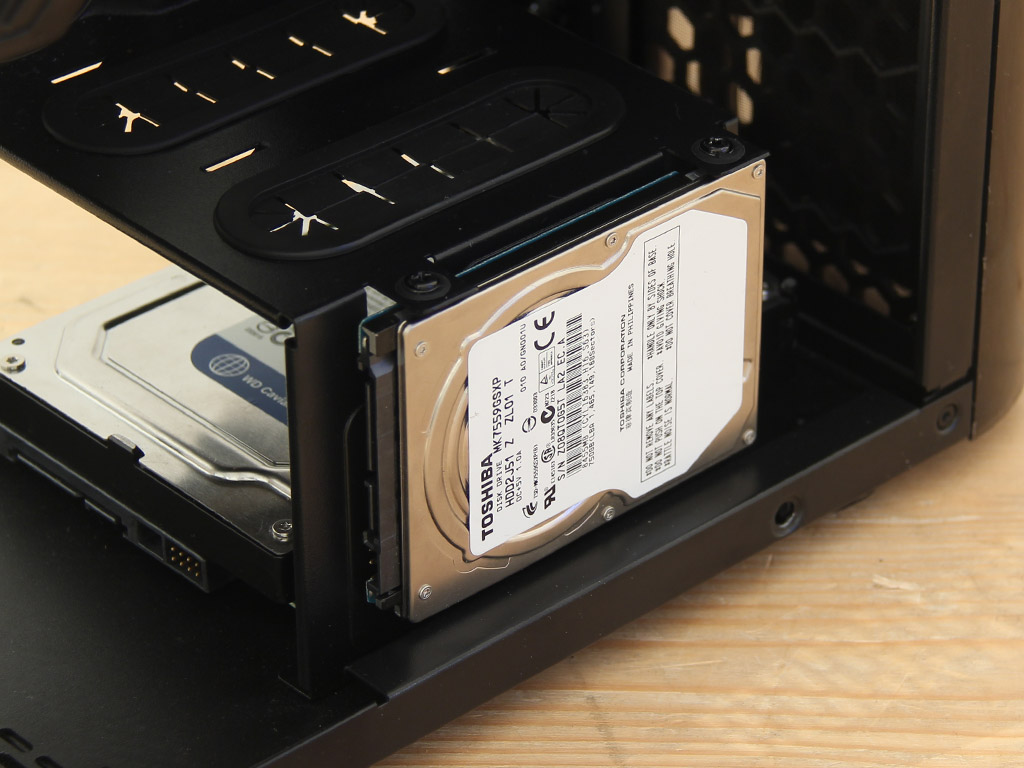
Installing smaller drives only requires two screws each, as one side is held in place by the frame. These pins holding the drive in place are also lined with rubber - a nice touch because it keeps vibrations at bay.

Last but not least, the power supply easily fits within the chassis in terms of length, but things were rather tight when it came to its width. The Pandora uses rivets to hold the frame together, and two of these, in the rear, had to be be pushed past forcefully to get the PSU into its intended bay. Not a functional issue, it is simply due to the chassis' slim design.
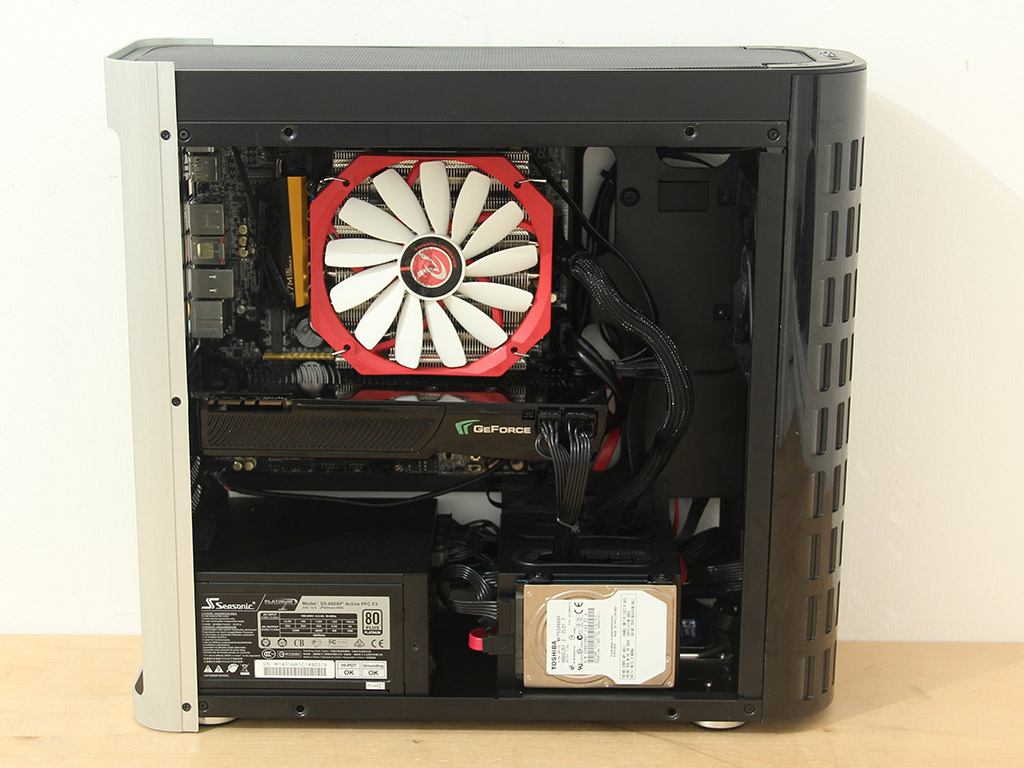
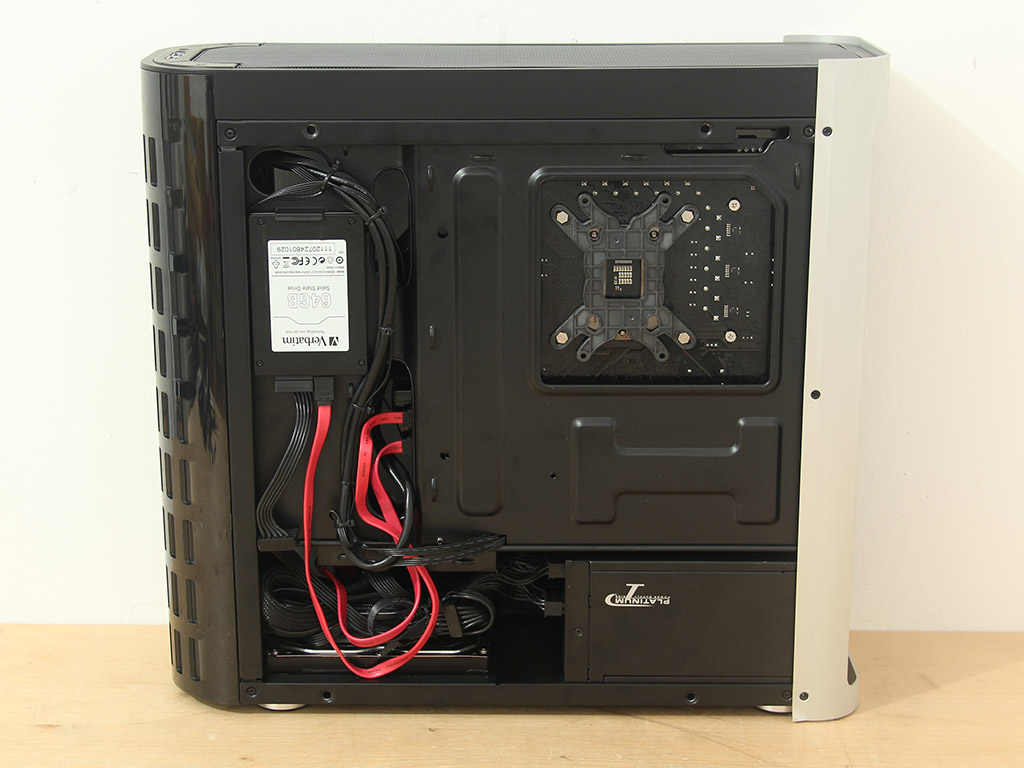
With everything installed, you can see that the bulk of cabling has been hidden underneath the cover, right above the 3.5" hard drive. While this particular solution works, it also means that a drive in this particular location has no access to fresh air, which may be an issue over the long haul.
Finished Looks & LCD
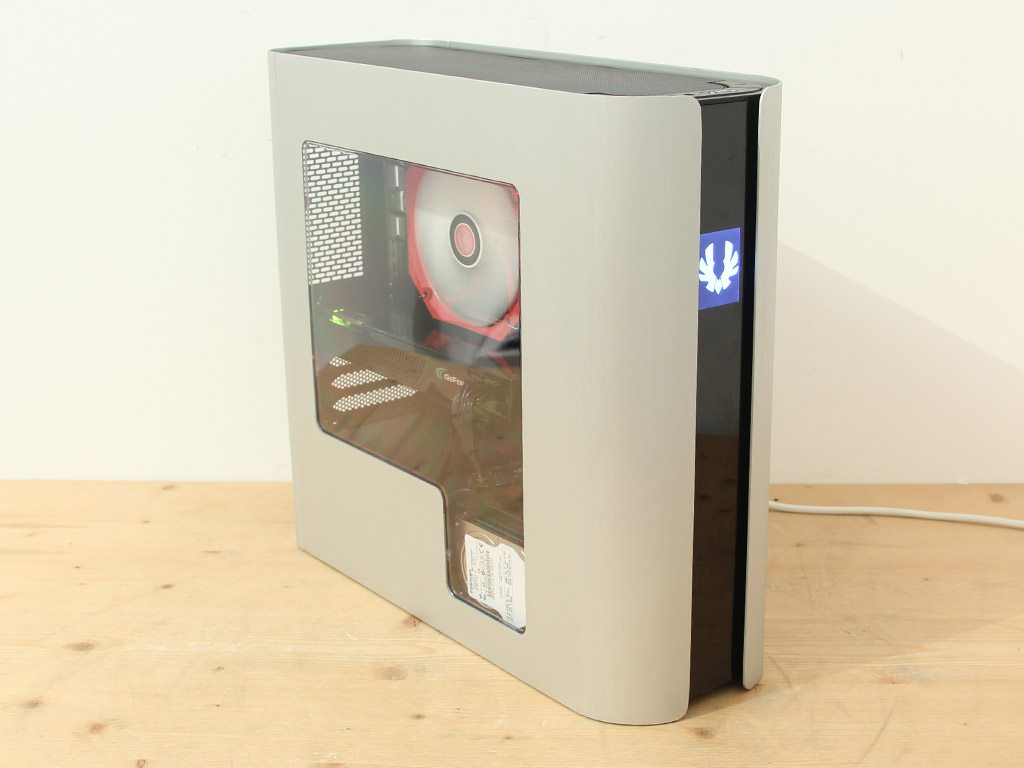
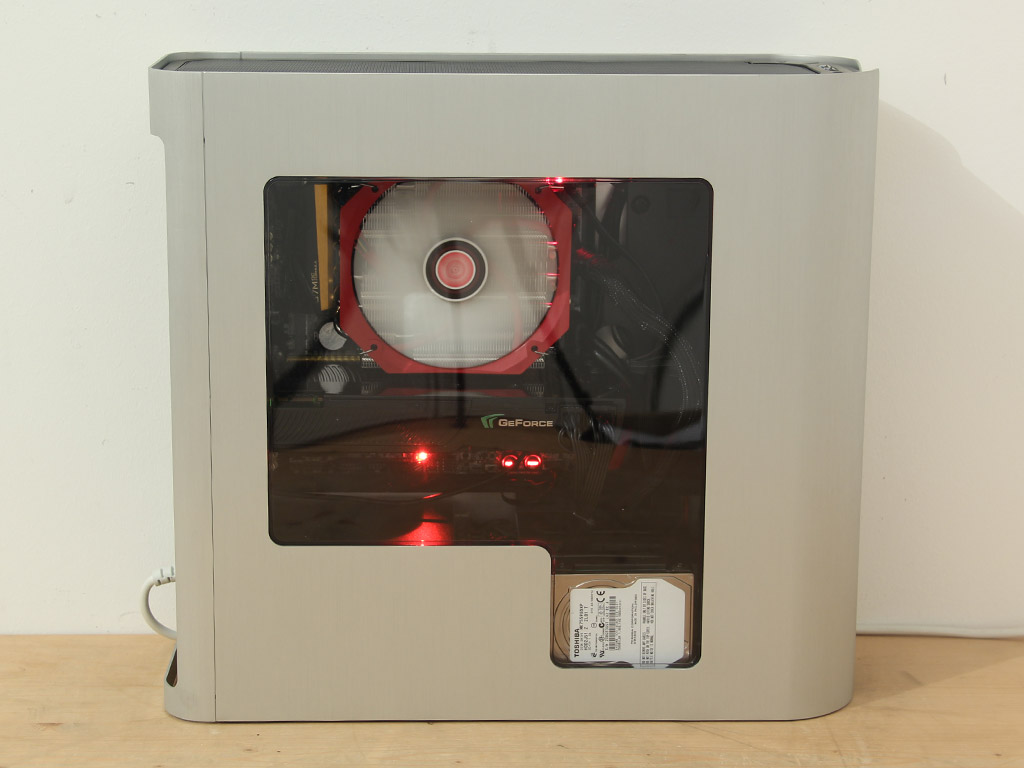
Instead of the solid side panel, we put on the BitFenix-equipped windowed panel to show you how it will look on a finished system. The window is of a nice shape. You can see the 2.5" drive in the bottom, which would work well for those looking to show off their SSD, for example, and is also large enough to clearly display a liquid-cooling setup. So, the panel is definitely there to show off what is inside.
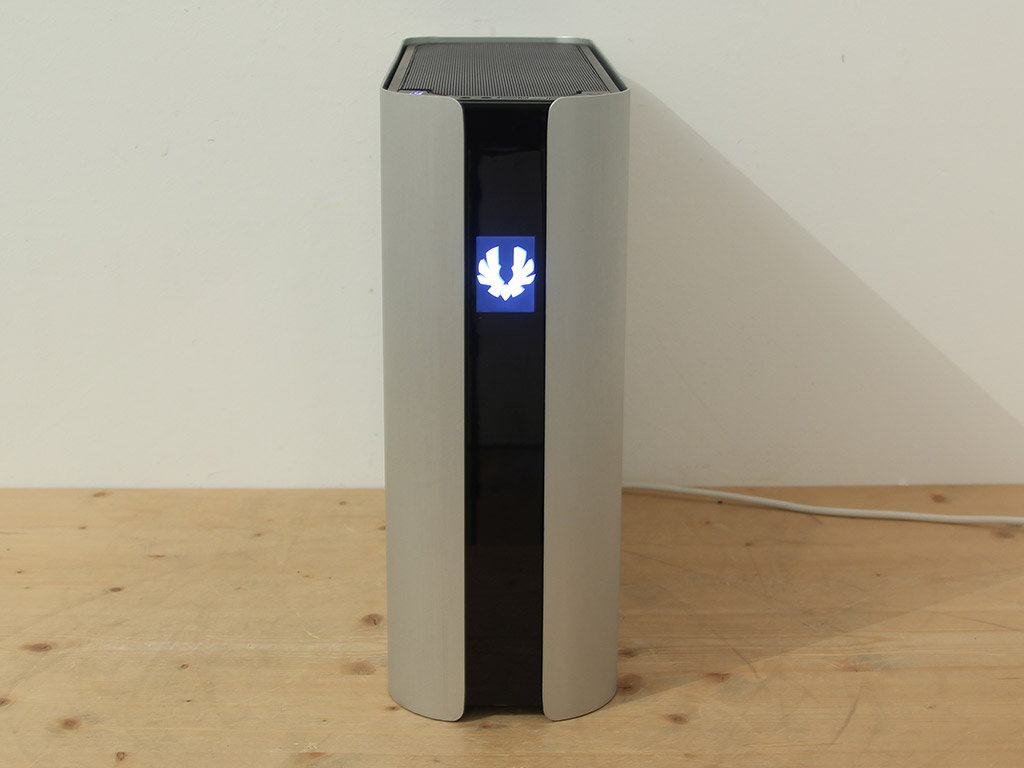
Aside from the embedded display, there is nothing else in the front to let you know the system is up and running. Those using the Core variant will have to look at the top of the PC for a hint.


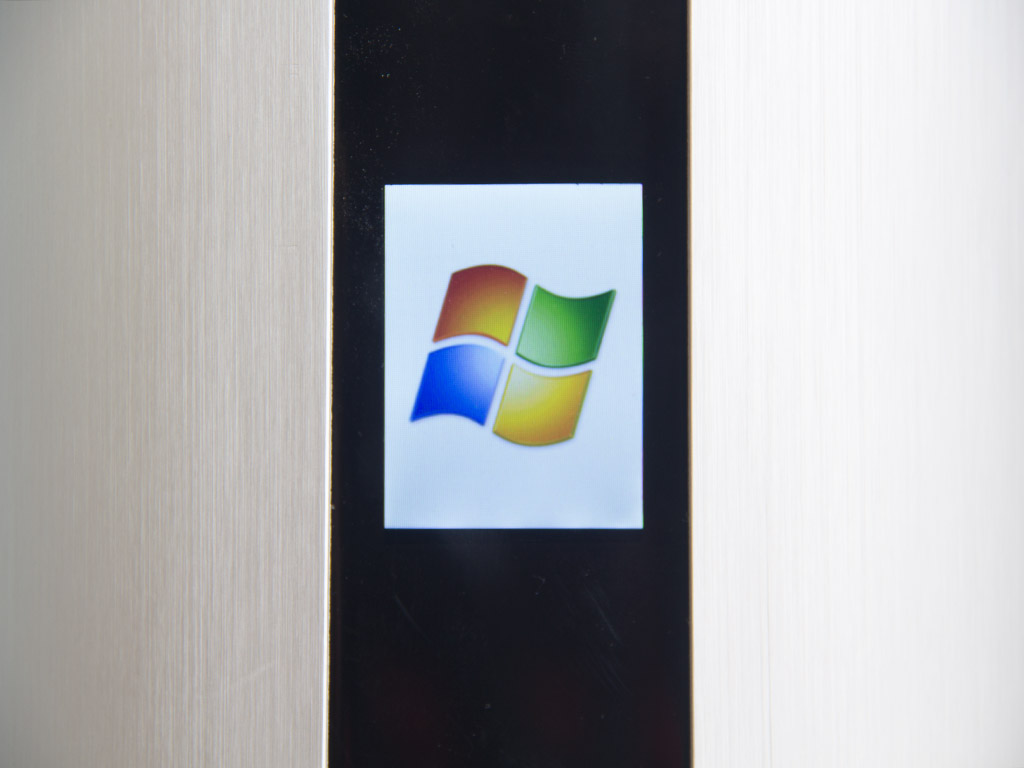
Here, a white LED embedded underneath the power button lights up as soon as the system is turned on. The LCD screen comes pre-programmed with the BitFenix Logo right out of the box.
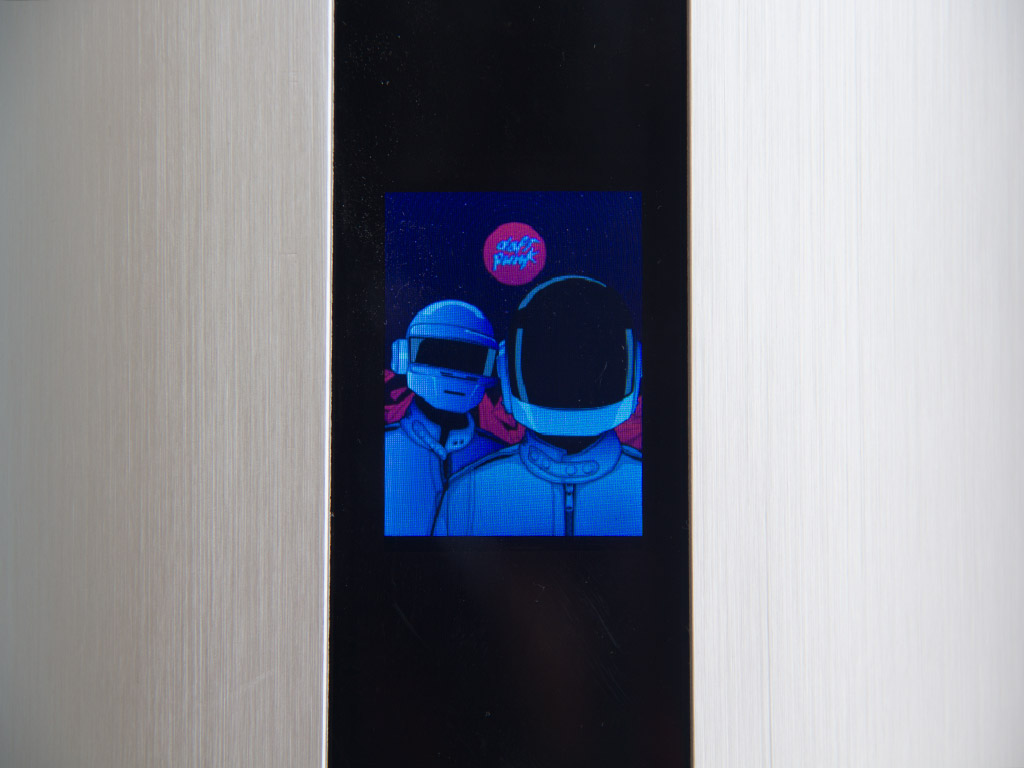
The LCD
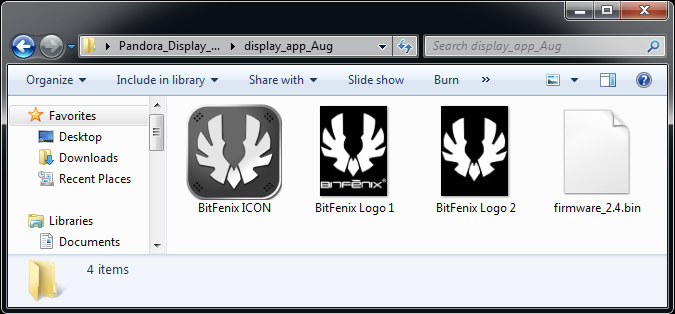
BitFenix advertises an app by the name of ICON to configure what is shown on the embedded display. Turns out the app is just a simple executable that sends whatever image you pick to the display. It does not have a GUI, so you simply drag an image of your choice over its Windows icon to make it appear on the screen. You may also use it via a batch file which you would create yourself, or manually, in a DOS environment.
While this is a nice gimmick to have, the display is not capable of displaying an animated .gif or other visuals, except for pictures which are of the .jpg, .png, or single-frame .gif type.
For advanced users, I can see the use of this app within a batch file, which would, for example, change the displayed image once a game starts. The display is ultimately a nice gimmick, but due to the lack of a functional, GUI-equipped app, its potential to be a beneficial addition is lost.
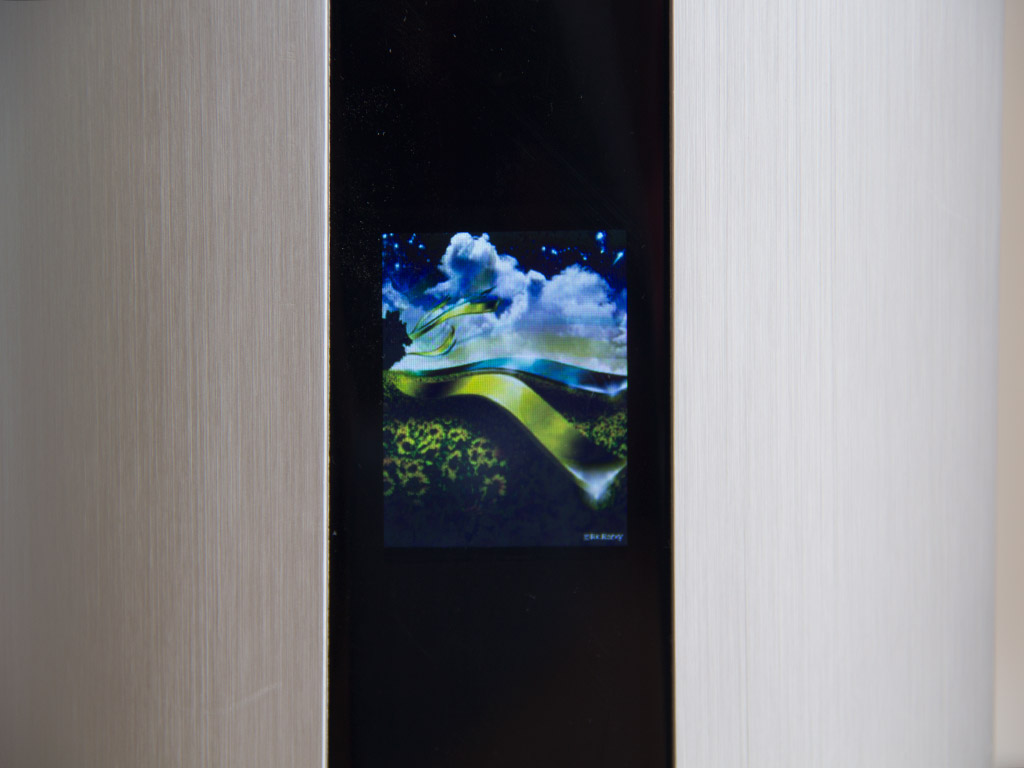
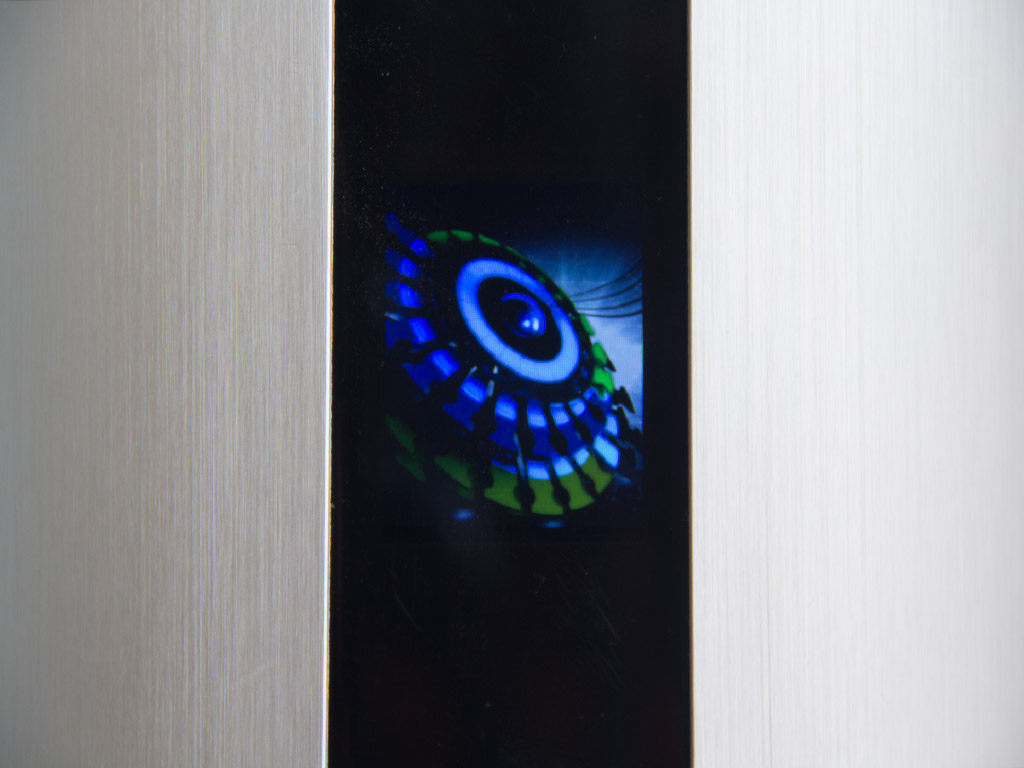
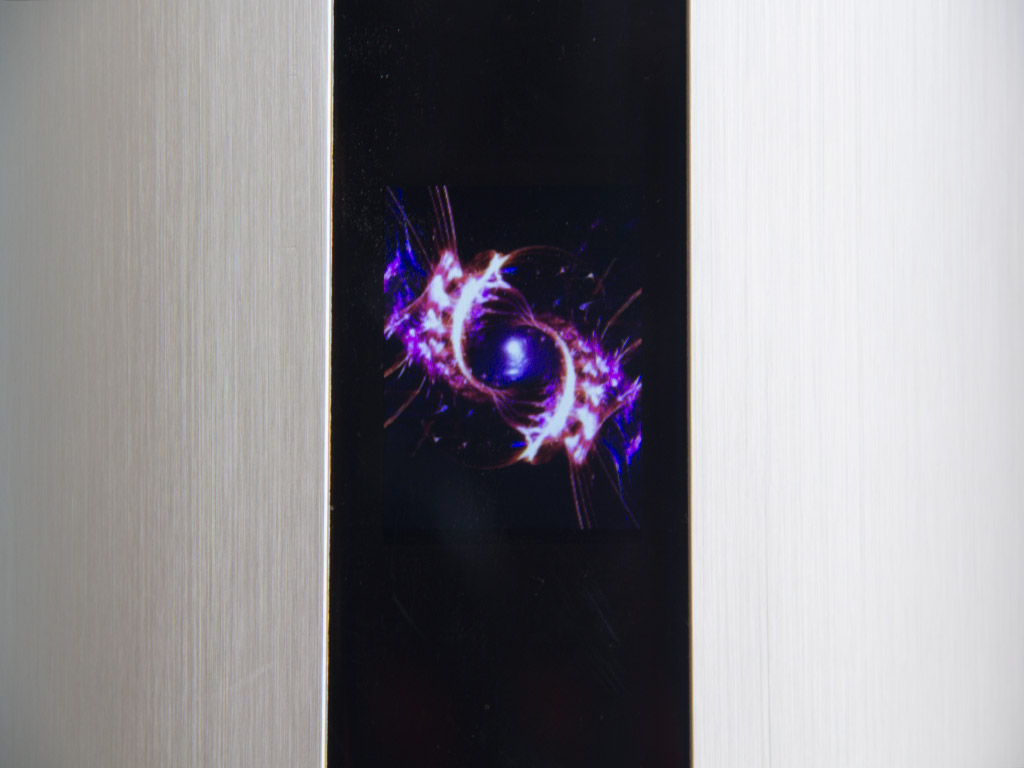

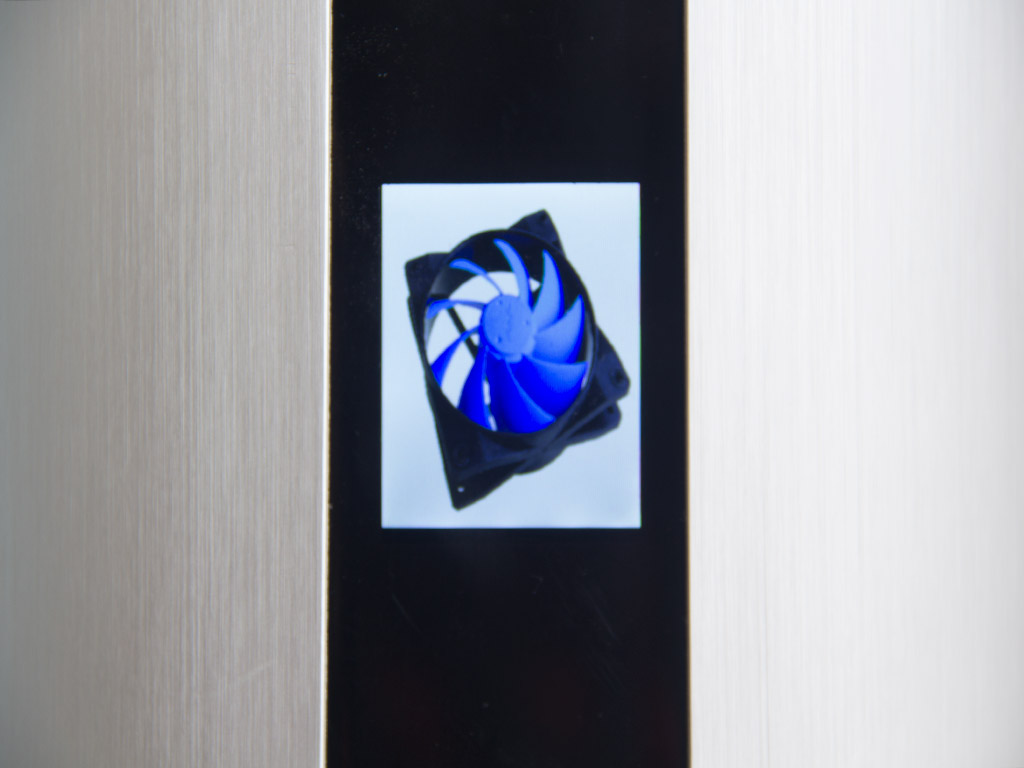
The tinted front panel dims the LCD screen considerably, which is unfortunate as it makes discerning images that do not have a bright background a bit hard. The screens viewing angle also leaves something to be desired. Look at it from above, at a flat angle, and it will lose its contrast. You can really only look at it properly from the front. As the last image of a fan shows, pictures which do not have the same aspect ratio as the screen are adjusted, either squished or stretched out to fit.
Feb 23rd, 2025 20:19 EST
change timezone
Latest GPU Drivers
New Forum Posts
- wood workstation project (23)
- Gigabyte AORUS RTX5080 Missing 16 ROP's (24)
- Will undervolting a 4090 keep the connector from melting? A discussion about electrical theory. (36)
- What's your latest tech purchase? (23202)
- RDNA4 Prediction Time Part Deux!!! (32)
- Keep a 4080s or take a 5070ti? (46)
- Warning about DOCP (17)
- 16TB (13)
- revisiting hpet bcdedit tweaks: what are your timer bench results and settings? (94)
- Testing max ram overclock pn Ryzen 1700 (72)
Popular Reviews
- ASUS GeForce RTX 5070 Ti TUF OC Review
- MSI GeForce RTX 5070 Ti Ventus 3X OC Review
- darkFlash DY470 Review
- MSI GeForce RTX 5070 Ti Vanguard SOC Review
- MSI GeForce RTX 5070 Ti Gaming Trio OC+ Review
- Galax GeForce RTX 5070 Ti 1-Click OC White Review
- Palit GeForce RTX 5070 Ti GameRock OC Review
- Fantech Aria II Pro Review
- Gigabyte GeForce RTX 5090 Gaming OC Review
- AMD Ryzen 7 9800X3D Review - The Best Gaming Processor
Controversial News Posts
- NVIDIA GeForce RTX 5090 Spotted with Missing ROPs, NVIDIA Confirms the Issue, Multiple Vendors Affected, RTX 5070 Ti, Too (449)
- AMD Radeon 9070 XT Rumored to Outpace RTX 5070 Ti by Almost 15% (304)
- AMD Plans Aggressive Price Competition with Radeon RX 9000 Series (271)
- AMD Radeon RX 9070 and 9070 XT Listed On Amazon - One Buyer Snags a Unit (247)
- Edward Snowden Lashes Out at NVIDIA Over GeForce RTX 50 Pricing And Value (241)
- AMD Denies Radeon RX 9070 XT $899 USD Starting Price Point Rumors (239)
- NVIDIA Investigates GeForce RTX 50 Series "Blackwell" Black Screen and BSOD Issues (225)
- New Leak Reveals NVIDIA RTX 5080 Is Slower Than RTX 4090 (215)