 4
4
BitFenix Raider Review
Value & Conclusion »Assembly
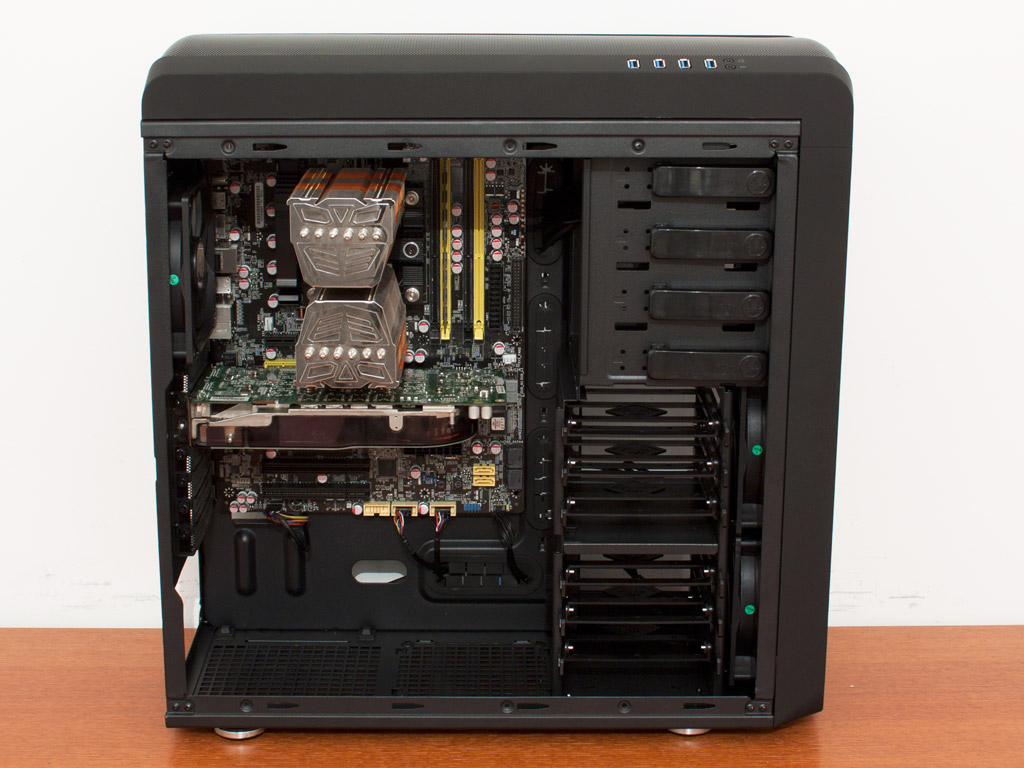
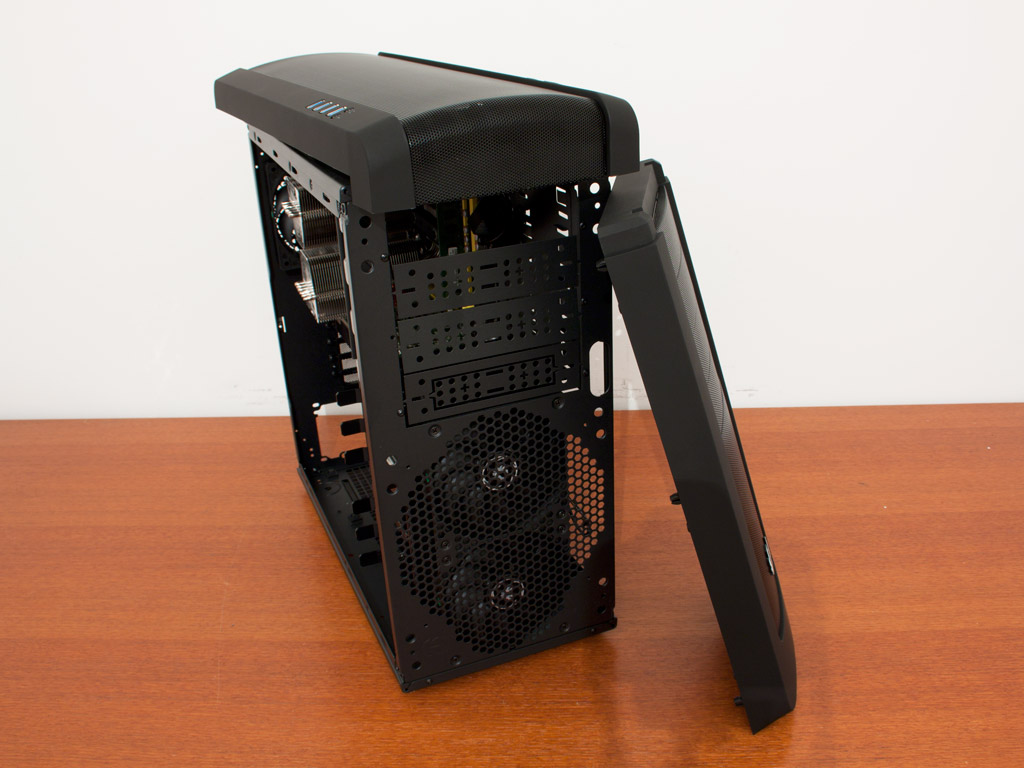
Installing the motherboard is done by traditional means. Even though the chassis looks quite roomy, there is actually very little space around the board. There should be no issues with big CPU coolers or long graphics cards, but in terms of cubic feet with the chassis, there is less than in most other ATX enclosures it seems.

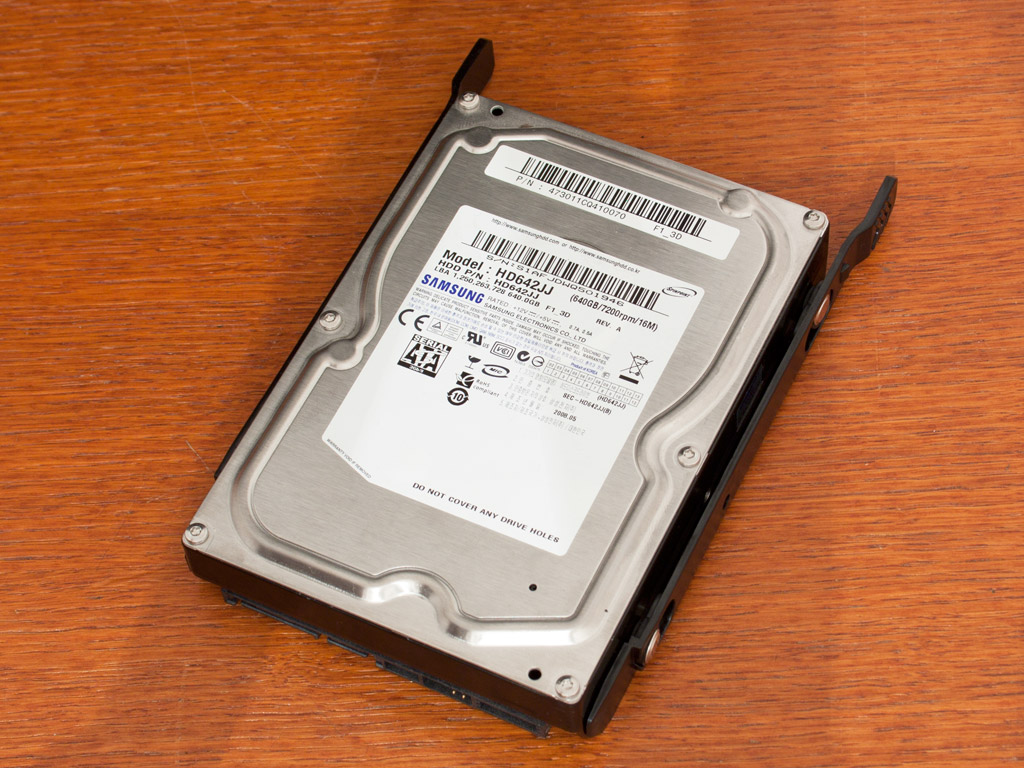
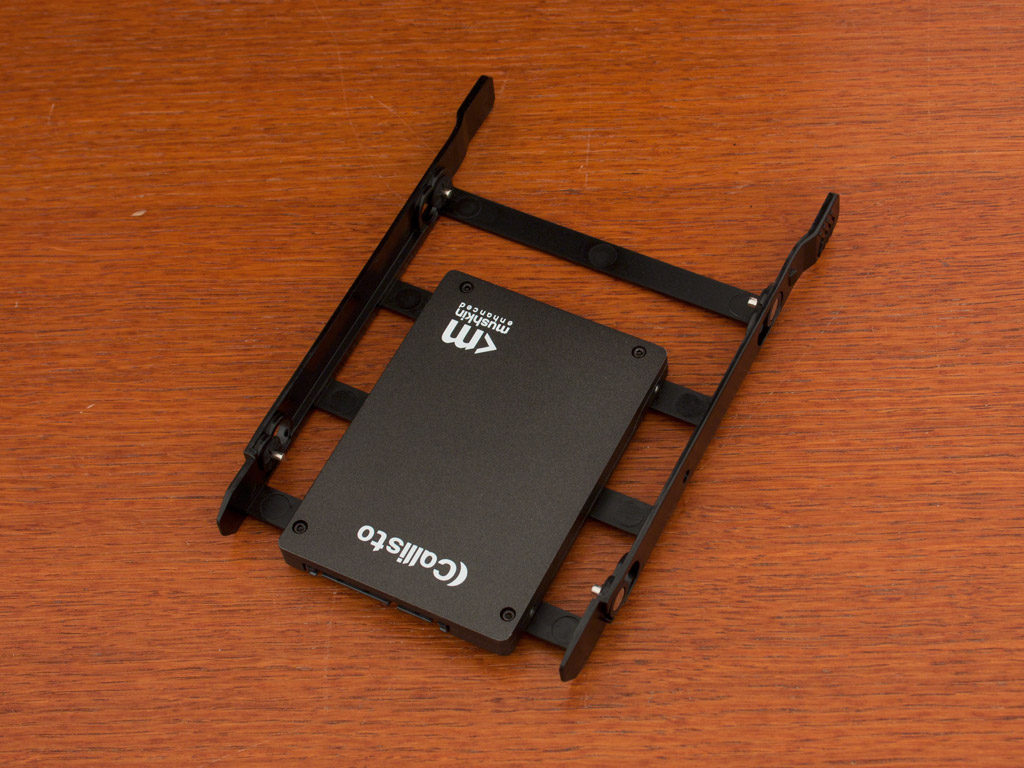
Installing hard drives within the Raider is quite simple as it employs the same systems as most other modern cases in this price range. You may simply clip the 3.5 inch drive unto the tray or use the included screws to pin down the 2.5 inch unit unto it.
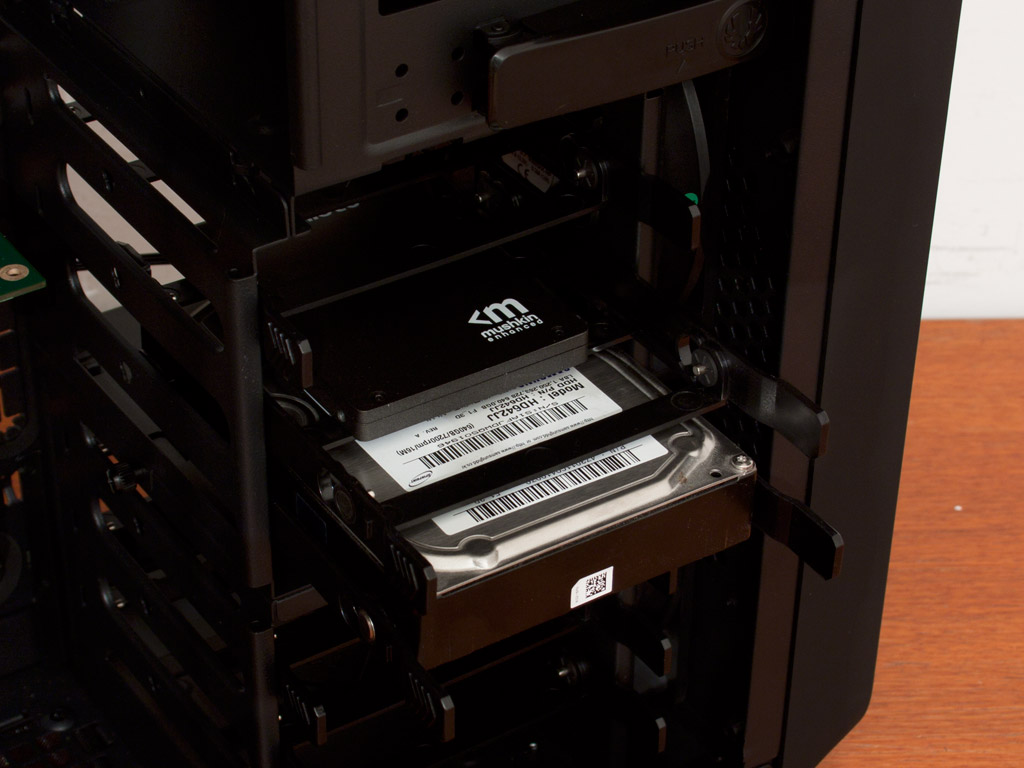
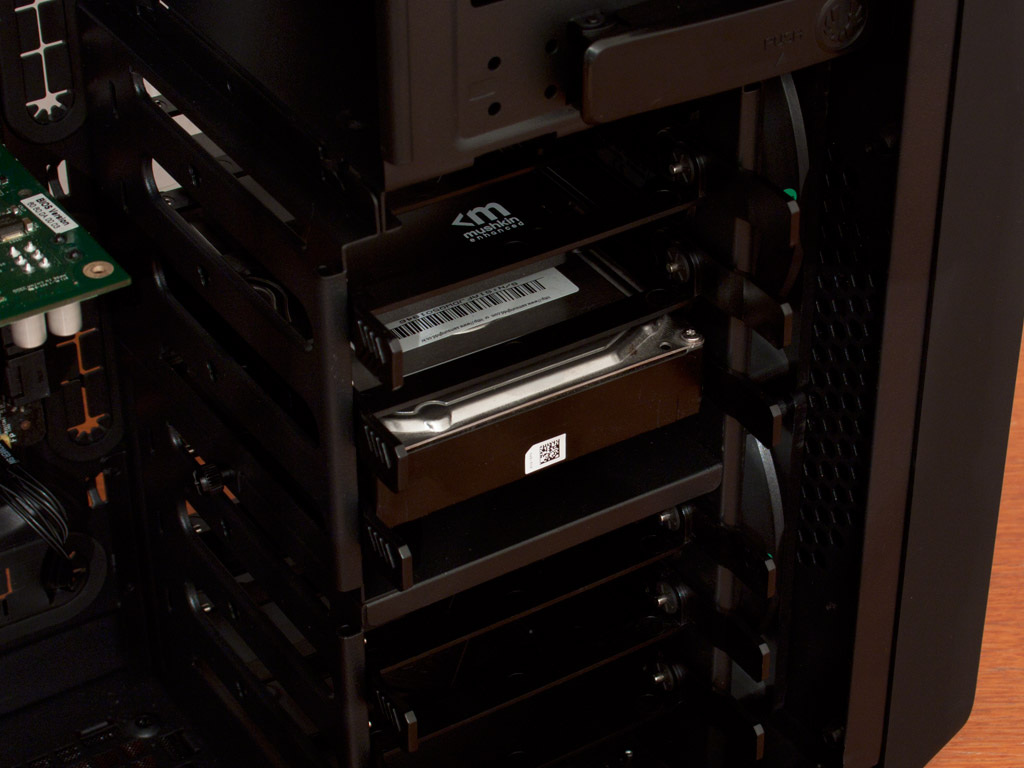
Once they are in place, simply slide them into the slot of your choice until the trays snap into place. You may also use a single screw to secure each tray - which is of interest for many system integrators out there who tend to ship around full systems.
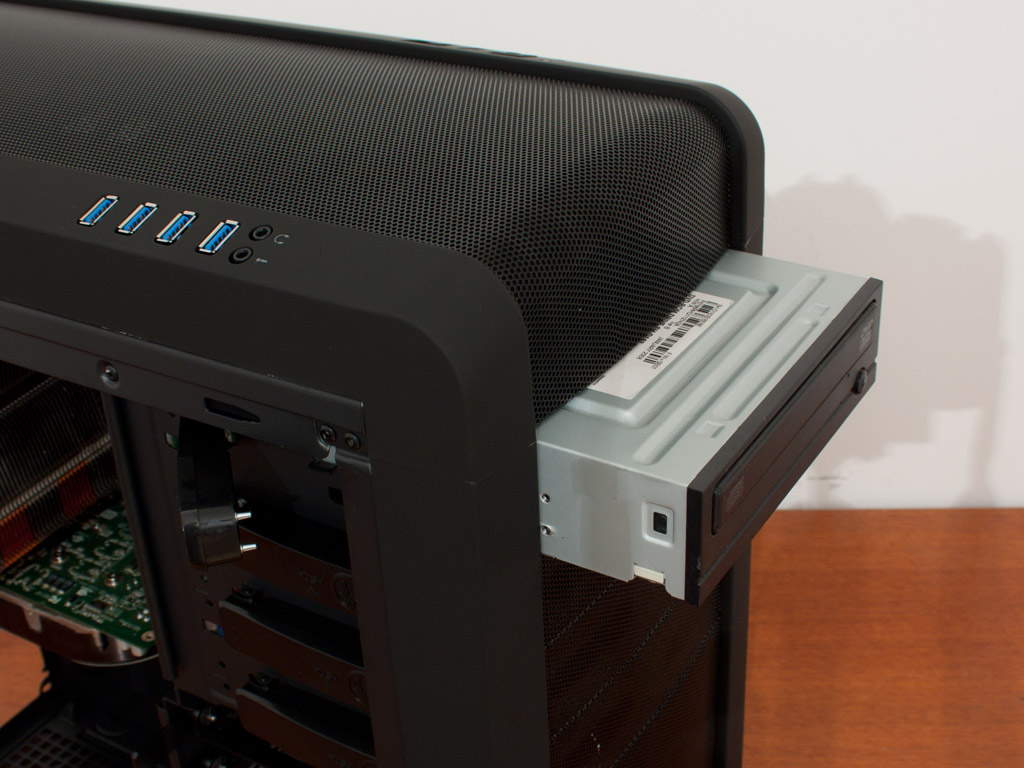
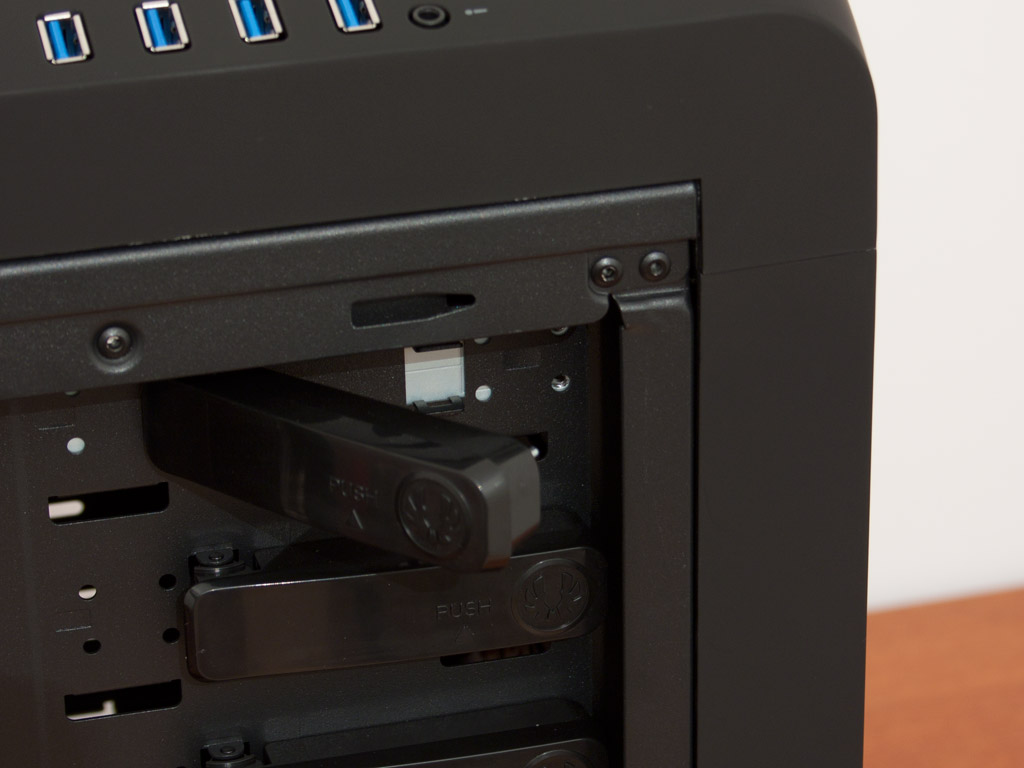

Installing the optical drive requires you to pull off both the top and the front, then remove the bay cover of your choosing. Once done, simply open the lock - which utilizes metal pins - slide the drive in and push the lock into place. It does hold the DVD drive quite alright, but there is still some play, so you may want to use a single screw to ensure that no vibration is passed onto the chassis from this area.
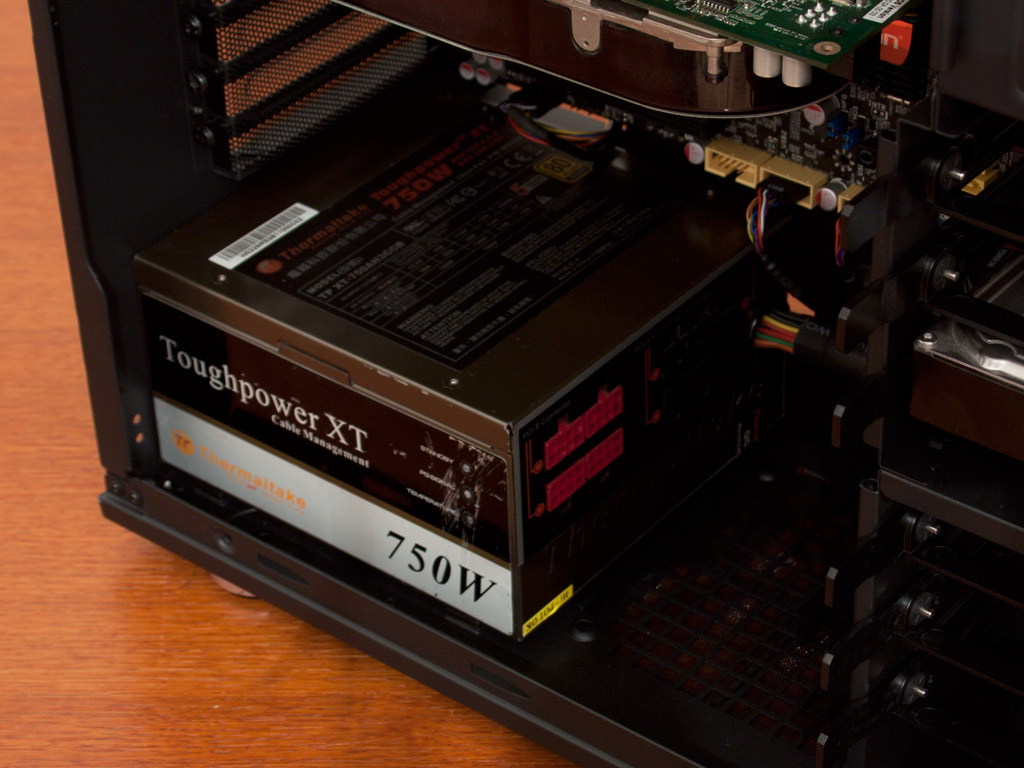
Installing the PSU is nothing out of the ordinary. Simply place it in its location, screw it down, run the cables through the hole in the motherboard tray and that is it.
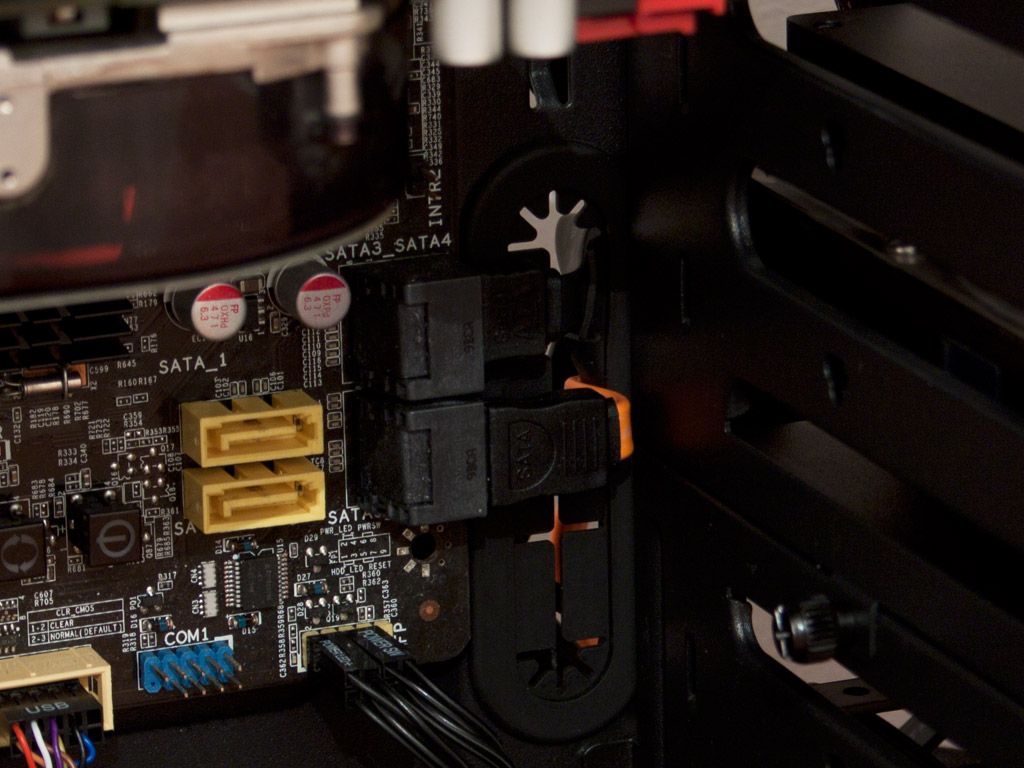
Due to the compact motherboard area, you will have a hard time connecting SATA cables if the ports on your mainboard are of the angled variety. As you can see, I used SATA cables with short and long connectors to test this aspect. While both fit with a bit of fiddling and patience, you may want to ensure that they do in your scenario as well.

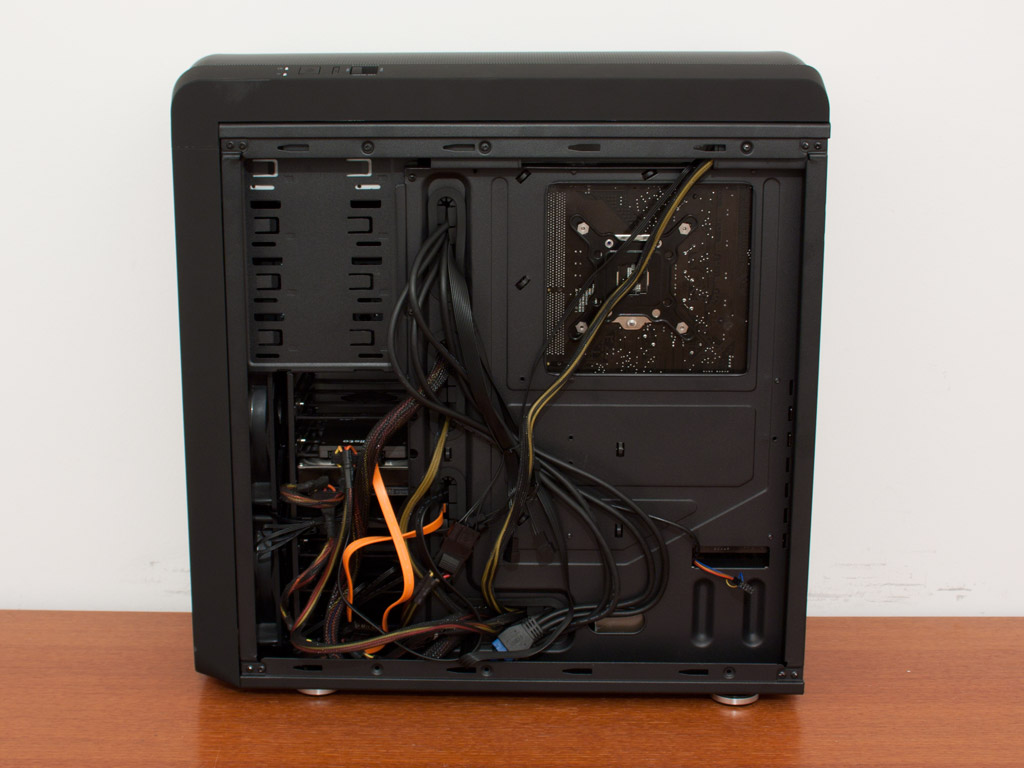
Once everything is installed, the Raider is one of the cleanest cases out there. I have not invested any more time to route the cables as with any other chassis review, nor have I used additional sleeved cables. The reason why everything turns out so incredibly clean is dead simple: the compact openings in the motherboard tray. Having little holes means that I had to use some additional force to squeeze these in and by doing so enables me to bunch the cables together much better, which results in a perfectly clean case. BitFenix also sells sleeved cables and I can totally see some really nifty combination happening here. As you can see, the entire cable mess is hidden behind the mainboard tray. Thanks to the space you should not have any issues here.
Finished Looks
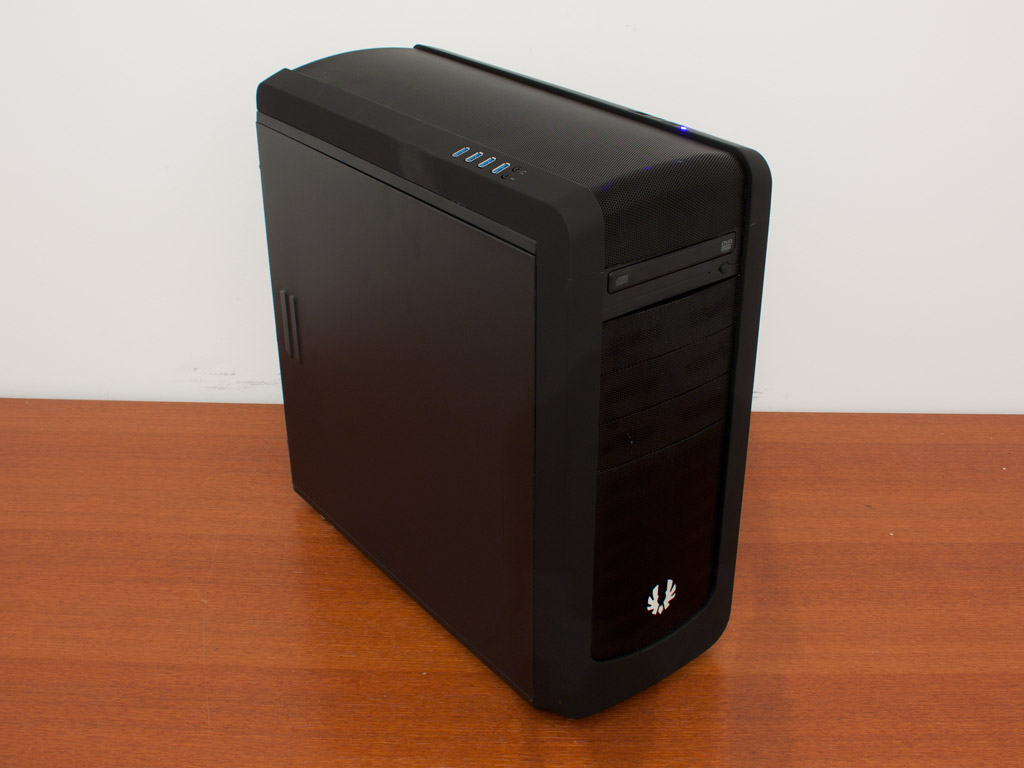
Once done, the case makes a really cool impression. Even though the front cover is curved slightly, the straight ODD does not look out of place at all. This is mostly thanks to the straight and edgy, SofTouch covered strips running down the front of the chassis, as these "hug" the drive nicely. In terms of fan noise, the Raider really manages to impress as well. Thanks to the use of the actual retail Spectre fans, this chassis is dead quiet when running these at low speed and still really quiet when moving the fan controller slider to maximum.
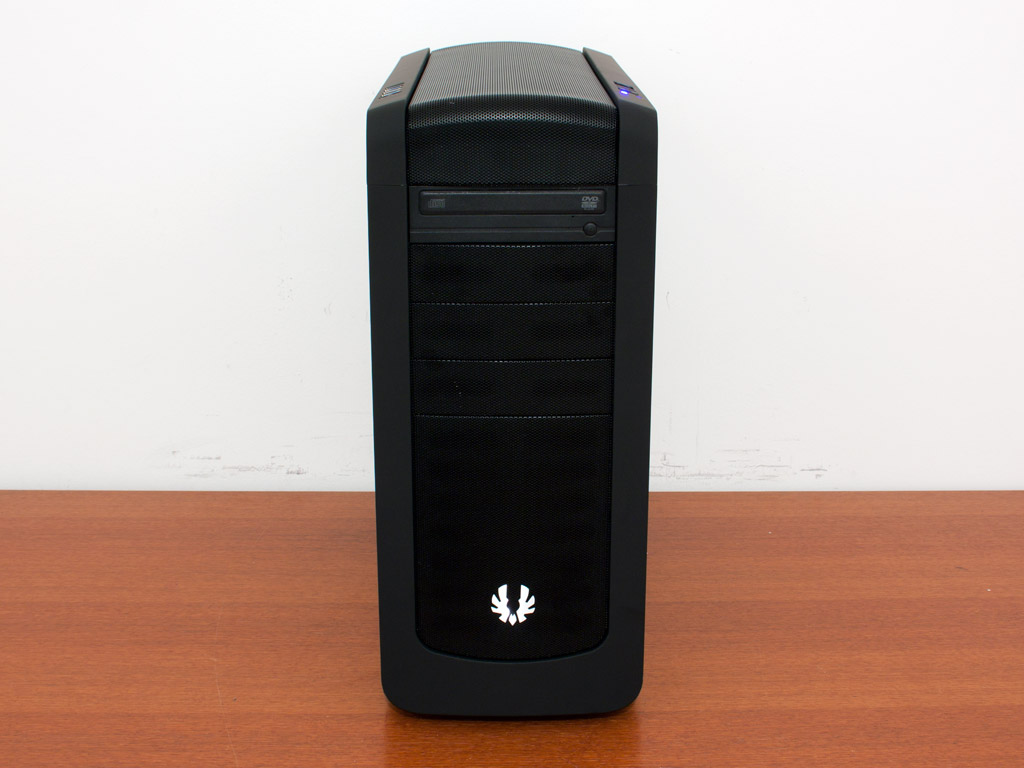

Taking a look at the chassis from the front, the BitFenix emblem shines into the camera, but you cannot see any of the fans as BitFenix has chosen not to use Spectre fans with LEDs. While this is a good thing for some, as one would grow bored of seeing the same light all the time, I think it would have been cool to have a bit of blue coming out of the front of the chassis. In the rear there is nothing out of place and all connectors are easily reachable.
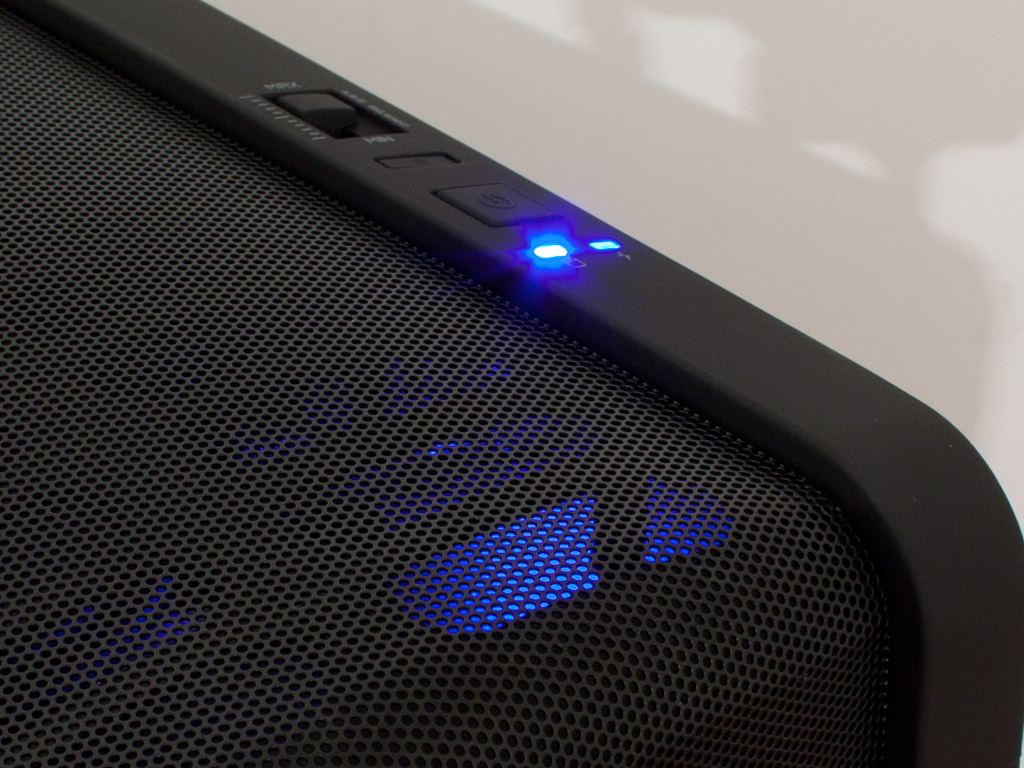
The blue power LED up top is clearly visible. BitFenix has chosen a good level of strength, so that you should not be bothered by the light. I would have liked to see a better insulation around the LED, so that the light does not bleed out as much. This may disturb the overall look of the chassis for some.
Feb 2nd, 2025 14:57 EST
change timezone
Latest GPU Drivers
New Forum Posts
- Testing max ram overclock pn Ryzen 1700 (38)
- Which SSD enclosure to buy? (5)
- Wow YouTube is a Hog (6)
- Simple question about GPUs releases.... (0)
- Predator GM7000 Media Errors (2)
- TECHPOWERUP HWBOT Contest Submissions List (50)
- Post your Anvil's Storage score for SSD (51)
- Dlss4 + 4090 = lower max oc than with dlss3 (18)
- Trying to install OS and stick to it for 2 Years Atleast. Windows 10 or 11? (2)
- GameTechBench GPU benchmark is already out! (249)
Popular Reviews
- NVIDIA GeForce RTX 5080 Founders Edition Review
- Spider-Man 2 Performance Benchmark Review - 35 GPUs Tested
- Galax GeForce RTX 5080 1-Click OC Review
- NVIDIA DLSS 4 Transformer Review - Better Image Quality for Everyone
- MSI GeForce RTX 5080 Vanguard SOC Review
- ASUS GeForce RTX 5080 Astral OC Review
- Gigabyte GeForce RTX 5080 Gaming OC Review
- MSI GeForce RTX 5080 Suprim SOC Review
- ASUS GeForce RTX 5090 Astral OC Review - Astronomical Premium
- NVIDIA GeForce RTX 5090 Founders Edition Review - The New Flagship
Controversial News Posts
- NVIDIA 2025 International CES Keynote: Liveblog (470)
- AMD Debuts Radeon RX 9070 XT and RX 9070 Powered by RDNA 4, and FSR 4 (349)
- AMD is Taking Time with Radeon RX 9000 to Optimize Software and FSR 4 (251)
- AMD Radeon 9070 XT Rumored to Outpace RTX 5070 Ti by Almost 15% (247)
- AMD Denies Radeon RX 9070 XT $899 USD Starting Price Point Rumors (239)
- AMD Radeon RX 9070 XT & RX 9070 Custom Models In Stock at European Stores (226)
- NVIDIA GeForce RTX 5090 Features 575 W TDP, RTX 5080 Carries 360 W TDP (217)
- New Leak Reveals NVIDIA RTX 5080 Is Slower Than RTX 4090 (215)