 10
10
Building a Keyboard 6: MOMOKA Switches/Keycaps + Epomaker Skyloong GK87 Kit
(10 Comments) »Introduction
Providing kits—different ones every single time at that—Epomaker has been a strong supporter of my building a keyboard series. This is again the case today, although the star of the show has to be the Japanese brand MOMOKA. This is another of those niche brands you may never have heard about unless you are deep in the mechanical keyboard community, yet I have received quite a few requests to cover their switches to where this was going to happen sooner than later. MOMOKA reciprocated my interest, and here we are with a new build using a Skyloong GK87 kit, two sets of MOMOKA switches, and two sets of MOMOKA keycaps. Thanks to both companies for providing all the samples that went into making this happen.

The Skyloong GK87, also marketed as the Epomaker GK87, or Epomaker Skyloong GK87, is a wired-only tenkeyless (TKL) keyboard kit, although there is the GK87S offering with hybrid wired/wireless connectivity options. Seen above are the other four components used here, all from MOMOKA, installed partly on the GK87. These come in the form of the MOMOKA Frog and Flamingo switches, both highly requested linear mechanical switches colored to match the name, as well as the Forest of Elves keycaps on the left and Matsuri keycaps on the right. Expect to see more Japanese Hiragana on the keycaps thus, and we will cover all these components in more detail as part of this article which aims to introduce you to more DIY keyboard components.
Epomaker Skyloong GK87 Kit: Packaging and Closer Look

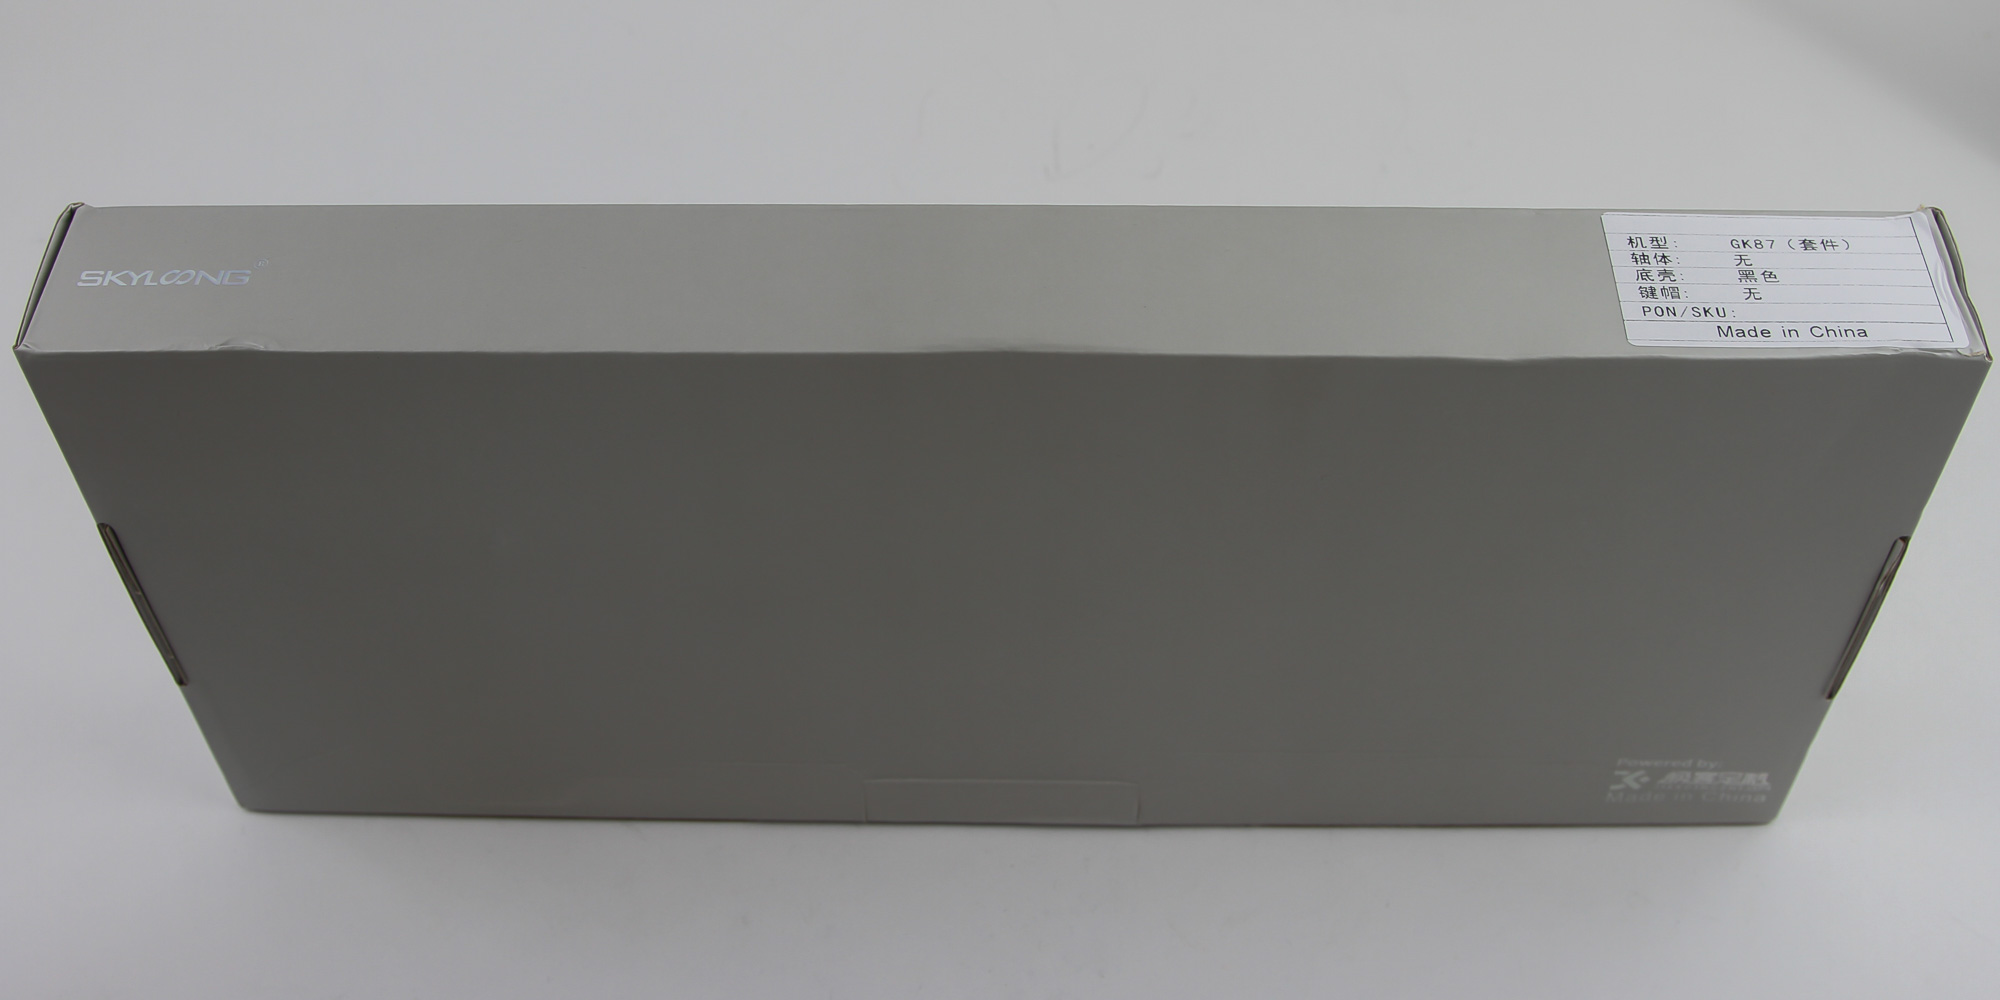


This may be new to you, but I have seen enough Epomaker/Skyloong keyboards and kits to know what is going on already. That said, this is from an older manufacturing run since the packaging does not have the new logos for both brands. Instead, we see the older glossy Skyloong logo on the otherwise bare gray cardboard box. Only a sticker on the side confirms the GK87 is inside, and in the black color option at that. A double flap in the middle and two side flaps keep the contents in place in transit. Opening the box, we see the keyboard kit inside a plastic wrap. The accessories are found on top, in a separate cardboard compartment for cleaner packaging, which also prevents the kit from accidentally getting scratched.


The included quick-start guide comes in both English and Mandarin and goes over the base layer of the GK87. This is self-explanatory on this TKL form factor kit, although it also informs us about three available layers that are saved onboard for added functionality. There is even software support with the GK6XPlus drivers, and you get an ad with photos of other Epomaker/Skyloong products. There is a second piece of paperwork, this time directly over the keyboard inside the plastic wrap, which is more of a cautionary note talking about how to install the switches properly. The other accessories include a detachable USB Type-A to Type-C cable, plastic ring keycap puller, and metal switch remover tool. The latter two are not my choice for a keyboard kit, and I would rather see the combo metal wire keycap puller/switch remover tool Epomaker has included in other keyboards/kits.
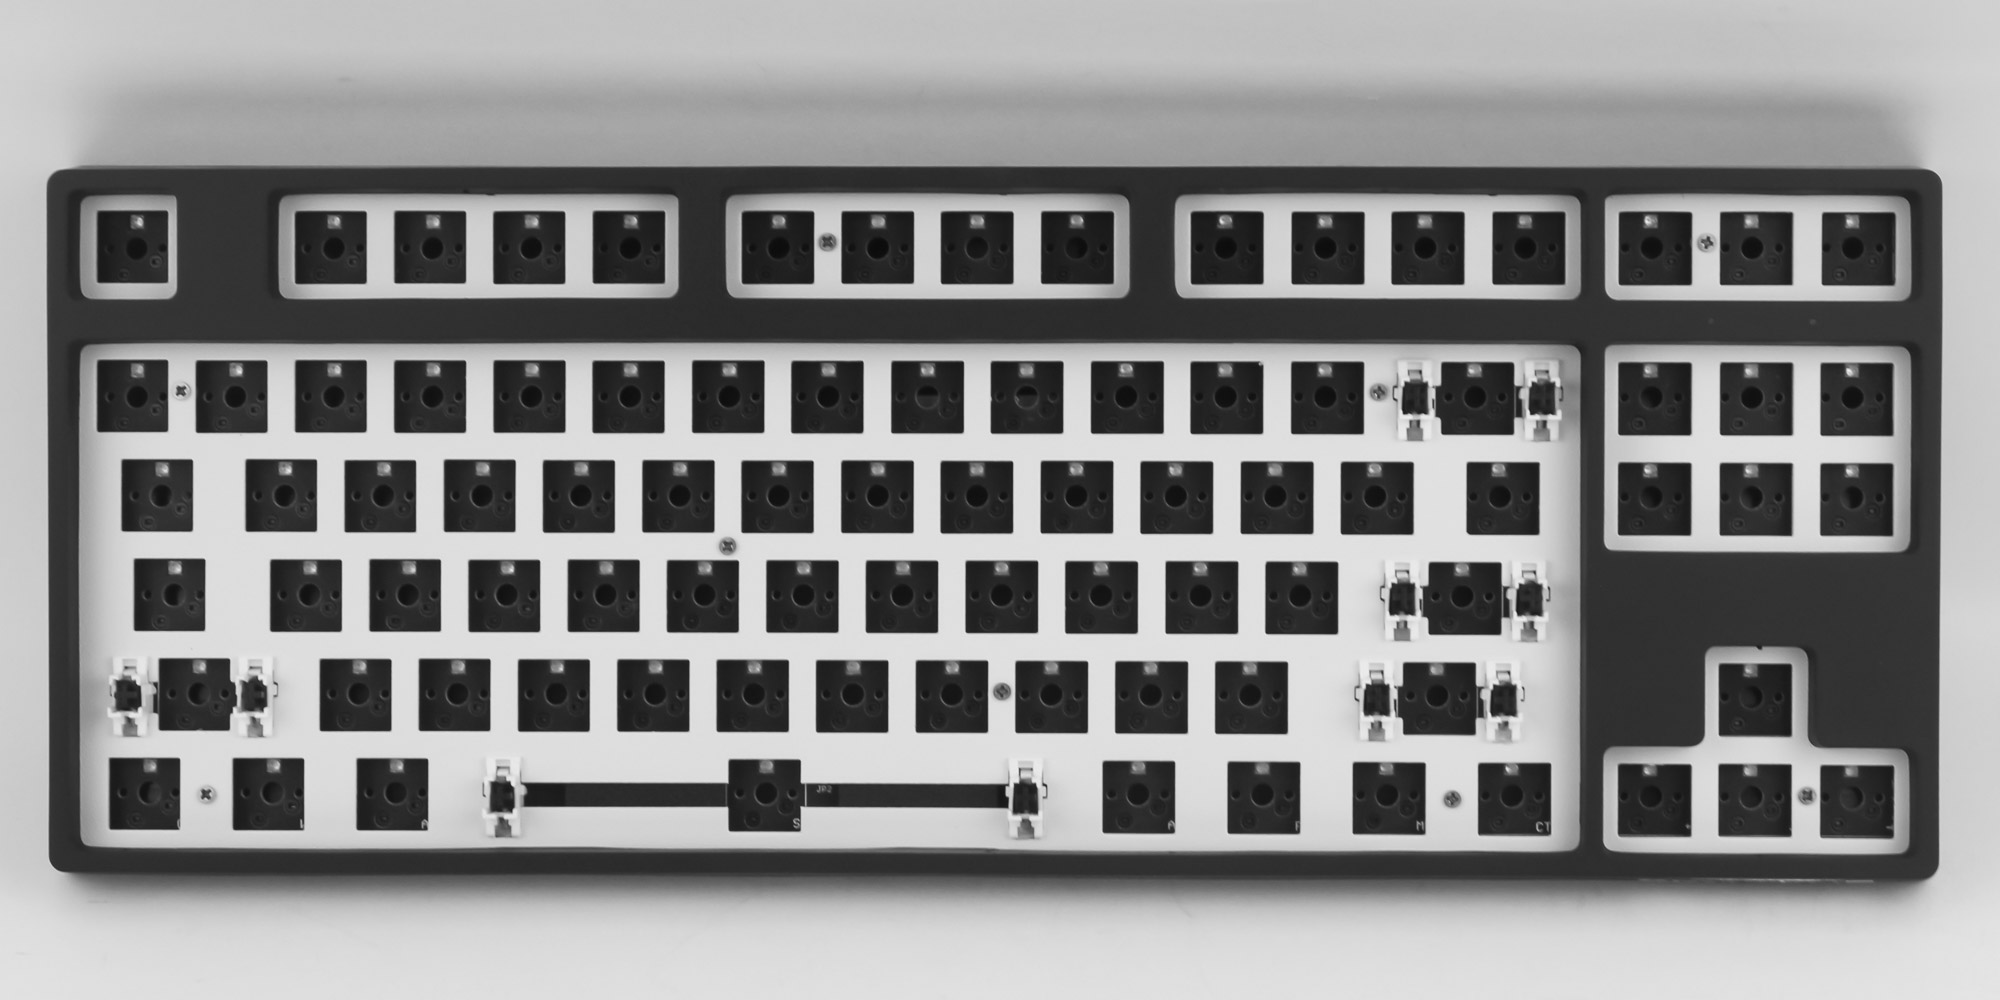
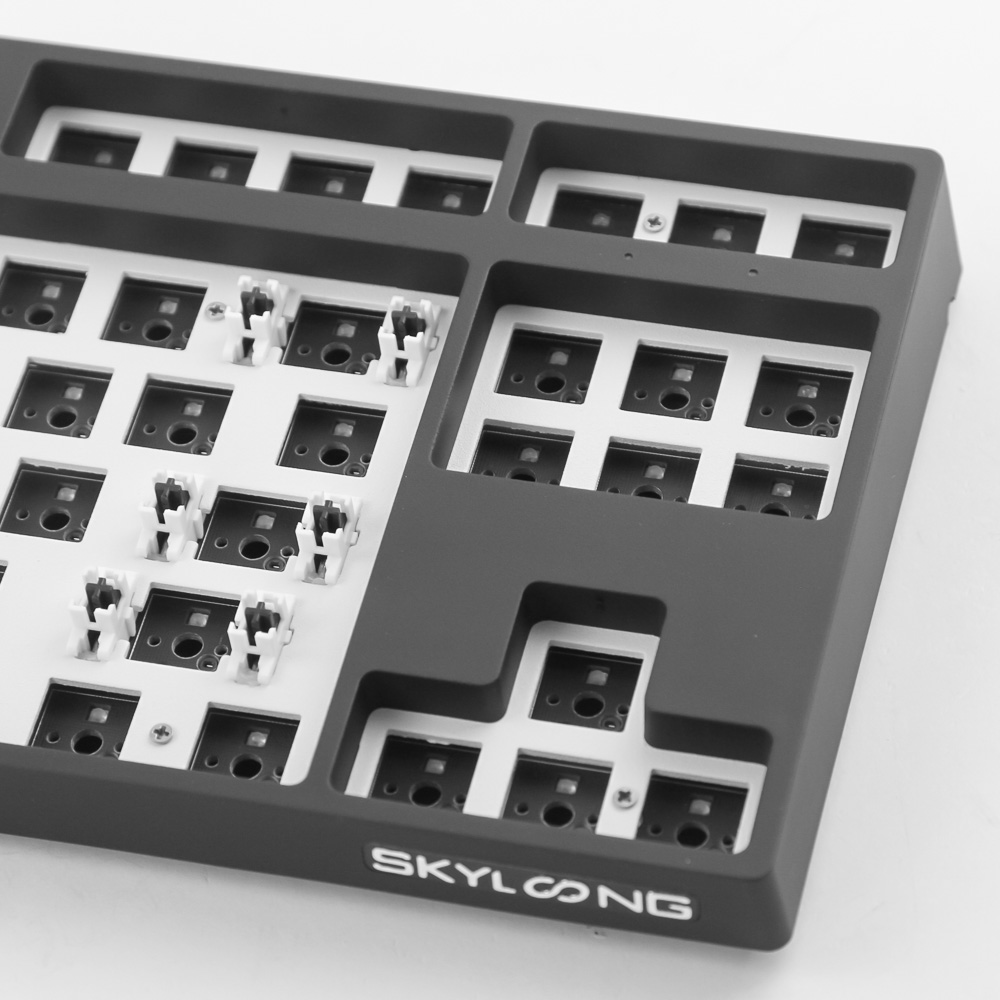

Since the unboxing section was so short, I decided to include some of the closer examination here instead. There is not much to talk about that the photos above already do not convey, however. This is a tenkeyless (TKL) 87-key keyboard kit in the ANSI layout, measuring 326 x 137 mm and available in black or white. I have the black variant, and the color translates to the ABS plastic case, with the white version having a black Skyloong sticker instead. That is incidentally the only visible branding in use and again a clear sign that Skyloong (the factory) is boldly using its own brand rather than relying on Epomaker branding. Either color option uses the same white steel plate, which will help with RGB lighting if that is a consideration for you. The case is a two-piece design, with the top separated into various compartments to split up the different keys.

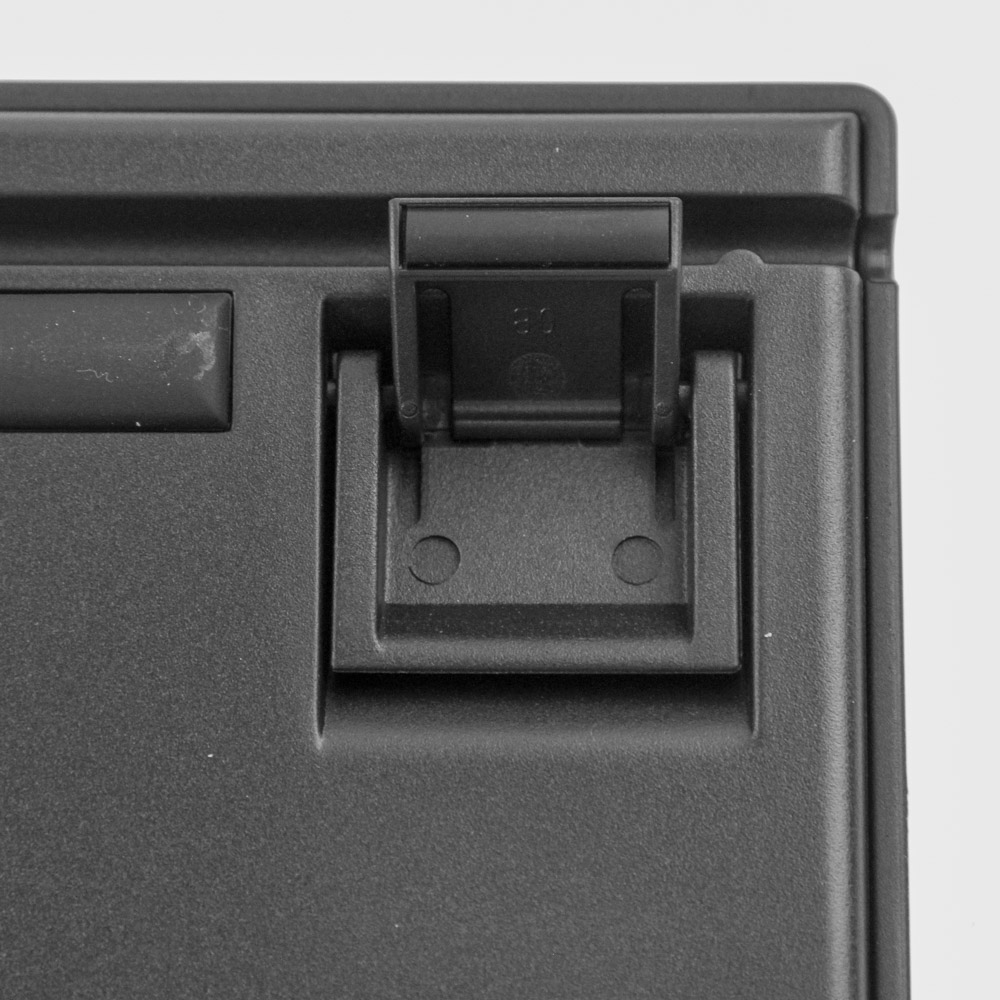
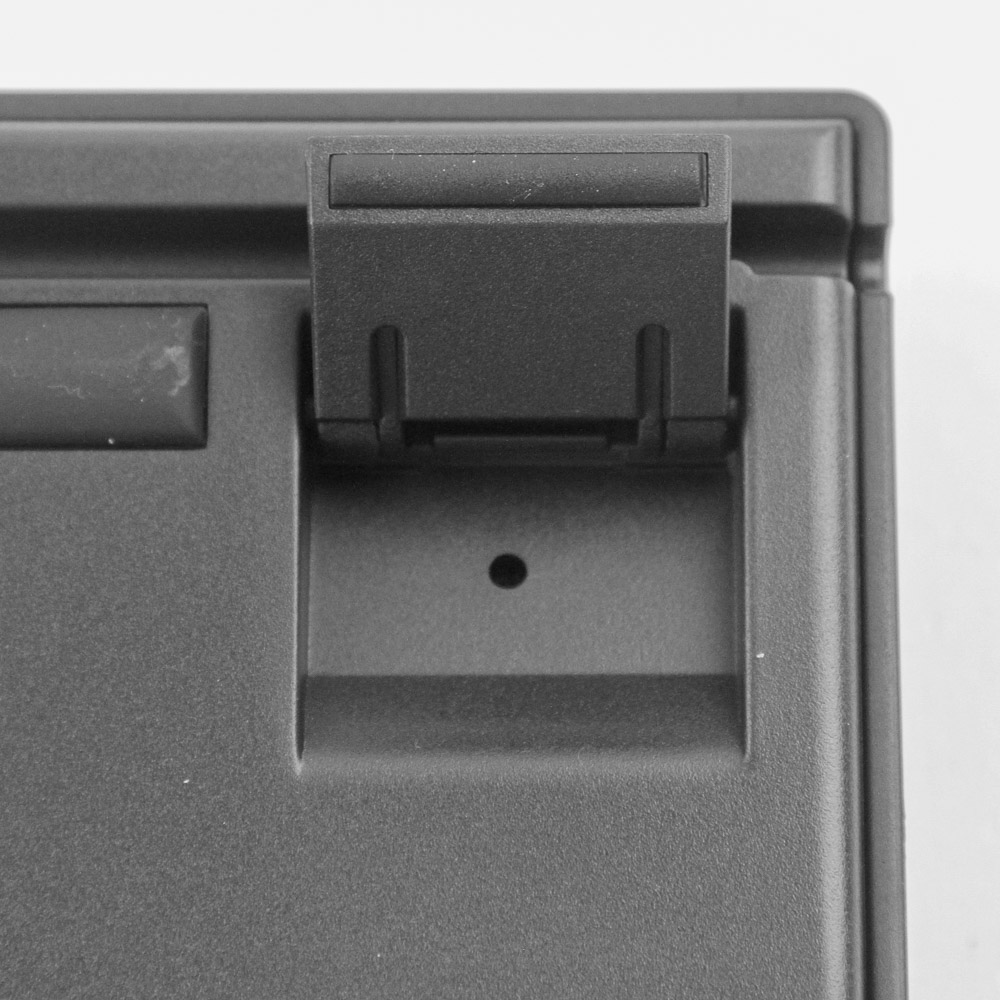
Flipping the kit around, we see the usual certification sticker on the back and four long rubber pads that add friction against the resting surface. There are two sets of feet at the top, which can be raised for a total of three available elevation steps. These feet have fairly substantial rubber pads as well, which is nice to see. A small hole here reveals what could be a hardware reset button on the PCB, but let's examine that in more detail later. There are also three cable-routing channels, which is a feature I would at the very least like see on all plastic case keyboards moving forward.


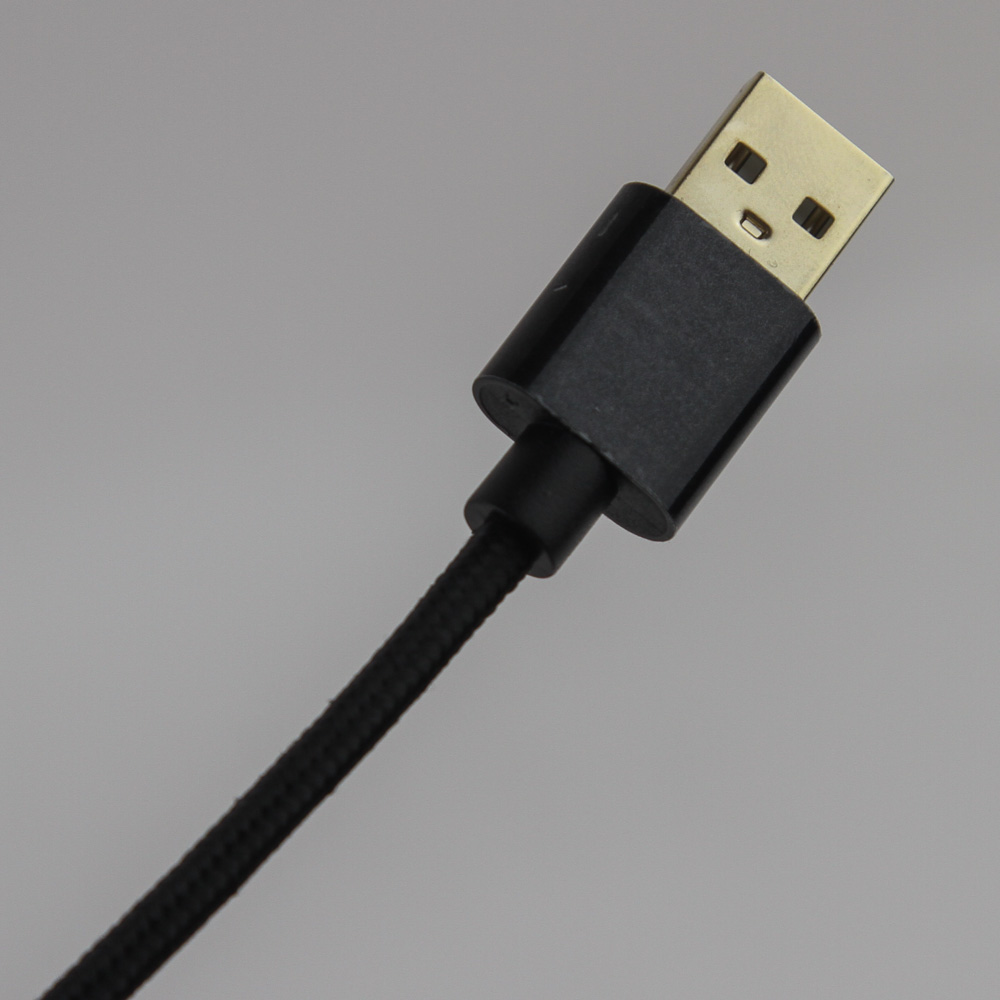
Following up on that, we see the actual Type-C port in an inset centrally placed such that some aftermarket cables may struggle to fit in. The stock cable is decent enough, in a black, braided sleeve and terminated in two gold-plated connectors for oxidation resistance. Once inserted, the cable can be routed away from the mouse for both left and right-handed users, as well as the default of straight up and away. A full-size USB Type-A port is required on the source, and with the 5 V/380 mA rating here, USB 2.0 will suffice for power and data alike.
Epomaker Skyloong GK87 Kit: Closer Examination
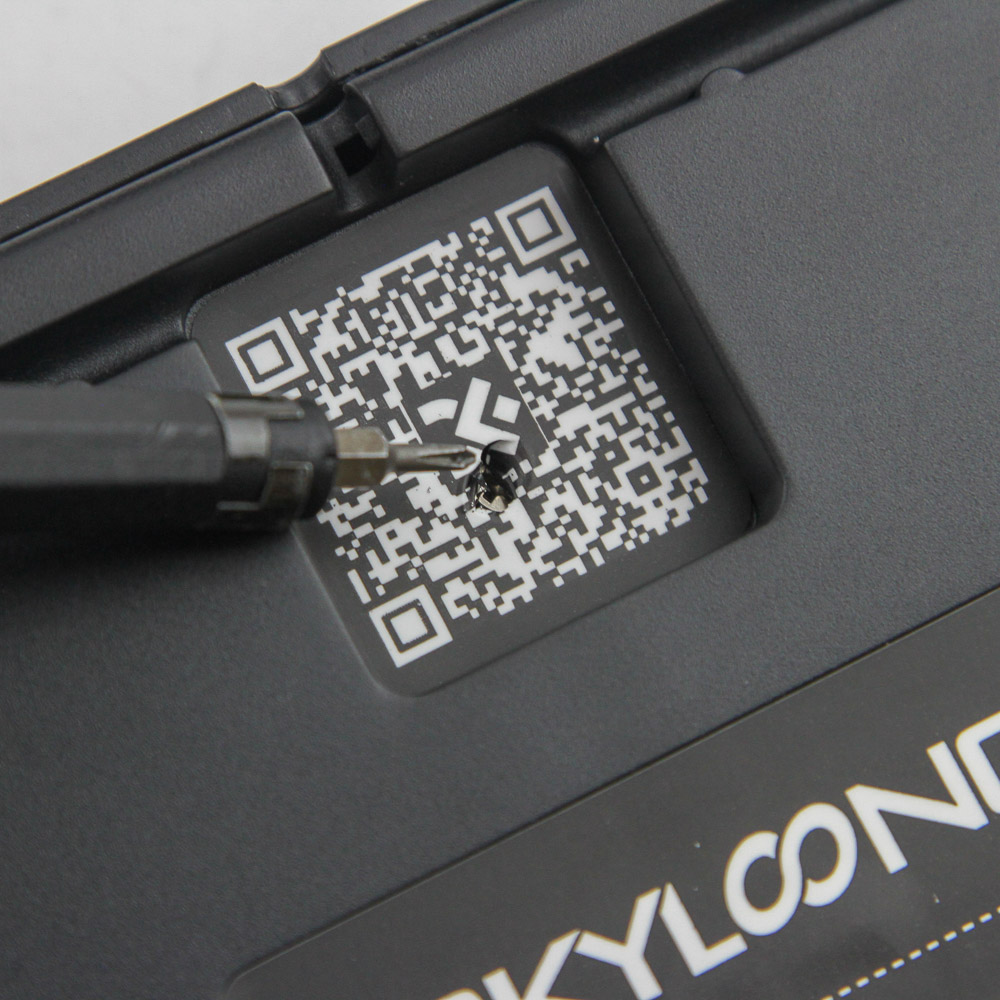

Disassembly is weird, but only because Skyloong has a hidden screw holding the top case panel securely in place. It is under the QR code sticker on the back, and removing it allows for the usual route of using a thin, flat object to pry apart interlocking plastic tabs for the top to then be lifted up and away.


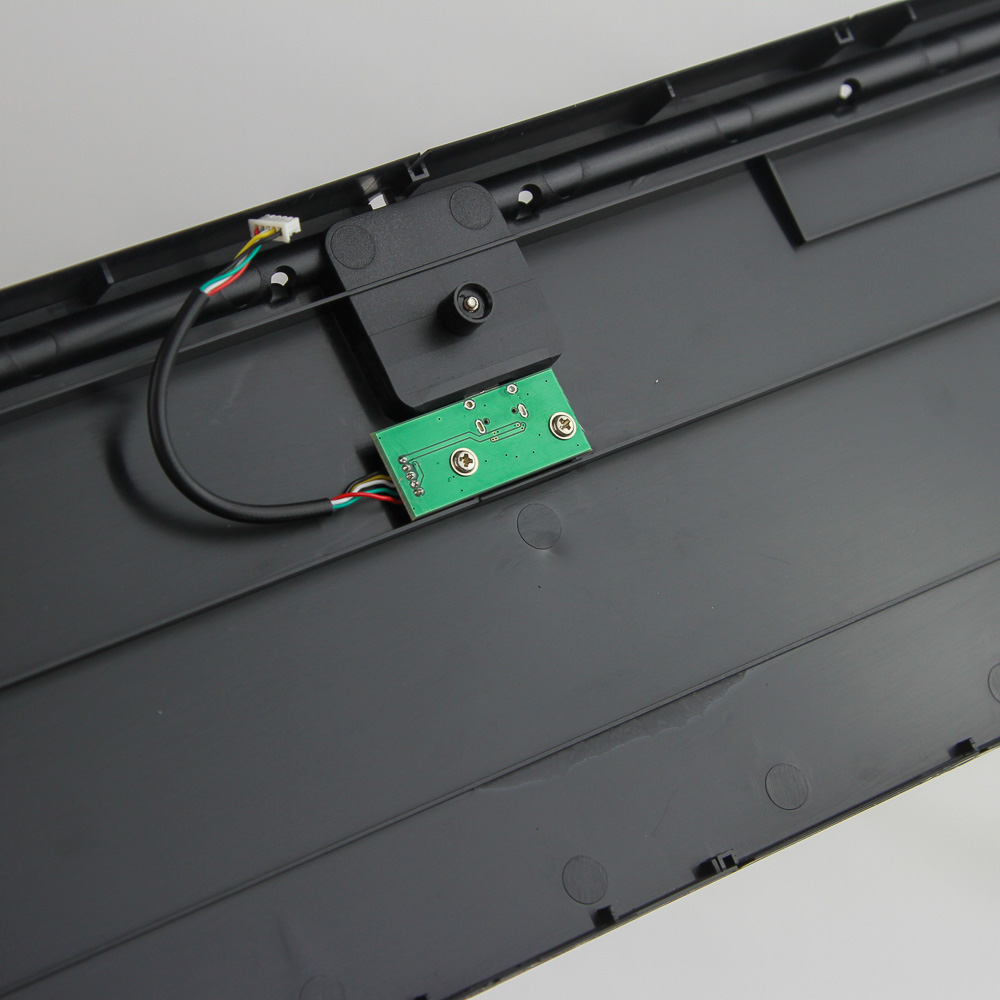
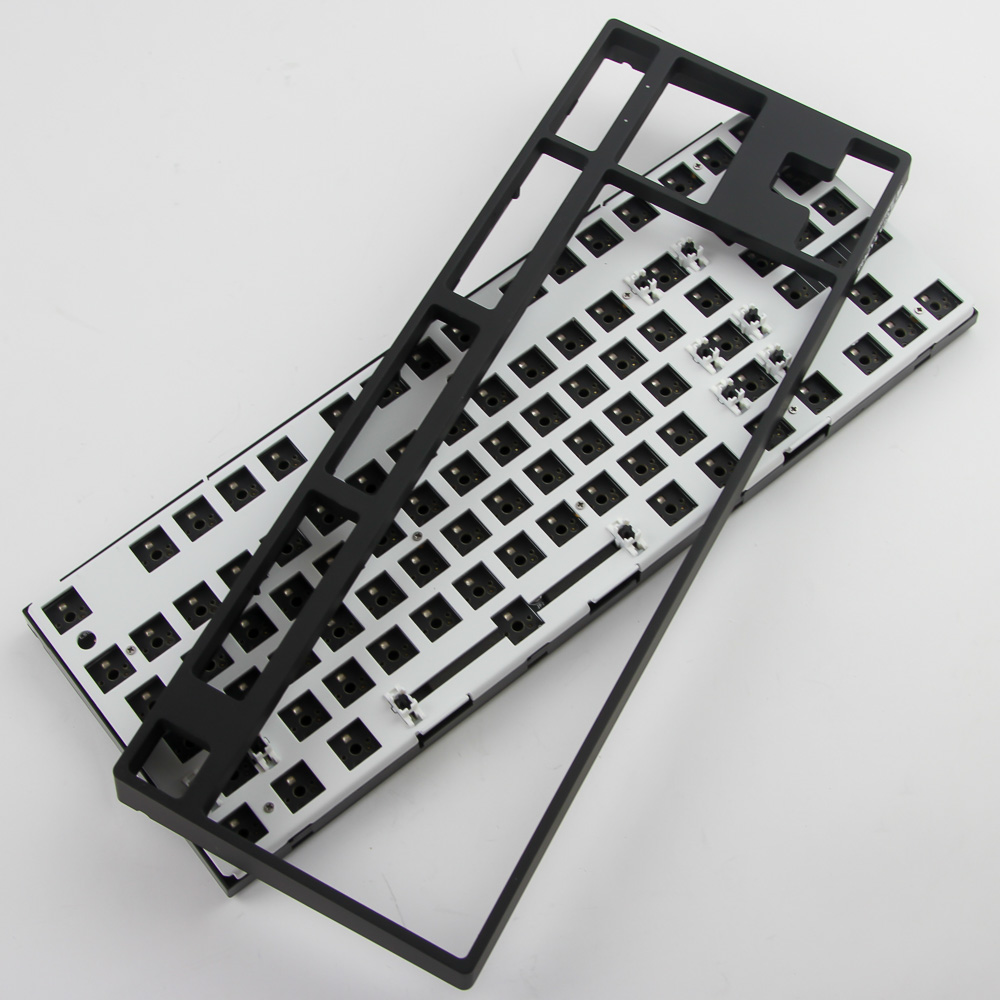
Funnily enough, this is really all that is needed to examine the PCB since the plate and PCB piece is just fitted in place on the bottom case panel. There is an internal USB cable to dislodge first, which gives us a closer look at the mostly empty ABS plastic case in the absence of the 1900 mAh battery found on the GK87S wireless model. It's also missing a sound-dampening foam sheet, which you may want to add yourself.
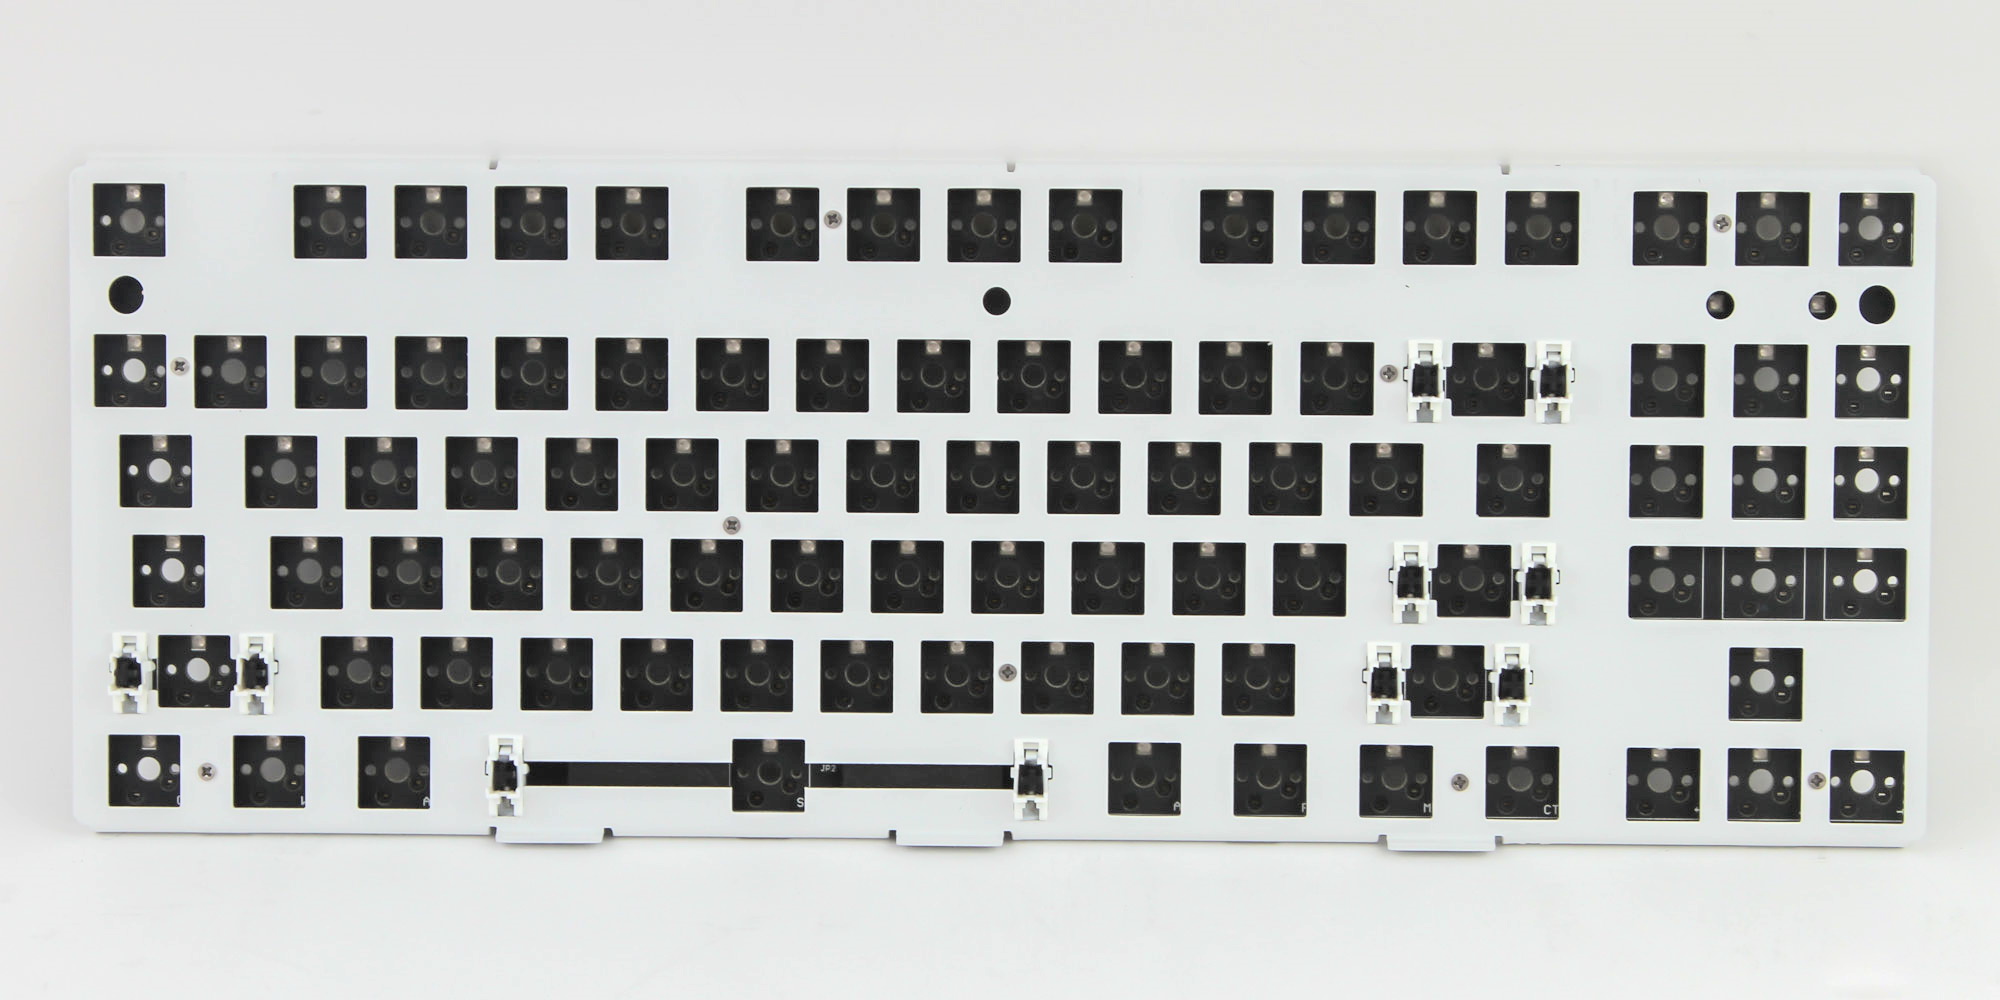


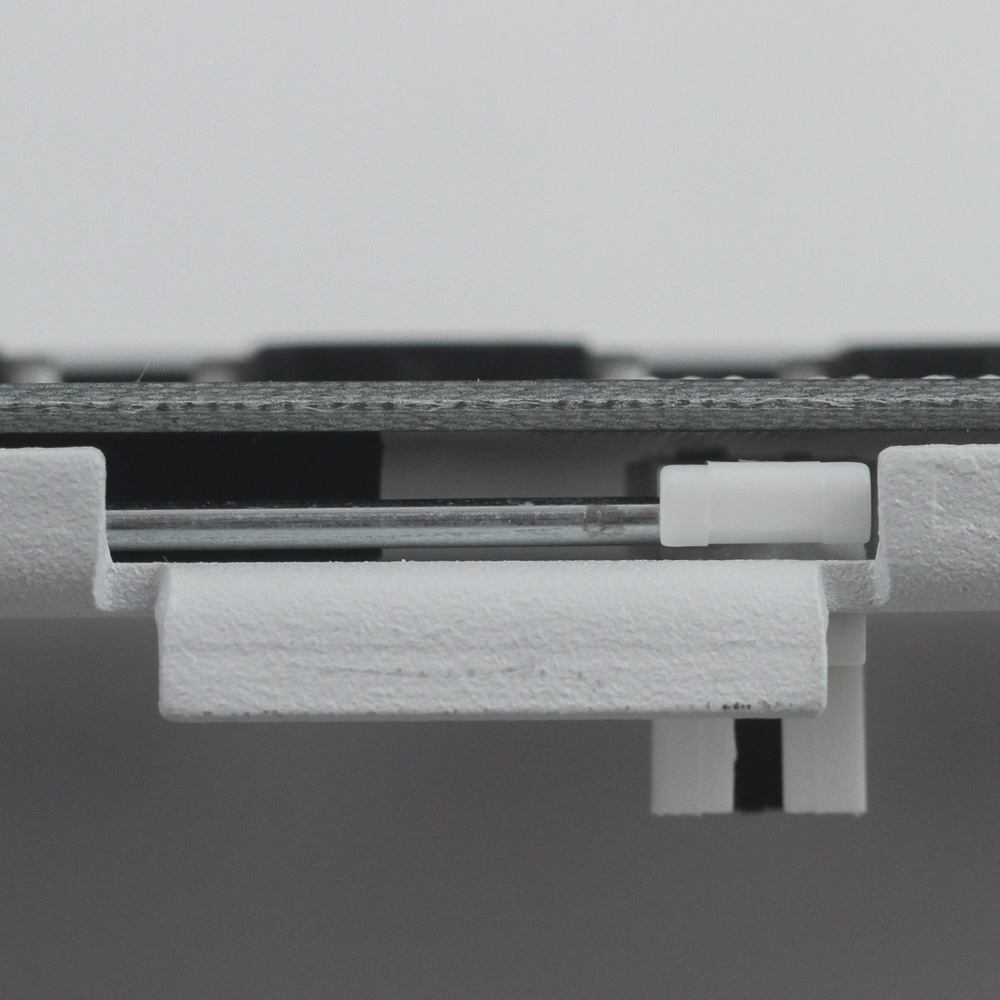
The plate is powdercoated white on a steel base and only held in place with some screws. This allows for modding the plate color, or even switching to a different plate should you be enterprising enough. A foam support under the space bar key dampens the keystroke there, and this is also the best time to take a look at the 5-pin hot-swap switch socket. It allows for increased compatibility with Cherry MX-style mechanical switches, be it the 3-pin or 5-pin variety. Plate-mounted stabilizers with plenty of lube are used. While I didn't remove any or felt the need to re-lube, the amount applied is nearly excessive.

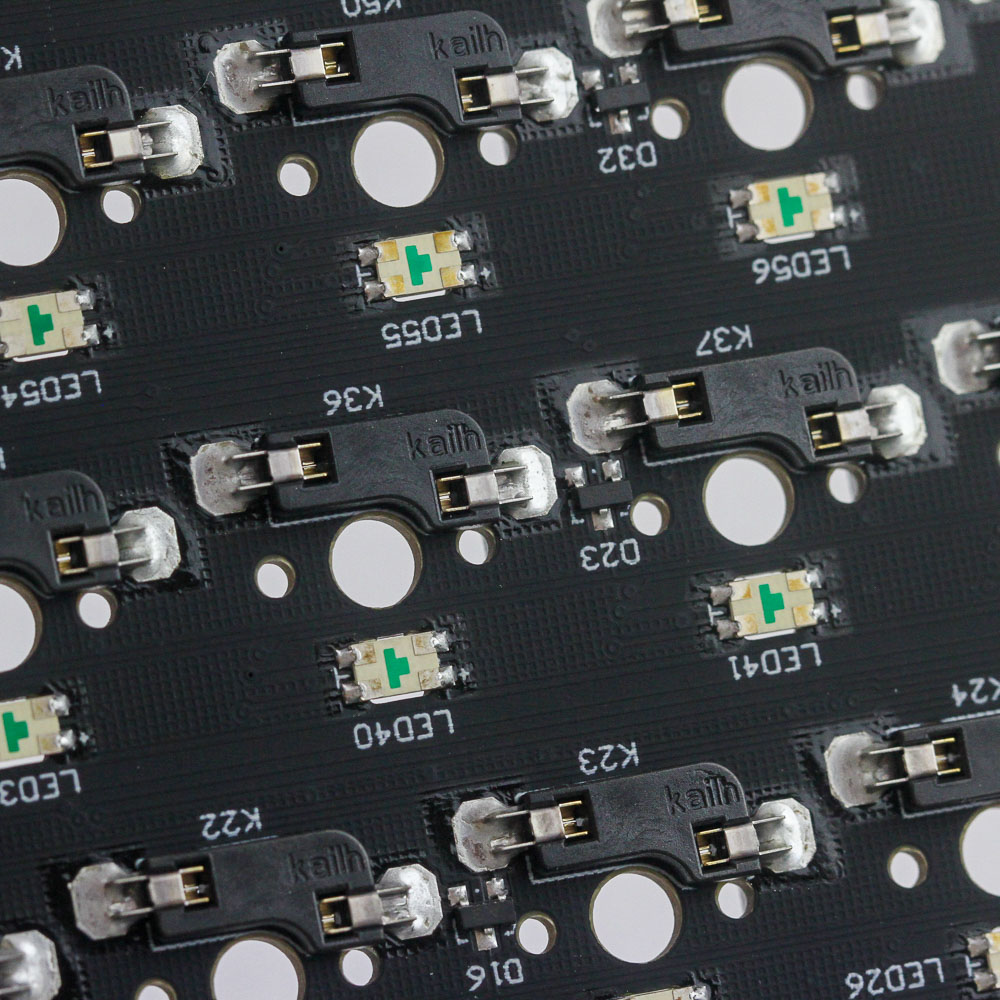

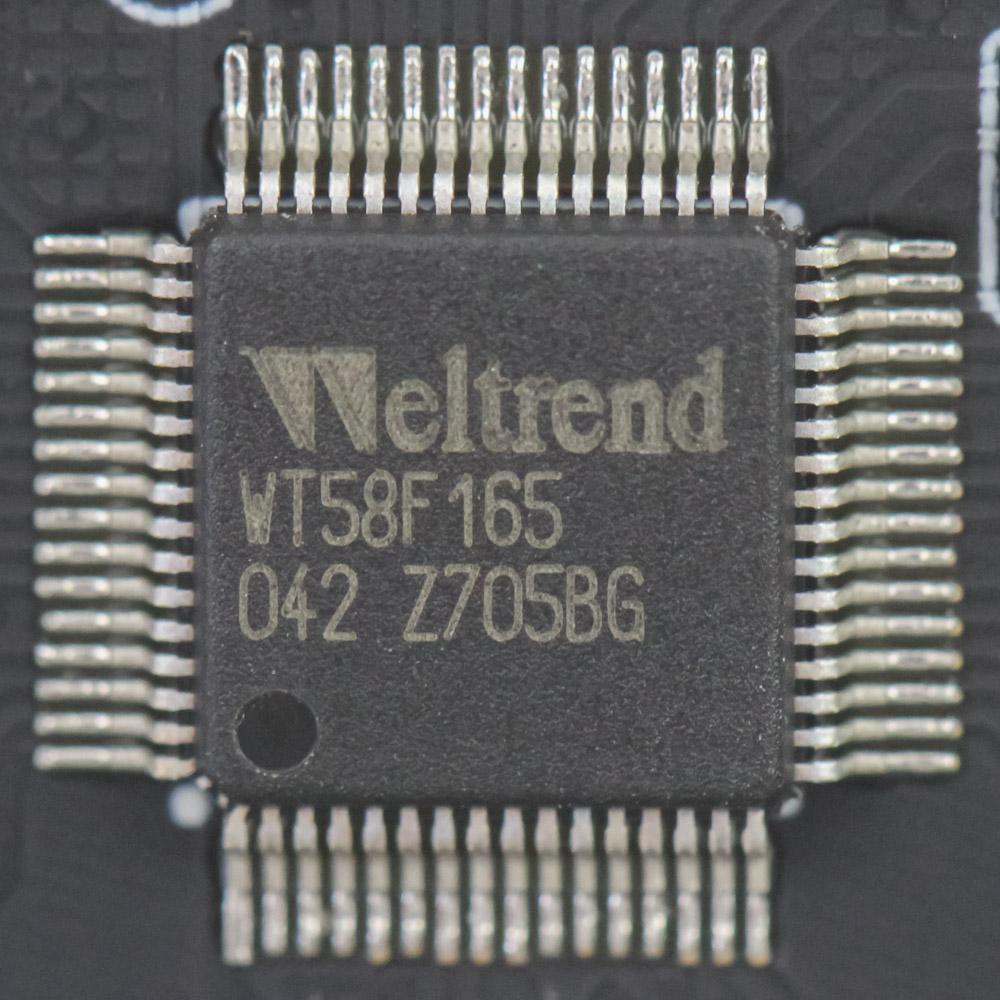

The PCB is black—not that it matters for the RGB lighting as the PCB is under the white plate. We see the use of Kailh hot-swap sockets, which bodes well for reliability and longevity. There is actually no reset button, so the hole in the case is of no use. This GK87 also doesn't have the Bluetooth transceiver in the GK87S, and we see the empty space that would otherwise be occupied on the latter. What we do get is a Weltrend WT58F165 32-bit USB microcontroller based on the RISC microarchitecture with up to 64 KB flash and 8 KB RAM. There are also three separate Shenzhen Sunmoon SM16159 LED drivers to run all the RGB LEDs on the keyboard. All the components, including the sockets, LEDs, and capacitors, are soldered to a multi-layered PCB.
Our Patreon Silver Supporters can read articles in single-page format.
Apr 13th, 2025 14:23 EDT
change timezone
Latest GPU Drivers
New Forum Posts
- What are you playing? (23376)
- Regarding fan noise (0)
- RX 9000 series GPU Owners Club (308)
- What is going to be your next tech upgrade? just curious :) (37)
- How to relubricate a fan and/or service a troublesome/noisy fan. (215)
- best ram to buy for my usage and system specs? (18)
- Dell Latitude 5420 - i7 1185G7 (2)
- Have you got pie today? (16662)
- SK hynix A-Die (Overclocking thread) only for RYZEN AM5 users (28)
- AAF Optimus Modded Driver For Windows 10 & Windows 11 - Only for Realtek HDAUDIO Chips (390)
Popular Reviews
- Thermaltake TR100 Review
- The Last Of Us Part 2 Performance Benchmark Review - 30 GPUs Compared
- TerraMaster F8 SSD Plus Review - Compact and quiet
- Zotac GeForce RTX 5070 Ti Amp Extreme Review
- ASUS GeForce RTX 5080 TUF OC Review
- ASRock Z890 Taichi OCF Review
- Sapphire Radeon RX 9070 XT Pulse Review
- Sapphire Radeon RX 9070 XT Nitro+ Review - Beating NVIDIA
- Upcoming Hardware Launches 2025 (Updated Apr 2025)
- AMD Ryzen 7 9800X3D Review - The Best Gaming Processor
Controversial News Posts
- NVIDIA GeForce RTX 5060 Ti 16 GB SKU Likely Launching at $499, According to Supply Chain Leak (181)
- MSI Doesn't Plan Radeon RX 9000 Series GPUs, Skips AMD RDNA 4 Generation Entirely (146)
- Microsoft Introduces Copilot for Gaming (124)
- NVIDIA Sends MSRP Numbers to Partners: GeForce RTX 5060 Ti 8 GB at $379, RTX 5060 Ti 16 GB at $429 (123)
- Nintendo Confirms That Switch 2 Joy-Cons Will Not Utilize Hall Effect Stick Technology (105)
- Over 200,000 Sold Radeon RX 9070 and RX 9070 XT GPUs? AMD Says No Number was Given (100)
- Nintendo Switch 2 Launches June 5 at $449.99 with New Hardware and Games (99)
- NVIDIA PhysX and Flow Made Fully Open-Source (77)