 22
22
Bykski CPU-XPR-C-I CPU Water Block Review - Amazing Value!
Liquid Flow Restriction »Installation and Lighting
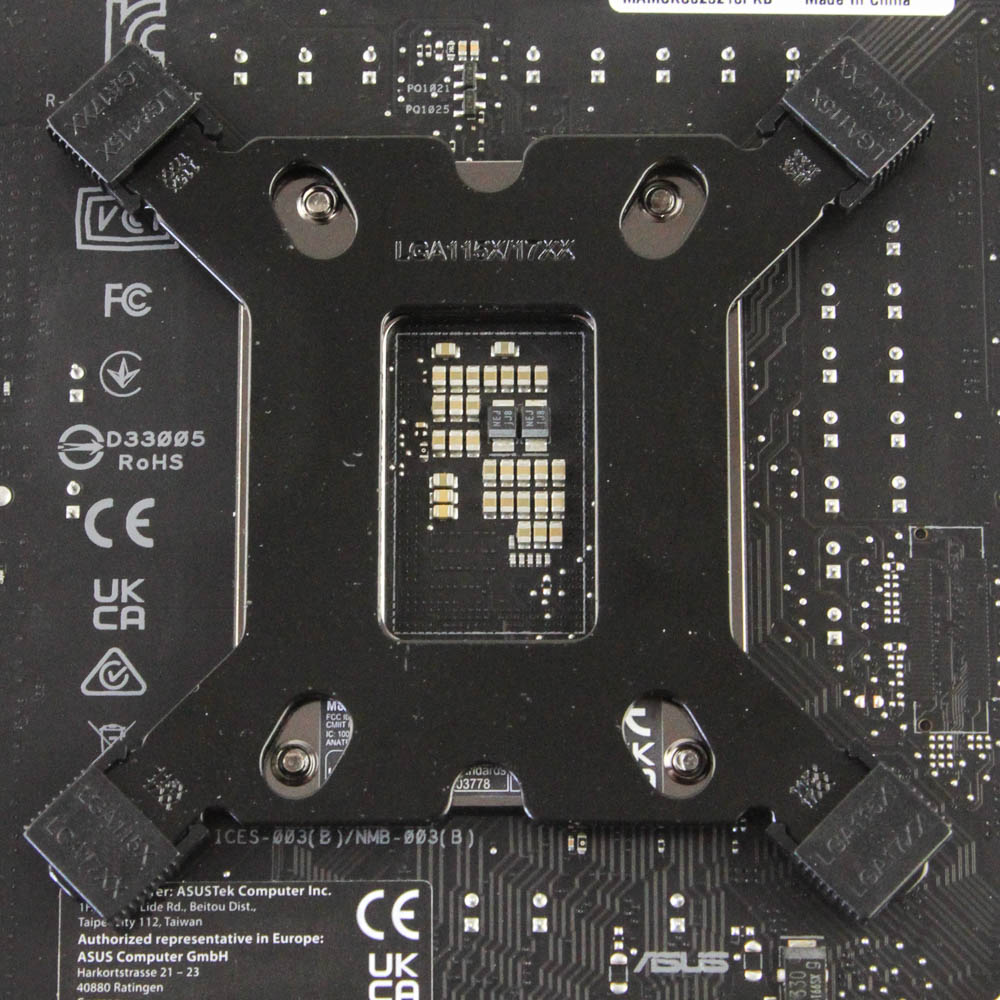
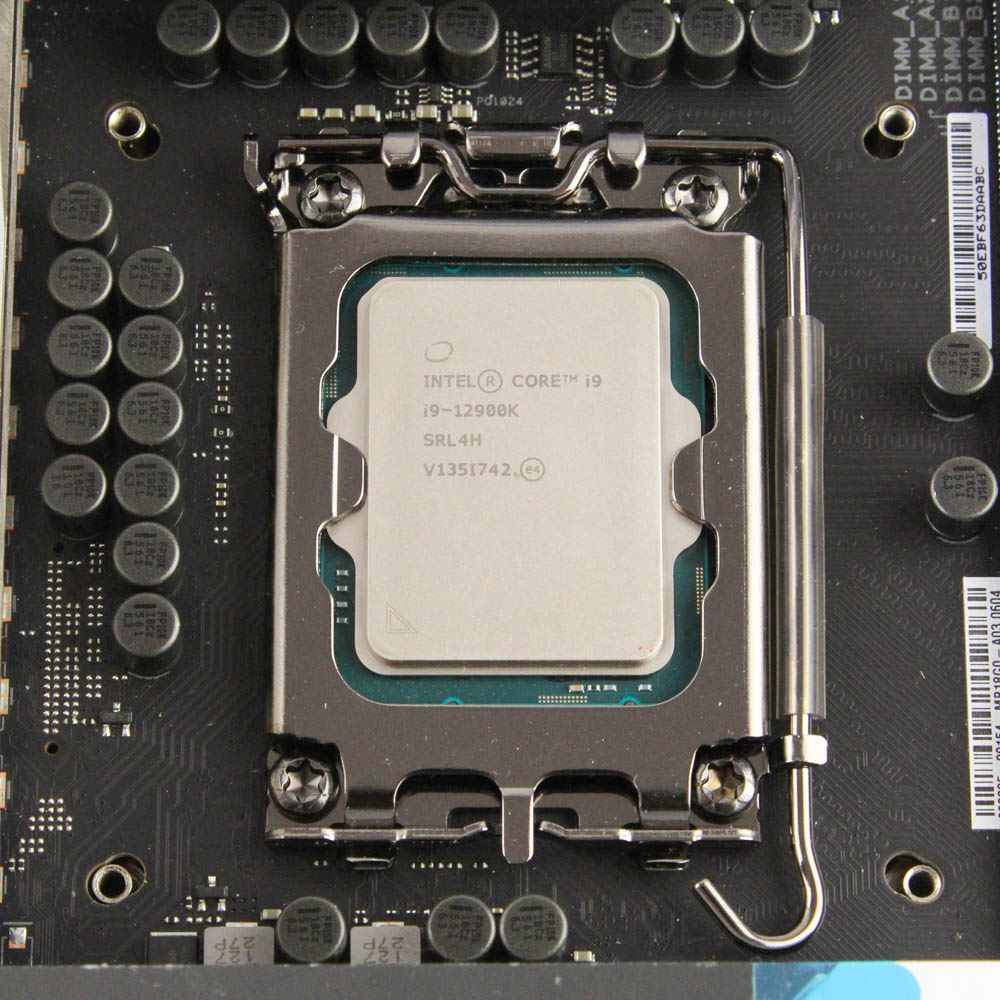
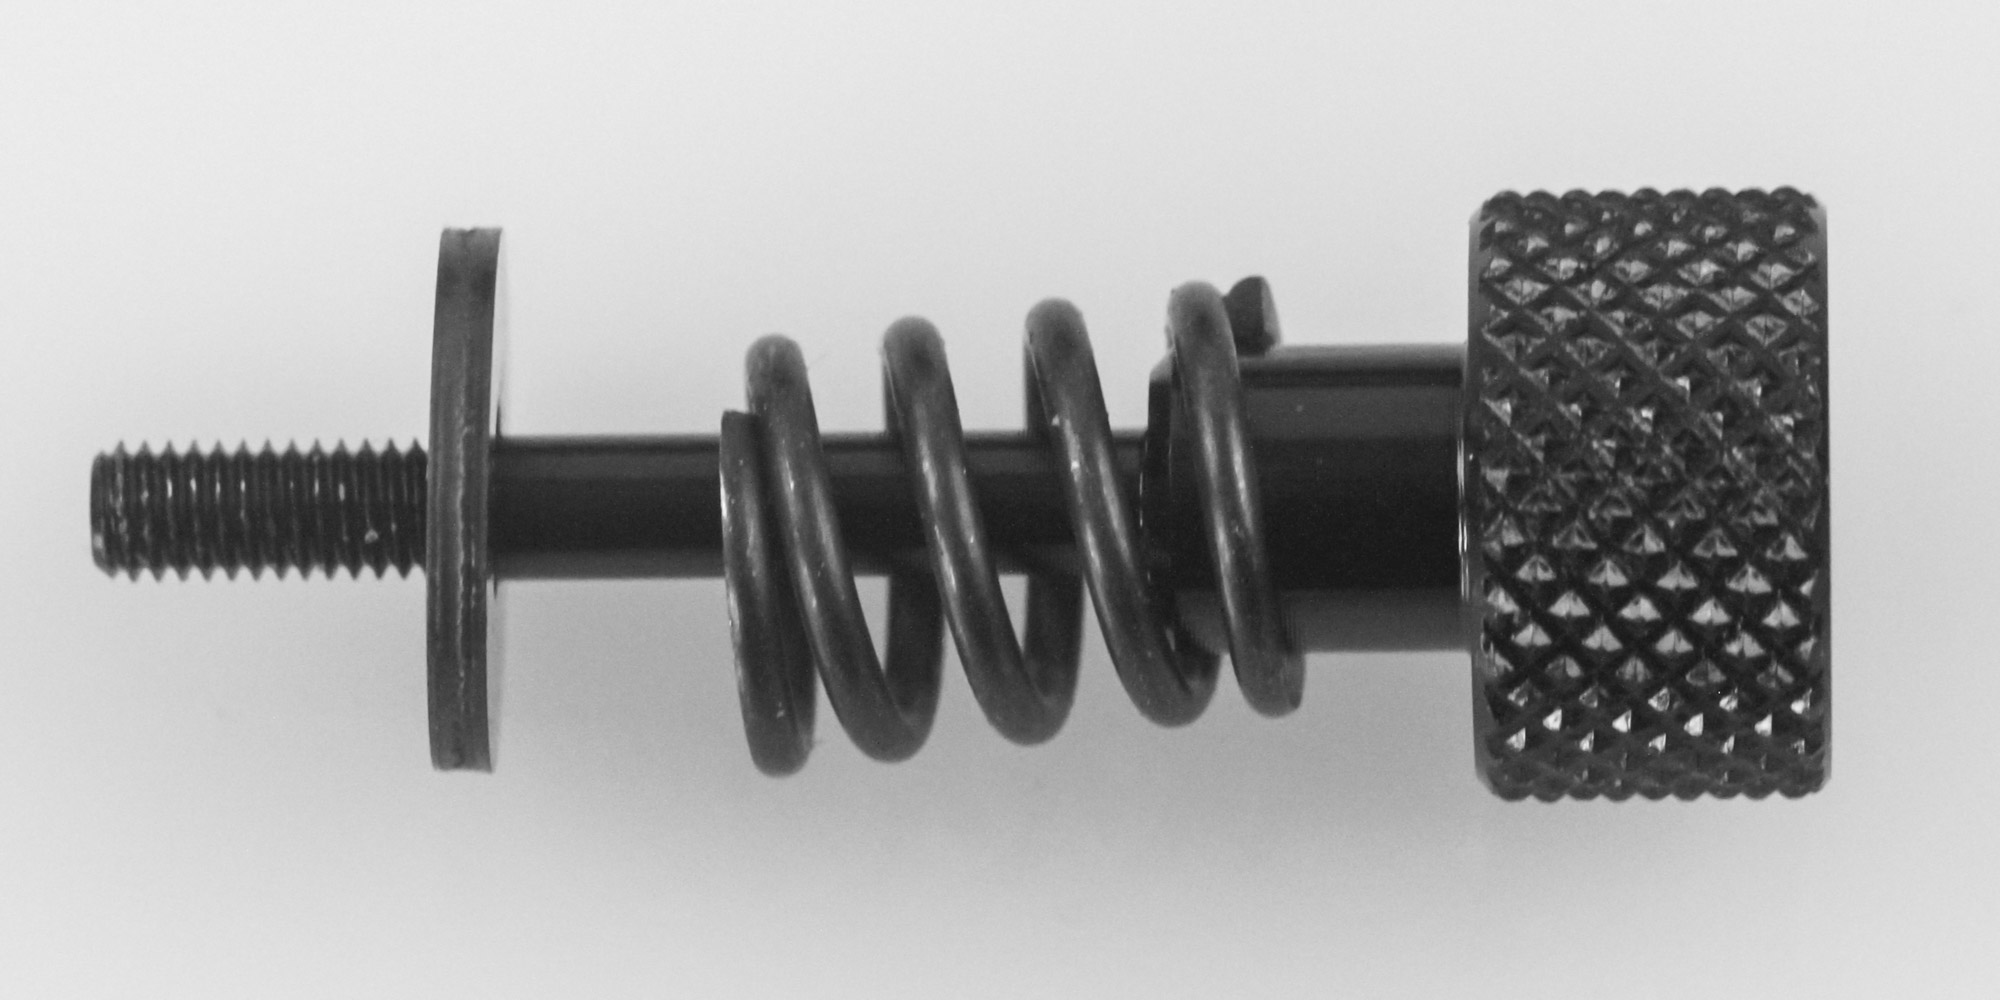

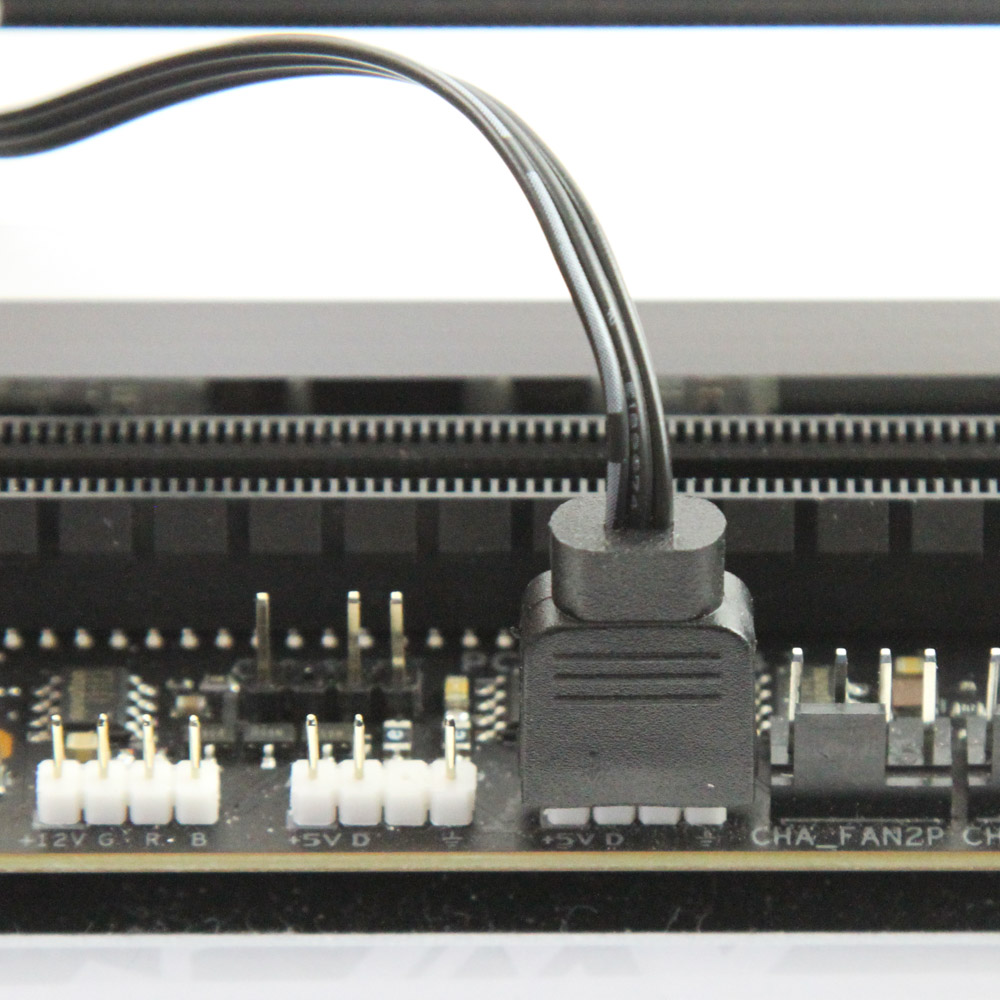
Installing the Bykski CPU-XPR-C-I CPU block is less complicated than the more universally compatible blocks since it is designed only for Intel platforms and has the mounting bracket pre-installed. First, orient the threads in the Intel backplate to correspond to LGA 1700, although many motherboards will have two sets of cooler mounting holes anyway. Then peel the protective covers off the 3M tape on the contact surface of the backplate which helps prevent any electrical shorting. Place the backplate in such a way that the four threaded inserts line up with the cooler mounting holes around the CPU. If done correctly, you will observe all four threaded inserts jut out slightly from the surface of the motherboard itself. Apply thermal paste on the CPU IHS and then position the block over the CPU before having the four sets of mounting posts/springs/washers go through the backplate inserts in a diagonal manner. I initially thought this is a precise installation in that you simply go until you run out of the threads on the mounting posts, but I quickly came to a stop before then and this means you will have to do some guesswork in making sure the mounting pressure is even all around. Then use the provided cable with adapter to connect the RGB LEDs to your motherboard LED header, although Bykski also sells its own LED controllers which simply accept the native cable connector itself.
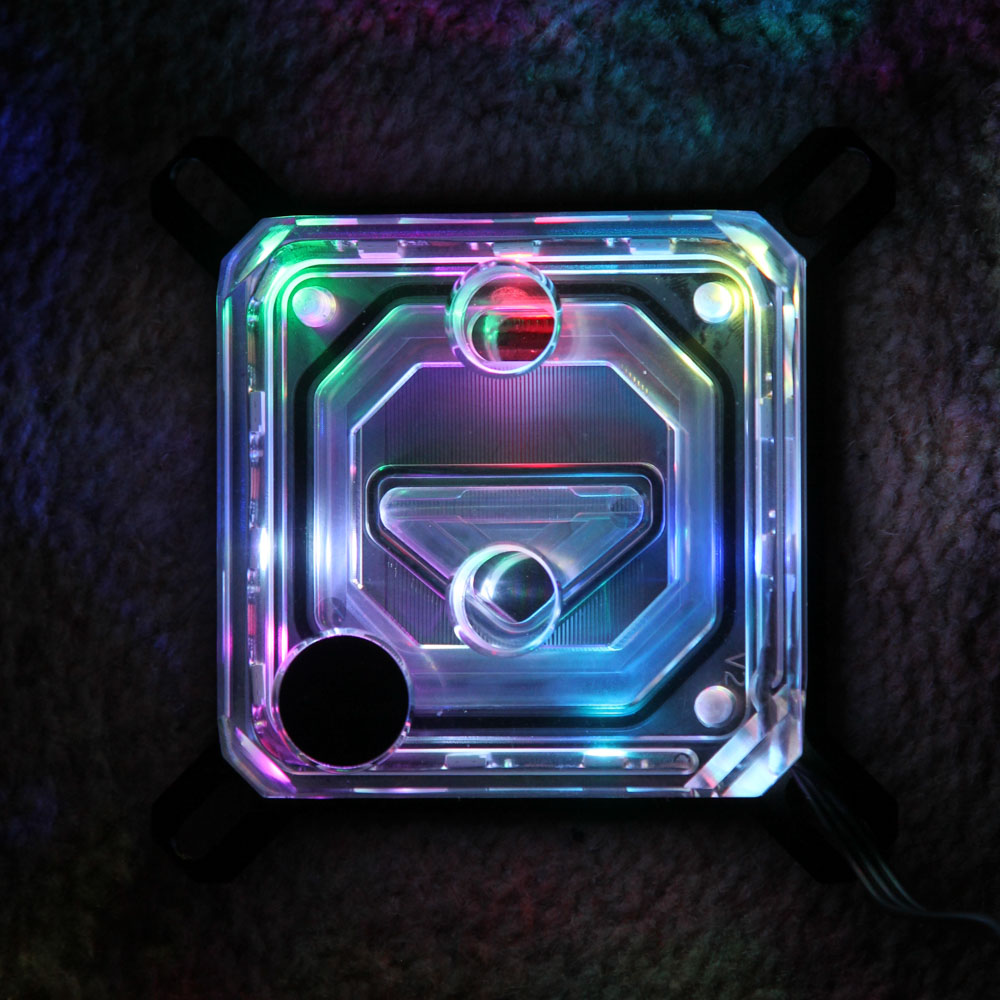
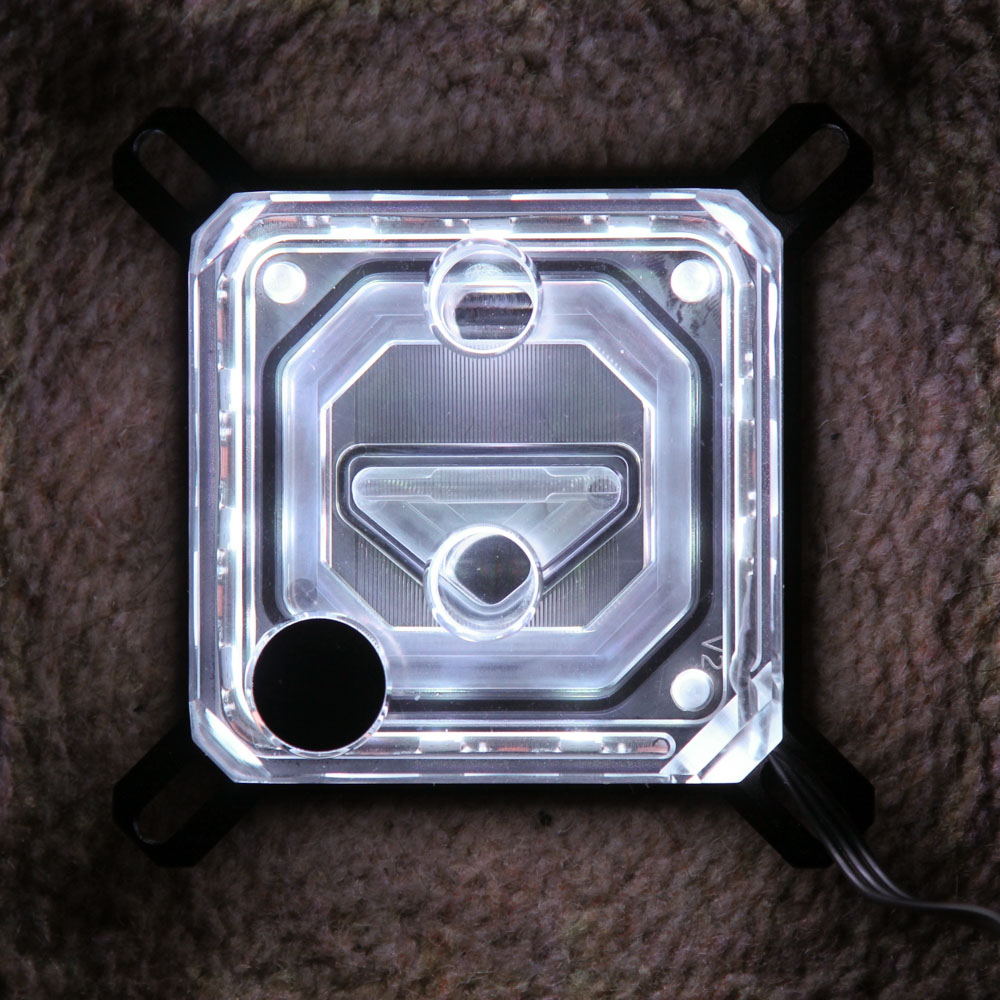

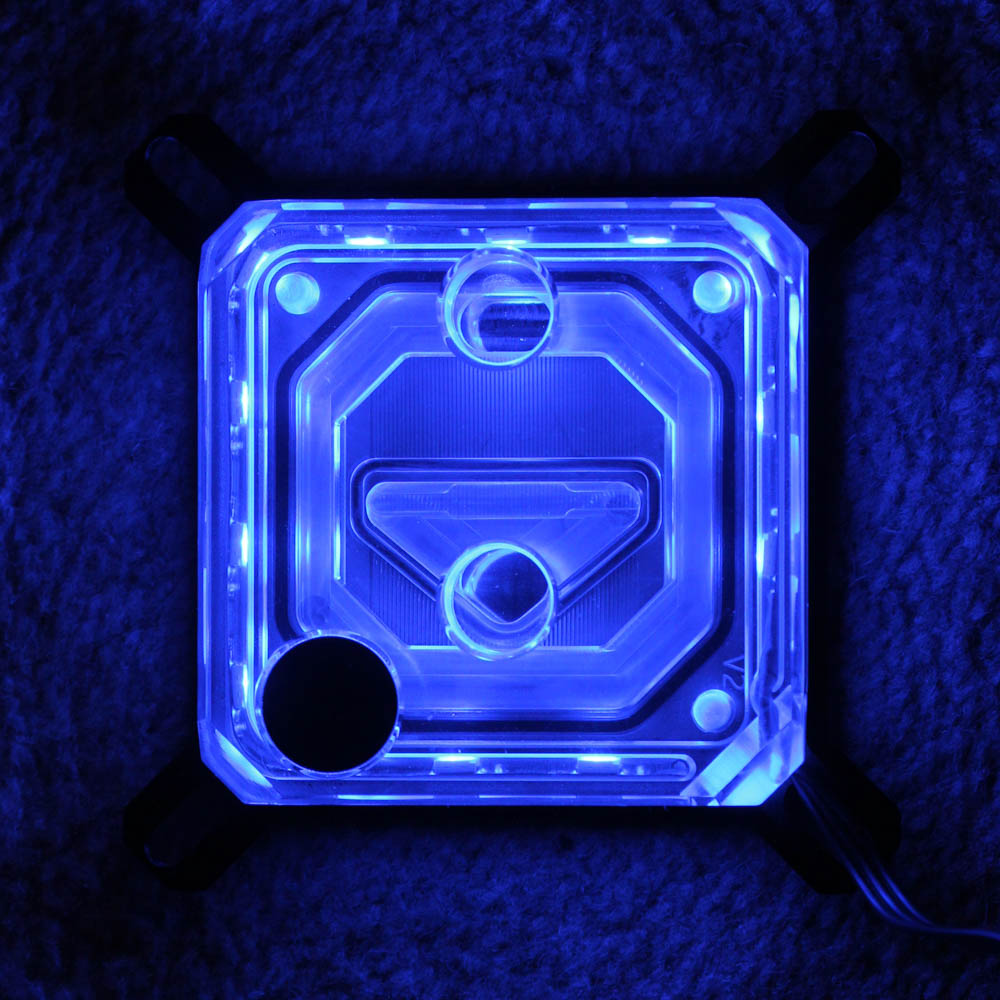
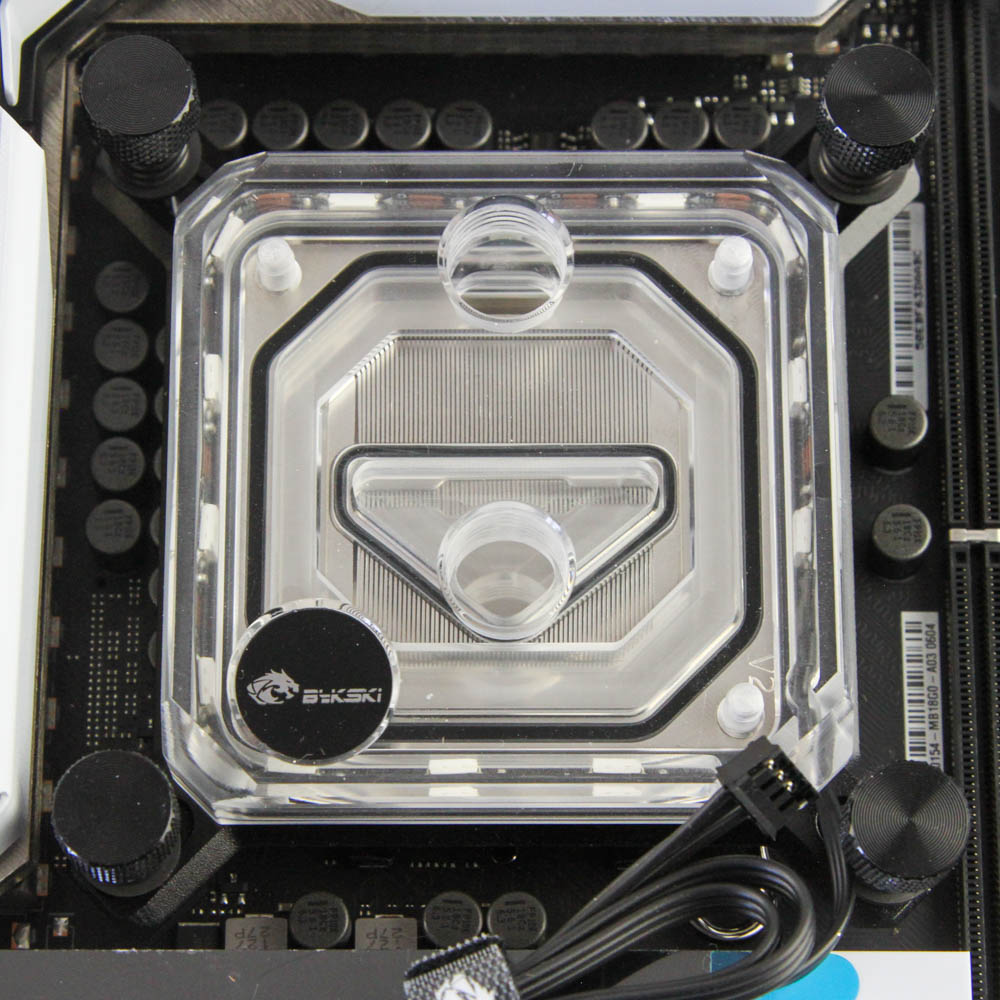
There are 14 ARGB LEDs in this CPU block spread evenly on all four sides and firing inwards. We saw on the previous page there is no diffuser/lens to spread out the light more evenly so we end up with point light sources on the side but then the acrylic top itself has a bright light show for you—enough to easily light up the motherboard area around the block too. Seen above is the block lit up in a few different colors and also a dynamic lighting effect—please be aware I turned down the exposure since my camera isn't the best for videos, the block is much more vibrant in real life.
May 7th, 2025 21:38 EDT
change timezone
Latest GPU Drivers
New Forum Posts
- Do you prefer factory overclocked GPUs? (67)
- Free Games Thread (4667)
- Half Life 3 soon ? (51)
- Game Soundtracks You Love (1069)
- Question about photos (17)
- What are you playing? (23559)
- How high of a ram frequency can i run on a Z690 with an 14700Kf processor? (20)
- Ssd failure, I don’t know what to do (47)
- Steam Deck Owners Clubhouse (514)
- Precautions before using Dual PSU in my PC? (0)
Popular Reviews
- Arctic Liquid Freezer III Pro 360 A-RGB Review
- Clair Obscur: Expedition 33 Performance Benchmark Review - 33 GPUs Tested
- ASUS Radeon RX 9070 XT TUF OC Review
- ASRock Radeon RX 9070 Steel Legend OC Review
- SCYROX V6 Review
- Upcoming Hardware Launches 2025 (Updated Apr 2025)
- Sapphire Radeon RX 9070 XT Nitro+ Review - Beating NVIDIA
- ASUS ROG Maximus Z890 Hero Review
- AMD Ryzen 7 9800X3D Review - The Best Gaming Processor
- ASUS GeForce RTX 5090 Astral Liquid OC Review - The Most Expensive GPU I've Ever Tested
Controversial News Posts
- AMD Radeon RX 9060 XT to Roll Out 8 GB GDDR6 Edition, Despite Rumors (142)
- NVIDIA Sends MSRP Numbers to Partners: GeForce RTX 5060 Ti 8 GB at $379, RTX 5060 Ti 16 GB at $429 (128)
- NVIDIA Launches GeForce RTX 5060 Series, Beginning with RTX 5060 Ti This Week (115)
- Microsoft Forces Automatic Windows 11 24H2 Update on Pro and Home PCs (91)
- Sony Increases the PS5 Pricing in EMEA and ANZ by Around 25 Percent (84)
- Parts of NVIDIA GeForce RTX 50 Series GPU PCB Reach Over 100°C: Report (78)
- Intel "Bartlett Lake-S" Gaming CPU is Possible, More Hints Appear for a 12 P-Core SKU (78)
- NVIDIA GeForce RTX 5060 Ti 8 GB Variant Benched by Chinese Reviewer, Lags Behind 16 GB Sibling in DLSS 4 Test Scenario (73)