 6
6
Chieftec Dragon CH-07B-R Review
Value & Conclusion »Assembly
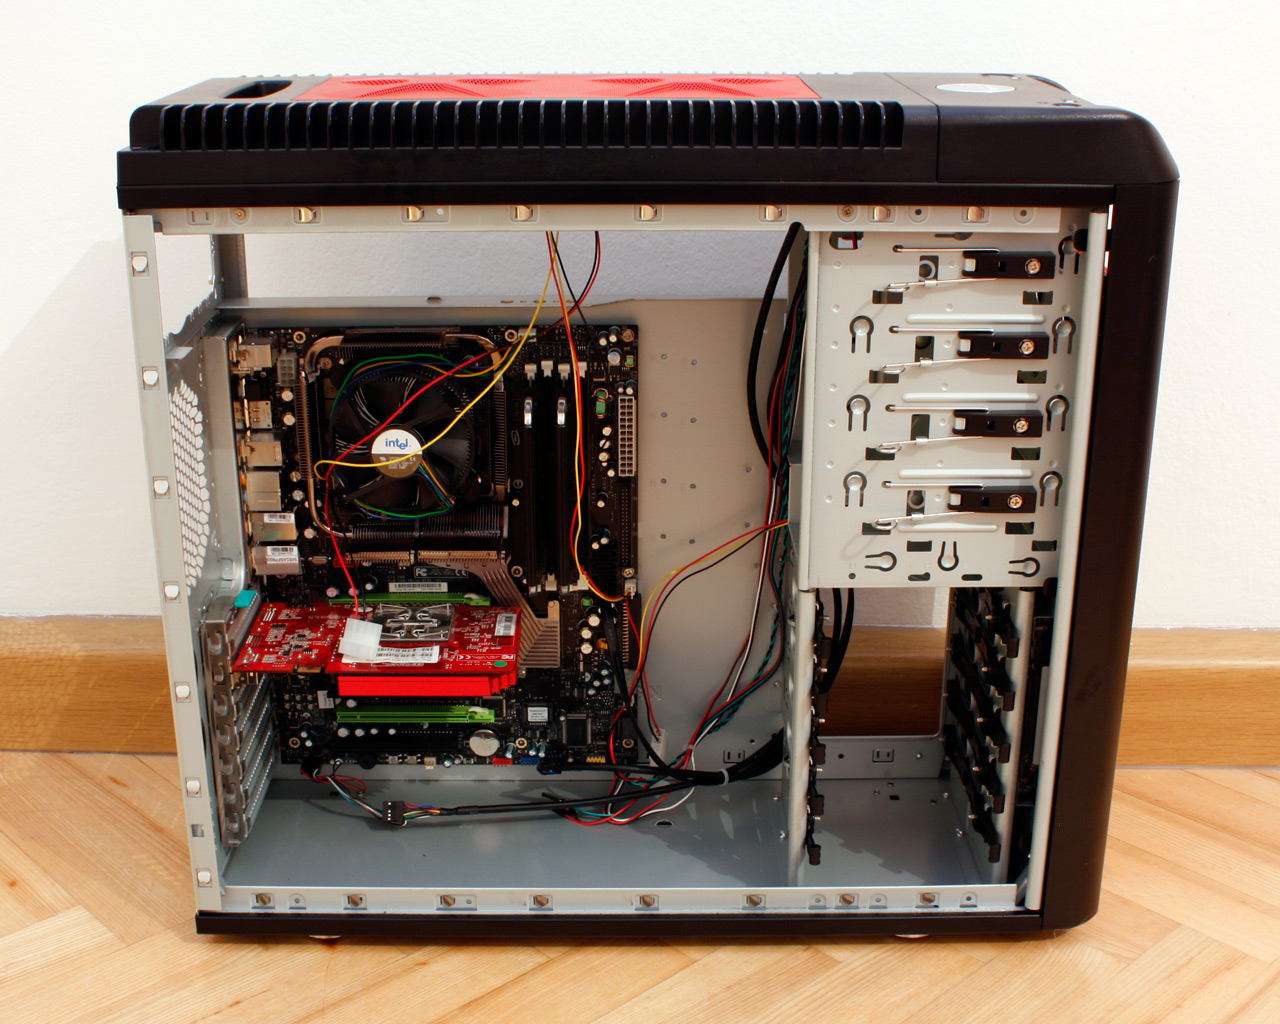
Installing the mainboard is done with the use of the included spacers and screws. Chieftec seems to ship the case with four of the spacers already inserted, which does save you a few minutes. As you can see there is plenty of space within the chassis. You will be dissapointed to hear though, that there are very few ways to actually hide any cables within the case. You could route the I/O and mainboard cables down the side, behind the hard drives, but they are simply to short to properly do so. The HD audio connector won't reach the connector towards the rear of the board. You should realize at this point that this case has its roots in the workstation segment.

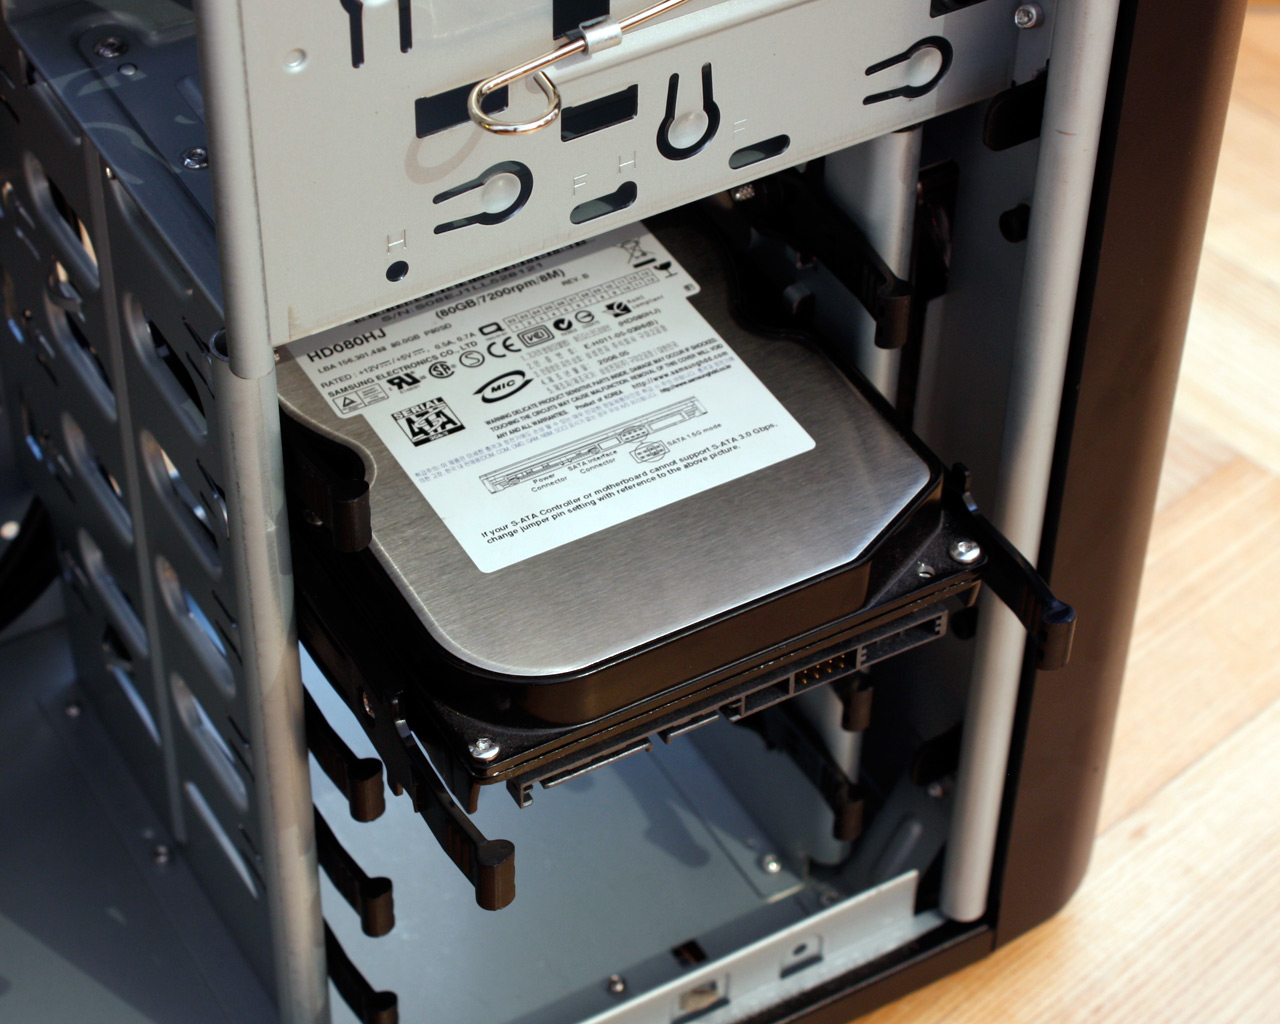
To install the hard drive, simply pull out a pair of the rails and place them on the drive. They do not really stick well to the storage device, but should be easy to hold down and slide into place. As you can see, the cage is designed in a way, so that the connectors are facing away from the mainboard. This means that you will not be able to make the cables connecting to the drives dissapear.
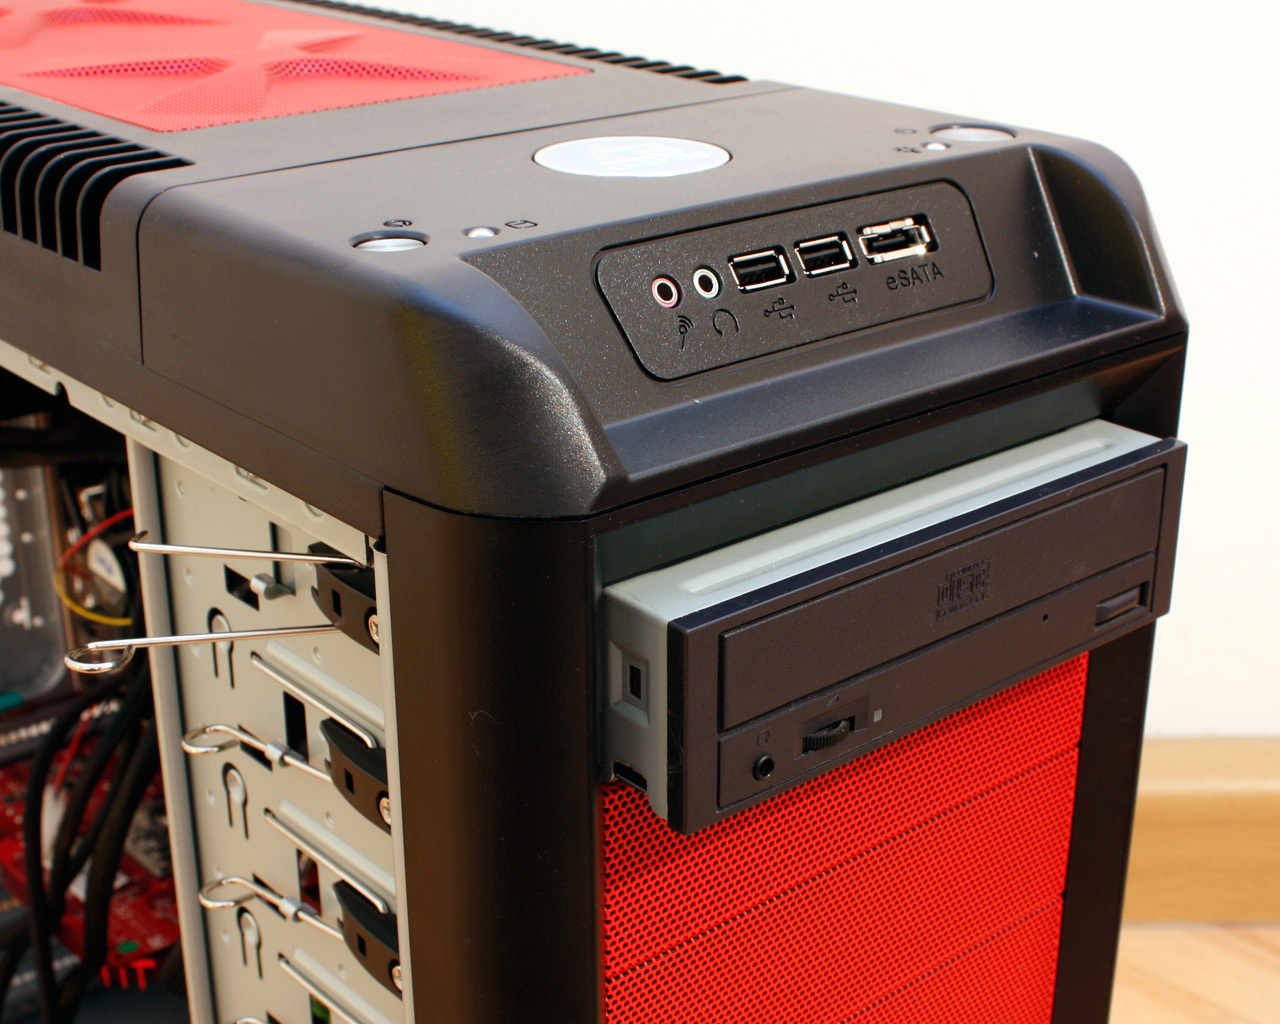
Installing the optical drive is easily done after removing the entire front and pushing out the appropriate drive bay cover. Just slide the drive in, line up the screw hole with the locking hook and push the latter down. The system works surprisingly well, with just minimal play when locked. It should hold the drive perfectly fine, but noise may be an issue if your optical drive creates too much vibration, which is is then passed on to the chassis. To reduce the chance of such problems, you should use at least a single screw to further tighten the grip of the case on the drive.
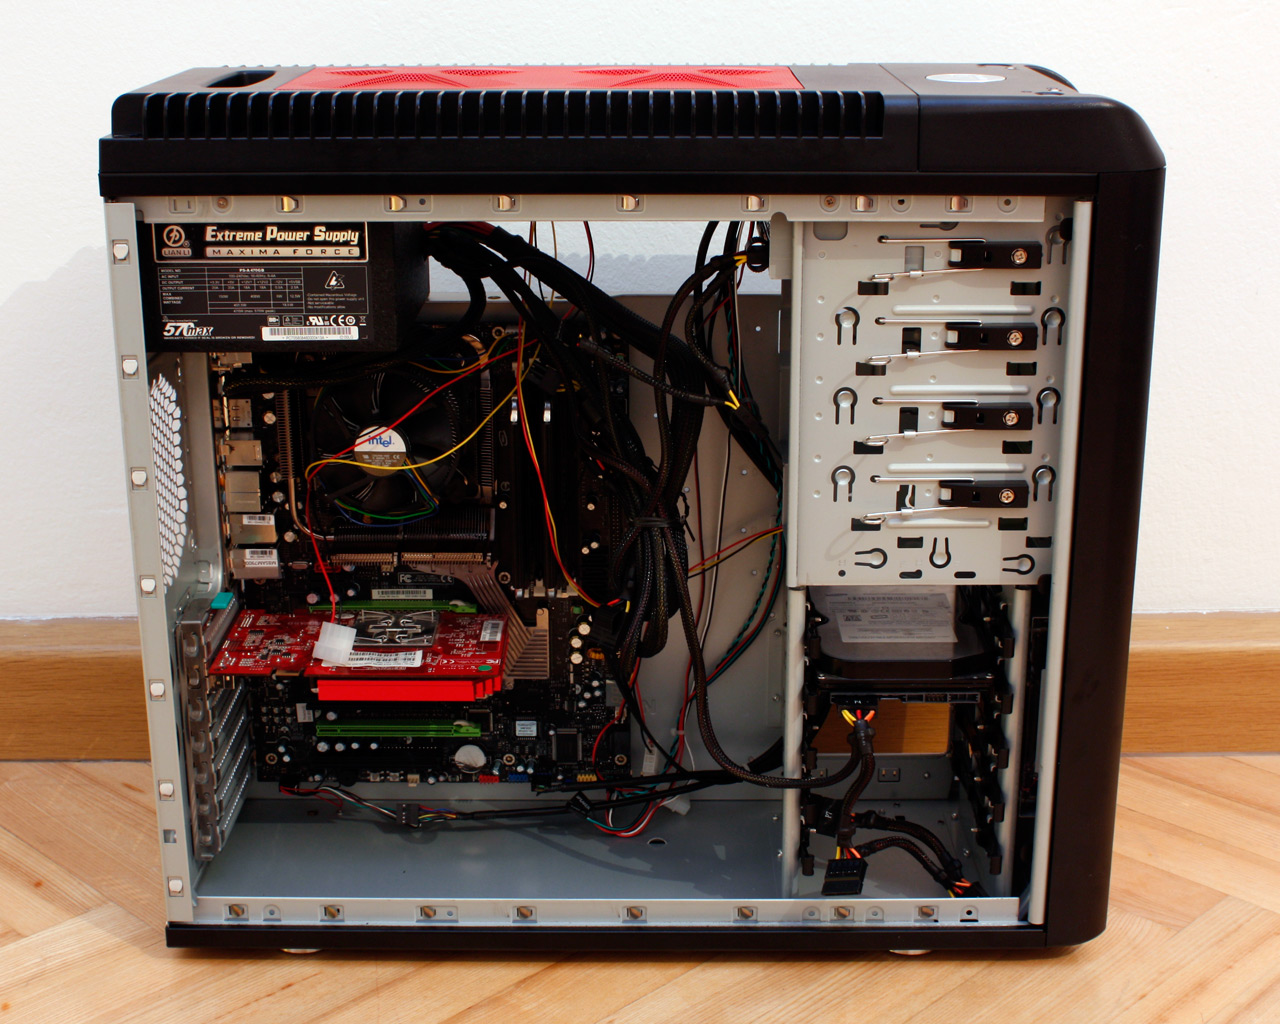
Once everything is installed, the free space is filled with a lot of cable mess. We could possibly route the PSU cables down behind the hard drives, but odds are if you have 3-4 drives, there will be no space for these cables. But, I am sure if you were to invest some time into organising the cables, it should look much better than the picture above. Just do not expect it to be easy or obvious. You could avoid a lot of this mess if the internal cables of the case were a bit longer.
Finished Looks
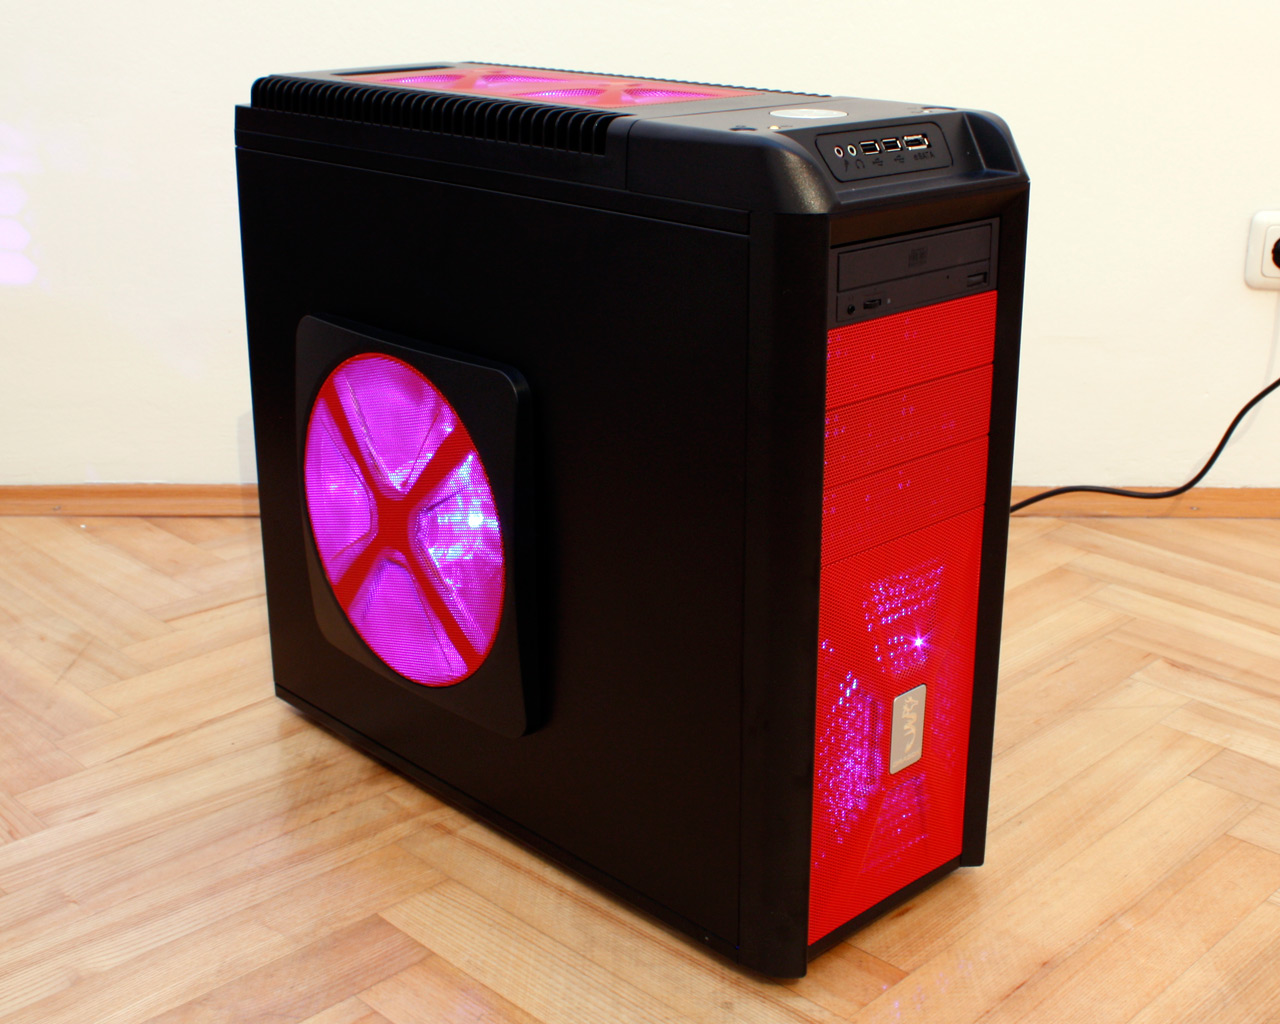
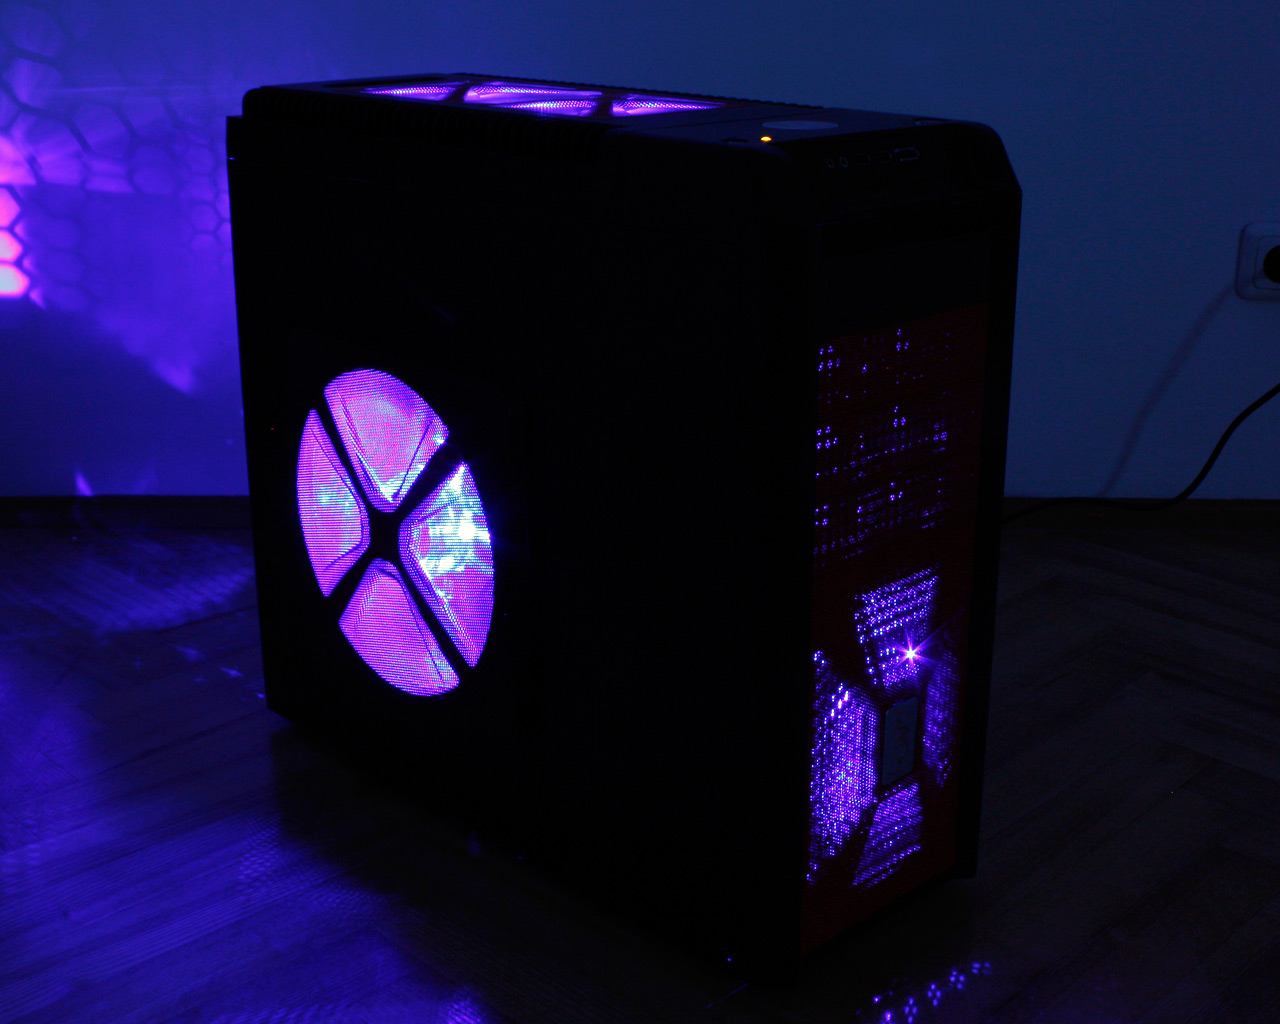
Upon turning on the case, all the fans light up in a fairly bright blue. While this is certainly a very nice touch for the all black variant of the Dragon, it does hurt the eyes somewhat with the red variant - just imagine having a chessboard with bright blue and red squares. It would have been nice to see the use of red LED equipped fans in this version instead. The four fans emit so much light that your PC should act like a beacon in the sea of LAN party cases. Only a custom build with CCFLs with a clear side window would be able to overpower something like this. This is great for LAN party gamers, but may become a pain to look at every day and night at home. While it is great to see so many fans included in the case - especially with LEDs, Chieftec should have also added the possibility to turn off the lighting or possibly offering a seperate lead to power them. That way it you could leave them off at home and turn 'em on at the next LAN party.
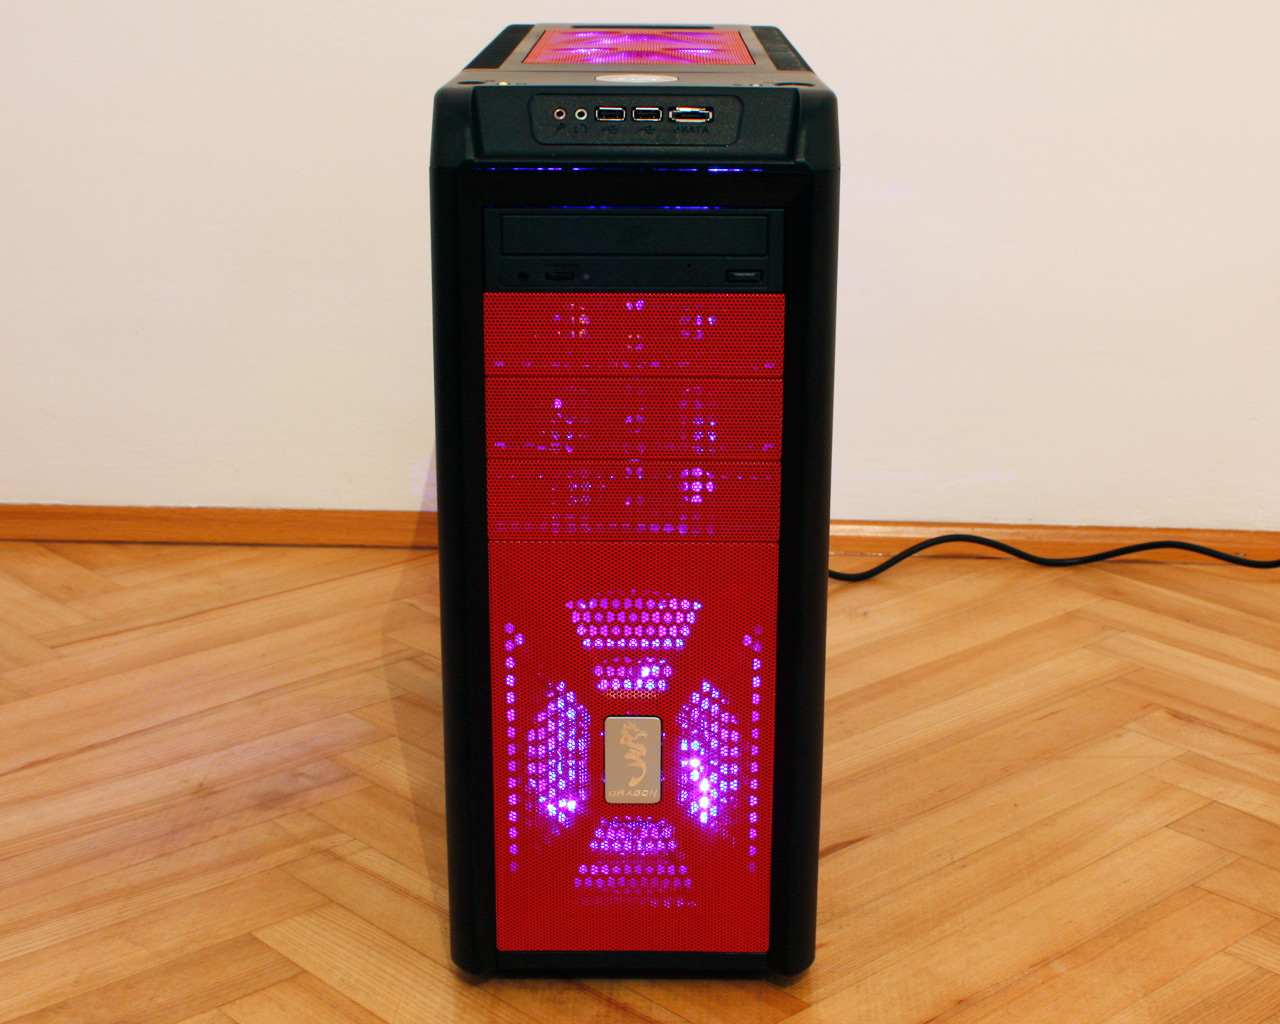
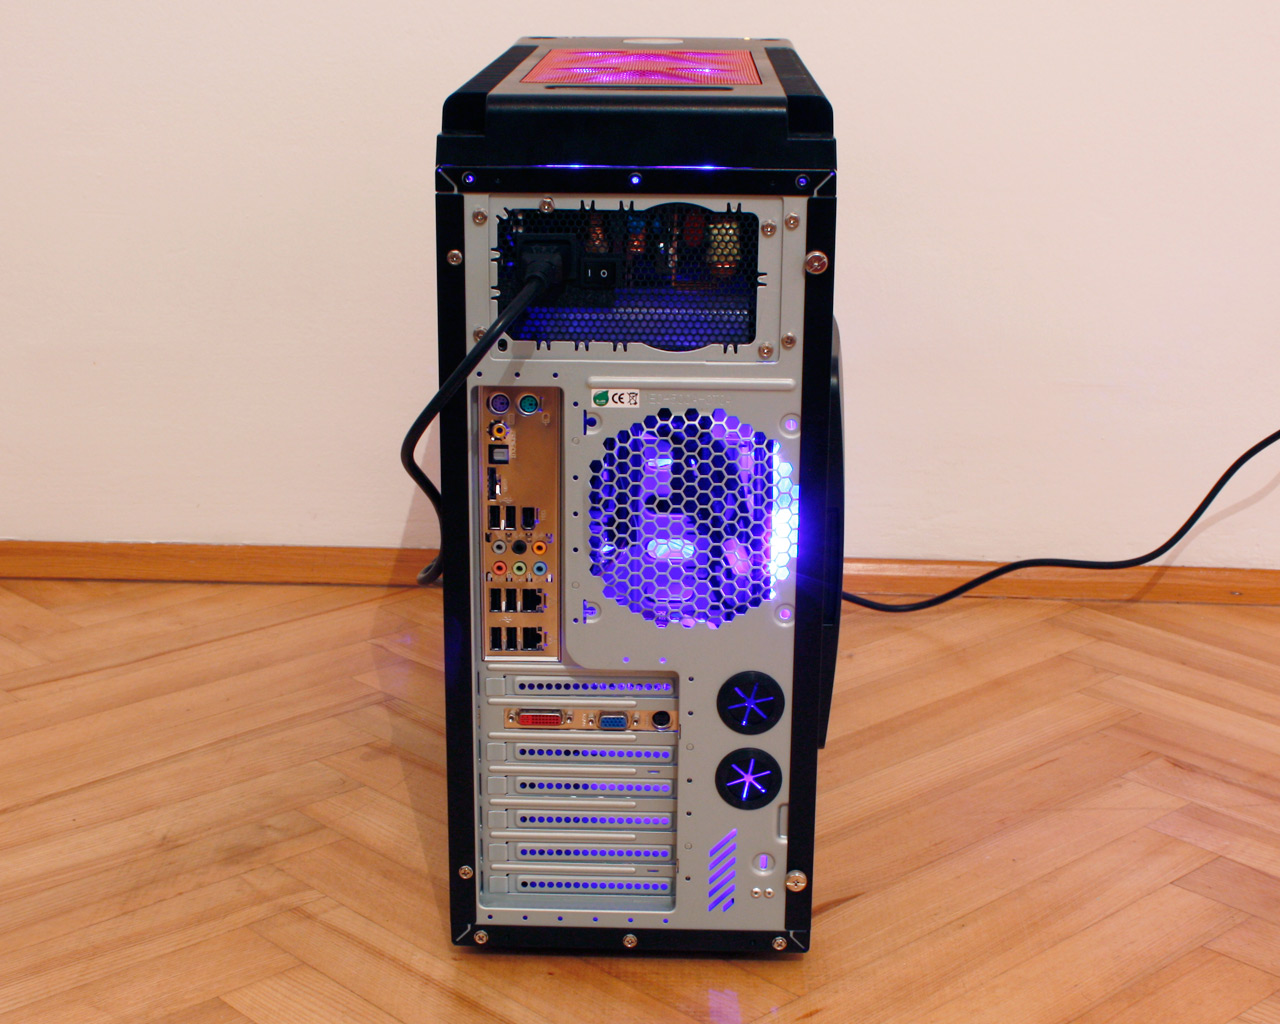
The black optical drive looks great within the case and having all the bays filled should make it easier to bear the bright red color of the case. Turning the Dragon over, the rear looks as we would expect it to. Note the bright sources of light shimmering through all the openings.
Jan 24th, 2025 15:43 EST
change timezone
Latest GPU Drivers
New Forum Posts
- 5090 AIB Clocks (11)
- Testing max ram overclock pn Ryzen 1700 (10)
- RANT- front panel connectors are a crime against pc builders/users (50)
- GameTechBench GPU benchmark is already out! (240)
- Where I can buy the Samsung 35E 18650 3500mAh 8A -Protected Button Top Batteries. (84)
- Post your Speedtest.net Speeds! (2338)
- NVidia now HIDING hot spot temperature? A great problem IMO. (59)
- Any information about RTX 5090 performance at 5K-8K? (3)
- Undervolting vs Power Limiting (4)
- Anime Nation (12964)
Popular Reviews
- NVIDIA GeForce RTX 5090 Founders Edition Review - The New Flagship
- NVIDIA GeForce RTX 5090 Founders Edition Unboxing
- NVIDIA GeForce RTX 5090 PCI-Express Scaling
- ASUS GeForce RTX 5090 Astral OC Review - Astronomical Premium
- MSI GeForce RTX 5090 Suprim SOC Review
- MSI GeForce RTX 5090 Suprim Liquid SOC Review
- Alphacool Apex 1 CPU Water Block Review - Performance King!
- Pwnage StormBreaker Max CF Review
- NZXT C1500 Review
- PowerColor Alphyn AH10 Review
Controversial News Posts
- NVIDIA 2025 International CES Keynote: Liveblog (470)
- AMD Debuts Radeon RX 9070 XT and RX 9070 Powered by RDNA 4, and FSR 4 (349)
- AMD is Taking Time with Radeon RX 9000 to Optimize Software and FSR 4 (237)
- AMD Radeon RX 9070 XT & RX 9070 Custom Models In Stock at European Stores (226)
- NVIDIA GeForce RTX 5090 Features 575 W TDP, RTX 5080 Carries 360 W TDP (217)
- AMD's Radeon RX 9070 Launch Faces Pricing Hurdles (175)
- Potential RTX 5090 and RTX 5080 Pricing in China Leaks (173)
- AMD Radeon RX 9070 XT Tested in Cyberpunk 2077 and Black Myth: Wukong (169)