 1
1
Cooler Master Centurion 540 Review
Installation & Finished Look »A closer look
The case
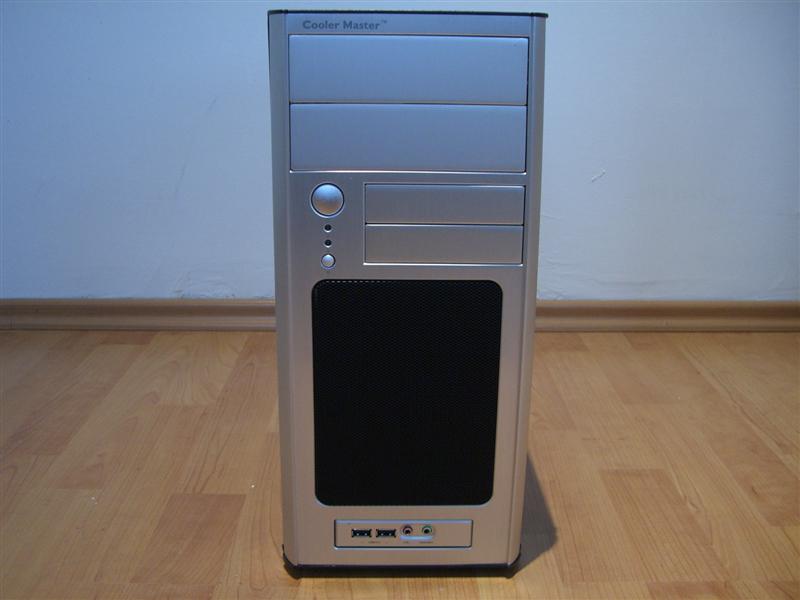


The front of the case is made out of brushed aluminum and it feels very sturdy. There are the two afore mentioned 5.25 inch drive bays, two 3.5 inch bays and a large black fan grill. The black/silver combination looks quite nice. The side of the case has two openings, one of which is right above the CPU and another right above the graphic card. This should aid cooling as it gives the system access to fresh air from the outside. The back is rather unusual, as the mainboard is installed upside down and there are cut-outs for two 8 cm fans. This should be great for installing a dual 8cm radiator in case you use water cooling. The side panel is secured with thumb screws, a very nice touch at this price point.
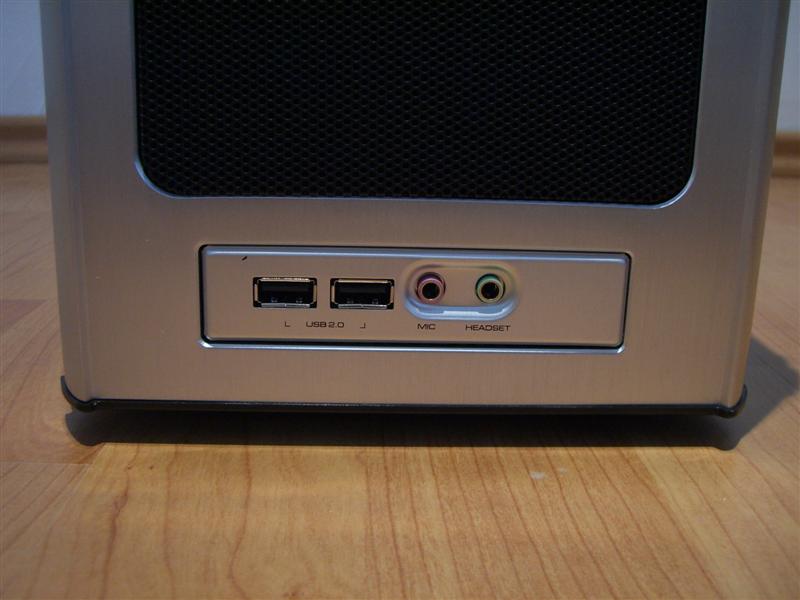
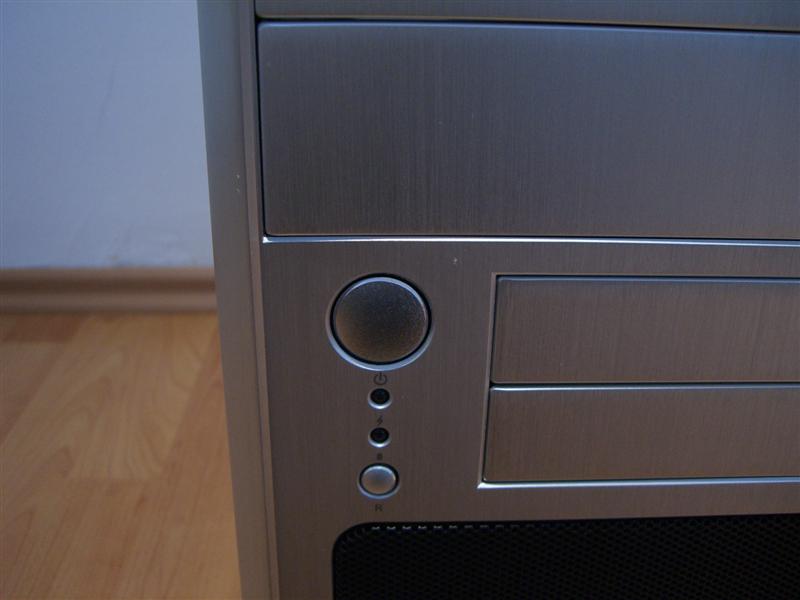
The bottom front of the case houses the front IO consisting of two USB, one pink mic and one green headphone jack. The power and reset buttons are made out of plastic instead of aluminum, but could fool anyone not looking close enough. They look perfect for this case. Right in between the buttons are the LEDs for hard drive activity and power.
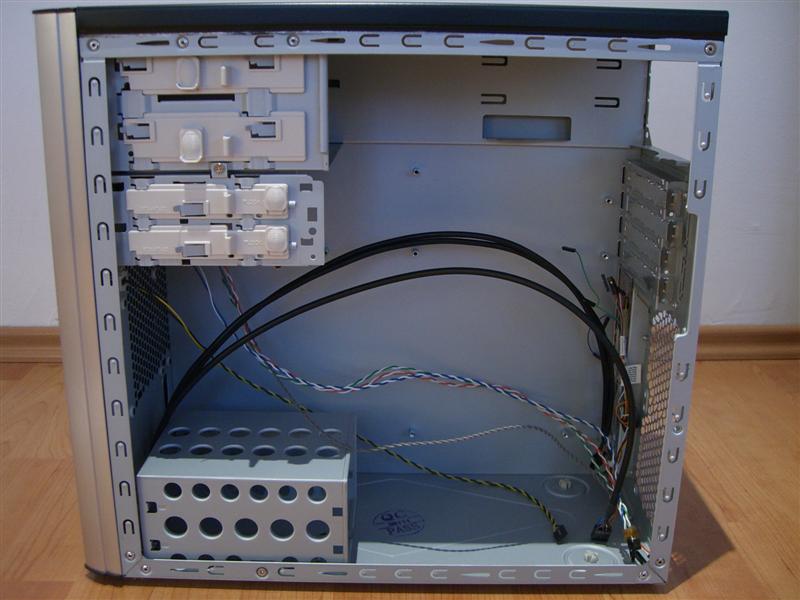

The internal layout of the case is a bit different, as the hard drive cage is located on the bottom of the case. This is great, because there is no need to route long IDE cables to the drives, but the problem remains with SATA drives. The case can only be opened up on one side. The panel has an air duct right above the CPU. While that is a great little feature, it will get in the way of any CPU cooler higher than roughly 5 cm. Even if the duct cannot be used, any 8 cm fan can be mounted in its place.
The features
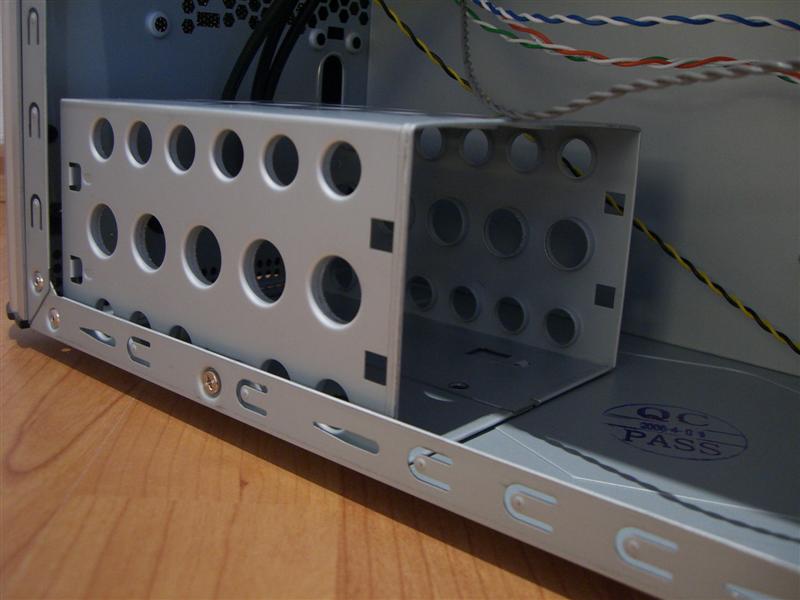


The hard drive cage on the bottom of the case can be taken out, by removing one screw. All the edges are rounded. The cage is very sturdy as the round punch outs add to the structural integrity. As you can see, the optional 12 cm fan would be mounted above the hard drive cage, making it not very effective in cooling the hard drives. The drive bays have completely rounded edges as well and sport tool-less drive locking mechanisms. This is great for standard hard drives, but things like LCD panels will not fit into the case as the holes may not line up with the locking mechanism. The back expansion slots are covered by separate covers, which can be removed manually and reused. They are rather loose, so screwing the covers in if the slot remains unused may be a good idea.

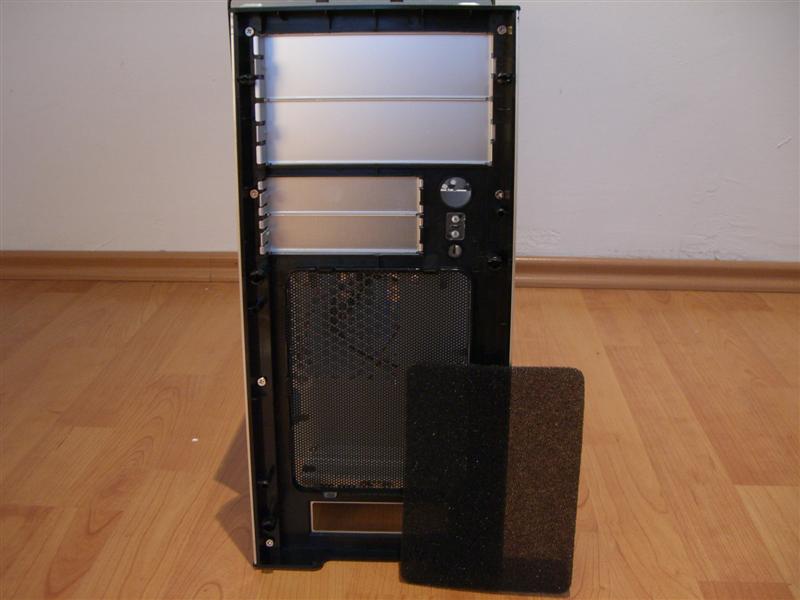
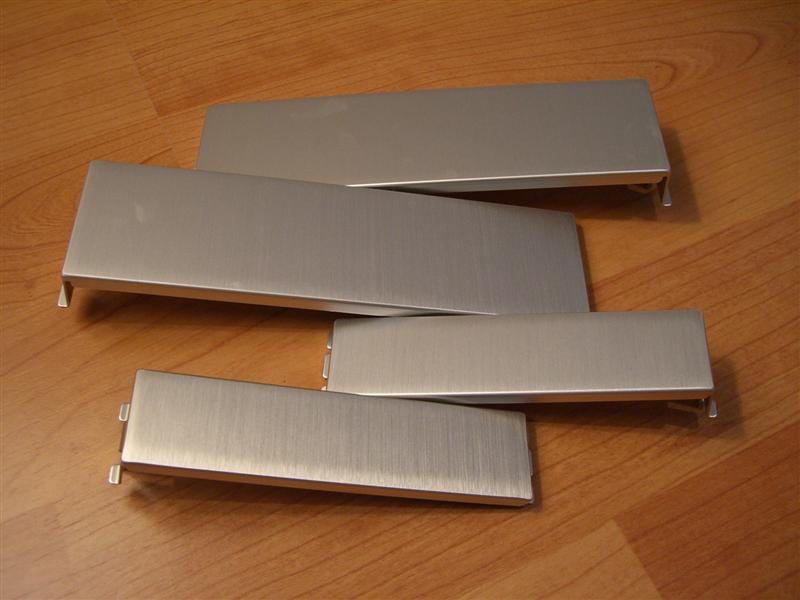
To install the drives the front needs to be removed. This procedure is tool-less as well, by a strong pull off the bottom part of the front. Once the front is off, the drive bays are freed up and the steel covers can be removed. The front IO can be unscrewed and exchanged. Cooler Master has just recently opened a parts store, so users can grab replacement parts straight from the manufacturer. The front itself has a plastic backing. This reduces cost, as less aluminum has to be used, to make the front very sturdy. Fan grill has a filter which can be removed and cleaned out. The drive bay covers can be removed without any tools as well and are made of thin aluminum. They are quite sturdy nonetheless.
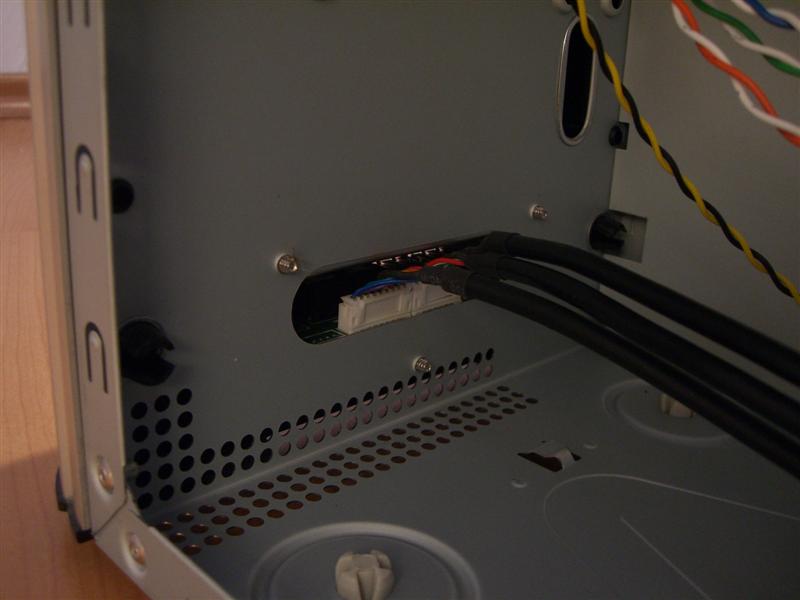

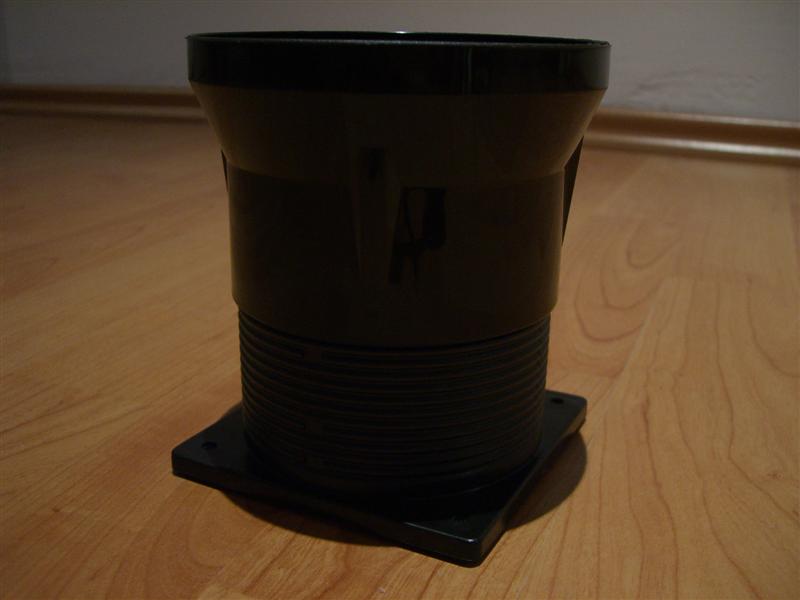
The front IO cables can be unplugged if not needed, this reduces cable clutter. The front audio connector has three plugs: one for HD Audio, one for AC '97 audio and one for Azalia audio. No matter what mainboard you install, Cooler Master has provided every plug to make use of the front mic and headphone jacks. The air duct can be unmounted by unscrewing for screws. Even though it is already quite long, it can be extended even further.
Mar 10th, 2025 12:15 EDT
change timezone
Latest GPU Drivers
New Forum Posts
- RX 9070 availability (156)
- Surface laptop 5 TPL Speed Shift ignored? (1)
- What's your latest tech purchase? (23268)
- newegg ATX 3.1 PSU on Clearance and Free Fan (0)
- Looking for silent 9070 (XT) (9)
- Zen6 is almost here ? (43)
- AMD RX 9070 XT & RX 9070 non-XT thread (OC, undervolt, benchmarks, ...) (1)
- AAF Optimus Modded Driver For Windows 10 & Windows 11 - Only for Realtek HDAUDIO Chips (374)
- Gaming PC instabiliity (10)
- 2022-X58/1366 PIN Motherboards NVME M.2 SSD BIOS MOD Collection (902)
Popular Reviews
- Sapphire Radeon RX 9070 XT Nitro+ Review - Beating NVIDIA
- XFX Radeon RX 9070 XT Mercury OC Magnetic Air Review
- ASUS Radeon RX 9070 TUF OC Review
- MSI MAG B850 Tomahawk Max Wi-Fi Review
- NVIDIA GeForce RTX 5080 Founders Edition Review
- NVIDIA GeForce RTX 5070 Founders Edition Review
- Corsair Vengeance RGB CUDIMM DDR5-8800 48 GB CL42 Review
- AMD Ryzen 7 9800X3D Review - The Best Gaming Processor
- ASUS GeForce RTX 5070 Ti TUF OC Review
- MSI GeForce RTX 5070 Ti Gaming Trio OC+ Review
Controversial News Posts
- NVIDIA GeForce RTX 50 Cards Spotted with Missing ROPs, NVIDIA Confirms the Issue, Multiple Vendors Affected (513)
- AMD Plans Aggressive Price Competition with Radeon RX 9000 Series (277)
- AMD Radeon RX 9070 and 9070 XT Listed On Amazon - One Buyer Snags a Unit (261)
- AMD RDNA 4 and Radeon RX 9070 Series Unveiled: $549 & $599 (260)
- AMD Mentions Sub-$700 Pricing for Radeon RX 9070 GPU Series, Looks Like NV Minus $50 Again (248)
- NVIDIA Investigates GeForce RTX 50 Series "Blackwell" Black Screen and BSOD Issues (244)
- AMD Radeon RX 9070 and 9070 XT Official Performance Metrics Leaked, +42% 4K Performance Over Radeon RX 7900 GRE (195)
- AMD Radeon RX 9070-series Pricing Leaks Courtesy of MicroCenter (158)