 22
22
Cooler Master Cosmos SE Review
Value & Conclusion »Assembly
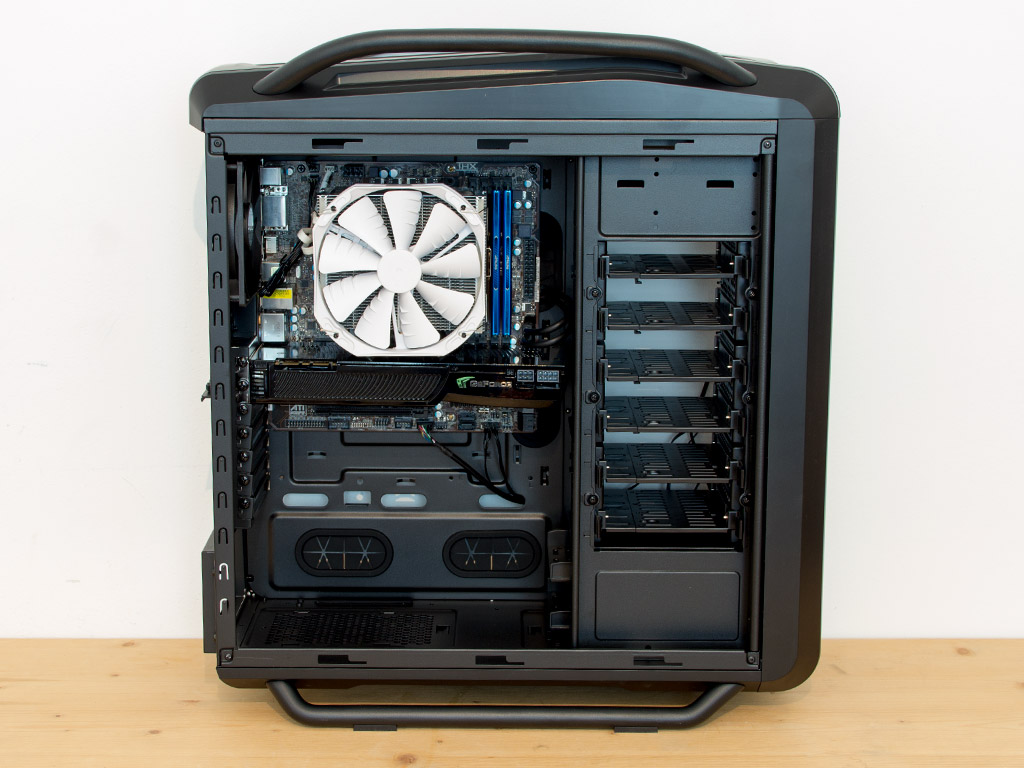
Installing the motherboard is done by traditional means, with the use of the motherboard spacers. While there is a lot of space above the CPU cooler, users of long graphics cards may have to remove one of the modular HDD walls for a card to fit, which shows how compact the Cosmos SE's internals are. The installed graphics card barely fits without having to sacrifice an internal hard-drive bay, and Cooler Master does have pictures on their own website with Titans inside the Cosmos SE.
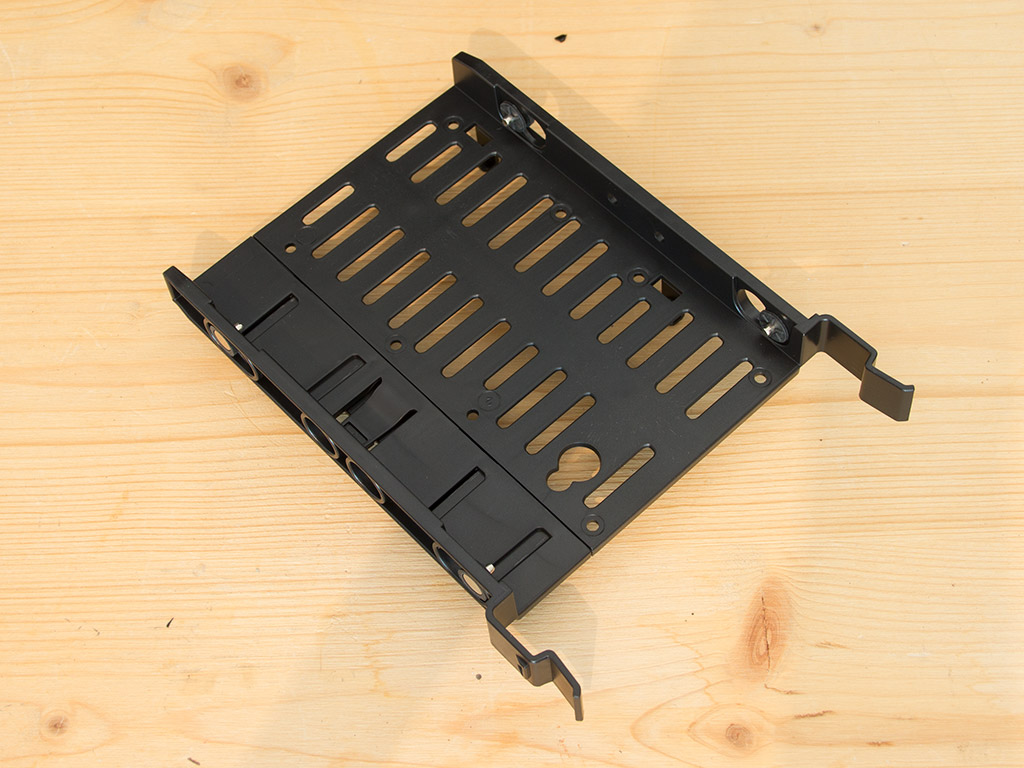
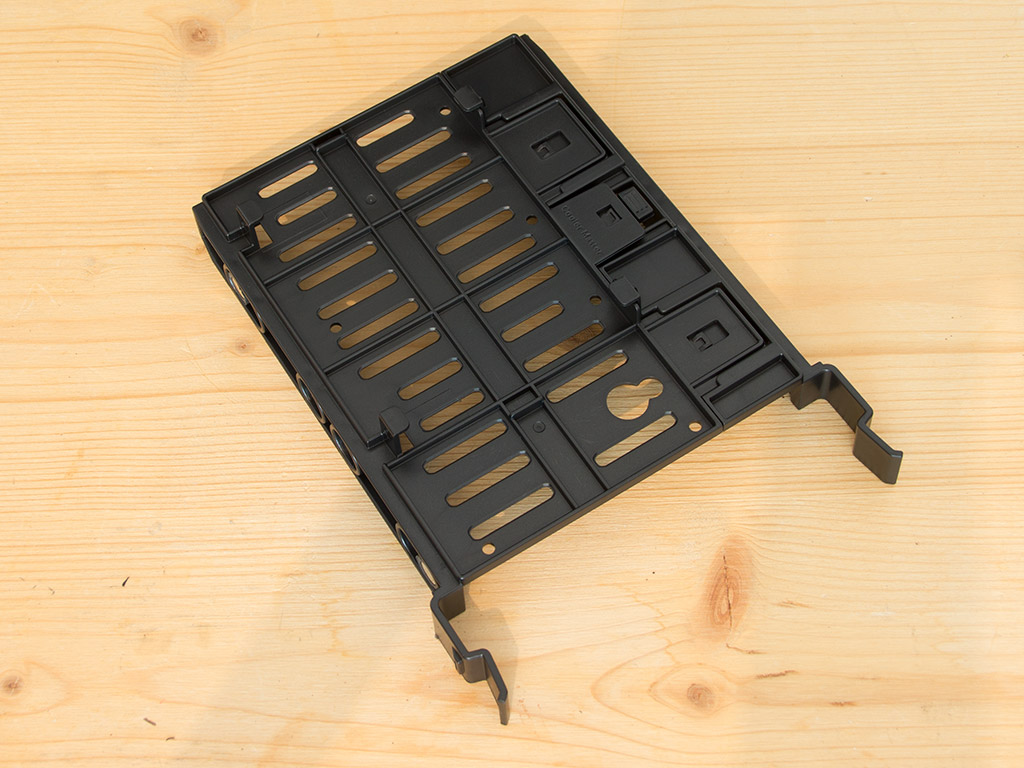
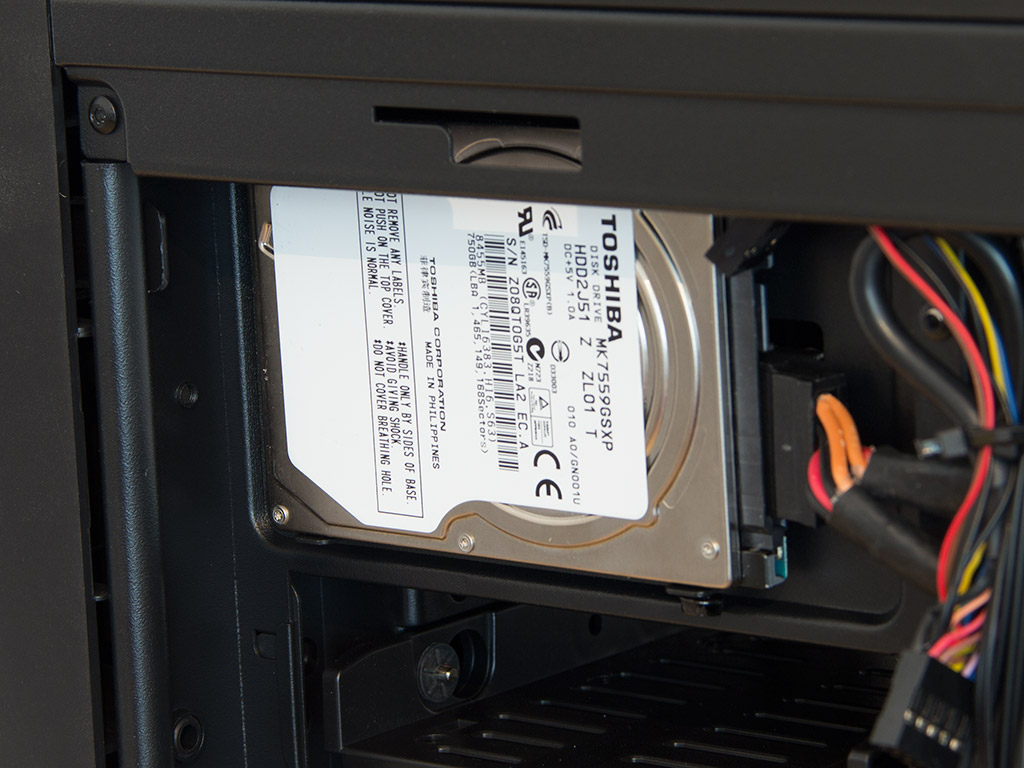
Simply pull out the tray of your choice to install a storage device. Even these trays are well-engineered, with a tool-less approach for placing 3.5" drives into the top. Installing 2.5" variants will require you to screw the drive on top down before adding another one to the underside.
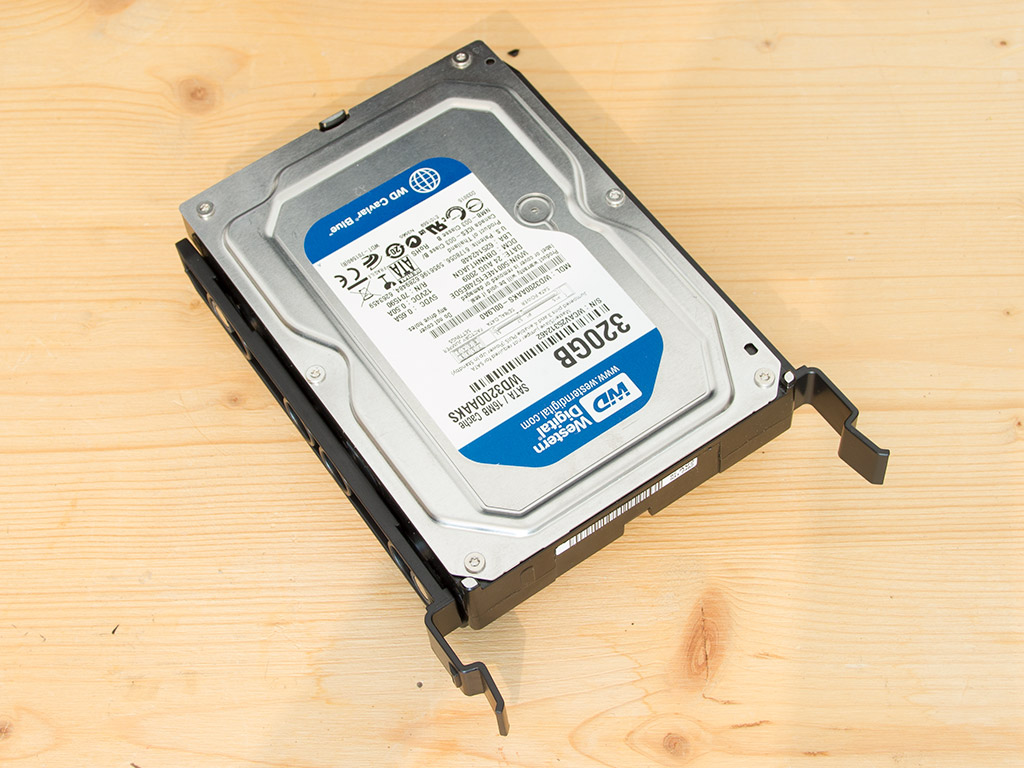
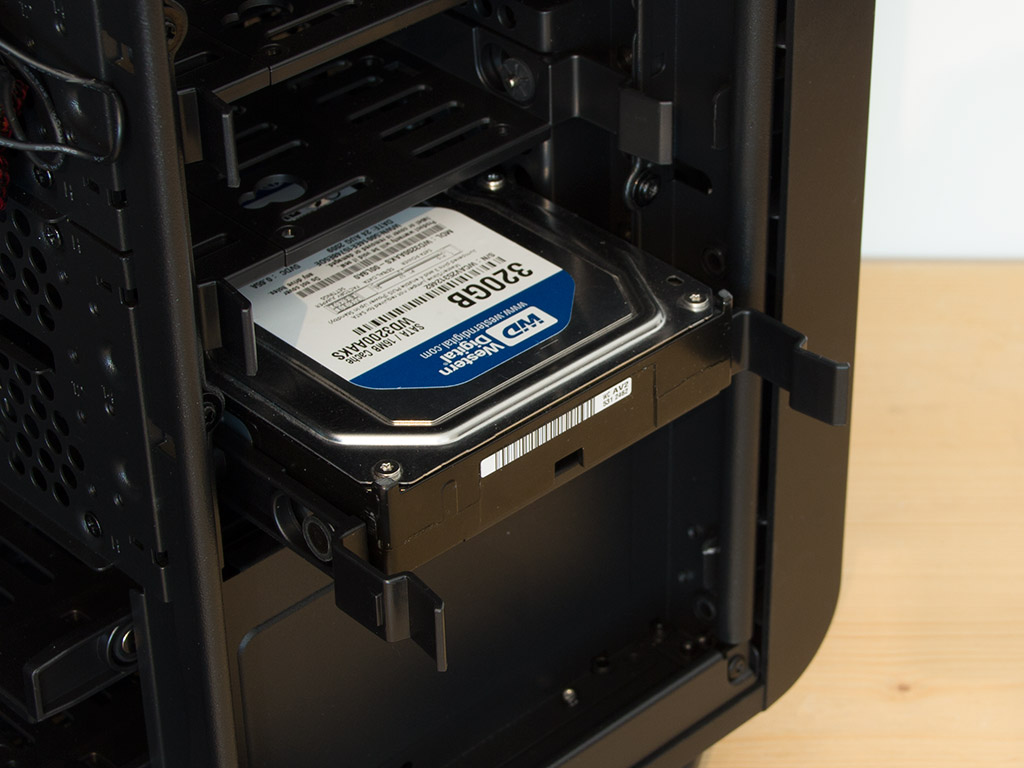
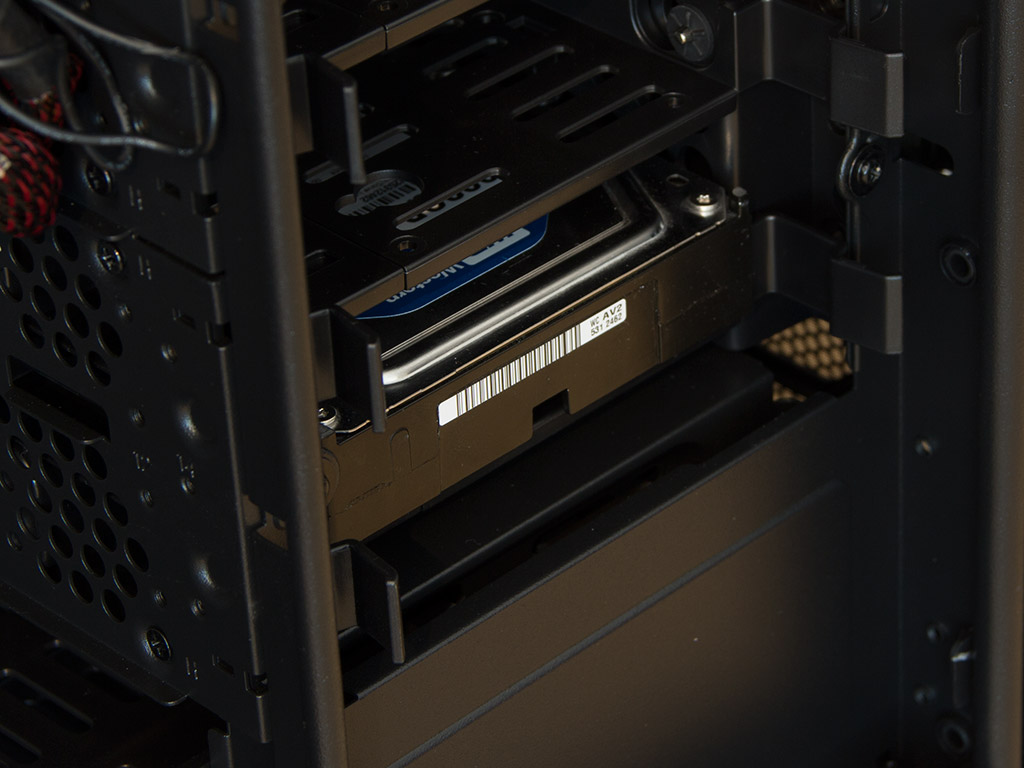
With a 3.5" drive, pull the tray apart slightly, place the unit, and squeeze the tray together. You won't have to flex the tray to force a storage device into it because you can pull it apart instead. Once filled, simply slide the tray into the bays of your choice. As the two bays on the bottom use the same trays as the internal bay, you can shuffle the drives around as you like.
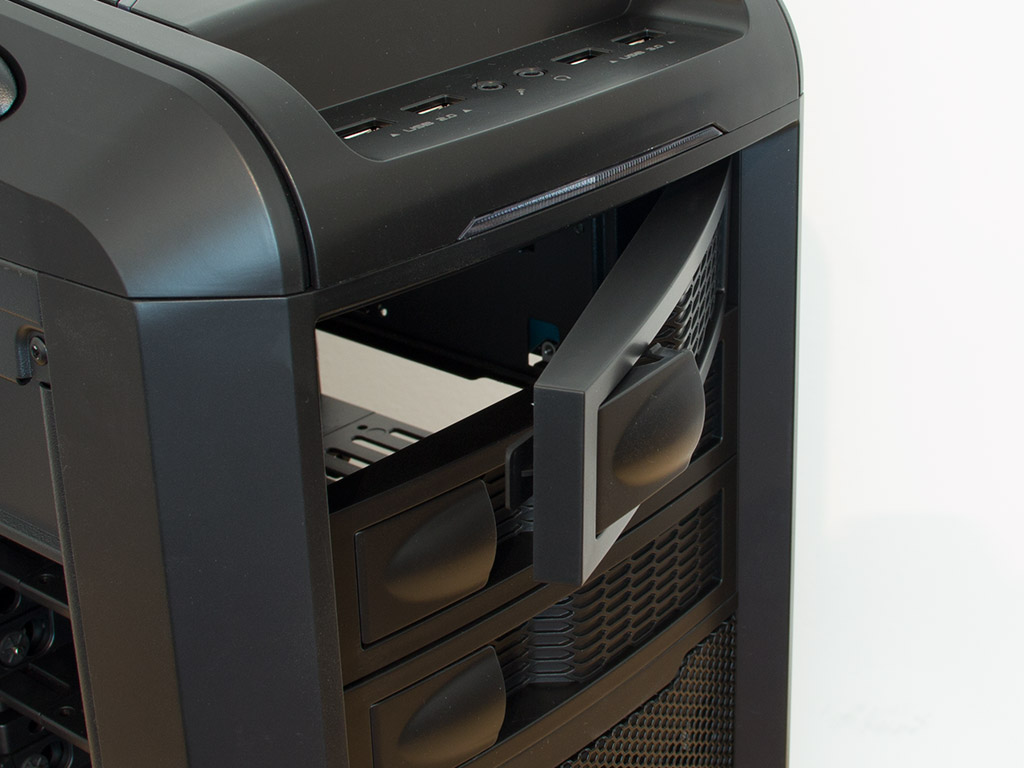
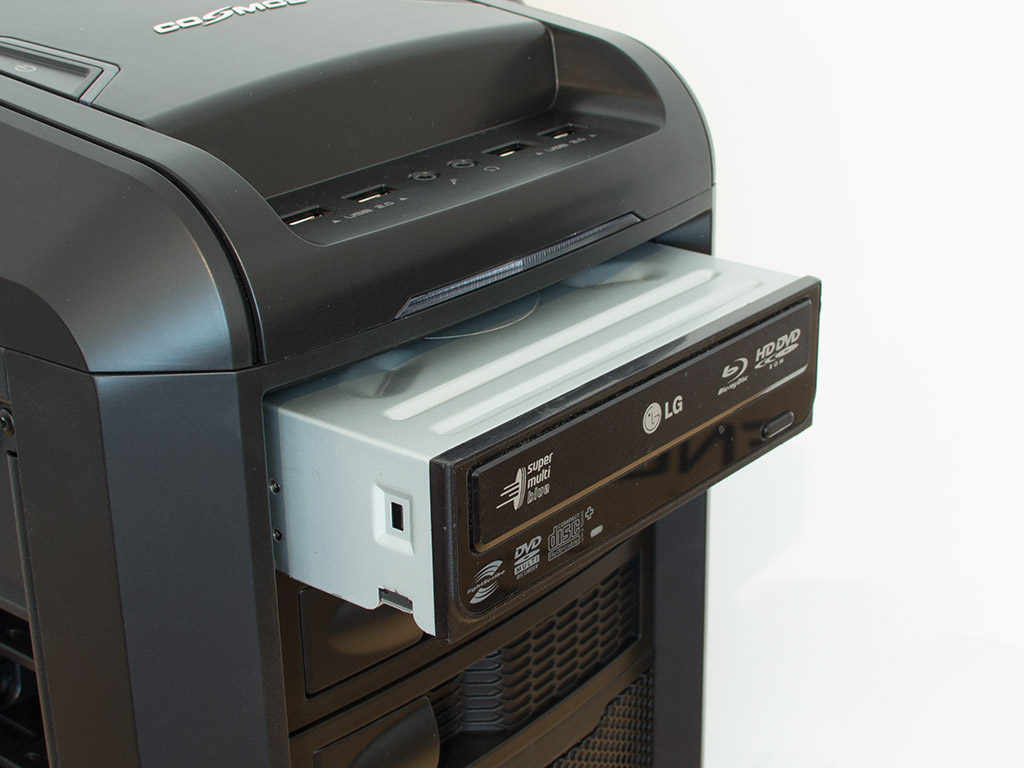
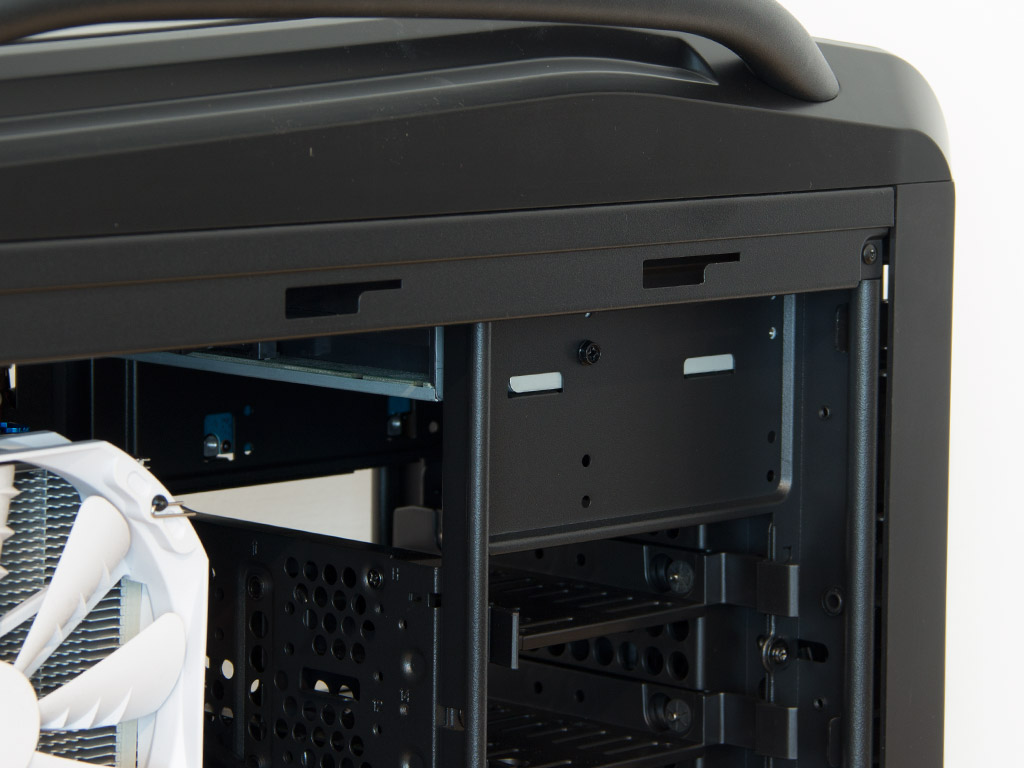
Installing an optical drive is painless as you can free up the drive bay with ease. Each cover snaps into place with the use of plastic pins, and while they work well out of the box, they can't hold onto the drive as tightly as one would like after having been opened and closed frequently. Once a bay is clear, slide the drive in place and use the included black screws to pin it down.
Both SSD slots next to the drive bays also require the use of tools and screws. Hooks on one side allow you to pop the SSD into place before using a pair of screws on the opposite side to secure it.
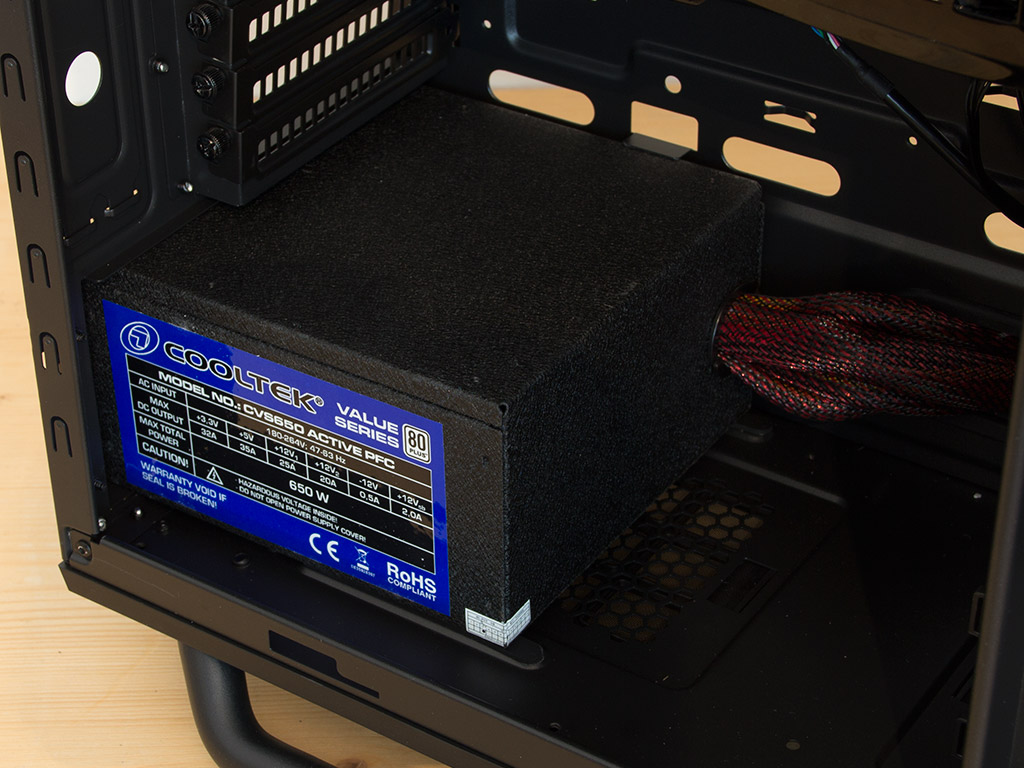
Installing a power supply is done either by traditional means, through the side of the Cosmos SE, or by sliding it in the the back of the case. As there was enough space to install it through the side, I did, saving me the step of detaching the rear frame in the process.
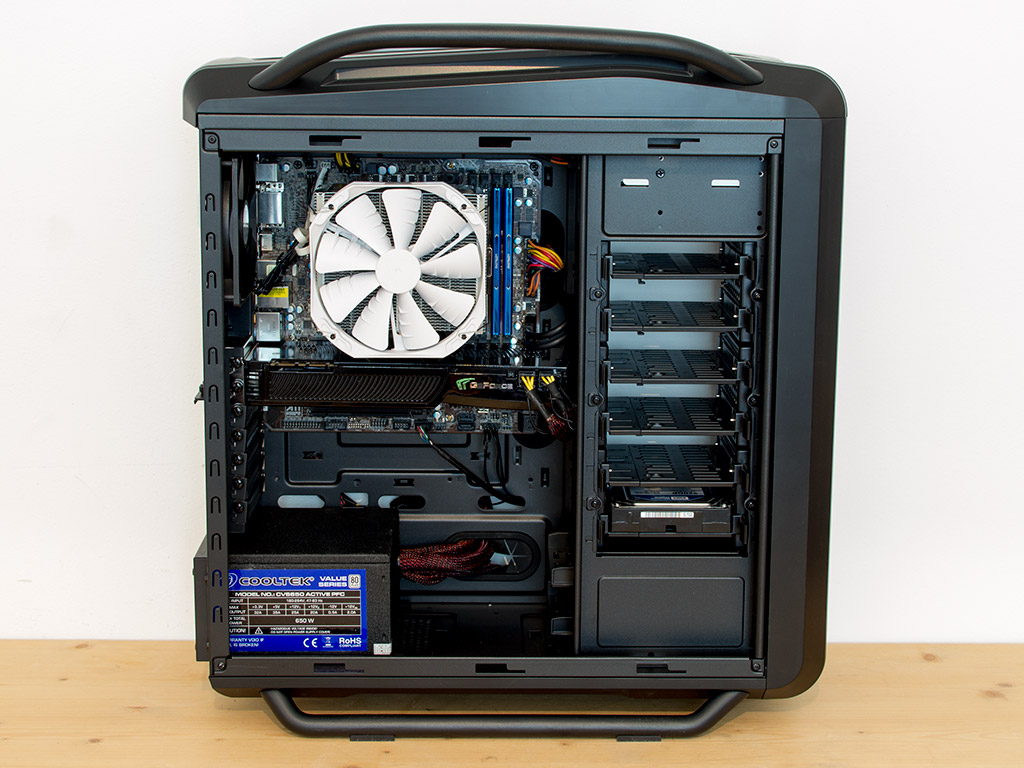
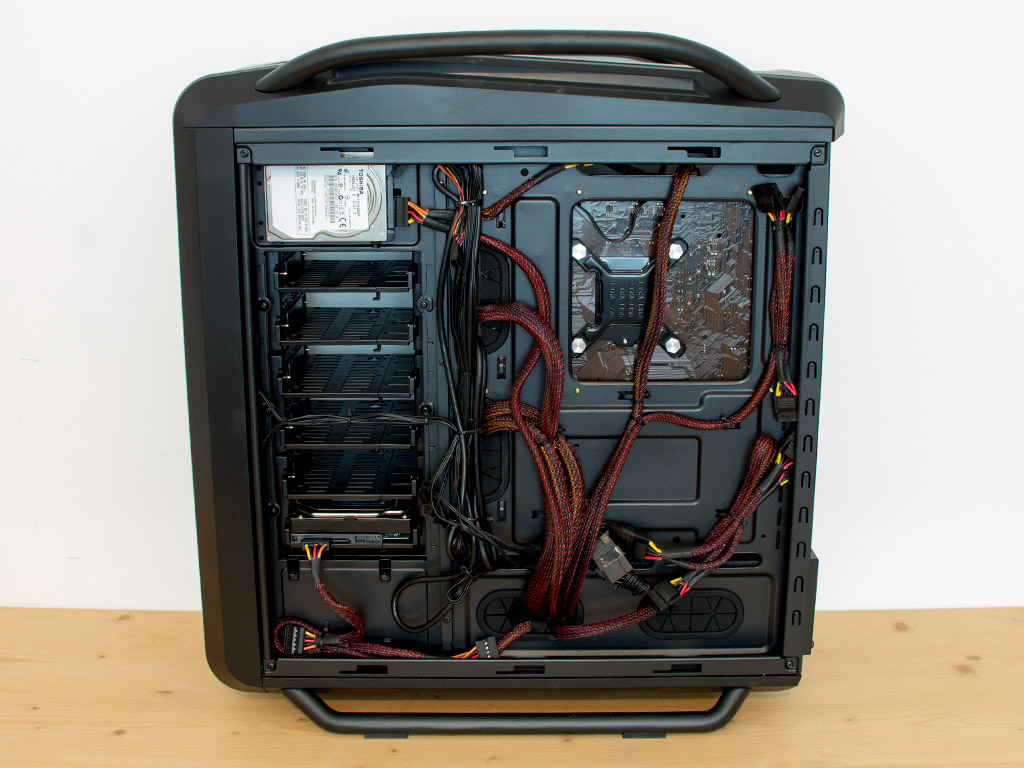
Once all the parts have been installed, the Cosmos SE makes a very good impression. Ample space behind the motherboard tray and numerous hooks to secure cables create plenty of ways to keep things clean and well-hidden. The motherboard hole is a bit too small for the AsRock board I use, which is an issue a lot of cases seem to have. Cooler Master could extend the opening to the left by about an inch to eliminate this problem.
Finished Looks
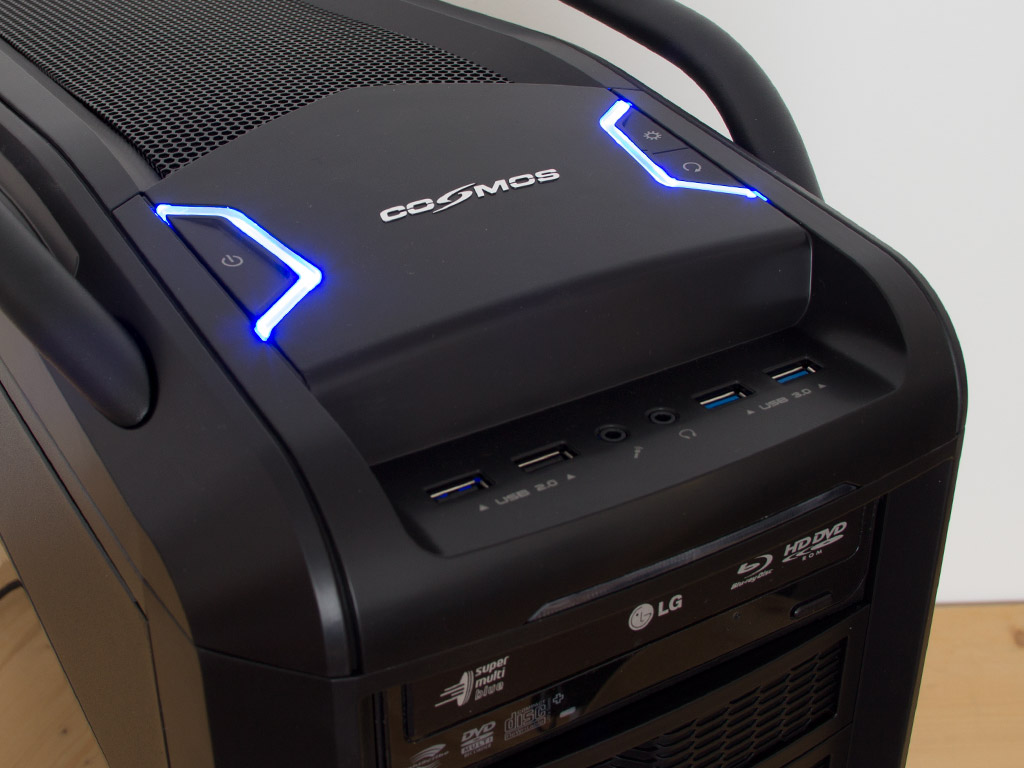
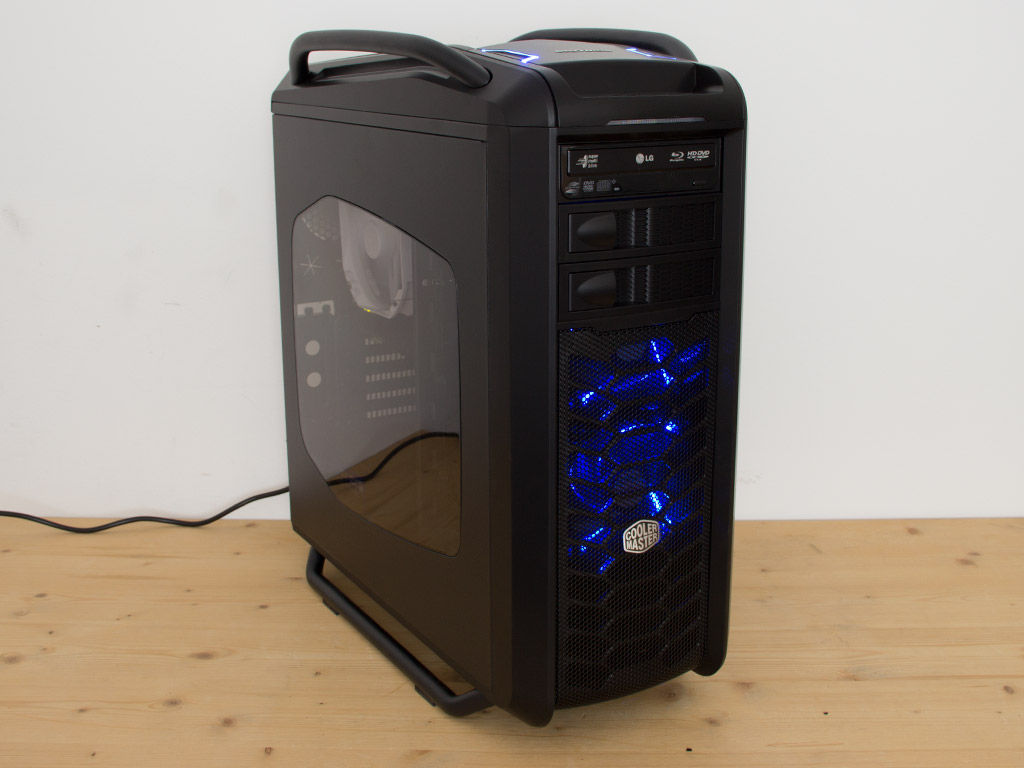
Once turned on, blue LEDs in the top of the chassis light up. The two front-mounted, LED-equipped cooling fans also emit blue light. However, you may turn the fan LEDs off by pushing the appropriate button. While this is perfect for those wanting to sleep next to a running system, the LEDs on top of the case are quite bright as well, so there will always be quite the shine in a dark room.
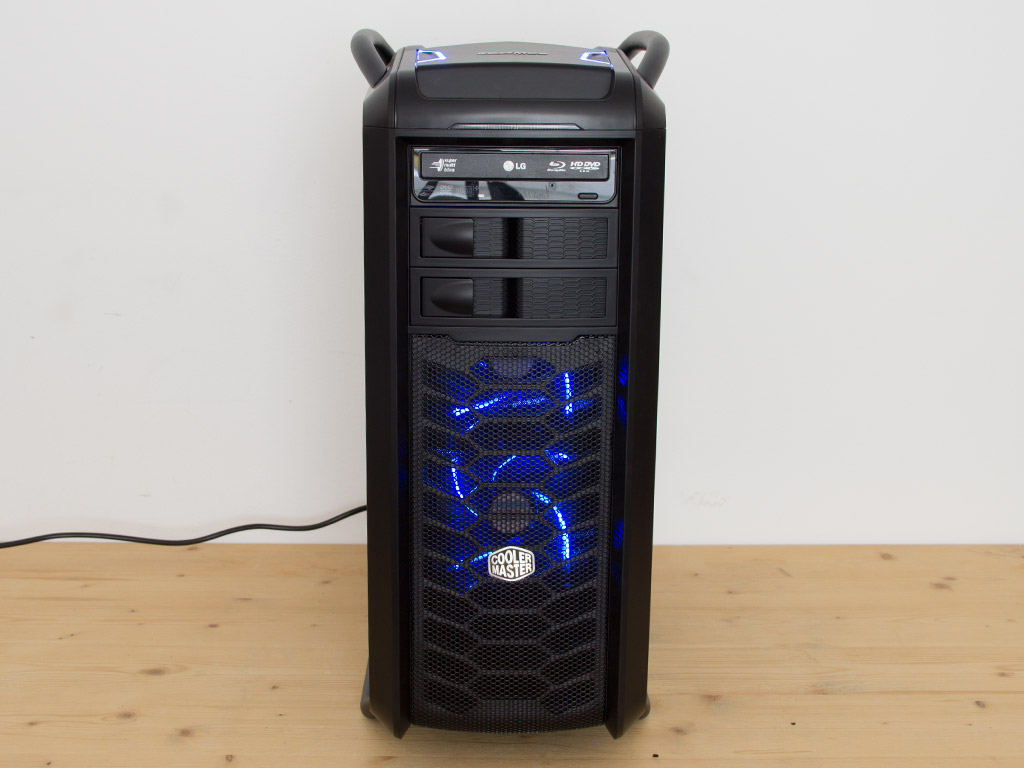

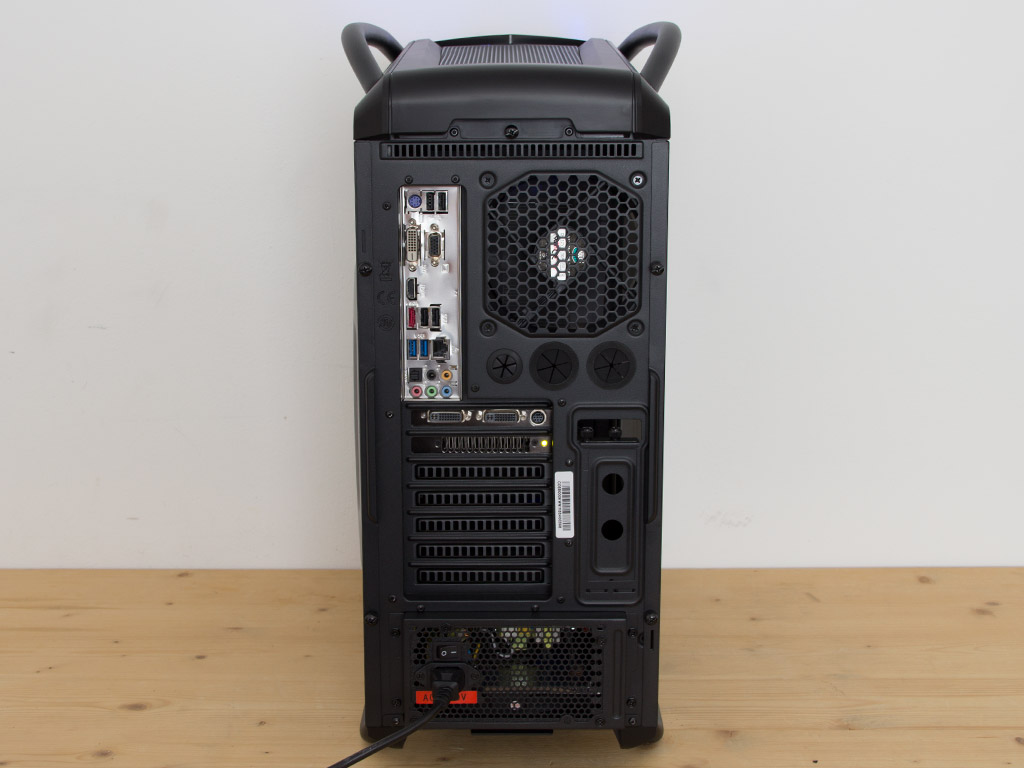
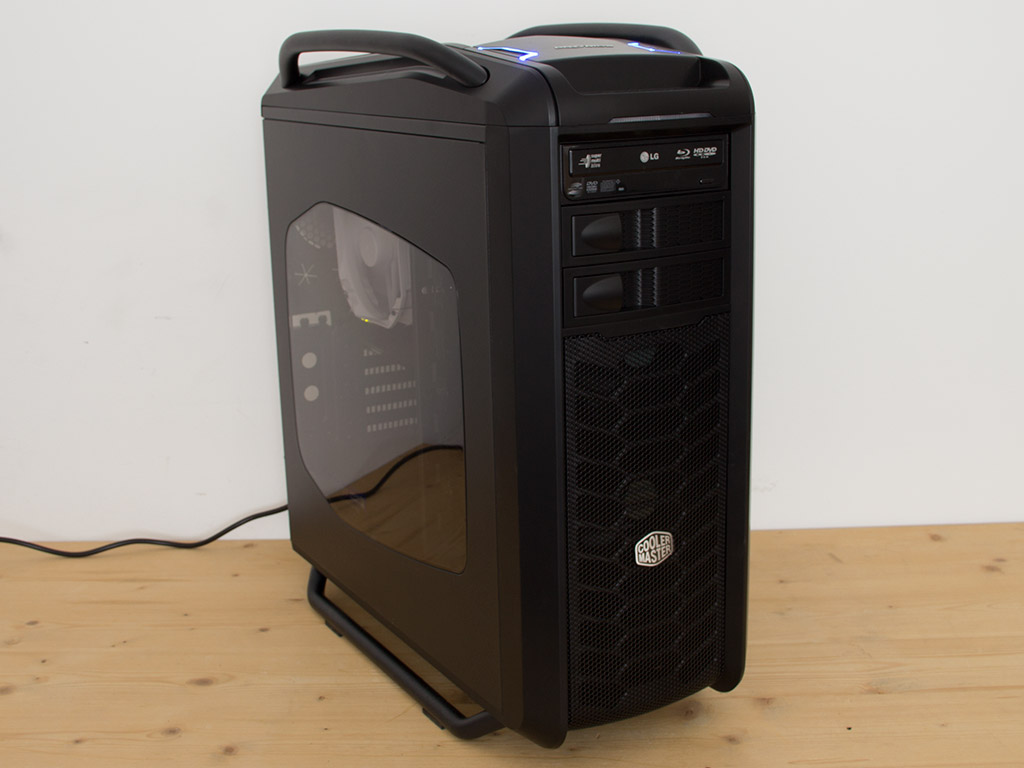
The optical drive fits into the front of the chassis perfectly, while the side window gives you a good view of the internal parts. Due to the shape and location of the window, you won't see the entire CPU cooler, but all the hard-drive bays. All the parts in the rear are where you would expect them to be, with no obstructions anywhere.
Jul 24th, 2024 17:17 EDT
change timezone
Latest GPU Drivers
New Forum Posts
- How to quickly & easily fix coil-whine(coil choke noise) (932)
- Help me pick an mATX b650 board for 7800X3D (8)
- 120mm / 140mm High End Fan Segment Advice (34)
- EVGA RTX 2060 SC ULTRA GAMING NORMAL TEMPS (4)
- Do tvs nowadays have very low lifespan ? Is there a model that is durable ? (32)
- TPU's Nostalgic Hardware Club (18796)
- Fake capacitors (7)
- Do you use DDR5 or DDR4 Memory? (8)
- TPU's F@H Team (20322)
- 7800X3D faster than 9900X in games (48)
Popular Reviews
- INNOCN 32M2V Review - Aggresive Pricing, Excellent HDR
- Upcoming Hardware Launches 2024 (Updated Jul 2024)
- NZXT Lift 2 Symm Review
- Noctua NH-D15 G2 Review - Big Performance, Bigger Price
- GamaKay TK75HE Hall Effect Wireless Mechanical Keyboard Review
- AMD Zen 5 Technical Deep Dive
- AMD Ryzen 7 7800X3D Review - The Best Gaming CPU
- Audeze MM-500 Open-Back Planar Magnetic Headphones Review
- AMD Ryzen 5 8500G Review - Zen 4 + Zen 4c Tested
- HIFIMAN Susvara Unveiled Planar Magnetic Headphones Review
Controversial News Posts
- Intel Statement on 13th and 14th Gen Core Instability: Faulty Microcode Causes Excessive Voltages, Fix Out Soon (331)
- Several AMD RDNA 4 Architecture Ray Tracing Hardware Features Leaked (231)
- Faulty Windows Update from CrowdStrike Hits Banks and Airlines Around the World (224)
- NVIDIA GeForce RTX 50 Series "Blackwell" TDPs Leaked, All Powered by 16-Pin Connector (167)
- Noctua Announces $150 Flagship NH-D15 G2 CPU Coolers and NF-A14x25r G2 140mm Fans (164)
- Microsoft Closer to Removing Local Accounts from Windows 11, Removes Help Page on How to Switch to One (142)
- AMD is Becoming a Software Company. Here's the Plan (139)
- Intel Planning P-core Only "Bartlett" LGA1700 Processor for 2025 (123)