 12
12
Cooler Master Elite 120 Review
Assembly & Finished Looks »A Closer Look - Inside
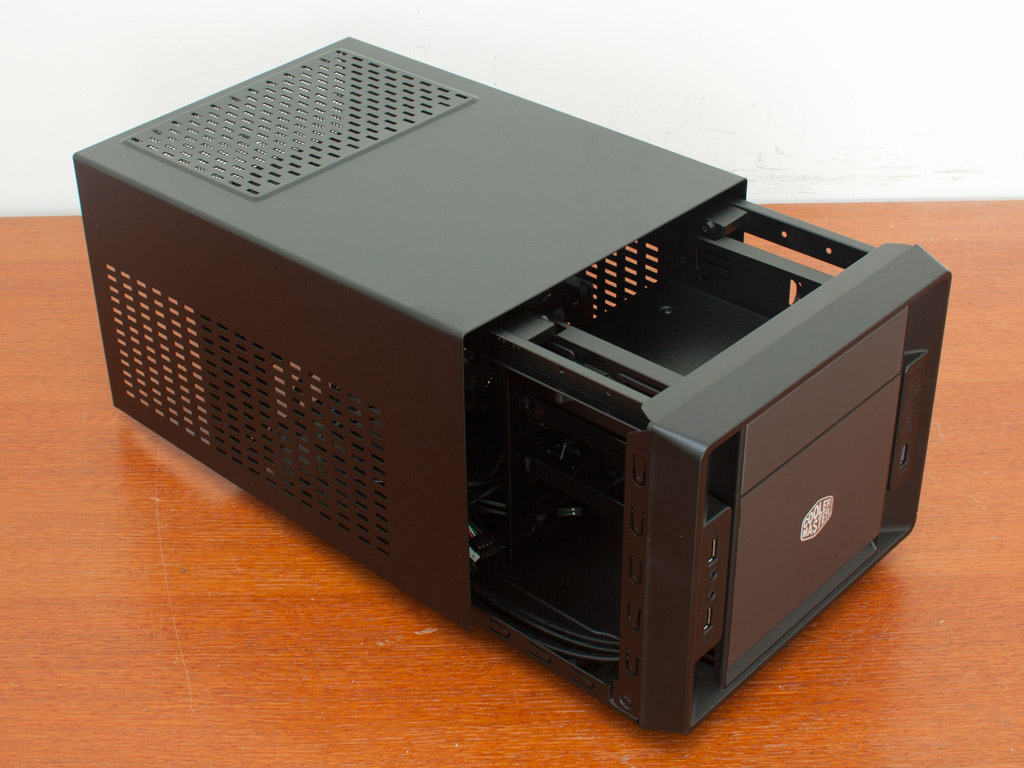
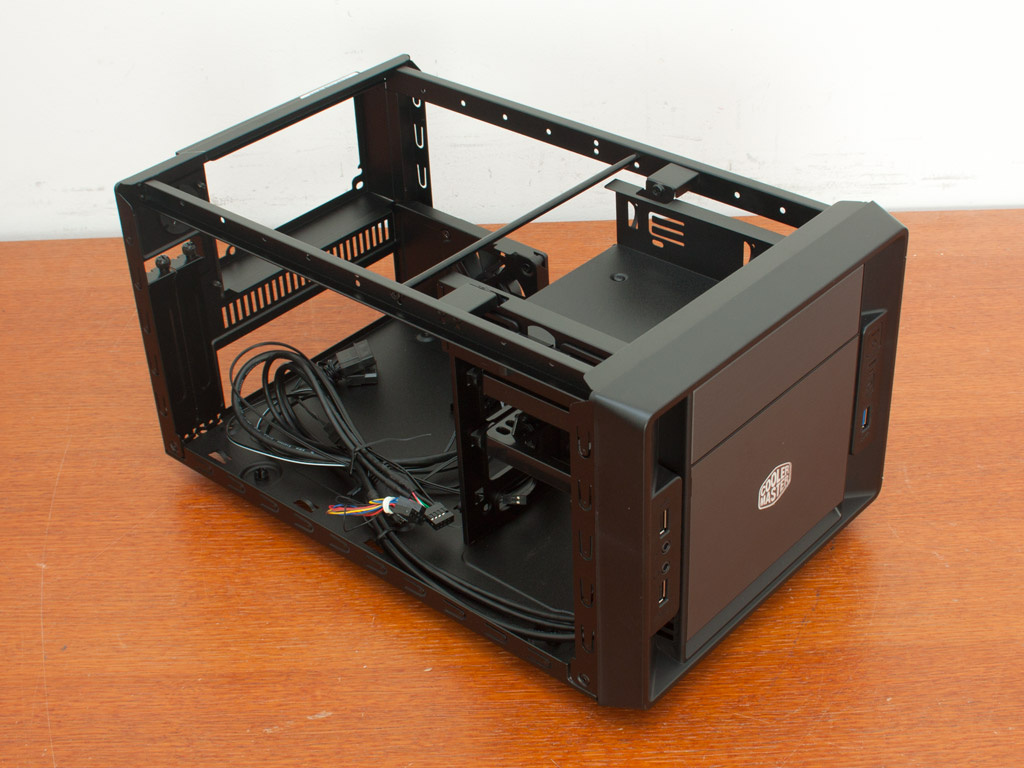
To gain access to the interior, simply remove the three thumbscrews holding the cover in place, which can then be taken off the case. The insides of the Elite 120 are completely black and Cooler Master has pre-routed most of the cables properly, but I chose to re-arrange them during the assembly process because of its length.

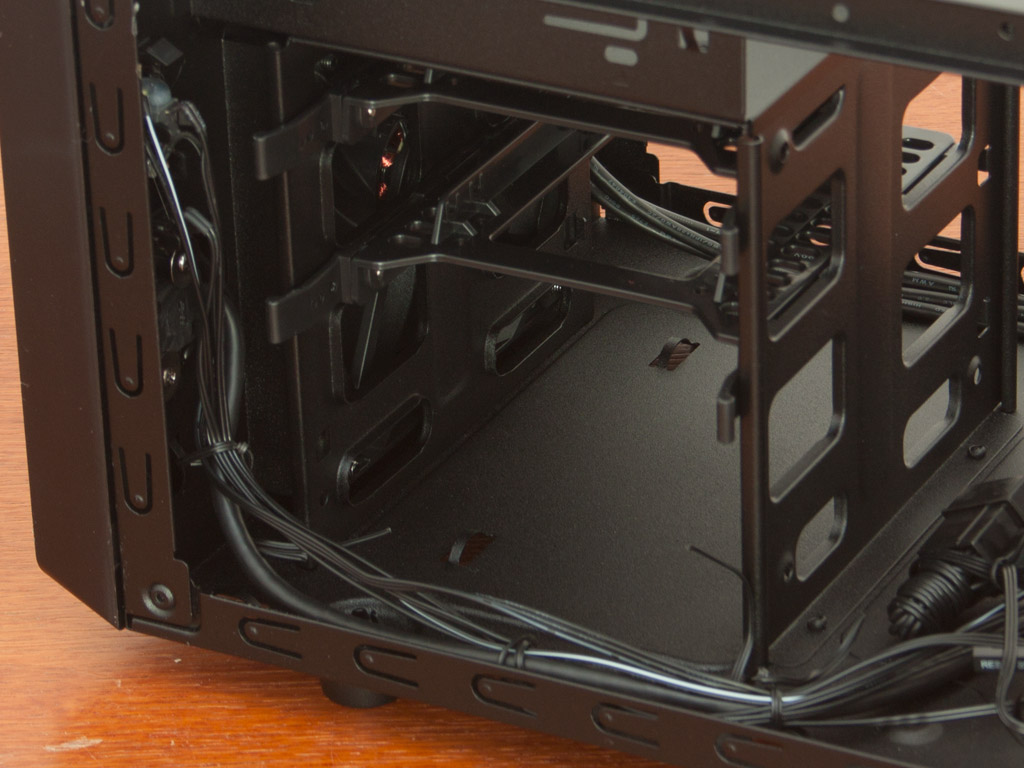
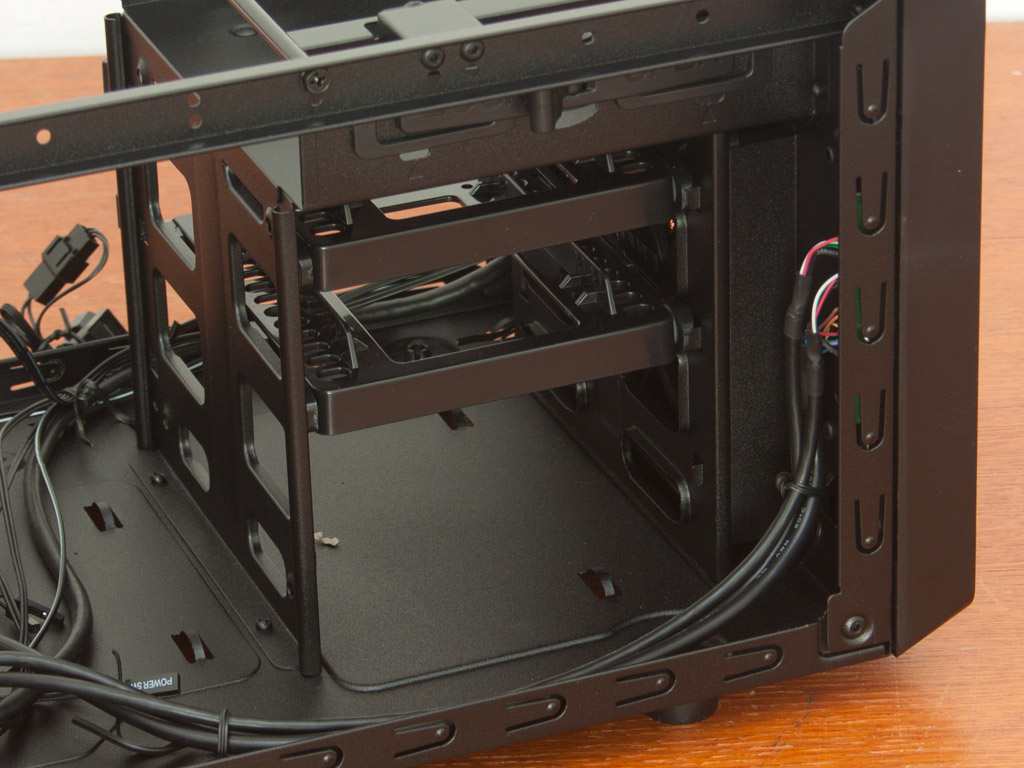
The optical drive bay can be found on the very top and utilizes the same locking mechanism we have seen in many other Cooler Master cases as of late. This solution does not require any screws and is easy to use, but tends to lack the strength to really clamp down on the installed drives. Luckily, you can also use screws to pin the drive down. Below this are the three hard drive bays. As mentioned before, Cooler Master ships one pair of rails as accessories, while the other two hold 2.5" adapters in place within the chassis. Each of these trays can take two 2.5" drives in such a slot. All the connectors point away from the side with the graphic card, allowing you to install long GPUs easily.
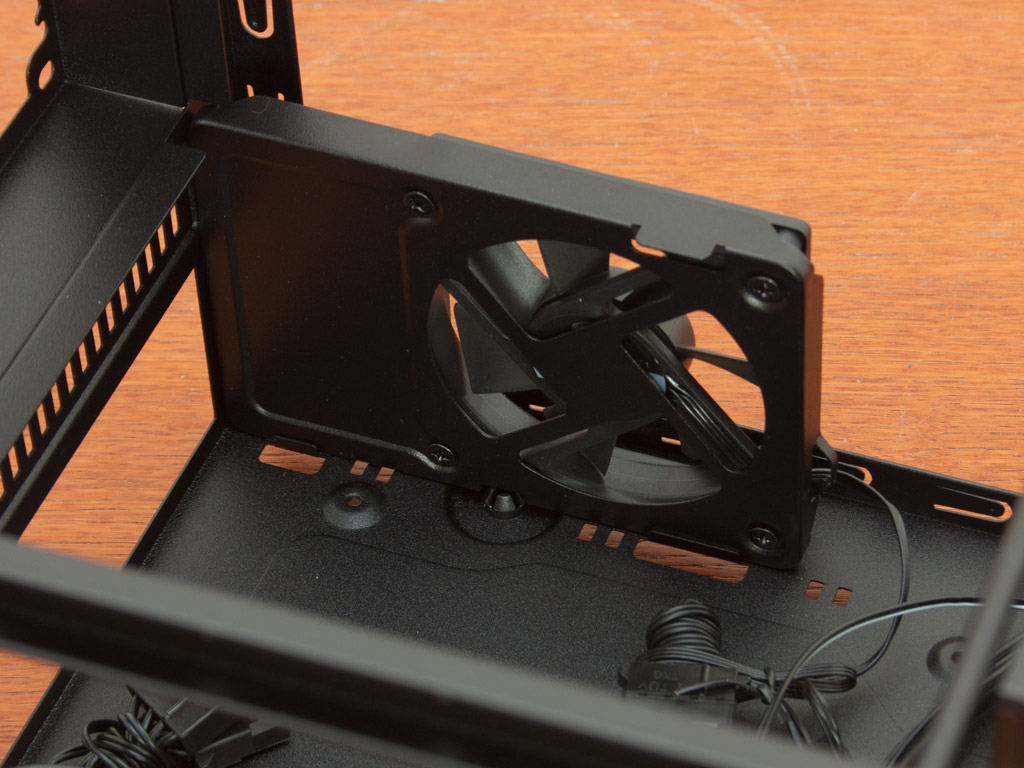
A small 80 mm fan on the side is intended to create air movement around the CPU area - a welcome sight considering that you will not be able to install anything terribly high performance within the chassis due to size constrains.
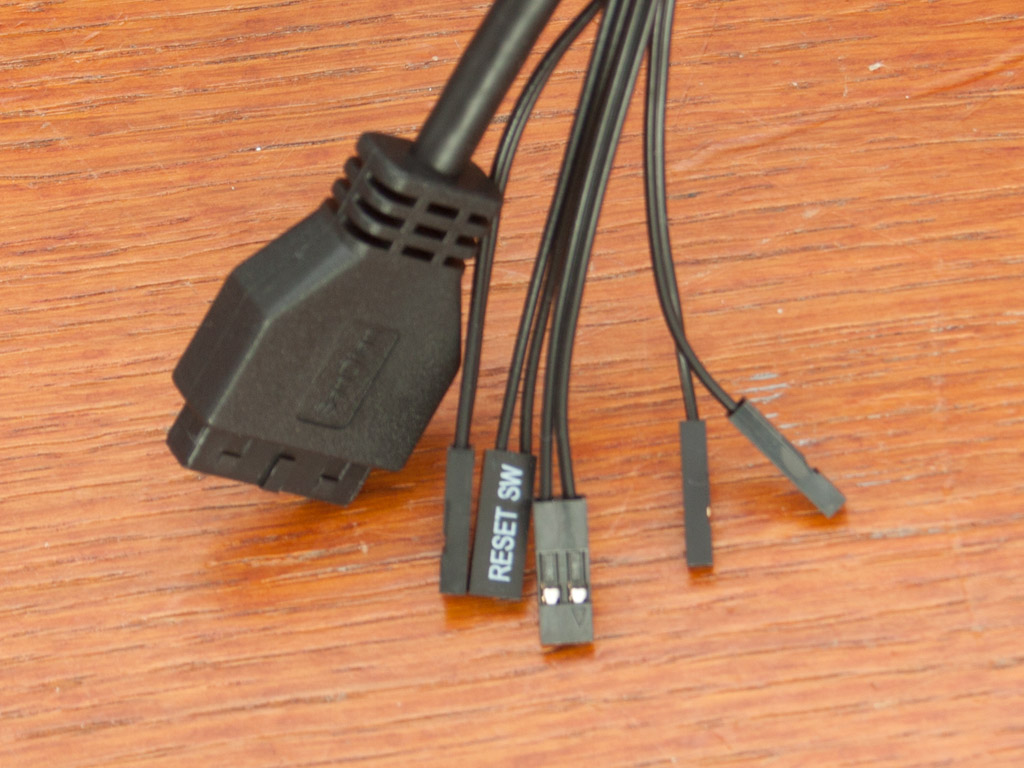
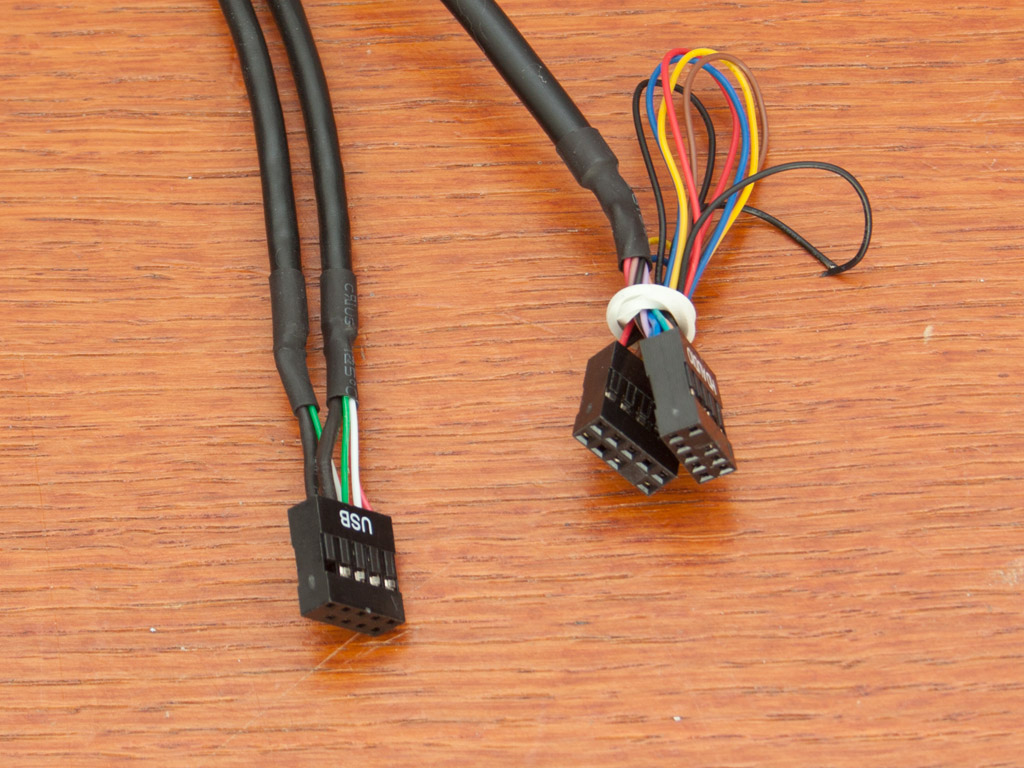
All the cables are of black color, or utilize black sleeving. You will only find traditional connectors on the end of each lead, which should make installation a breeze.
Feb 4th, 2025 04:49 EST
change timezone
Latest GPU Drivers
New Forum Posts
- ASUS ROG STRIX X870-I GAMING WIFI (Fan / PWM Connectors / DDC Controls) (2)
- RTX5000 Series Owners Club (41)
- Help:Pc suddenly shut down, Now can’t turn on (2)
- Vbios HP zbook for quadro M2200M (0)
- 3D Printer Club (382)
- RTX 5080 - premature review - it sucks (321)
- Is It The 1080 TI The Best GPU Ever? (253)
- Choosing the Perfect Motherboard to Complete My PC Build (4)
- Your PC ATM (35219)
- Dell Workstation Owners Club (3279)
Popular Reviews
- Spider-Man 2 Performance Benchmark Review - 35 GPUs Tested
- Corsair Frame 4000D Review
- NVIDIA GeForce RTX 5080 Founders Edition Review
- MSI GeForce RTX 5080 Vanguard SOC Review
- Gigabyte GeForce RTX 5080 Gaming OC Review
- ASUS GeForce RTX 5080 Astral OC Review
- Cooler Master X Silent Edge Platinum 850 W Review - Fully Passive PSU
- MSI GeForce RTX 5080 Suprim SOC Review
- NVIDIA DLSS 4 Transformer Review - Better Image Quality for Everyone
- AMD Ryzen 7 9800X3D Review - The Best Gaming Processor
Controversial News Posts
- NVIDIA 2025 International CES Keynote: Liveblog (470)
- AMD Debuts Radeon RX 9070 XT and RX 9070 Powered by RDNA 4, and FSR 4 (349)
- AMD Radeon 9070 XT Rumored to Outpace RTX 5070 Ti by Almost 15% (275)
- AMD is Taking Time with Radeon RX 9000 to Optimize Software and FSR 4 (256)
- AMD Denies Radeon RX 9070 XT $899 USD Starting Price Point Rumors (239)
- Edward Snowden Lashes Out at NVIDIA Over GeForce RTX 50 Pricing And Value (233)
- AMD Radeon RX 9070 XT & RX 9070 Custom Models In Stock at European Stores (226)
- New Leak Reveals NVIDIA RTX 5080 Is Slower Than RTX 4090 (215)