 12
12
Cooler Master MasterBox 600 Review
Thermal Stress Test »Assembly
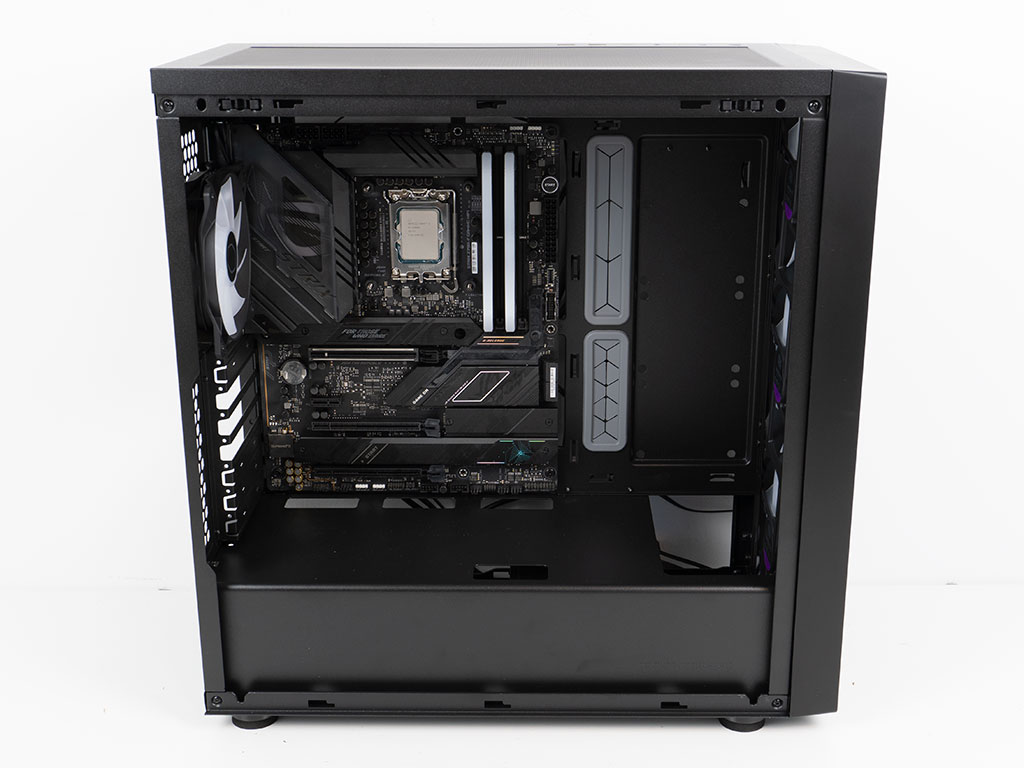
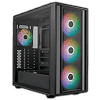
Installing a motherboard within the case is done with the provided spacers and screws. The bottom and top edges of the board are right at the bare openings for cable management. Having no grommets there means that you will not be able to hide the wiring perfectly. As you can see, we broke out the three slots in the back already in preparation of the GPU. Installing that unit is easily done and there is still tons of room towards the front of the chassis. The opening in the shroud is well-placed to accommodate both 12V-2x6 and PCIe power scenarios.
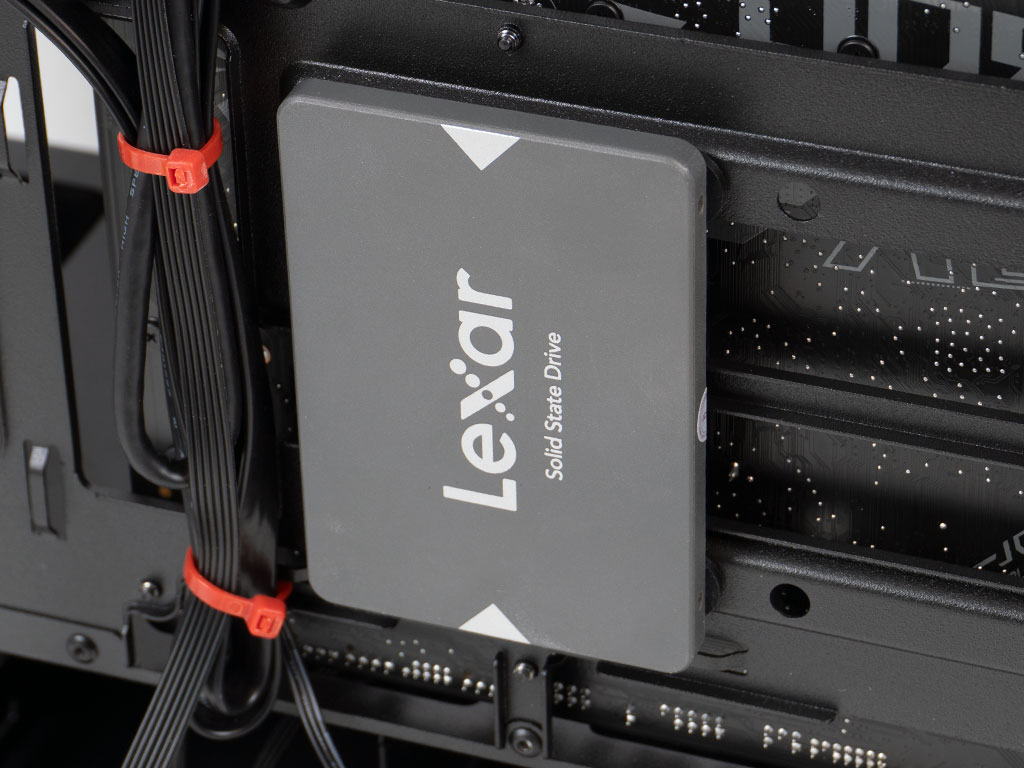
Adding 2.5" drives continues to use Cooler Master's pins and grommets approach they introduced a few years ago. This entails screwing in the pins unto the drive and the grommets into the frame at a location of your choice. Then you may simply push the drive into place with friction holding things in place well enough unless you plan to transport or ship the whole system.


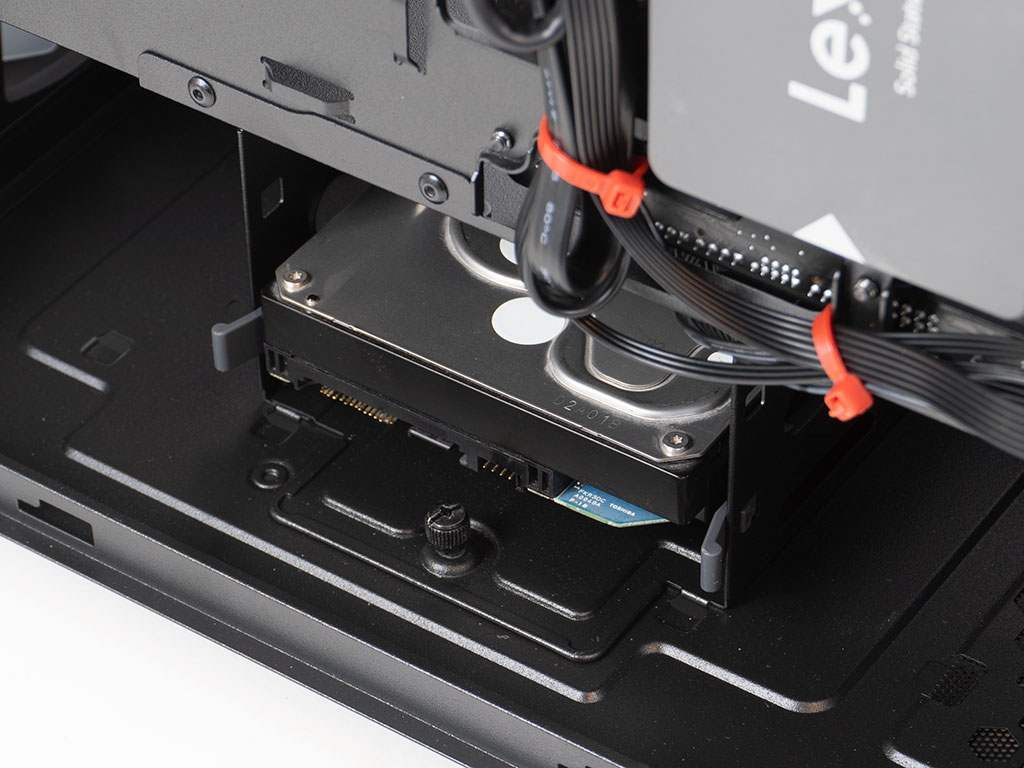
Cooler Master has also returned to using the plastic rails to slide a drive into place. We haven't seen this in a while, with the vast majority opting for trays that may either hold 2.5" or 3.5" drives. The rails work well and allow for tool-less assembly as the 3.5" drive slides into the cage until it clips into place securely.
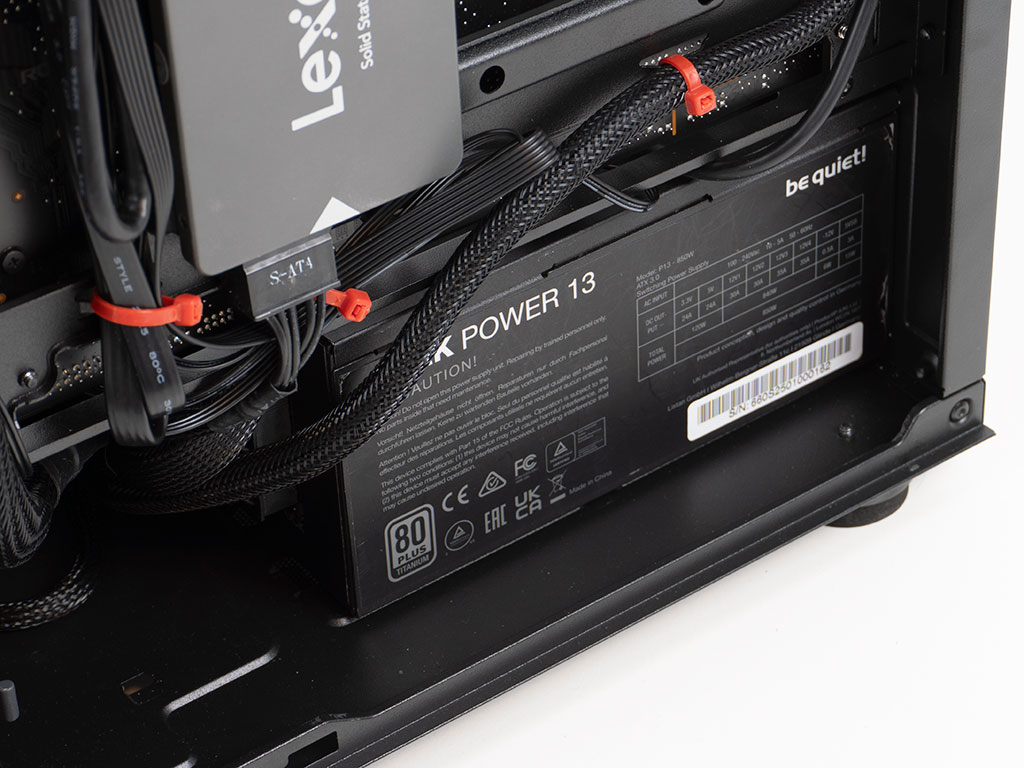
The PSU we use for our case review builds is a rather powerful, high-end unit. As such it is pretty long and meant that we had to move the HDD cage to its forward position for this build. The unit had plenty of space, and we did not need any of the room towards the front of the chassis anyway.
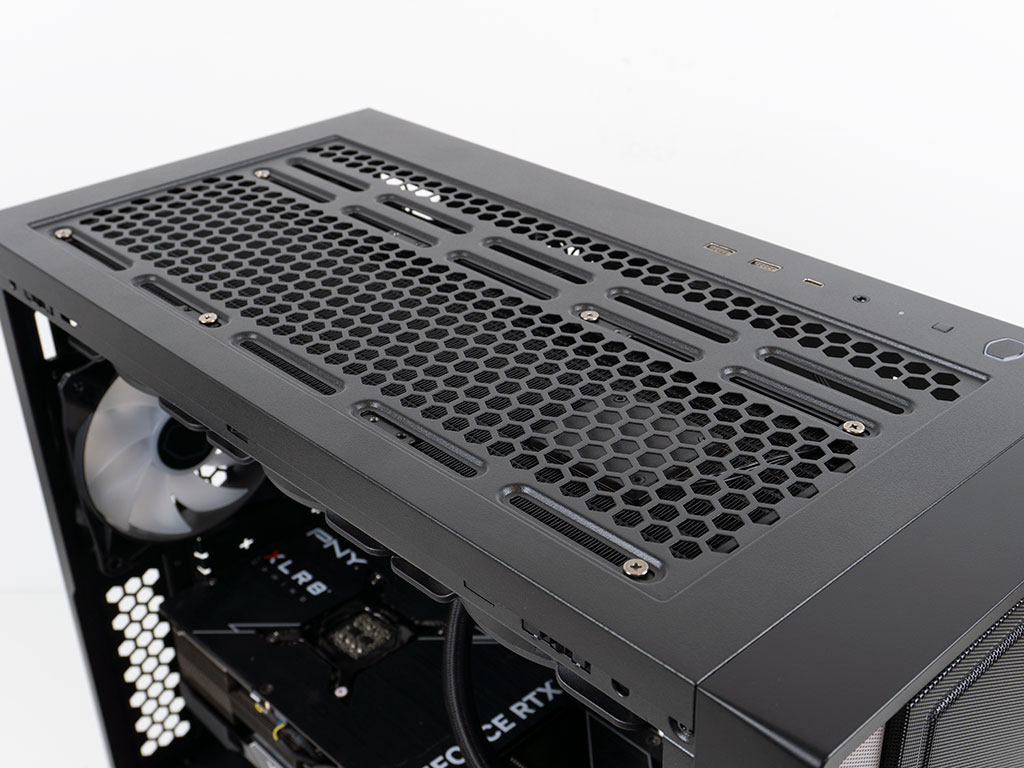

Adding a 360 mm AIO fit in the top of the chassis without issues, filling the available room. There is still room to fish wires to the top edge of the motherboard, but most heatsinks in this area will make it near impossible to connect things, so you will really want to plan ahead and take care of that step first.
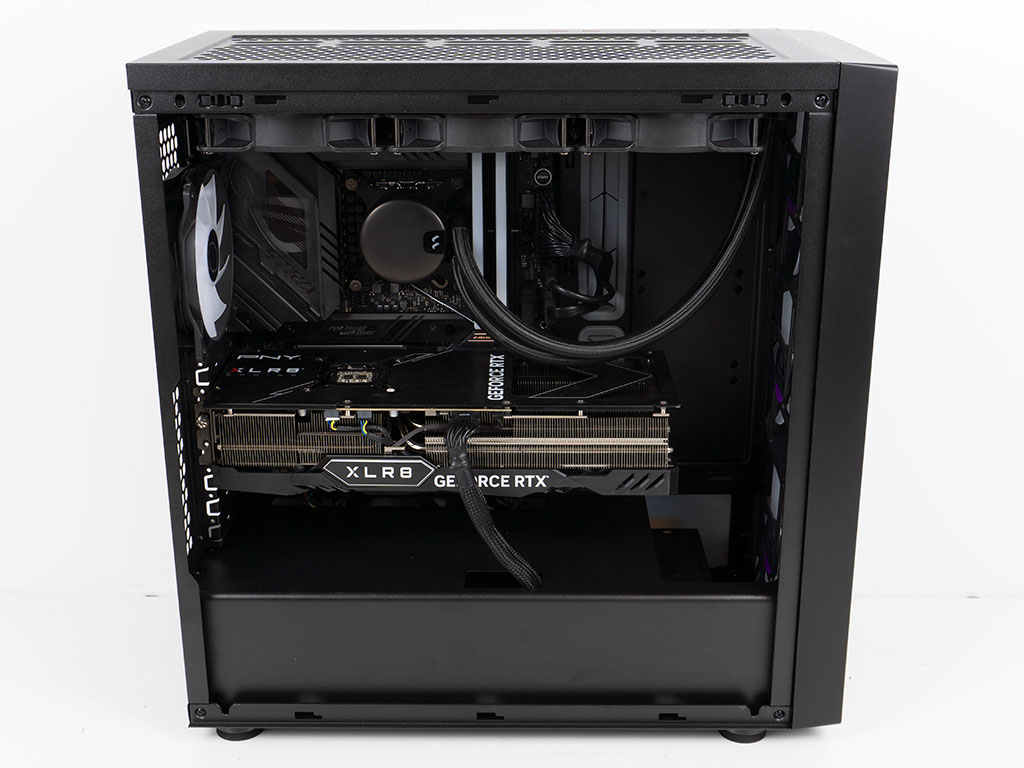
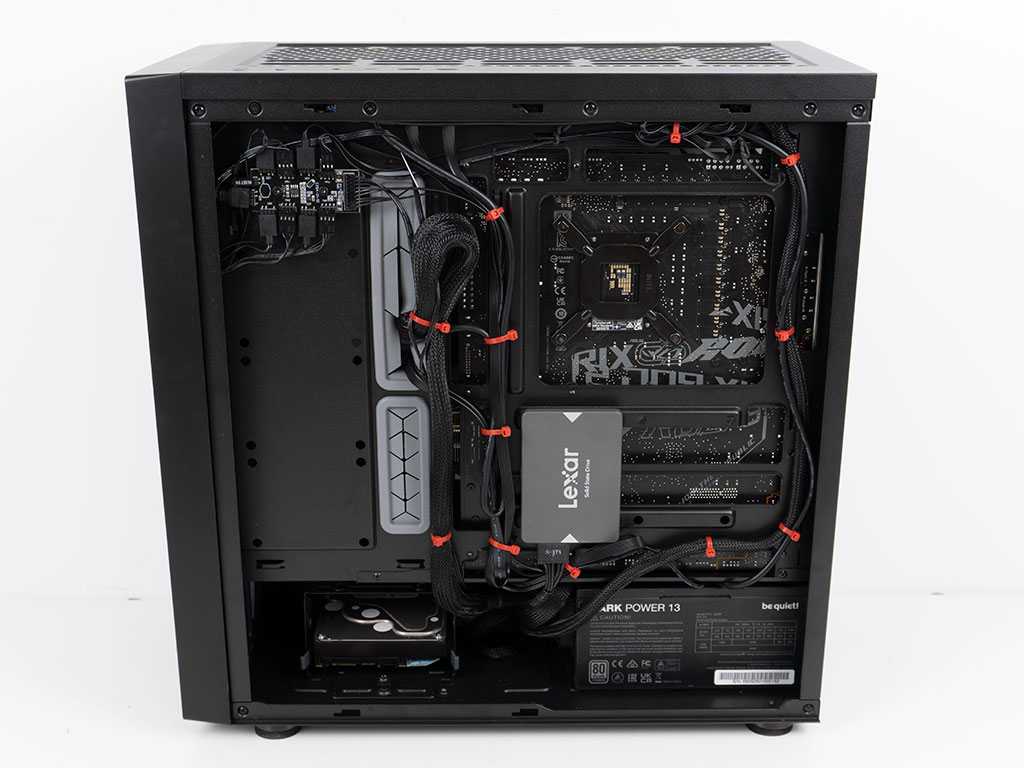
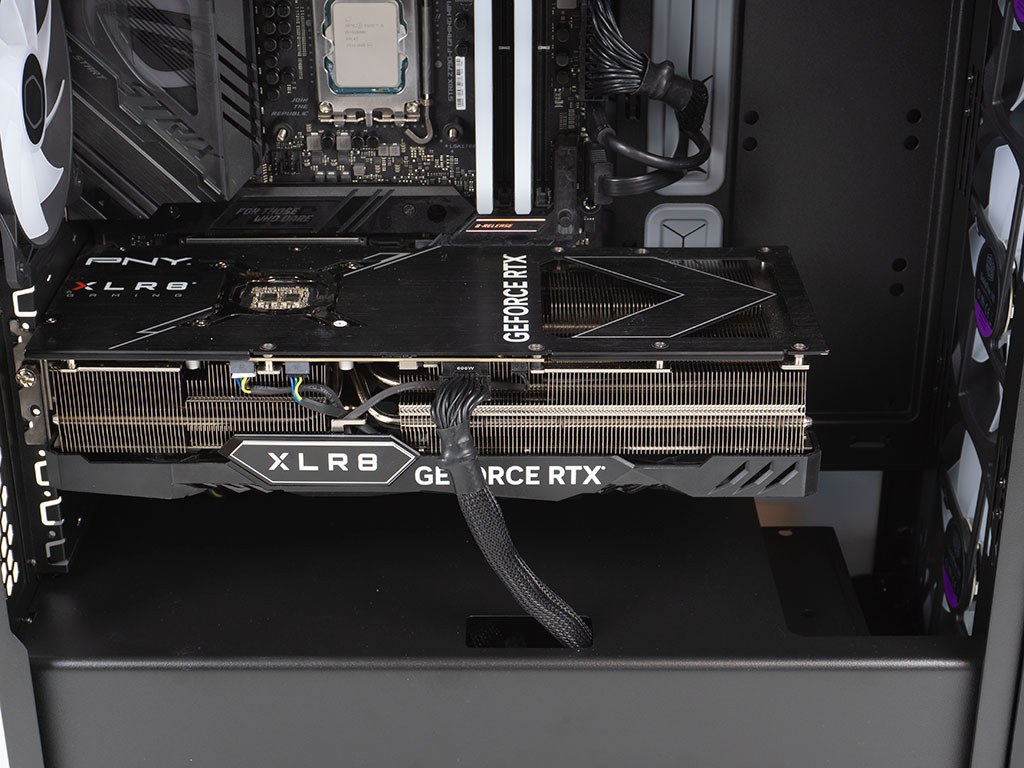
With everything installed, the interior of the Cooler Master MasterBox 600 makes a clean impression. A black grommet on the shroud would have been helpful, but the AIO is hiding any wiring at the top edge of the board and the wiring at the bottom edge blends into the black on black as well. That experience will be very different in the white variant of the chassis. Thanks to the many hooks on the backside of the motherboard tray, you are able to spread all the wiring and secure it neatly. This is important as you can leave the areas for drives unobstructed while not creating a bulky bundle of wires in a singular location, which would make putting the side panel back on more difficult.
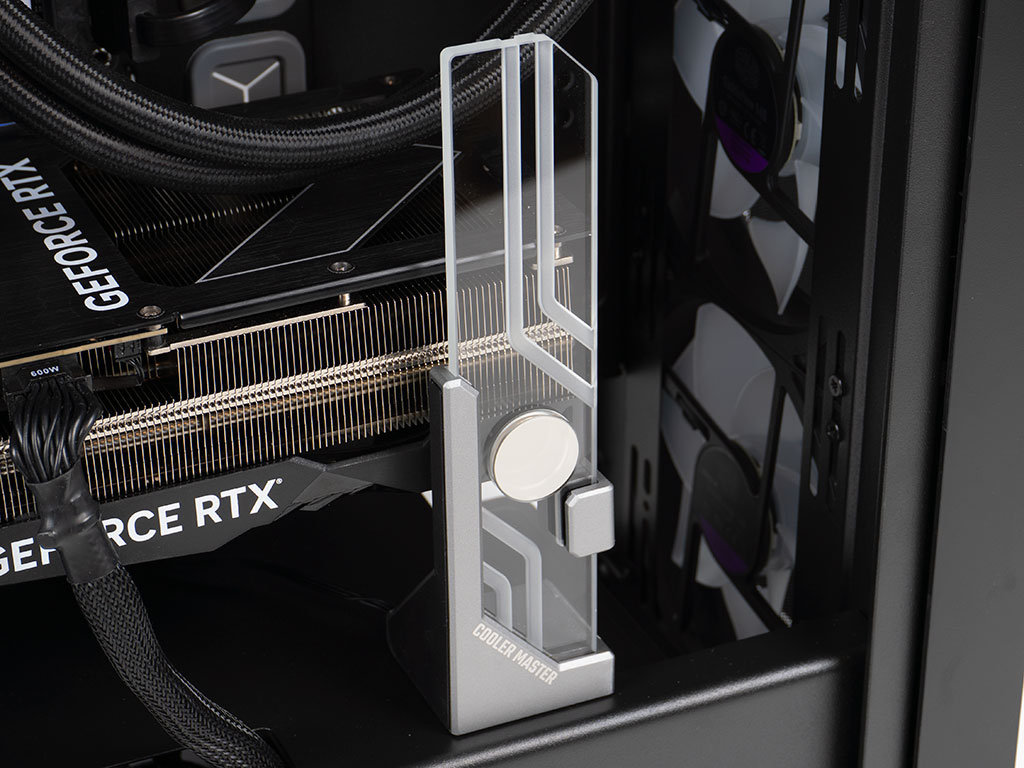
As our sample also came with the Atlas ARGB GPU support, we installed it for good measure to show you how it looks. As this is not part of the retail experience, you should not expect it as part of your $100 purchase.
Finished Looks
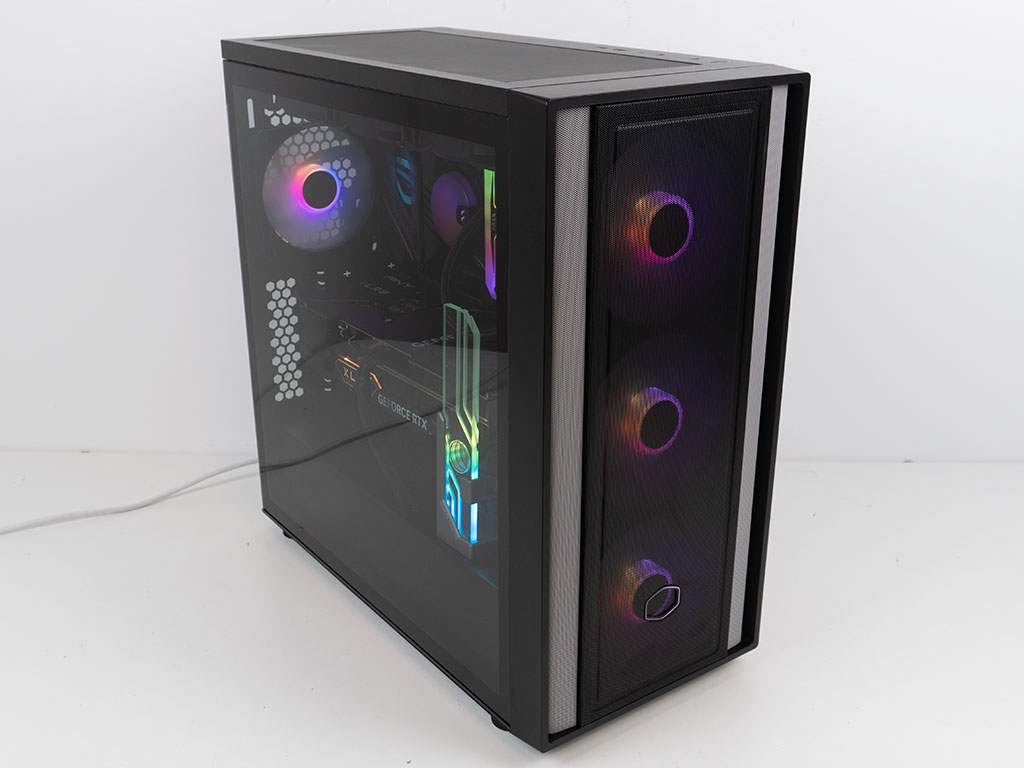
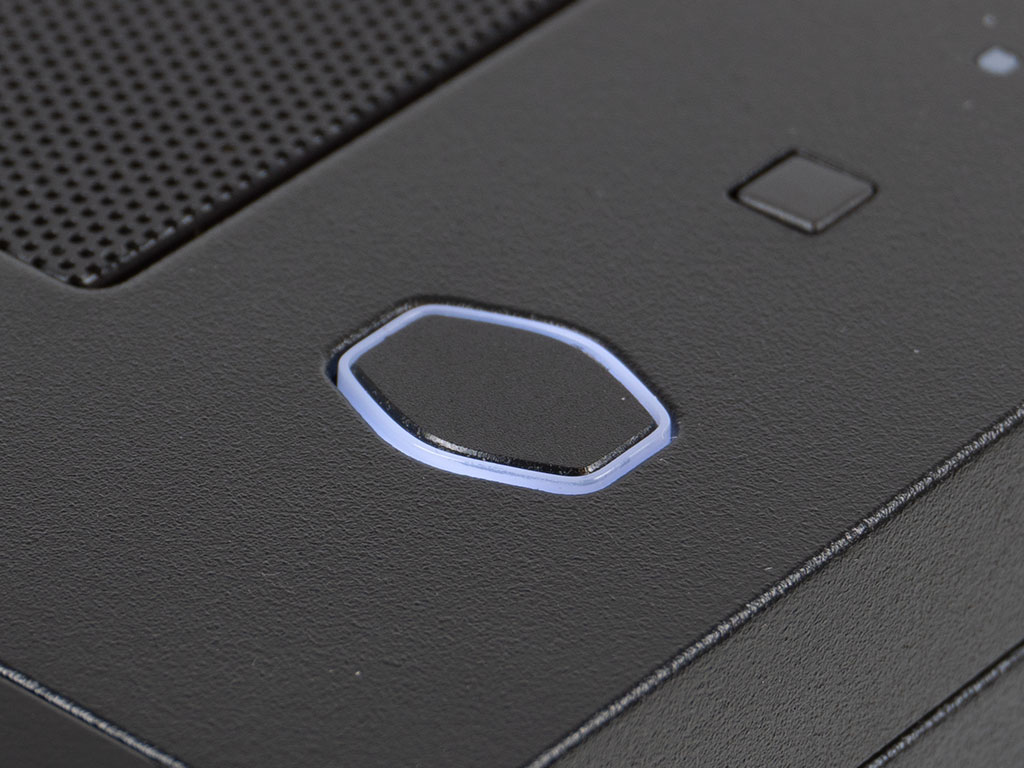
With everything installed, the four ARGB fans really help to make the case pop. Cooler Master continues to wrap the power button shaped brand logo in a white LED, which is also nice to see.
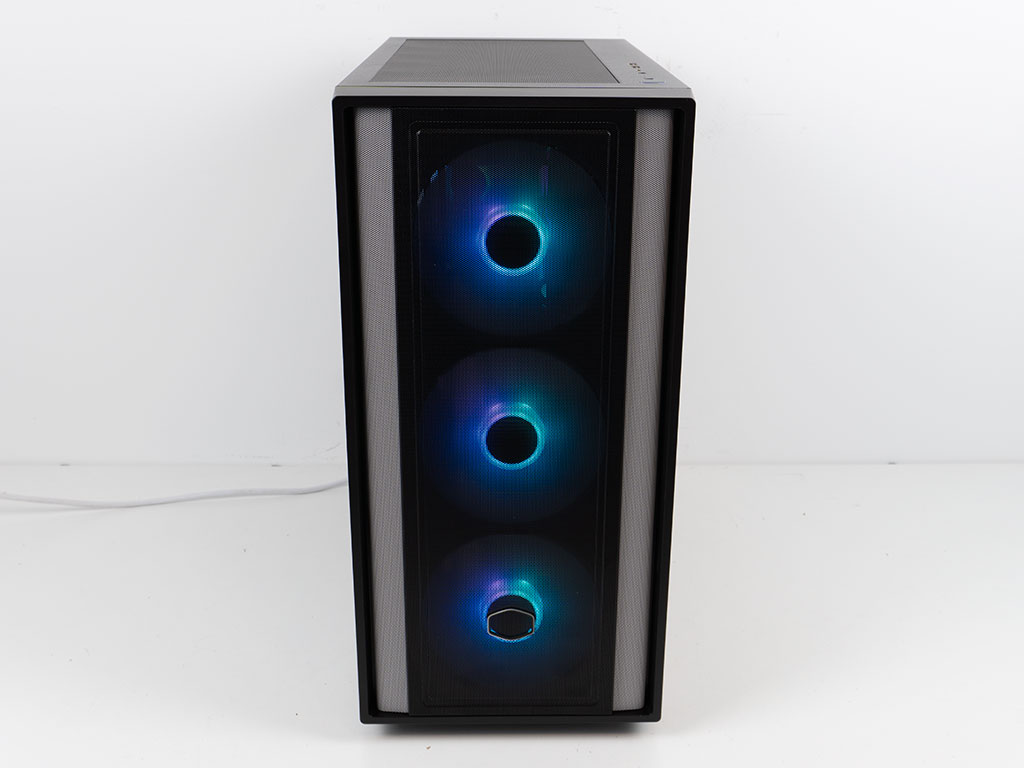
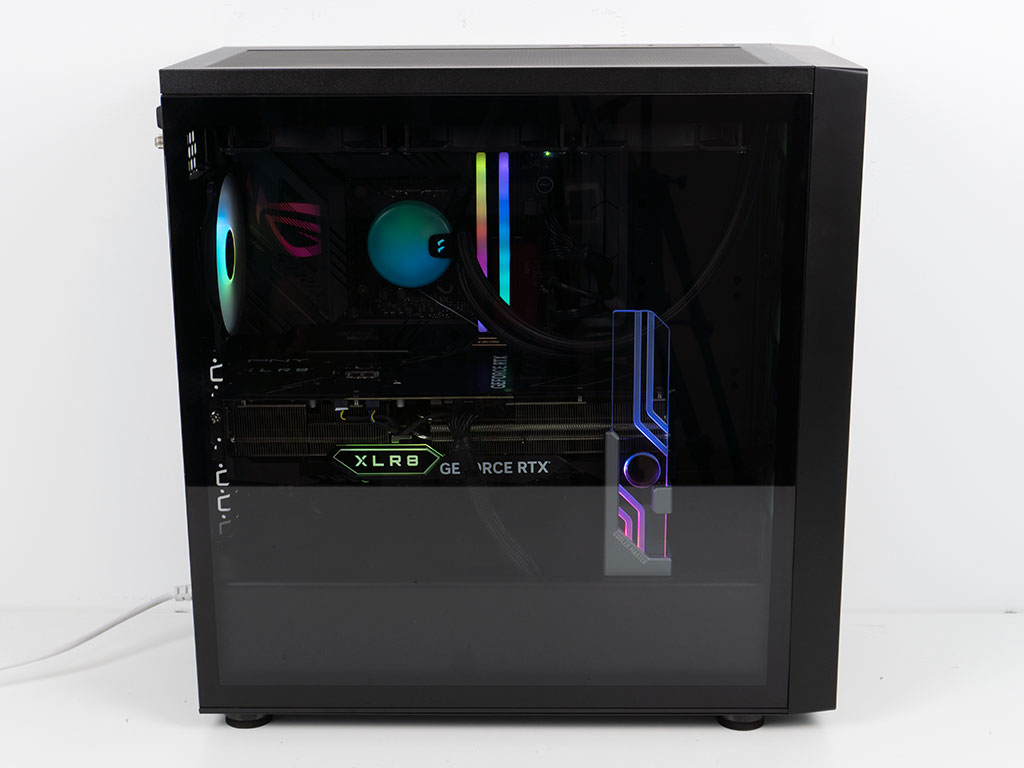
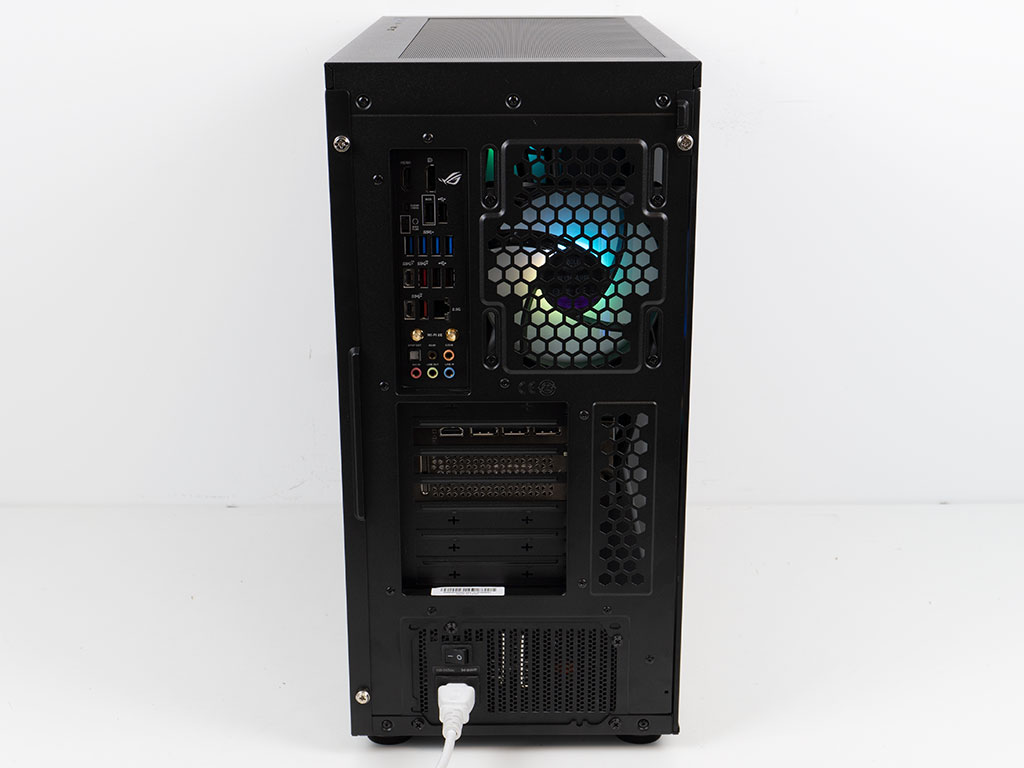
Thanks to the clean fine mesh, the hub glow of the SickleFlow fans can clearly be seen. Even the logo is unobtrusive as possible, making the MasterBox 600 a masterclass in how to utilize an all mesh front in the best way possible on a mainstream chassis. The glass allows you to view you components thanks to its lack of tint. As you can see, even the Atlas ARGB GPU support is illuminating nicely to draw your attention. In the rear, everything is where you would expect to see it for a case of this price segment.
Apr 10th, 2025 11:20 EDT
change timezone
Latest GPU Drivers
New Forum Posts
- Help with updating firmware on a AOC Agon Pro OLED monitor, says I need Install Tool (4)
- Looking for input on fan placement for my Define R5 (13)
- Does anybody know a way to make a scratch on the glass case panel less noticeable or remove it? (26)
- Do you use Linux? (580)
- Problem "Vu meter Windows 11 24h2 missing" (3)
- 9070XT or 7900XT or 7900XTX (179)
- How is the Gainward Phoenix Model in terms of quality? (13)
- random system shutdown with fans running at full speed (19)
- Your PC ATM (35335)
- Thermal testing two different size Gigabyte 5070 Ti cards - huge differences (24)
Popular Reviews
- The Last Of Us Part 2 Performance Benchmark Review - 30 GPUs Compared
- ASRock Z890 Taichi OCF Review
- MCHOSE L7 Pro Review
- Sapphire Radeon RX 9070 XT Pulse Review
- PowerColor Radeon RX 9070 Hellhound Review
- Upcoming Hardware Launches 2025 (Updated Apr 2025)
- Sapphire Radeon RX 9070 XT Nitro+ Review - Beating NVIDIA
- Zotac GeForce RTX 5070 Ti Amp Extreme Review
- Acer Predator GM9000 2 TB Review
- ASUS GeForce RTX 5080 Astral OC Review
Controversial News Posts
- NVIDIA GeForce RTX 5060 Ti 16 GB SKU Likely Launching at $499, According to Supply Chain Leak (175)
- MSI Doesn't Plan Radeon RX 9000 Series GPUs, Skips AMD RDNA 4 Generation Entirely (146)
- Microsoft Introduces Copilot for Gaming (124)
- AMD Radeon RX 9070 XT Reportedly Outperforms RTX 5080 Through Undervolting (119)
- NVIDIA Reportedly Prepares GeForce RTX 5060 and RTX 5060 Ti Unveil Tomorrow (115)
- NVIDIA Sends MSRP Numbers to Partners: GeForce RTX 5060 Ti 8 GB at $379, RTX 5060 Ti 16 GB at $429 (100)
- Over 200,000 Sold Radeon RX 9070 and RX 9070 XT GPUs? AMD Says No Number was Given (100)
- Nintendo Confirms That Switch 2 Joy-Cons Will Not Utilize Hall Effect Stick Technology (100)