 0
0
Cooler Master Masterbox MB311L ARGB Review
Assembly & Finished Looks »A Closer Look - Inside

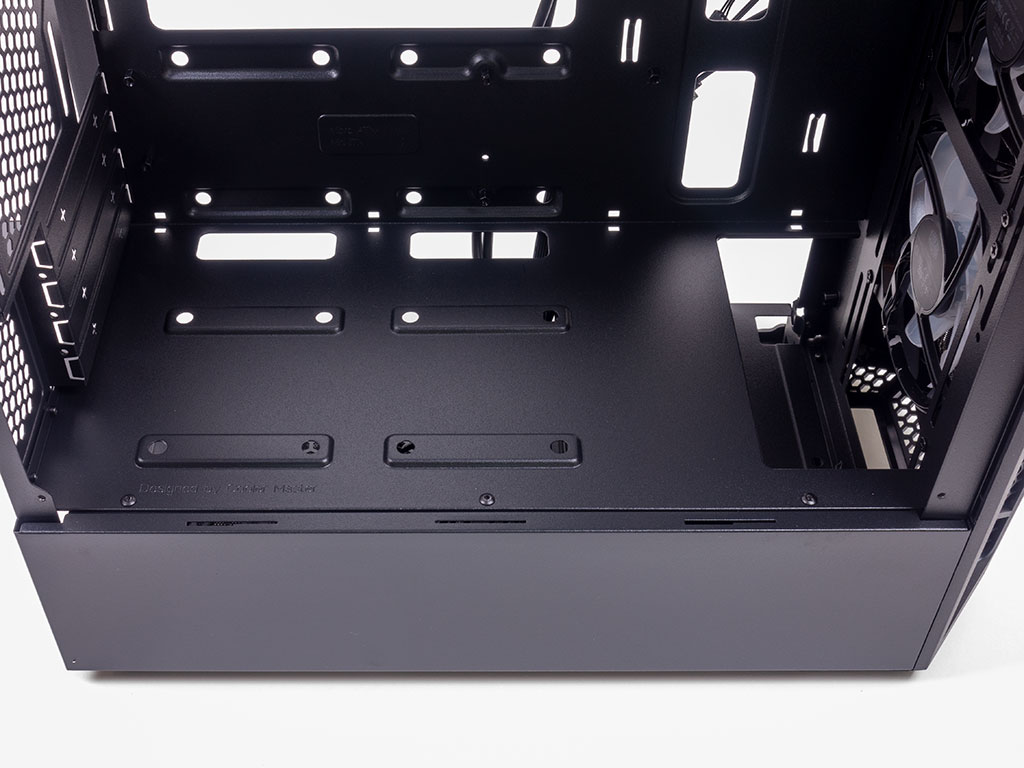
To access the interior of the Masterbox MB311L ARGB, simply remove the thumb screws holding each panel in place. The interior is all black, and Cooler Master actually skipped grommets within this case, which is weird as the NR400 which uses the same frame as the MB311L ARGB comes with them pre-installed. On top of the shroud you will find two mounting positions for 2.5" drives, which can easily be seen when looking at the internals through the windowed side.
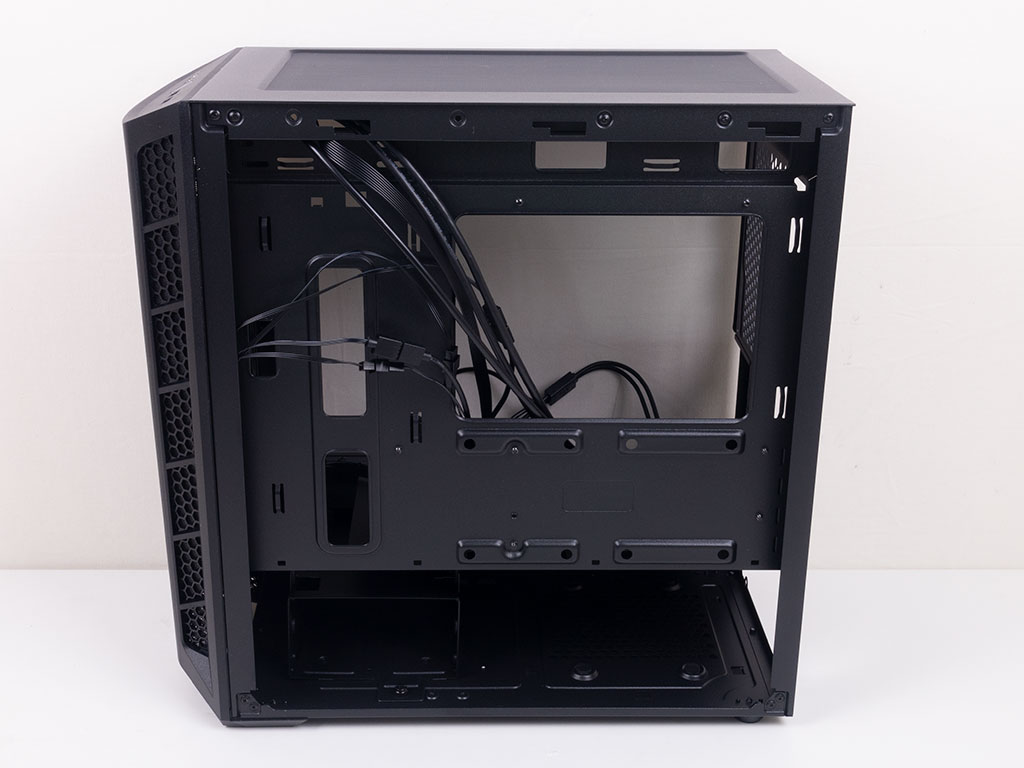
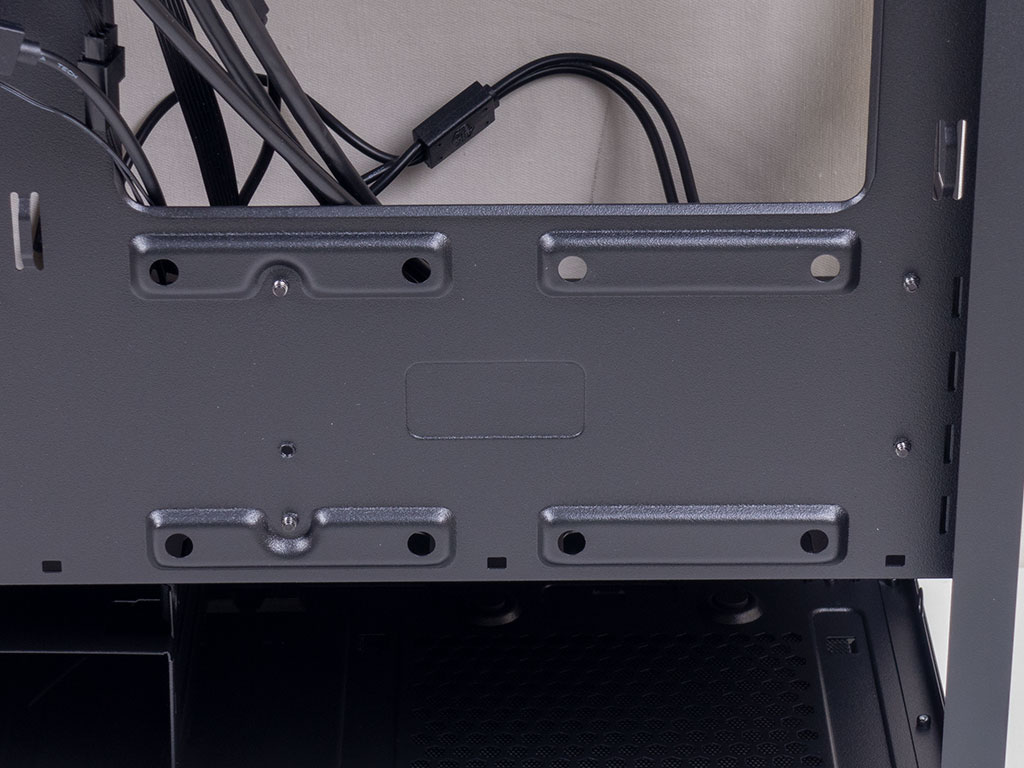
The backside holds no surprises, but offers plenty of zip-tie hooks for easy and clean cable management. There are two 2.5" hard-drive mounting location here for drives you don't want to show off. However, Cooler Master does not include enough mounting hardware to fill all four of these locations—you have to make due with picking two.
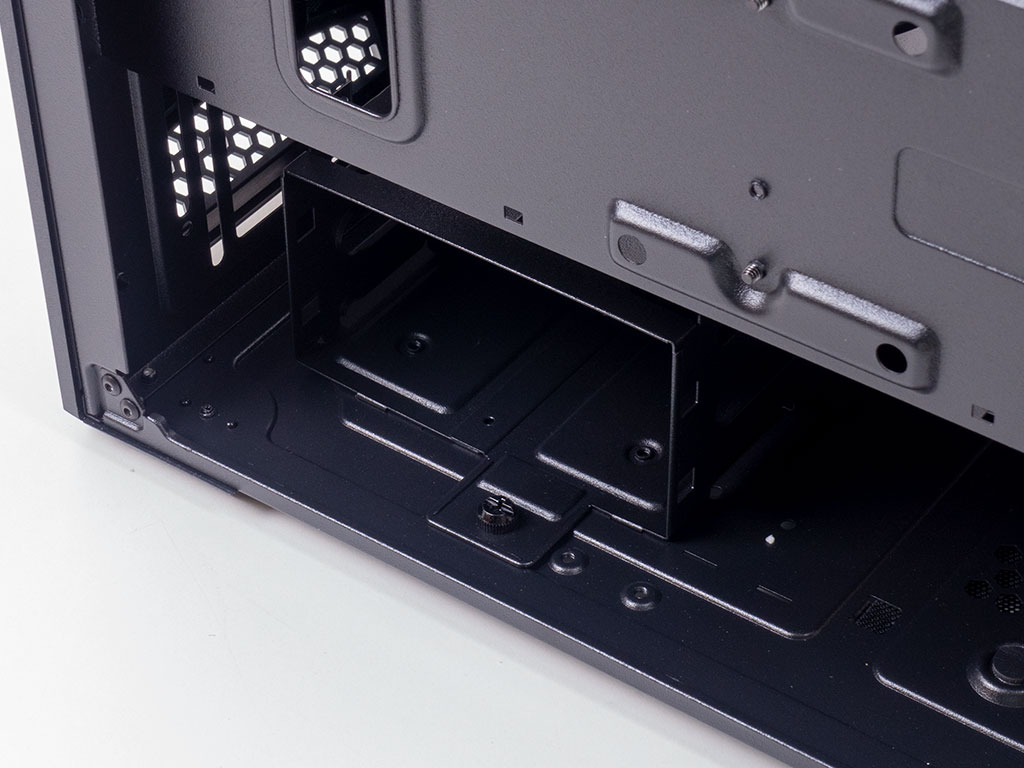
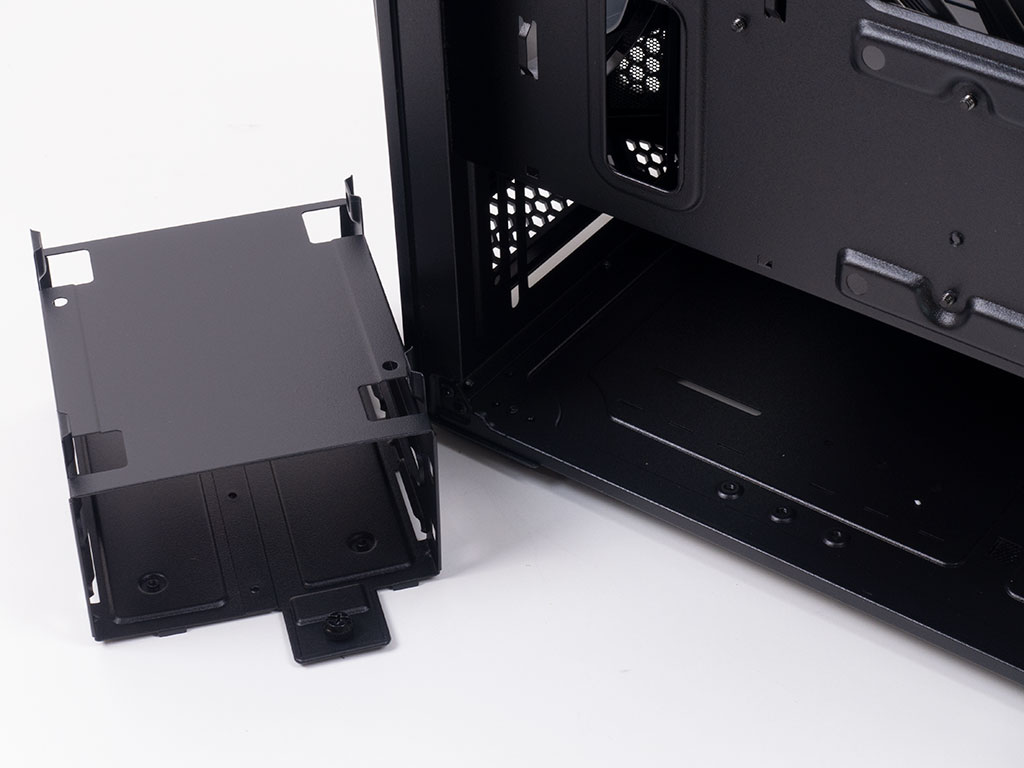
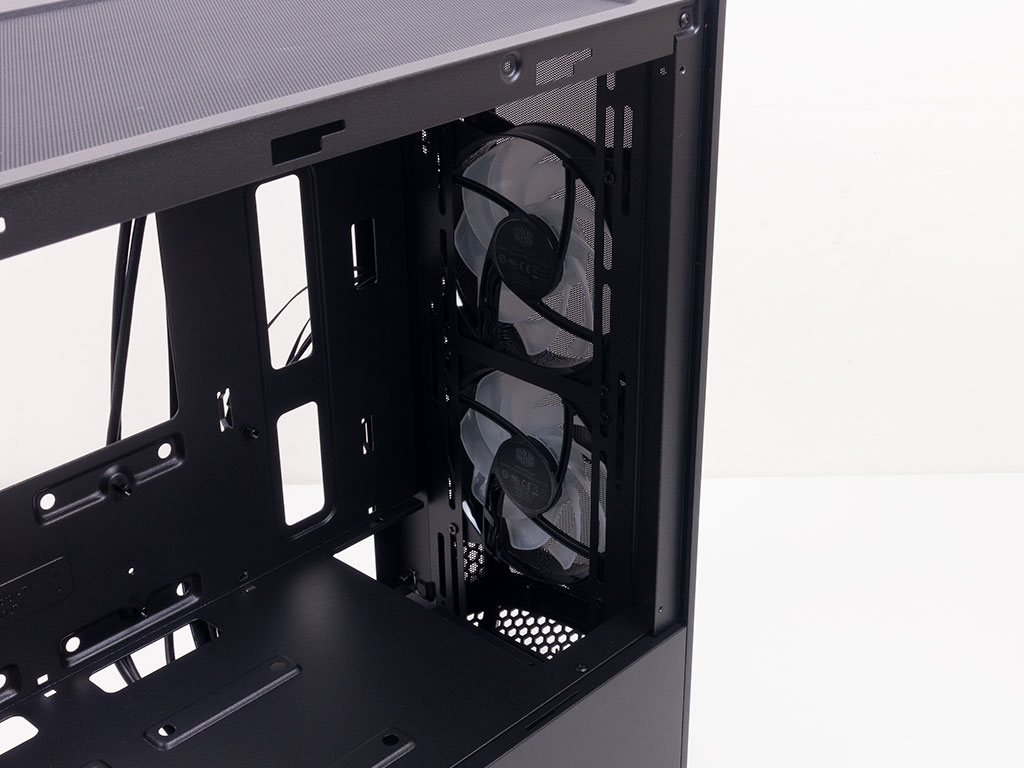
Last but not least are two additional 3.5" hard-drive bays underneath the shroud, which brings the total up to four possible storage drives. Above that, in the front, it is all about cooling. You may install an additional 120 mm fans on top of the two ARGB units here or place a 360 mm radiator in the front without sacrificing any expandability.
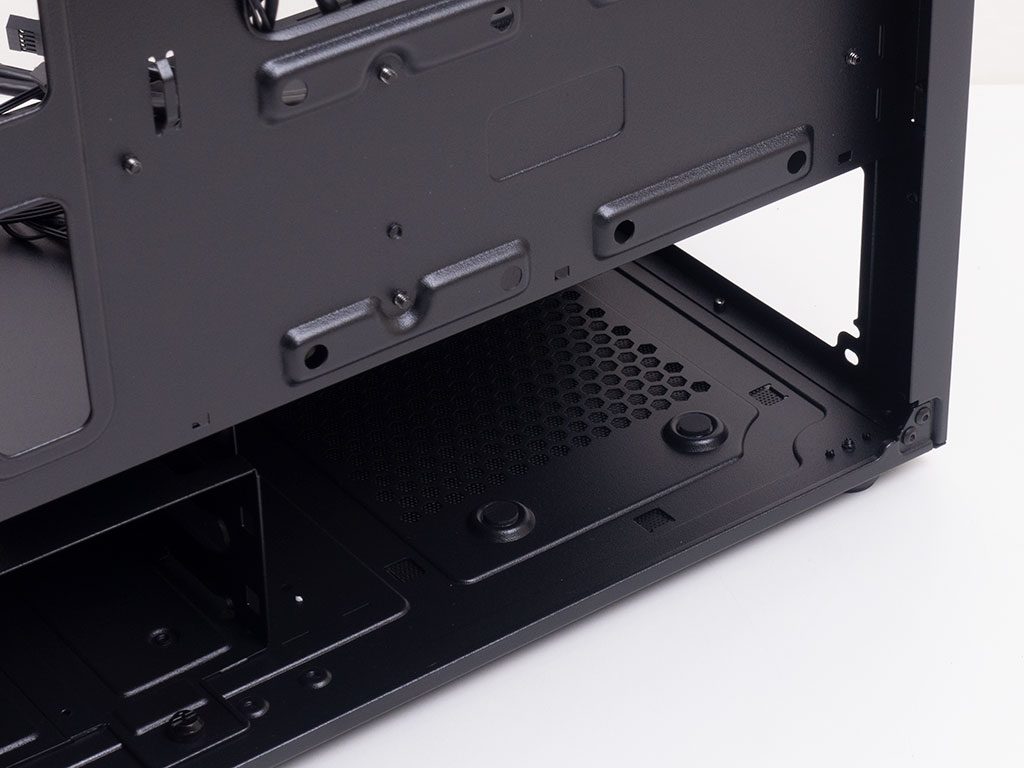
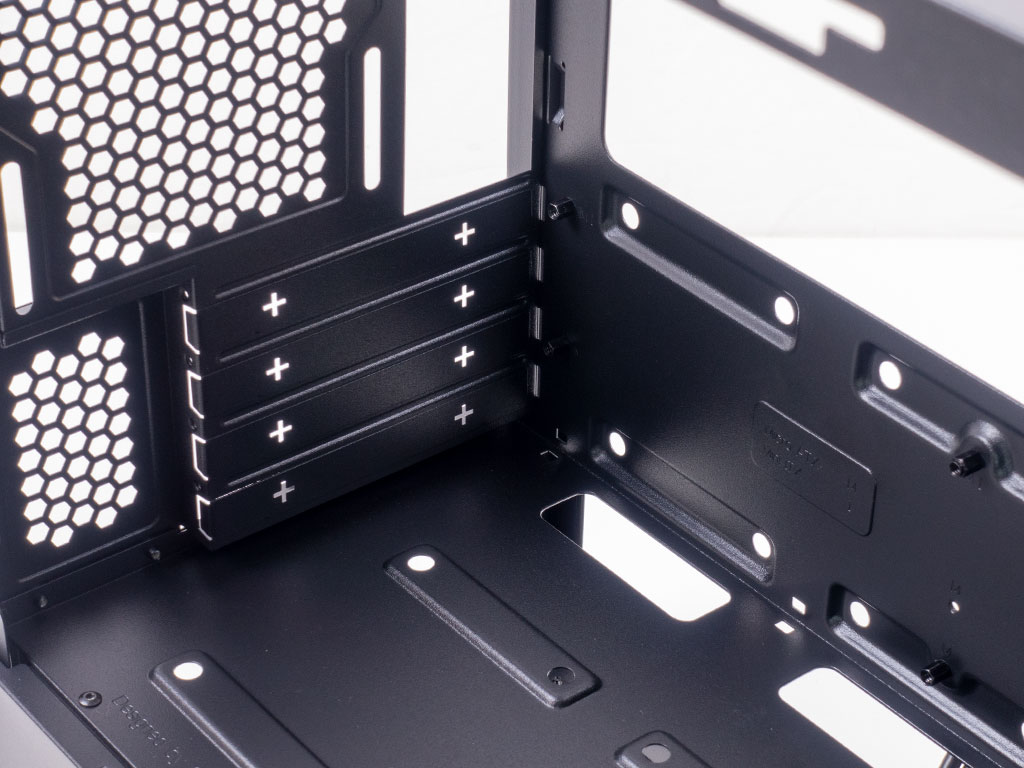
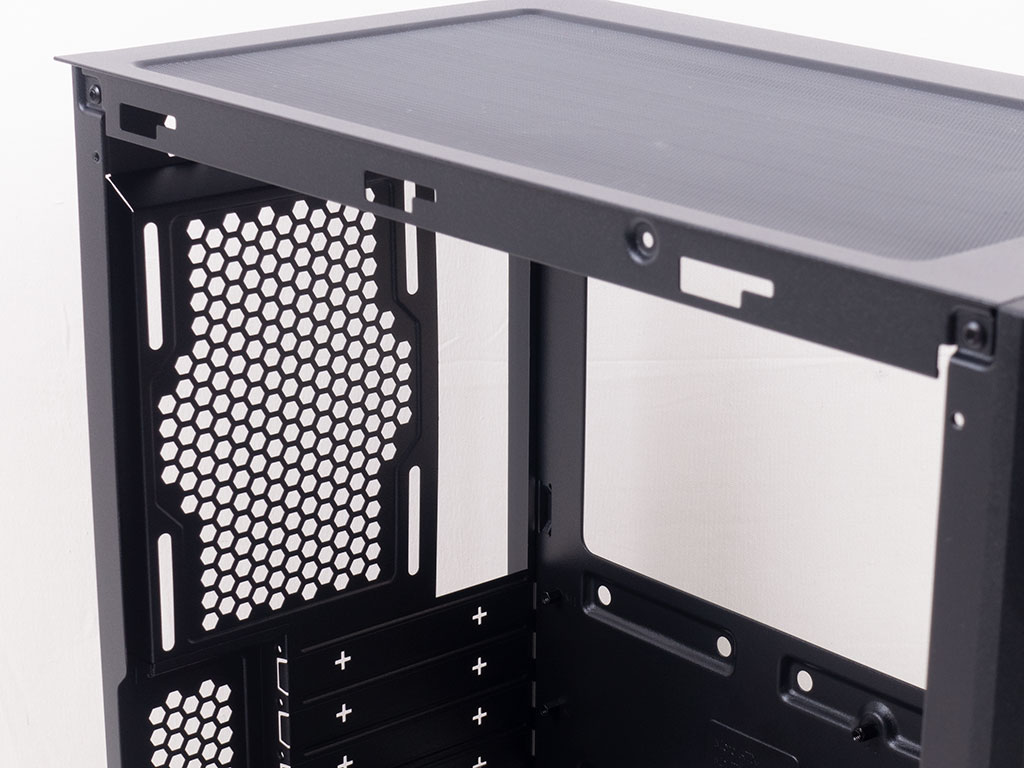
The PSU bay underneath the shroud is pretty basic, with foam tips to minimize and absorb vibrations before they reach the chassis frame. Above that are the four expansion slots. Each cover is unfortunately of the breakout kind. The very top has room for a height-adjustable 120 mm fan.
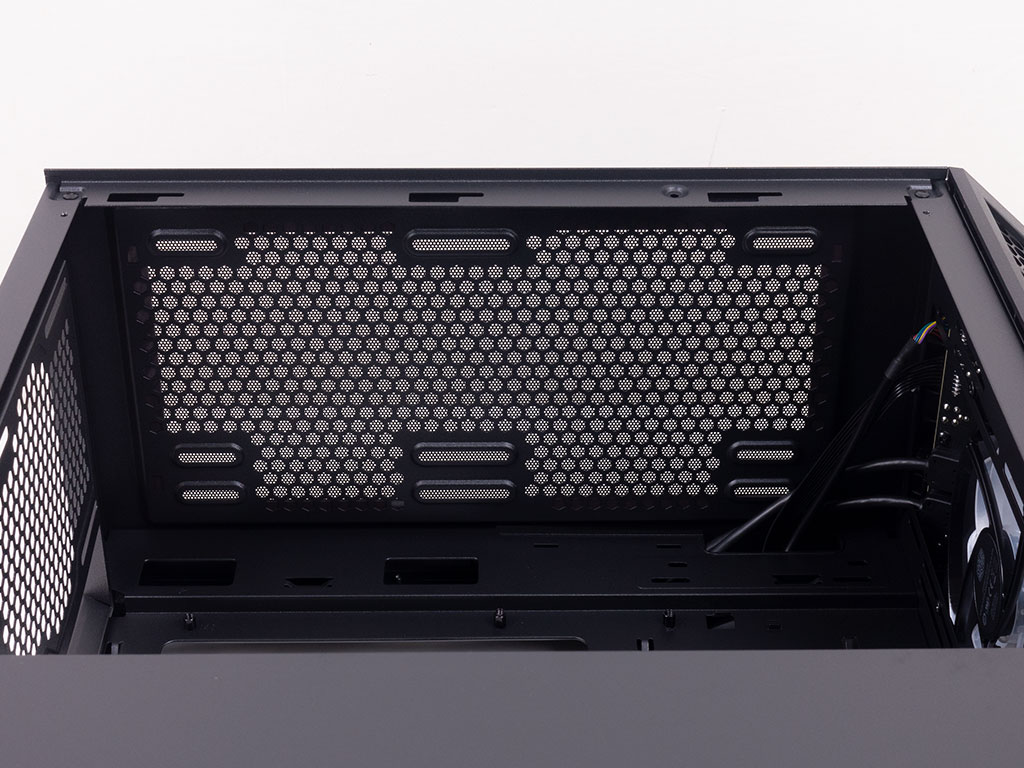
In the ceiling, you can clearly see the mounting holes for fans or a radiator. Watch out if using a thick 280 mm radiator as it may clash with components on the installed motherboard. However, if you are going that route, odds are you will spend more on a chassis as well.
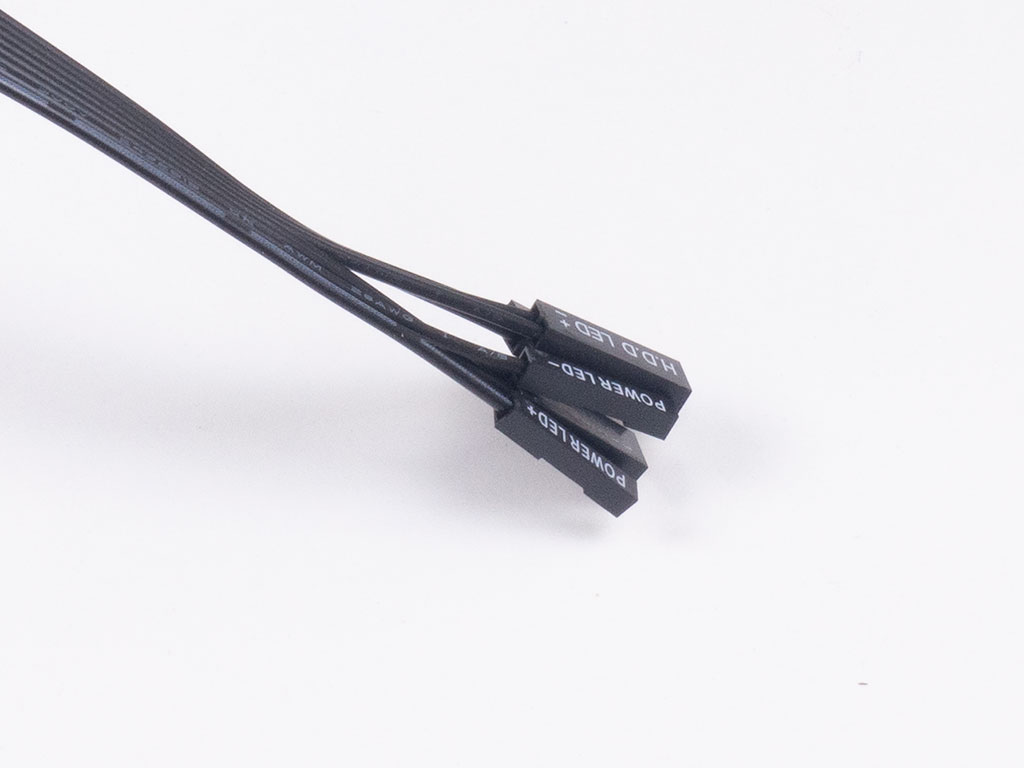
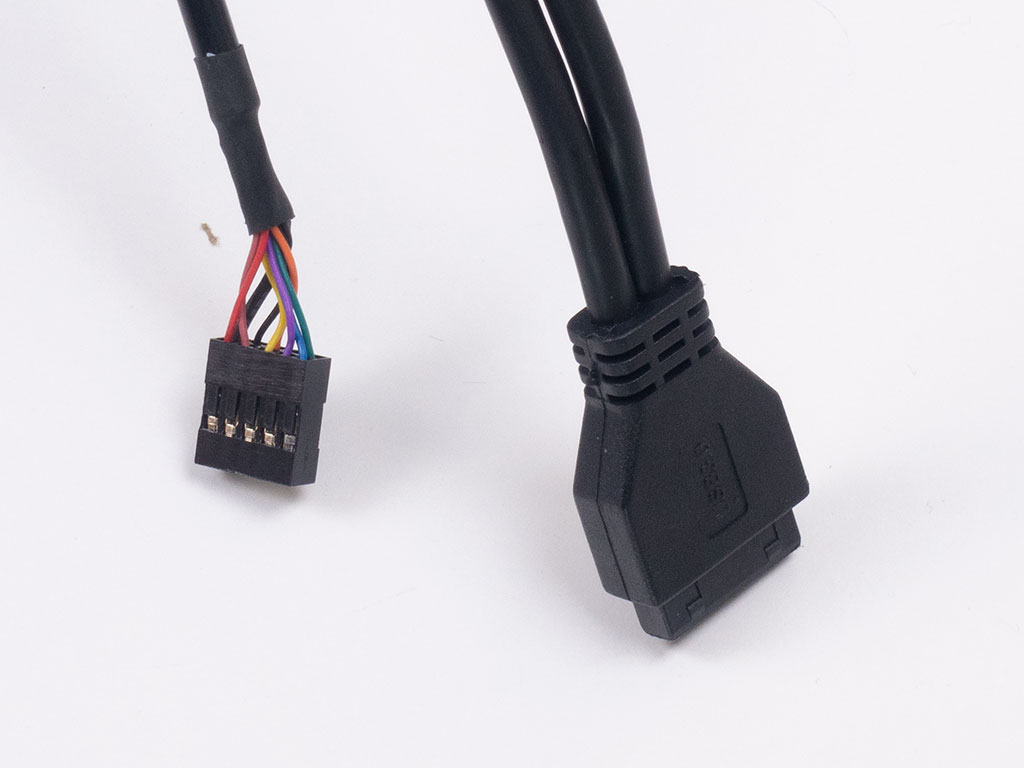
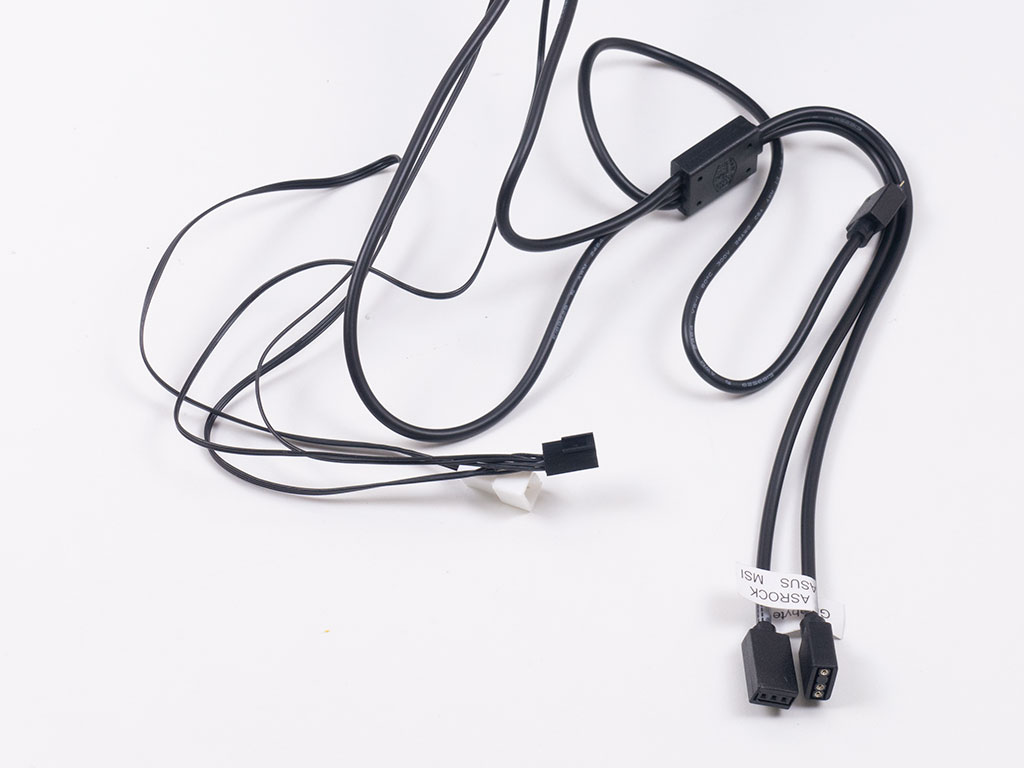
All the cables within the Cooler Master Masterbox MB311L ARGB are of the default variety and completely black. You will also find a pre-installed ARGB splitter which combines the leads from the fans into a single plug that may then be connected directly to your motherboard or the separately included controller.
Feb 11th, 2025 04:58 EST
change timezone
Latest GPU Drivers
New Forum Posts
- Asteroid 2024 YR4 reaches level 3 on the Torino Scale (63)
- Black screen after I tried to flash my HD 6850 (5)
- The TPU UK Clubhouse (25725)
- Case fan with controller (5)
- Suggestion: Allow auto-selecting "best driver" with NVENC patch support (4)
- win10 or win11 (0)
- What's your latest tech purchase? (23125)
- Help Needed on Toshiba IS-1522 (1)
- It's happening again, melting 12v high pwr connectors (112)
- Guide: Flashing with a hardware programmer (15)
Popular Reviews
- Civilization VII Performance Benchmark Review - 35 GPUs Tested
- Kingdom Come Deliverance II Performance Benchmark Review - 35 GPUs Tested
- ASRock Phantom Gaming B850I Lightning Wi-Fi Review
- Team Group T-Force XTREEM DDR5-7200 48GB CL34 Review
- Spider-Man 2 Performance Benchmark Review - 35 GPUs Tested
- NVIDIA GeForce RTX 5080 Founders Edition Review
- AMD Ryzen 7 9800X3D Review - The Best Gaming Processor
- Kingdom Come: Deliverance 2 Handheld Performance Review
- DAREU A980 Pro Max Review
- Corsair Frame 4000D Review
Controversial News Posts
- AMD Radeon 9070 XT Rumored to Outpace RTX 5070 Ti by Almost 15% (286)
- AMD is Taking Time with Radeon RX 9000 to Optimize Software and FSR 4 (256)
- AMD Denies Radeon RX 9070 XT $899 USD Starting Price Point Rumors (239)
- Edward Snowden Lashes Out at NVIDIA Over GeForce RTX 50 Pricing And Value (239)
- AMD Radeon RX 9070 XT & RX 9070 Custom Models In Stock at European Stores (226)
- New Leak Reveals NVIDIA RTX 5080 Is Slower Than RTX 4090 (215)
- AMD's Radeon RX 9070 Launch Faces Pricing Hurdles (175)
- AMD Radeon RX 9070 XT Tested in Cyberpunk 2077 and Black Myth: Wukong (169)