 10
10
Cooler Master NR200P Review
Finished Looks »Review System
| System Parts for Case Reviews | |
|---|---|
| Processor: | ATX: Intel Core i5-11600K mATX/ITX: Intel Core i5-10600K Provided by: Intel |
| Motherboards: | ATX: Gigabyte Z590 AORUS PRO AX ITX: Gigabyte Z590I Vision D Provided by: Gigabyte mATX: ASRock B560M Steel Legend Provided by: ASRock |
| Graphics Card: | Palit GeForce RTX 2080 Gaming Pro OC Provided by: Palit ZOTAC GAMING GeForce RTX 3060 Ti Twin Edge OC Provided by: Zotac |
| Memory: | 16 GB XPG SPECTRIX D50 3200 MHz 16 GB XPG SPECTRIX D60G DDR4 3000 MHz 16 GB XPG GAMMIX D20 DDR4 3200 MHz Provided by: ADATA |
| HDD: | Toshiba MG08ADA400E 7200 RPM SATA III Provided by: Toshiba |
| SSD: | ATX:XPG SPECTRIX S20G 500 GB mATX: XPG GAMMIX S50 Lite 1 TB ITX: ADATA Falcon 512 GB ADATA Ultimate SU800 512 GB ADATA Ultimate SU720 500 GB Provided by: ADATA |
| Power Supply: | SFX: Cooler Master V650 SFX 80 Plus Gold Provided by: Cooler Master |
| Cooling: | Cooler Master ML240 Illusion Provided by: Cooler Master |
Assembly

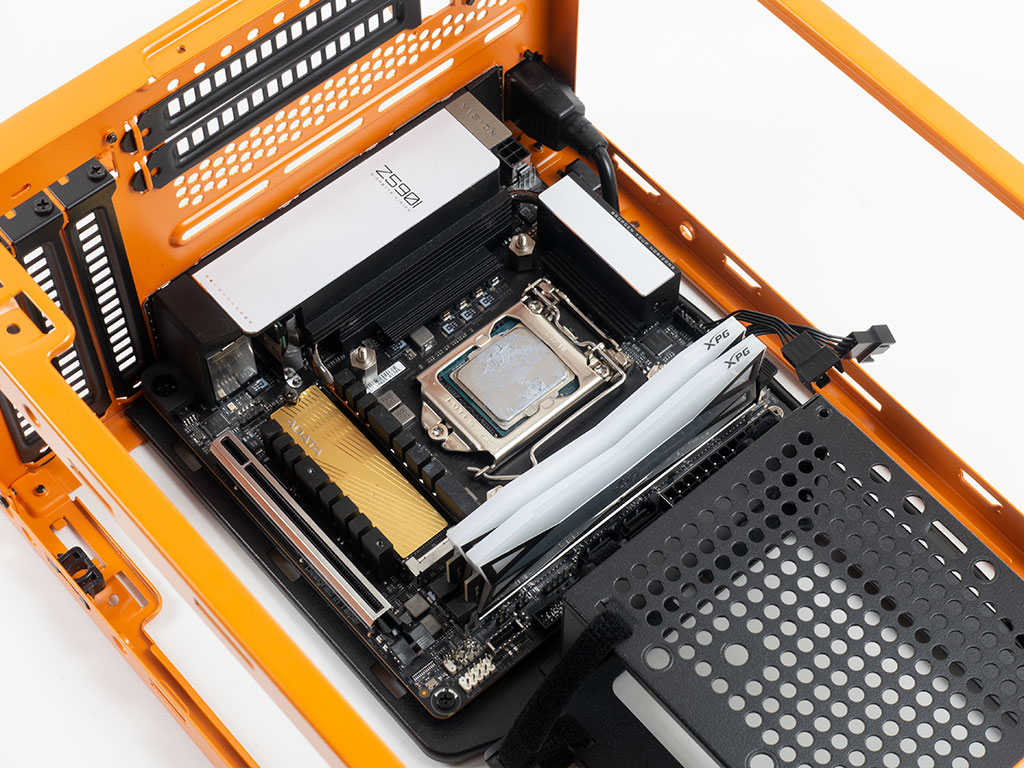
Before installing the motherboard within the Cooler Master, we installed the mounting plate and screws of the AIO. The board neatly fits into its appropriate position inside the NR200P while remaining accessible through the top and bottom of the chassis, making routing and connecting all the cables a breeze.
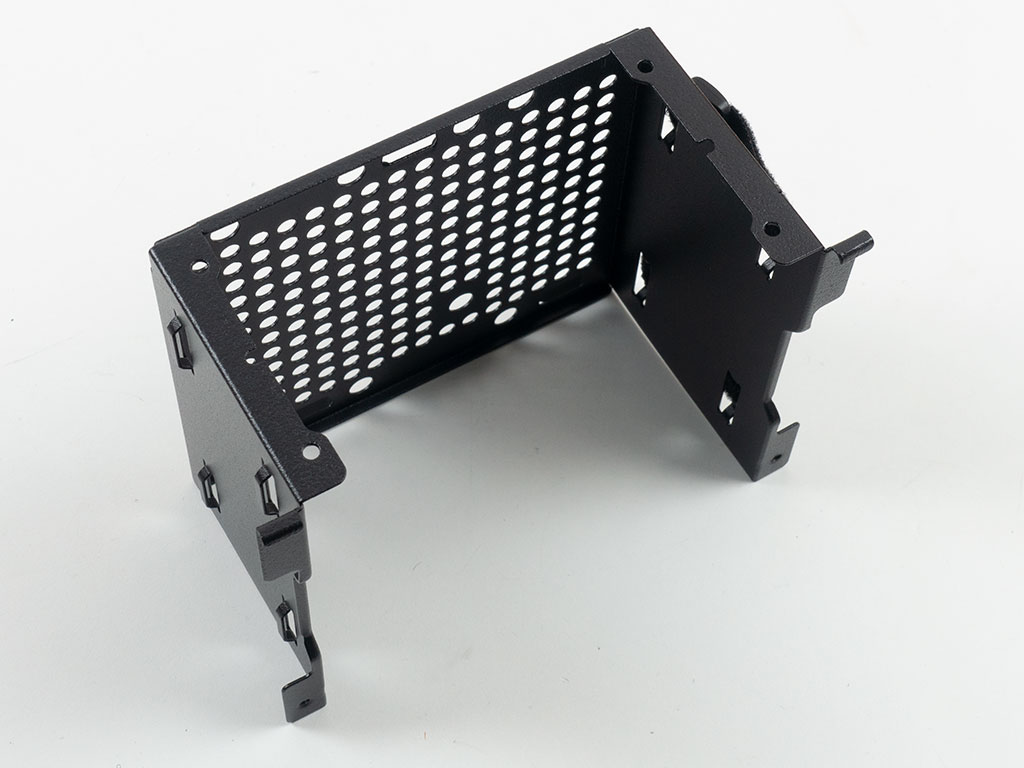
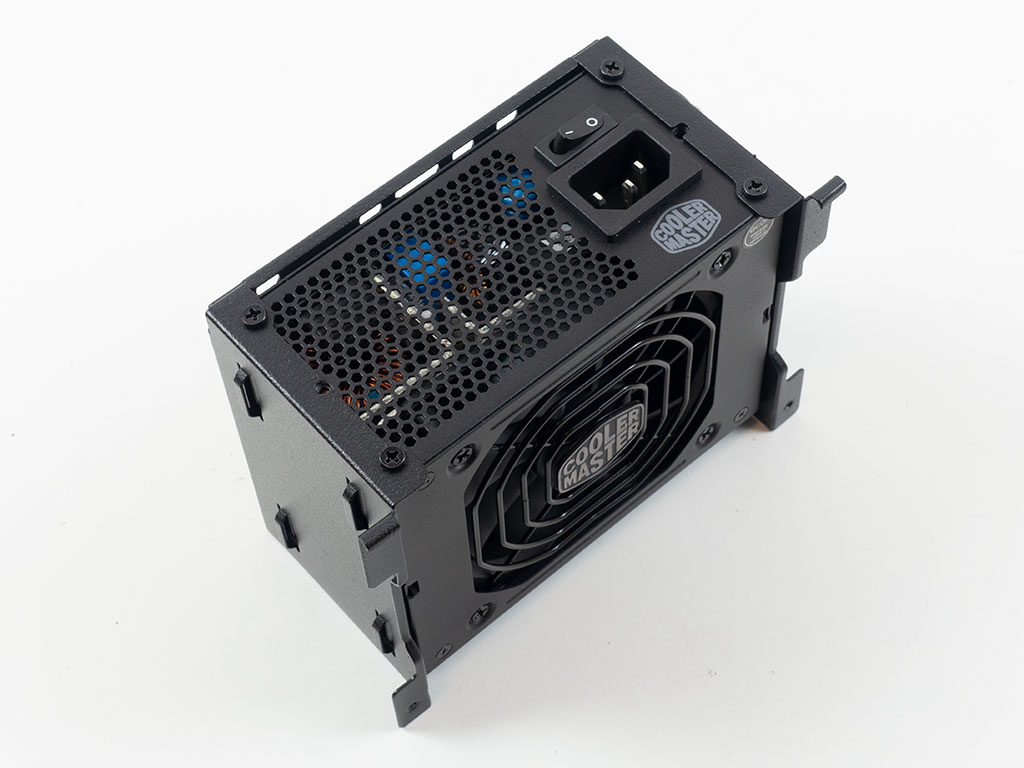
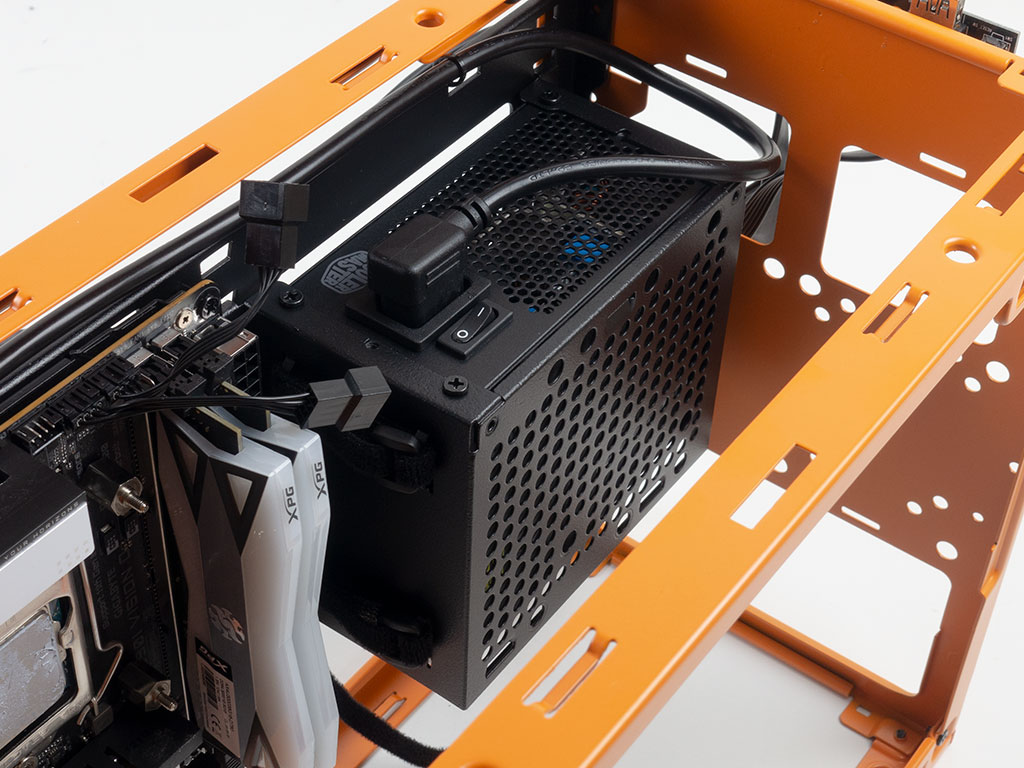
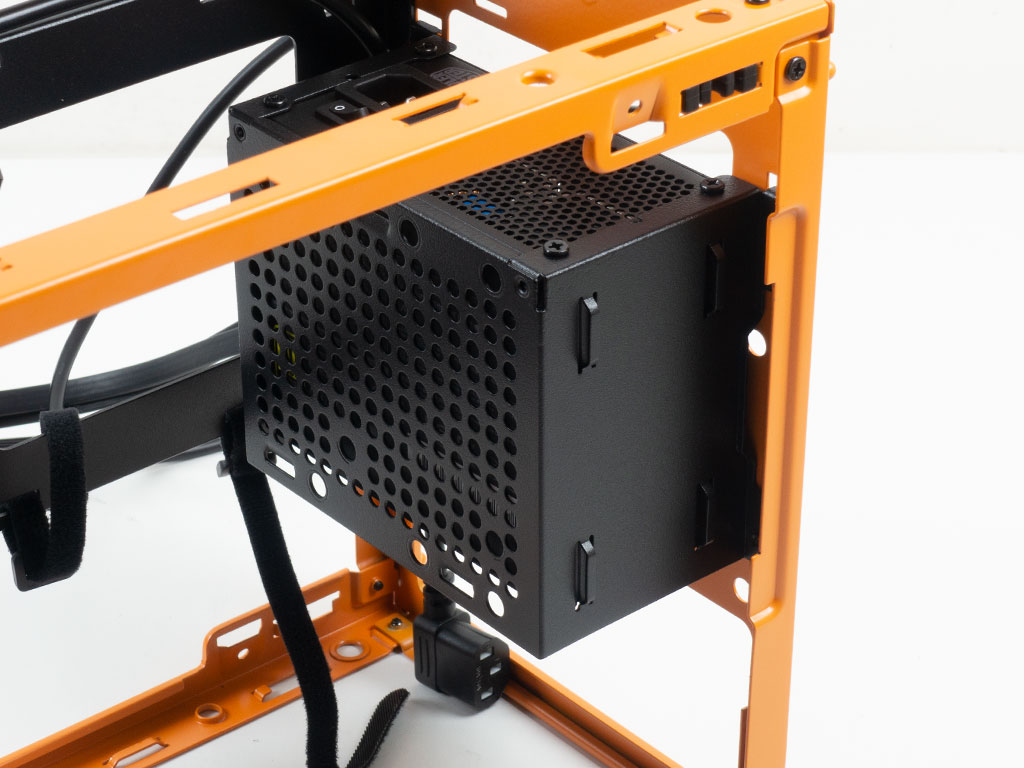
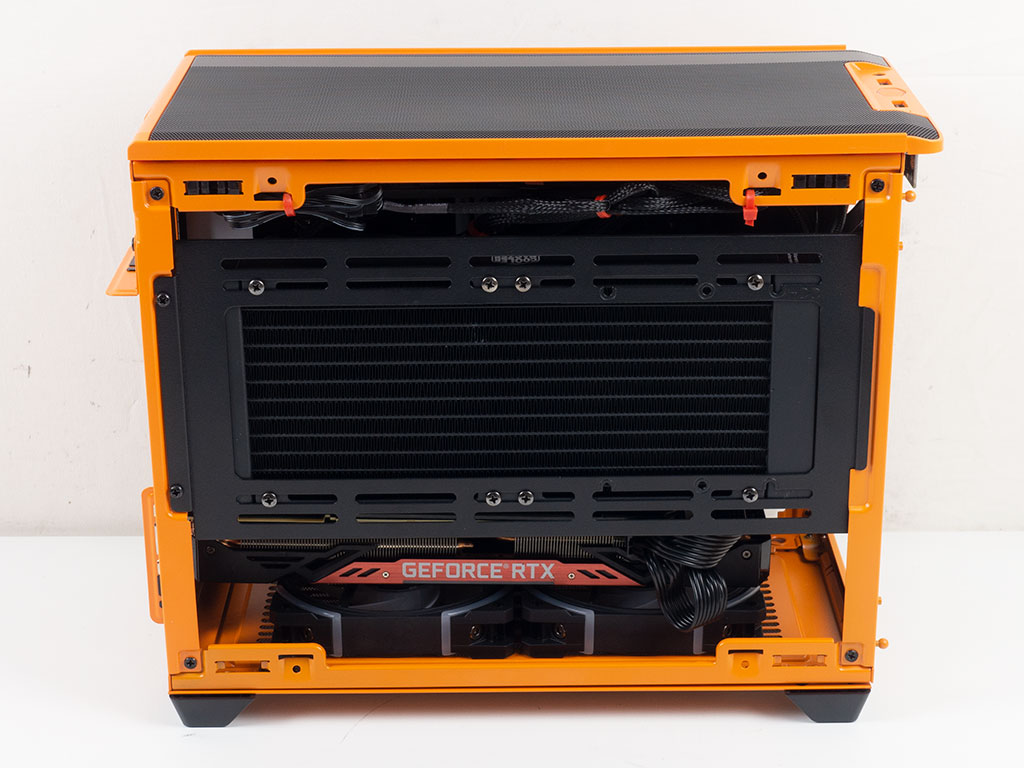
To place the power supply, detach the frame from the interior to fill it outside of the enclosure. The NR200P has two mounting positions on the side with the one for SFX units slightly lower without interfering with any long GPU and leaving room for the ceiling fans. If you opt for an SFX-L unit, there is the upper position as well. While this removes the ability to place one of the fans in the ceiling, it increases the odds of a longer GPU fitting.
As a compromise, you may also install the whole frame into the front of the chassis. This gives you full fan support and enough space for some mainstream GPUs in either a horizontal and vertical setup. That said, this will in turn keep you from using an AIO on the side.

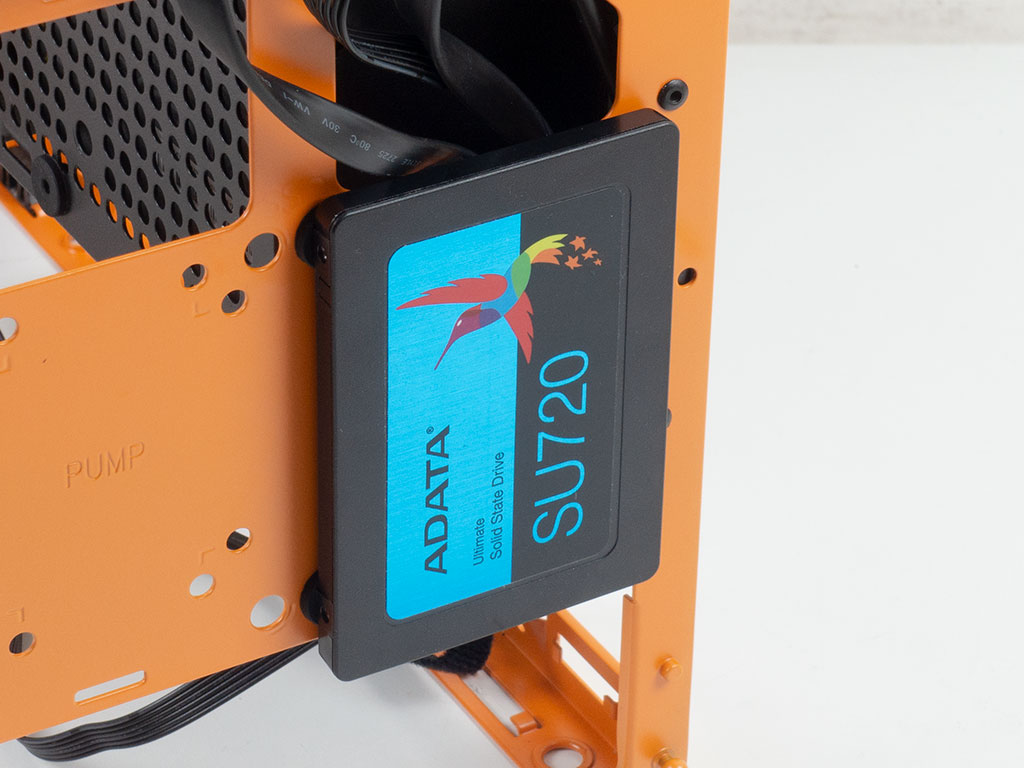
Thanks to the unique pin screws Cooler Master provides, you do not need any tools to add SSDs. Simply squeeze rubber rings into the right mounting position, attach the pins, and push the drive in place, where it is held down securely by friction.

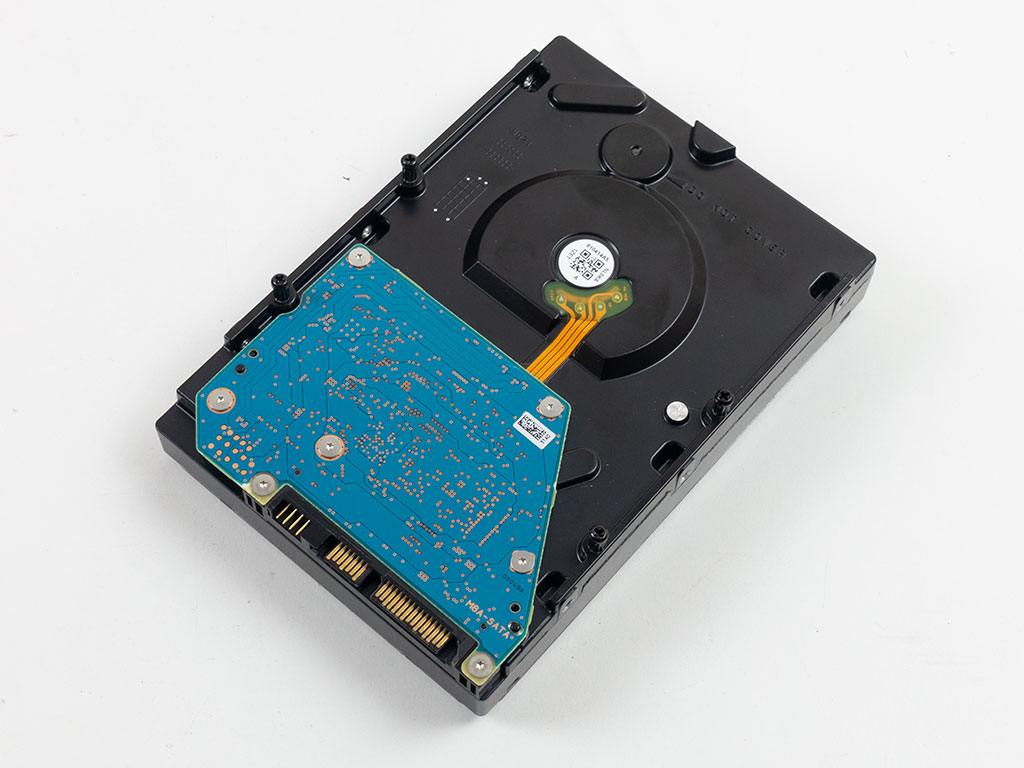

Installing a 3.5" drive is done in exactly the same way, and to showcase this method, we utilized the side of the PSU bracket. However, as this interferes with the vertical GPU mounting possibilities, we won't keep it around for the final build. You may also place it on the side frame or floor of the NR200P, but just as with the various PSU frame-mounting locations, you will always be compromising on some other element, be it fan or AIO support.
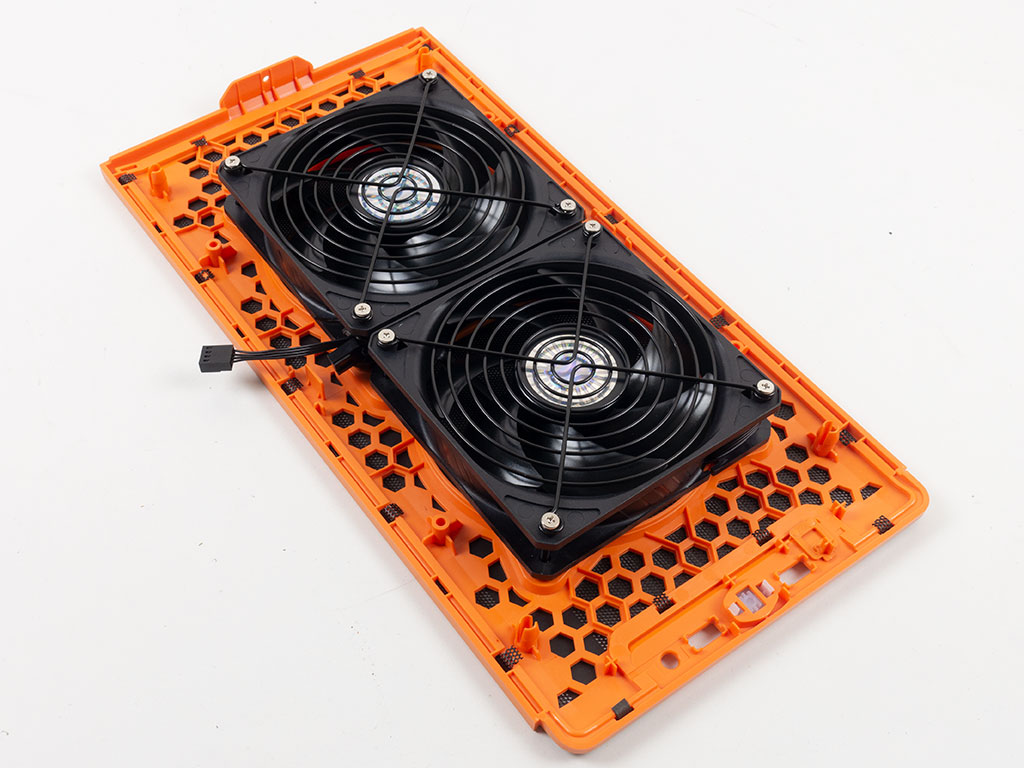
The whole concept of pins being held in place by rubber rings and friction also holds true for the fans, which is a refreshingly unique way to go about this. Thankfully, with the two fans coming pre-assembled, all you have to do is push them down in their appropriate slots.
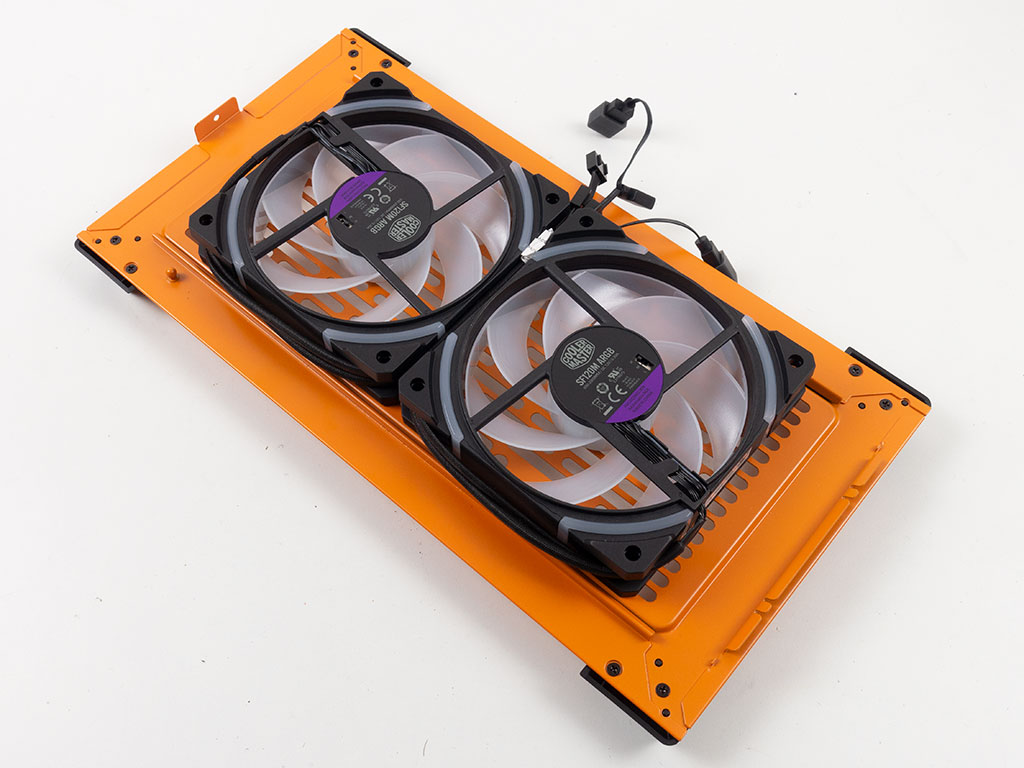
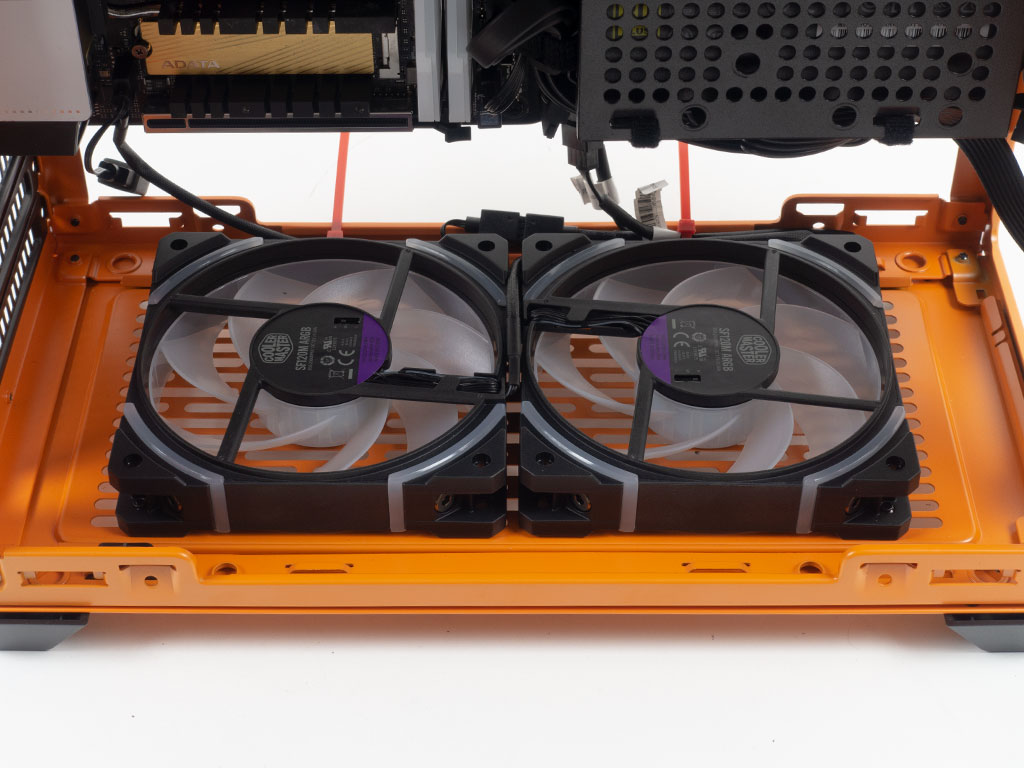
On the floor of the case, on the other hand, all fans are installed using classic fan screws. We used the supplied MasterFan SF120M ARGB units here. Alternatively, you may go for an AIO instead, which we will explore a little later.
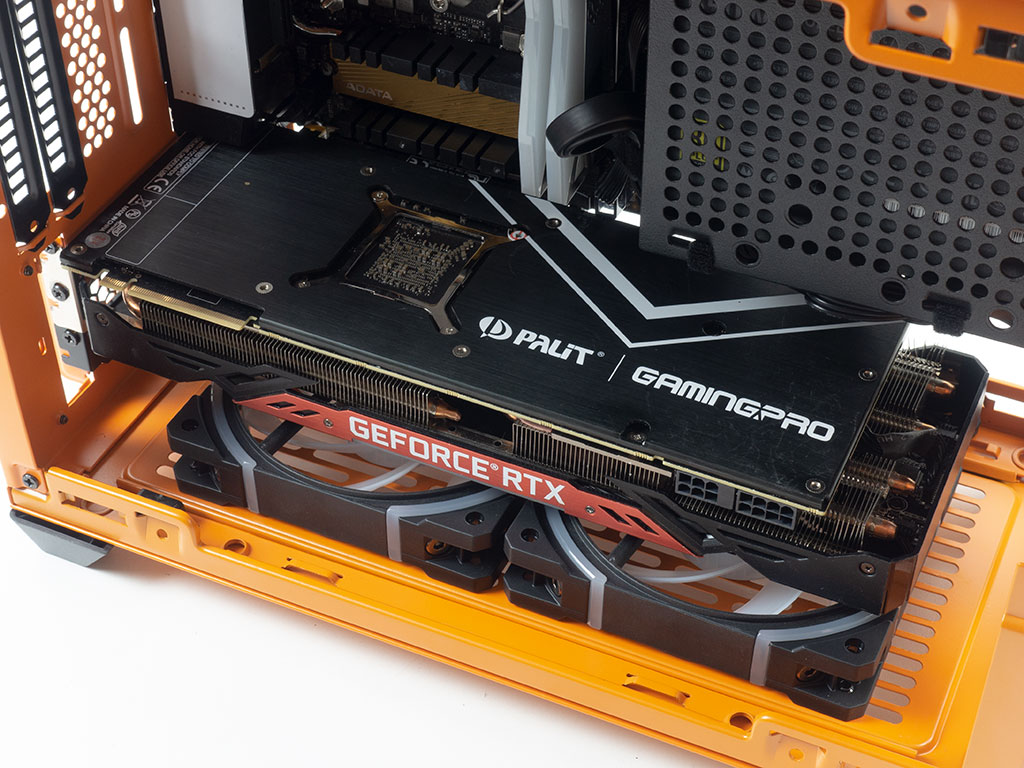
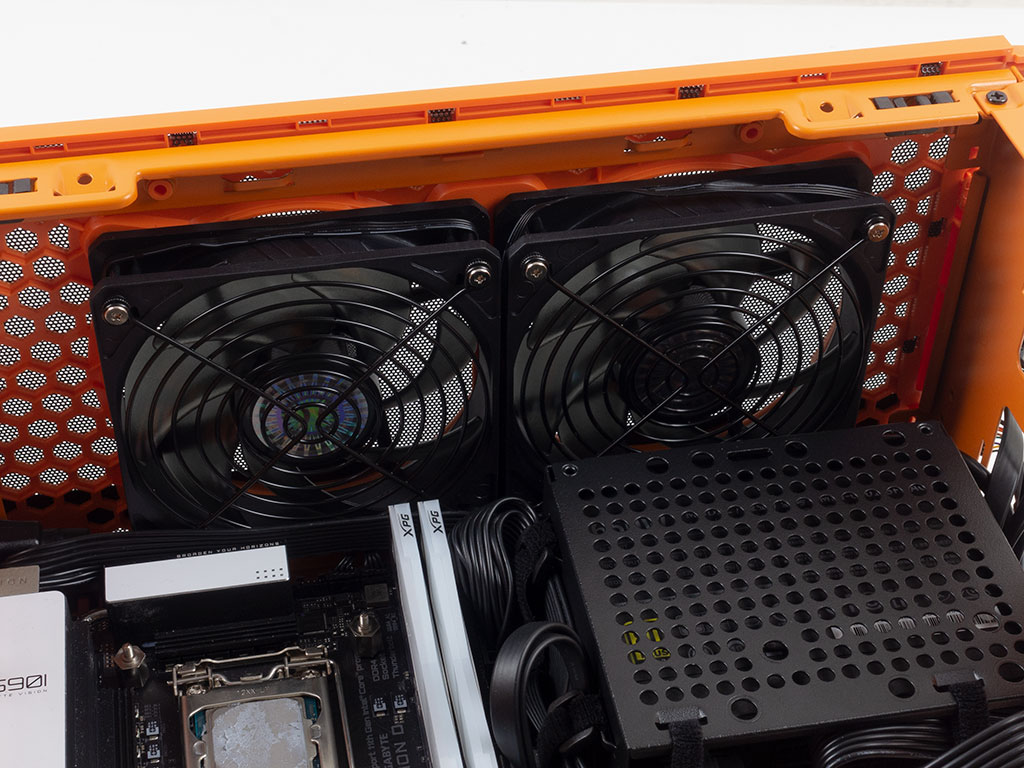
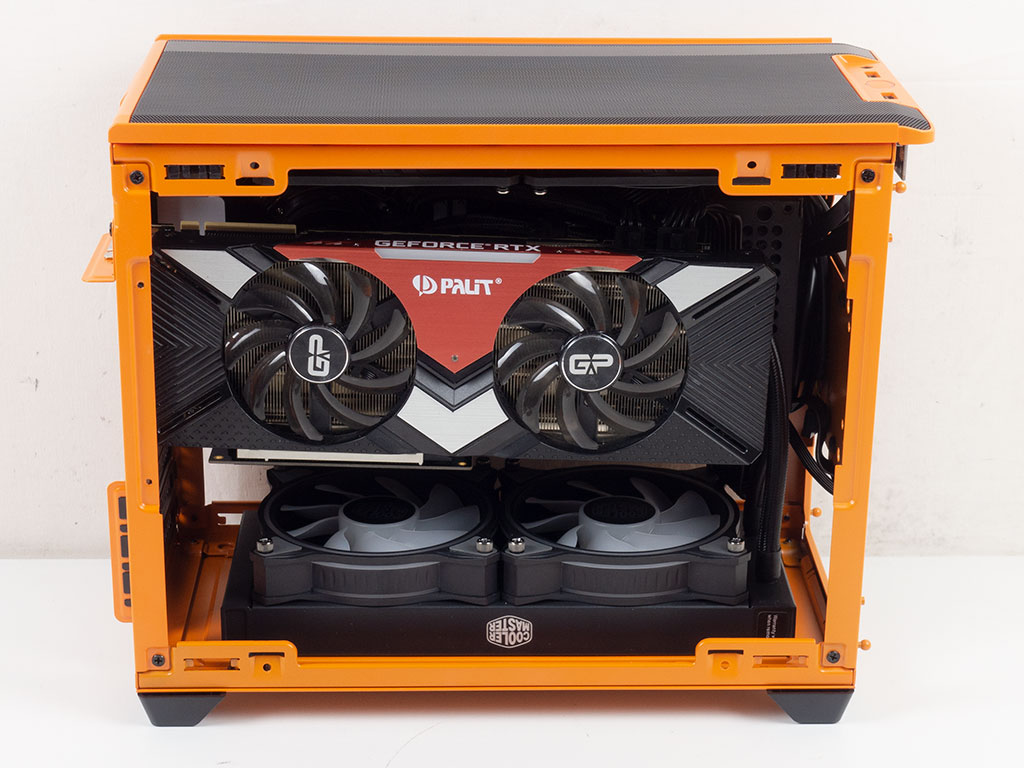
Even with fans on the floor, dual-slot GPUs will still fit just fine, which means you can supercharge their cooling potential by having the case fans push additional cold air up through the graphics card heatsink.
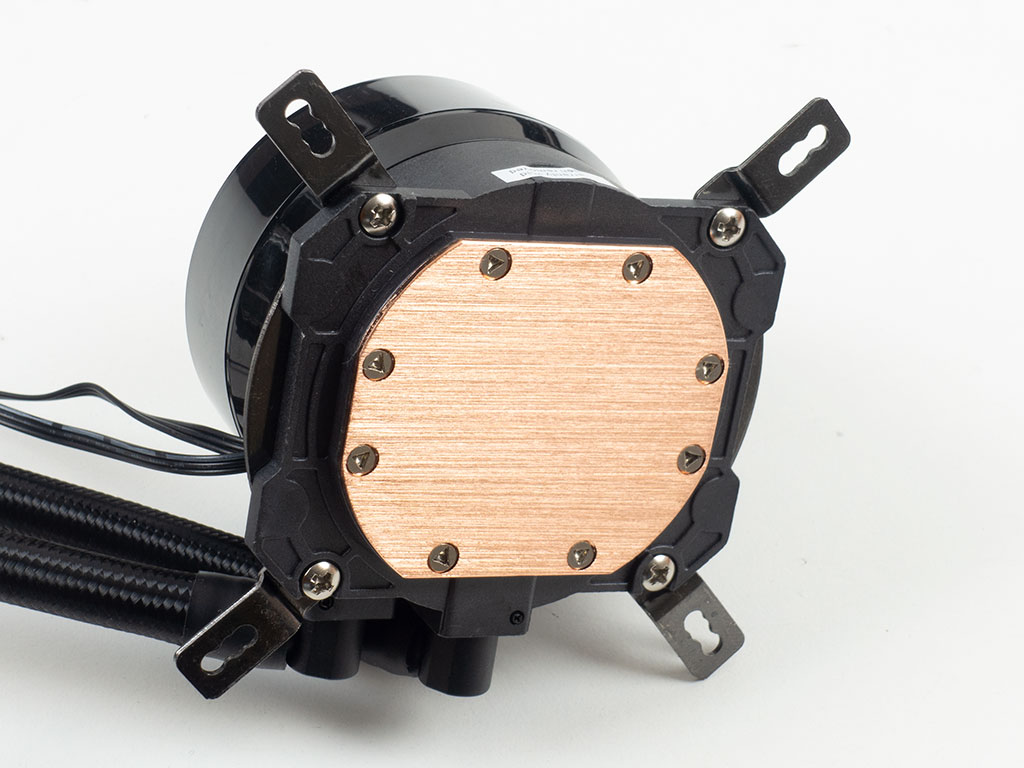

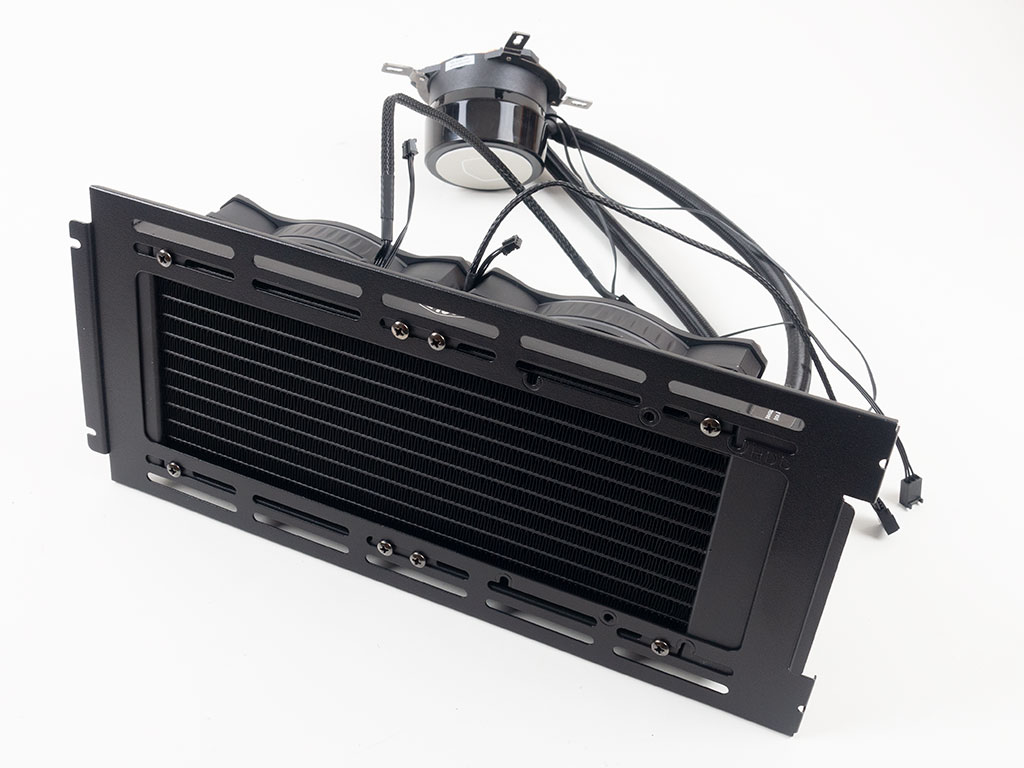
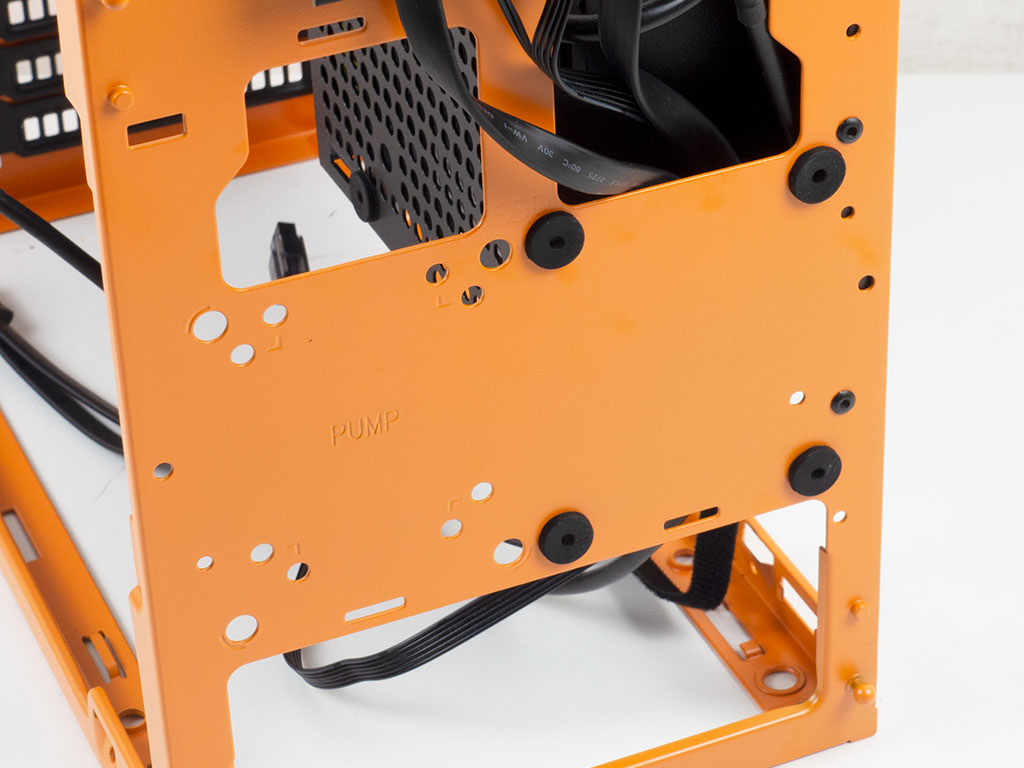
With a horizontally mounted GPU, the side of the Cooler Master NR200P may be used for an AIO. Such a unit may be prepped outside of the chassis. In the case of the ML240 Illusion, that meant installing the right mounting brackets on the pump and then screwing the radiator and fan combo onto the black frame first.
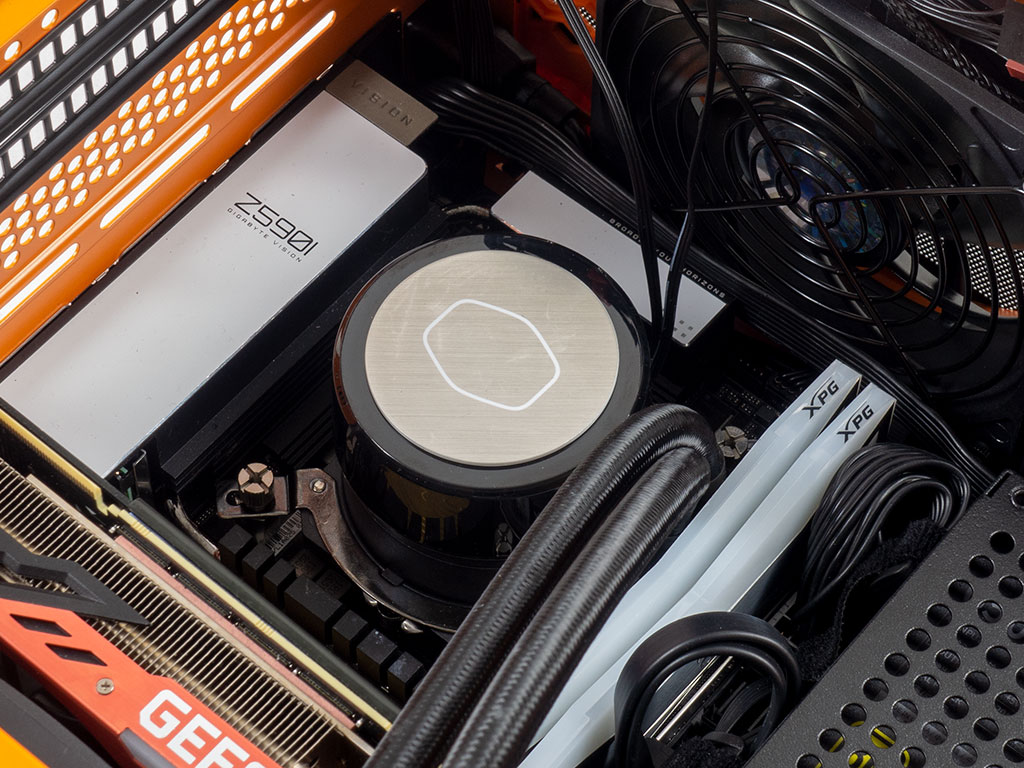
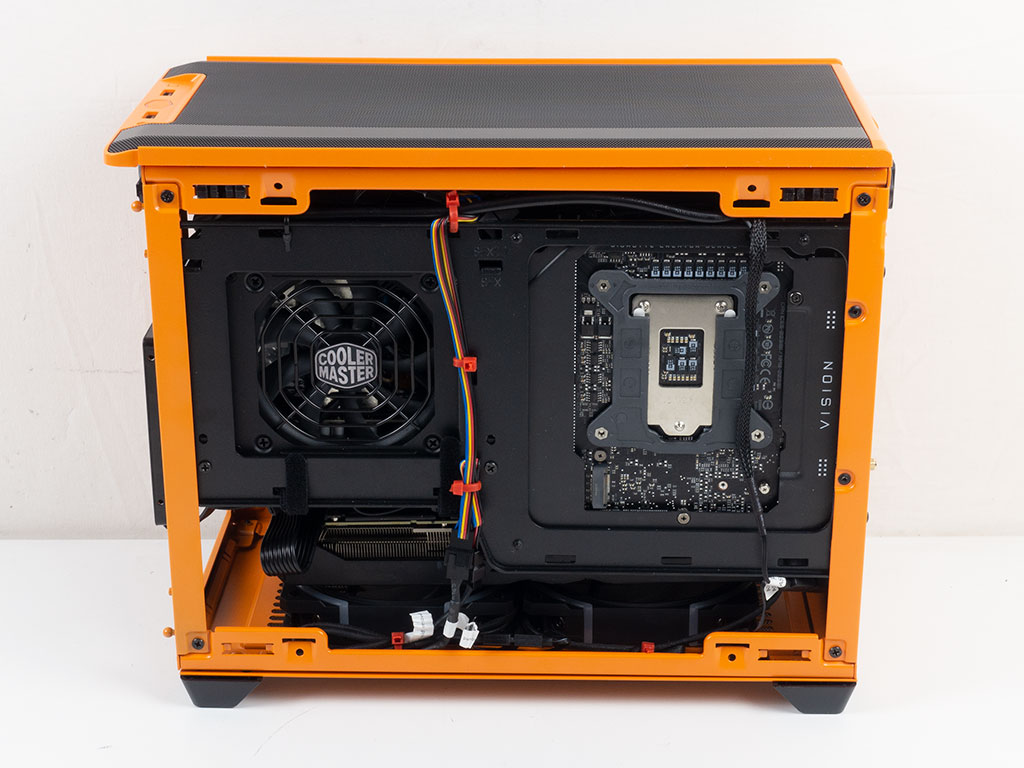
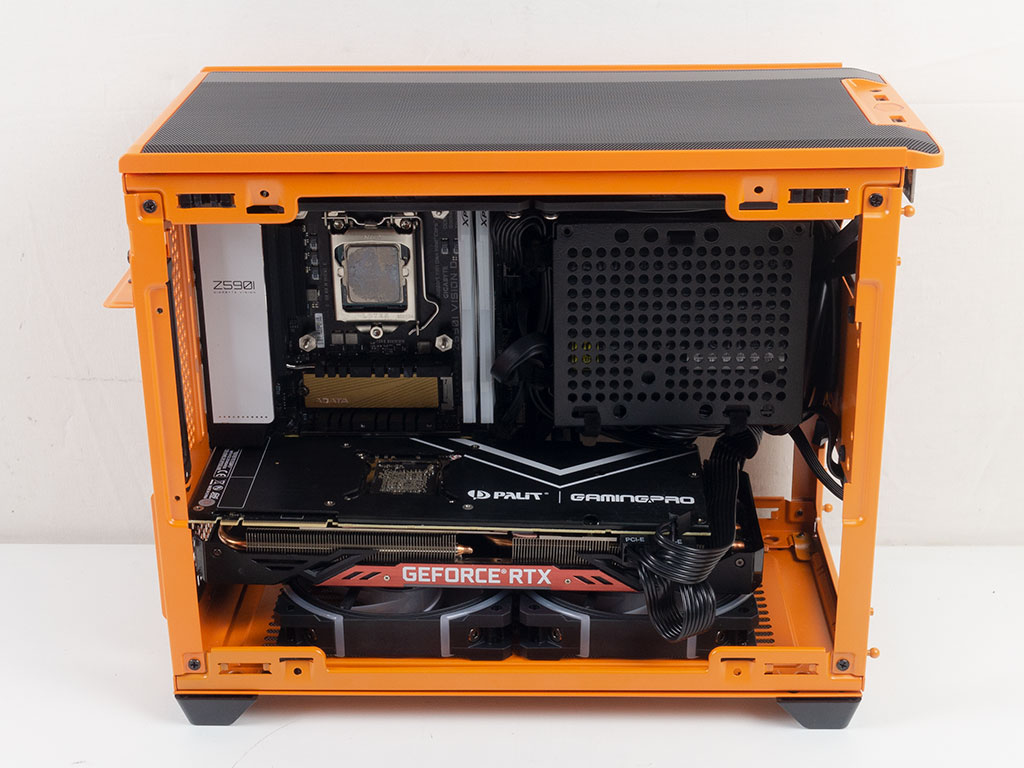
The pump is secured to the CPU with four smaller thumb screws which may be tightened with a screw driver to ensure proper contact. Once in place, the mounting plate and attached radiator may just be put into place and secured with two screws. This setup will cover any internal hardware you may have installed with the exception of the GPU, so using a window for a build like this is probably not the right choice, both visually and in terms of thermals. With everything assembled, there is only a minor cable mess, which we ran behind the motherboard tray, but everything is compact and tight, with no loose ends dangling about.
Assembly - Vertical GPU
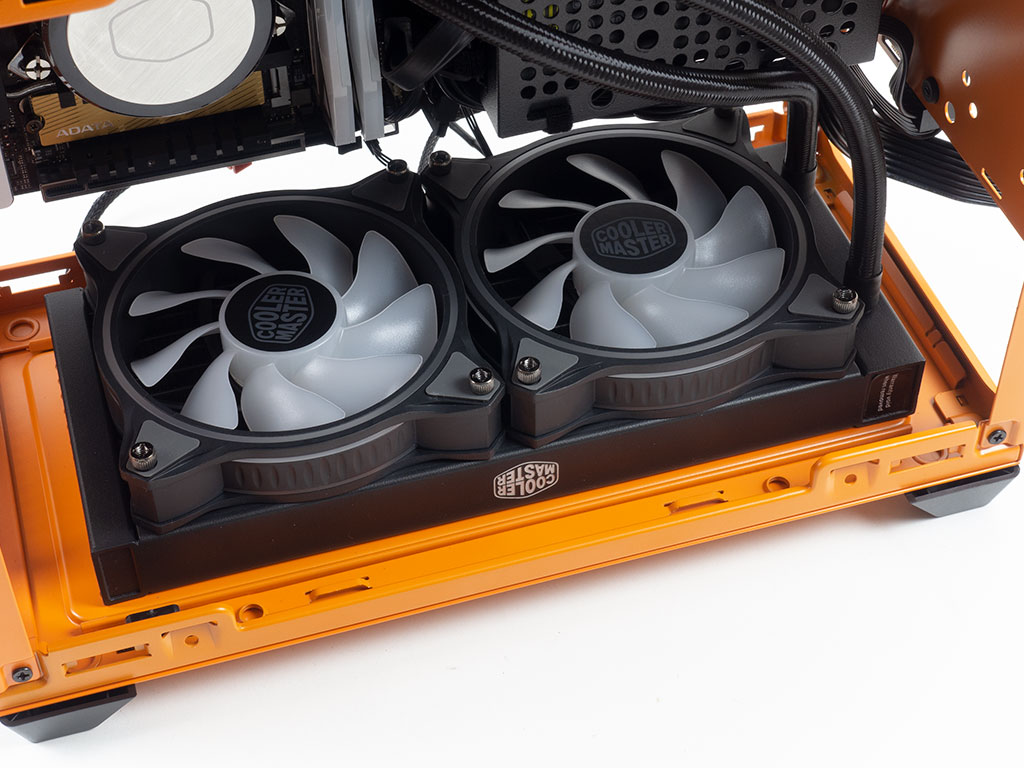
Alternatively, for a vertical GPU setup, you may install your AIO to the floor of the case. This is done just as you would with classic fans, thus allowing you to prepare everything outside of the chassis to then re-attach the underside to the case frame.


Doing so gives you the ability to use the included PCIe 3.0 riser cable to secure your GPU vertically. As the riser cable is stiff, the card does get pushed around a little bit, so it's slightly crooked.
This configuration allows you to nicely show off what is most likely the most expensive component of your build when using the glass side panel.
Apr 14th, 2025 03:45 EDT
change timezone
Latest GPU Drivers
New Forum Posts
- What's your latest tech purchase? (23543)
- 9070XT or 7900XT or 7900XTX (191)
- TPU's Nostalgic Hardware Club (20238)
- 7800X3D and 5070 Ti / 9070 XT Build (3)
- High-end build in the 2025 mad world situation (17)
- Regarding fan noise (19)
- RX 9000 series GPU Owners Club (313)
- Multiple major problems that i can't explain (1)
- Game Soundtracks You Love (1038)
- Advice on GPU upgrade (19)
Popular Reviews
- TerraMaster F8 SSD Plus Review - Compact and quiet
- ASUS GeForce RTX 5080 TUF OC Review
- Thermaltake TR100 Review
- The Last Of Us Part 2 Performance Benchmark Review - 30 GPUs Compared
- Zotac GeForce RTX 5070 Ti Amp Extreme Review
- Sapphire Radeon RX 9070 XT Pulse Review
- Sapphire Radeon RX 9070 XT Nitro+ Review - Beating NVIDIA
- Upcoming Hardware Launches 2025 (Updated Apr 2025)
- MSI MAG CORELIQUID A15 360 Review
- AMD Ryzen 7 9800X3D Review - The Best Gaming Processor
Controversial News Posts
- NVIDIA GeForce RTX 5060 Ti 16 GB SKU Likely Launching at $499, According to Supply Chain Leak (181)
- MSI Doesn't Plan Radeon RX 9000 Series GPUs, Skips AMD RDNA 4 Generation Entirely (146)
- NVIDIA Sends MSRP Numbers to Partners: GeForce RTX 5060 Ti 8 GB at $379, RTX 5060 Ti 16 GB at $429 (124)
- Microsoft Introduces Copilot for Gaming (124)
- Nintendo Confirms That Switch 2 Joy-Cons Will Not Utilize Hall Effect Stick Technology (105)
- Over 200,000 Sold Radeon RX 9070 and RX 9070 XT GPUs? AMD Says No Number was Given (100)
- Nintendo Switch 2 Launches June 5 at $449.99 with New Hardware and Games (99)
- NVIDIA PhysX and Flow Made Fully Open-Source (77)