 33
33
Cooltek W2 Review
Assembly & Finished Looks »A Closer Look - Inside

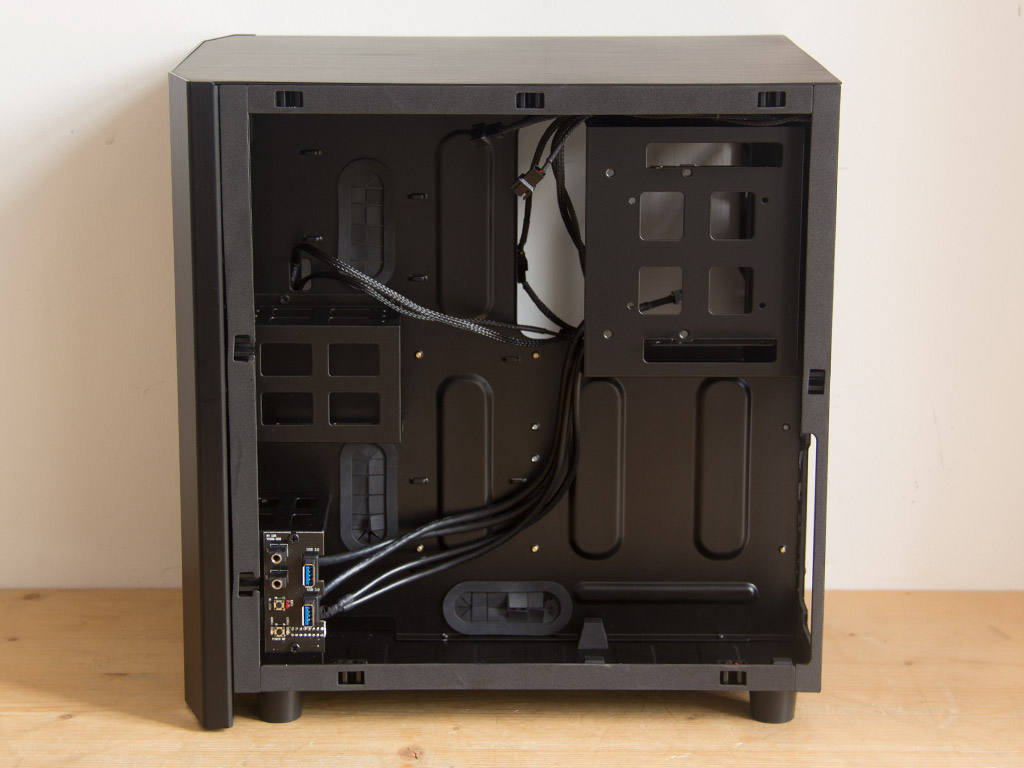
Simply pull the covers off to access the interior. These are held in place by many pins, so you won't have to worry about them coming off on their own. To eliminate any vibrations between the panels and the frame, both sides are lined with foam as a stop-gap. As expected, the interior is completely black, with a few holes in the divider between compartments to route cables through, and a large opening to access the CPU cooler's backplate.
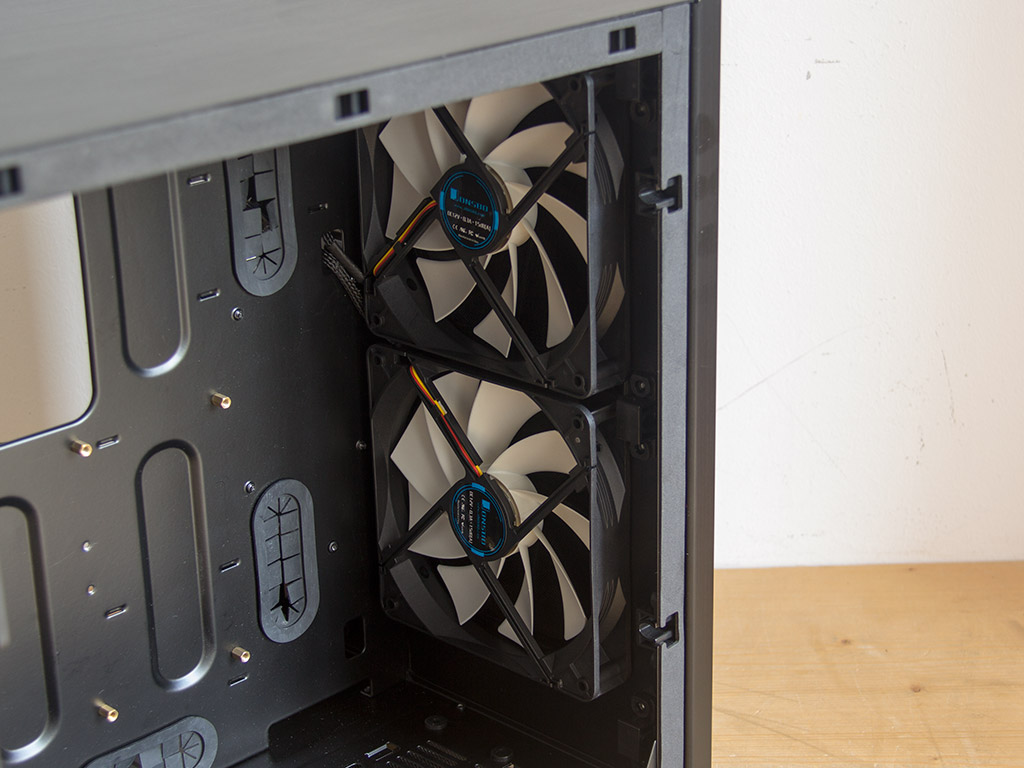
The front of the main compartment is taken up by the two aforementioned 140 mm fans. You may also place a radiator of up to 280 mm in size there if you wish.
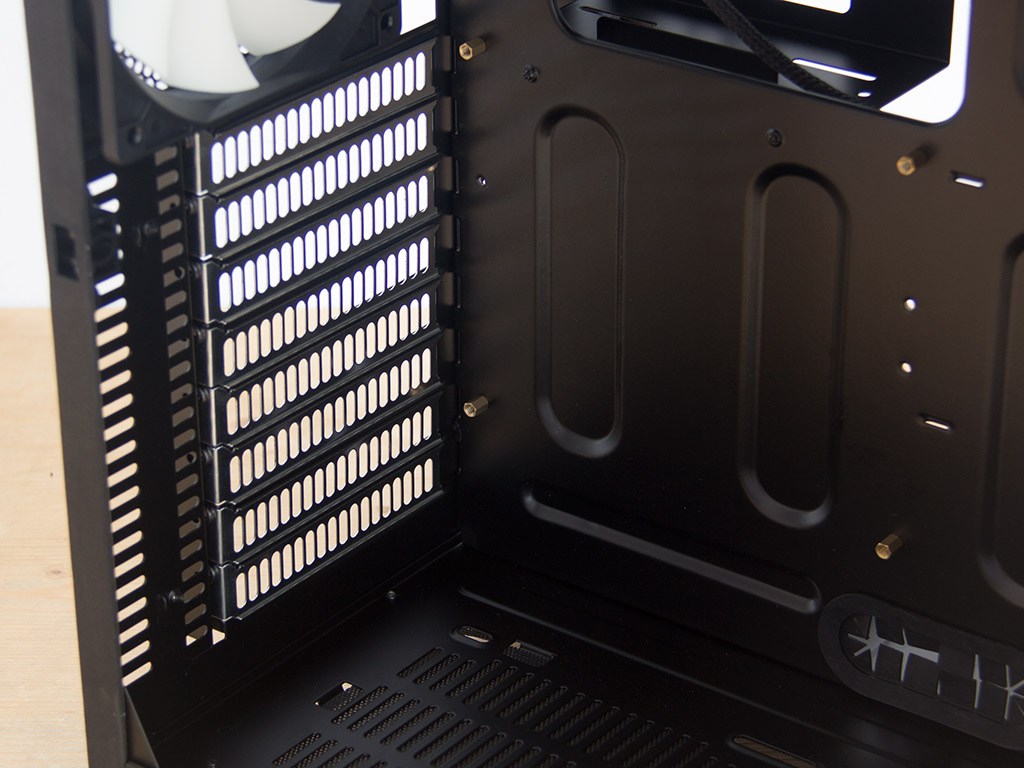
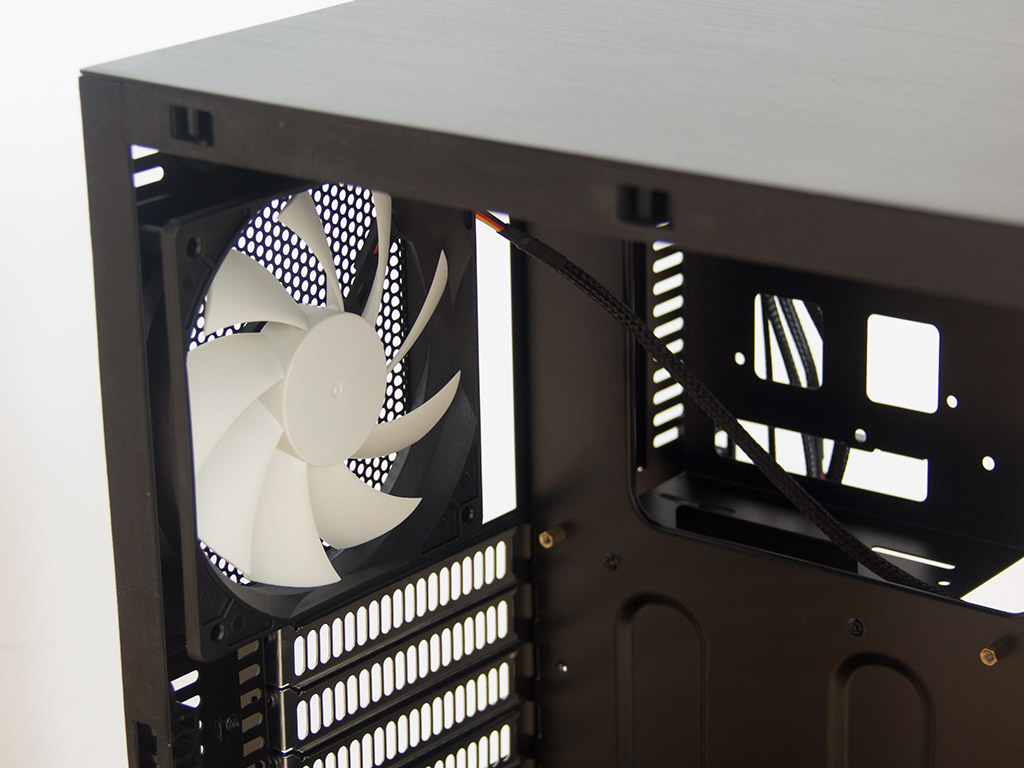
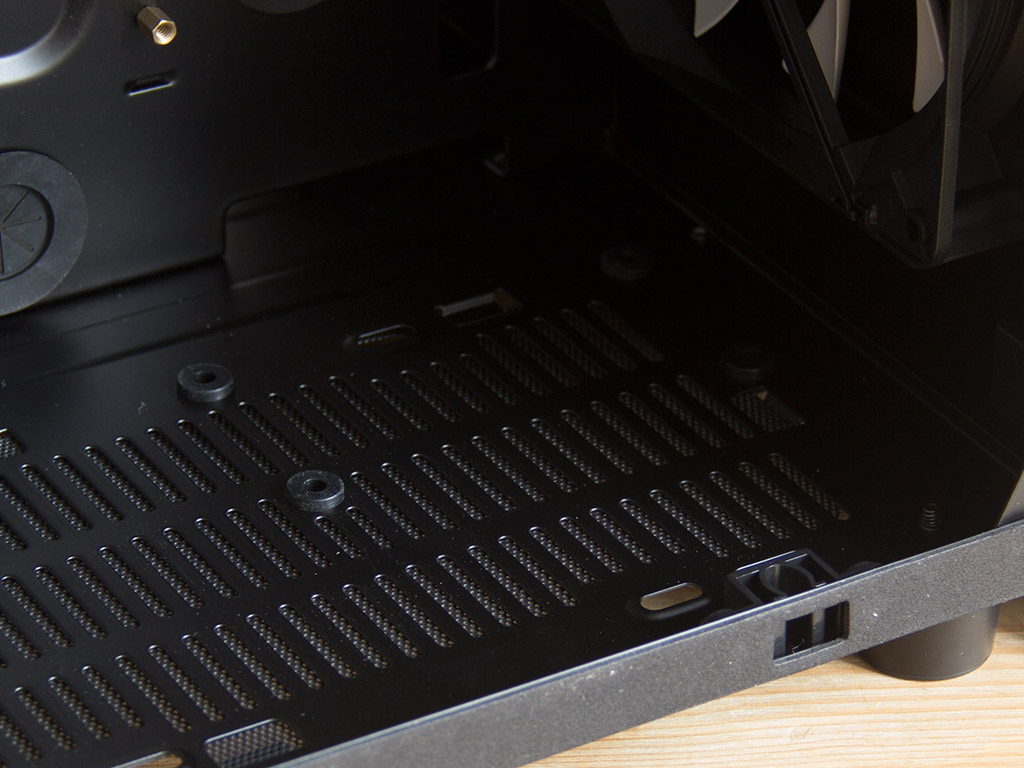
The rear of the main compartment bears no surprises as you have the eight expansion slots in the bottom half and the rear exhaust fan above it. It would have been nice to have thumbscrews on these expansion-slot covers even though screws are enough. If you opt not to install any fans on the floor, the space there can be used for additional hard drives. Should you do so, Cooltek has included rubber rings as an anti-vibration measure specifically for those spots.
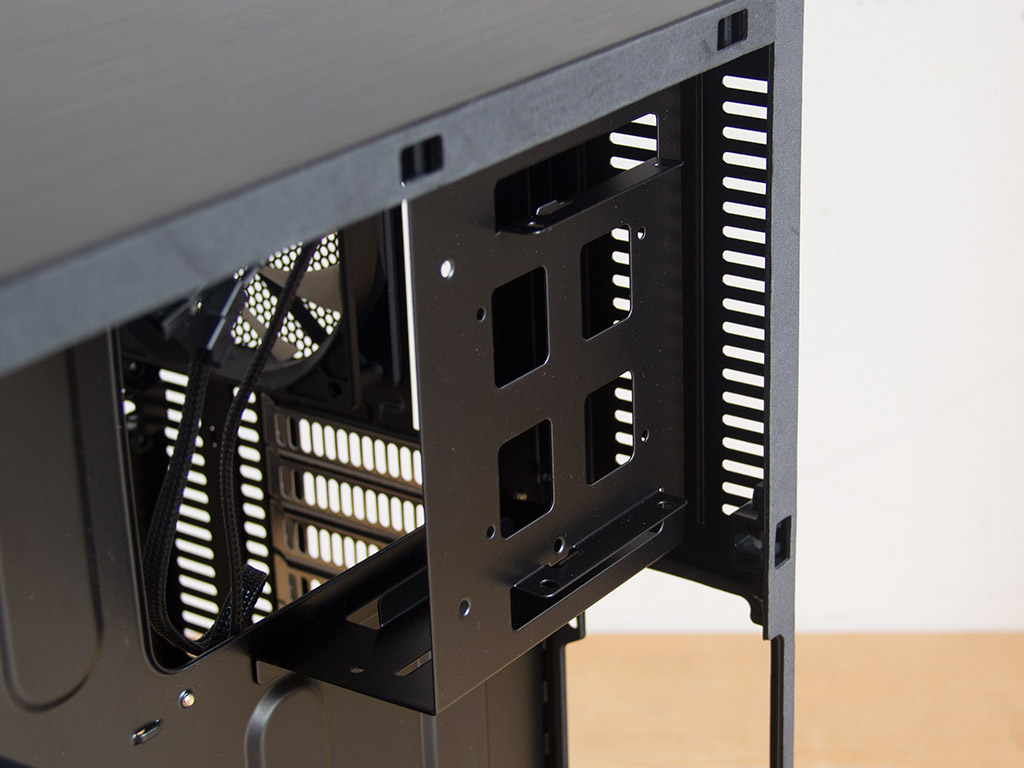
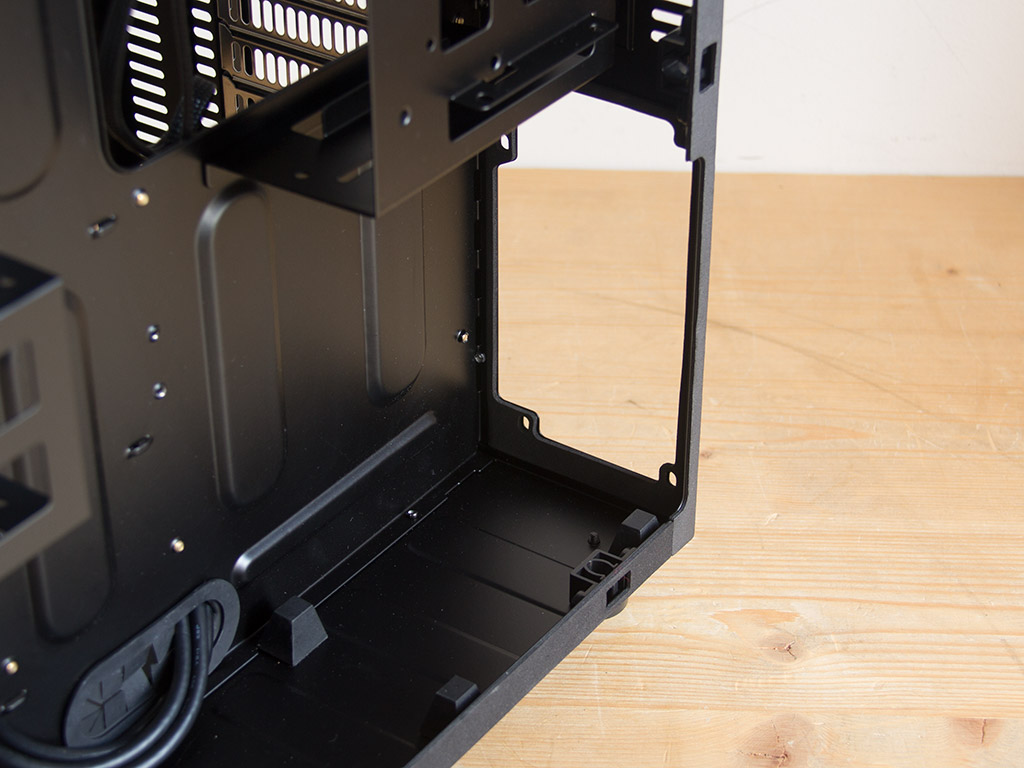
The smaller of the two compartments contains a bracket for the 5.25" drive bay. It may also hold a 3.5" drive in the rear. You will find the PSU bay on the bottom of the chassis. It comes with four rubber mounts for the unit to rest upon. If you were wondering why the picture above only shows three of them: One of the pyramids came off during the shipping process. I found it and put it back into its correct spot.
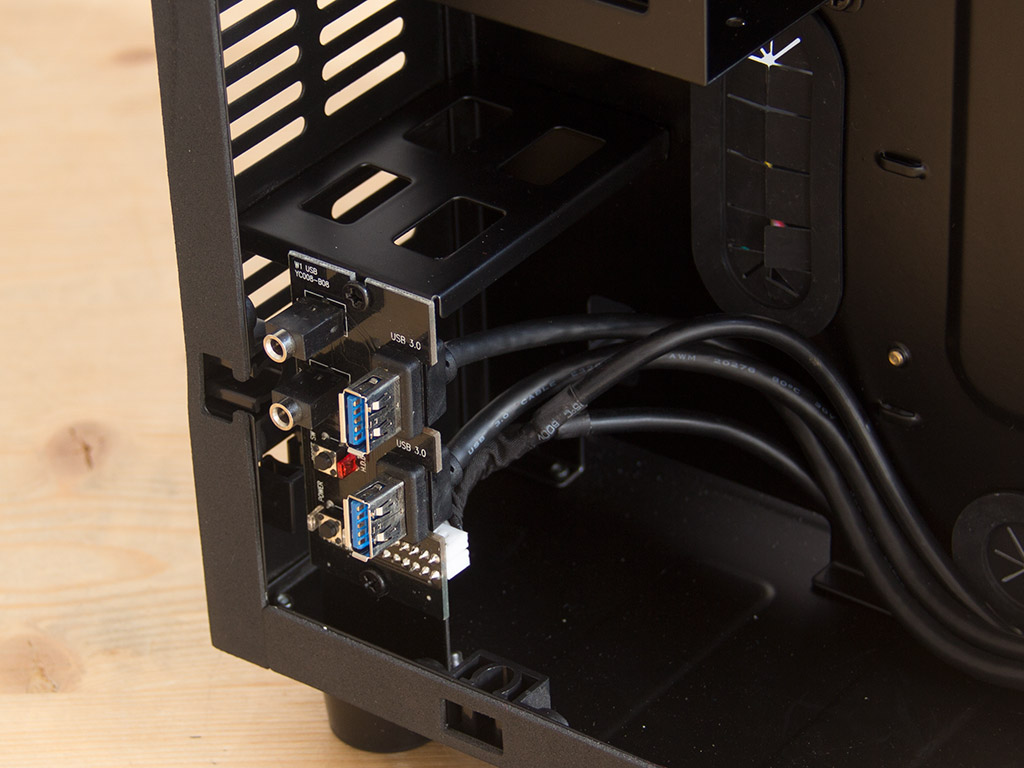
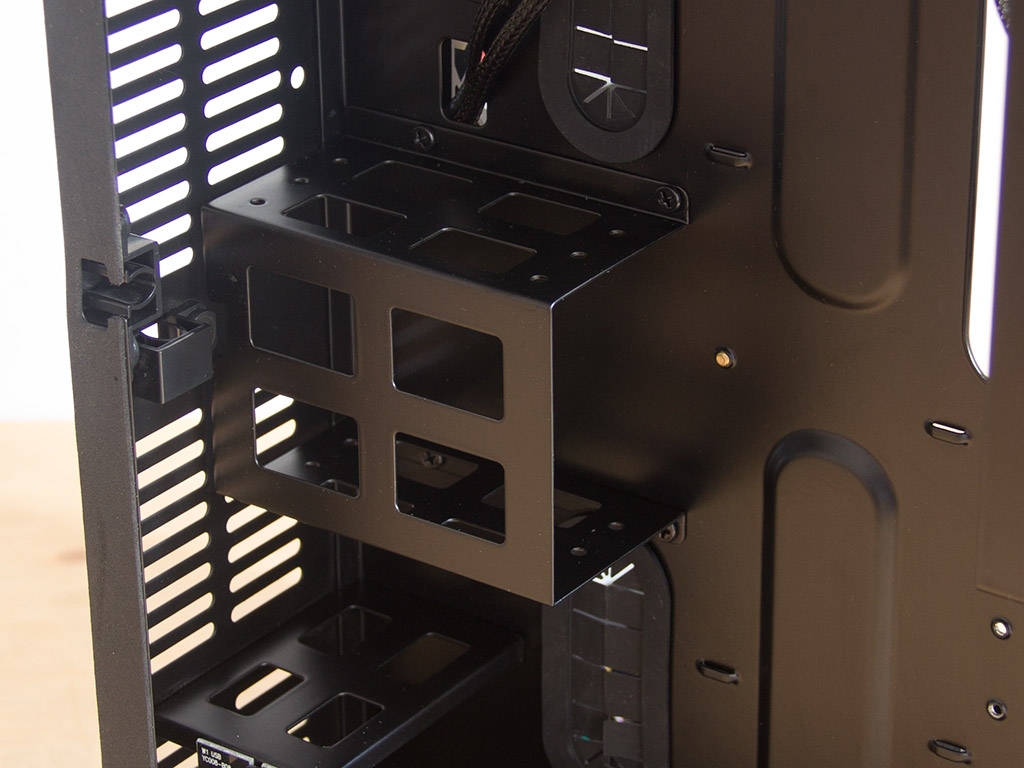
In the front of the same compartment are two notable features: First is the fact that Cooltek uses a PCB of high quality for both the I/O and the buttons, which has been detached from the side panel, and second is the 2.5" cage for up to three such drives or SSDs. However, installing drives here requires you to remove the cage, which takes a screwdriver.
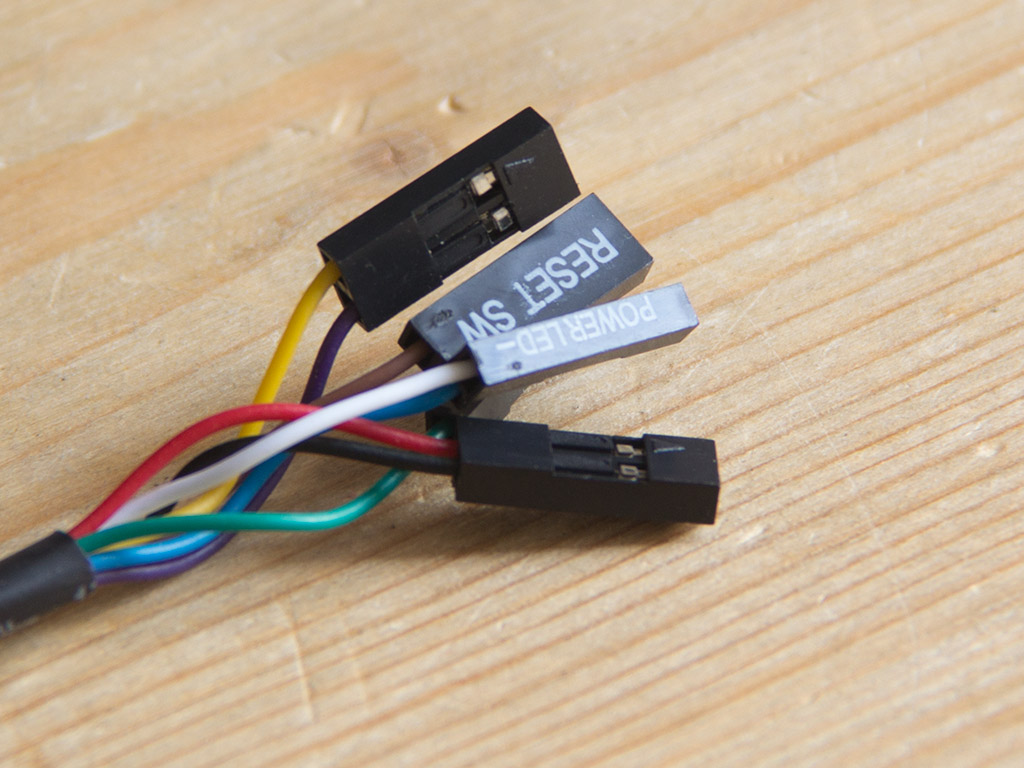
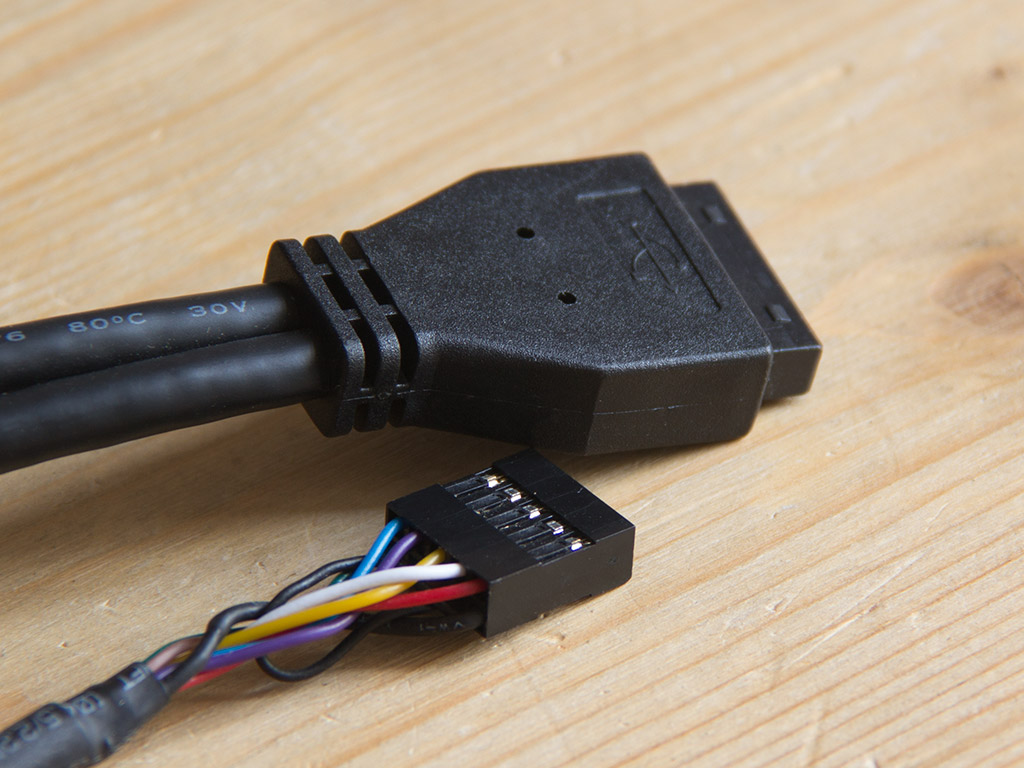
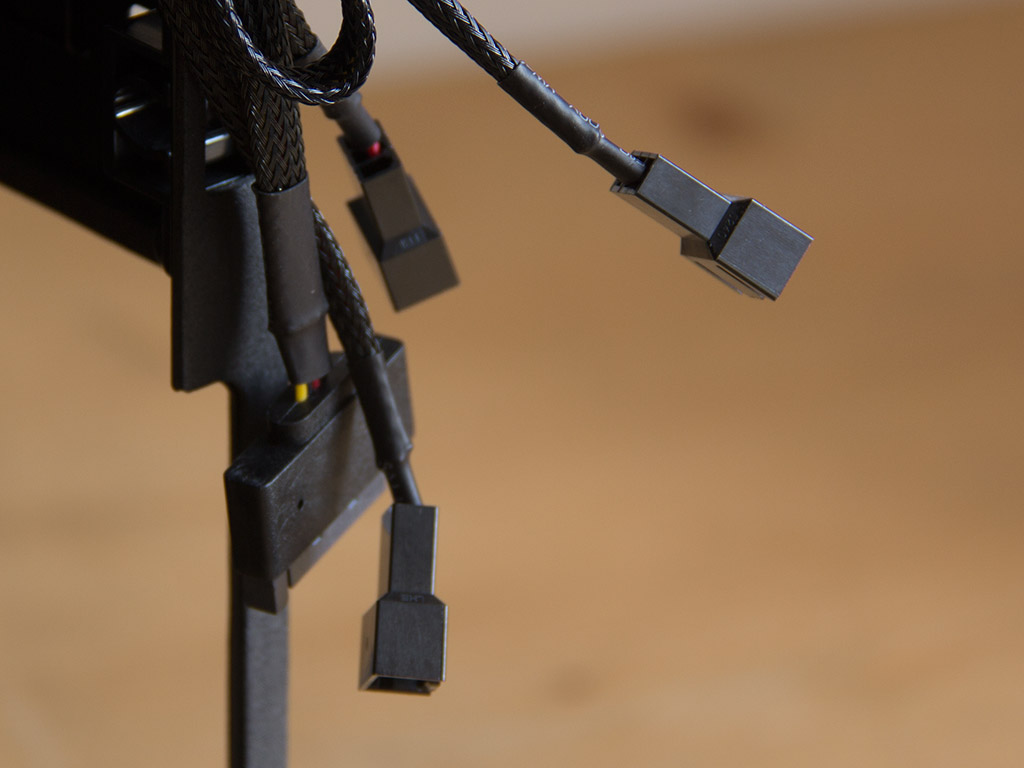
All the cables within are of the default variety, with black sleeving to match the W2's overall look. As the W2 also features a fan controller, there are three 3-pin connectors and a SATA power plug just for that purpose.
Apr 23rd, 2025 20:14 EDT
change timezone
Latest GPU Drivers
New Forum Posts
- To distill or not distill what say ye? (73)
- RTX 5070ti - Which MSRP model has the better/quieter cooler design, ASUS Prime, Gigabyte Windforce or PNY? (2)
- Companies should be called out for this (86)
- What are you playing? (23448)
- Just for lolz, Post your 3DMark2001SE Benchmark scores! (96)
- Help getting a mini pc (0)
- RX 9000 series GPU Owners Club (498)
- 5060 Ti 8GB DOA (255)
- DTS DCH Driver for Realtek HDA [DTS:X APO4 + DTS Interactive] (2151)
- Are the 8 GB cards worth it? (103)
Popular Reviews
- NVIDIA GeForce RTX 5060 Ti 8 GB Review - So Many Compromises
- ASUS GeForce RTX 5060 Ti TUF OC 16 GB Review
- ASRock X870E Taichi Lite Review
- Upcoming Hardware Launches 2025 (Updated Apr 2025)
- Sapphire Radeon RX 9070 XT Pulse Review
- Sapphire Radeon RX 9070 XT Nitro+ Review - Beating NVIDIA
- Colorful iGame B860M Ultra V20 Review
- NVIDIA GeForce RTX 5060 Ti PCI-Express x8 Scaling
- AMD Ryzen 7 9800X3D Review - The Best Gaming Processor
- ASUS GeForce RTX 5080 TUF OC Review
Controversial News Posts
- NVIDIA GeForce RTX 5060 Ti 16 GB SKU Likely Launching at $499, According to Supply Chain Leak (182)
- NVIDIA Sends MSRP Numbers to Partners: GeForce RTX 5060 Ti 8 GB at $379, RTX 5060 Ti 16 GB at $429 (127)
- NVIDIA Launches GeForce RTX 5060 Series, Beginning with RTX 5060 Ti This Week (115)
- Nintendo Confirms That Switch 2 Joy-Cons Will Not Utilize Hall Effect Stick Technology (105)
- Nintendo Switch 2 Launches June 5 at $449.99 with New Hardware and Games (99)
- Sony Increases the PS5 Pricing in EMEA and ANZ by Around 25 Percent (85)
- NVIDIA PhysX and Flow Made Fully Open-Source (77)
- Windows Notepad Gets Microsoft Copilot Integration (75)