 33
33
Cooltek W2 Review
Value & Conclusion »Assembly
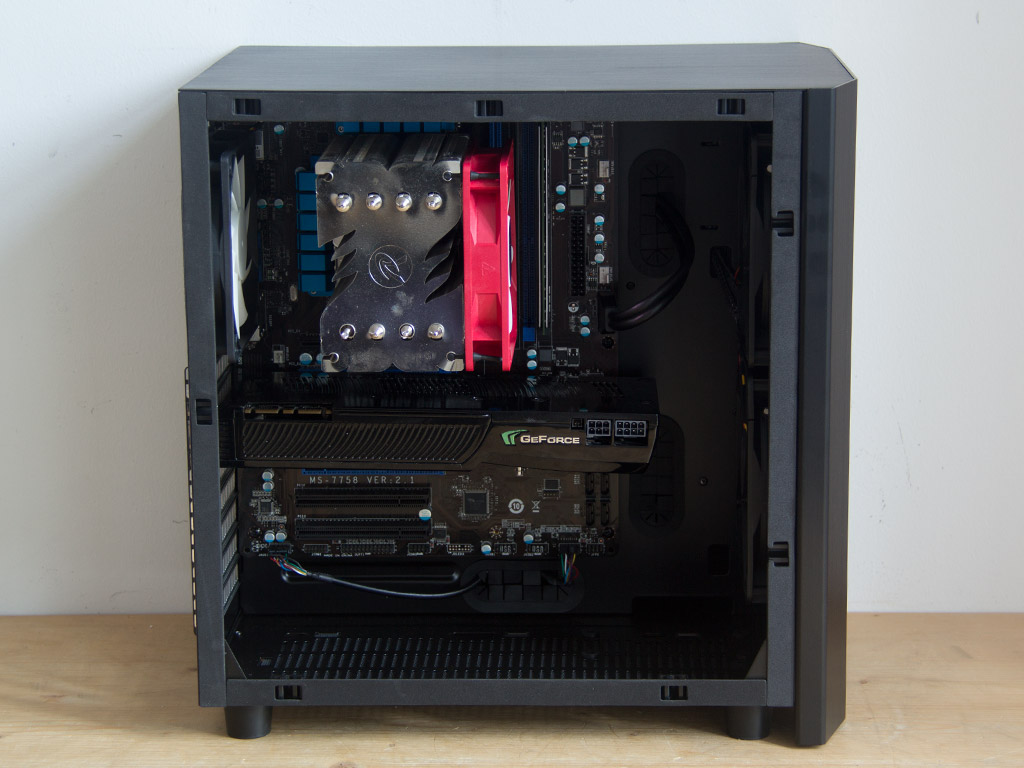
Installing the motherboard is done by traditional means, with the use of spacers and screws. There is plenty of space for long graphics cards, but users of liquid cooling gear and extremely long cards may find themselves in a bind. In terms of CPU coolers, the 120 mm Rajintek tower cooler just barely fit, so you should be able to fit any cooler of the same type into your build.
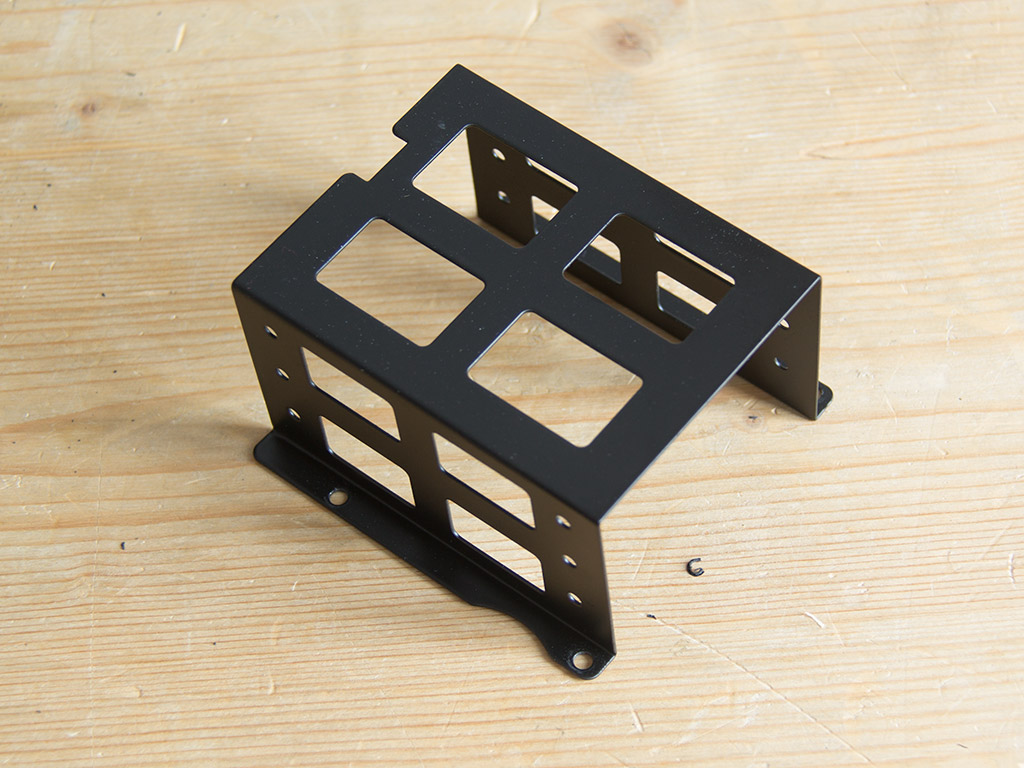
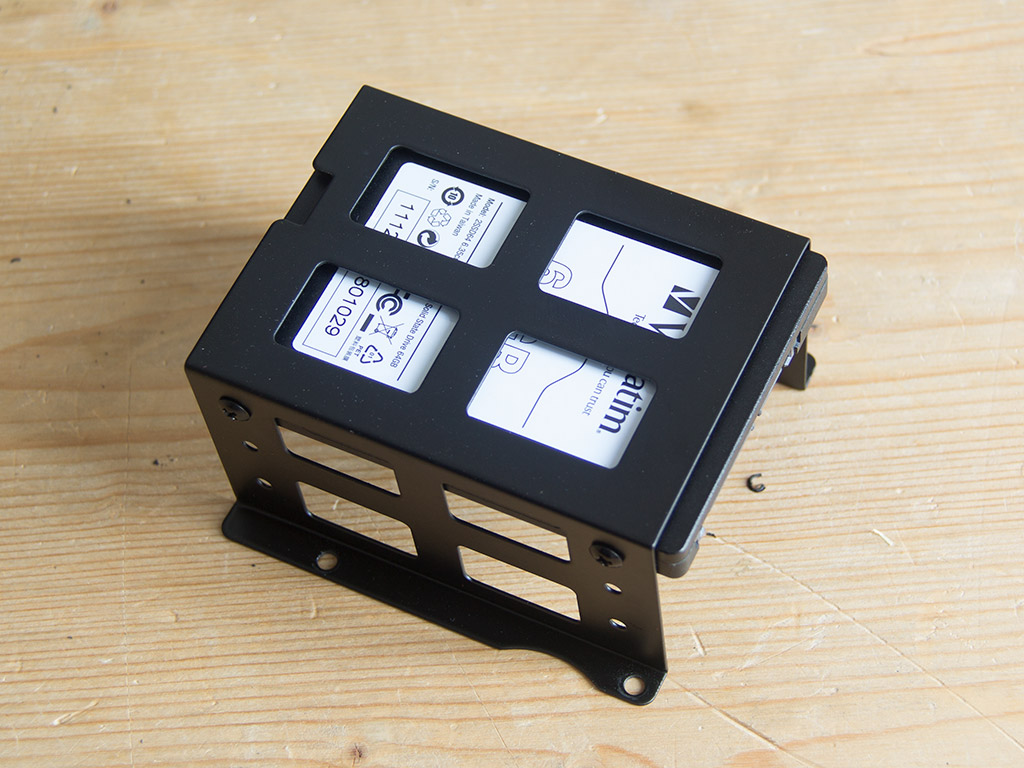
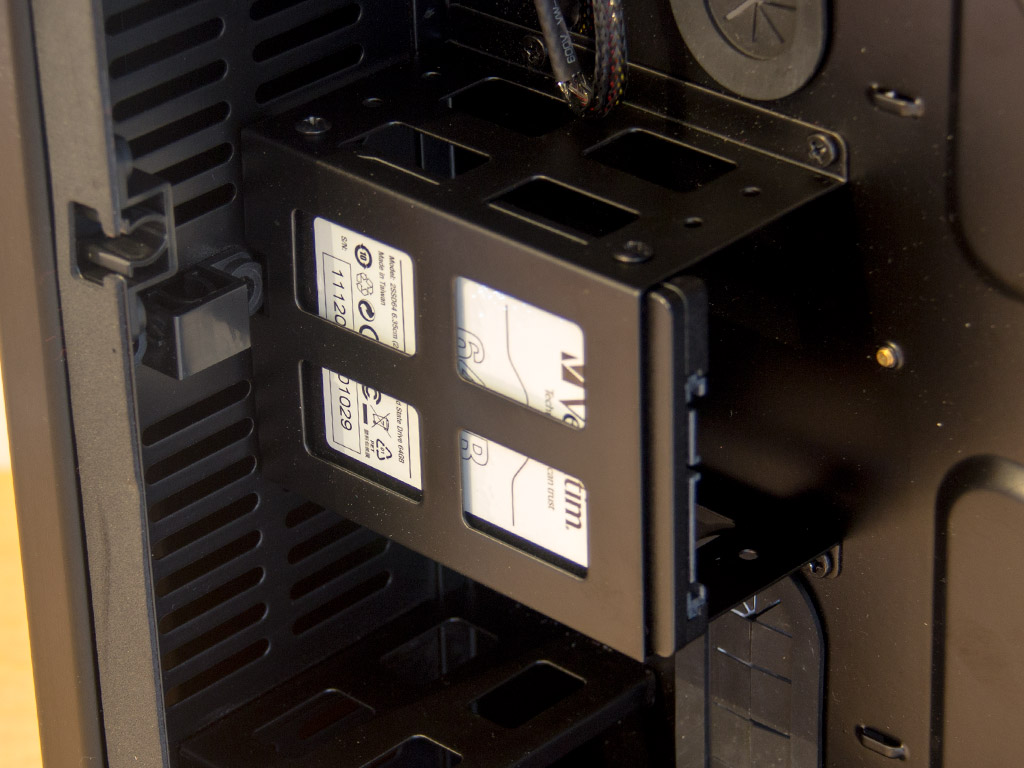
As mentioned before, you will need to remove the cages to install drives within them. Doing so is done with the use of the included screws. Simply put the cage back into place once the SSD has been installed to the cage.
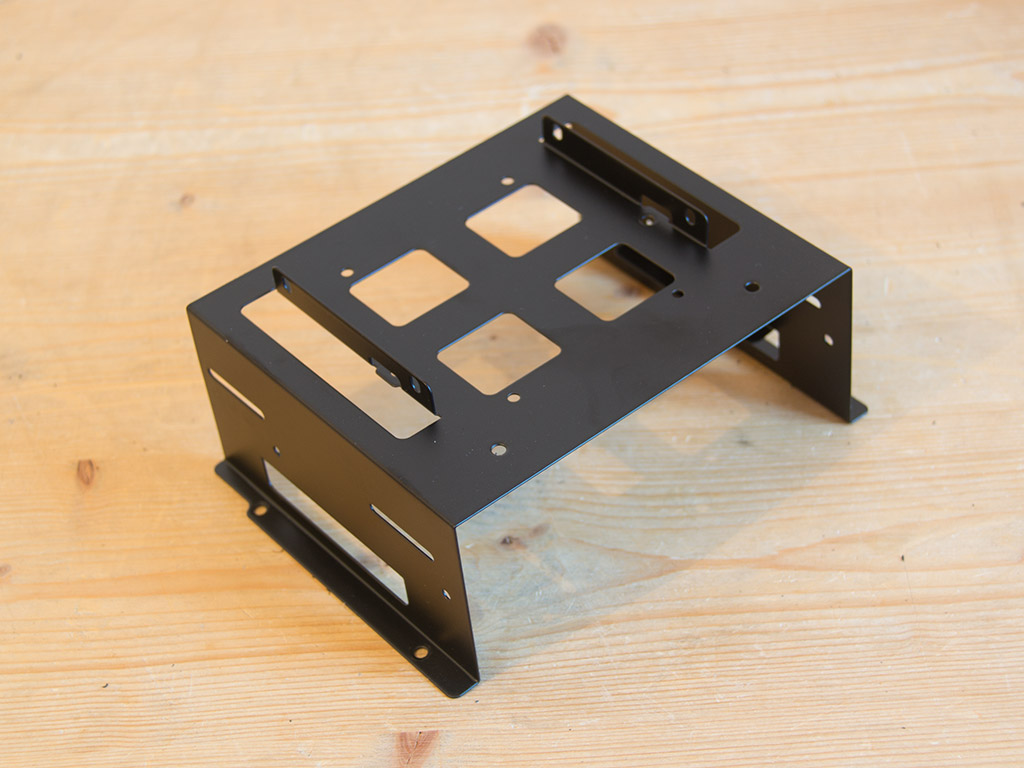
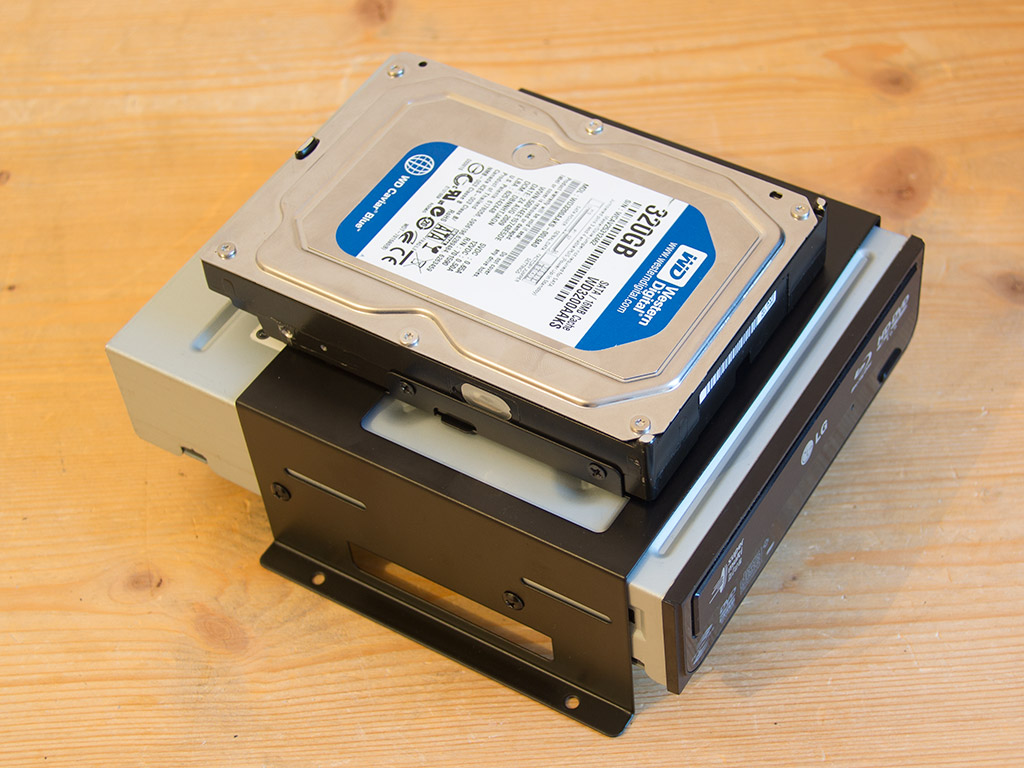
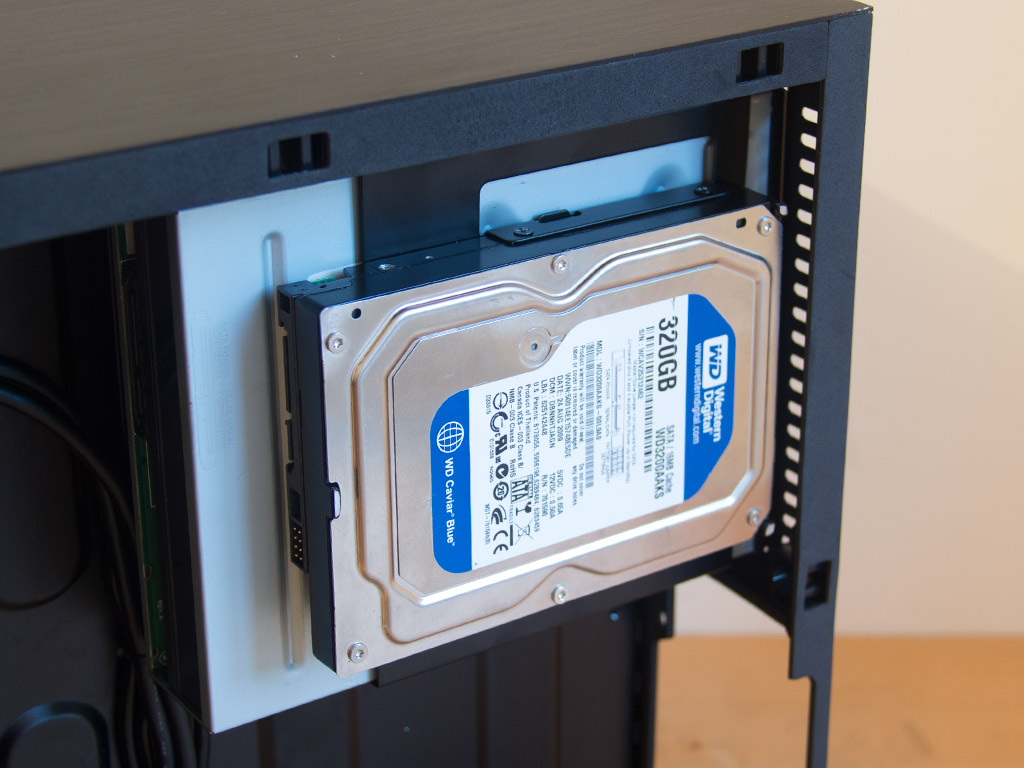
The same method holds true for the ODD and 3.5" hard drive. You just have to make sure to install these with the connectors facing the right way, before placing the whole contraption back into the Cooltek W2.
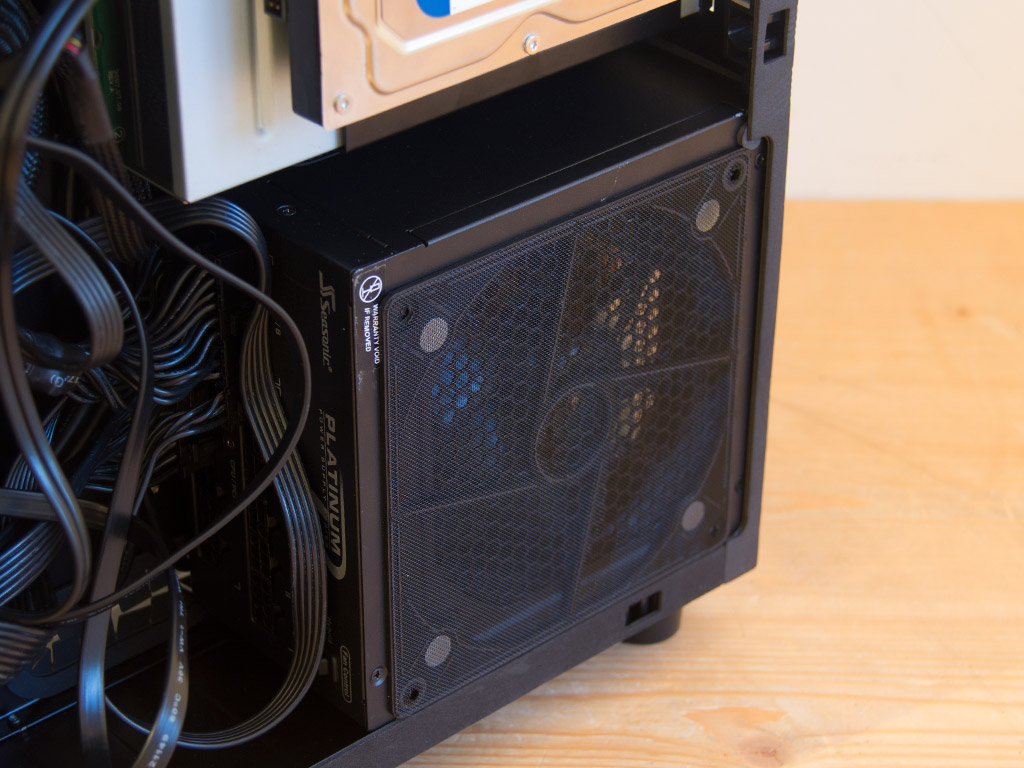
Securing the PSU is actually a breeze as there is nothing in the way. Once in place, you may put the magnetic dust filter on top of the vent. This protects the power supply from dust and dirt and allows for easy removal and cleaning.
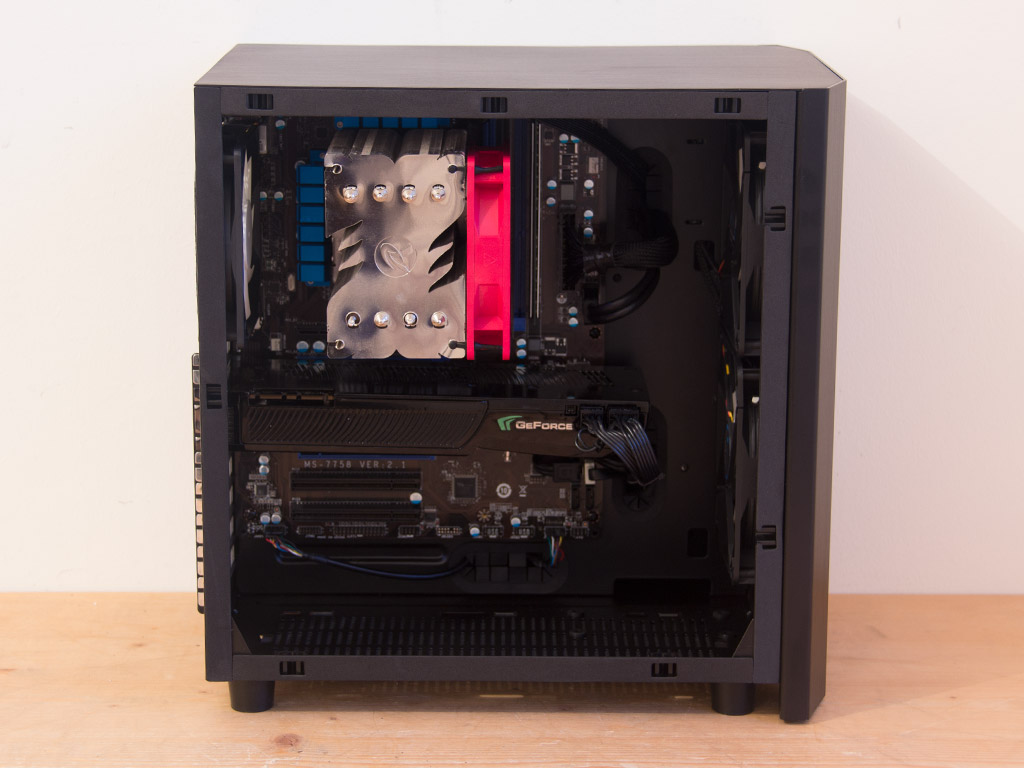
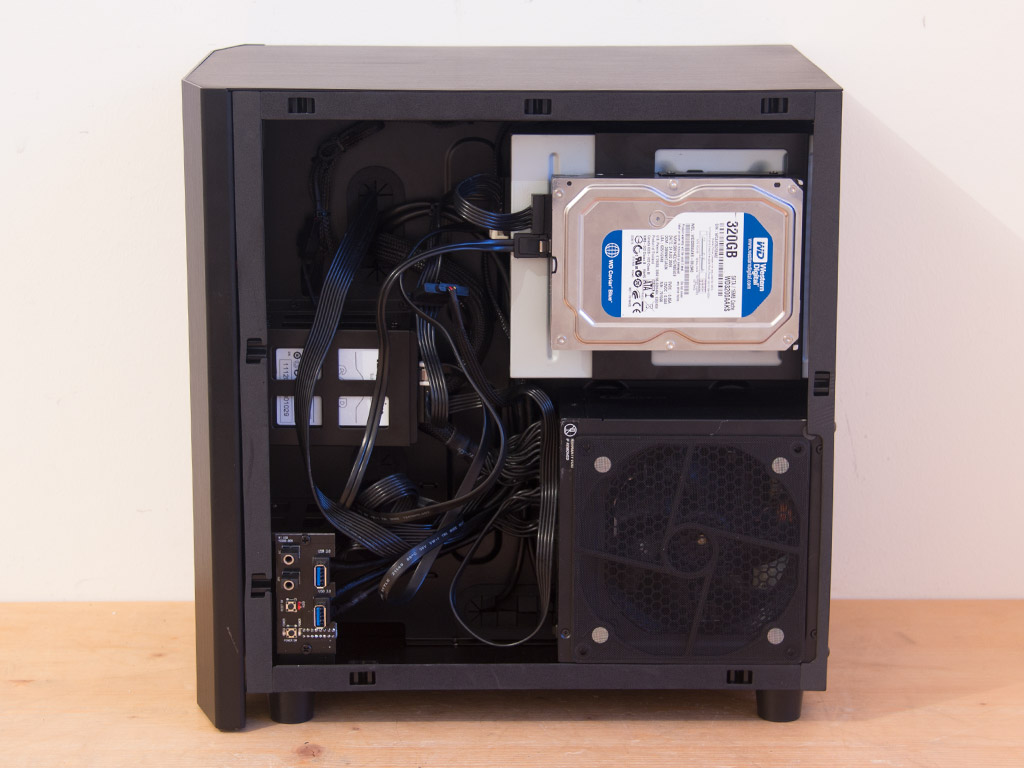
Once everything is in place, the Cooltek W2's main compartment makes a really clean impression as the cable mess has been hidden away in the smaller of the two. You should be able to reach all the cables with ease as well, which should make re-wiring everything quite simple.
Finished Looks
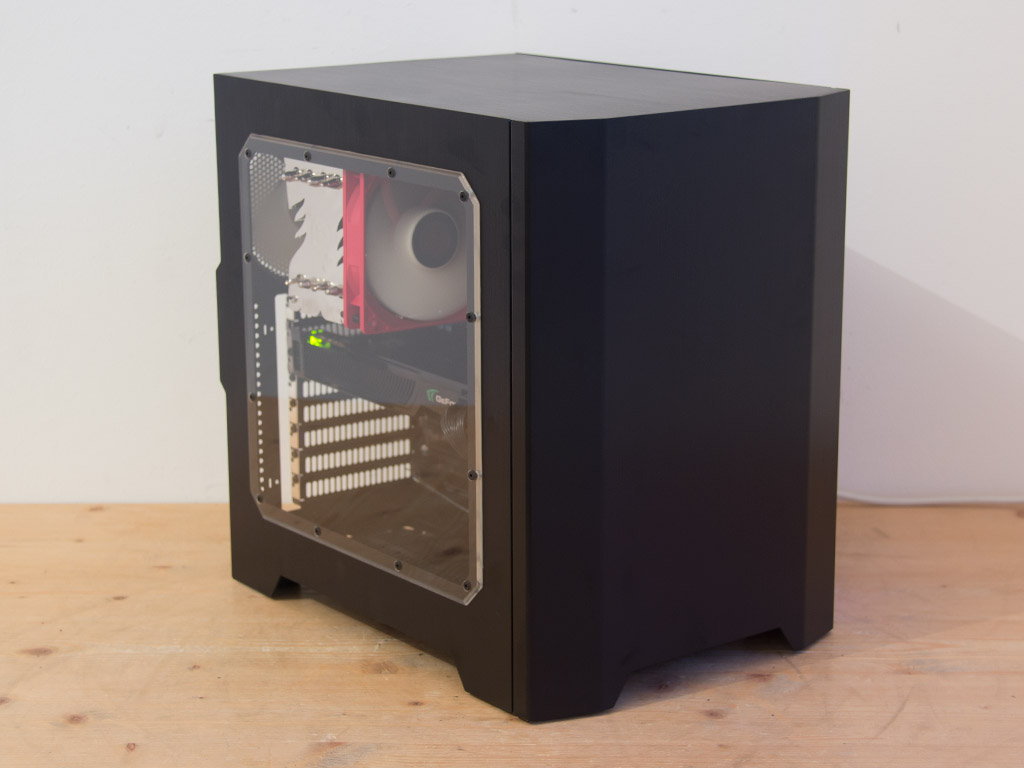
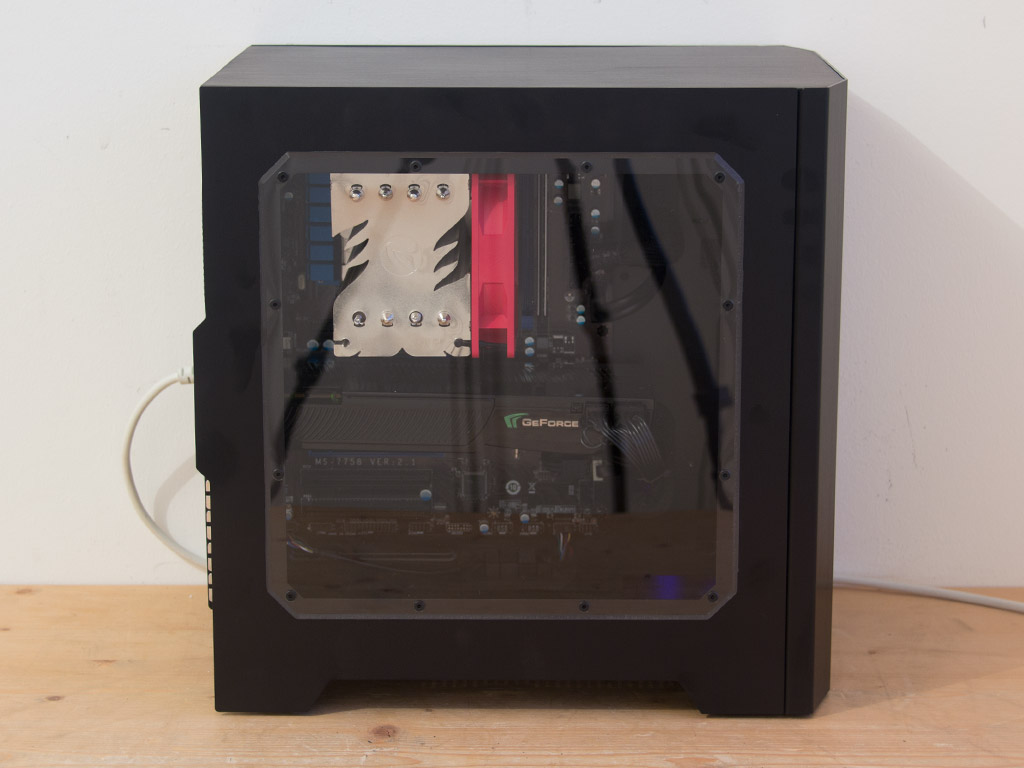
Once the side panels are back in place, the Cooltek W2 looks pretty spiffy when turned on. Thanks to the large window, you are able to clearly see the CPU cooler, board, and graphics card within.
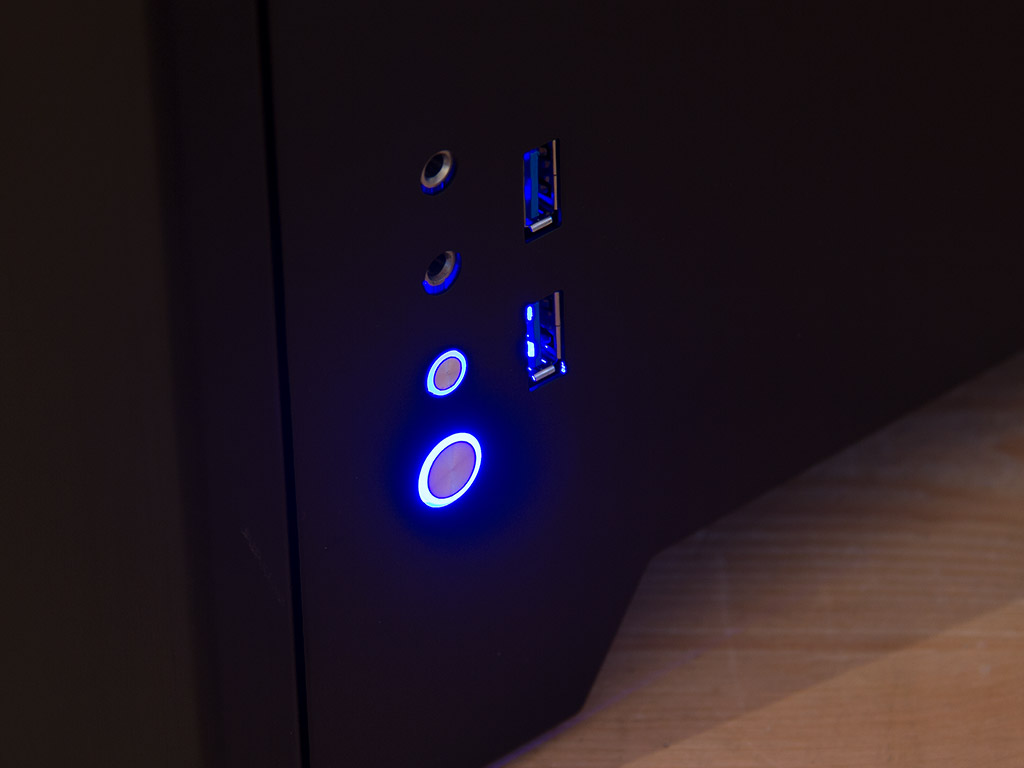
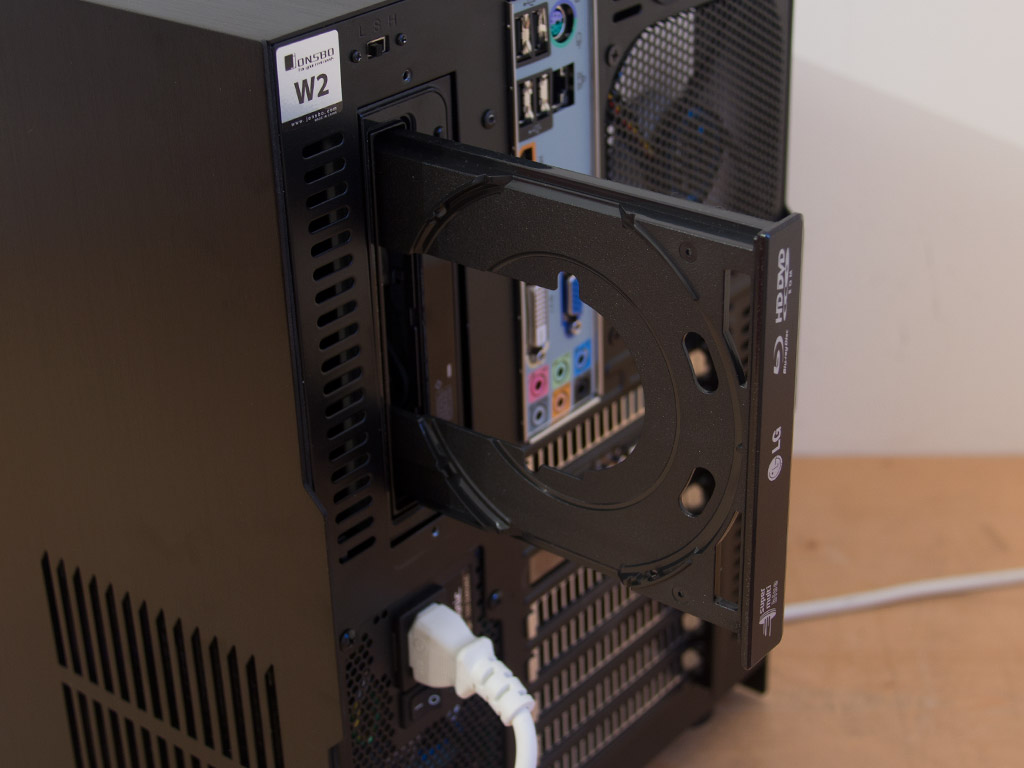
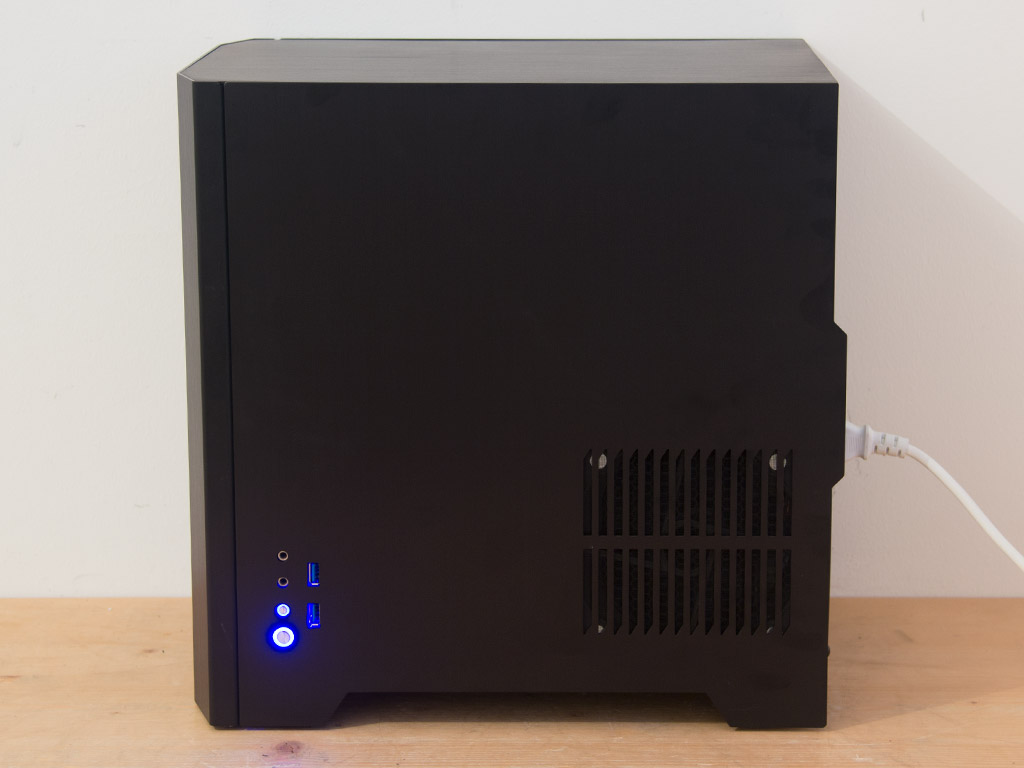
Just like the other Cooltek cases, the W2 comes equipped with a blue LED ring embedded into the PCB of the power button. It lights up strongly, which has it bleed into the surrounding connectors slightly. The optical drive opens with the tray facing toward the nearer of two edges, which should make inserting a disc a bit easier as it is still quite strange to have a 5.25" drive in the rear of a case. Users will most likely find more value in its use as a hot-swap bay, for example.
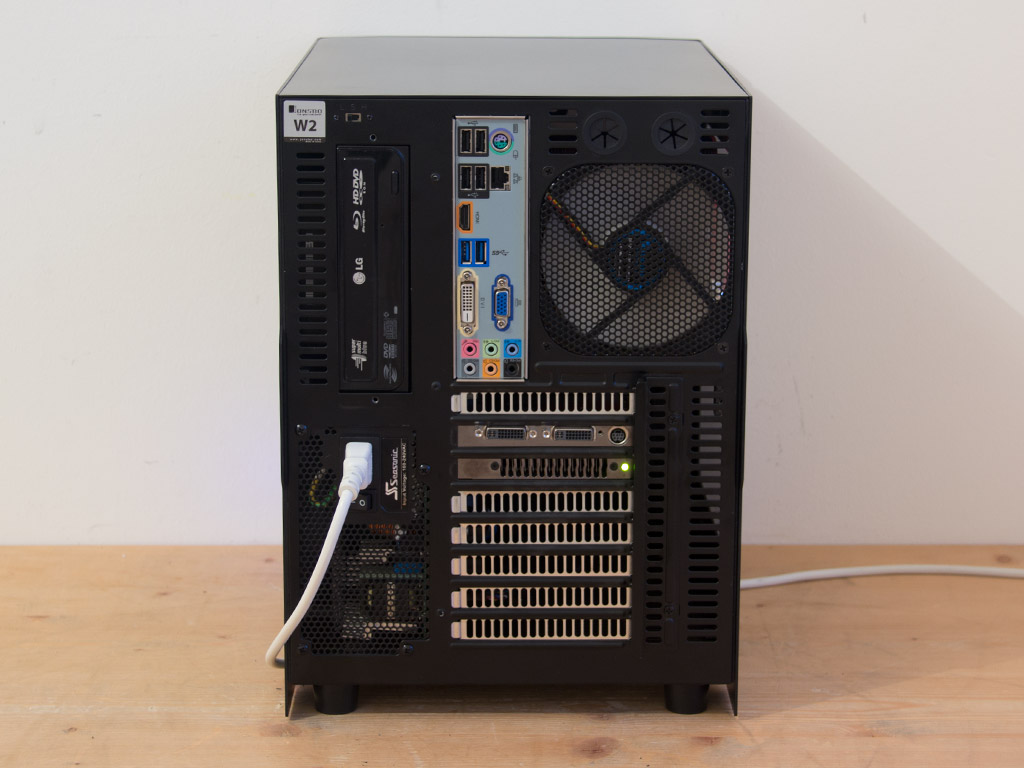
Looking at the W2 from several different angles, it really makes a nice impression. You can also clearly see the dust filter on the PSU, protecting it from grime. All the connectors in the back are also easily reachable, without the optical drive bay getting in the way.
Nov 29th, 2024 21:09 EST
change timezone
Latest GPU Drivers
New Forum Posts
- Affordable HEDT, is there such a thing? (3)
- My First PC Build – Intel vs AMD for Work and Gaming (64)
- Last game you purchased? (559)
- Samsung 870 EVO - Beware, certain batches prone to failure! (1225)
- AMD RX 7000 series GPU Owners' Club (1257)
- What Monitor Are You Using For Your Computer (16)
- Problem on PC with BSOD (21)
- Buying new monitor, need help! (12)
- Curve Optimizer maximum offset? (16)
- 7800X3D - what are your temperatures? (10)
Popular Reviews
- STALKER 2 Performance Benchmark Review - 35 GPUs Tested
- Thermaltake The Tower 600 Review
- Sparkle Arc A770 ROC Review
- Crucial Pro DDR5-5600 CL46 64 GB Review
- STALKER 2: DLSS vs. FSR vs. XeSS Comparison Review
- AMD Ryzen 7 9800X3D Review - The Best Gaming Processor
- be quiet! Light Base 900 DX Review
- STALKER 2 Handheld Performance Review
- Upcoming Hardware Launches 2024 (Updated Nov 2024)
- Endgame Gear XM2 8K Review
Controversial News Posts
- AMD Falling Behind: Radeon dGPUs Absent from Steam's Top 20 (222)
- AMD Ryzen 7 9800X3D Stocks Vaporized in Retail, Being Scalped (154)
- AMD Introduces Next-Generation AMD Ryzen 7 9800X3D Processor, $479, Nov 7 (124)
- Apple and Samsung in the Fray to Acquire Intel: Rumor (123)
- Microsoft Offers $30 Windows 10 Security Extension for Home Users (118)
- TechPowerUp is Hiring a Power Supply (PSU) Reviewer (112)
- Microsoft is Introducing a $349 Mini PC That Streams Windows 11 from the Cloud (106)
- AMD "Zen 6" to Retain Socket AM5 for Desktops, 2026-27 Product Launches (100)