 13
13
Corsair 5000D Airflow Review - A Beautiful & Clean Full-Tower Case
Temperature & Noise Testing »Test System
| System Parts for Case Reviews | |
|---|---|
| Processor: | Intel Core i5-9600K |
| Motherboards: | ATX: MSI Z390 GAMING EDGE AC MATX: Z370M GAMING EDGE AC Mini-ITX: MSI Z370I GAMING EDGE AC Provided by: MSI |
| Graphics Card: | ATX/mATX: Palit GeForce RTX 2080 Gaming Pro OC ITX: EVGA GTX 1650 SC Ultra Black 4 GB |
| Memory: | Corsair Dominator RGB 16 GB DDR4 3200 MHz Provided by: Corsair |
| HDD: | Western Digital 320 GB 7200 RPM |
| SSD: | ITX: ADATA SX6000 Pro M.2 256 GB mATX: ADATA GAMMIX S11 Pro M.2 256 GB ATX: ADATA SPECTRIX S40G M.2 256 GB ADATA XPG SX850 256 GB ADATA Ultimate SU630 240 GB ADATA Ultimate SU750 256 GB Provided by: ADATA |
| Power Supply: | Corsair RM650X 650 W 80 Plus Gold Provided by: Corsair |
| Cooling: | be quiet! Dark Rock 4 be quiet! Dark Rock Slim be quiet! Shadow Rock LP Provided by: be quiet! |
Assembly

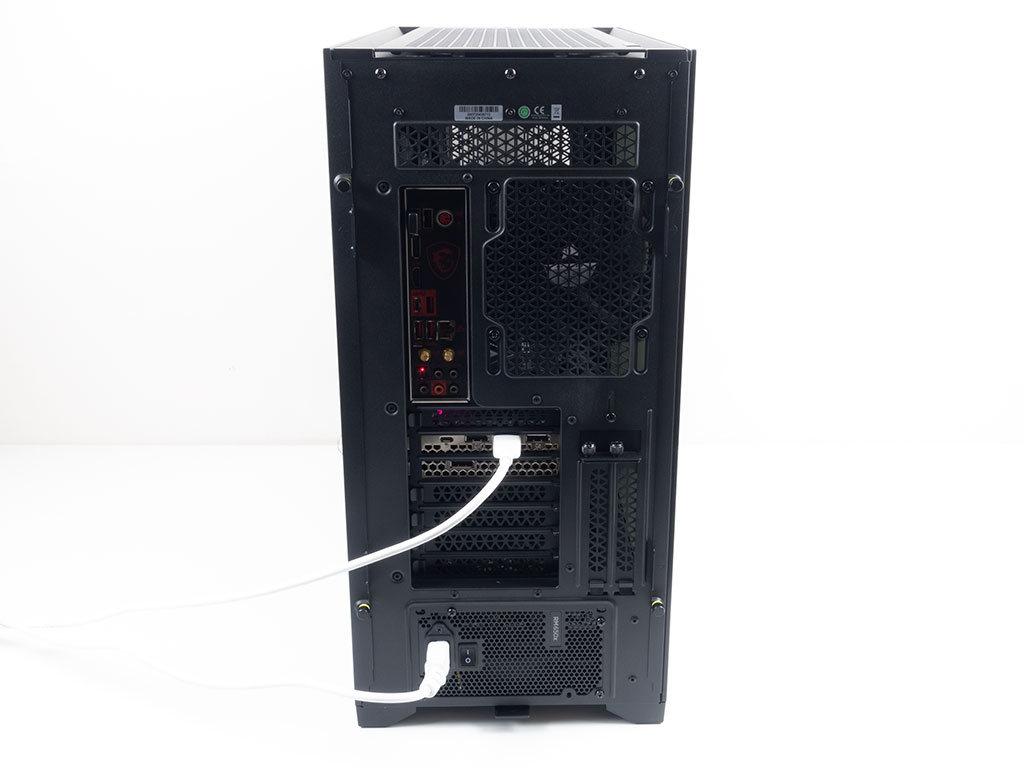
Installing a motherboard is done by traditional means, with spacers and screws. Corsair has pre-installed the spacers, including one with an alignment pin in the center to prevent any issues with placing the board properly. There is plenty of space above and towards the front of the board, with the two large routing holes in the shroud also nicely lining up with the connectors on the motherboard's bottom edge. That said, with a somewhat compact cable channel, things are a bit tight on the front-facing right edge. However, we had no tangible issues plugging everything in with a bit of extra attention and effort.


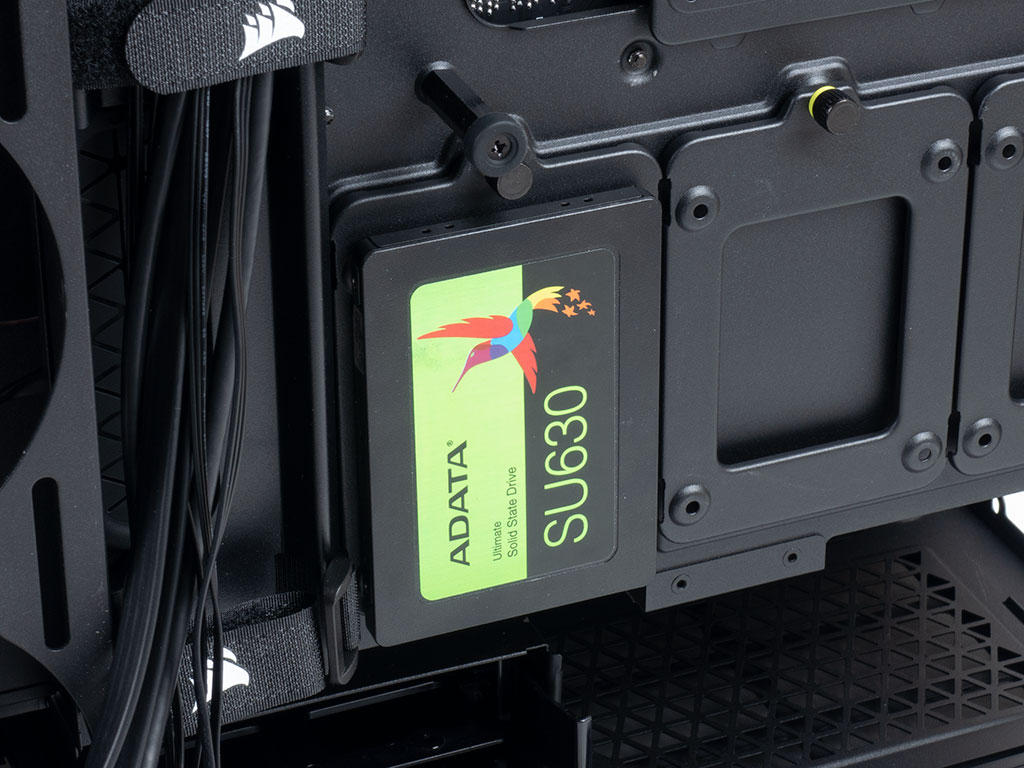
Adding an SSD to the 5000D Airflow is done by simply taking the frame off the case and screwing the drive down. Once filled, just pop it back into one of four possible locations.
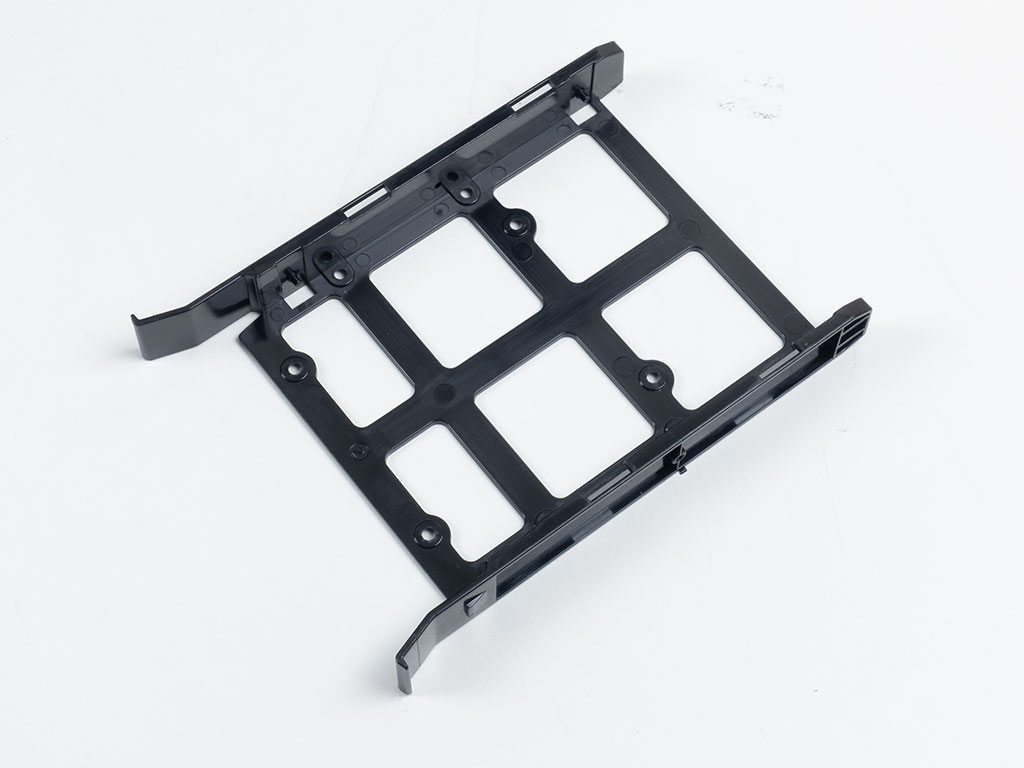


You do not actually need any tools for a 3.5" drive as you can snap it into place before sliding it back into the cage underneath the shroud until the two latches on either side of the tray snap down to secure the drive.
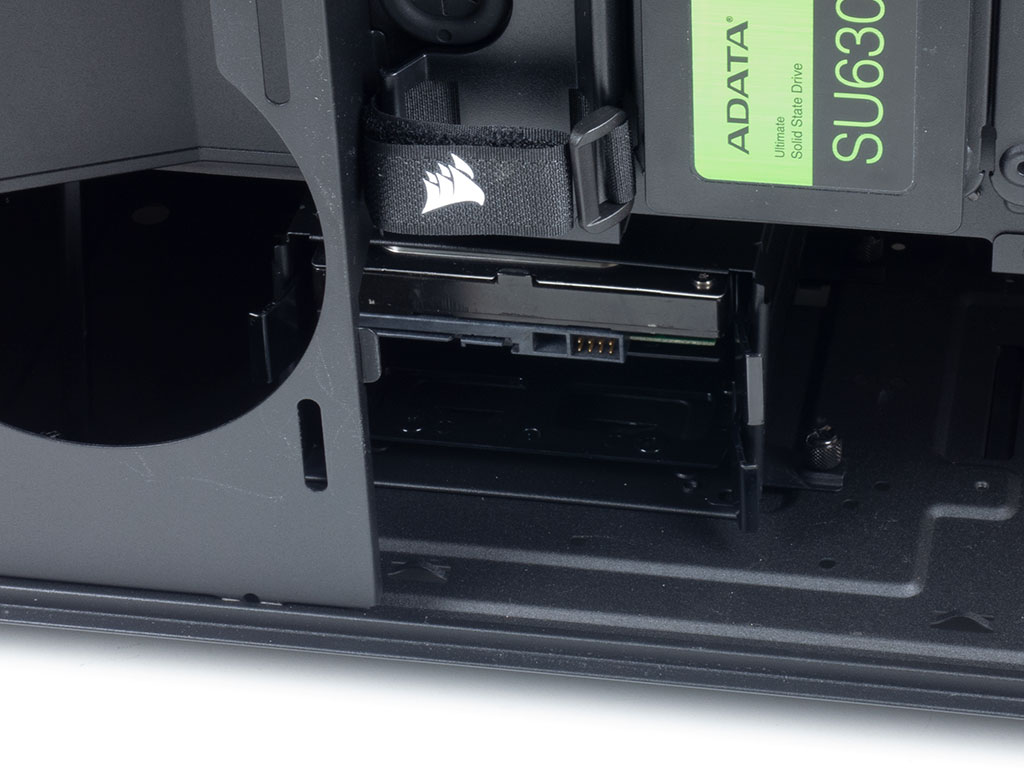
That said, if you want to fit a bigger PSU, you either have to remove the side bracket for the fans/radiator or move the whole cage over right away. So, if there is a radiator on the side and you have a long PSU, this cage will have to go.

To add your PSU, slide it underneath the metal shroud and screw it down through the rear of the chassis, which is pretty straightforward as well. There is plenty of space, so fitting a potent unit to power all your gaming gear shouldn't be a problem.
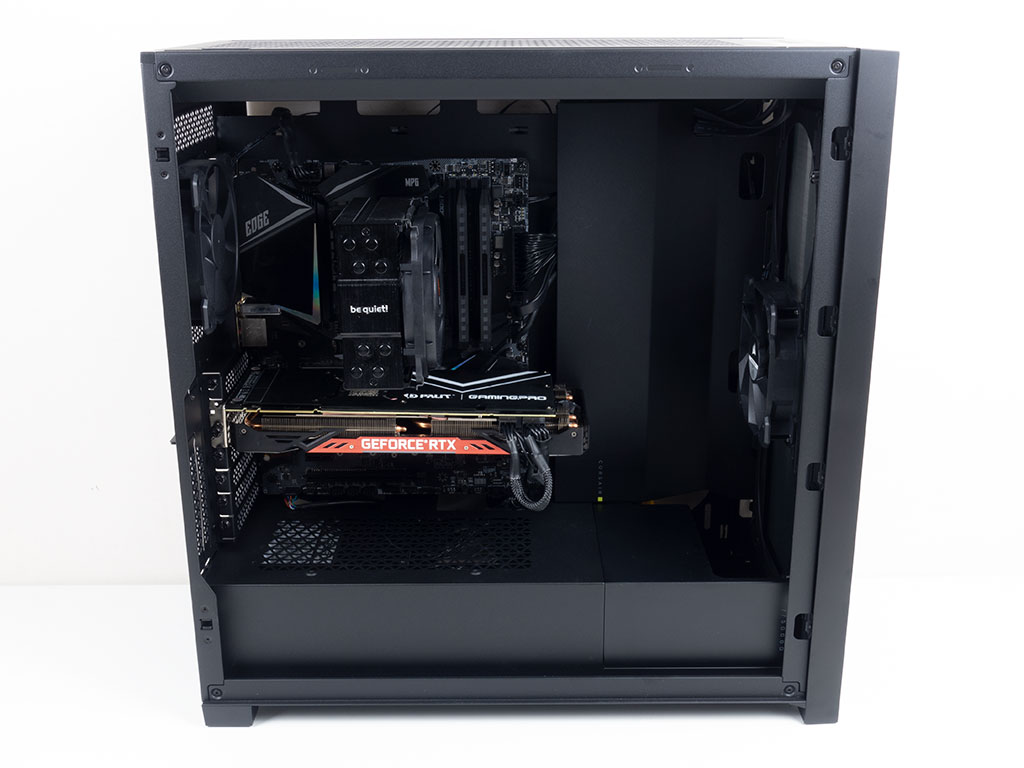
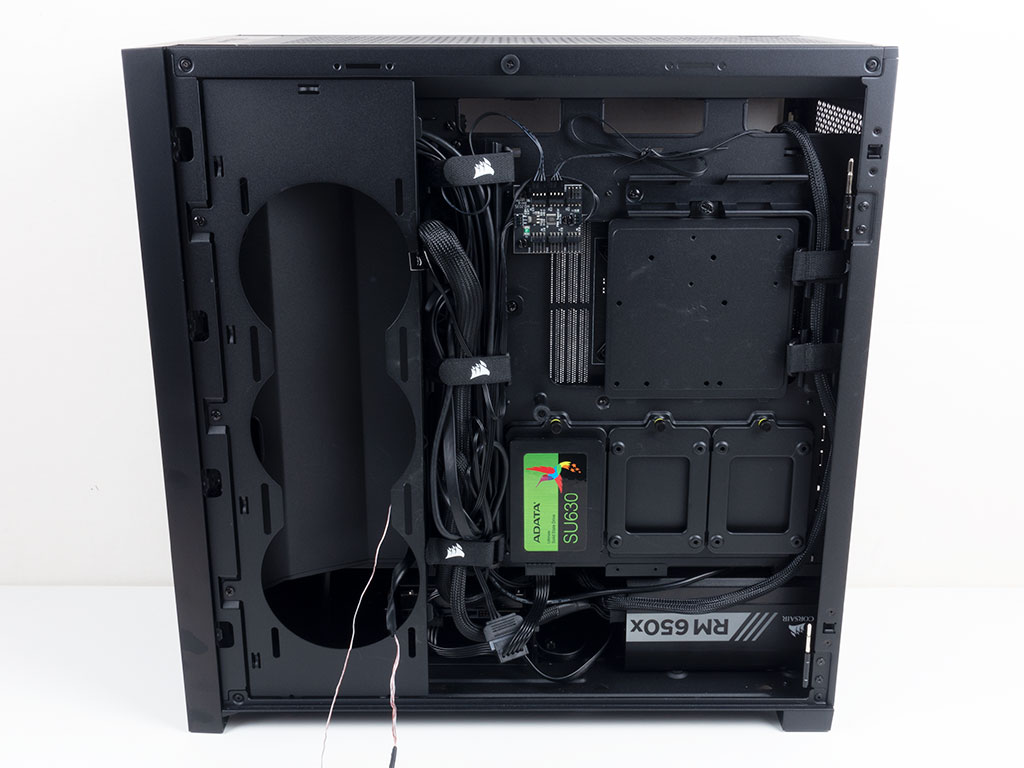

With everything installed, the Corsair 5000D Airflow looks very clean on the inside, and all the wiring behind the motherboard tray has its proper place as well. Placing the inner cover works, but the pressure of the cables pops it off the magnets. It would have been better had Corsair instead gone with screws or some sort of clipping system. This could become a little annoying for those with the iCUE 5000X variant of the chassis—the 5000D Airflow just covers it up with its actual metal side panel anyways.
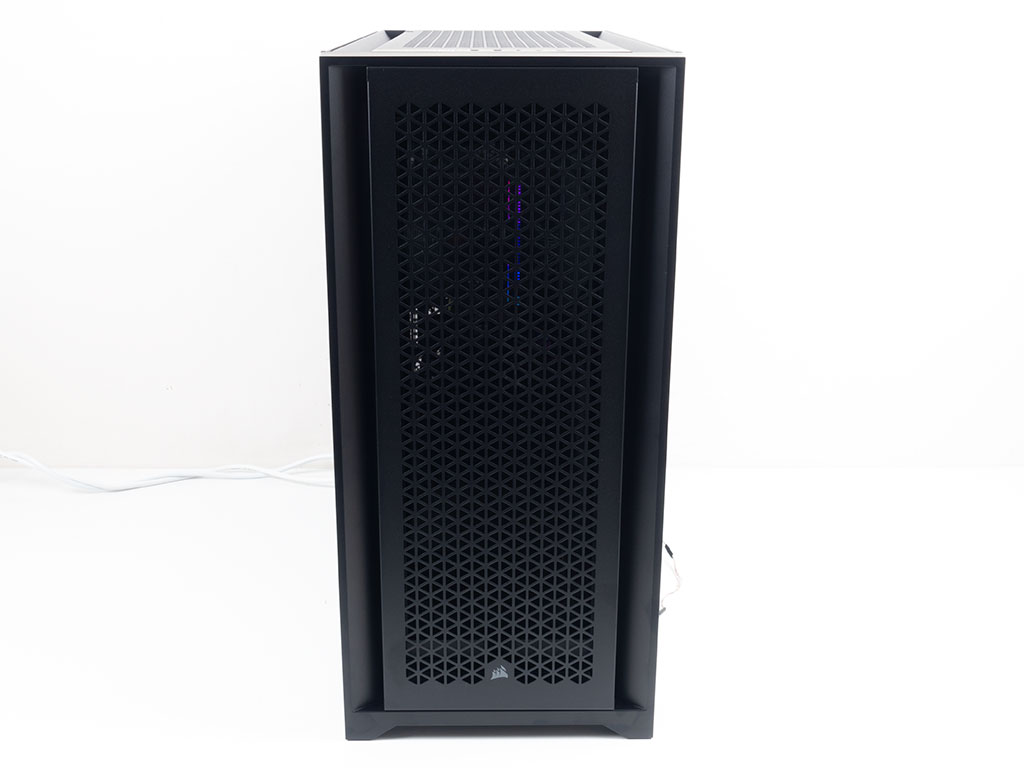
Finished Looks
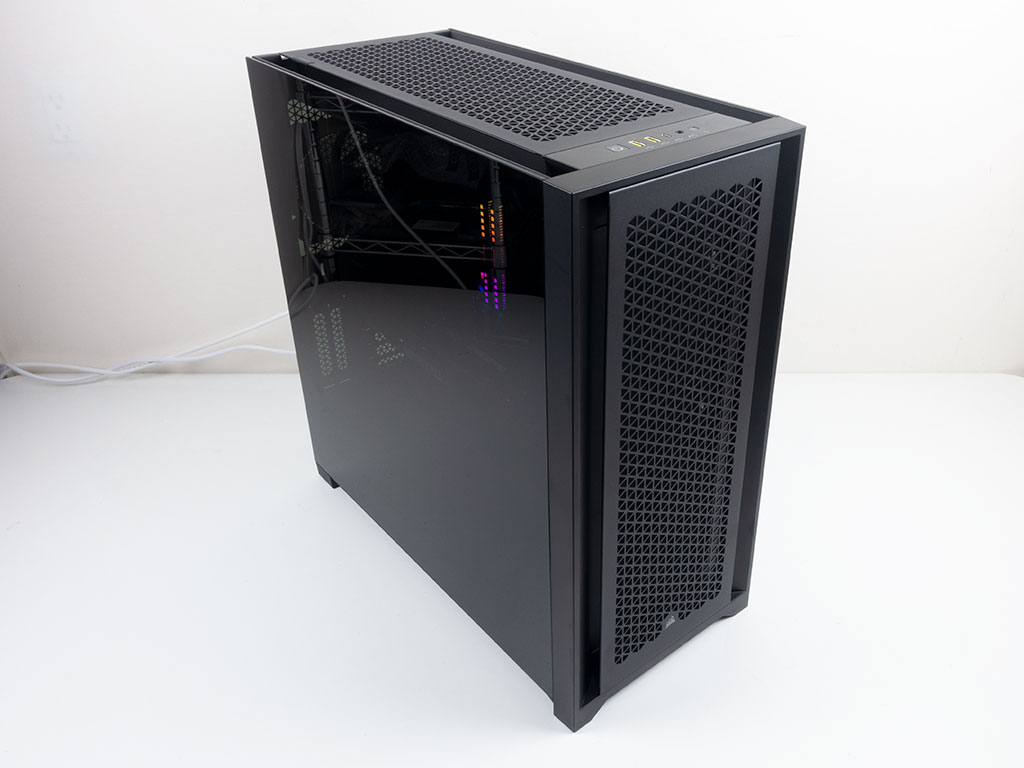

With the system turned on, there is really not much to see. A clean, white power LED also lights up right underneath the button to let you know the system is up and running. Naturally, if you opt for the RGB variant of the chassis, you will have slightly more to play around with visually.
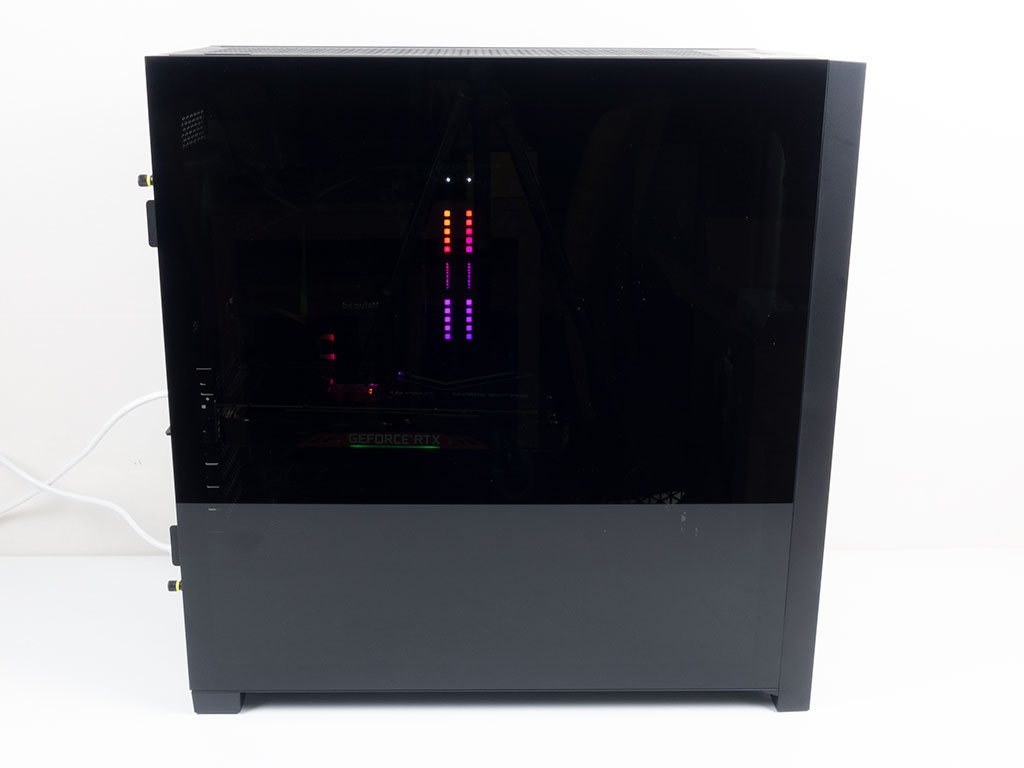
The subtle glow of the RGB components shines through the air vents of the case. These RGB-lit parts are also somewhat visible through the heavily tinted side panels. Some brands do go as far as offering different intensities for the tint of their glass side panel, but I think Corsair easing off on the tint just a bit for the hardware inside to show more would have been enough.
Mar 18th, 2025 06:39 EDT
change timezone
Latest GPU Drivers
New Forum Posts
- What's your latest tech Freebie? (14)
- Best €400-450 GPU (16)
- Windows 11 General Discussion (5859)
- Do you prefer factory overclocked GPUs? (5)
- Nvidia's GPU market share hits 90% in Q4 2024 (gets closer to full monopoly) (1190)
- Intel to AMD upgrade, re-using 2x24Gb memory? (7)
- Is RX 9070 VRAM temperature regular value or hotspot? (12)
- Dead pixels and 1700 hours usage on a amazon warehouse LG C3, what do now? (1)
- I'm looking for a good tool to make the 3D scanning of my mini-pc using the photogrammetry and my Kinect 2. (141)
- need help fixing a fake gt730 (0)
Popular Reviews
- Gigabyte X870E Aorus Pro Review
- AMD Ryzen 9 9950X3D Review - Great for Gaming and Productivity
- Sapphire Radeon RX 9070 XT Nitro+ Review - Beating NVIDIA
- MSI GeForce RTX 5070 Gaming Trio OC Review
- Corsair SF750 750 W Review
- Kioxia Exceria Plus G4 2 TB Review - Energy-Efficient PCIe Gen 5
- XFX Radeon RX 9070 XT Mercury OC Magnetic Air Review
- ASUS GeForce RTX 5090 TUF Review
- ASUS Radeon RX 9070 TUF OC Review
- AMD Ryzen 7 9800X3D Review - The Best Gaming Processor
Controversial News Posts
- NVIDIA GeForce RTX 50 Cards Spotted with Missing ROPs, NVIDIA Confirms the Issue, Multiple Vendors Affected (519)
- AMD RDNA 4 and Radeon RX 9070 Series Unveiled: $549 & $599 (260)
- AMD Mentions Sub-$700 Pricing for Radeon RX 9070 GPU Series, Looks Like NV Minus $50 Again (250)
- NVIDIA Investigates GeForce RTX 50 Series "Blackwell" Black Screen and BSOD Issues (244)
- AMD Radeon RX 9070 and 9070 XT Official Performance Metrics Leaked, +42% 4K Performance Over Radeon RX 7900 GRE (195)
- AMD Radeon RX 9070-series Pricing Leaks Courtesy of MicroCenter (158)
- MSI Doesn't Plan Radeon RX 9000 Series GPUs, Skips AMD RDNA 4 Generation Entirely (126)
- Microsoft Introduces Copilot for Gaming (122)