 23
23
Corsair Graphite 600T Review
Value & Conclusion »Assembly

Installing the mainboard is an easy task, simply place the spacers in the appropriate locations and then secure the board with the included, black screws. There is plenty of space around the large Prolimatech CPU cooler as you can see, so you should not have to worry if your favorite one will fit or not.
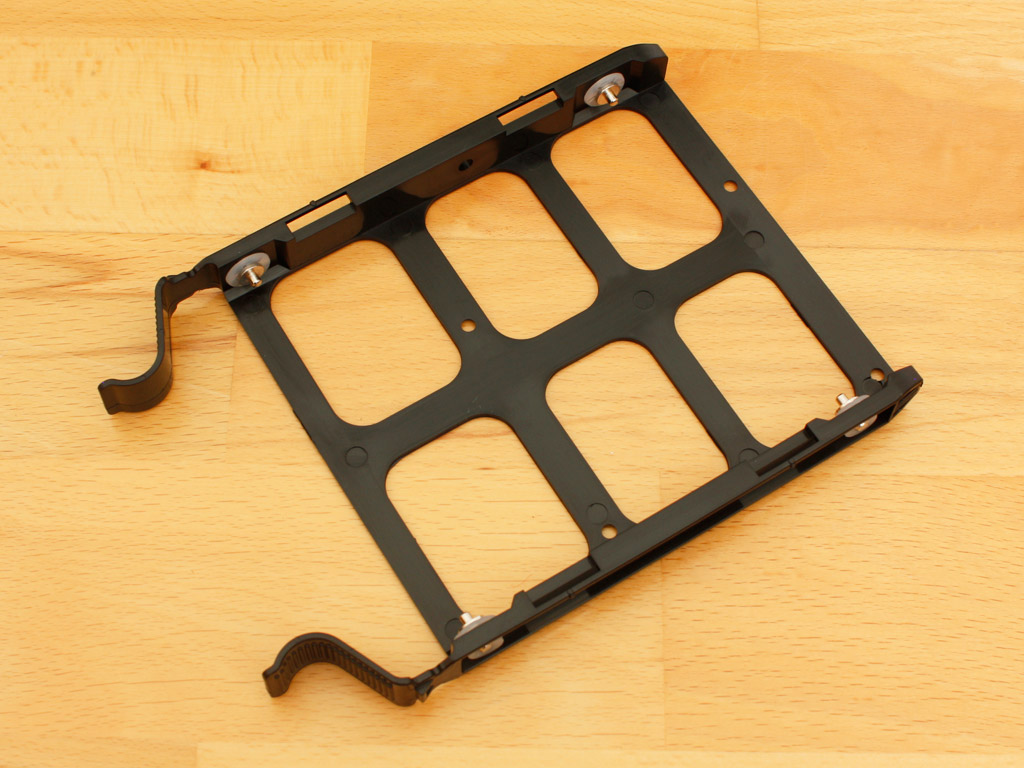
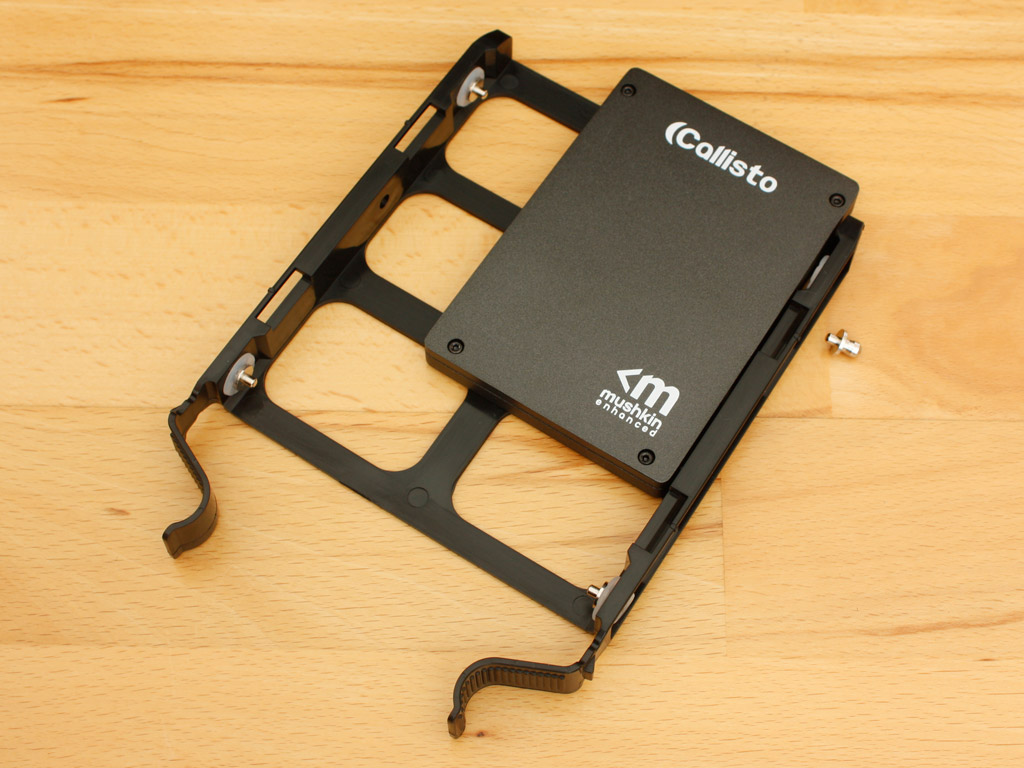
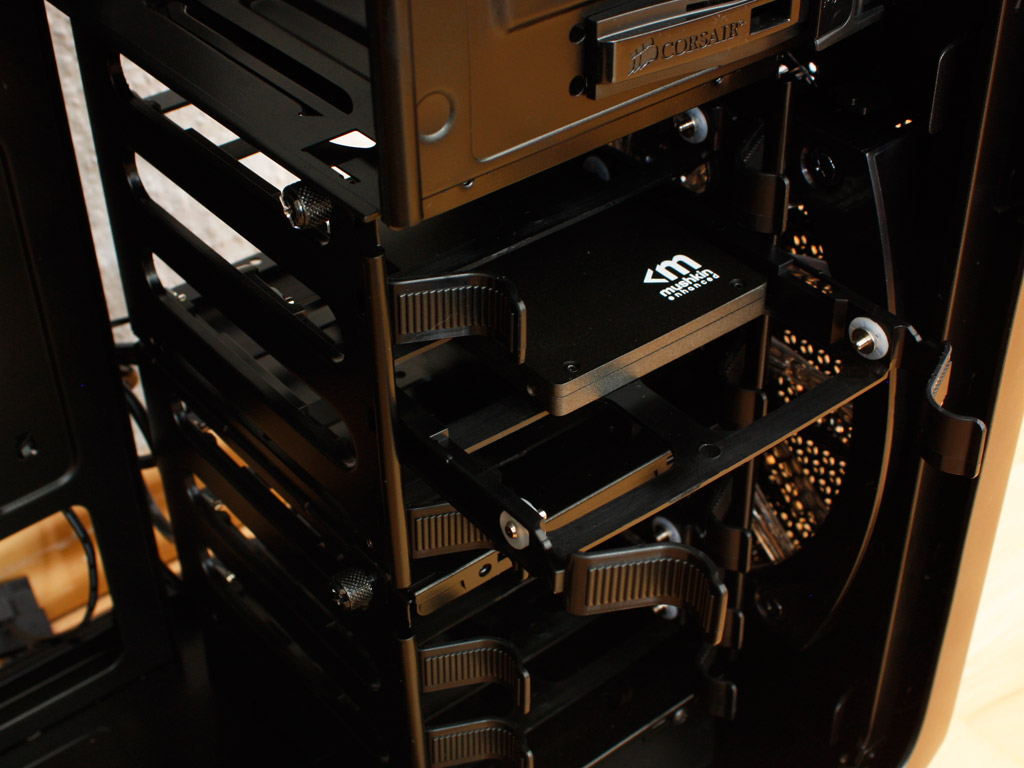
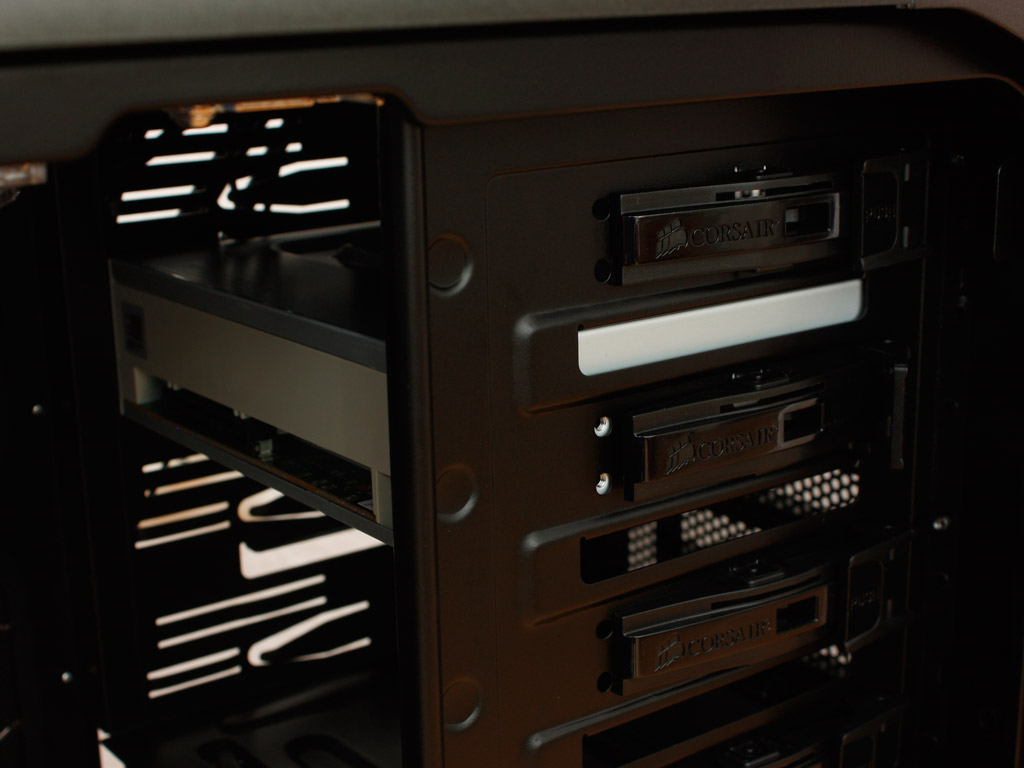
Intalling a 3.5 inch hard drive is a simple matter of snapping the tray unto it and sliding it into the desired slot. With a 2.5 inch one, you have to remove one metal pin and are then able to screw the drive unto the tray and can then be pushed into the bay just the same.
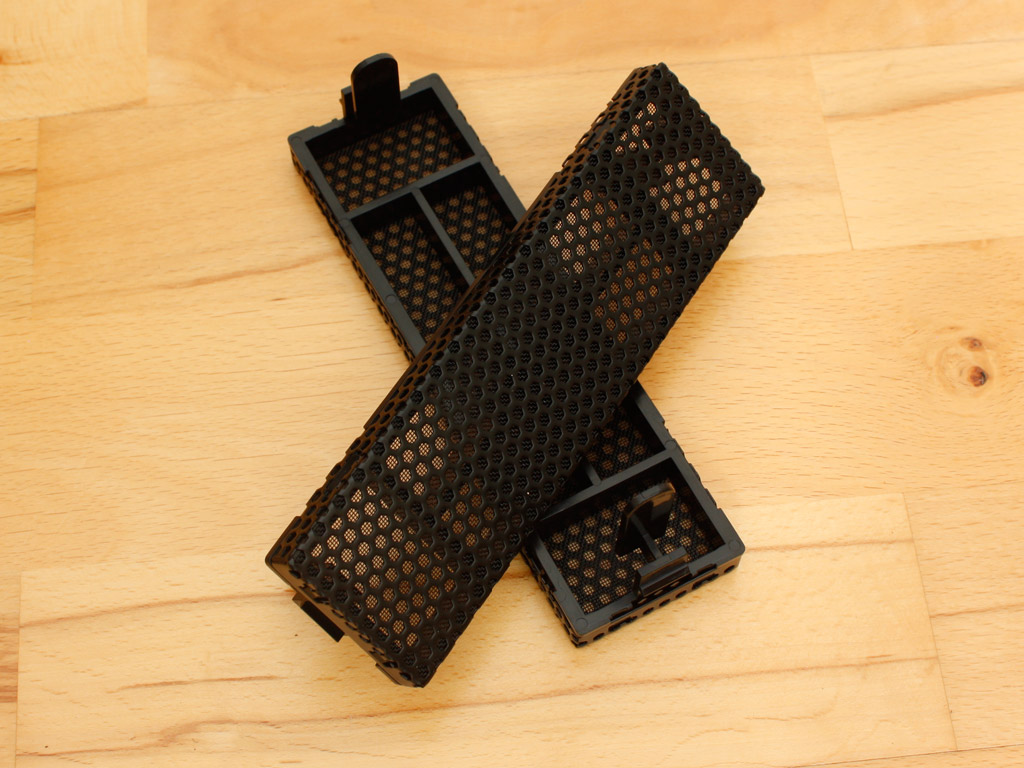
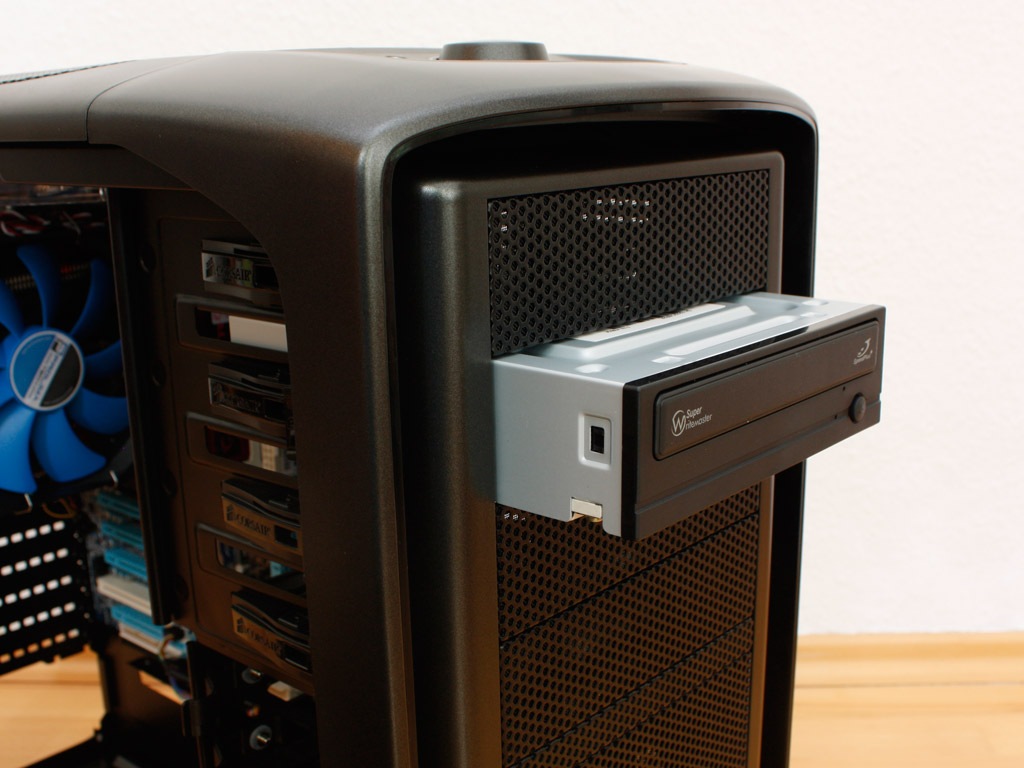
I mentioned the different mechanism on the external drive bay covers before. Due to the design of the front - which is not removable - Corsair had to come up with a different way to release these covers. These pieces have very long plastic clips, so that you can easily reach into the case and push them out without fearing any sharp edges from the plastic or worrying about breaking off a clip - very simple but effective. Installing an optical drive is simply done by sliding it into place and pushing down the small clip at the end of the lever. The system is constructed like a seesaw. By raising the one end, two pins at the rear end are pressed into the screw holes of the drive, which then hold it in place surprisingly well.

The power supply on the other hand is simply inserted into the 600T by laying it unto the crossbar and then screwing it down. Nothing to see here - move along.
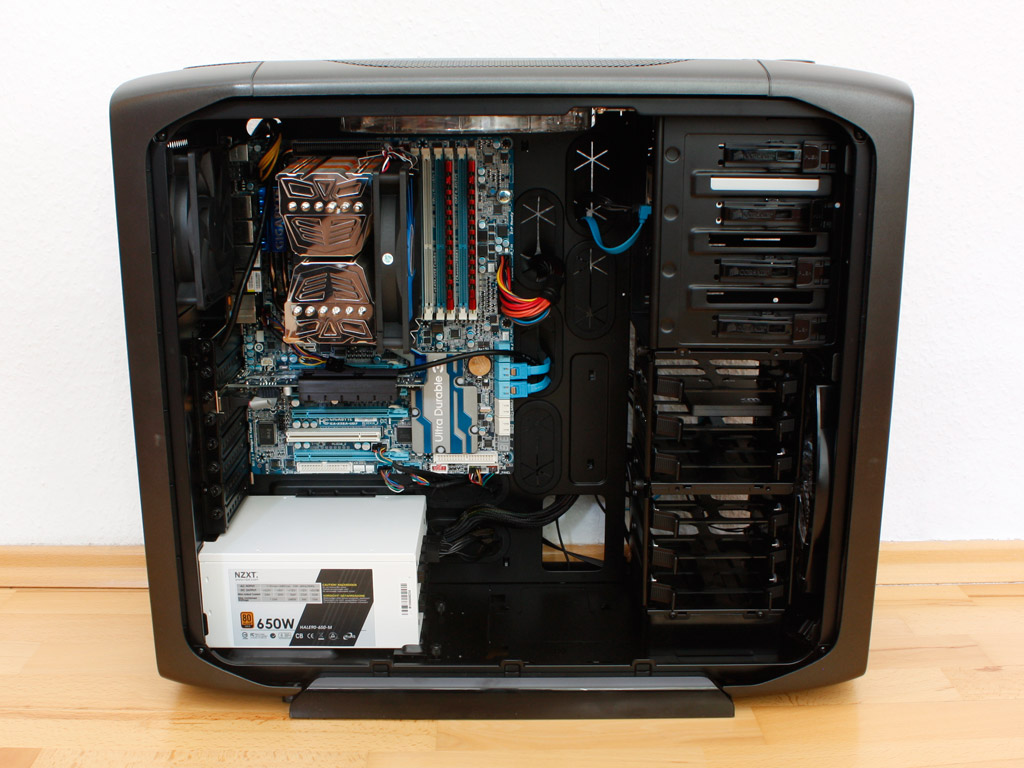
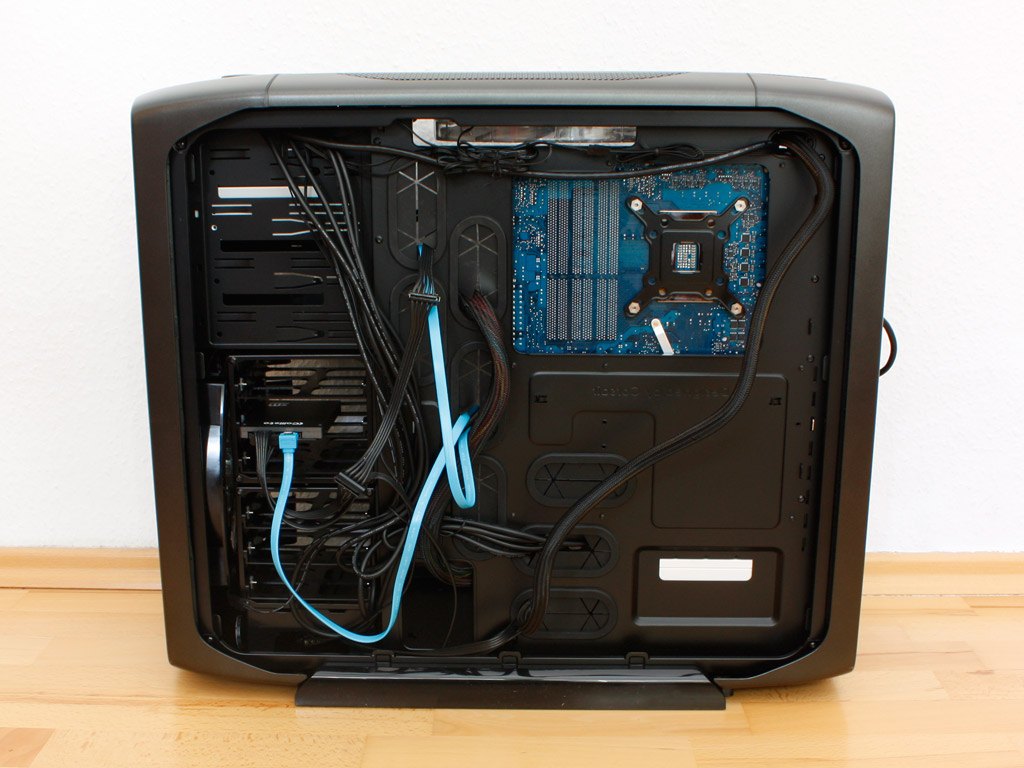
Once all the parts have been installed it becomes clear that the Graphite 600T manages to route and hide cables just as good as the larger Obsidian series. All cables are being lead below the mainboard tray to their appropriate openings and then to the plugs. The hole in the tray allows unrestricted access to any CPU cooler backplate, so that you can exchange the cooling unit without removing the entire mainboard.
Finished Looks
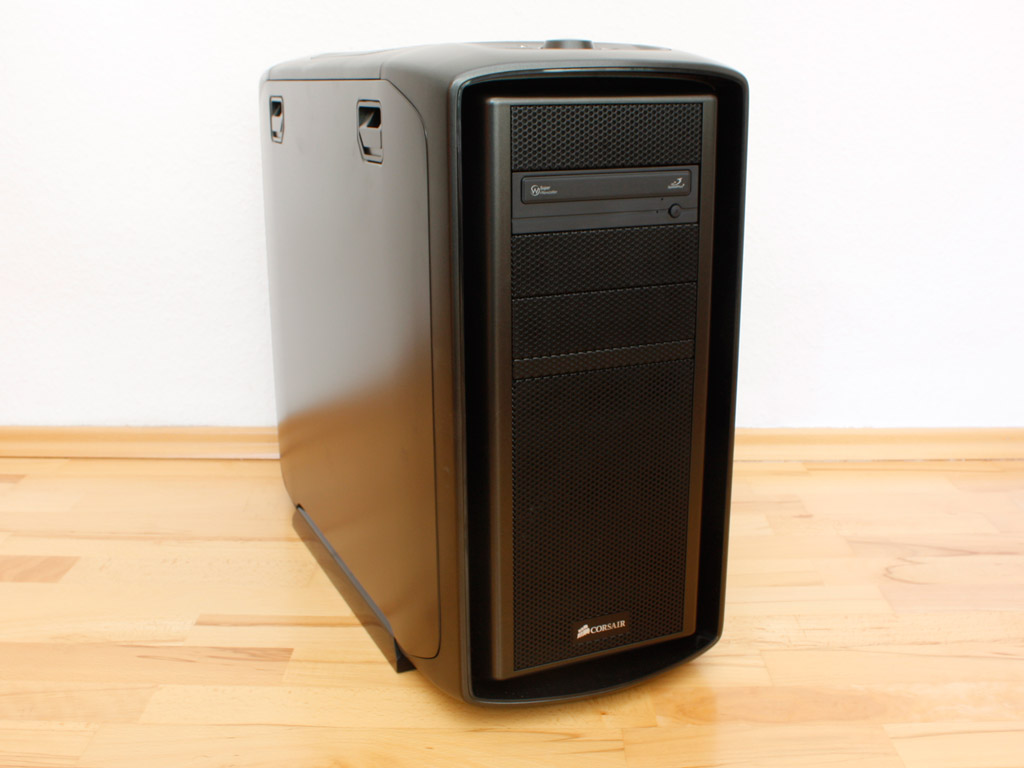

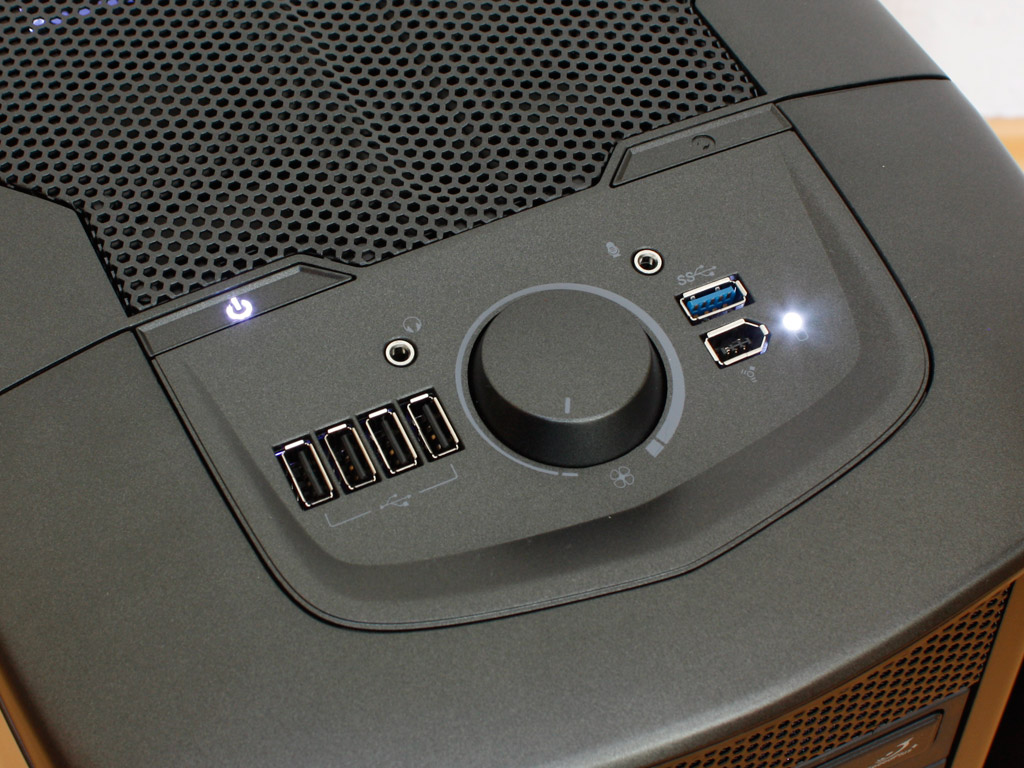
The case makes a very good impression with everything is installed. Once turned on, the two LED fans light up with their white LEDs. The cooling units are very quiet when turned down all the way, but can be heard in form of a soothing hum when running at full throttle.
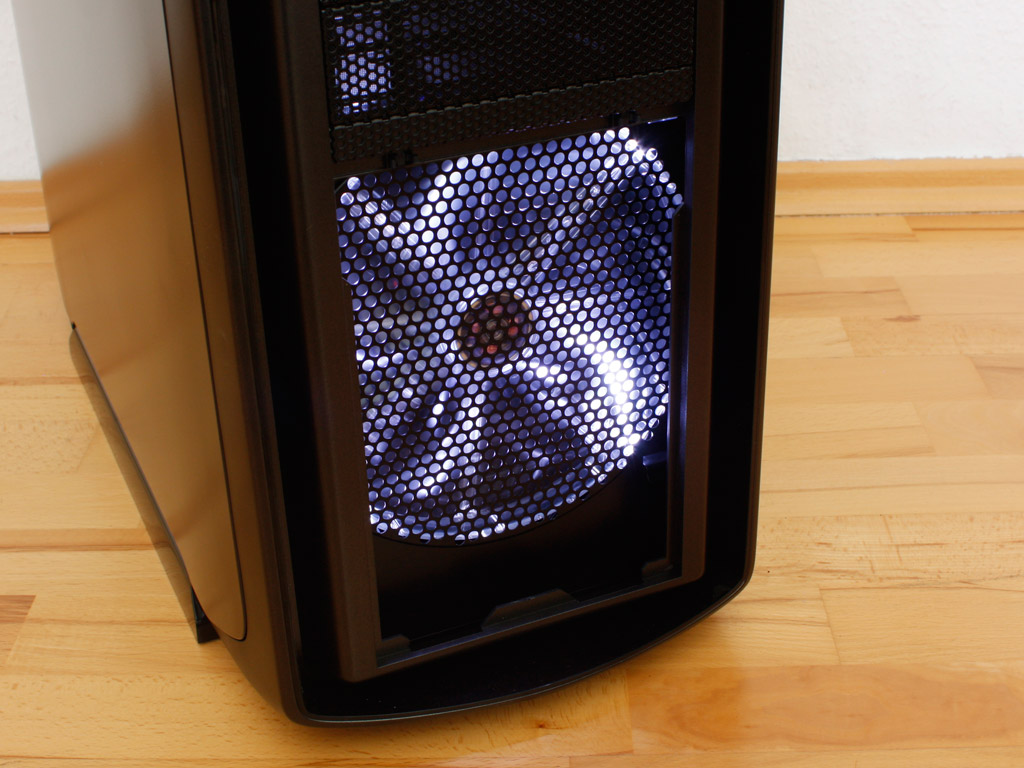
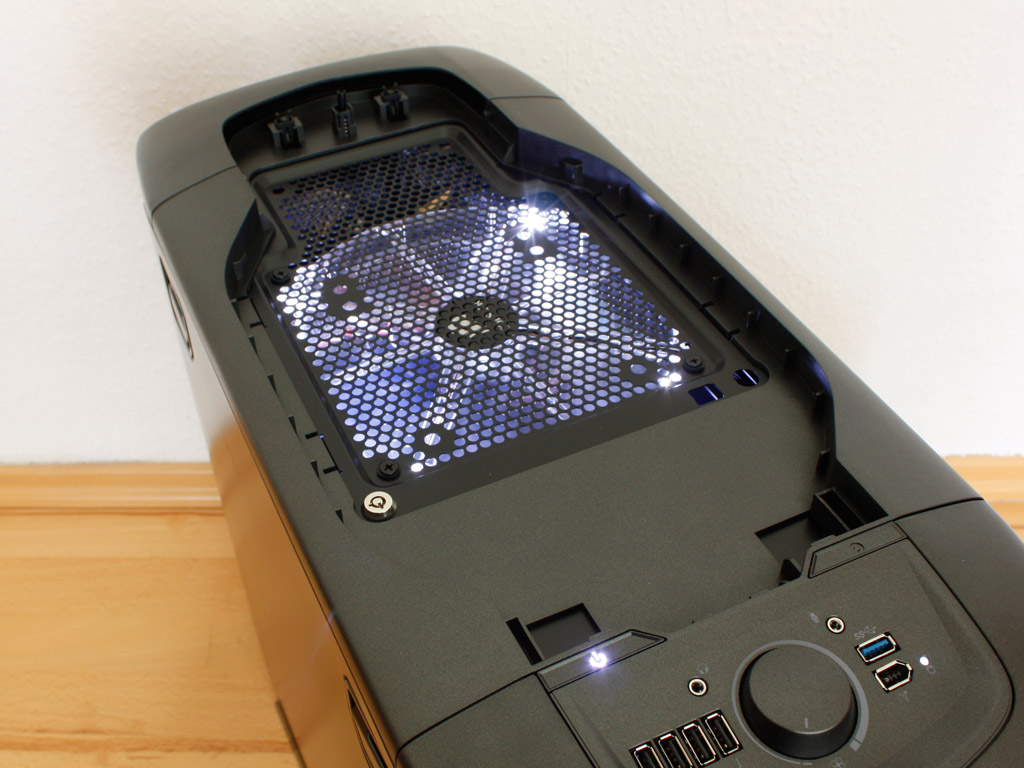
The power and hard drive access LEDs both light up white as well. As you can see, the HDD one is very bright, as it is not covered by anything. Behind that you can clearly see the lighting from the top fan when the system is up and running.
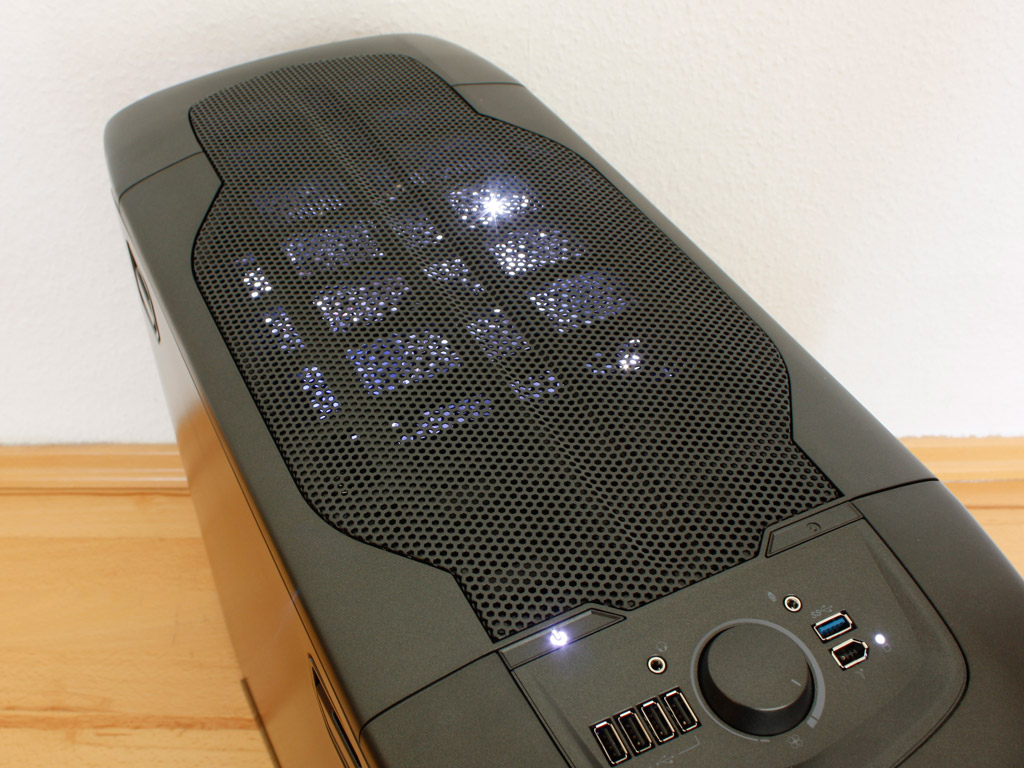
Taking off both front covers, the 200 mm fans are exposed. The front pulls air into the chassis, while the top and also the 120 mm rear ones push it out of the case. This should create a good air flow within the chassis.
Jan 30th, 2025 03:23 EST
change timezone
Latest GPU Drivers
New Forum Posts
- RANT- front panel connectors are a crime against pc builders/users (58)
- Nvidia drivers versus AMD drivers on Wayland (45)
- TPU's Nostalgic Hardware Club (19884)
- Anime Nation (13002)
- RTX 50x0 Founders edition PCIE gen. 5 signal quality issues? (0)
- 5090 AIB Clocks (19)
- Possible to use NVCleanstall but also use Nvidia App? (17)
- Cinebench score for Lenovo Gaming Laptop (2)
- Y-CRUNCHER - PI-2.5B Bench (86)
- i have beeping issues in my graphics card (1 long beep and 3 short beep) (63)
Popular Reviews
- NVIDIA GeForce RTX 5080 Founders Edition Review
- NVIDIA DLSS 4 Transformer Review - Better Image Quality for Everyone
- ASUS GeForce RTX 5090 Astral OC Review - Astronomical Premium
- NVIDIA GeForce RTX 5090 Founders Edition Review - The New Flagship
- MSI GeForce RTX 5090 Suprim SOC Review
- Galax GeForce RTX 5080 1-Click OC Review
- MSI GeForce RTX 5090 Suprim Liquid SOC Review
- KLEVV URBANE V DDR5-7600 32 GB CL36 Review
- Palit GeForce RTX 5090 GameRock Review
- NVIDIA GeForce RTX 5090 PCI-Express Scaling
Controversial News Posts
- NVIDIA 2025 International CES Keynote: Liveblog (470)
- AMD Debuts Radeon RX 9070 XT and RX 9070 Powered by RDNA 4, and FSR 4 (349)
- AMD is Taking Time with Radeon RX 9000 to Optimize Software and FSR 4 (250)
- AMD Radeon RX 9070 XT & RX 9070 Custom Models In Stock at European Stores (226)
- AMD Denies Radeon RX 9070 XT $899 USD Starting Price Point Rumors (224)
- NVIDIA GeForce RTX 5090 Features 575 W TDP, RTX 5080 Carries 360 W TDP (217)
- New Leak Reveals NVIDIA RTX 5080 Is Slower Than RTX 4090 (208)
- AMD's Radeon RX 9070 Launch Faces Pricing Hurdles (175)