 27
27
Corsair Hydro Series H105 Review
Finished Looks »Installation

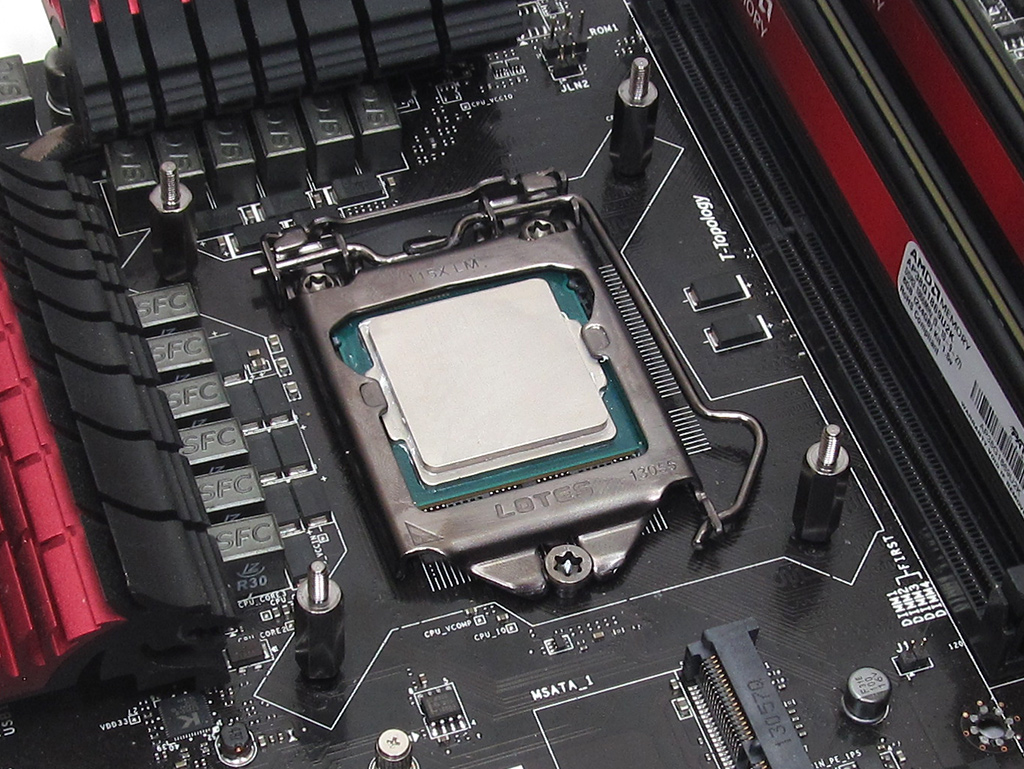
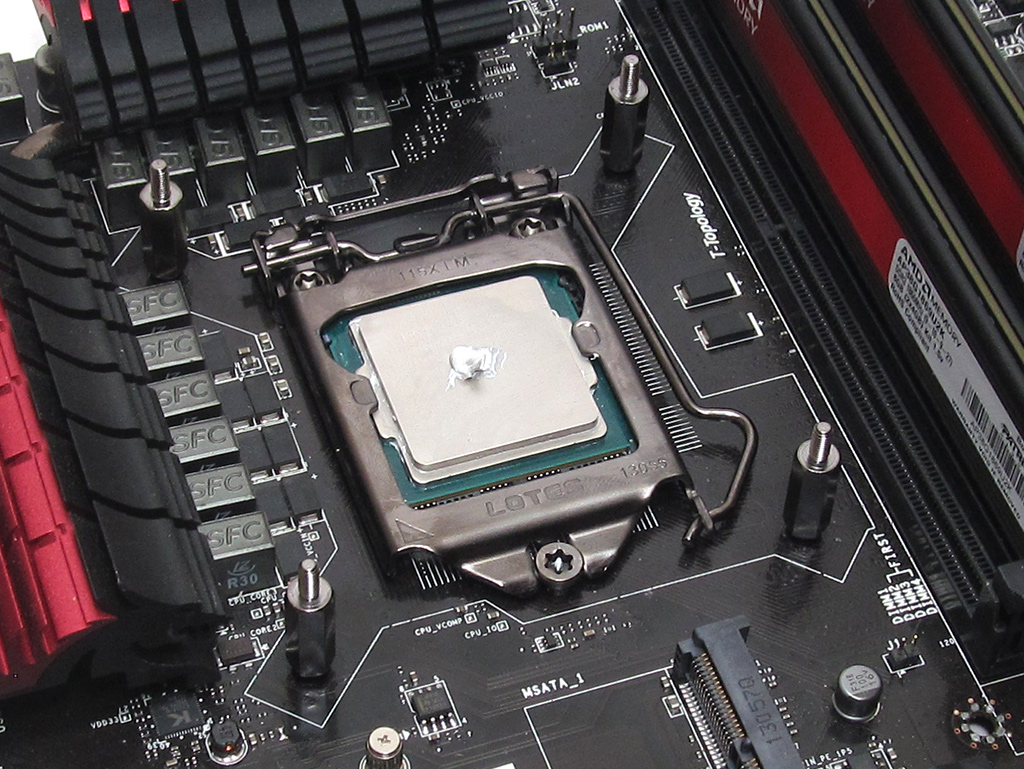
Installing the Corsair Hydro Series H105 is, compared to the H90 and H110, fairly simple. Simply position the backplate and use the included standoffs to hold it in place. While it will feel as though it is loose, there is nothing to worry about. With the backplate and standoffs in place, it is time to apply your favorite thermal compound. You can also skip this step if you use the compound Corsair has pre-applied to the coldplate's pumps.
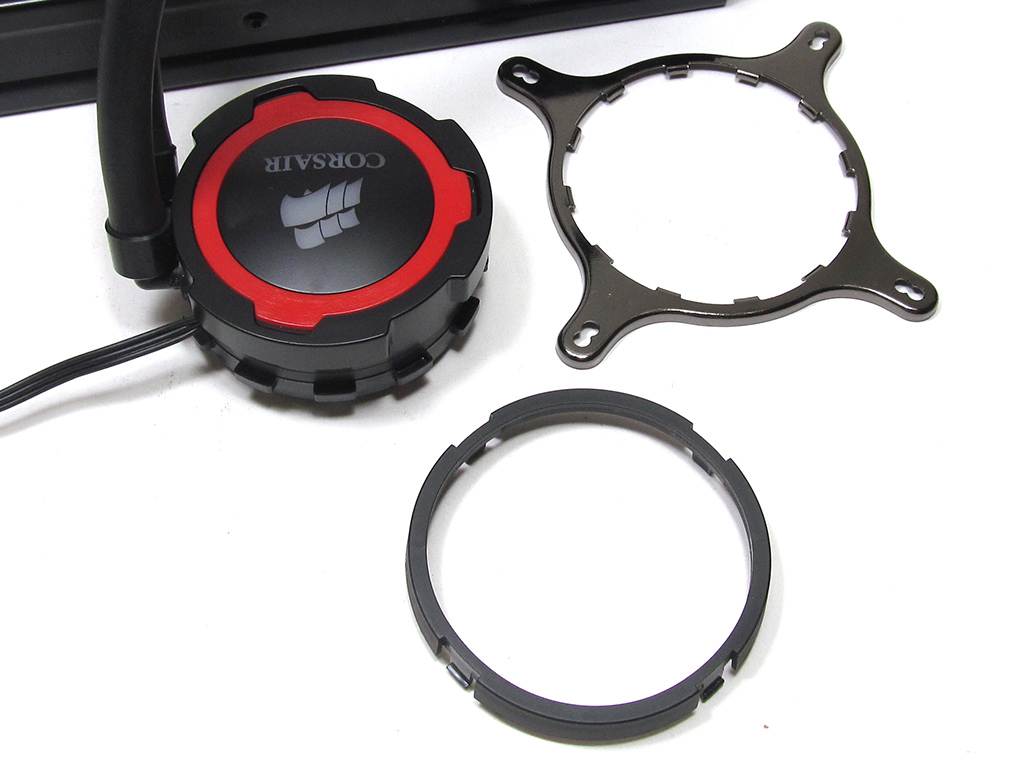

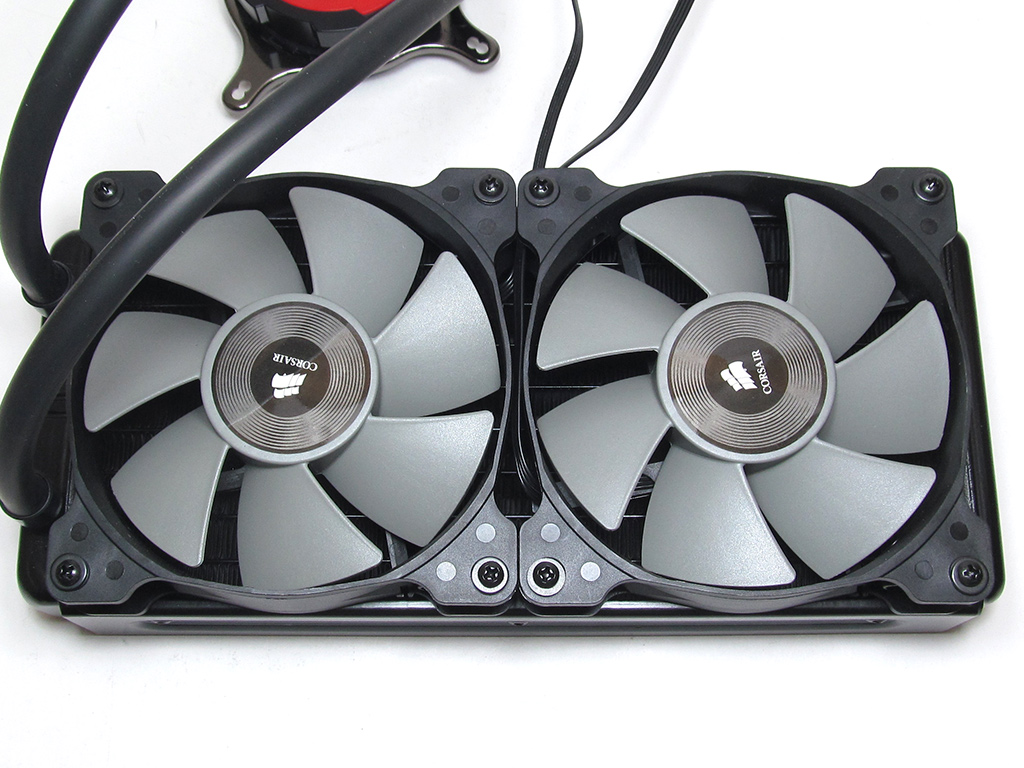
It is now time to configure the pump around your socket. Corsair ships the pump with the Intel bracket installed by default, but it is, as you can see in the photos above, easily assembled or disassembled. With the proper mounting bracket in place, attach the fans to the cooler to then install the radiator into the case.

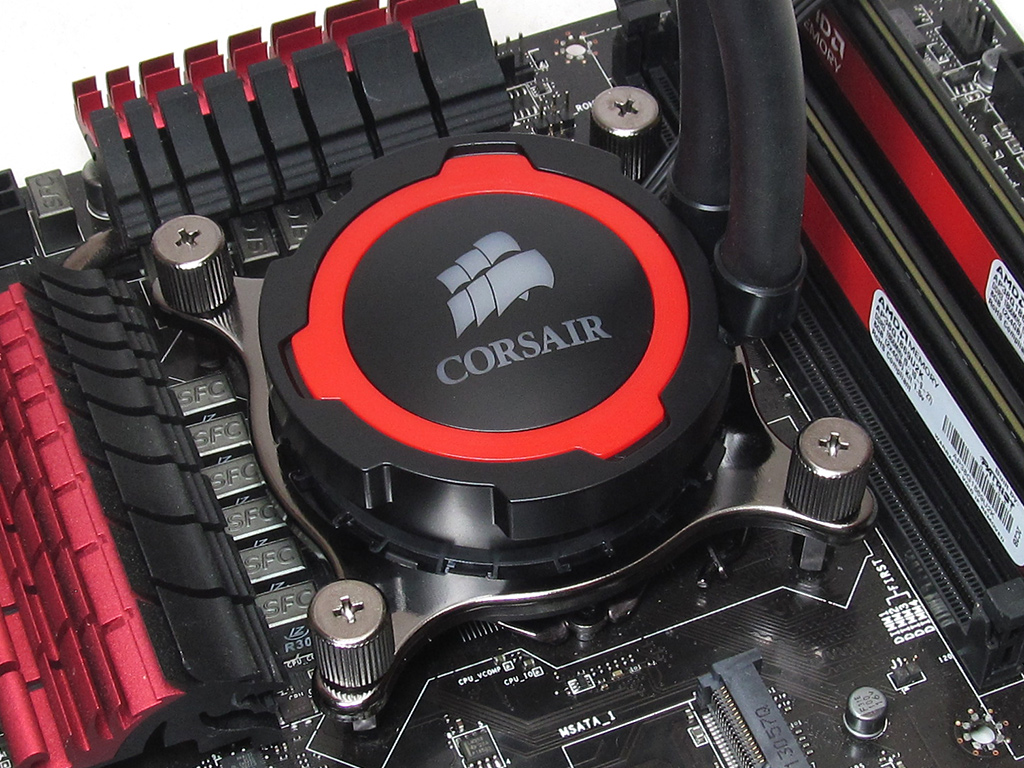
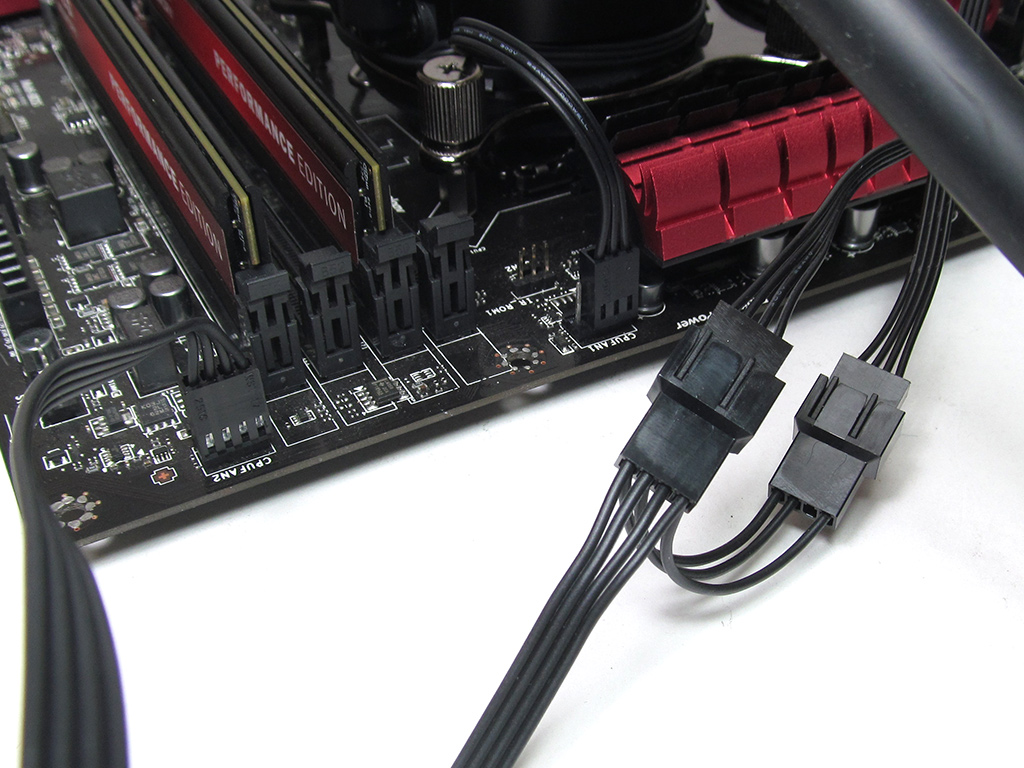
Attach the Hydro Series H105 pump to the socket with the included thumbscrews. Don't forget to attach the pump to the CPU fan header. You can use the included y-cable to attach the fans to the secondary CPU fan header.
The process of installing the Corsair Hydro Series H105 was pretty damn easy, especially compared to previous designs. The backplate and standoffs still felt very loose until the pump was firmly attached, which is a minor annoyance and does not make the cooler any more difficult to install, although it did feel a bit awkward. Overall, I would rate the difficulty of installation an 8 on a scale of 1 (hardest) to 10 (easiest). Corsair has definitely taken a step in the right direction with the Hydro Series H105 when it comes time to evaluate its mounting hardware and installation procedure.
Feb 11th, 2025 14:15 EST
change timezone
Latest GPU Drivers
New Forum Posts
- Overclocking Xeon 2690(v2) (21)
- Case fan with controller (6)
- Proposed new Power Connector (9)
- Shutters while shooting and seeing enemy even in CS 1.6 (80)
- It's happening again, melting 12v high pwr connectors (205)
- Do I need to spend extra money on my MOBO? (12)
- Were Ryzen 8000 CPUs a big mistake from AMD? (0)
- New OLED monitor? (3)
- What are you playing? (22852)
- 2022-X58/1366 PIN Motherboards NVME M.2 SSD BIOS MOD Collection (871)
Popular Reviews
- Civilization VII Performance Benchmark Review - 35 GPUs Tested
- Kingdom Come Deliverance II Performance Benchmark Review - 35 GPUs Tested
- ASRock Phantom Gaming B850I Lightning Wi-Fi Review
- Team Group T-Force XTREEM DDR5-7200 48GB CL34 Review
- Spider-Man 2 Performance Benchmark Review - 35 GPUs Tested
- NVIDIA GeForce RTX 5080 Founders Edition Review
- AMD Ryzen 7 9800X3D Review - The Best Gaming Processor
- DAREU A980 Pro Max Review
- Kingdom Come: Deliverance 2 Handheld Performance Review
- Corsair Frame 4000D Review
Controversial News Posts
- AMD Radeon 9070 XT Rumored to Outpace RTX 5070 Ti by Almost 15% (286)
- AMD is Taking Time with Radeon RX 9000 to Optimize Software and FSR 4 (256)
- AMD Denies Radeon RX 9070 XT $899 USD Starting Price Point Rumors (239)
- Edward Snowden Lashes Out at NVIDIA Over GeForce RTX 50 Pricing And Value (239)
- AMD Radeon RX 9070 XT & RX 9070 Custom Models In Stock at European Stores (226)
- New Leak Reveals NVIDIA RTX 5080 Is Slower Than RTX 4090 (215)
- AMD's Radeon RX 9070 Launch Faces Pricing Hurdles (175)
- AMD Radeon RX 9070 XT Tested in Cyberpunk 2077 and Black Myth: Wukong (169)