 8
8
CORSAIR Hydro X Series XH303i RGB PRO Water Cooling Kit Review
Hydro XR5 360 Radiator »Hydro XD3 Pump/Reservoir Combo


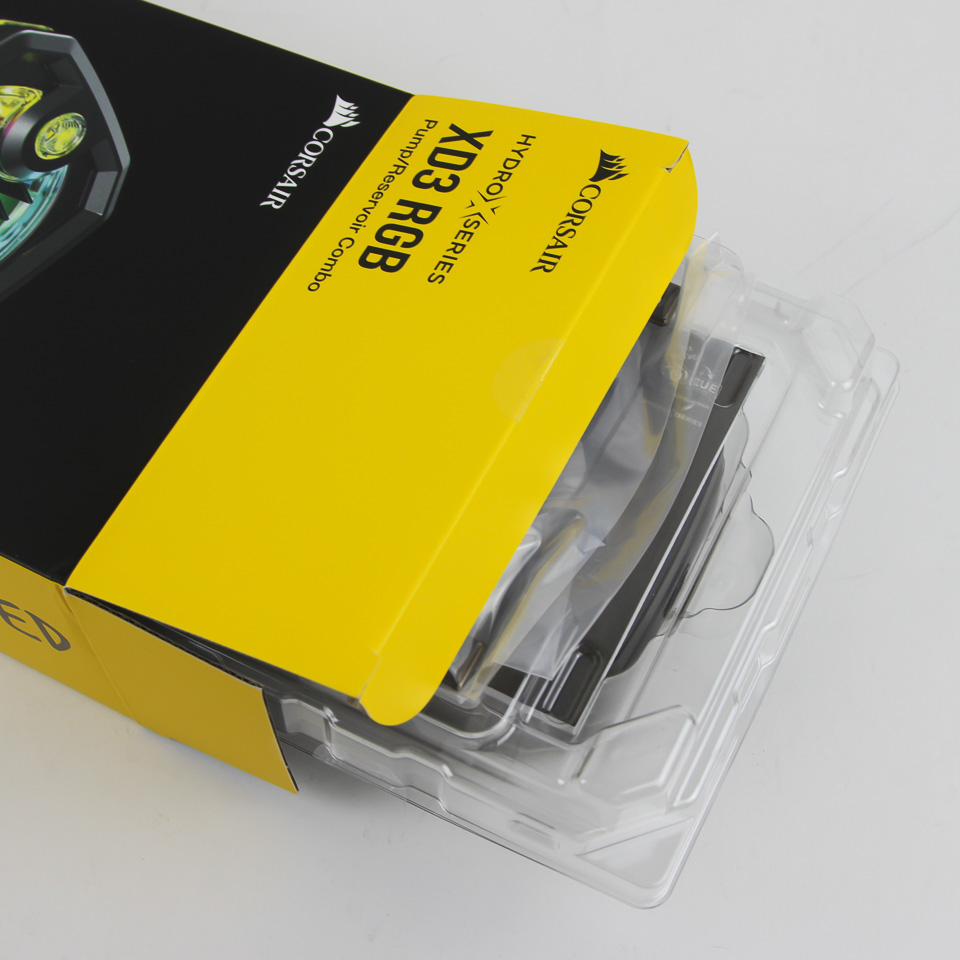
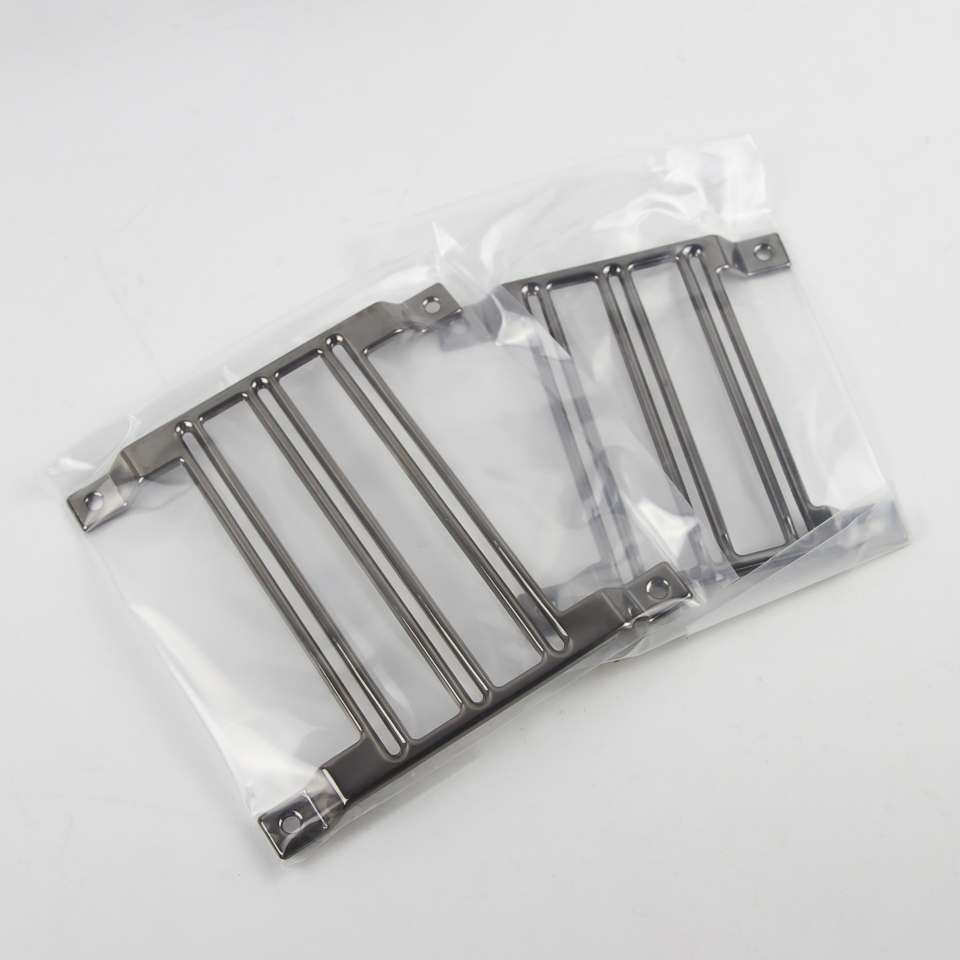
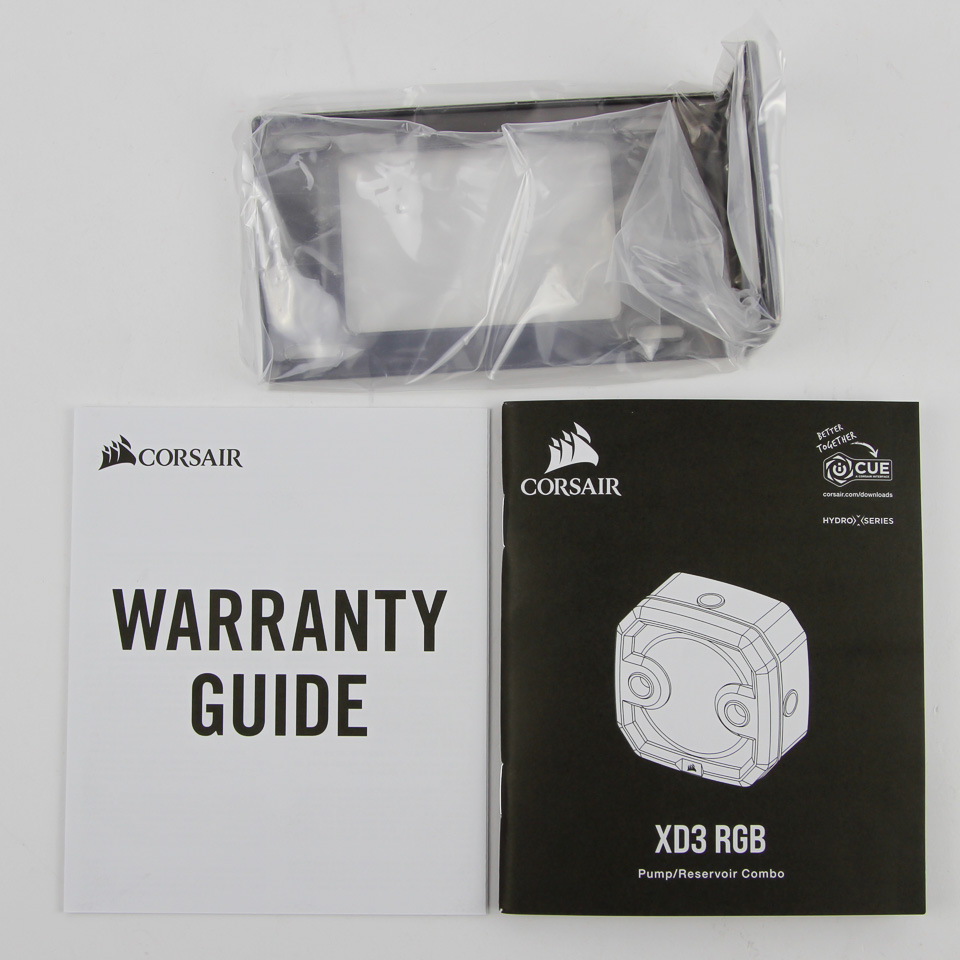
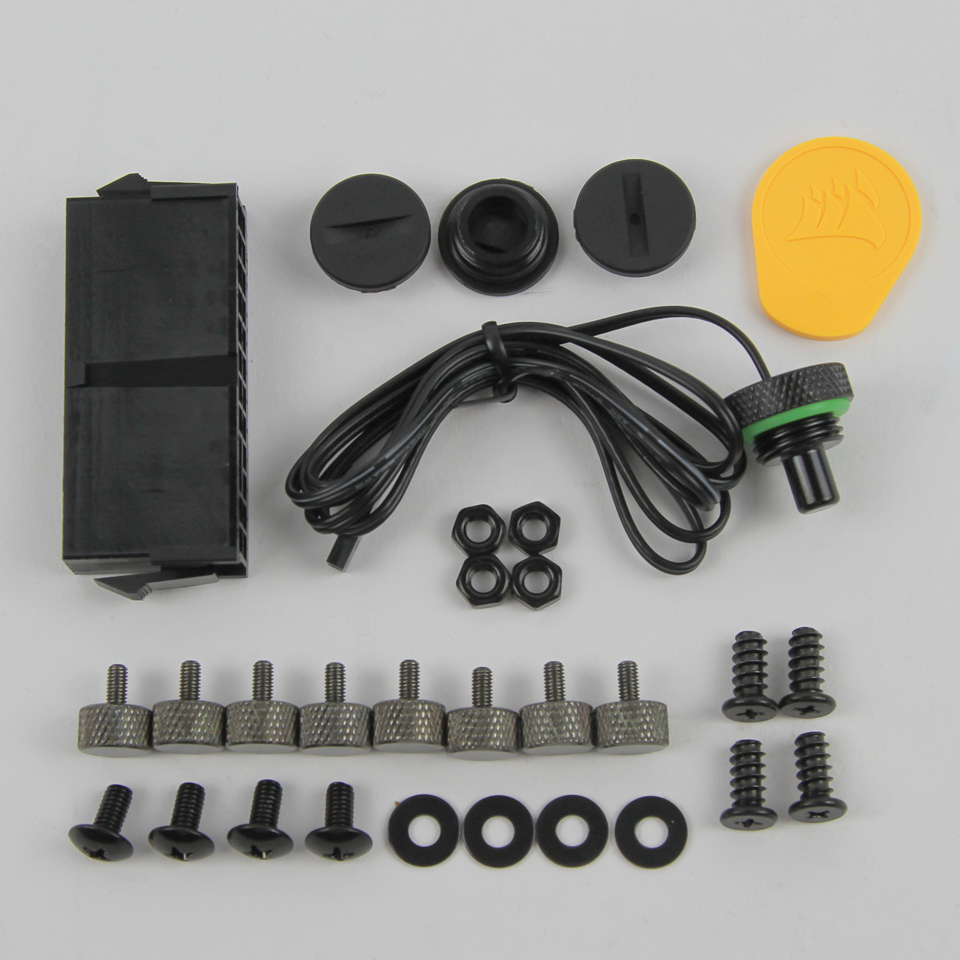
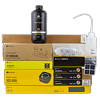
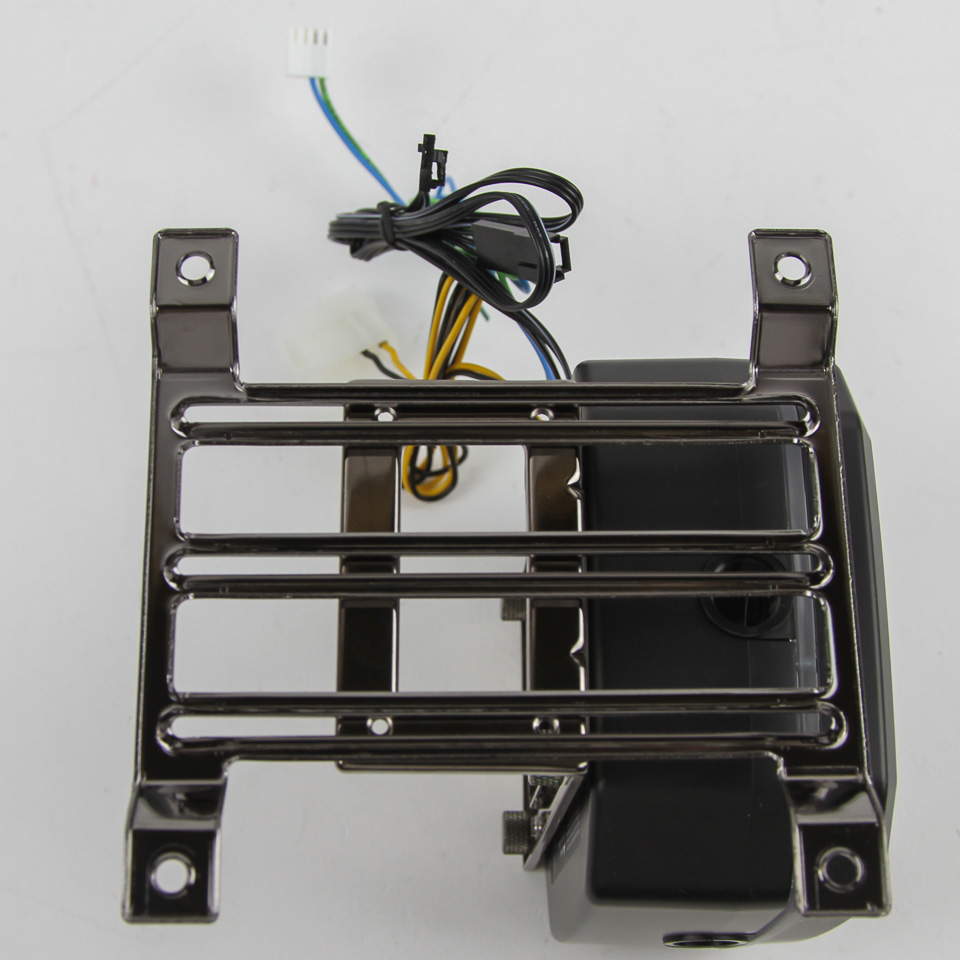
Given I have already done a full review of the CORSAIR Hydro XD3 pump/reservoir combo, this page will be a brief summary of the product, and I recommend reading the review for more details. On the front of the box is the company and product name and a printed render of the product with the RGB LEDs in action. More renders, marketing features, and specifications in multiple languages greet us on the back and sides. A flap on the side opens up to reveal layered packaging inside, with the top layer containing a set of two metal installation brackets for 120 or 140 mm fan-hole spacings. The rest of the contents come in a plastic blister clamshell, which opens up to reveal a mounting bracket, warranty guide, and handy quick-start guide in multiple languages. There are also three acetal BSP G1/4" threaded stop plugs, installation hardware involving eight metal thumb screws, four metal self-tapping screws, four metal mounting screws, four metal locking nuts and washers, a plastic plug tool to install the stop plugs, and a bridge plug tool to use with the 24-pin ATX PSU cable for pump power without the rest of your system on and running.
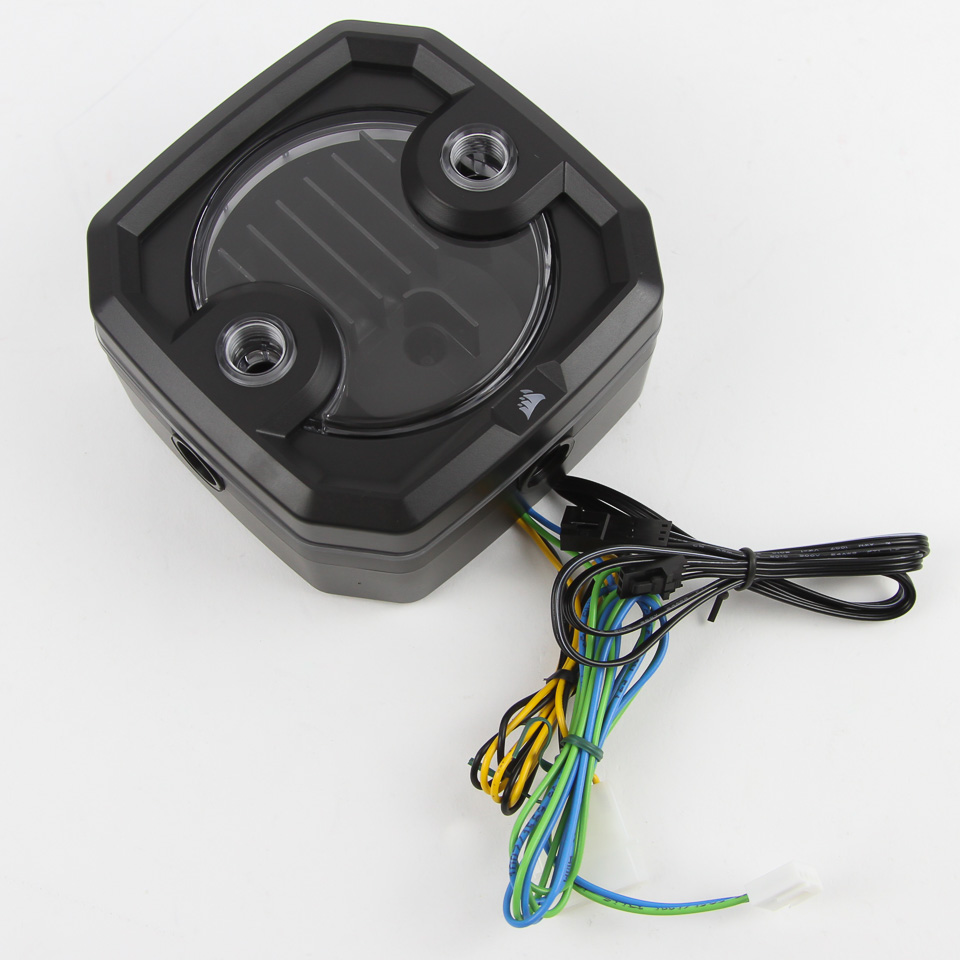
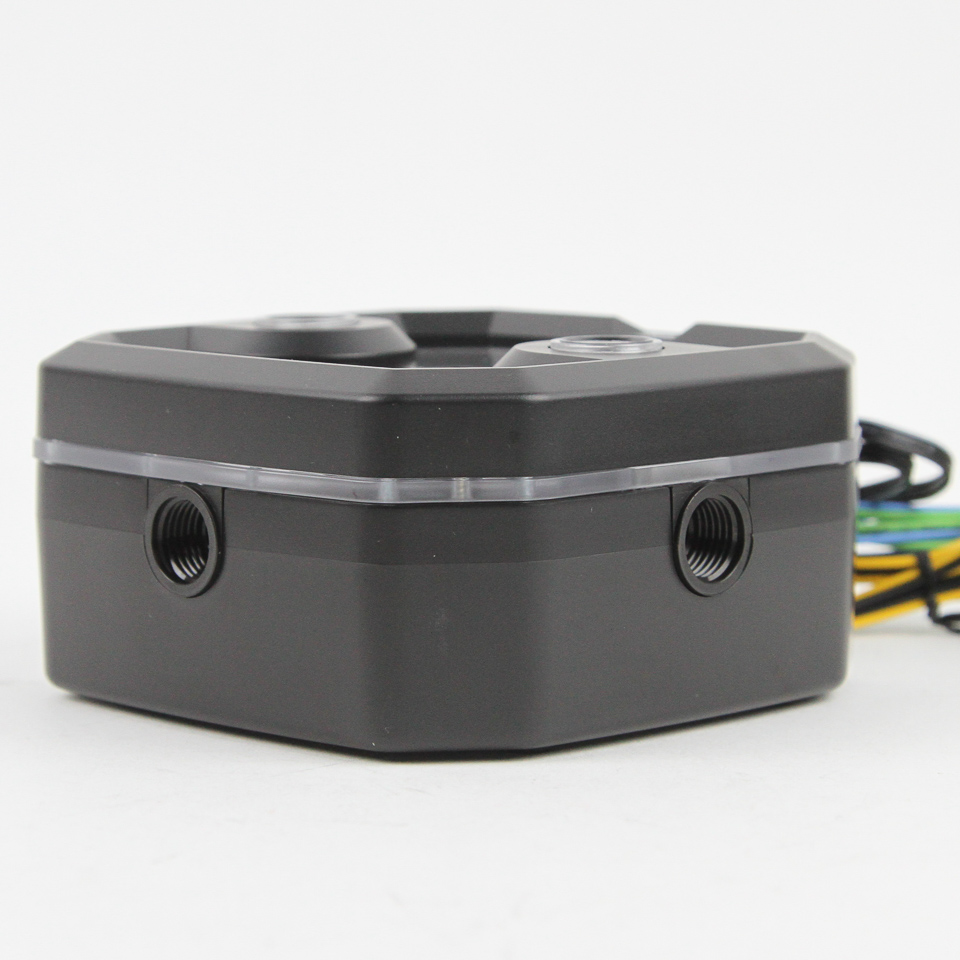
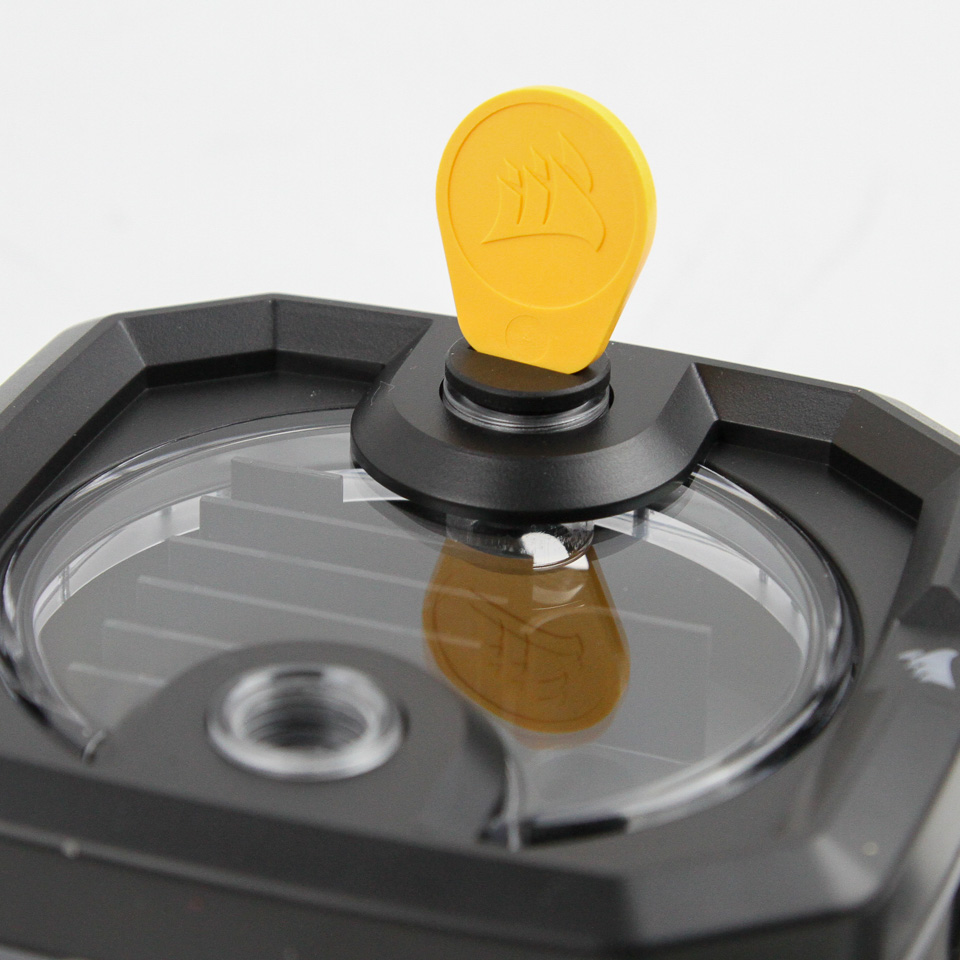
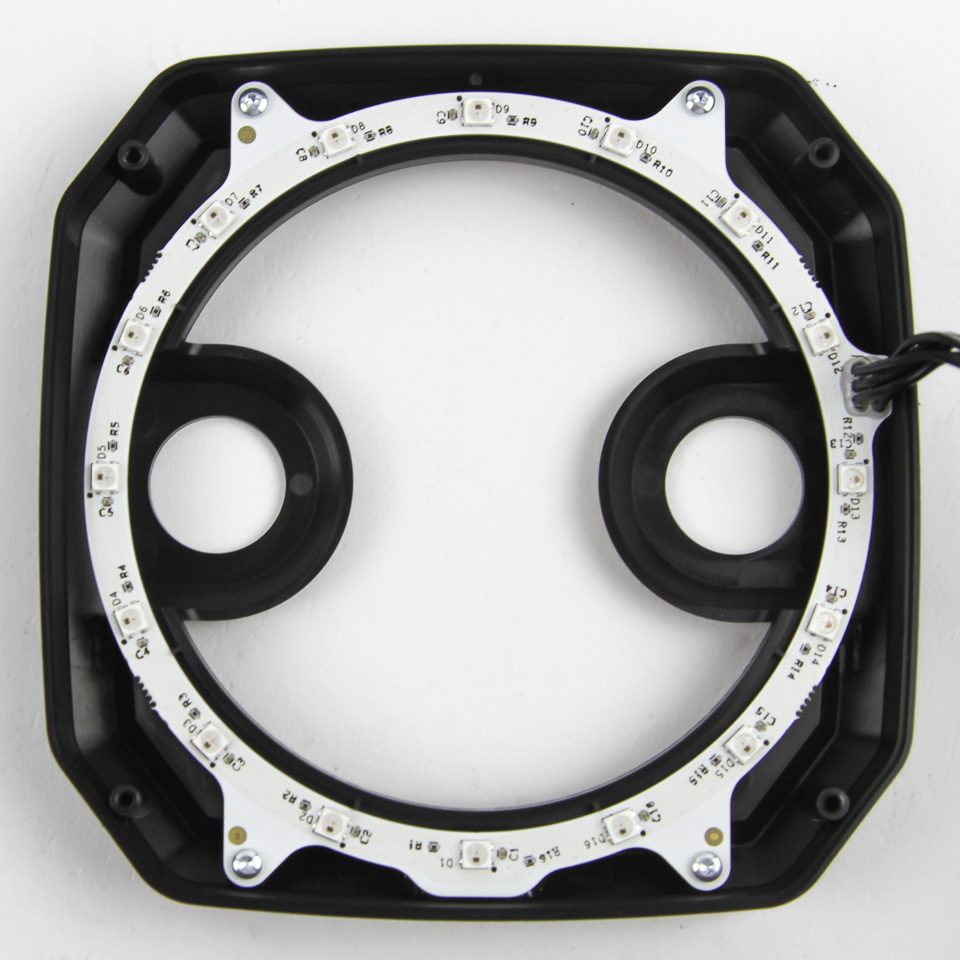
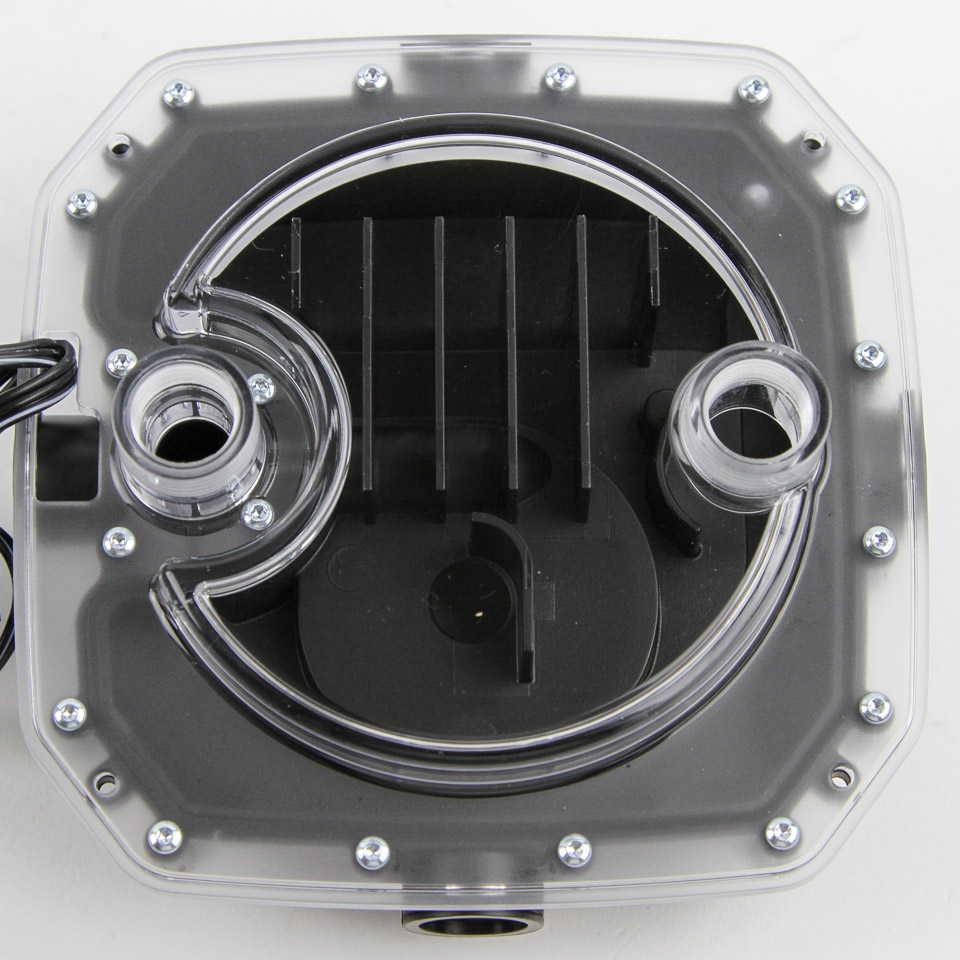
The CORSAIR Hydro XD3 is a pump/reservoir combo that uses the lower-profile Xylem DDC pump to good effect, making this a cube form factor and allowing for SFF watercooled builds. The reservoir holds 180 mL of coolant and is made out of polished nylon clear enough for colored coolants and/or RGB lighting customization. In fact, 16 integrated digital RGB LEDs are underneath the top and shining inward, which is why there are two sets of cables off to the side—one for pump power and RPM control and the other for the LEDs with an added daisy-chain option. We also see channels in the reservoir to push the coolant through a longer travel distance, which gives air bubbles more time to separate from the coolant and not get pushed back into the loop. There are a total of six BSP G1/4" threaded ports here, which provides plenty of options for a fill port, in/return line, outlet line, and the temperature sensor stop plug. The provided stop plugs and plug tool are handy for the extra ports that may go unused, and the ports themselves are threaded perfectly.
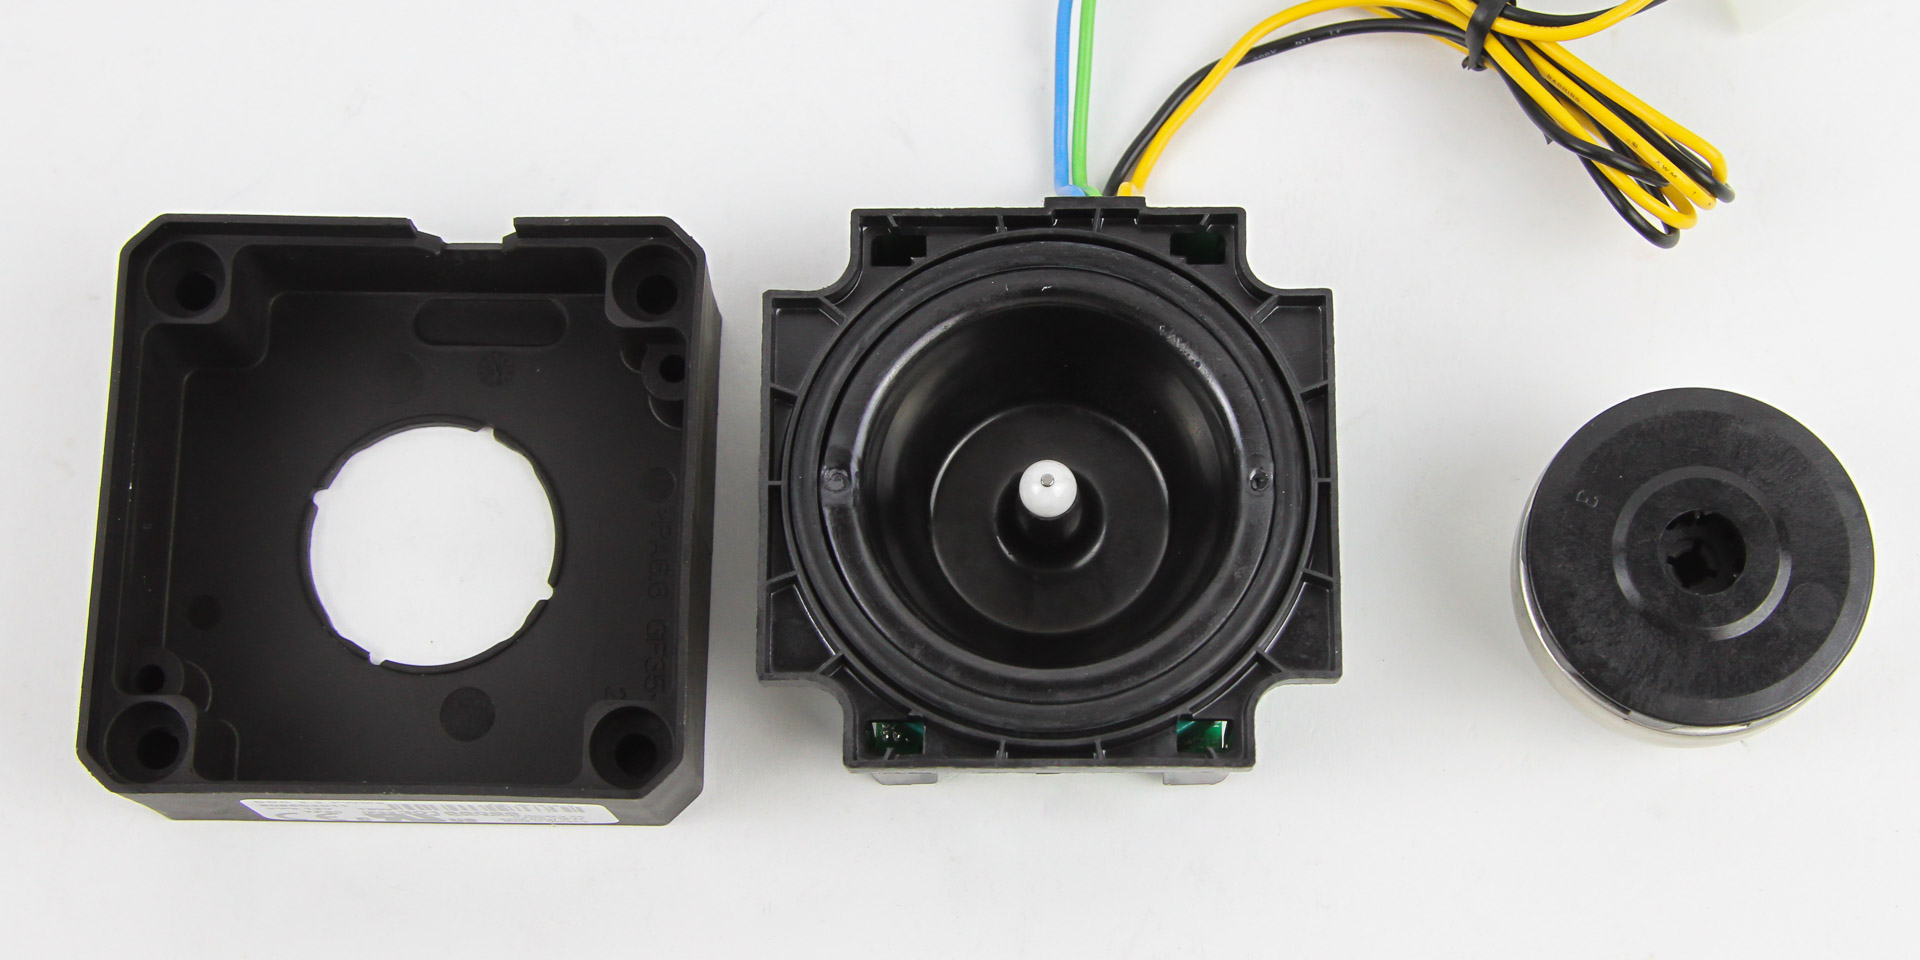
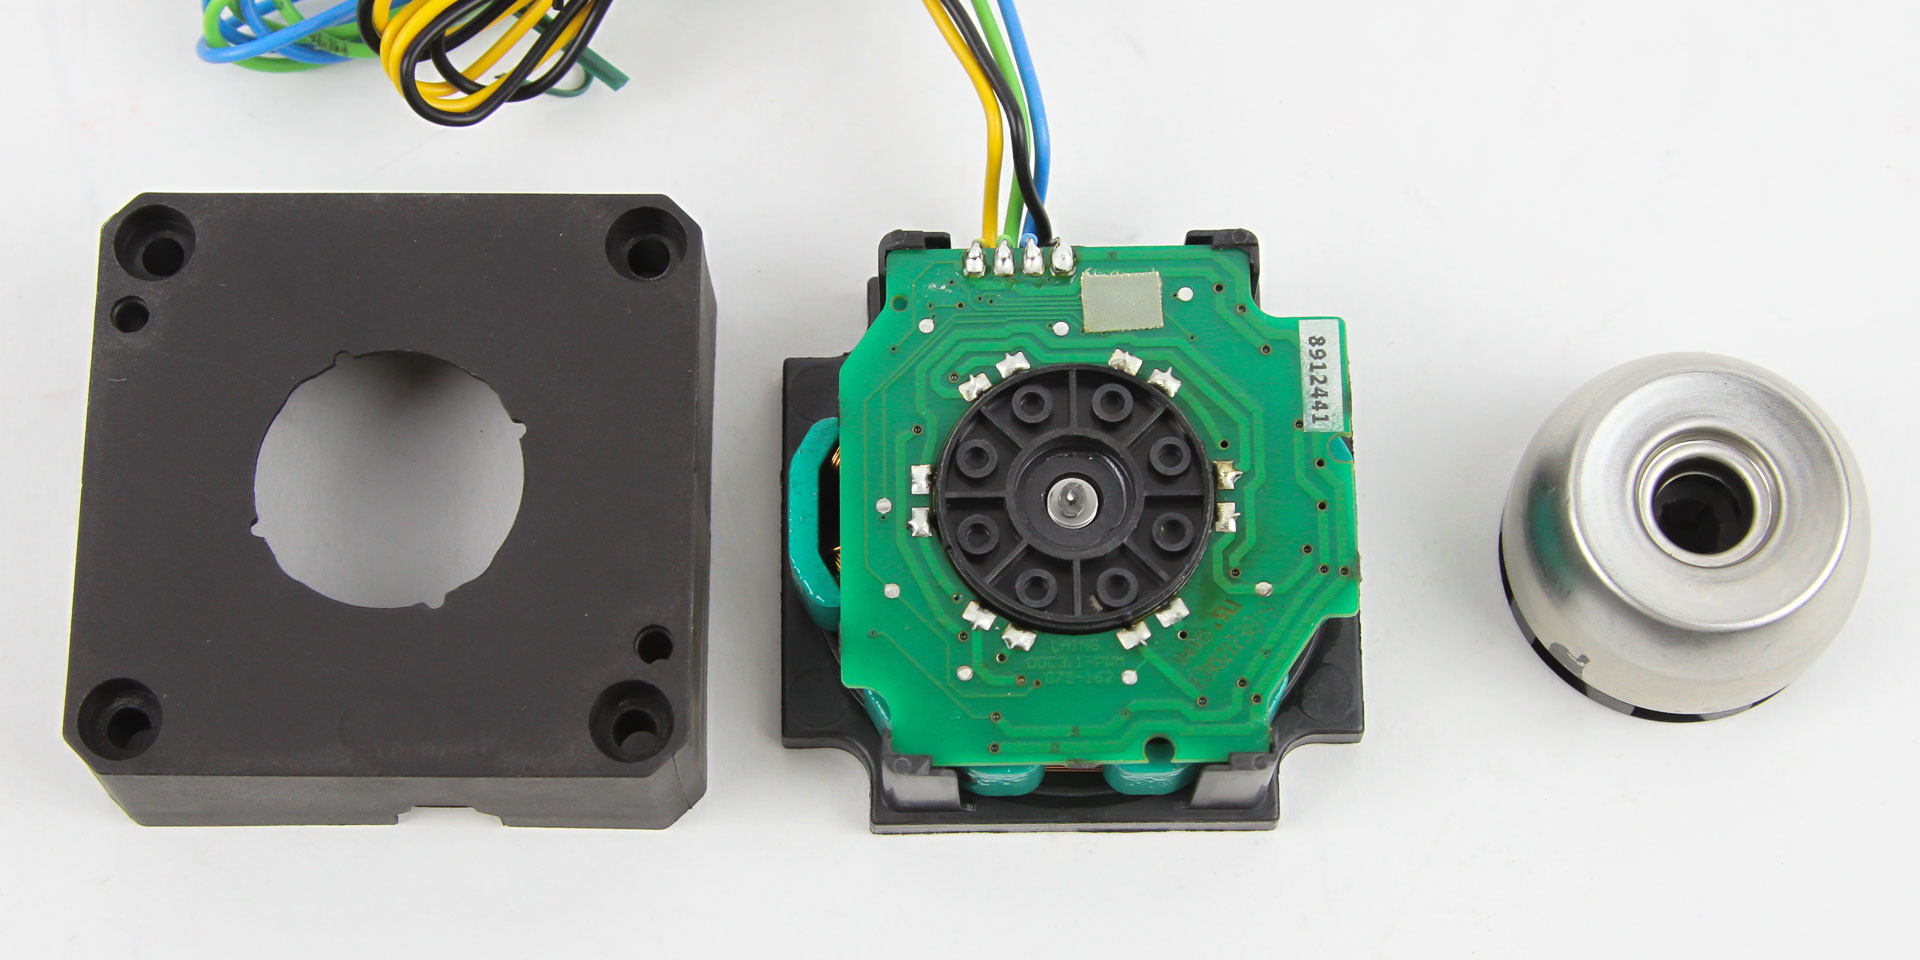
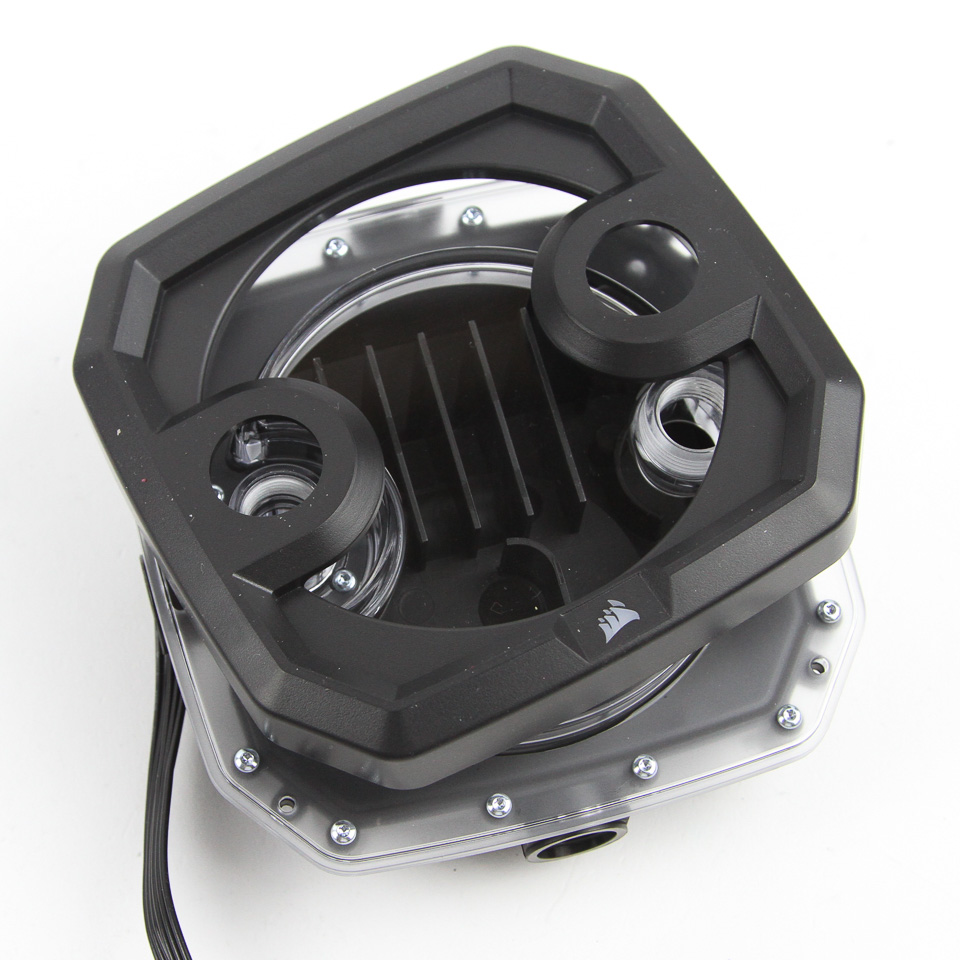
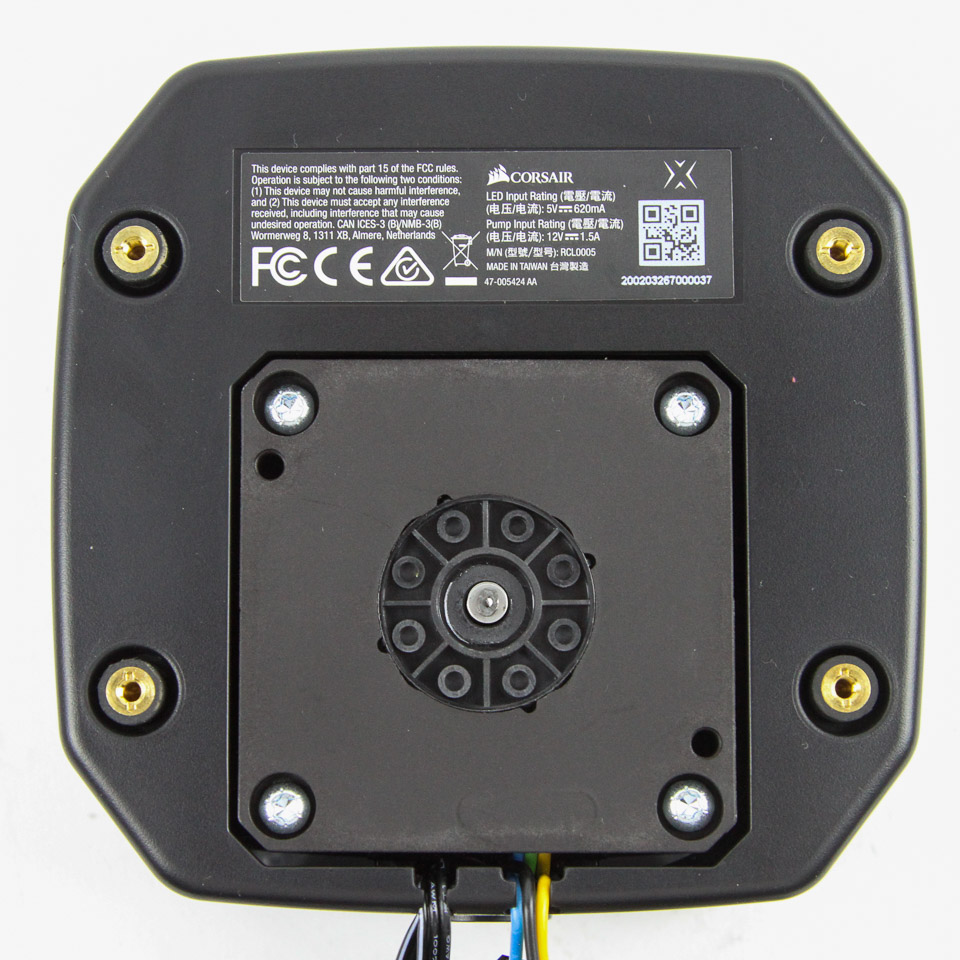
Disassembly was done after testing was complete, with the pump itself held in place by four H2.5 screws and coming out easily to give us a better look at the Xylem DDC. We see the usual O-ring around the impeller and flow path to keep the coolant confined, a magnetic impeller which goes over a shaft with a ceramic ball bearing—so never run this dry—and a lot more plastic for the pump housing with the motor underneath. The pump top is integrated into the reservoir housing, again in nylon to complement the reservoir with a fairly standard-looking volute. There are no heatsinks for the DDC motor, which may run warmer than the equivalent D5 in this case. The Xylem DDC is built to withstand higher operating temperatures than the D5 either way. A few more screws keep the pump top and reservoir body together. Some of these can be removed to get a better look at the RGB LEDs, but many more hold the nylon reservoir body in place.

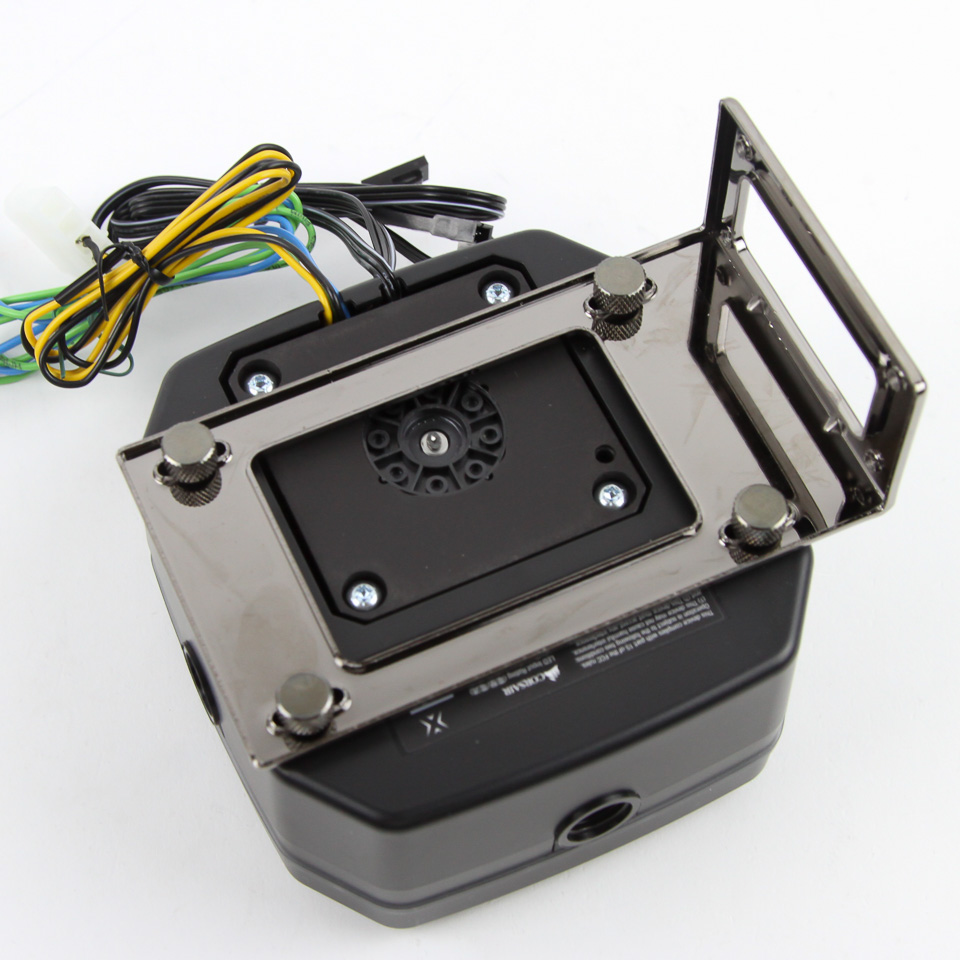
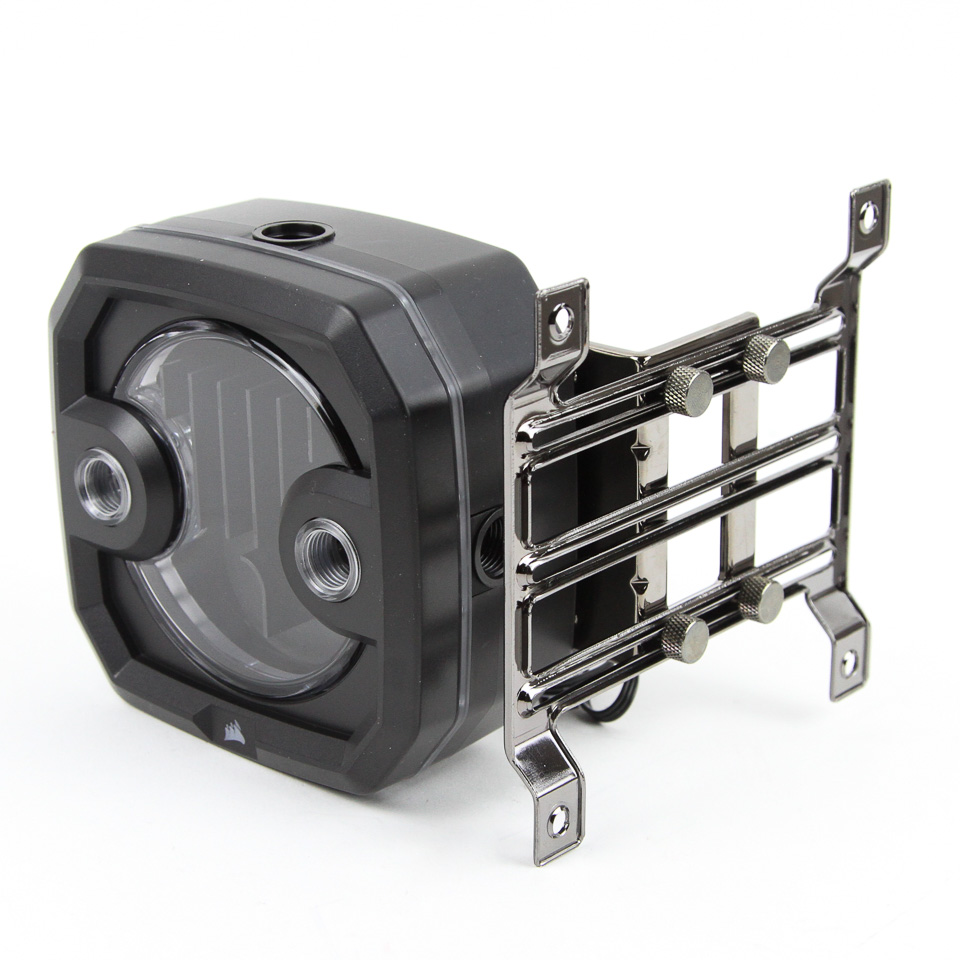
Installation of the CORSAIR Hydro XD3 pump/reservoir combo is simple enough given the Hydro XH303i PRO kit comes with coolant that goes into the reservoir, thus removing any confusion over which coolant will work. You then have to decide whether you are going with a standalone installation to your case, dedicated panel, or the more user-friendly approach of using 120 or 140 mm fan-hole solutions. The first two require drilling holes into your case or panel and using the rubber-lined screw feet and provided screws and washers. The mounting bracket accessory paired with the provided fan-mounting metal installation brackets is arguably what you may want to do instead, and the included manual does a good job of going over how the setup works. Simply put, you can use the rubber-lined feet and provided installation hardware to secure the XD3 to a bracket of your choice with the accessory, and the bracket then has holes that line up with the appropriately sized case, radiator, or fans. The choice of nylon and the lower-profile reservoir means the unit is not very heavy, which allows for a stable installation without worry of it pulling something down. Connect the LED and pump cables to the Commander PRO from earlier and you are ready to plumb in tubing and the various fittings for the XD3. The lack of a heatsink for the pump is also somewhat mitigated by this method since some of the possible orientations have airflow from the fans hit the pump.
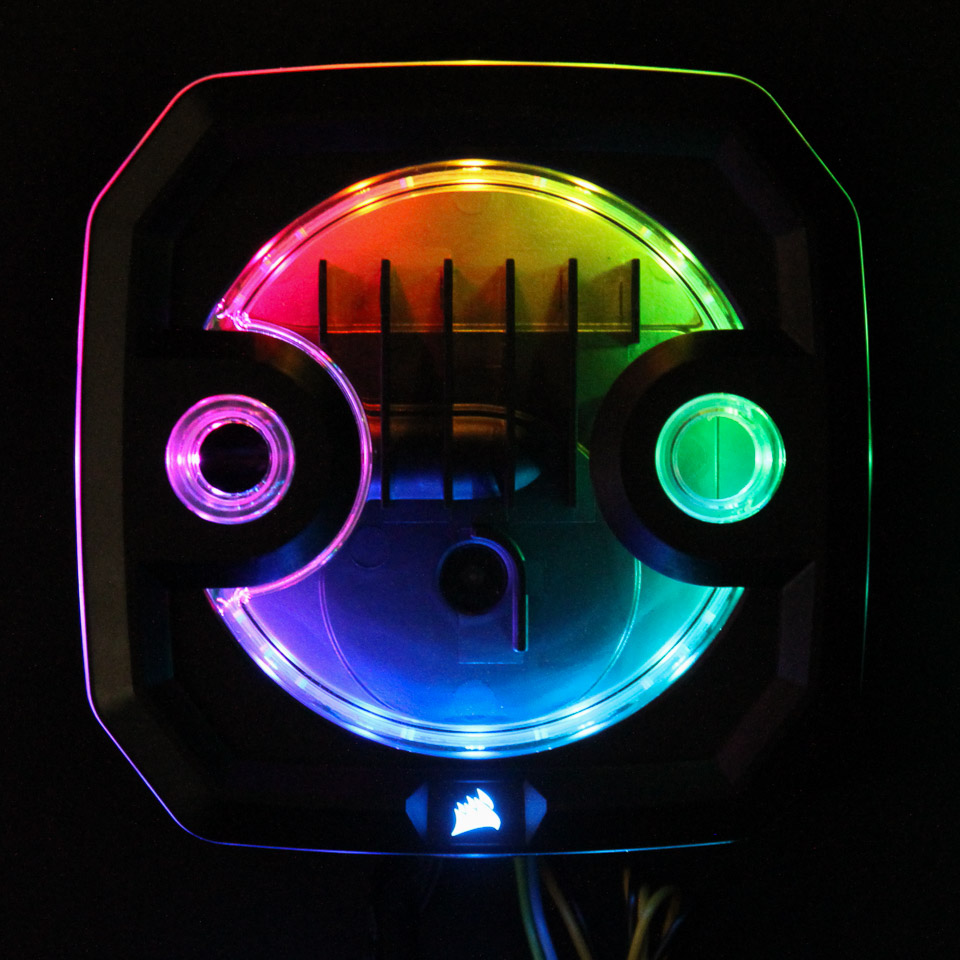
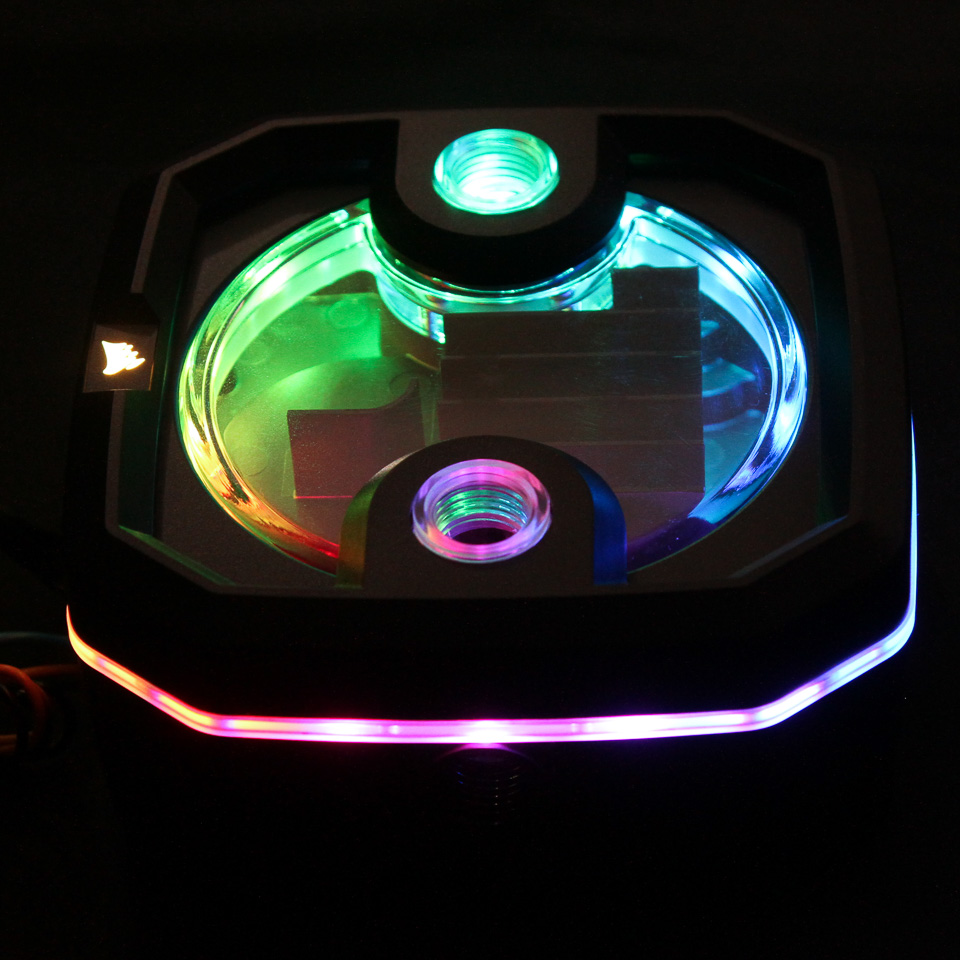
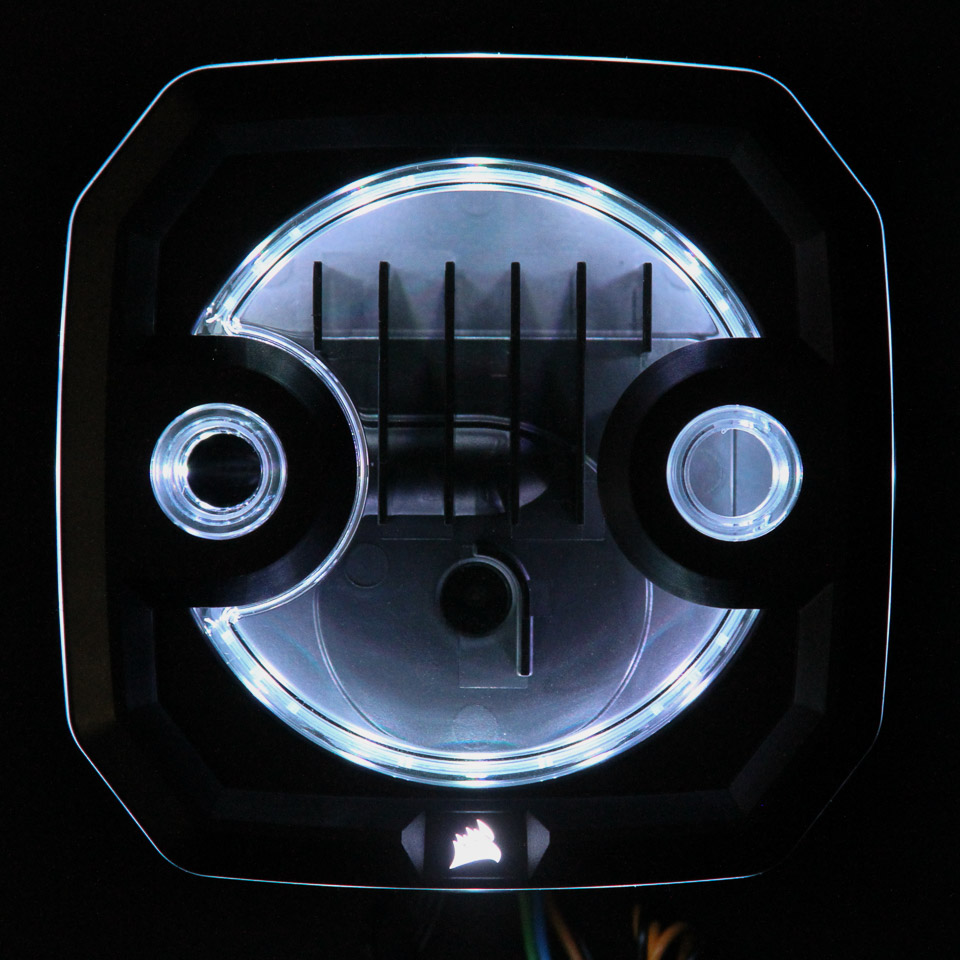
Here is a look at some of the various lighting options for the Hydro XD3 via iCUE, be it static or dynamic. I was impressed with the fairly true to color white these LEDs were able to reproduce, and the downward-facing LEDs are bright enough to illuminate the entirety of the nylon reservoir. The lighting is brightest at the top and dimmer the further towards the pump you go, so it is perhaps good that this is not a tall reservoir. CORSAIR recommends using a clear coolant to better diffuse the light from the LEDs than what you see above, with the actual LEDs for color customization instead of colored coolant. Good thing then that the kit comes with 1 liter of clear coolant already! As with anything compatible with iCUE, lighting can be configured to match other products collectively.


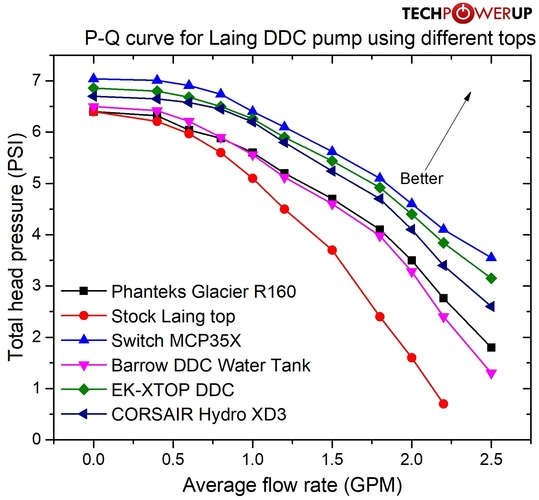
Refer to this page and the subsequent one for more details on how the Hydro XD3 was tested, including of the pump and pump top separately and both in a loop. What makes the Xylem DDC worth considering is that it is still the only smaller form factor PC DIY cooling pump to have lasted the test of time, with the vast majority of other such pumps listed above now either discontinued or just not worth the money when it comes to performance at a preferred noise level. The CORSAIR top is also plenty respectable, and the overall combination eases installation and provides various different installation options courtesy the mounting brackets. Just don't place it upside down, but this is otherwise a good first pump to be included in a kit. I would personally go with the XH305i simply for the CORSAIR Hydro XD5 and Xylem D5 pump, but that is also a larger unit that requires more planning and at least a mid-tower case.
Feb 1st, 2025 10:25 EST
change timezone
Latest GPU Drivers
New Forum Posts
- Opinions on AI (398)
- Dlss4 + 4090 = lower max oc than with dlss3 (16)
- How to watch paid content at full resolution on PC? (7)
- What are you playing? (22729)
- Anyone here making a lot of use of DXVK? (0)
- Postulation: Is anyone else concerned with the proliferation of AI? (262)
- I dont like my new CPU Cooler (70)
- Will you buy a RTX 5090? (317)
- 5090 ROG Astral LC Unboxing. (14)
- New CPU or new MB/DDR5 (11)
Popular Reviews
- NVIDIA GeForce RTX 5080 Founders Edition Review
- NVIDIA DLSS 4 Transformer Review - Better Image Quality for Everyone
- Galax GeForce RTX 5080 1-Click OC Review
- ASUS GeForce RTX 5090 Astral OC Review - Astronomical Premium
- MSI GeForce RTX 5080 Vanguard SOC Review
- ASUS GeForce RTX 5080 Astral OC Review
- NVIDIA GeForce RTX 5090 Founders Edition Review - The New Flagship
- Gigabyte GeForce RTX 5080 Gaming OC Review
- MSI GeForce RTX 5080 Suprim SOC Review
- MSI GeForce RTX 5090 Suprim SOC Review
Controversial News Posts
- NVIDIA 2025 International CES Keynote: Liveblog (470)
- AMD Debuts Radeon RX 9070 XT and RX 9070 Powered by RDNA 4, and FSR 4 (349)
- AMD is Taking Time with Radeon RX 9000 to Optimize Software and FSR 4 (251)
- AMD Denies Radeon RX 9070 XT $899 USD Starting Price Point Rumors (238)
- AMD Radeon RX 9070 XT & RX 9070 Custom Models In Stock at European Stores (226)
- NVIDIA GeForce RTX 5090 Features 575 W TDP, RTX 5080 Carries 360 W TDP (217)
- New Leak Reveals NVIDIA RTX 5080 Is Slower Than RTX 4090 (214)
- AMD Radeon 9070 XT Rumored to Outpace RTX 5070 Ti by Almost 15% (202)