 4
4
CORSAIR K95 RGB Platinum XT Keyboard Review
Software: iCUE »Disassembly
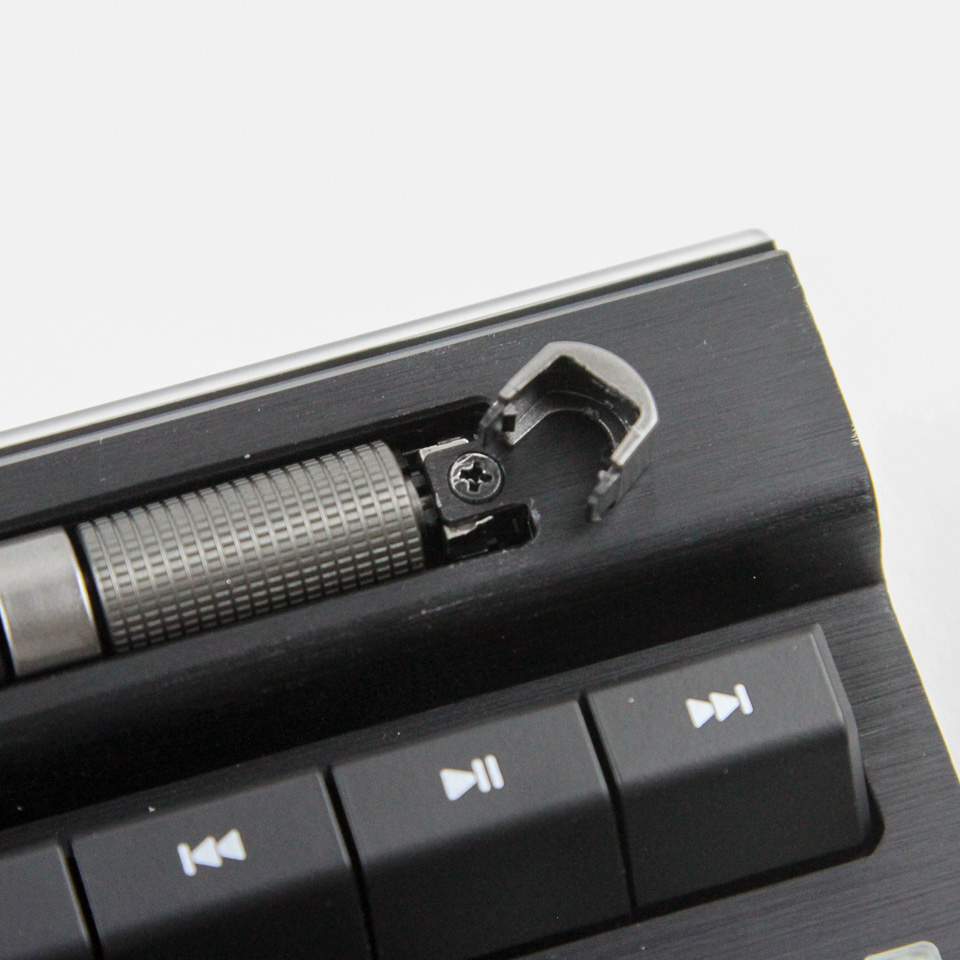
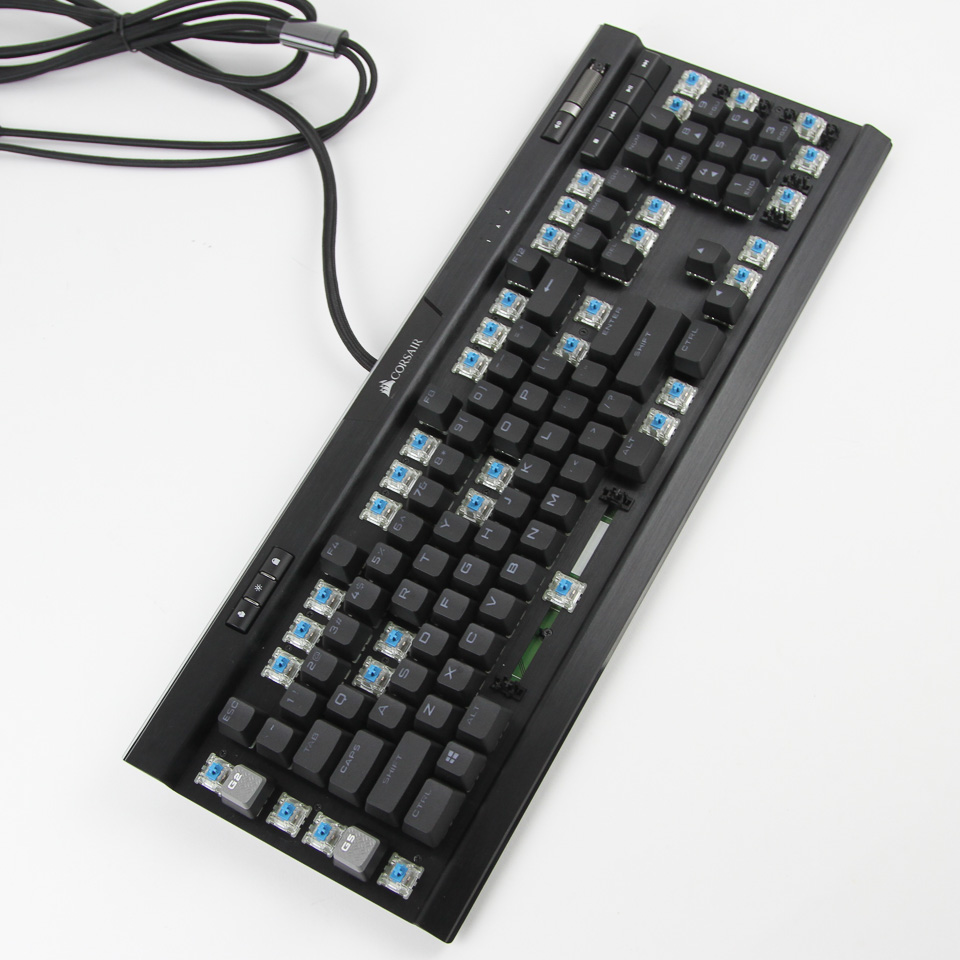


Disassembly of the CORSAIR K95 RGB Platinum XT is fairly easy, with a lot of screws keeping the metal frame connected to the bottom plastic case panel. Every screw but one is underneath a keycap that has to be taken off before the screw is removed with a Phillips head screwdriver. The last screw is next to the volume scroll wheel, underneath the plastic cover as seen above. A total of 22 screws later, we can completely separate the two primary pieces of the keyboard.
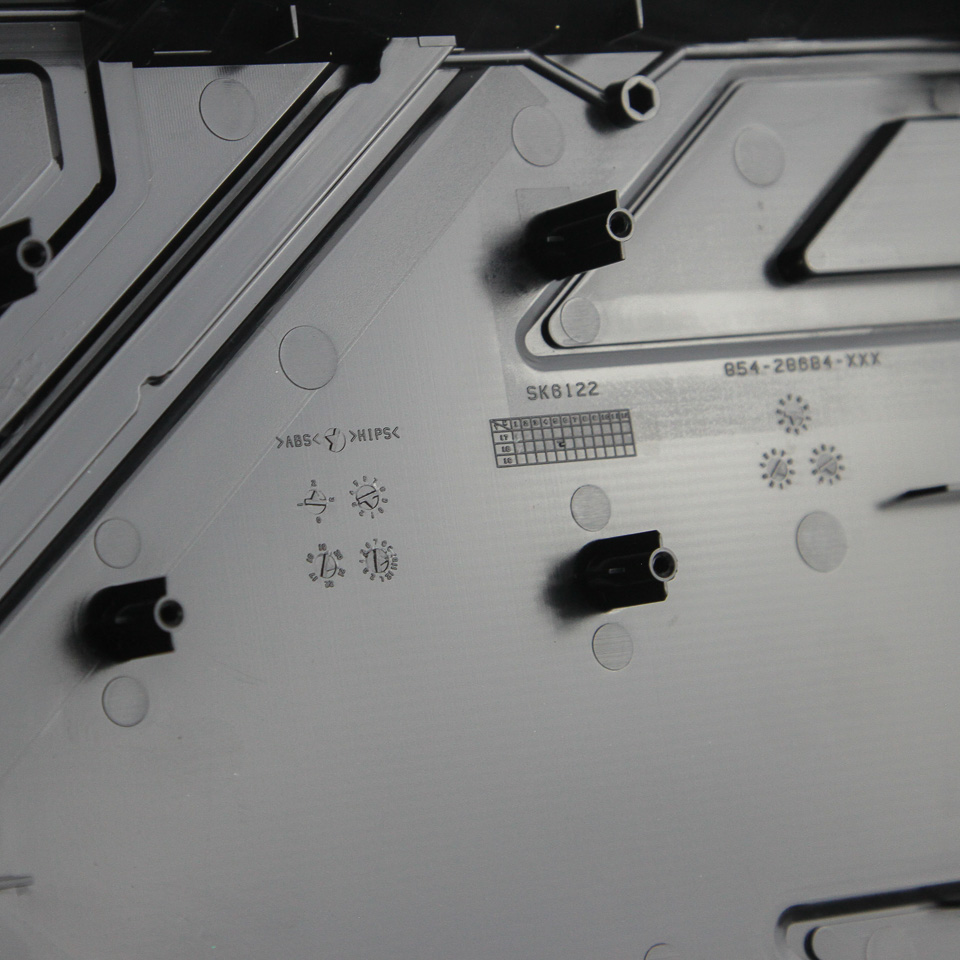

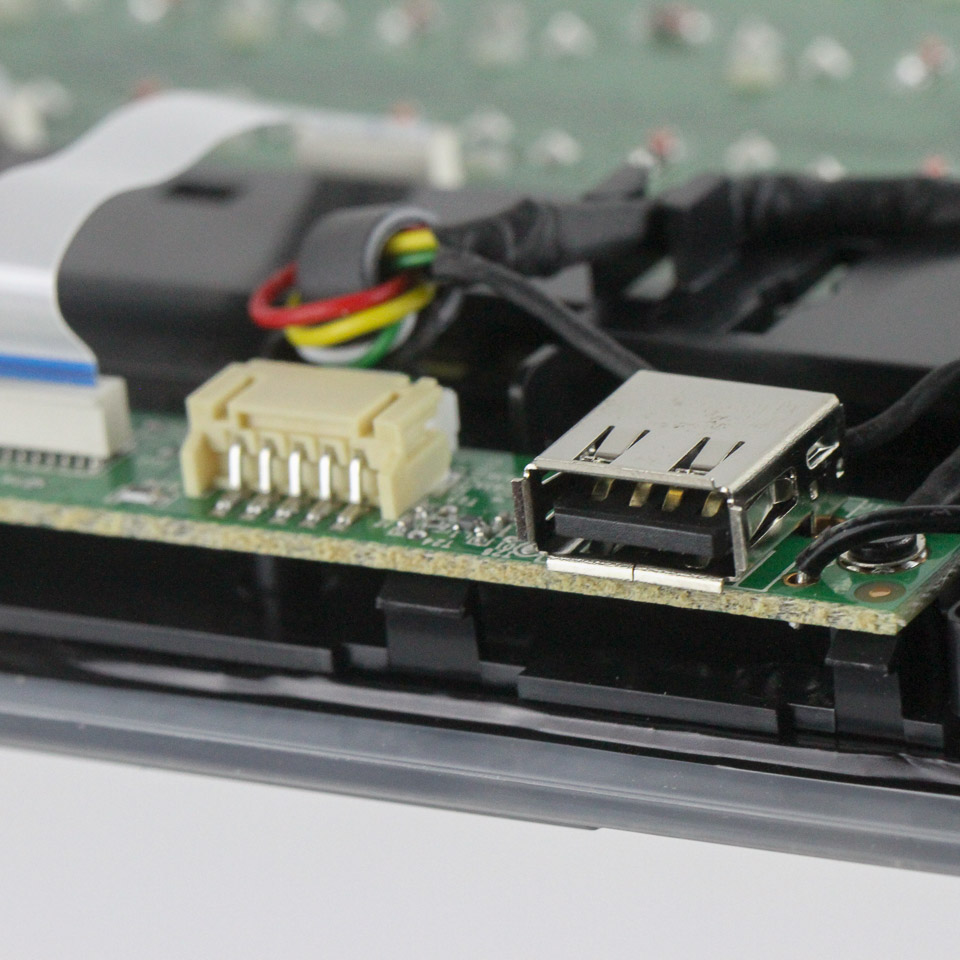
As expected, the bottom case panel is made out of ABS plastic and has cutouts to accommodate the cable and routing channels. The aluminium frame is tied to the PCB(s) with the switches soldered through, and as with the older K95 Platinum, there are in fact multiple PCBs. All the PCBs are green in color, and solder quality is exceptional, including for the USB pass-through port and internal USB connectors.


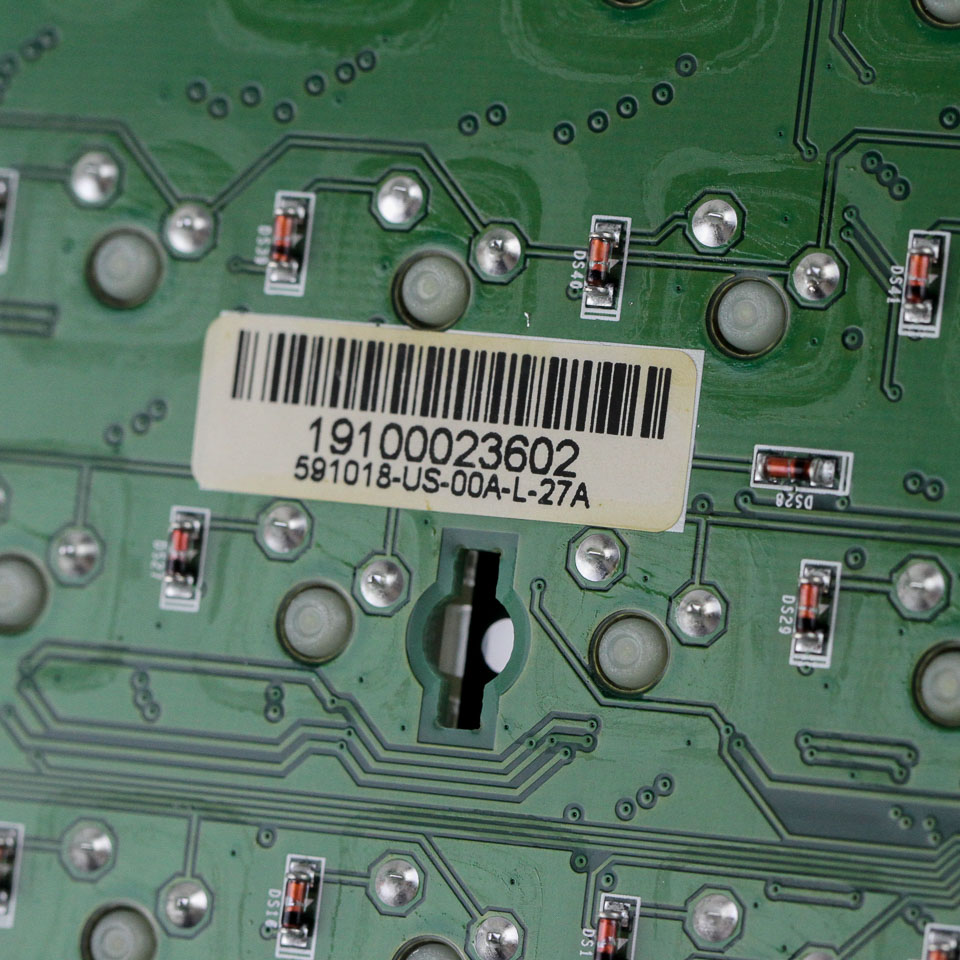
There are daughter PCBs for the extra keys, including the media keys, and the reset button here can be accessed via a hole on the back of the keyboard, underneath the keyboard feet. Powering the keyboard is an NXP LPC11U68JBD100 32-bit ARM Cortex-M0+/M0 Cores-based USB microcontroller with 256 KB on-board flash memory and 36 KB SRAM. There is an additional 8 MB discrete flash memory module to store all the pre-programmed functions, profiles, and associated lighting onboard the device. All the components, including the switches, LEDs, and capacitors, are soldered to a multi-layered PCB.
Before we move on, be advised that disassembly may void the warranty and that TechPowerUp is not liable for any damages incurred if you decide to go ahead and do so anyway.
Mar 18th, 2025 06:42 EDT
change timezone
Latest GPU Drivers
New Forum Posts
- Best €400-450 GPU (17)
- Nvidia's GPU market share hits 90% in Q4 2024 (gets closer to full monopoly) (1191)
- What's your latest tech Freebie? (14)
- Windows 11 General Discussion (5859)
- Do you prefer factory overclocked GPUs? (5)
- Intel to AMD upgrade, re-using 2x24Gb memory? (7)
- Is RX 9070 VRAM temperature regular value or hotspot? (12)
- Dead pixels and 1700 hours usage on a amazon warehouse LG C3, what do now? (1)
- I'm looking for a good tool to make the 3D scanning of my mini-pc using the photogrammetry and my Kinect 2. (141)
- need help fixing a fake gt730 (0)
Popular Reviews
- Gigabyte X870E Aorus Pro Review
- AMD Ryzen 9 9950X3D Review - Great for Gaming and Productivity
- Sapphire Radeon RX 9070 XT Nitro+ Review - Beating NVIDIA
- MSI GeForce RTX 5070 Gaming Trio OC Review
- Corsair SF750 750 W Review
- Kioxia Exceria Plus G4 2 TB Review - Energy-Efficient PCIe Gen 5
- XFX Radeon RX 9070 XT Mercury OC Magnetic Air Review
- ASUS GeForce RTX 5090 TUF Review
- ASUS Radeon RX 9070 TUF OC Review
- AMD Ryzen 7 9800X3D Review - The Best Gaming Processor
Controversial News Posts
- NVIDIA GeForce RTX 50 Cards Spotted with Missing ROPs, NVIDIA Confirms the Issue, Multiple Vendors Affected (519)
- AMD RDNA 4 and Radeon RX 9070 Series Unveiled: $549 & $599 (260)
- AMD Mentions Sub-$700 Pricing for Radeon RX 9070 GPU Series, Looks Like NV Minus $50 Again (250)
- NVIDIA Investigates GeForce RTX 50 Series "Blackwell" Black Screen and BSOD Issues (244)
- AMD Radeon RX 9070 and 9070 XT Official Performance Metrics Leaked, +42% 4K Performance Over Radeon RX 7900 GRE (195)
- AMD Radeon RX 9070-series Pricing Leaks Courtesy of MicroCenter (158)
- MSI Doesn't Plan Radeon RX 9000 Series GPUs, Skips AMD RDNA 4 Generation Entirely (126)
- Microsoft Introduces Copilot for Gaming (122)